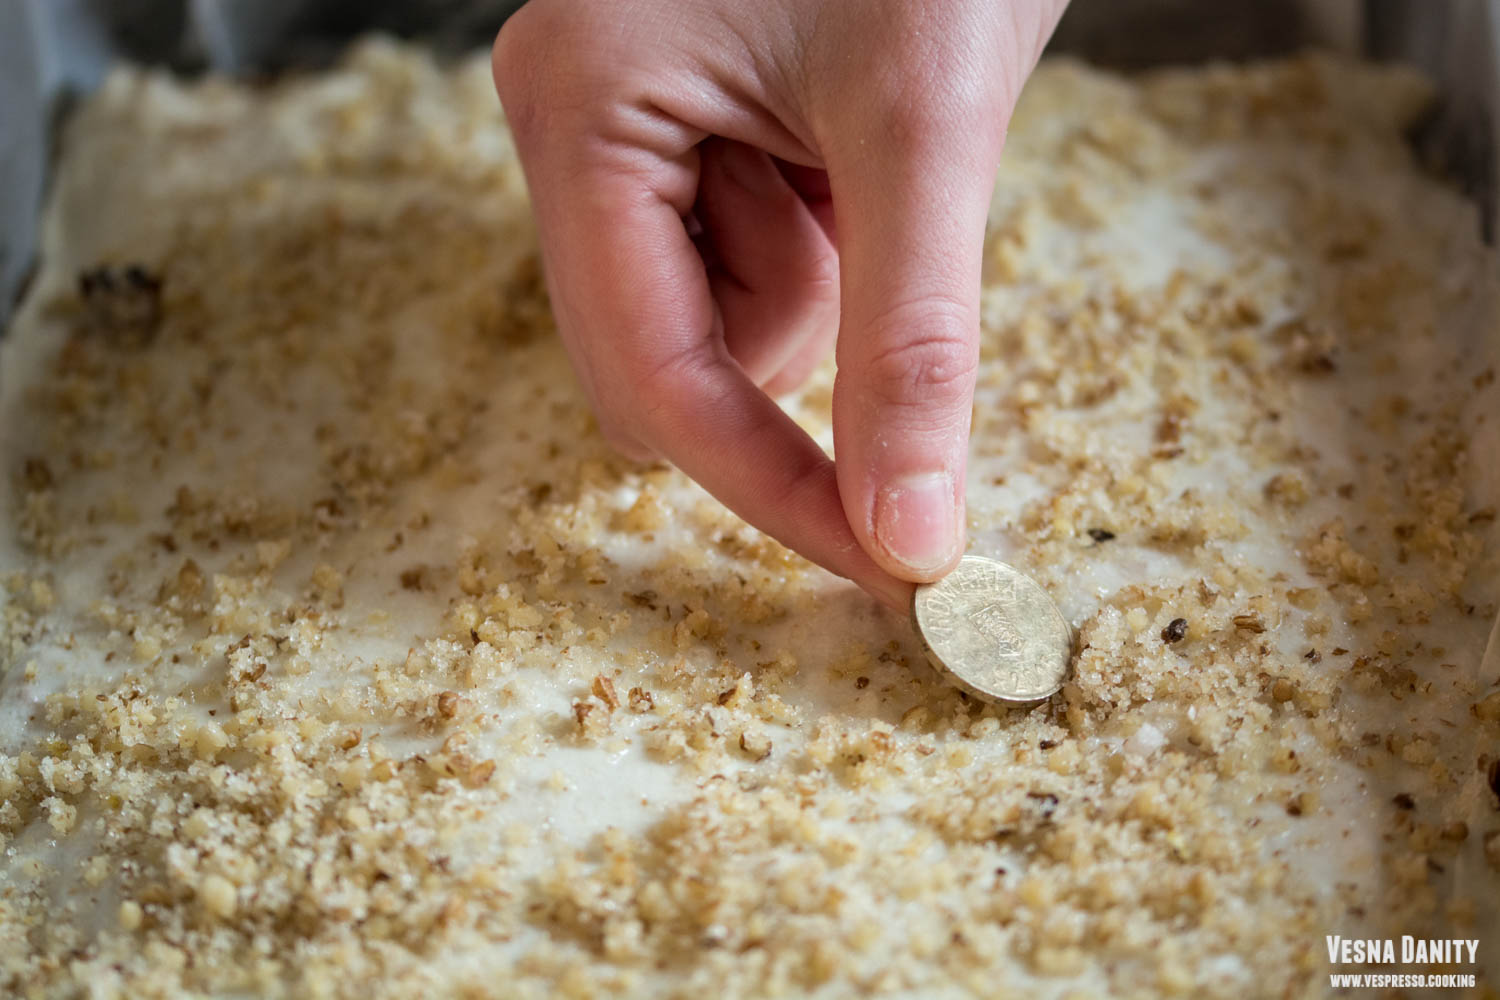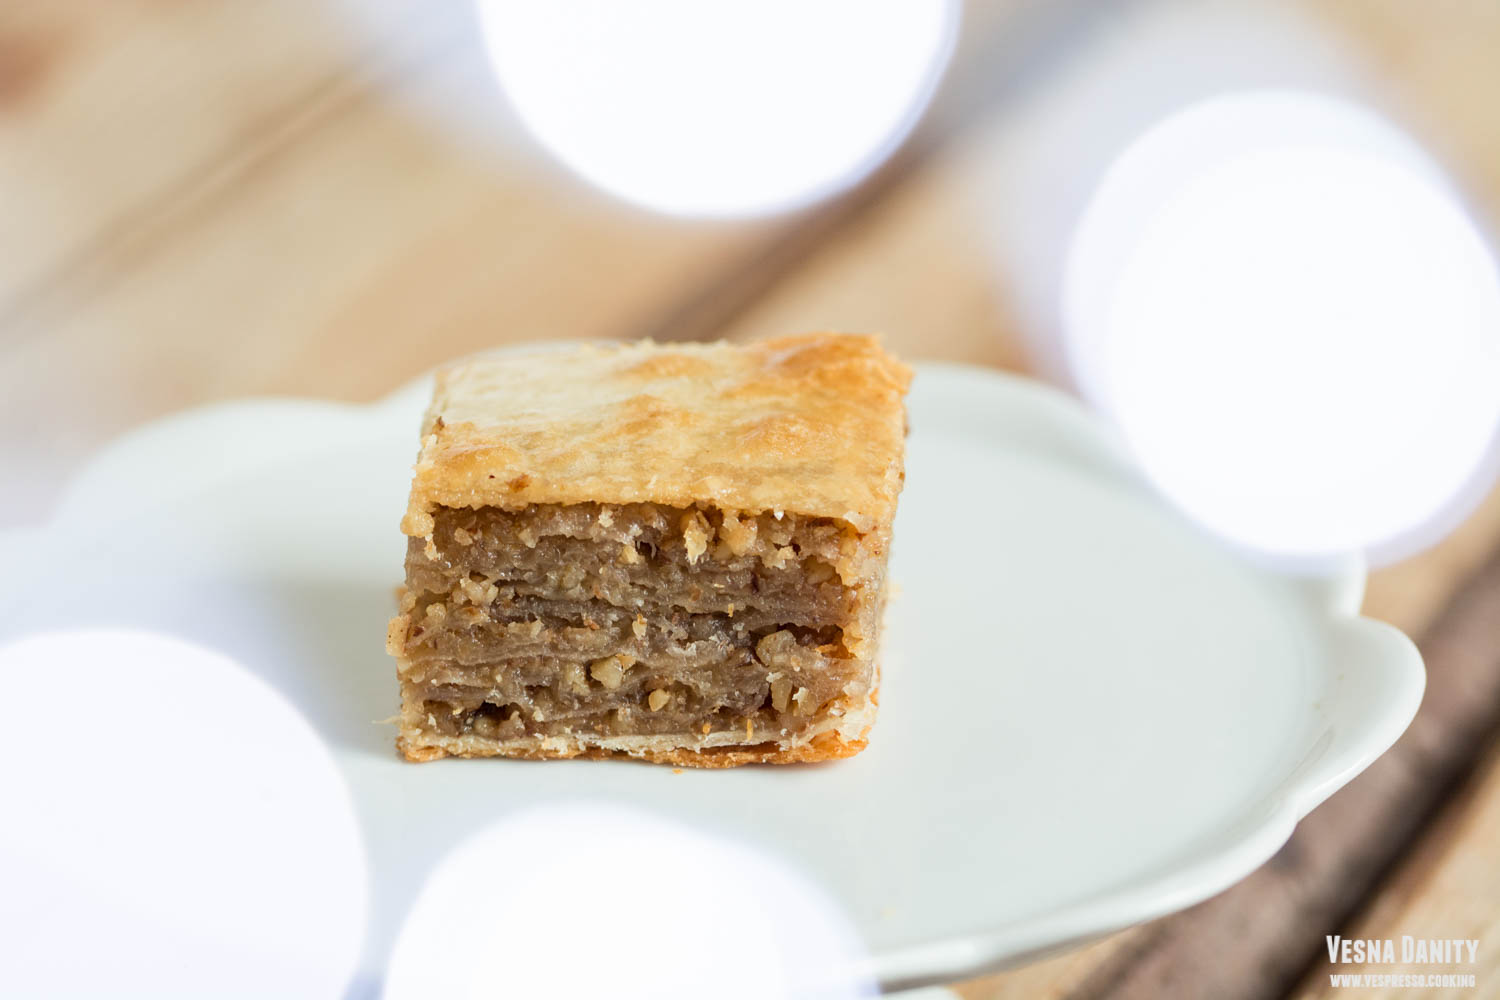
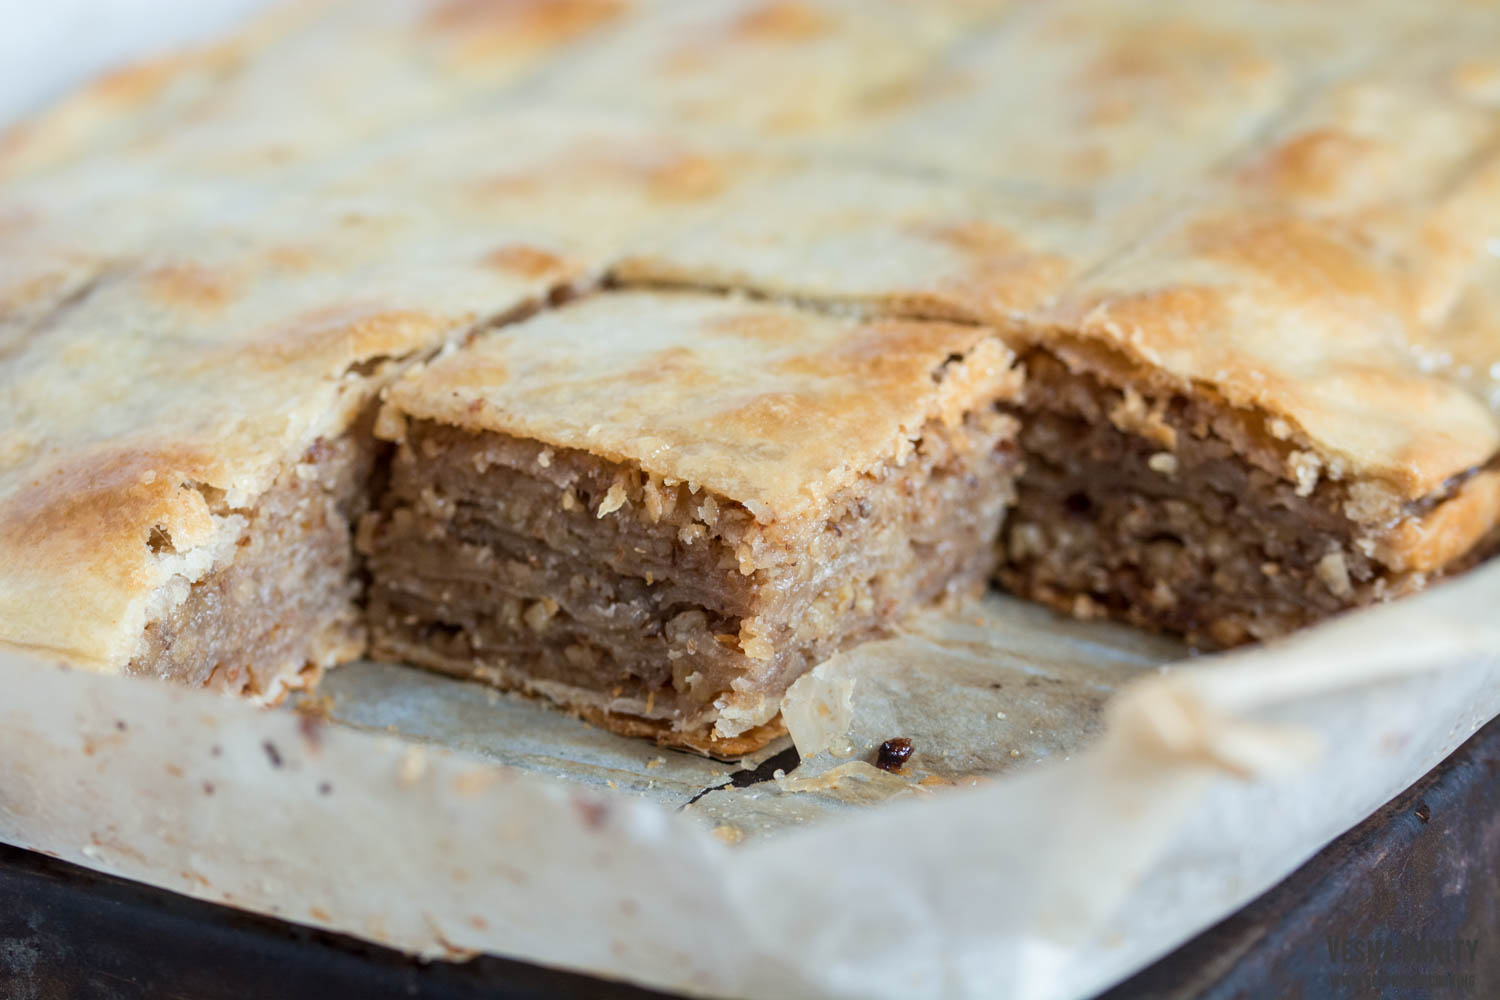
Cesnica is a wonderful dessert made in the Serbian households on Christmas Eve. Two years ago I prepared it using store bough phyllo pastry, showing you an easy, no fuss way to make it. This year I decided to step up my game and make it old school, from scratch, just like my beloved grandmother used to. The person who prepares this delicious dessert always hides a coin inside it. The coin brings luck to whomever finds it.
I couldn’t have been more than seven when I saw my grandmother make the dough from scratch for the last time (it is quite labor intensive). But those images are still alive in my memory like an old black and while movie that goes on and on in my mind. This charming old movie marked my childhood more than anything else. I still remember vividly all the steps, sifting the flour, melting the lard, kneading the dough, leaving it to rest, grinding the walnuts, placing the tablecloth, pulling the dough, making the walnut filling, placing that shiny coin, cutting the pie, baking it to perfection…
Since it’s been quite a while since I last saw my grandmother making it from scratch, there was a solid chance that my memory could play some tricks on me, so I interviewed several women from the Serbian community, so this recipe is a fusion between my personal knowledge and their wonderful tricks learnt from a lifetime experience.
Ingredients (for a 30x22cm tray, which means 20 servings):
for the pastry:
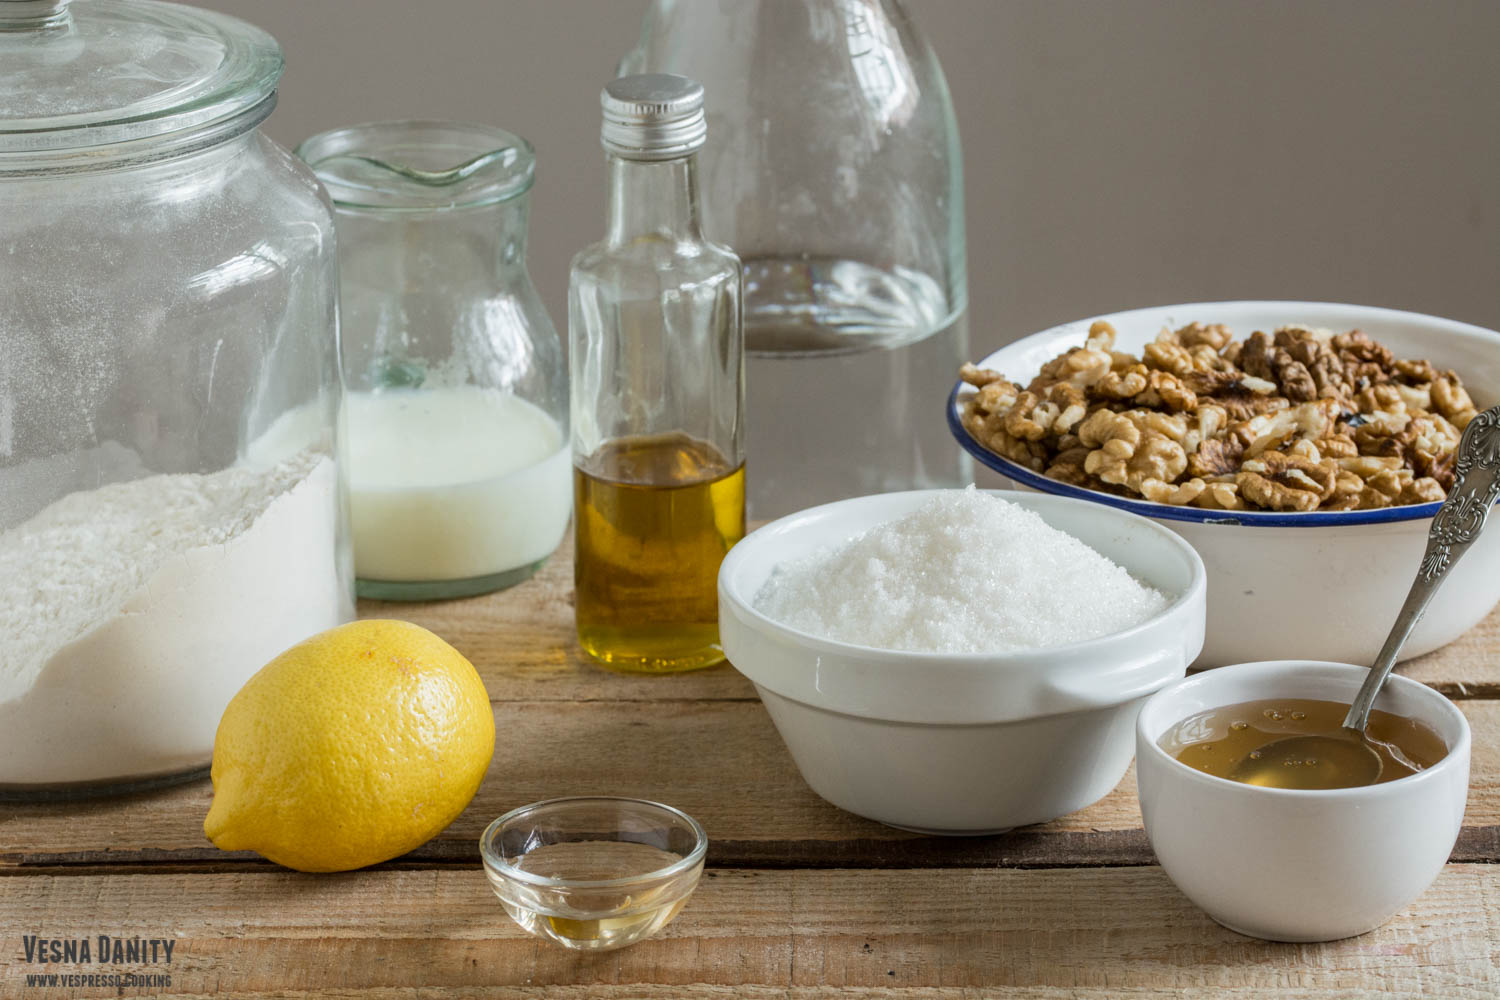
- 500g strong bread flour
- 255ml lukewarm water (beetween 36 – 38°C)
- 75ml any neutral vegetable oil / melted pork lard
- 10ml vinegar
- 1/8 tsp salt
for greasing the pastry sheets:
- 45ml any neutral vegetable oil / melted pork lard – 3 Tbsp
- 45ml milk 3 – Tbsp
- 3 Tbsp honey (optional)
for the filling
- 300g walnuts
- 225 white granulated sugar
- 1 lemon, zested
- 3 coins (washed with water and soap and sterilized by boiling)

Method:
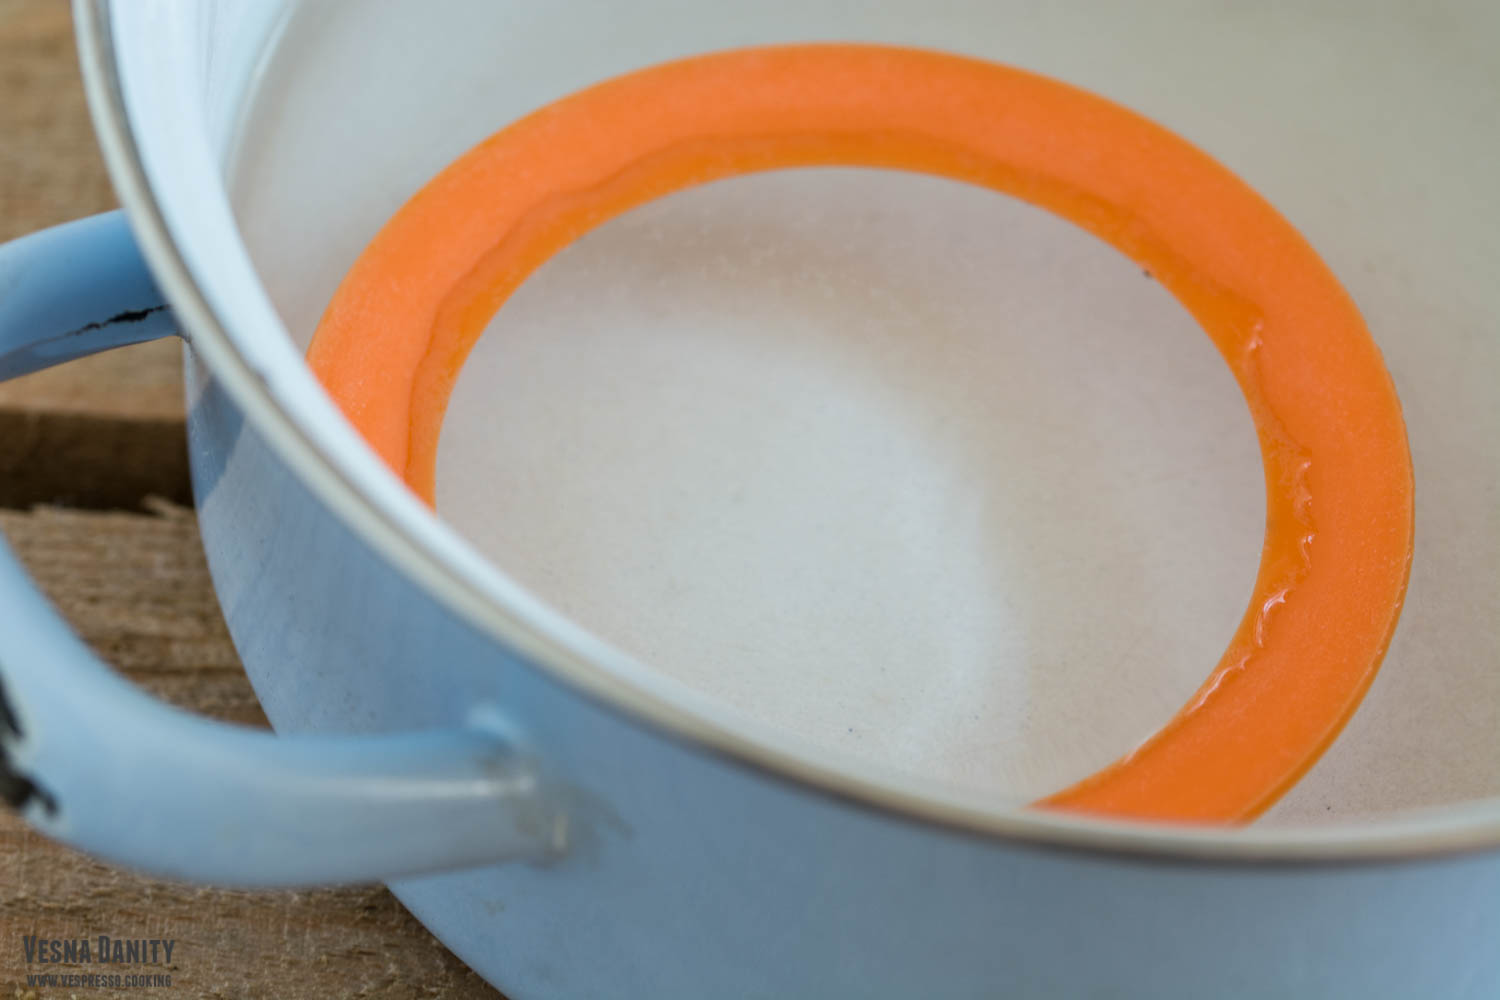
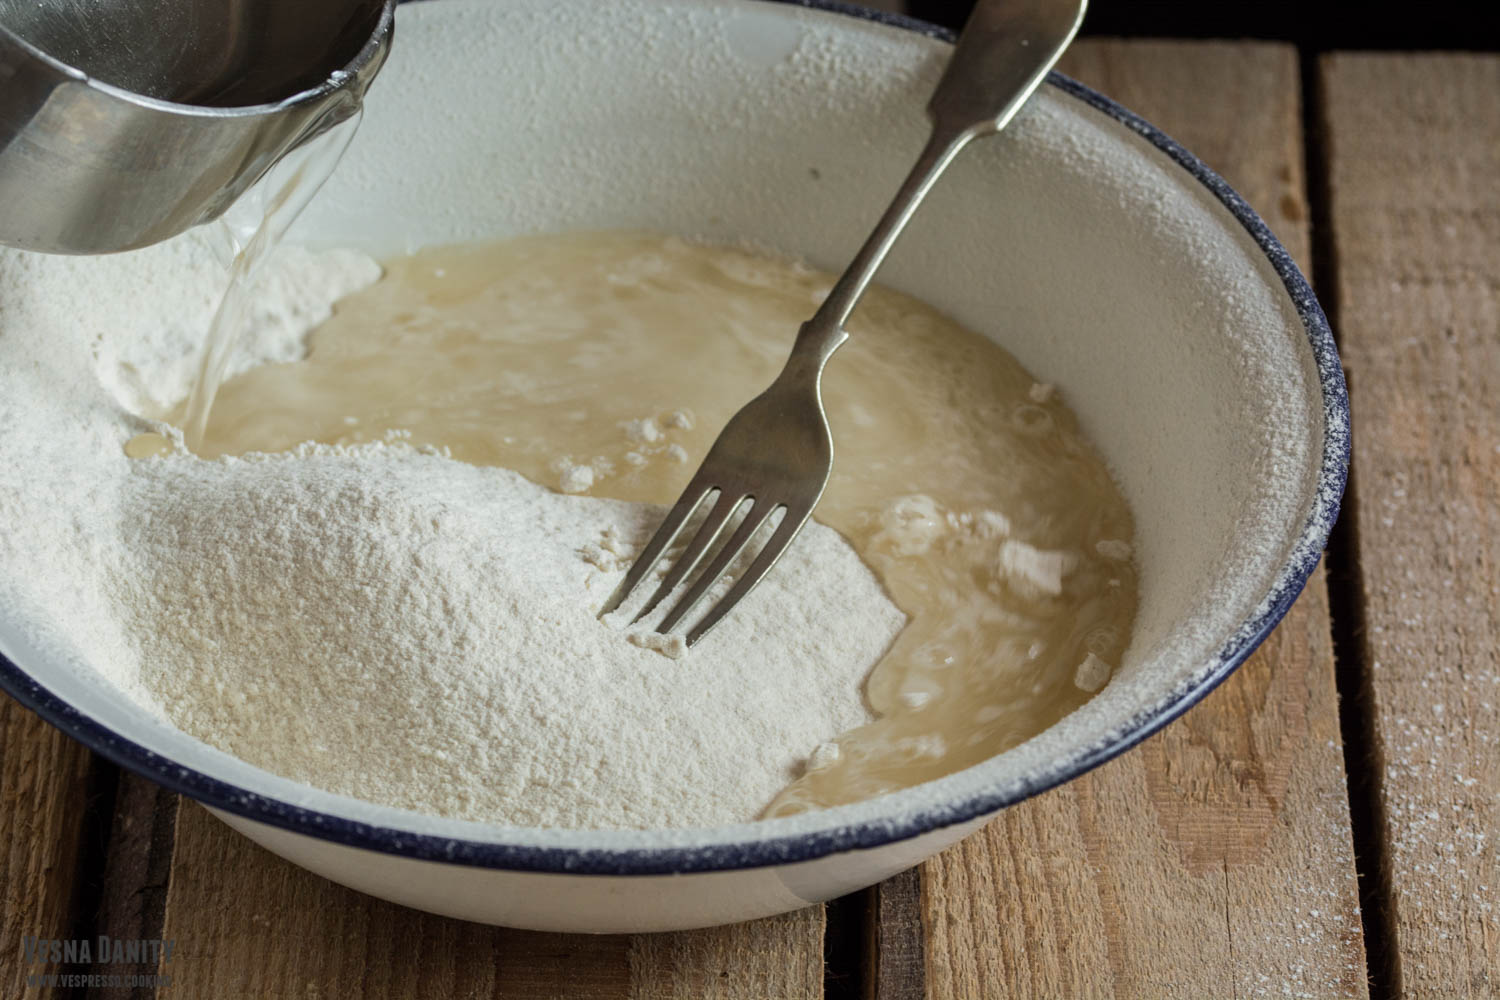
- In a large bowl sift the flour and salt and make a well in the center.
- Add the oil, water vinegar and mix with a fork until you form a ball. Knead the bowl of dough in the bowl for 3 minutes, or until the surface is smooth.
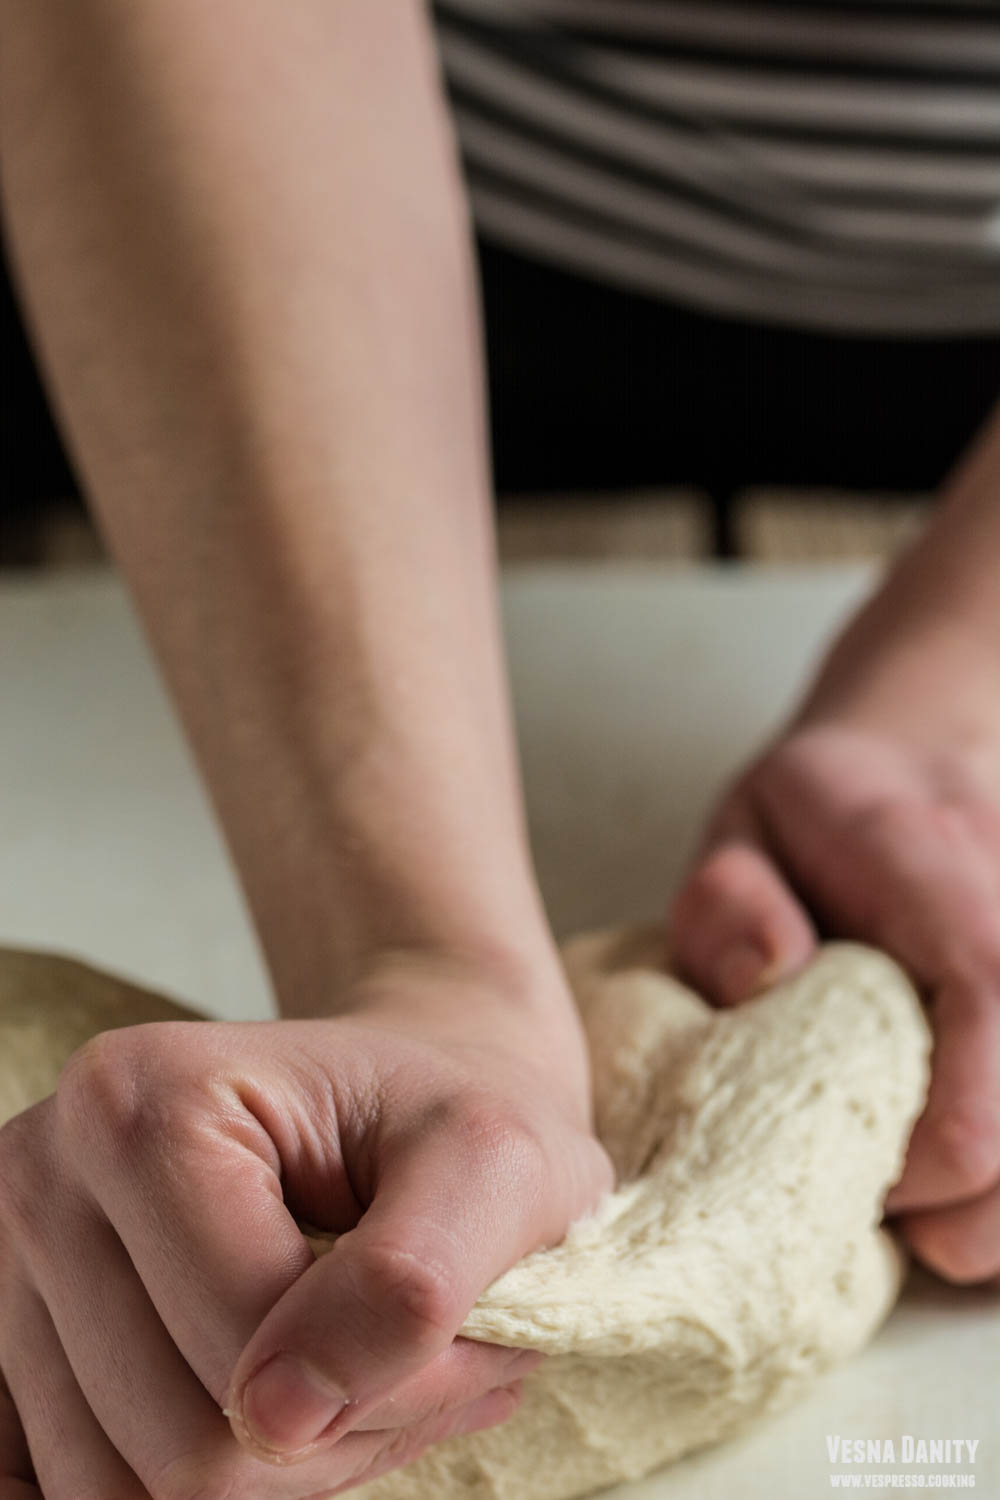
- Place the dough on a working surface and knead it vigorously with your hands. Slap the dough down to the working surface for 50 times.Wrap the dough in a plastic bag, cover it with a clean towel and and let it rest for 1 – 2 hours (resting the dough is vital for relaxing the gluten).
- Sterilize the coins by boiling them in hot water for 30 minutes.
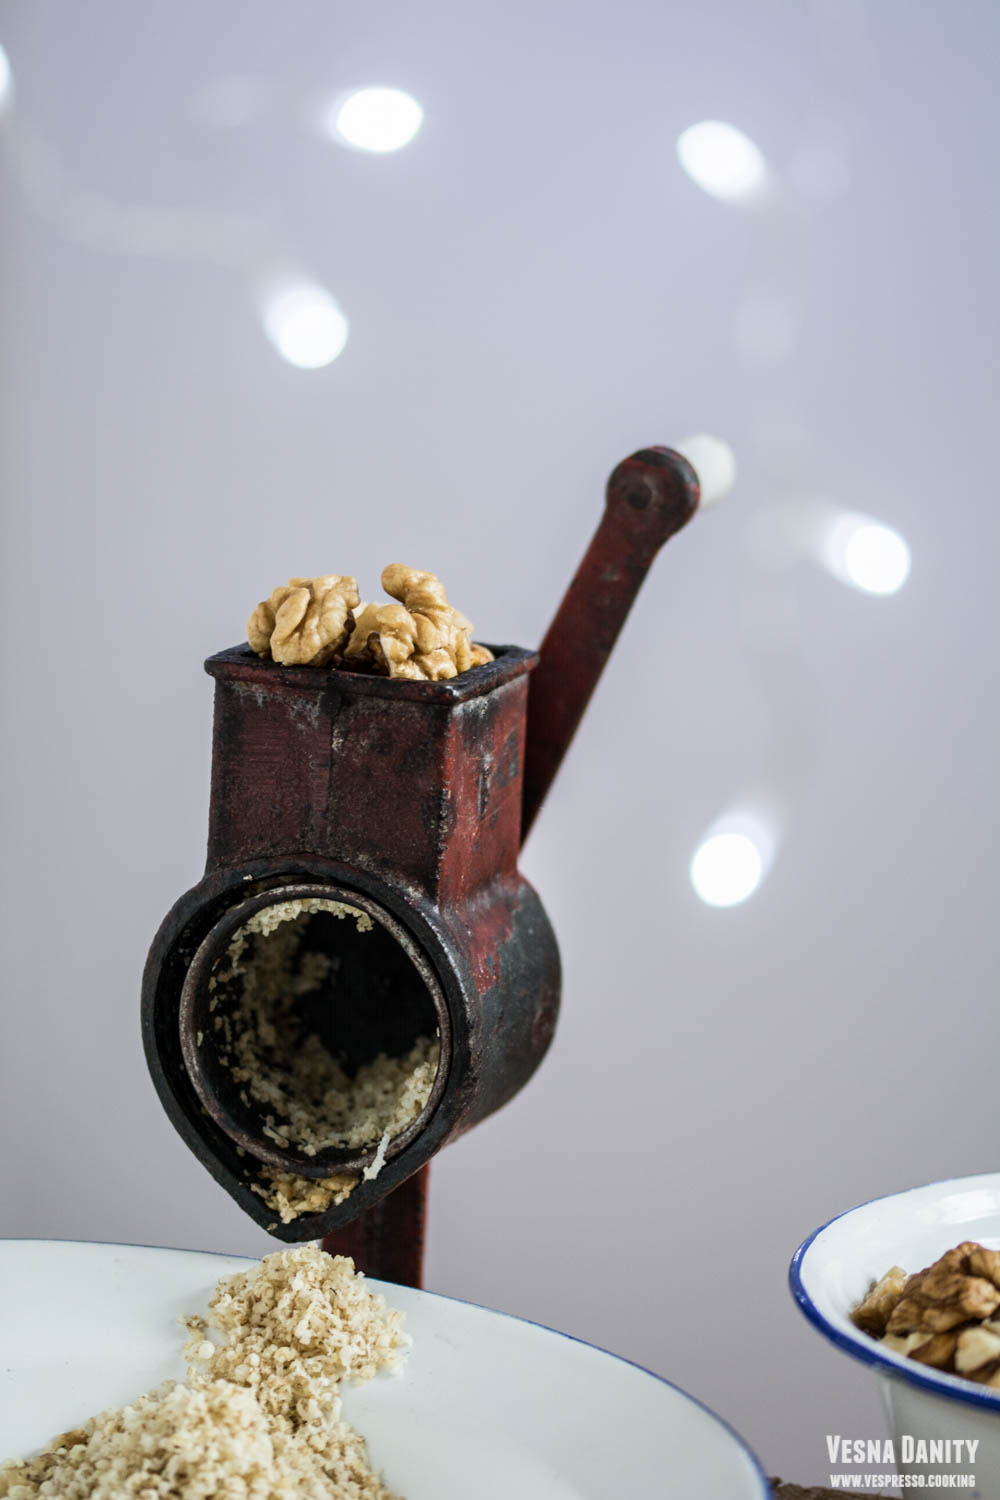
- Grind the walnuts and zest the lemon. Take two bowls. Mix walnuts, sugar and lemon zest in a large bowl. In another bowl mix the oil with the milk.
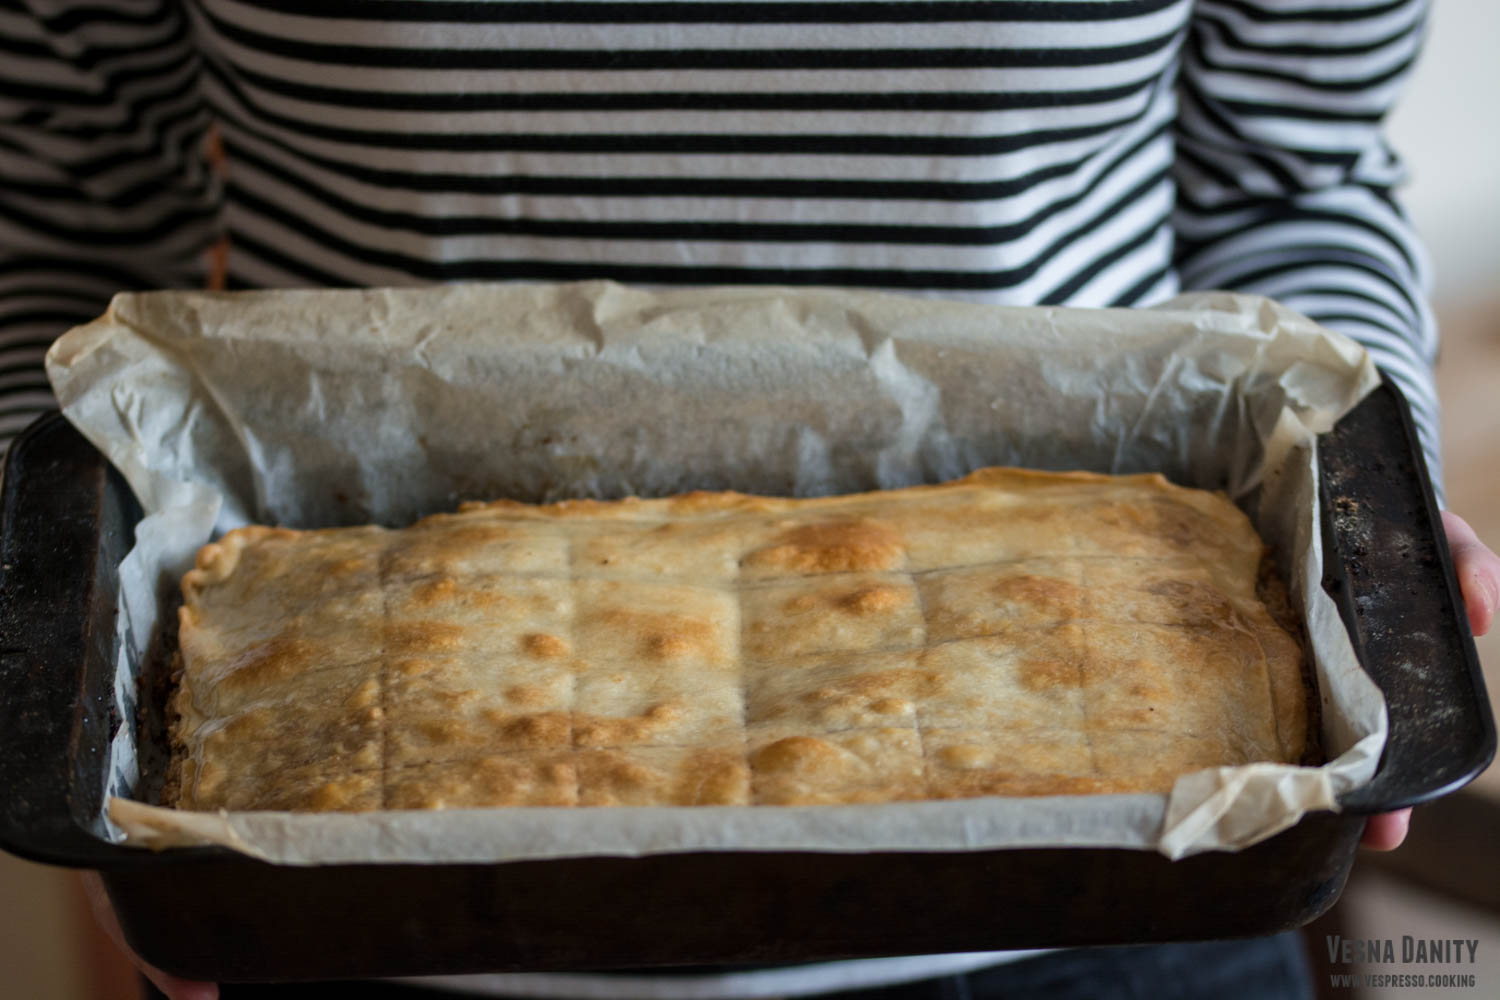
- Take a large tray and line it with parchment paper.
- After the dough has rested I divide it into 3 relatively equal pieces. Leave one piece of dough on the working surface and place the other two in the same plastic bag.
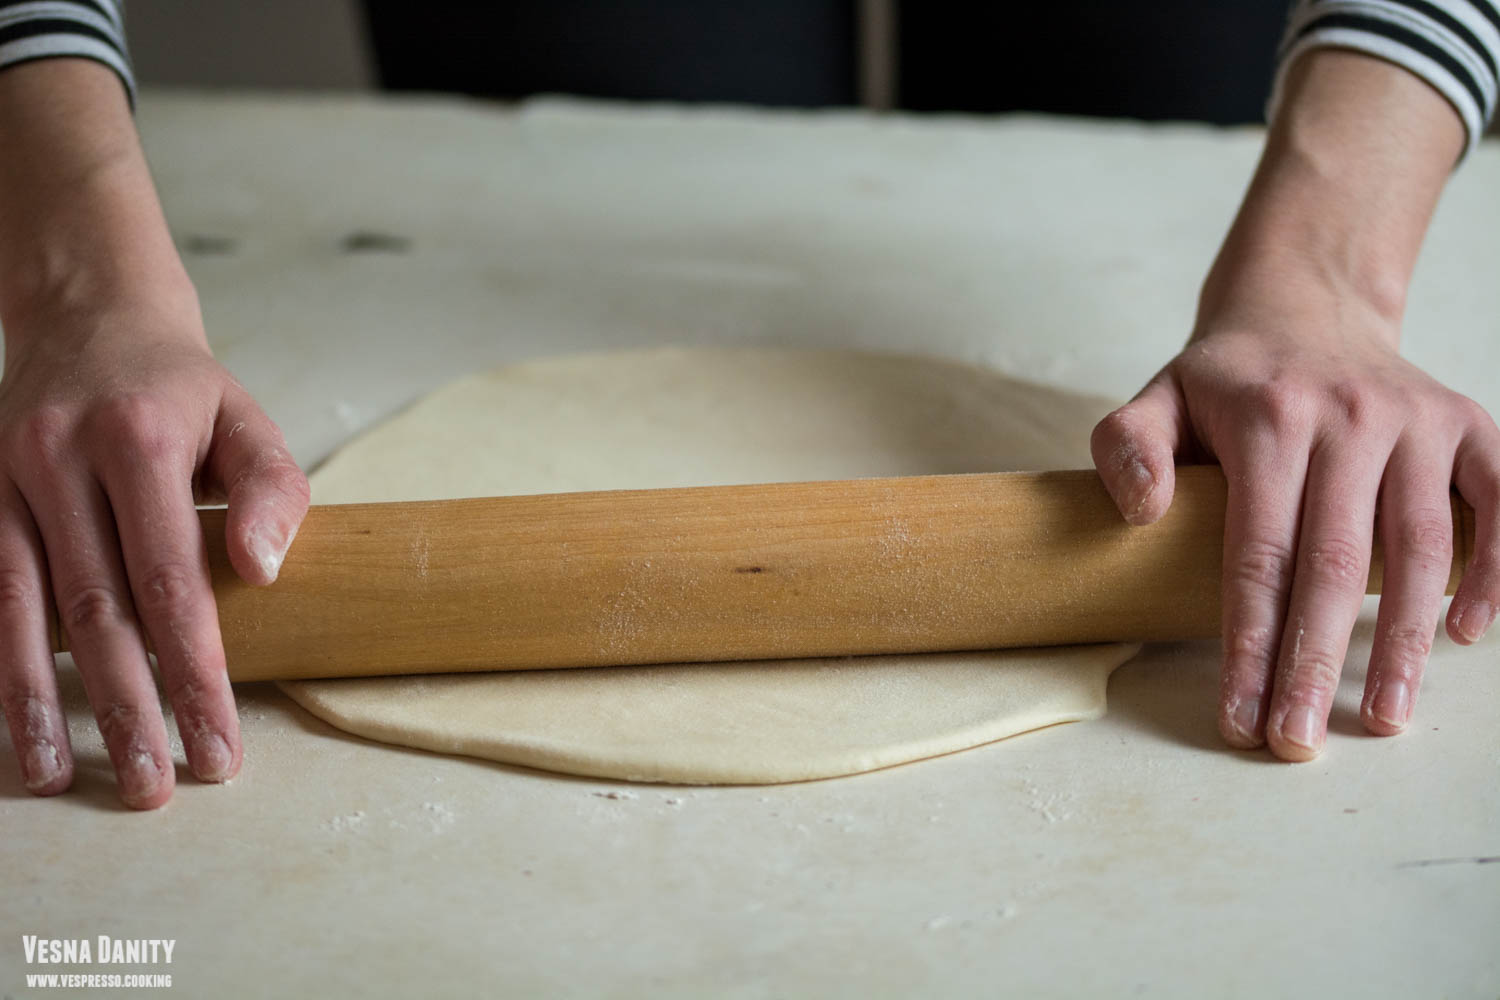
- Place the first piece of dough on the floured working surface and roll it with the rolling pin until it gets about 1/2 cm thick.
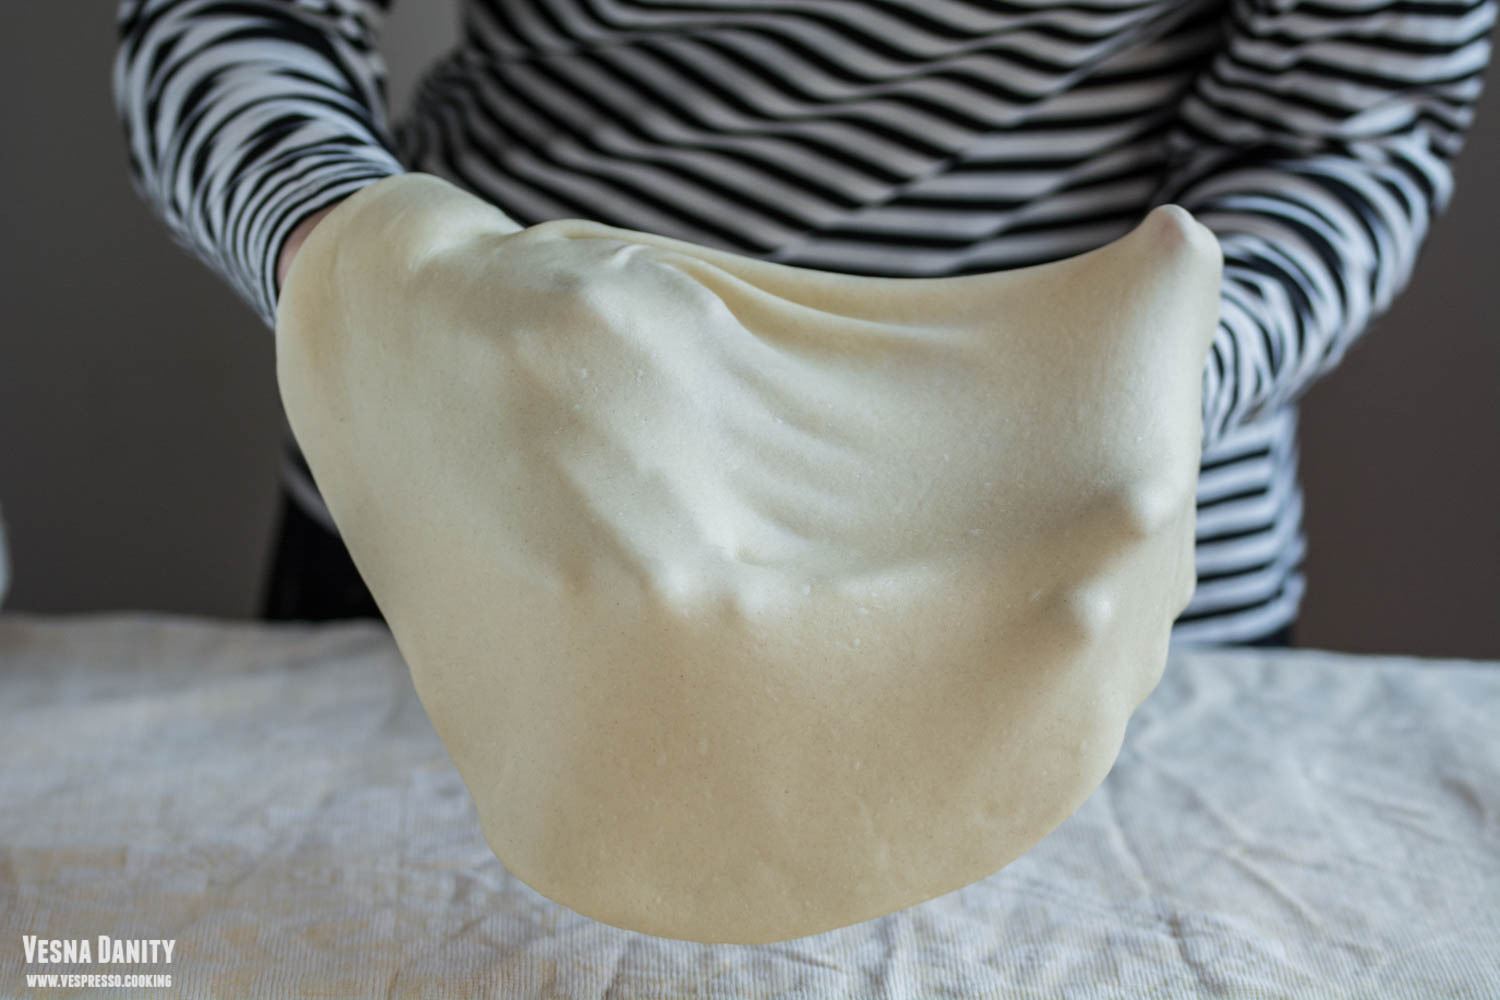
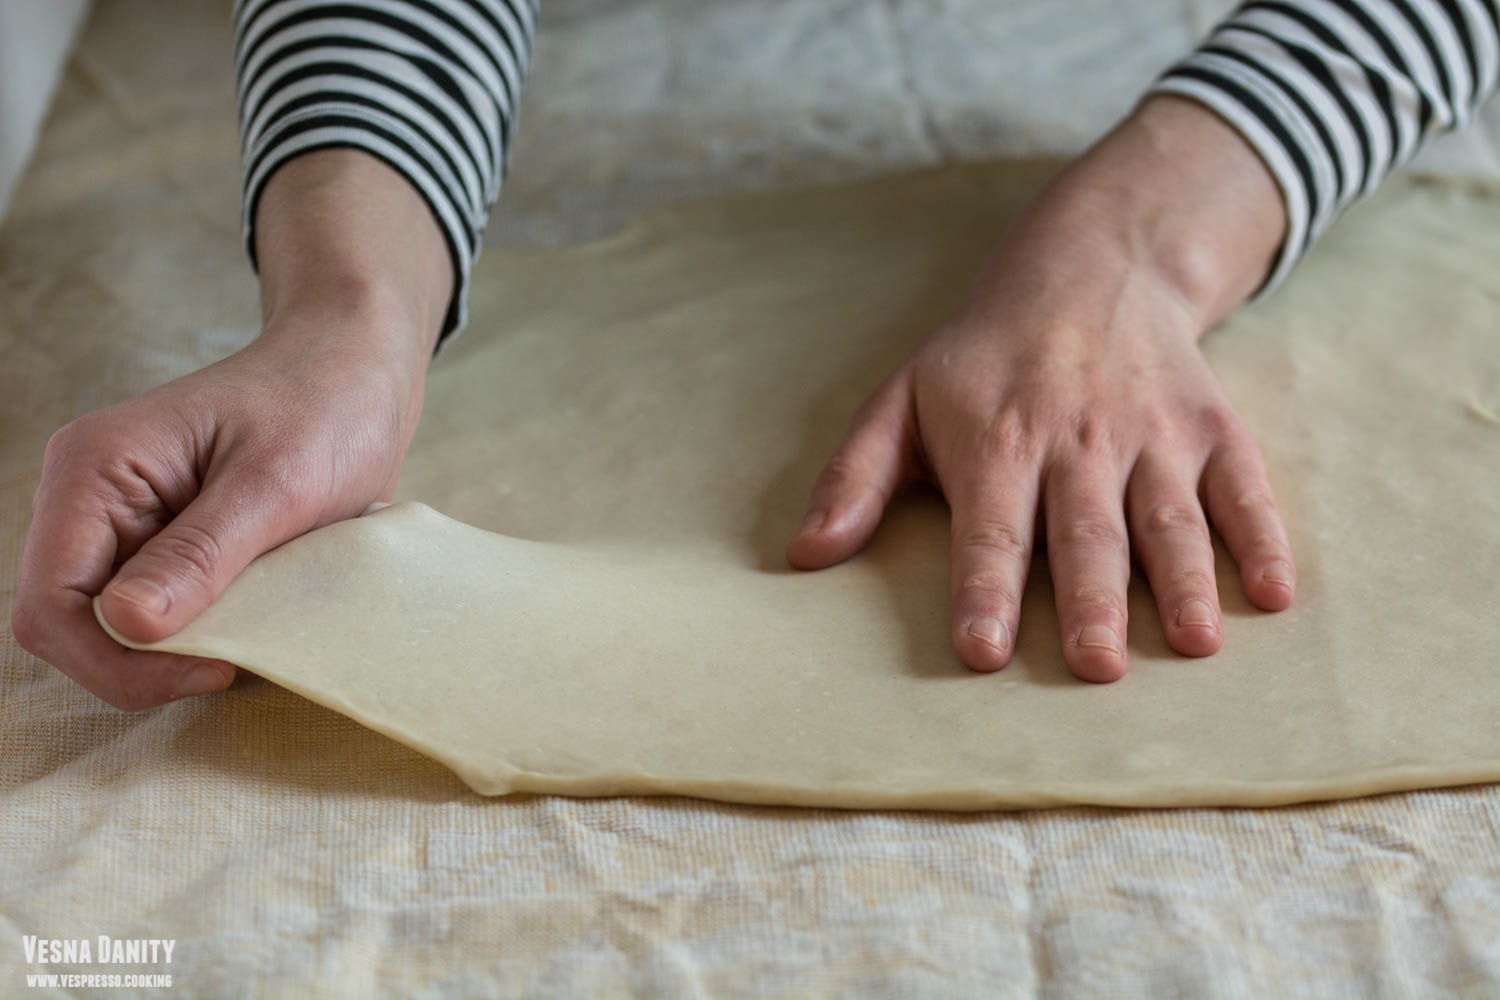
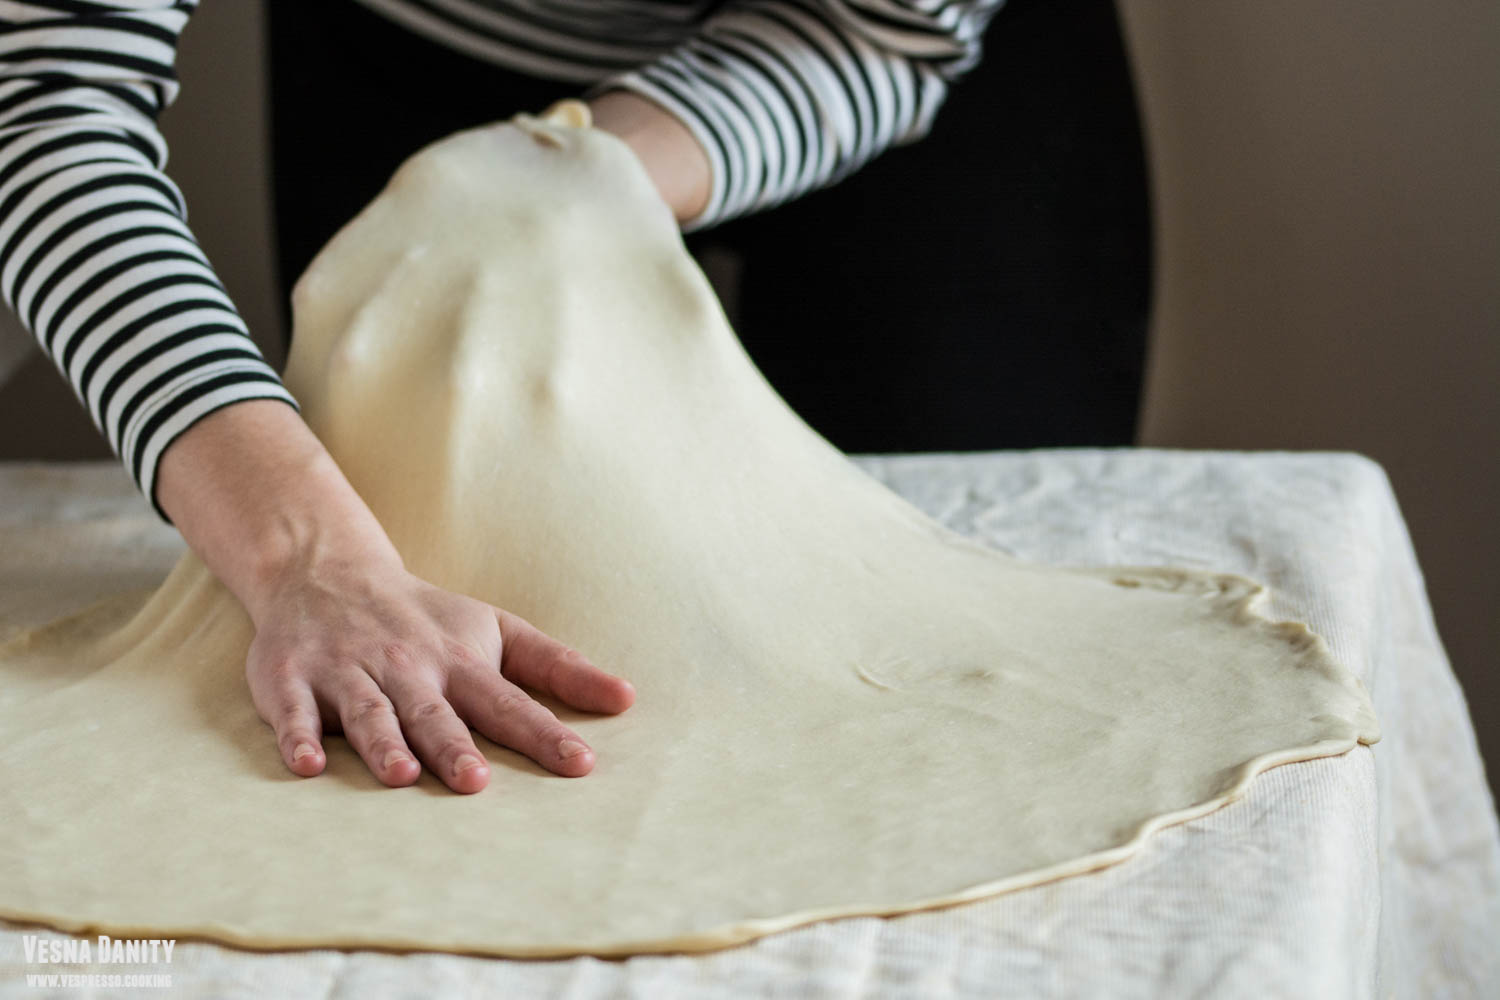
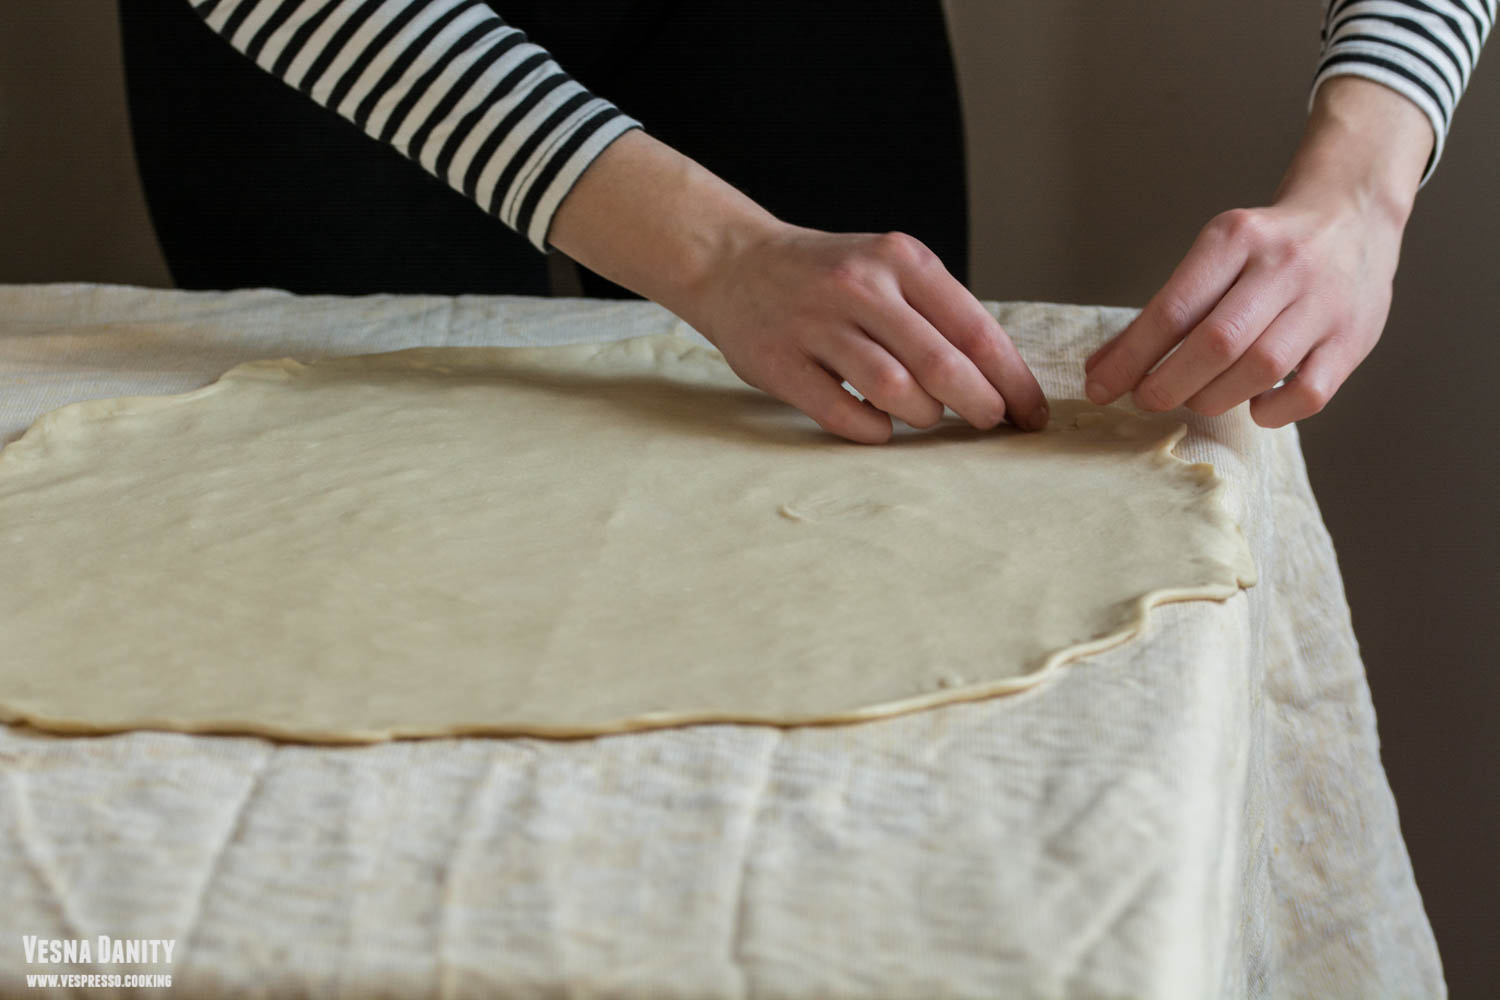
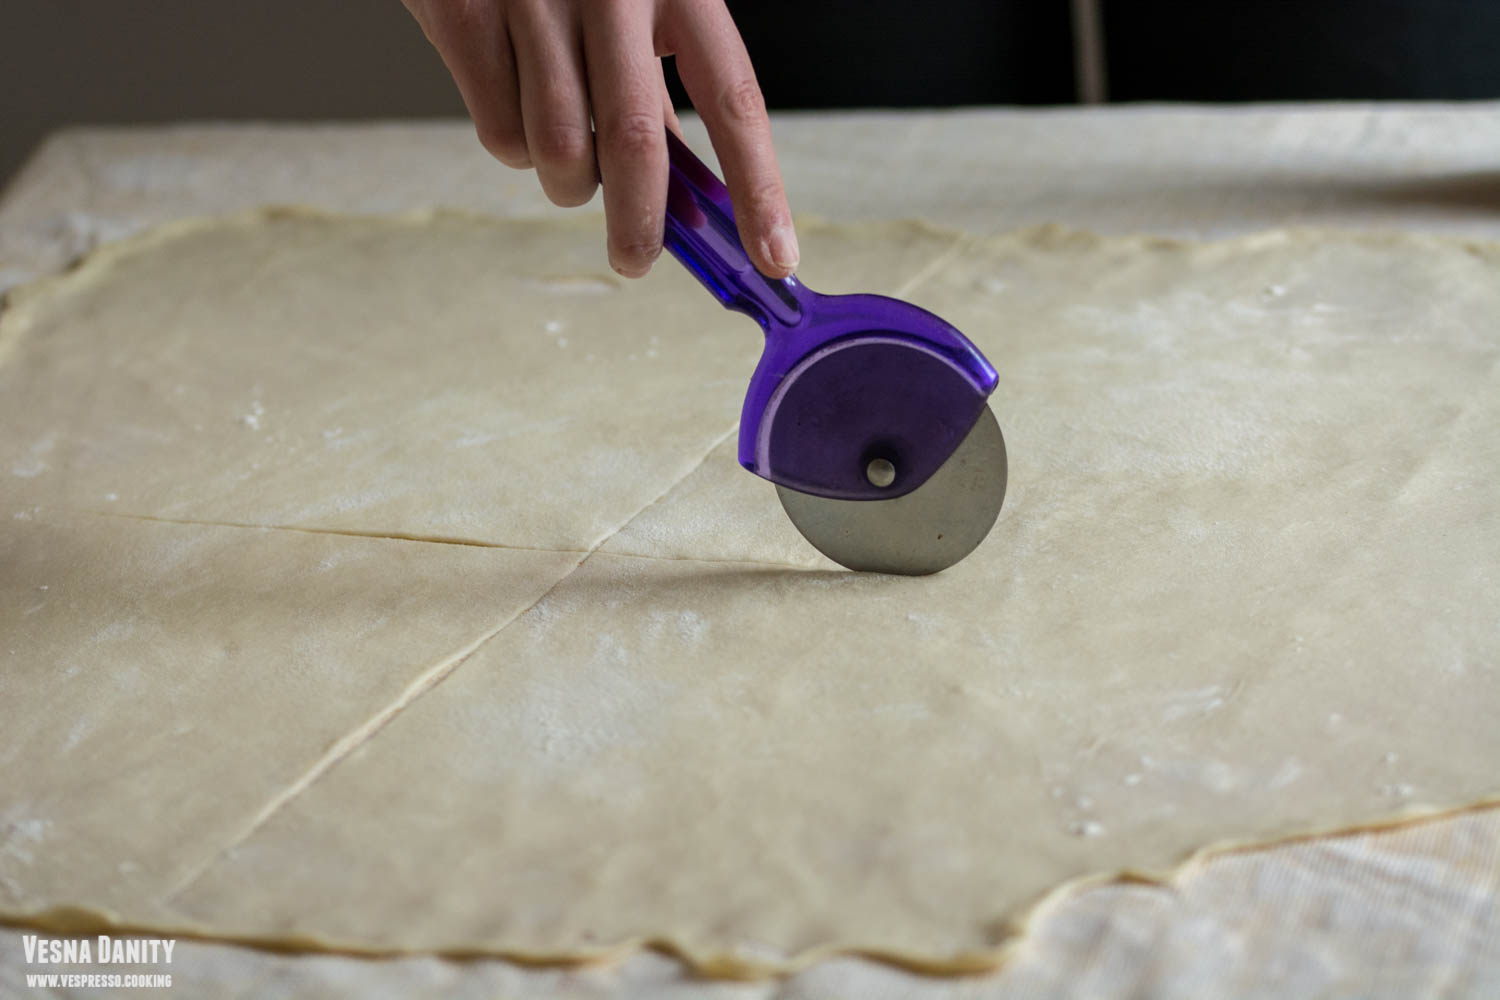
- Cover the table with a clean table cloth (a clean sheet does the trick as well). Place the back of your hand under the sheet of dough and I begin stretching it from the center to the outer edges, working your way around the sheet of dough. If you don’t feel the sheet moving, let it relax for a few moments. It is ready when it’s so thin that you can read the newspaper under it. Take a knife or a pizza cutter and cut it into 4 equal pieces.
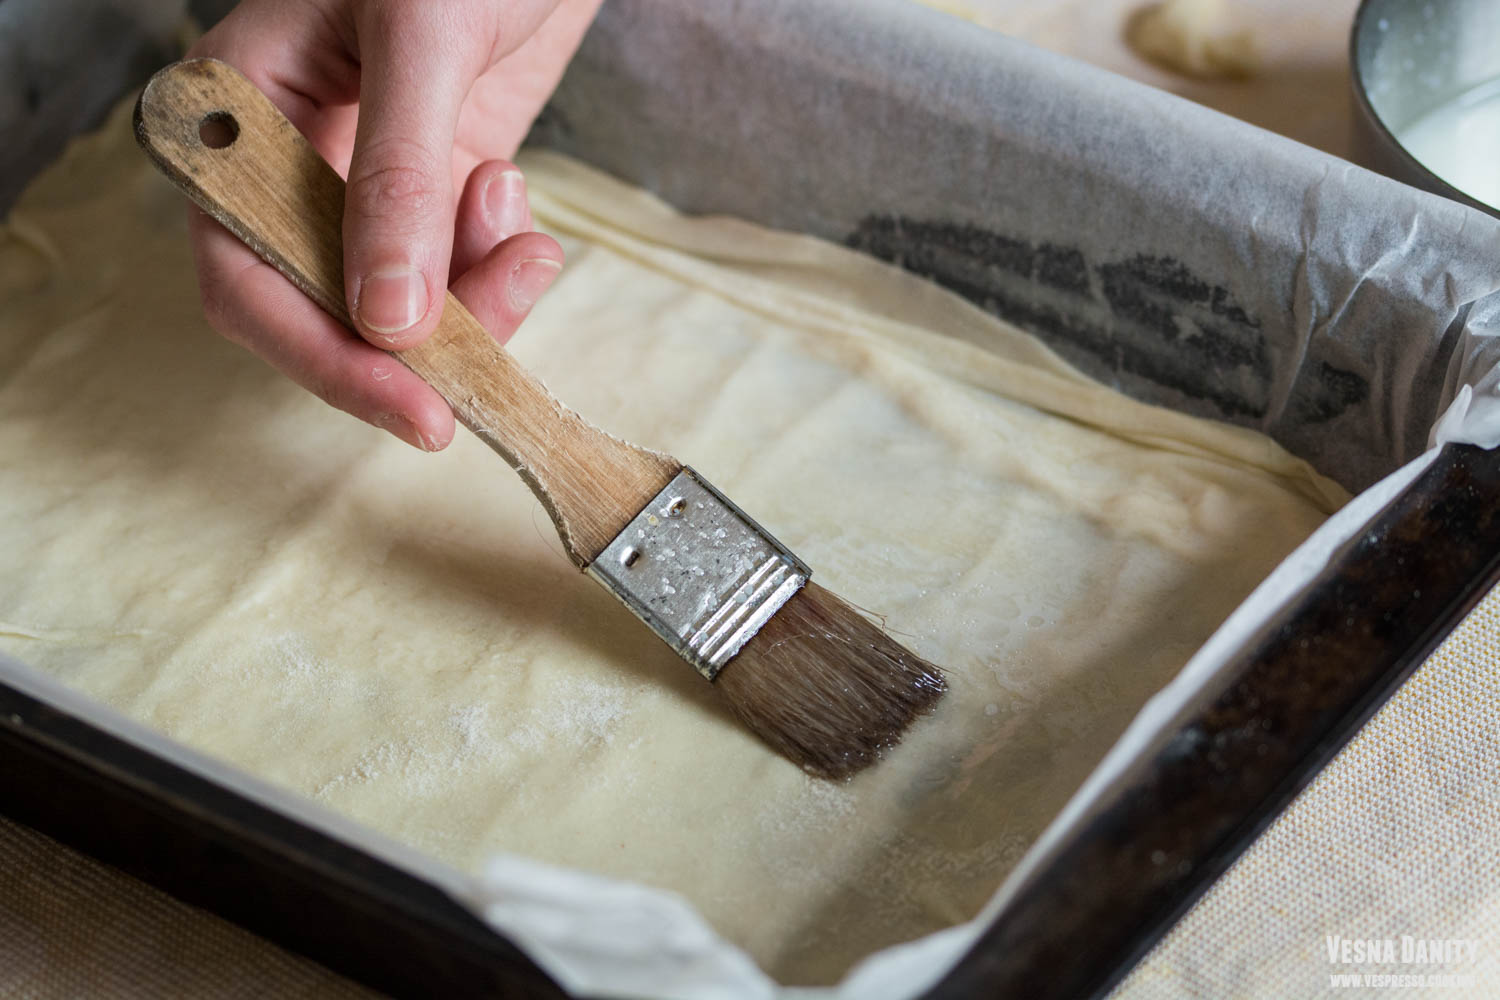
- Take one sheet, place it in a tray, remove the thicker outer edges with a knife and grease it with the milk mixture. Place the second sheet on top and grease it as well.
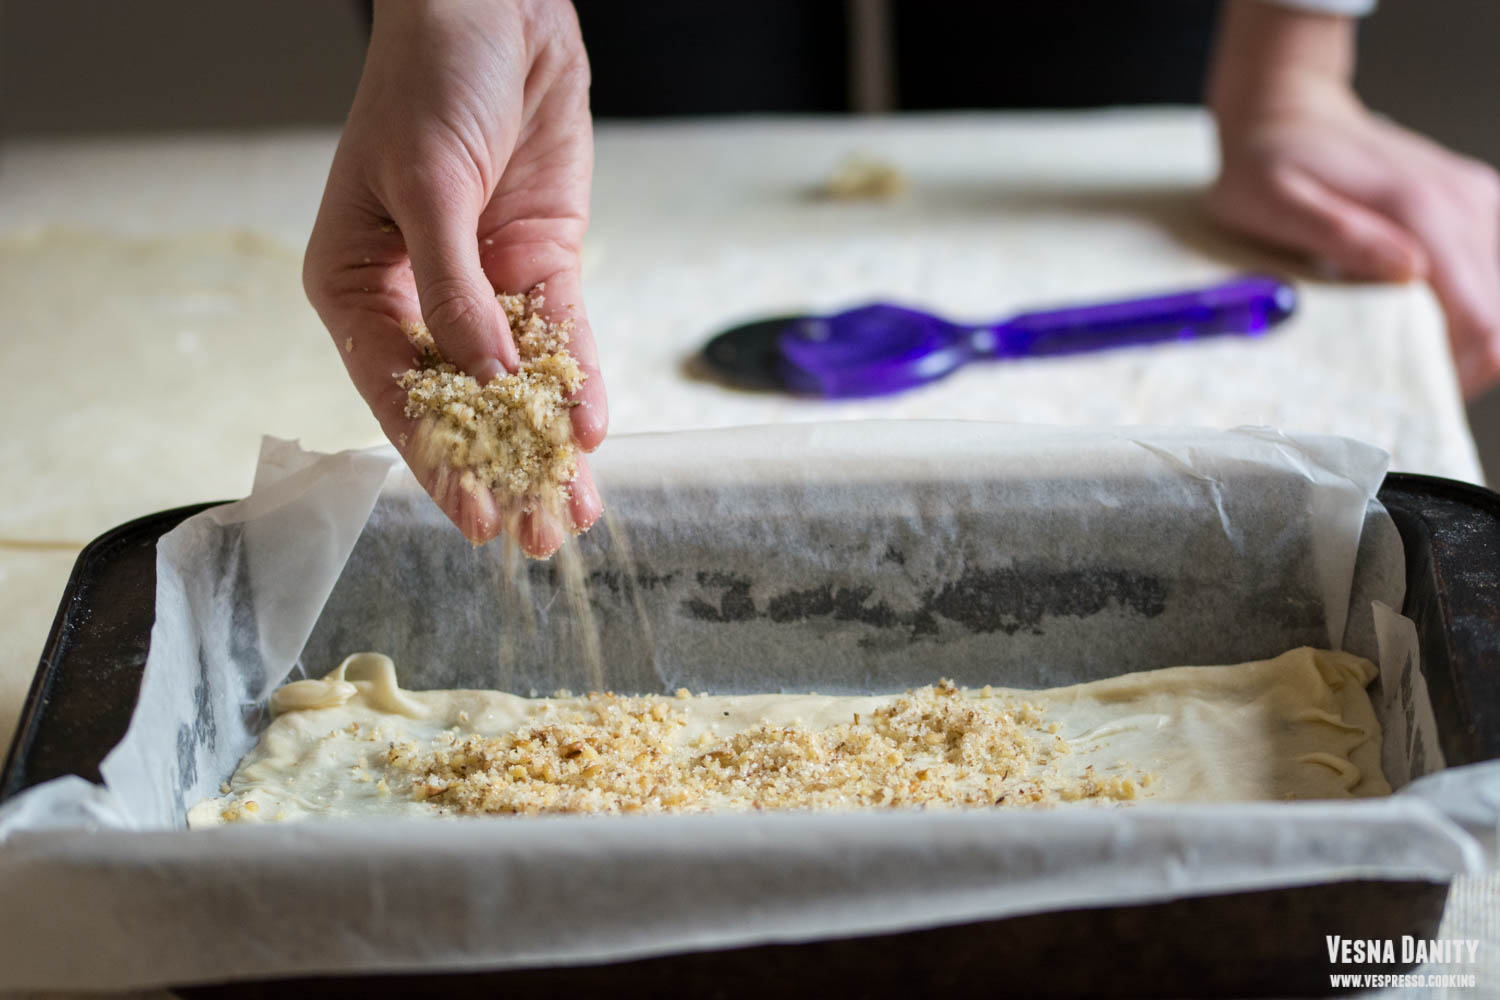
- Over the second sheet sprinkle about two handfulls of walnut mixture.
- Cover the walnut mixture with the third sheet, grease it as well and sprinkle a handful of walnuts.
- Continue with the layers until you place the sixth sheet. Grease it, sprinkle a handfull of walnuts and place the coins.
- Proceed the same until you reached the 10th sheet, grease it and sprinkle it with the remaining walnut mixture.
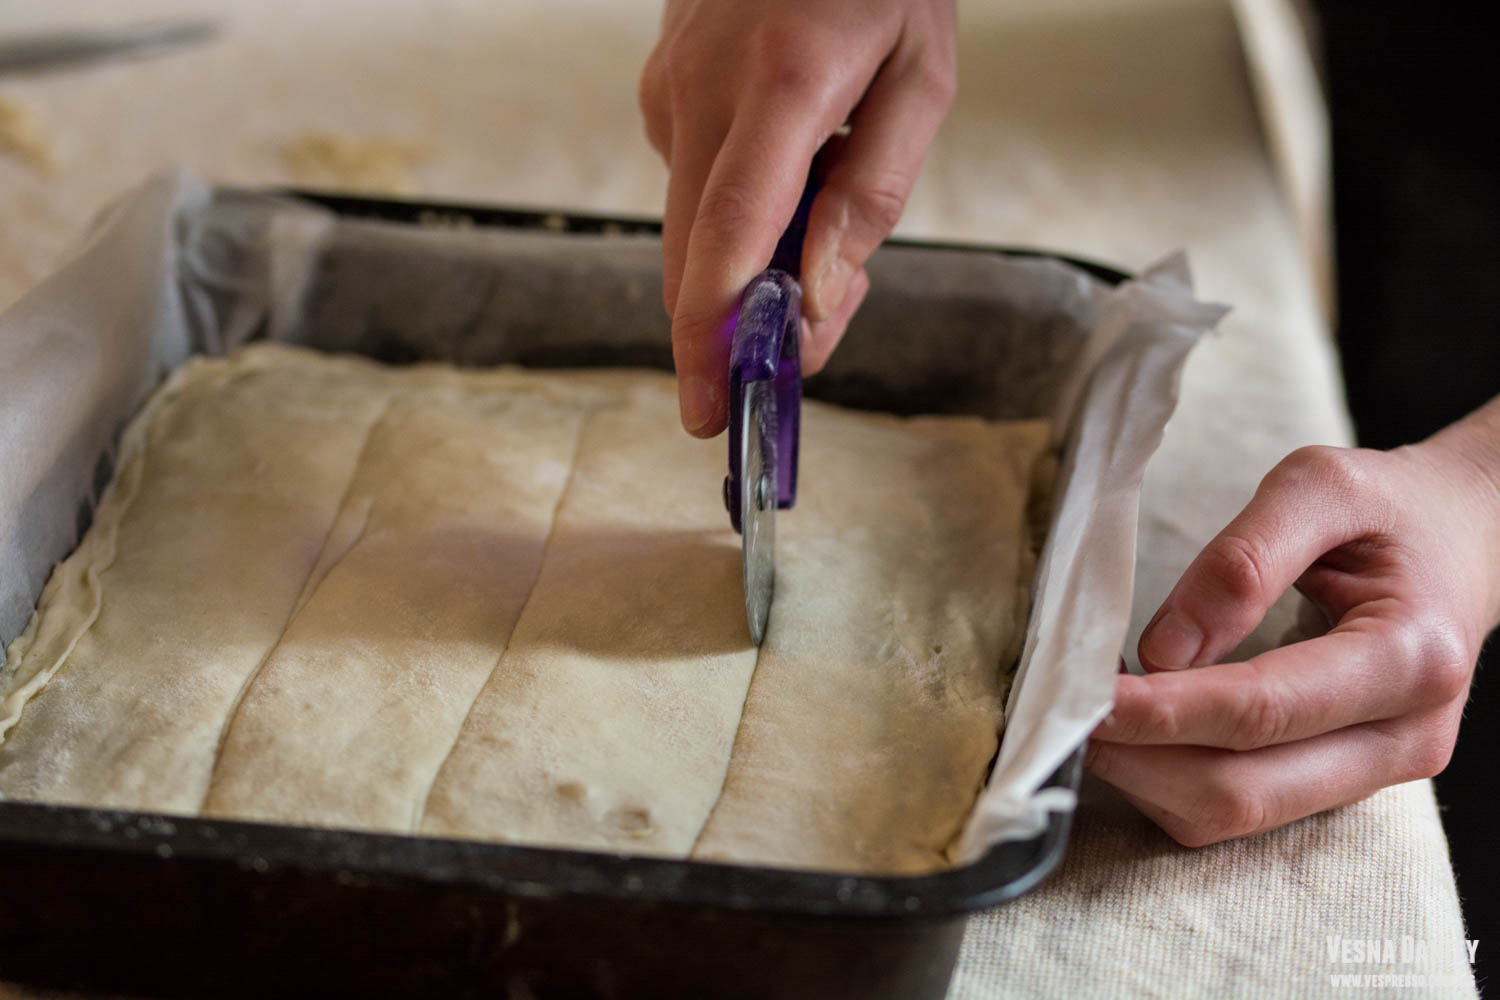
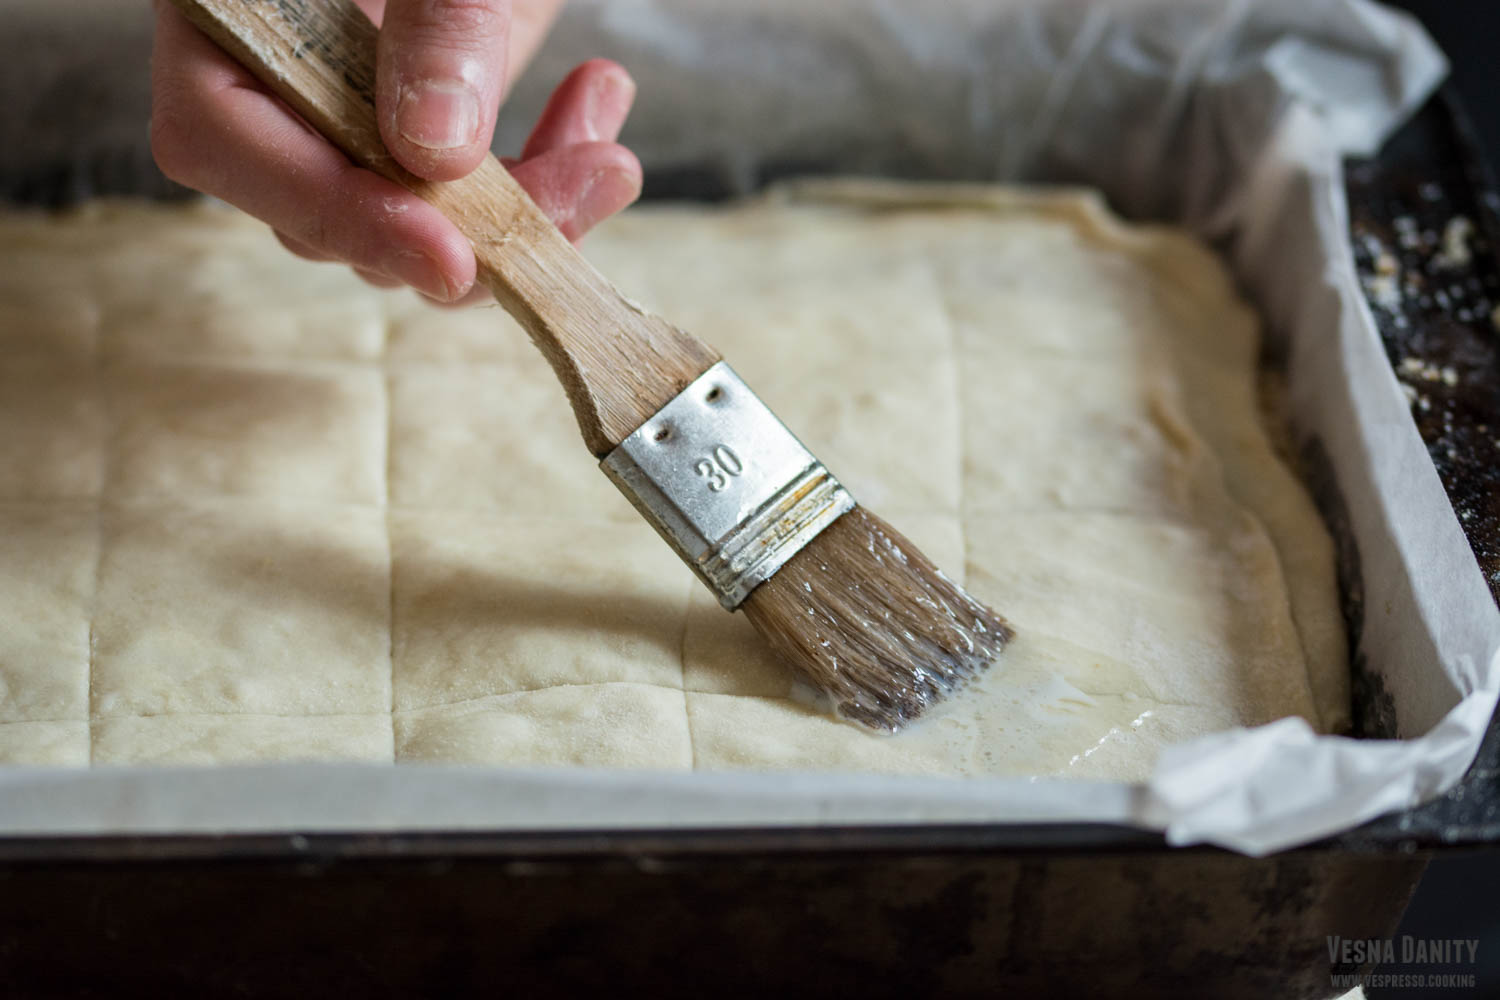
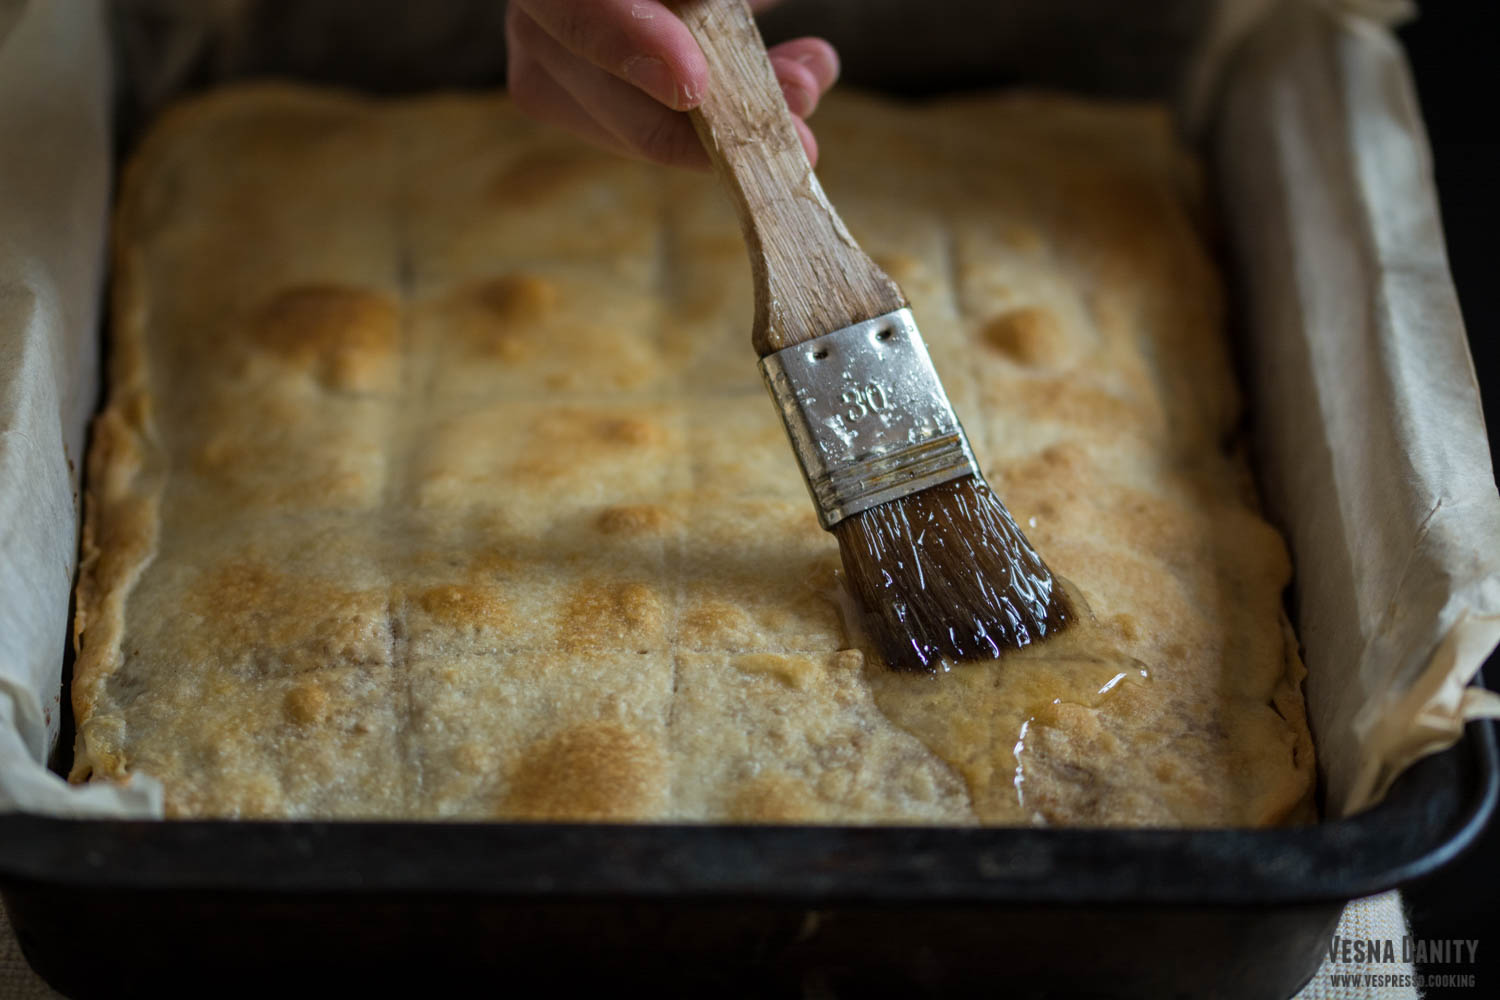
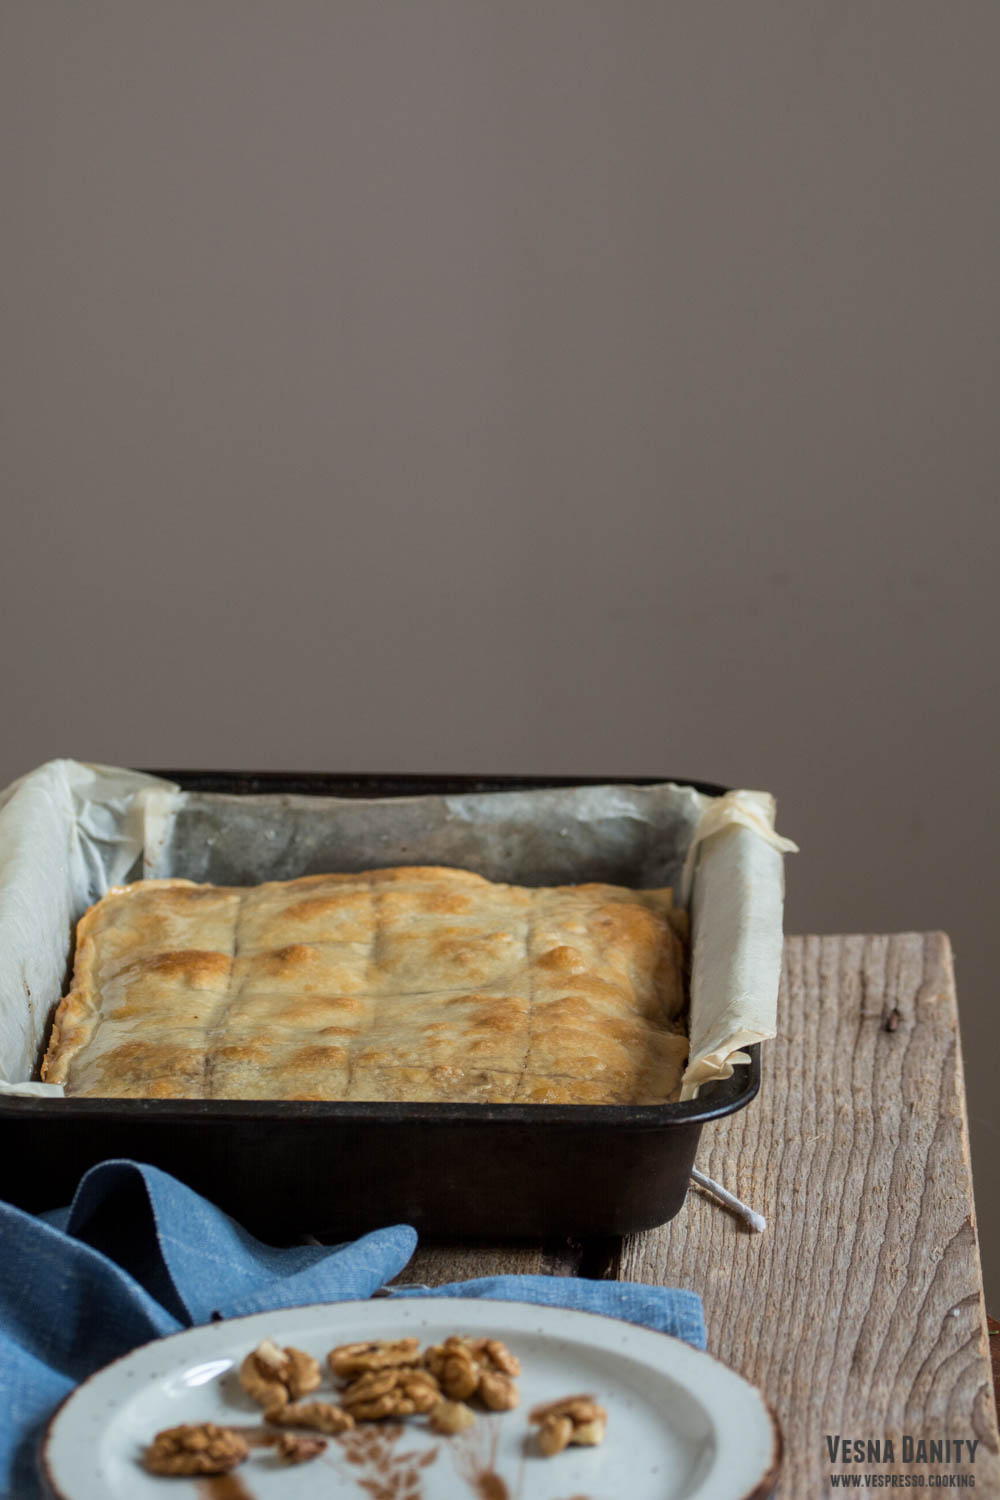
- Cover it with the eleventh sheet, grease it cover with the last one. Using a sharp knife or a pizza cutter, cut the surface of the pie into 20 squares. Grease it with the milk mixture and bake in the preheated oven at 375°F/190°C (gas mark 5) for 30 minutes or until golden.
- Remove it from the oven and pour on top of it a mixture made form 3 Tbsp honey and 1 Tbsp water. Cover it with a towel and let it cool. This step is totally optional, some households prefer it moist, while other households love it dry.