Burger Buns (Vegan)


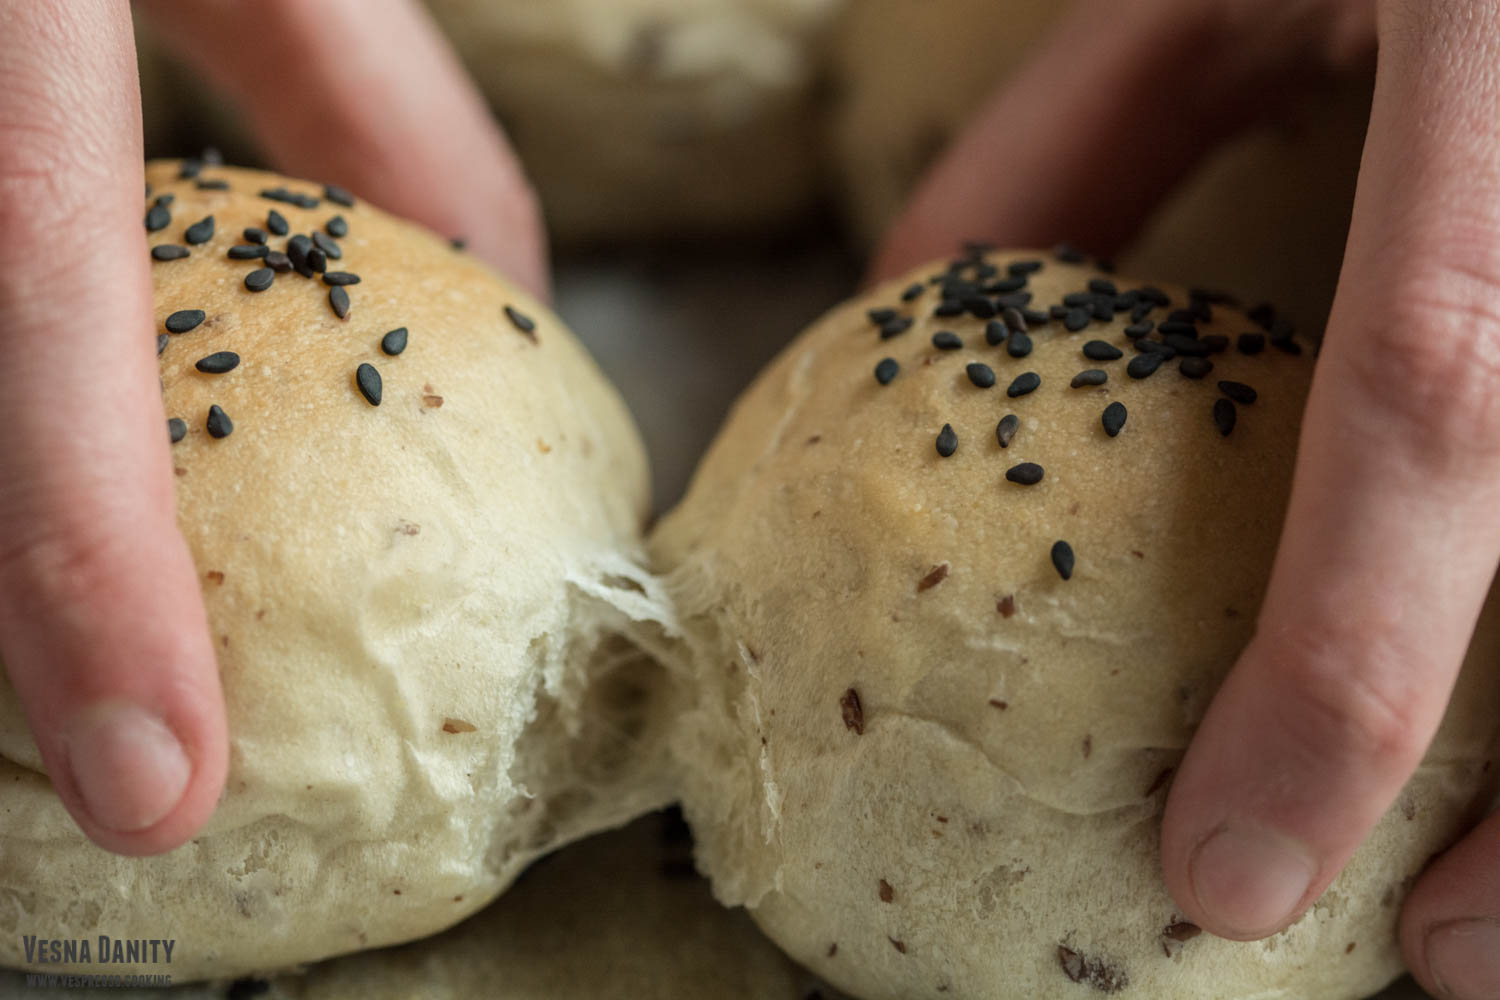
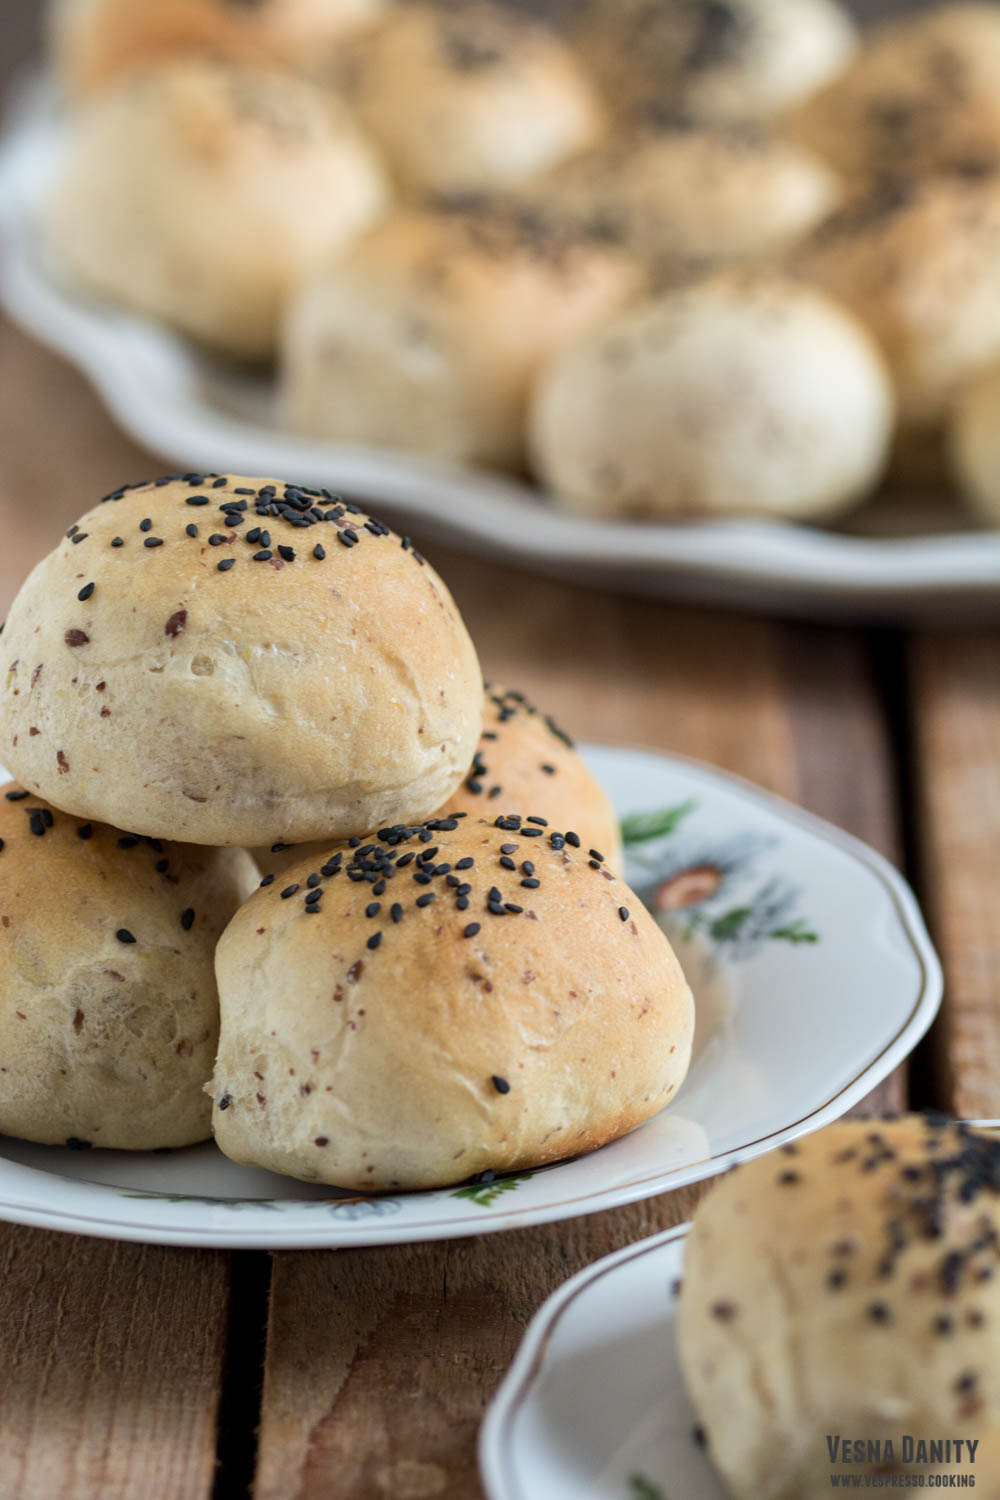
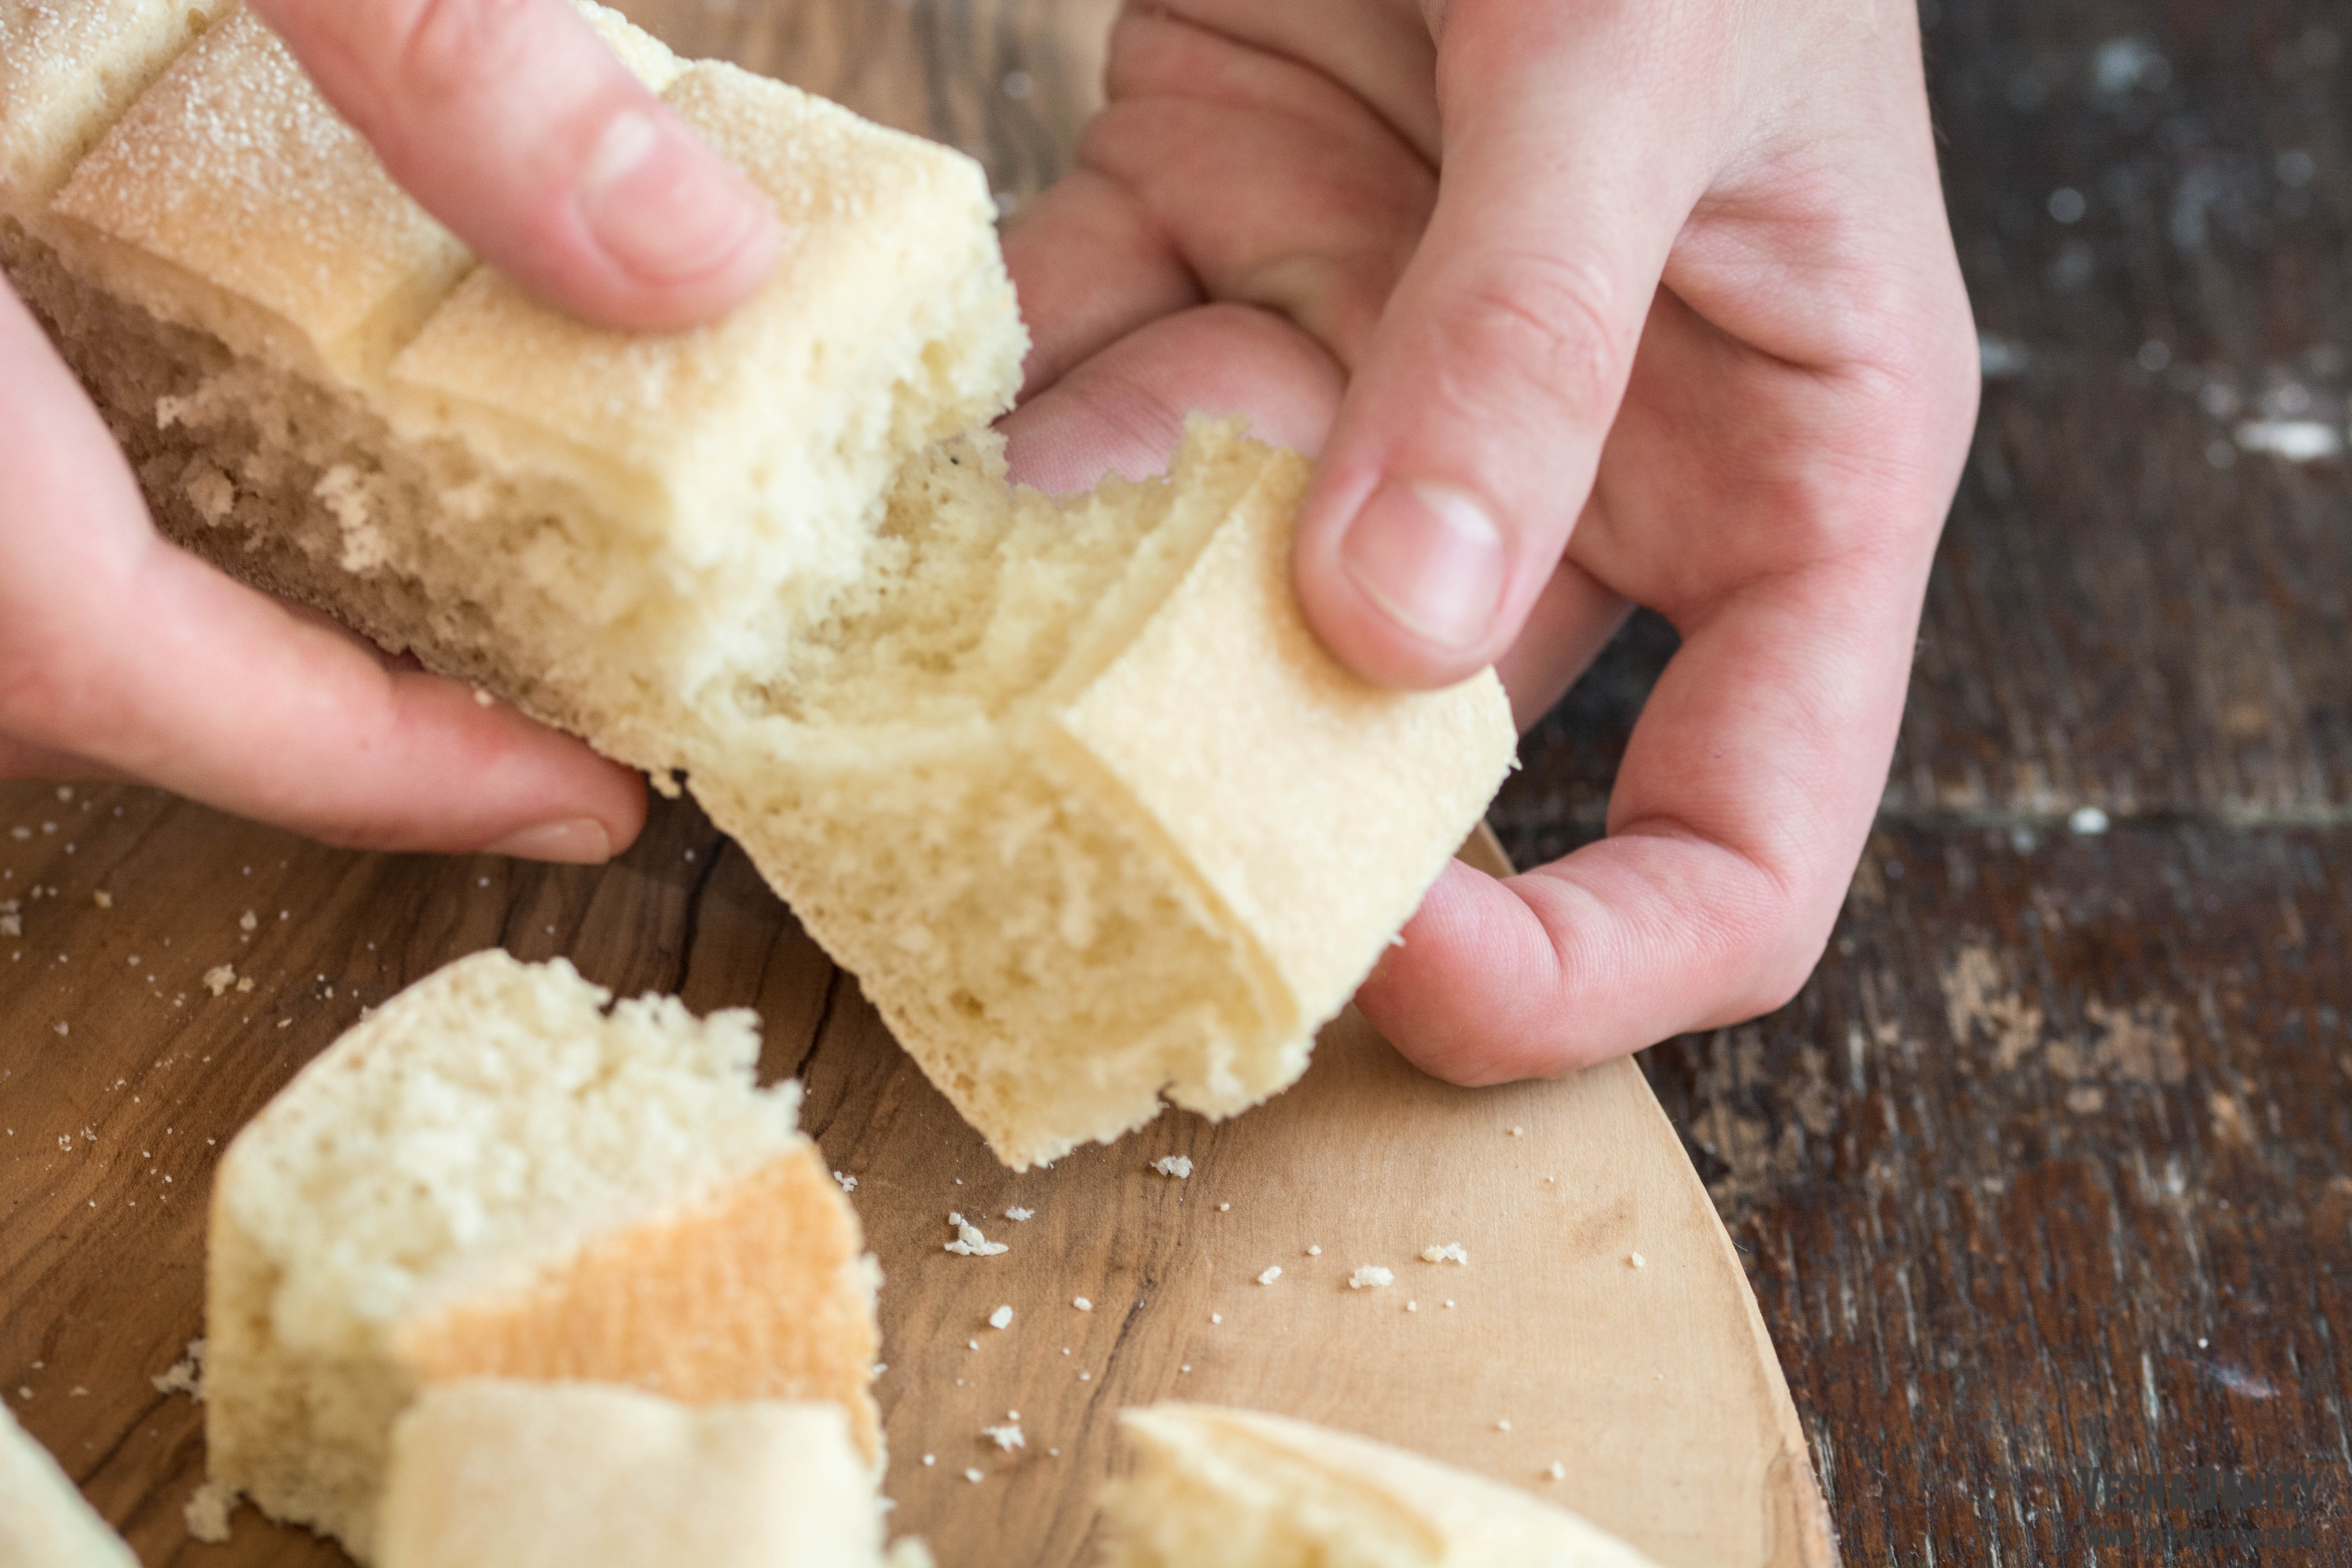
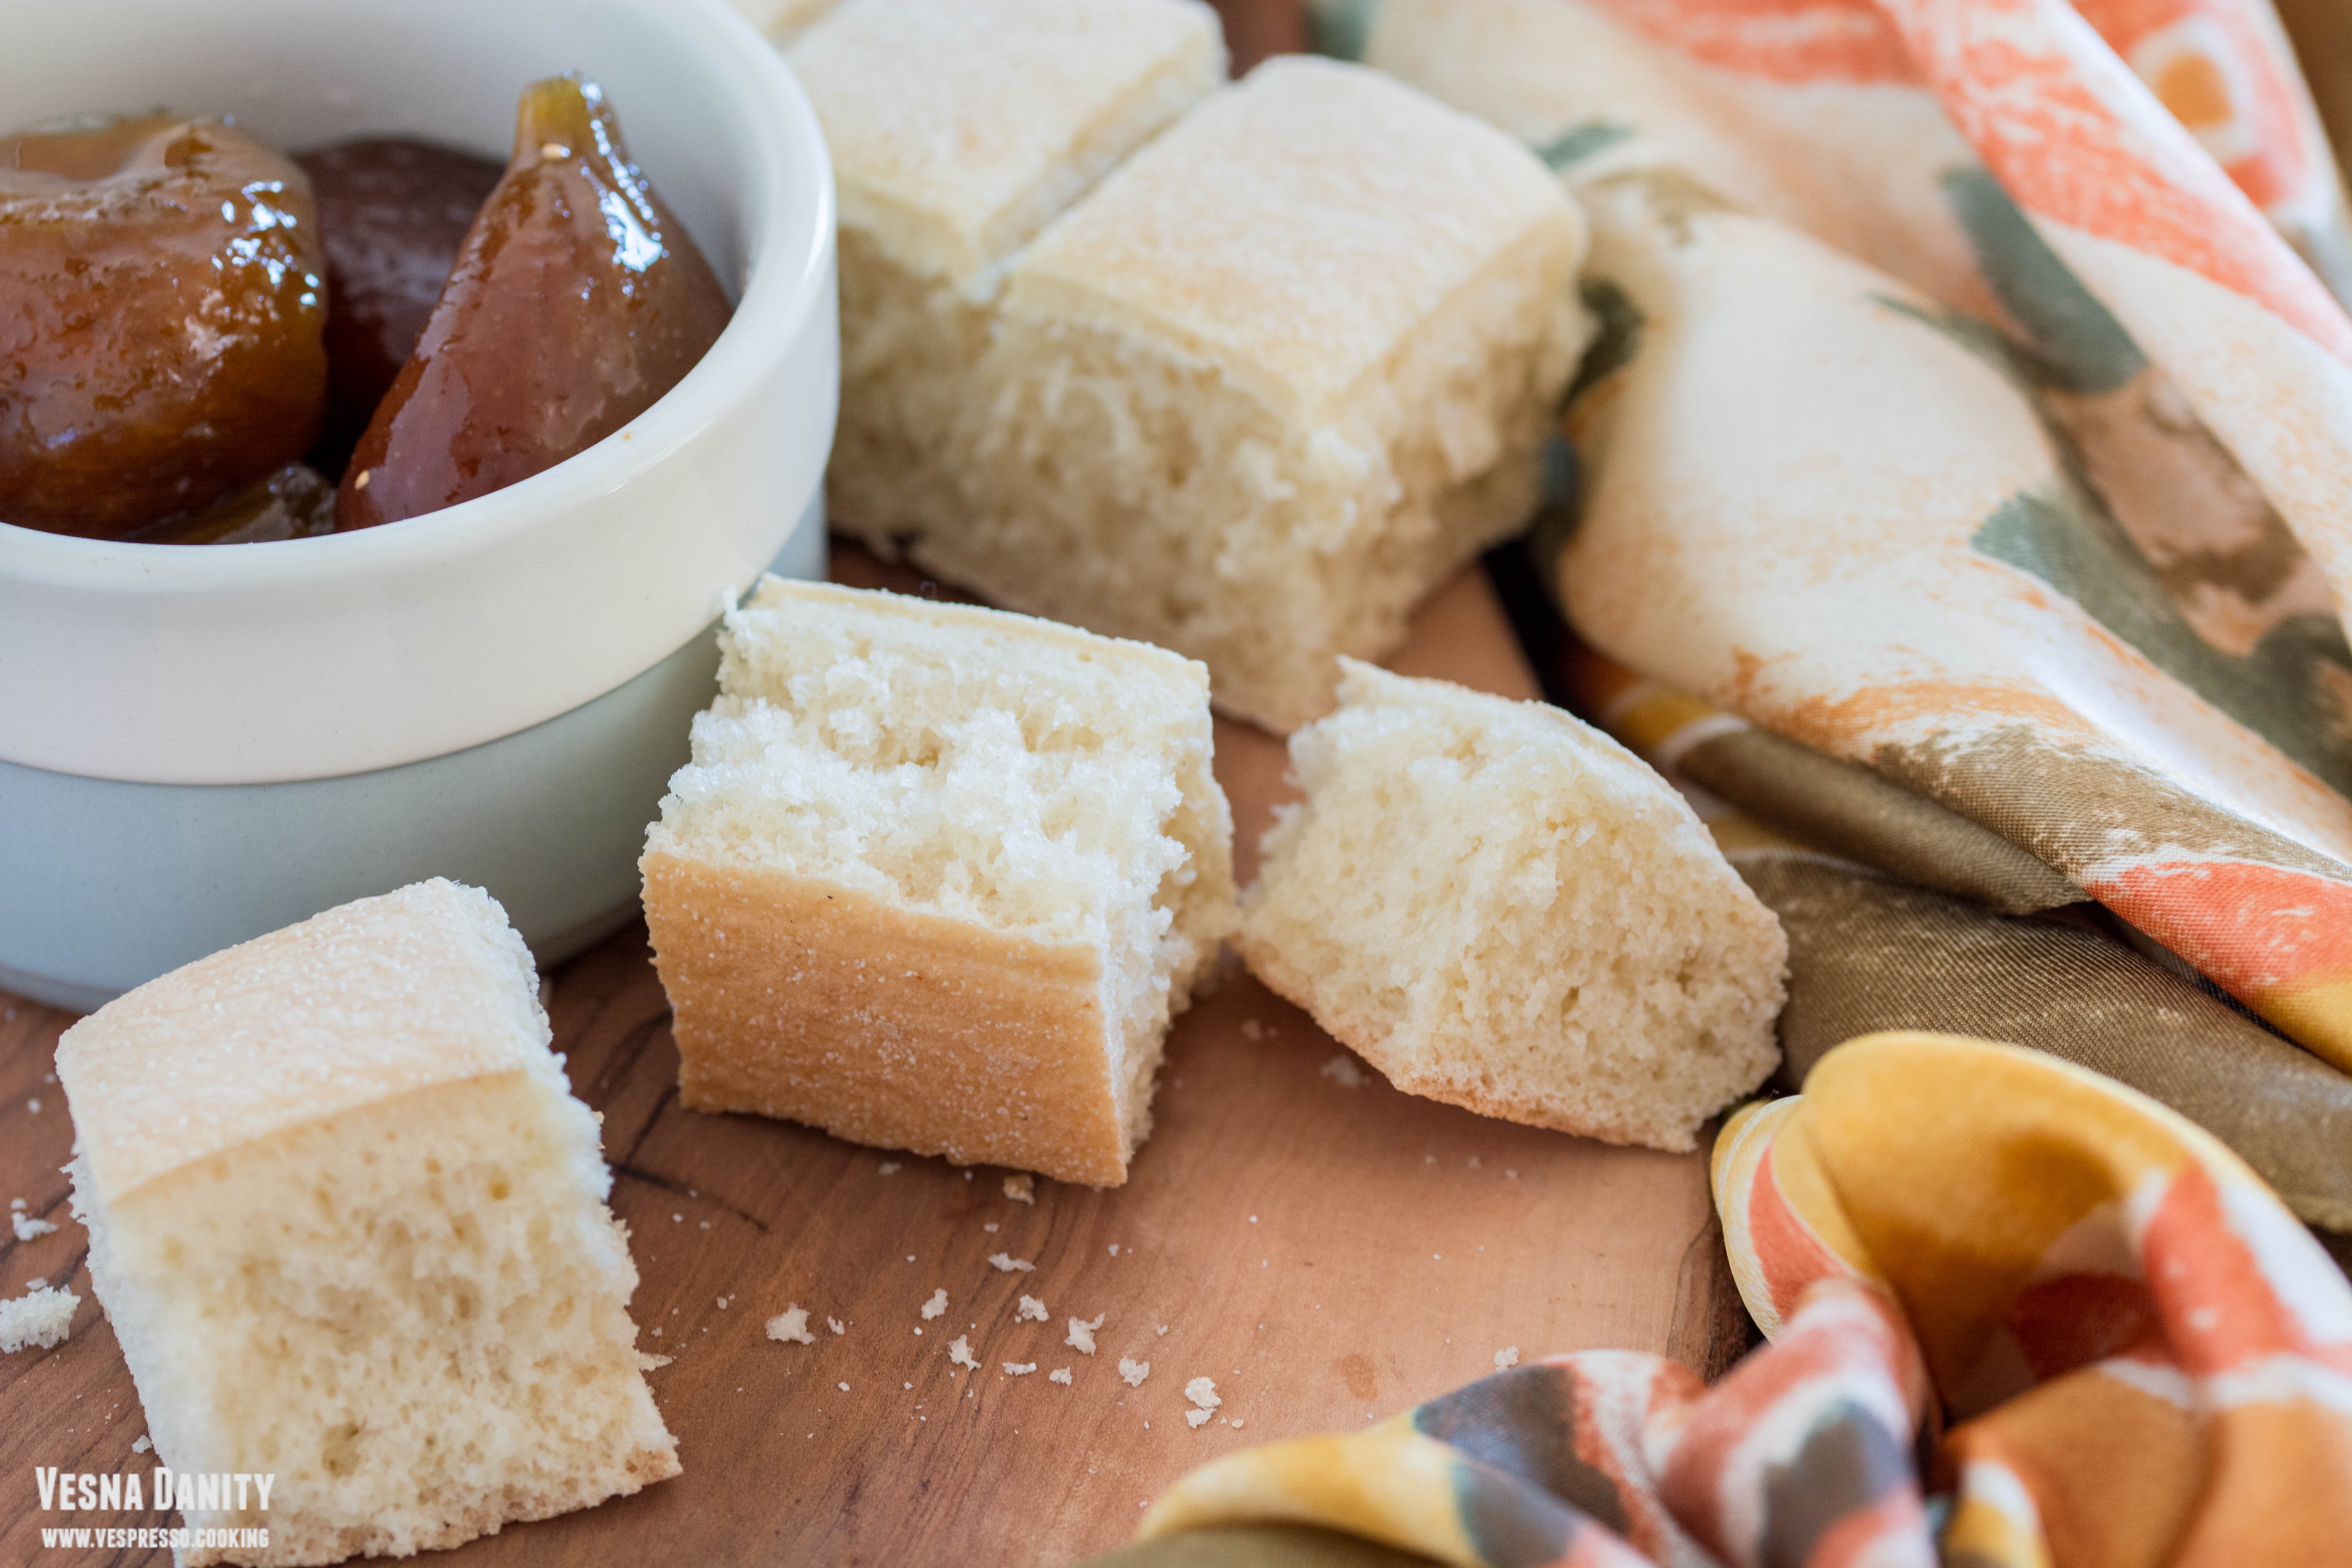
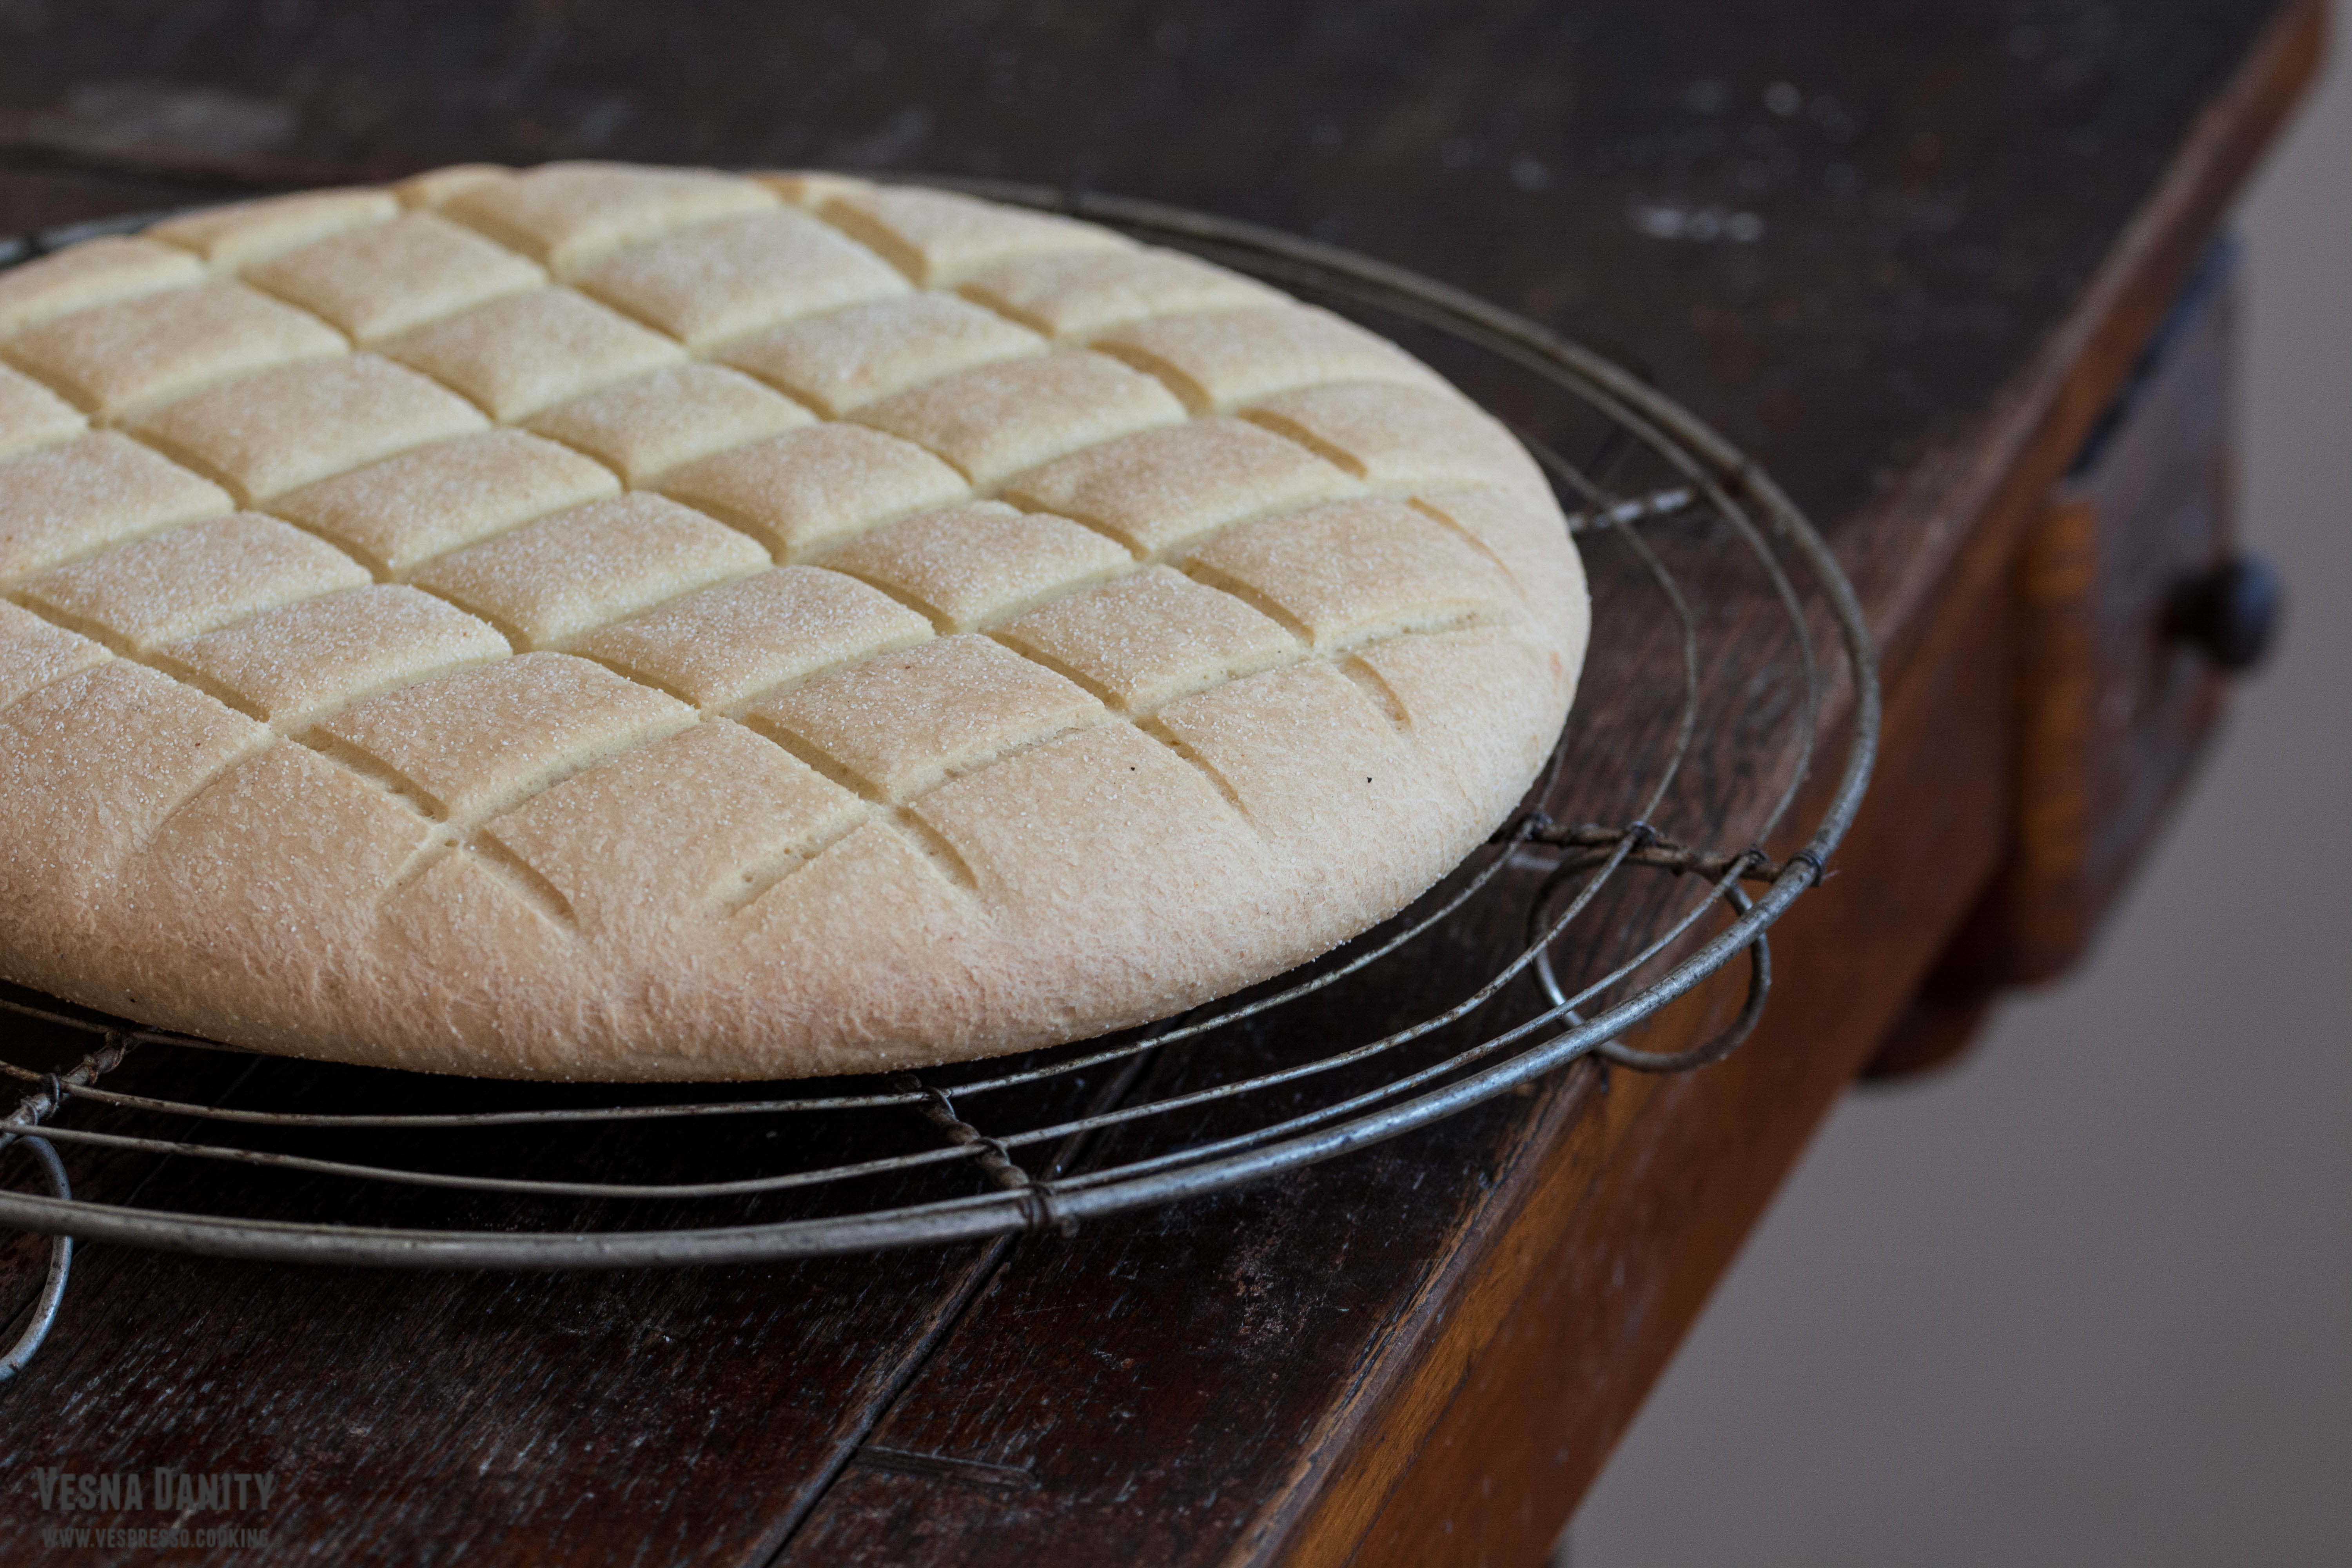
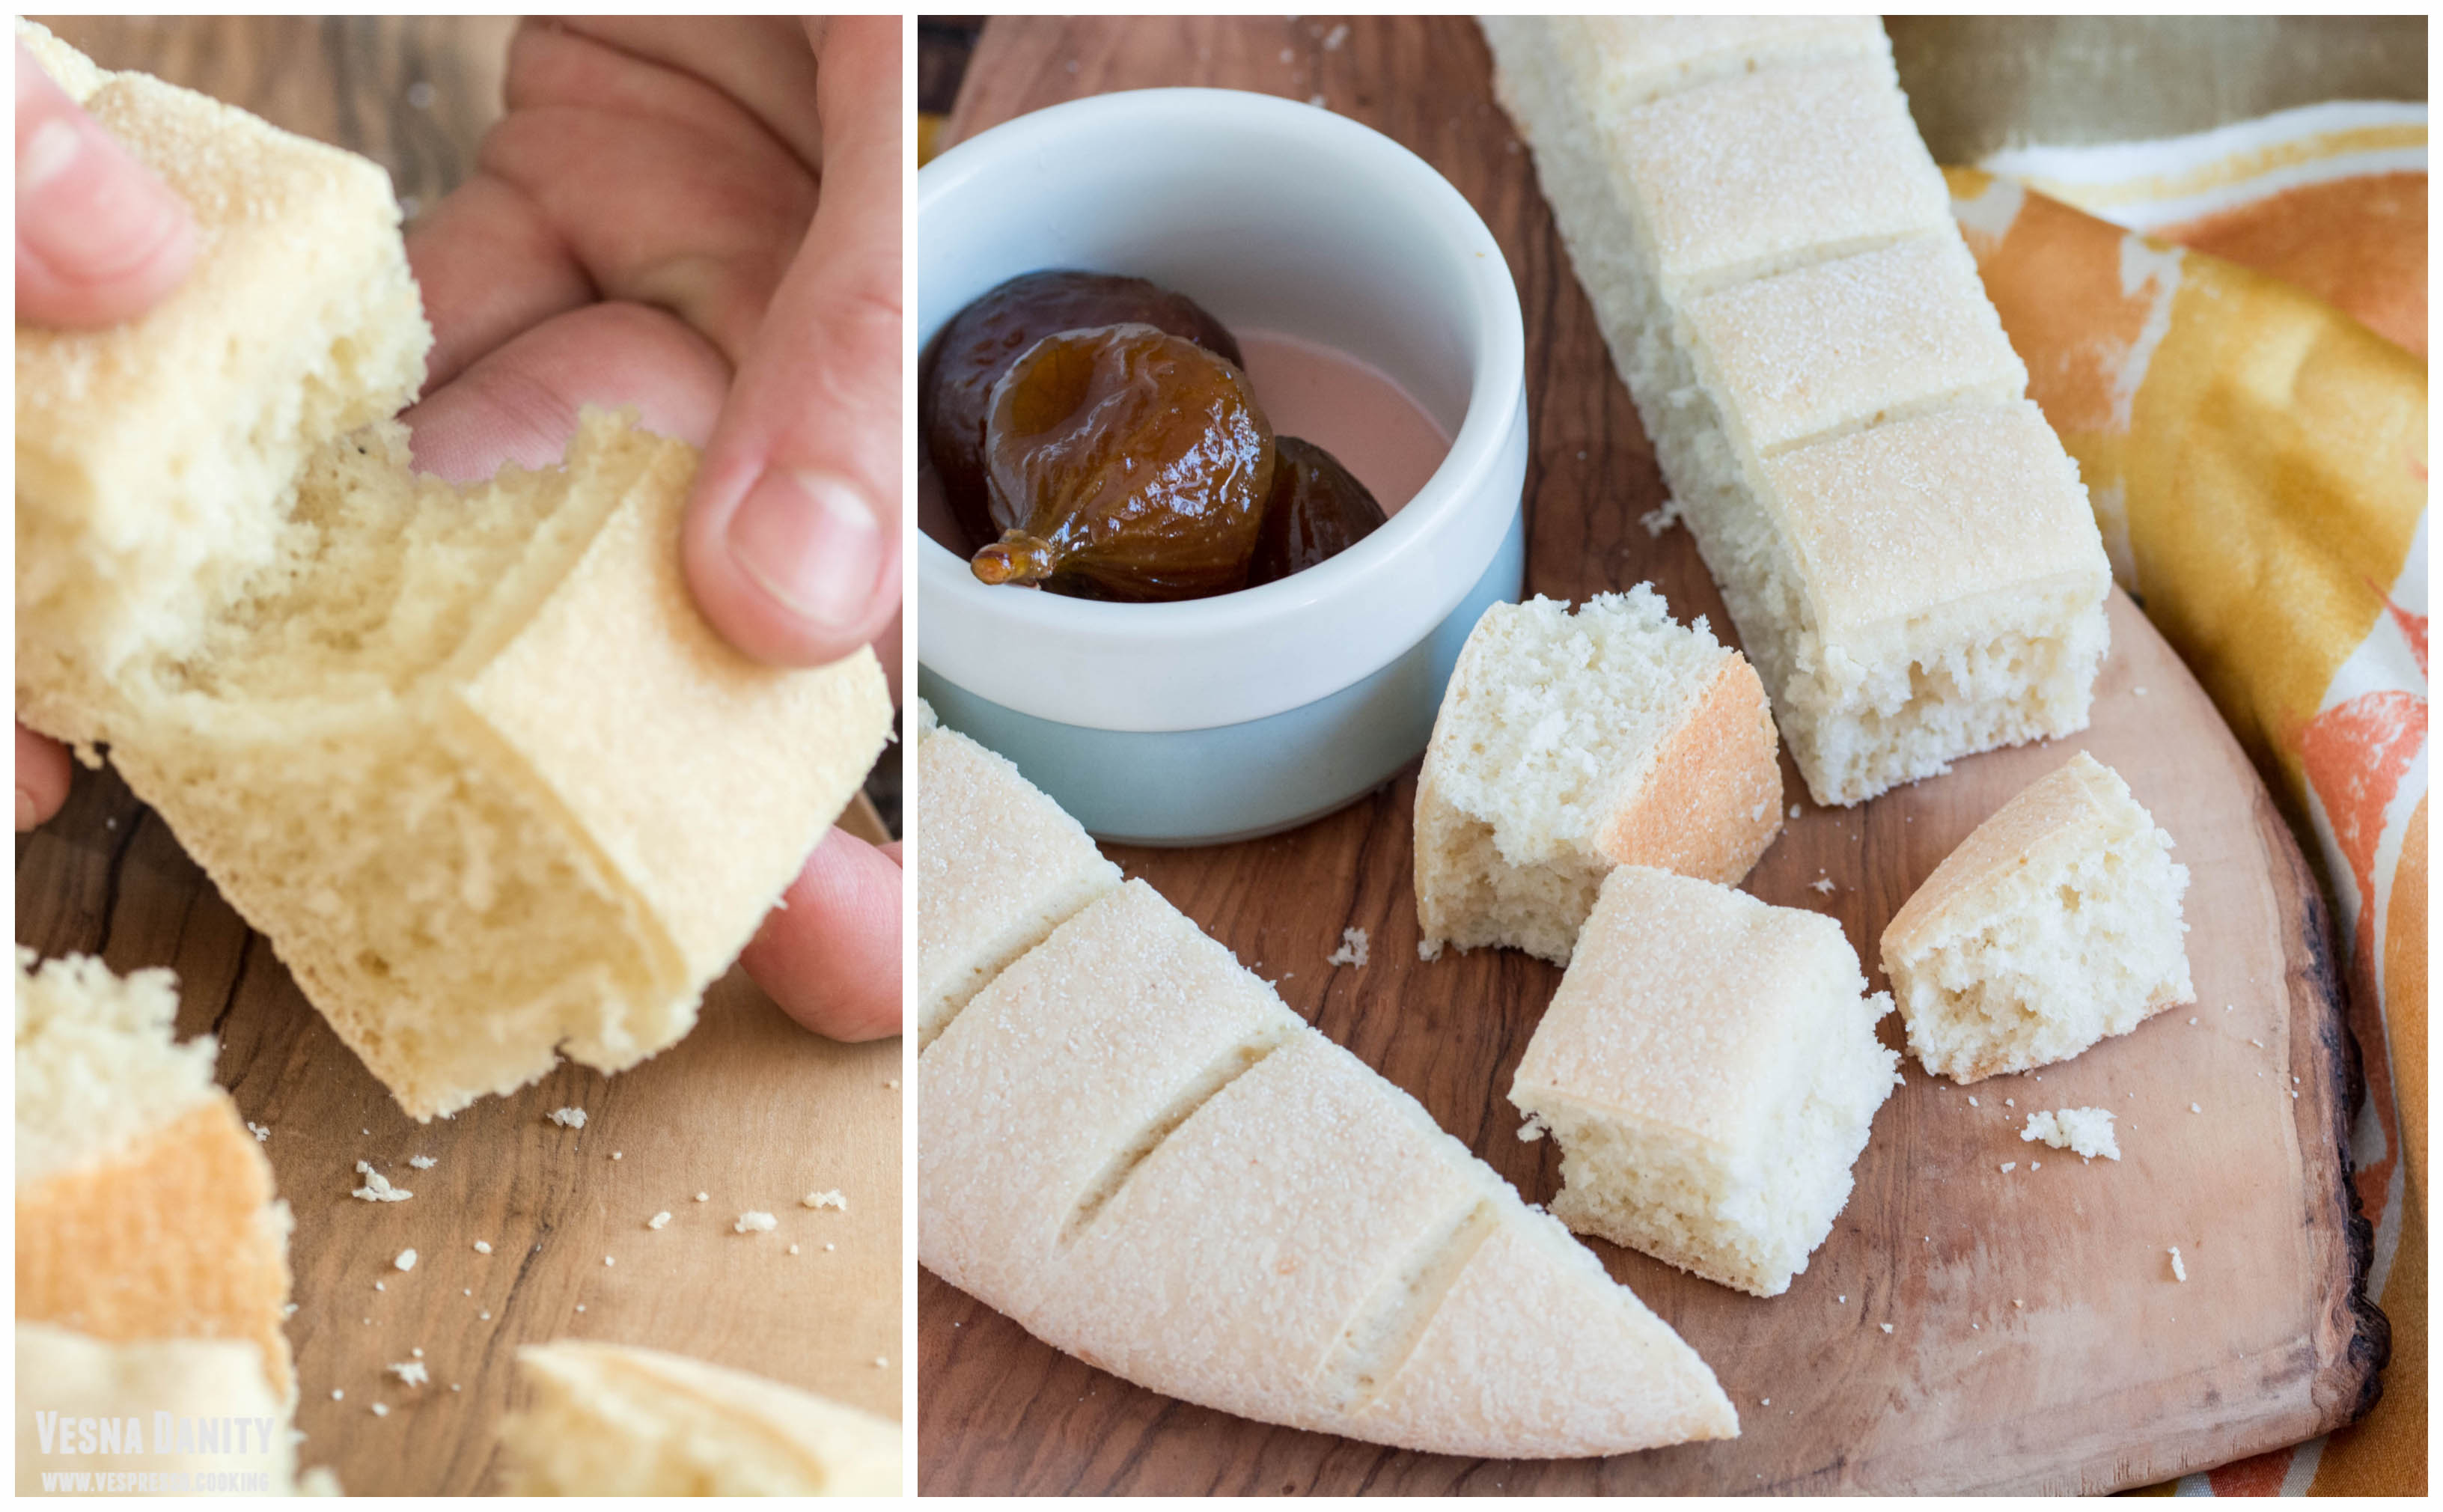
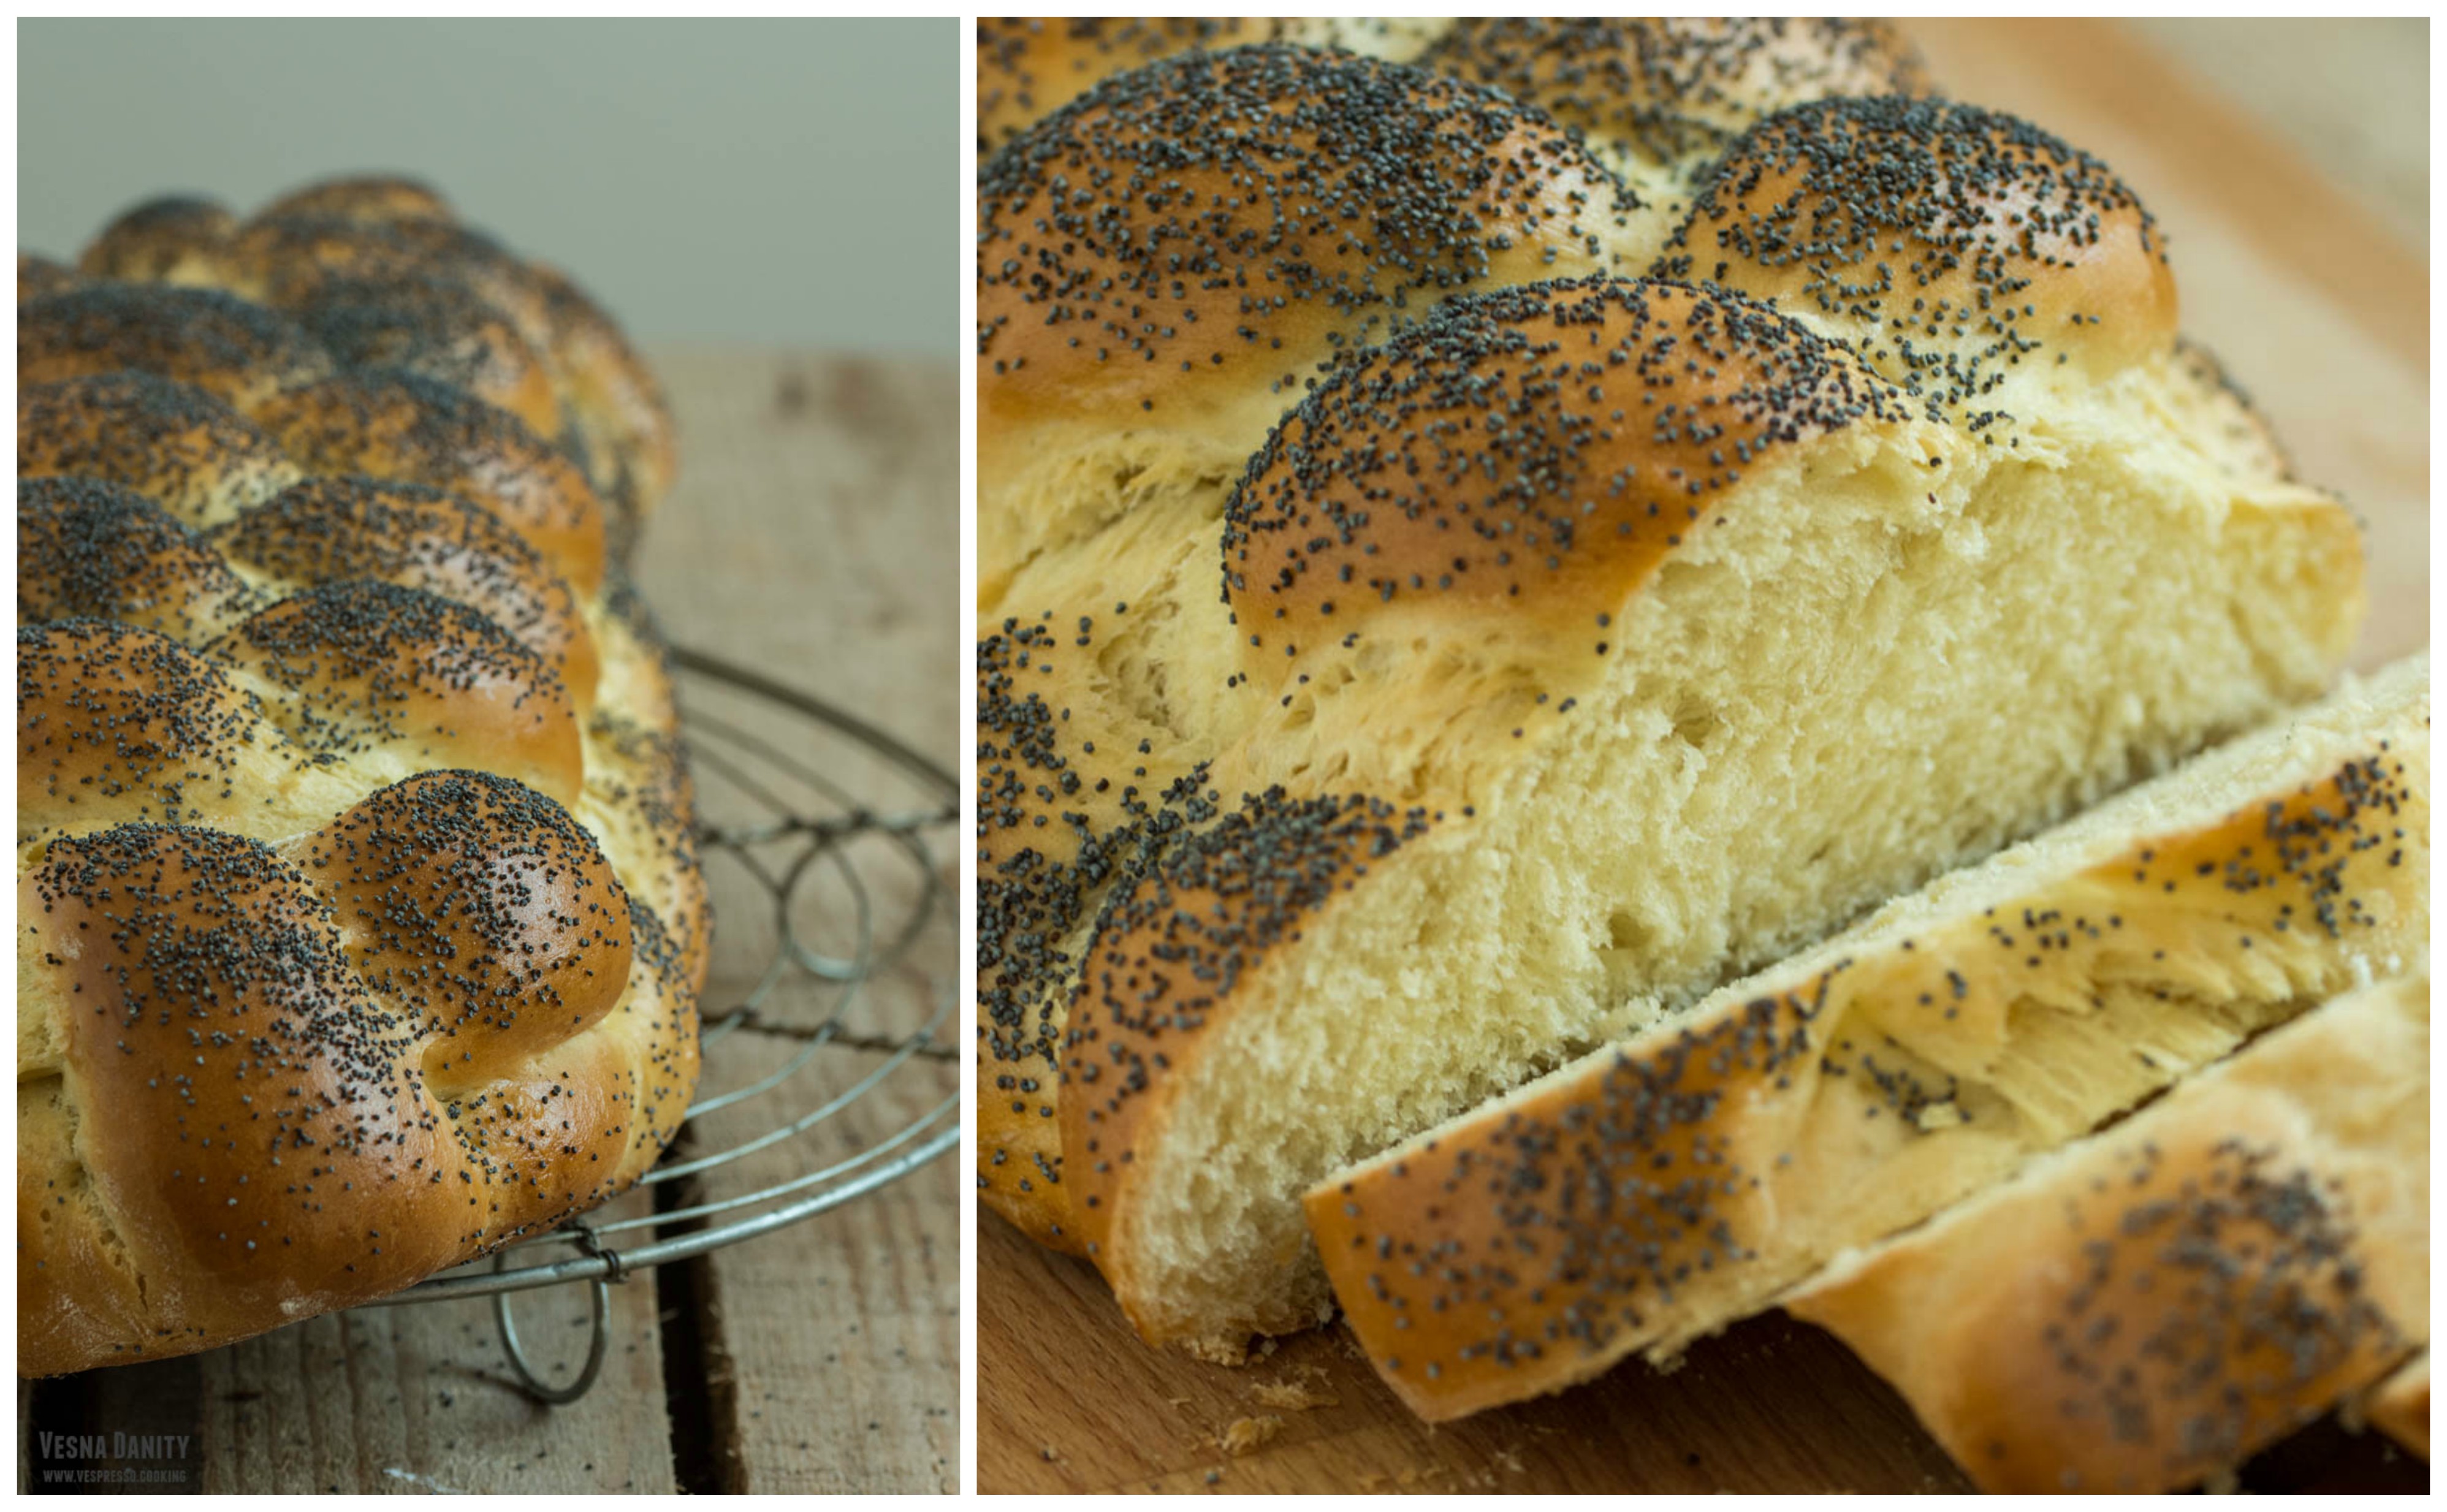
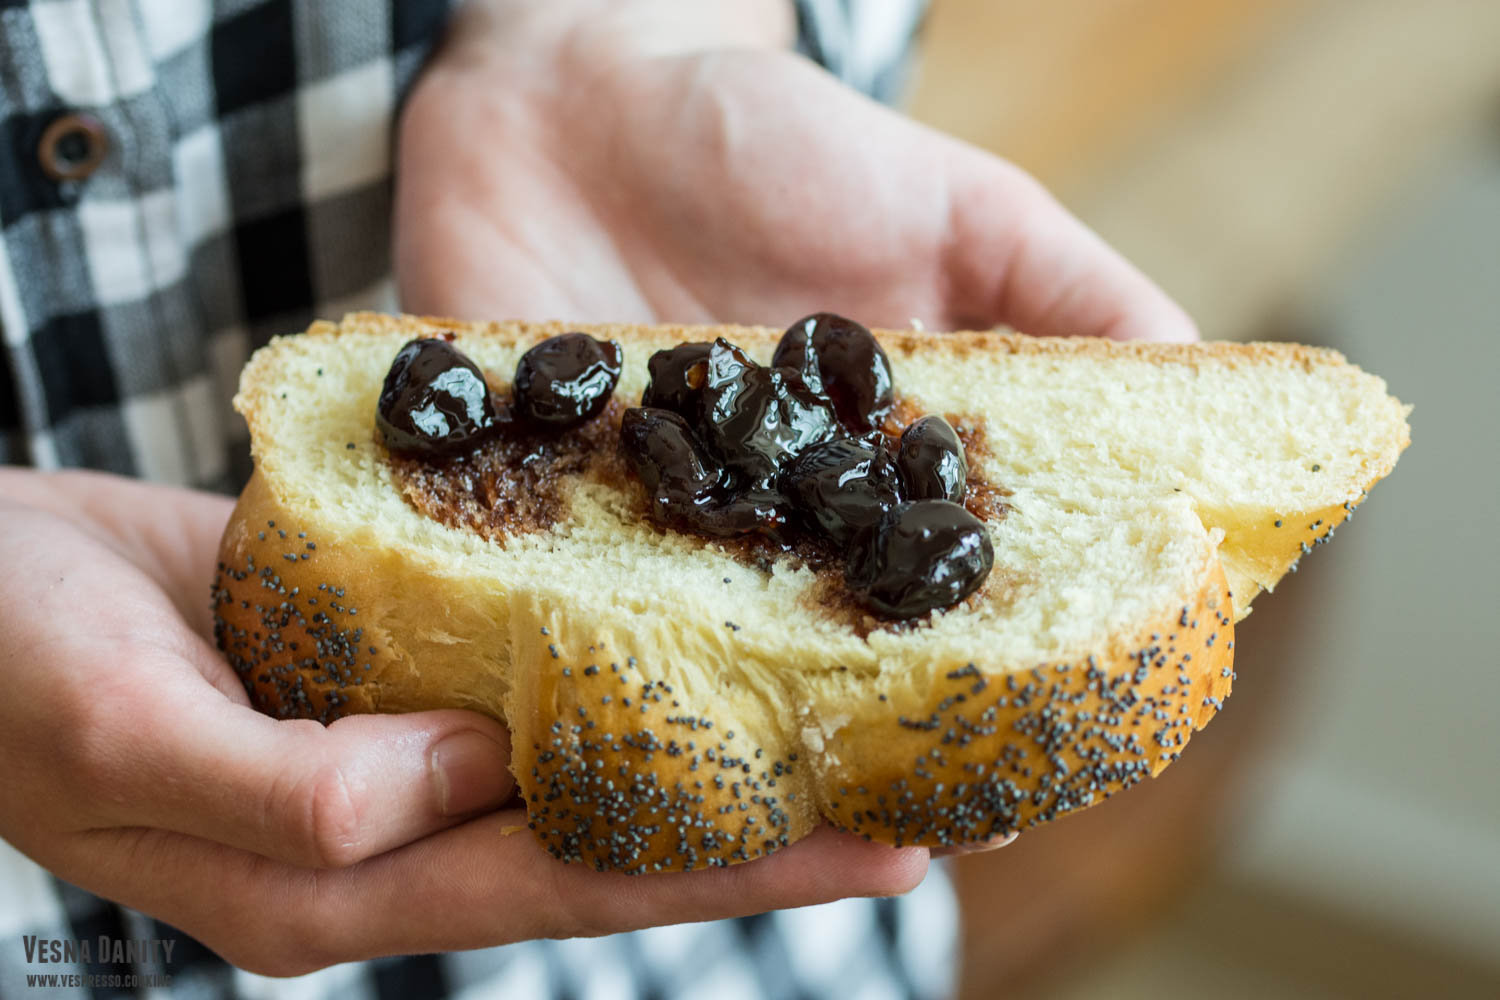
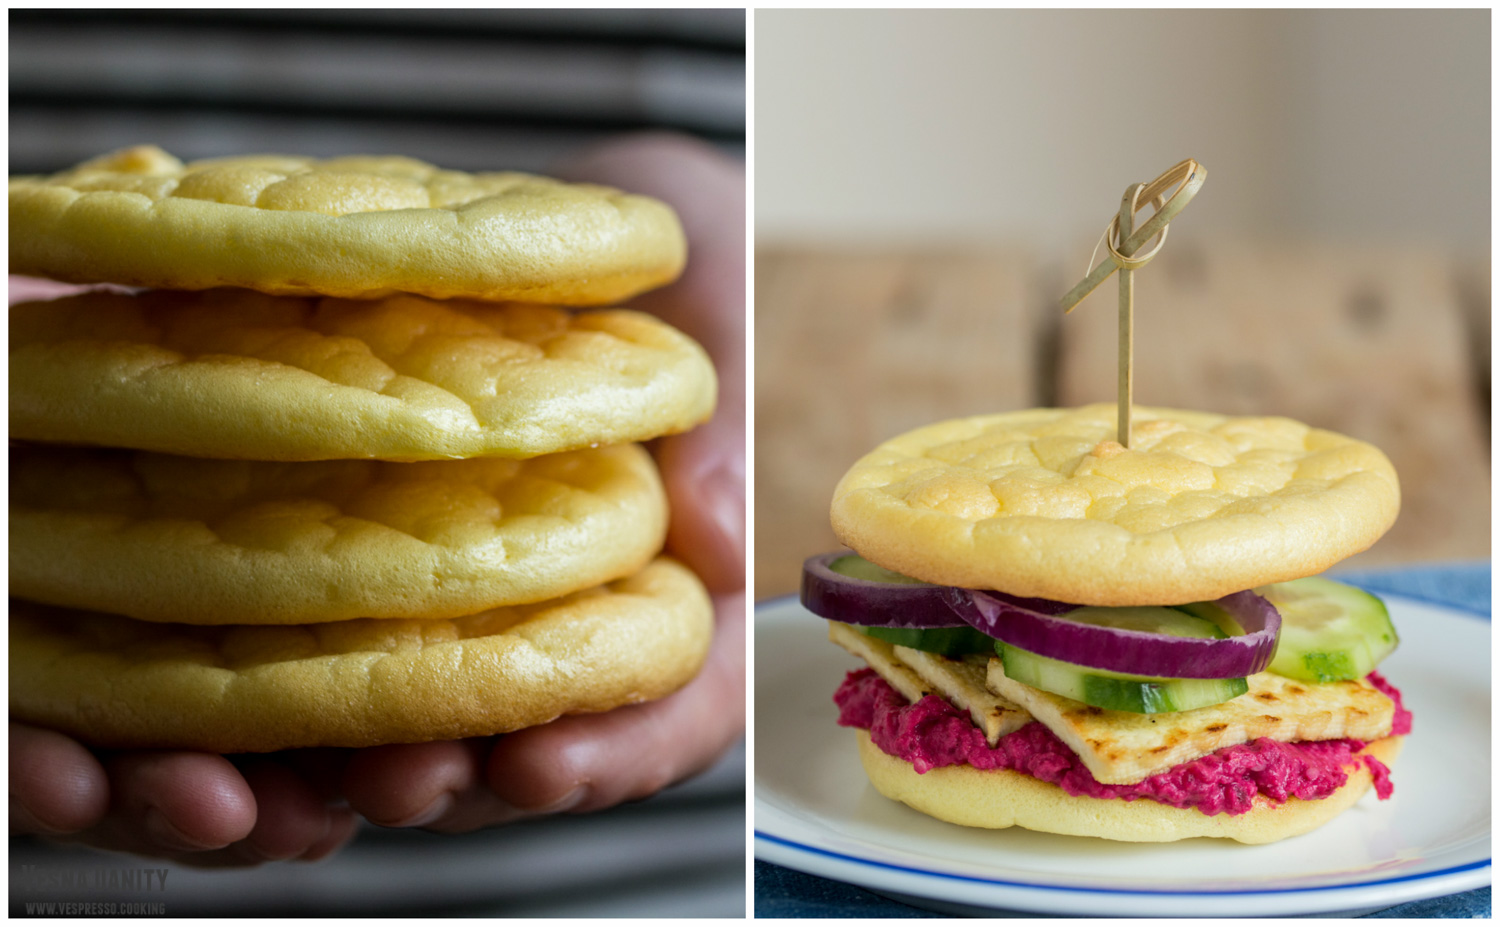
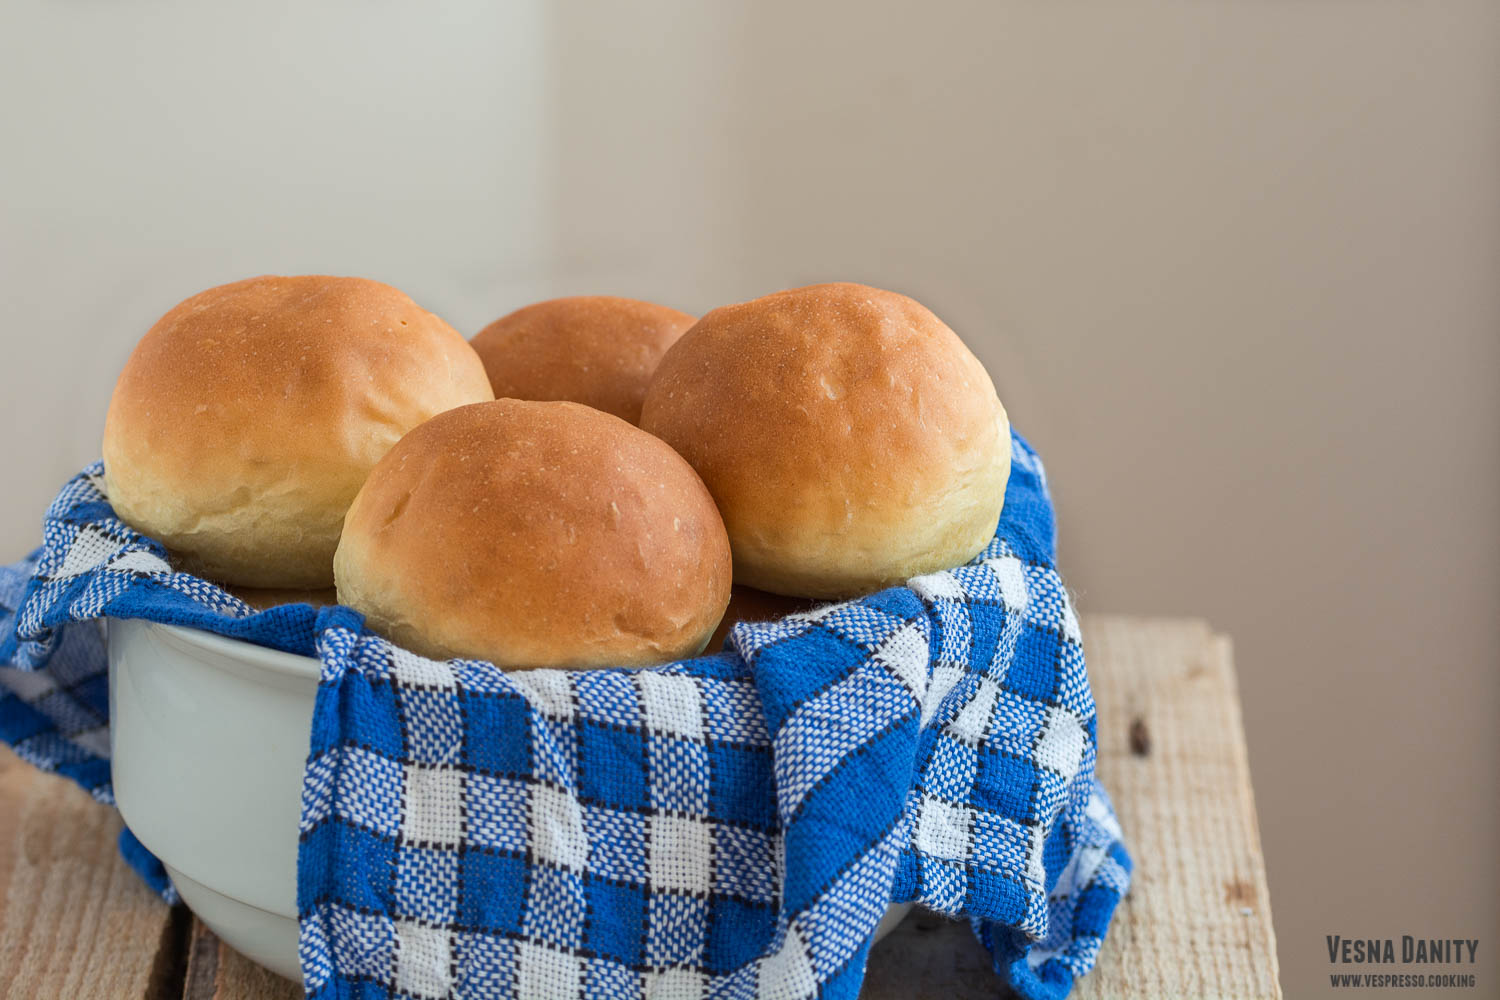
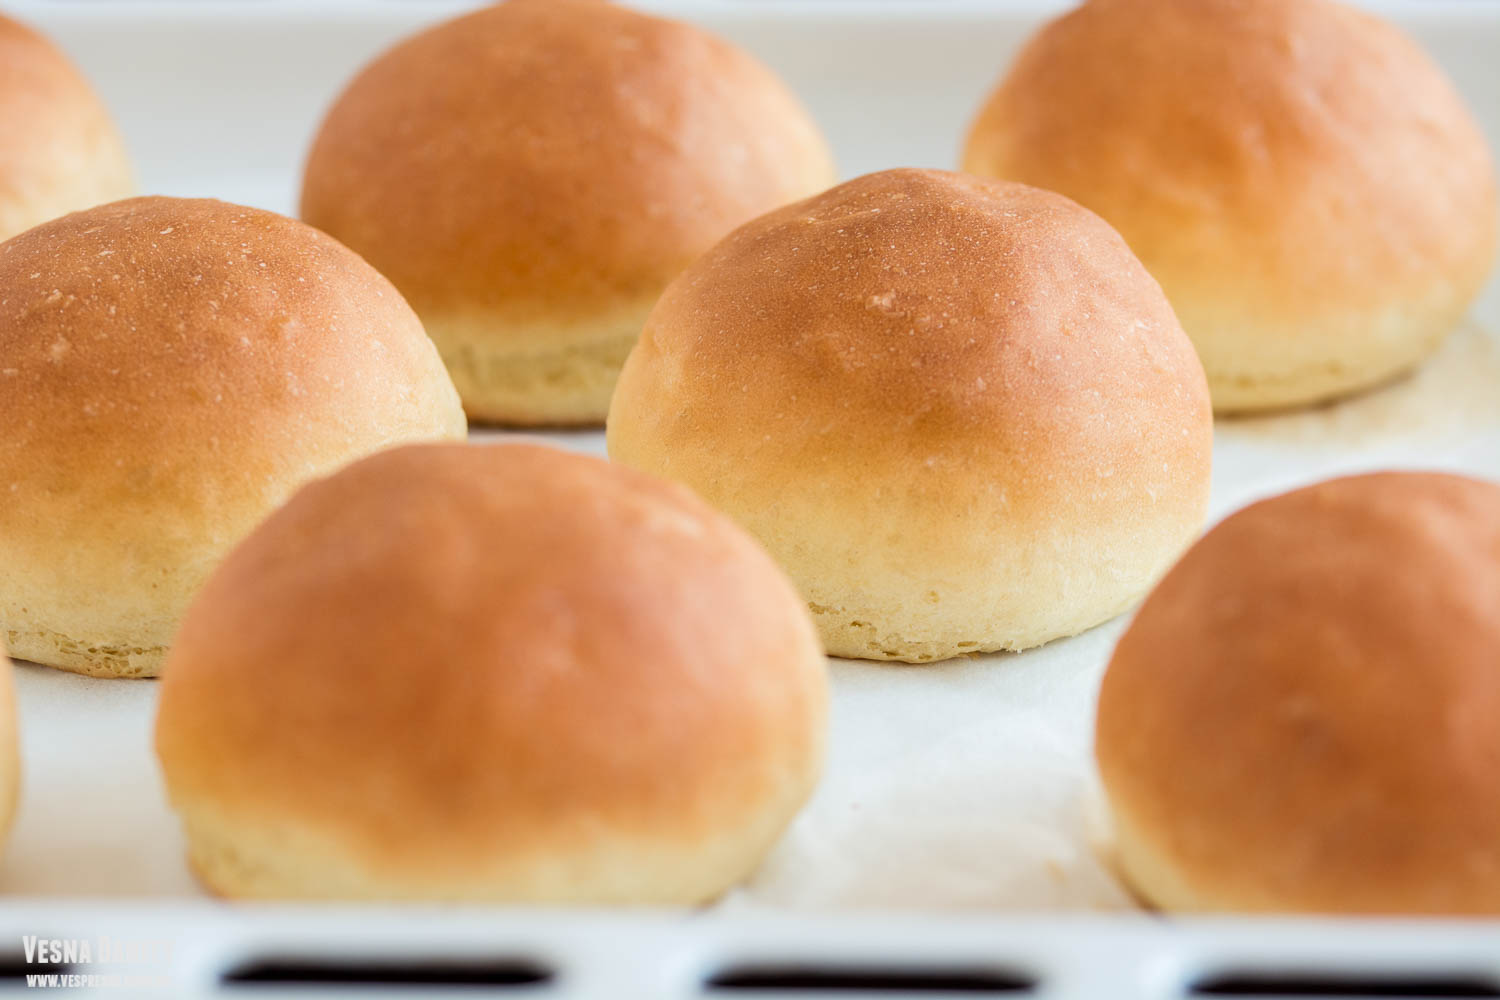
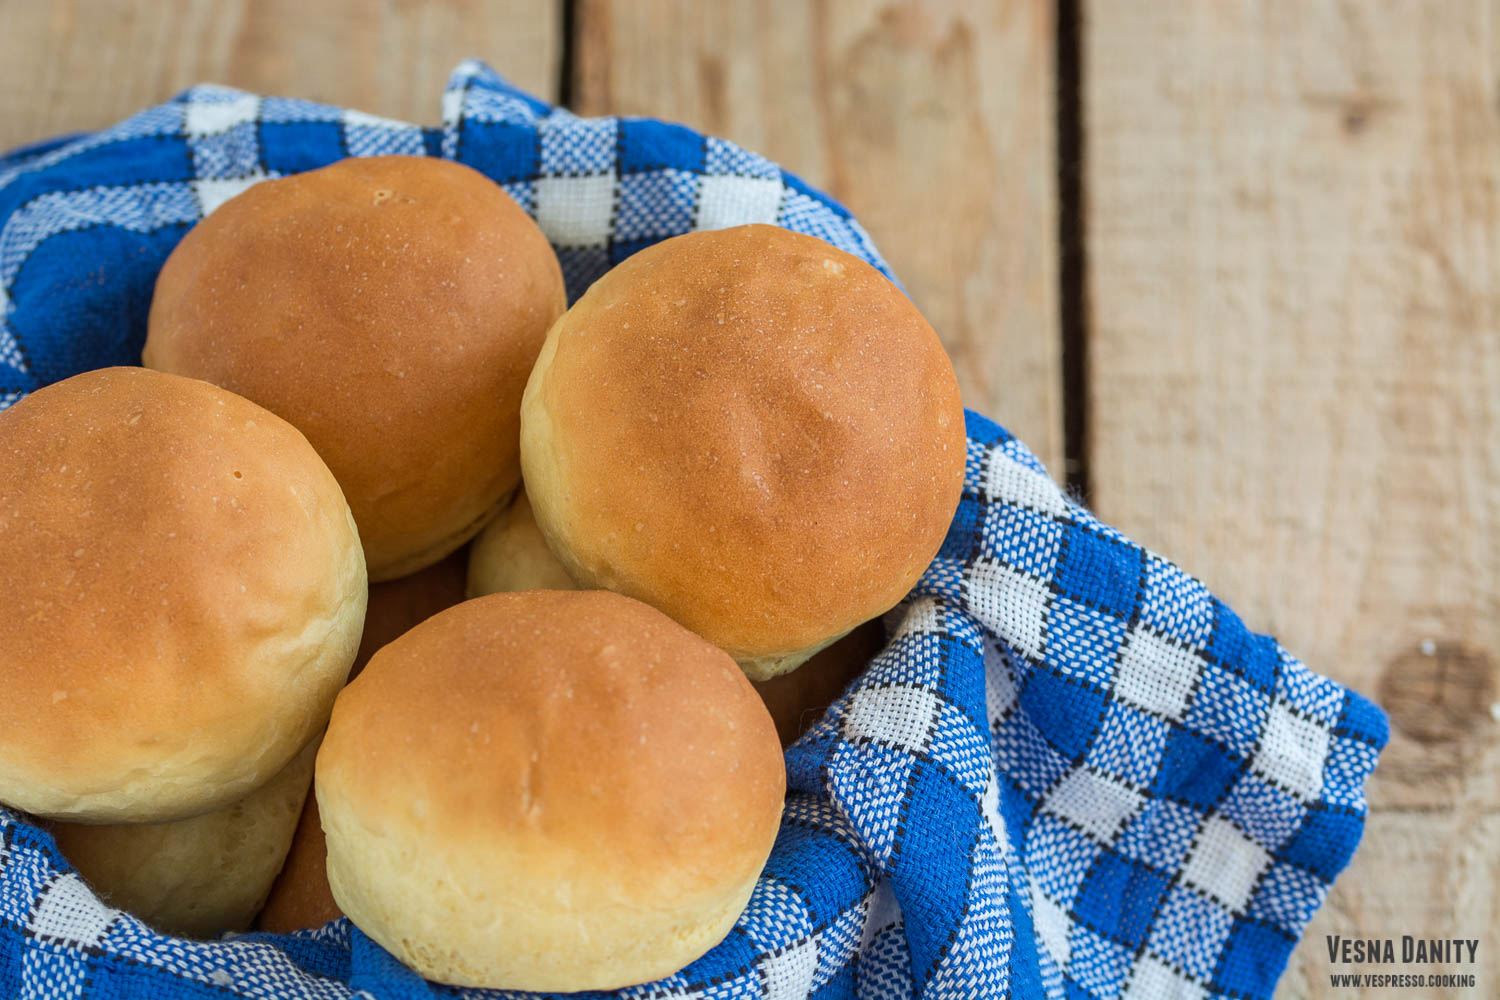
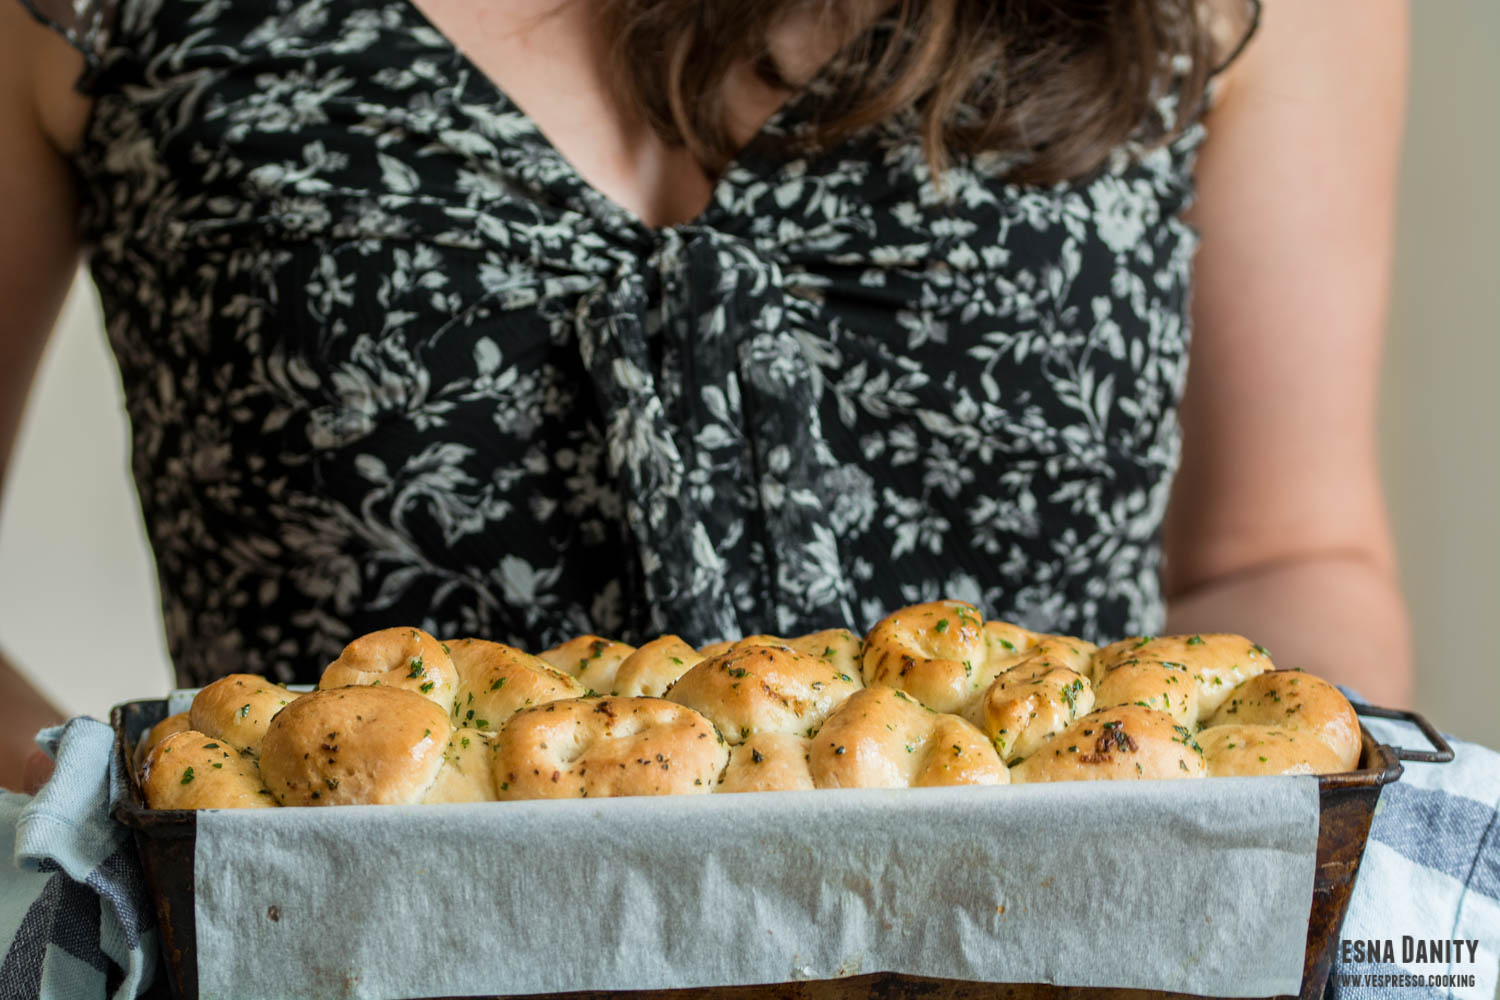
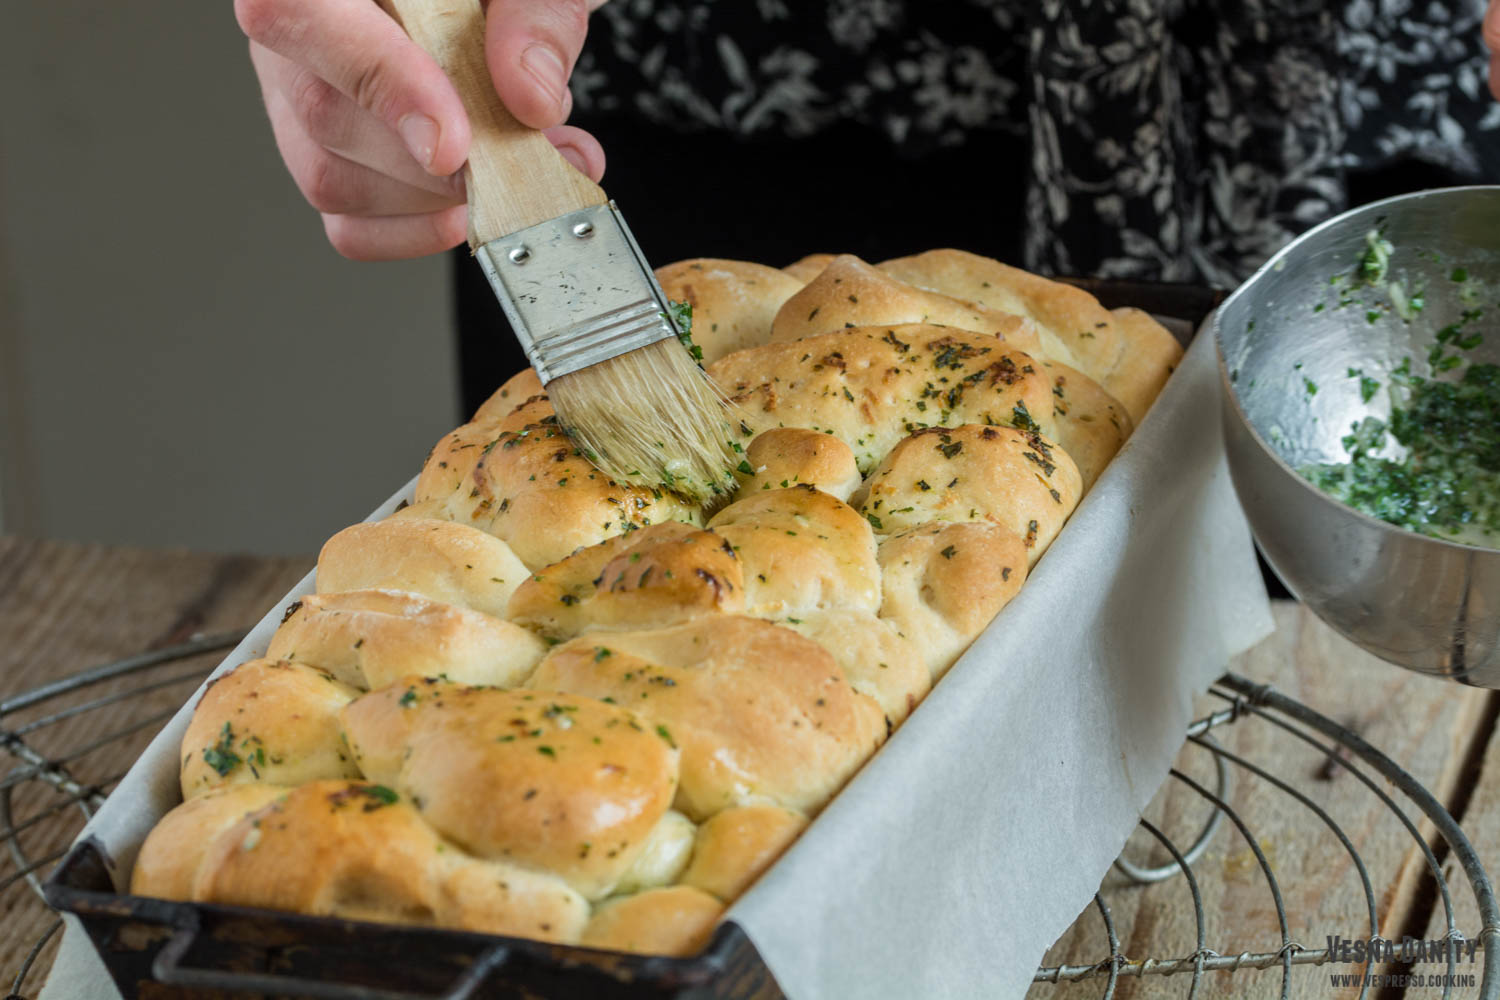
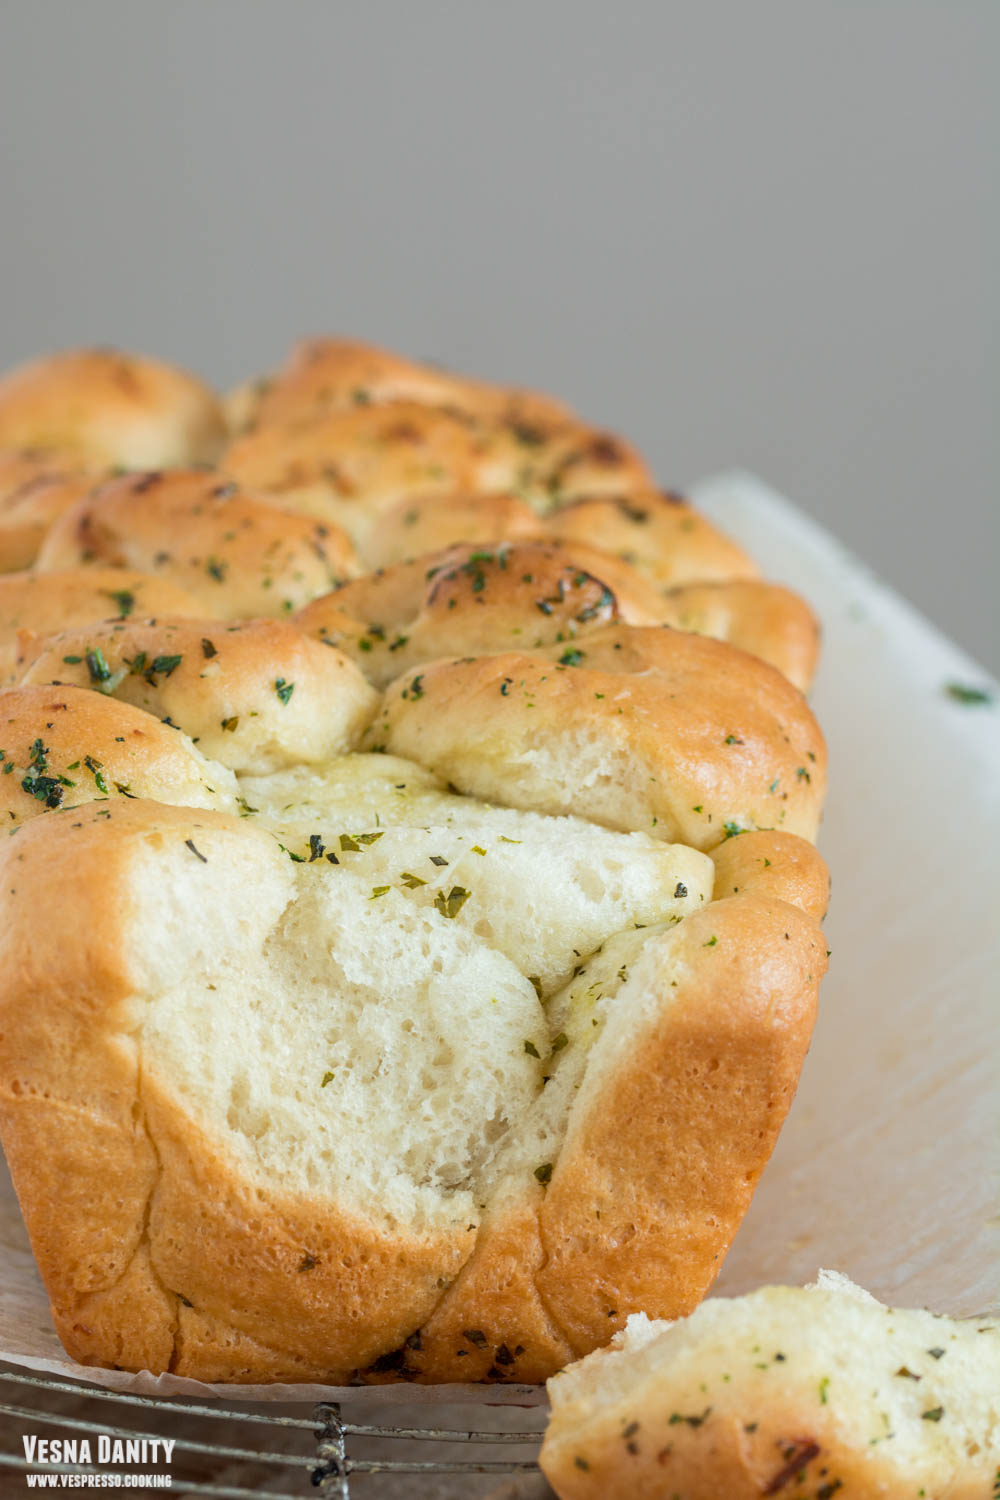
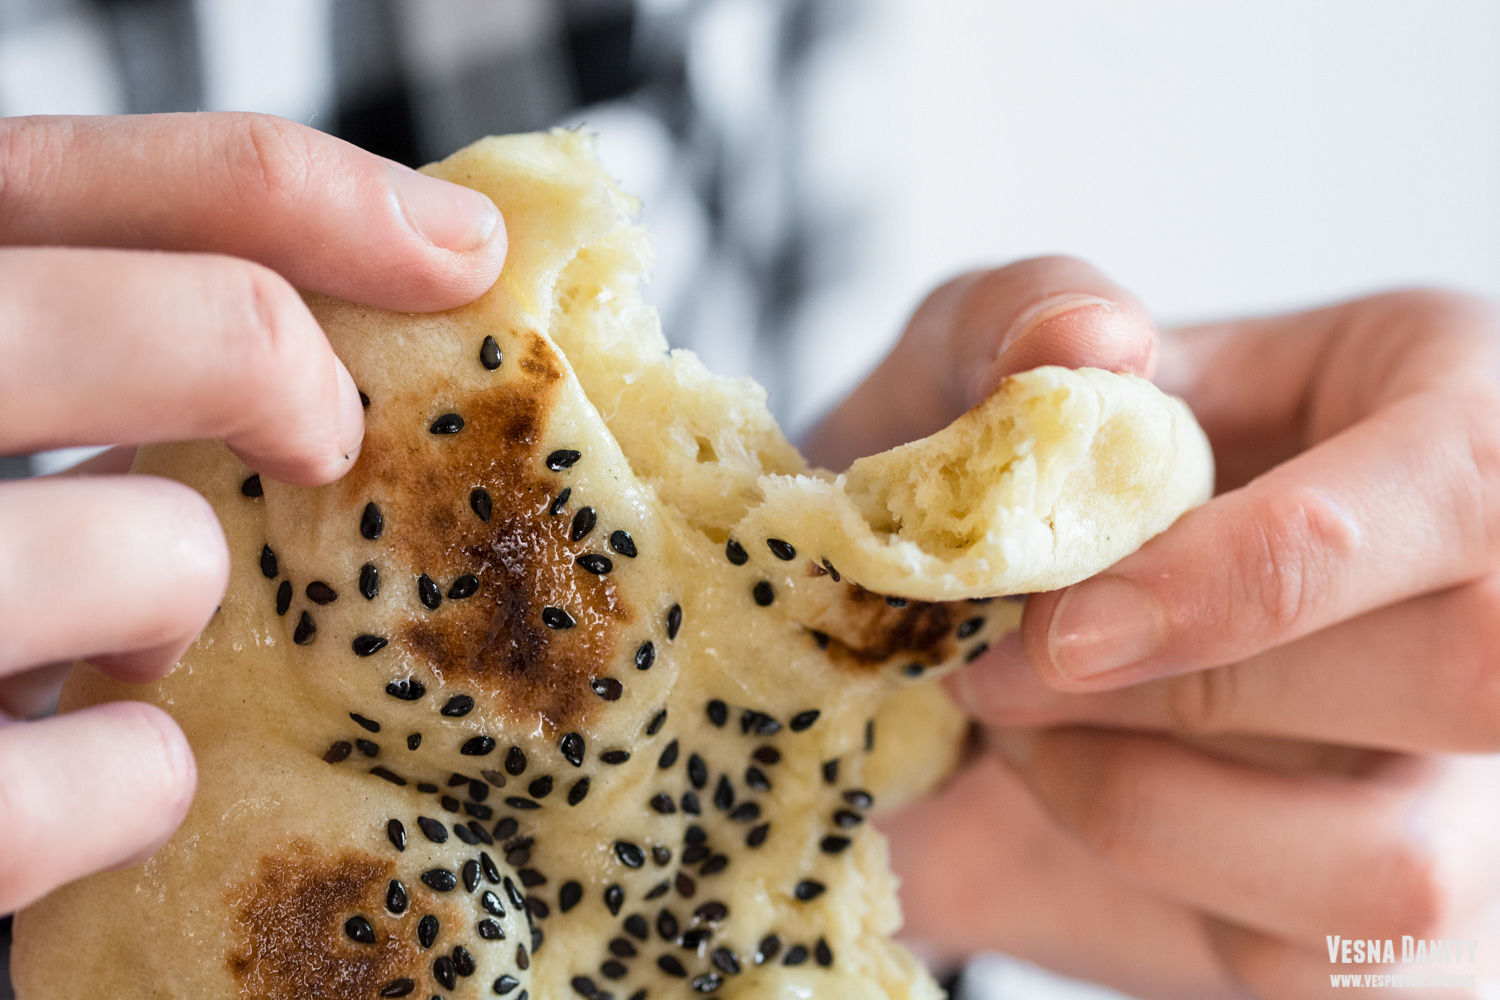
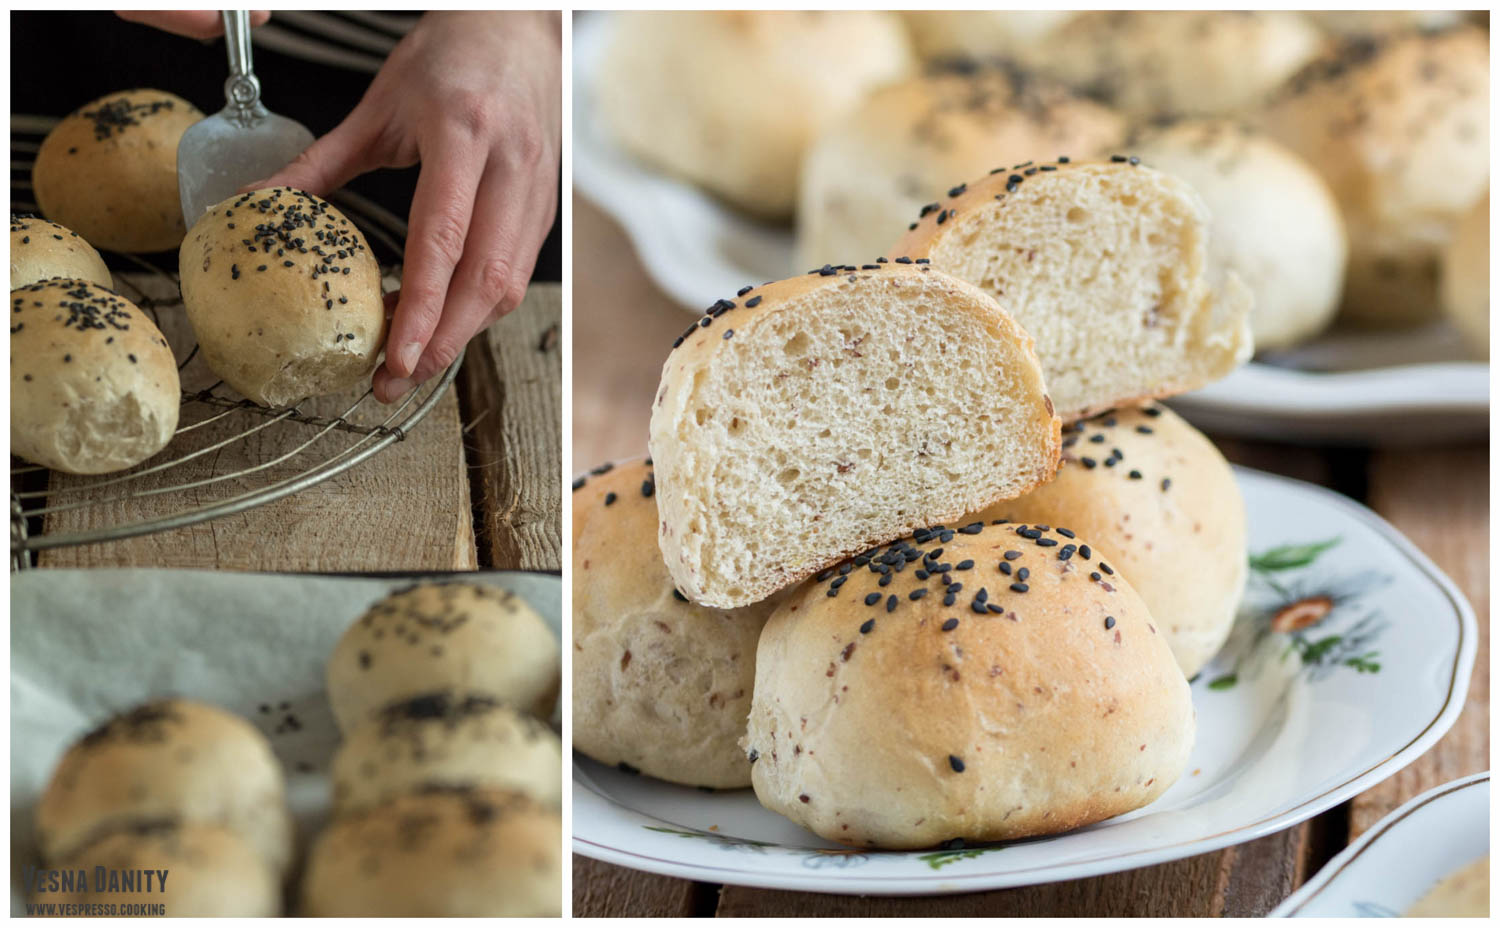
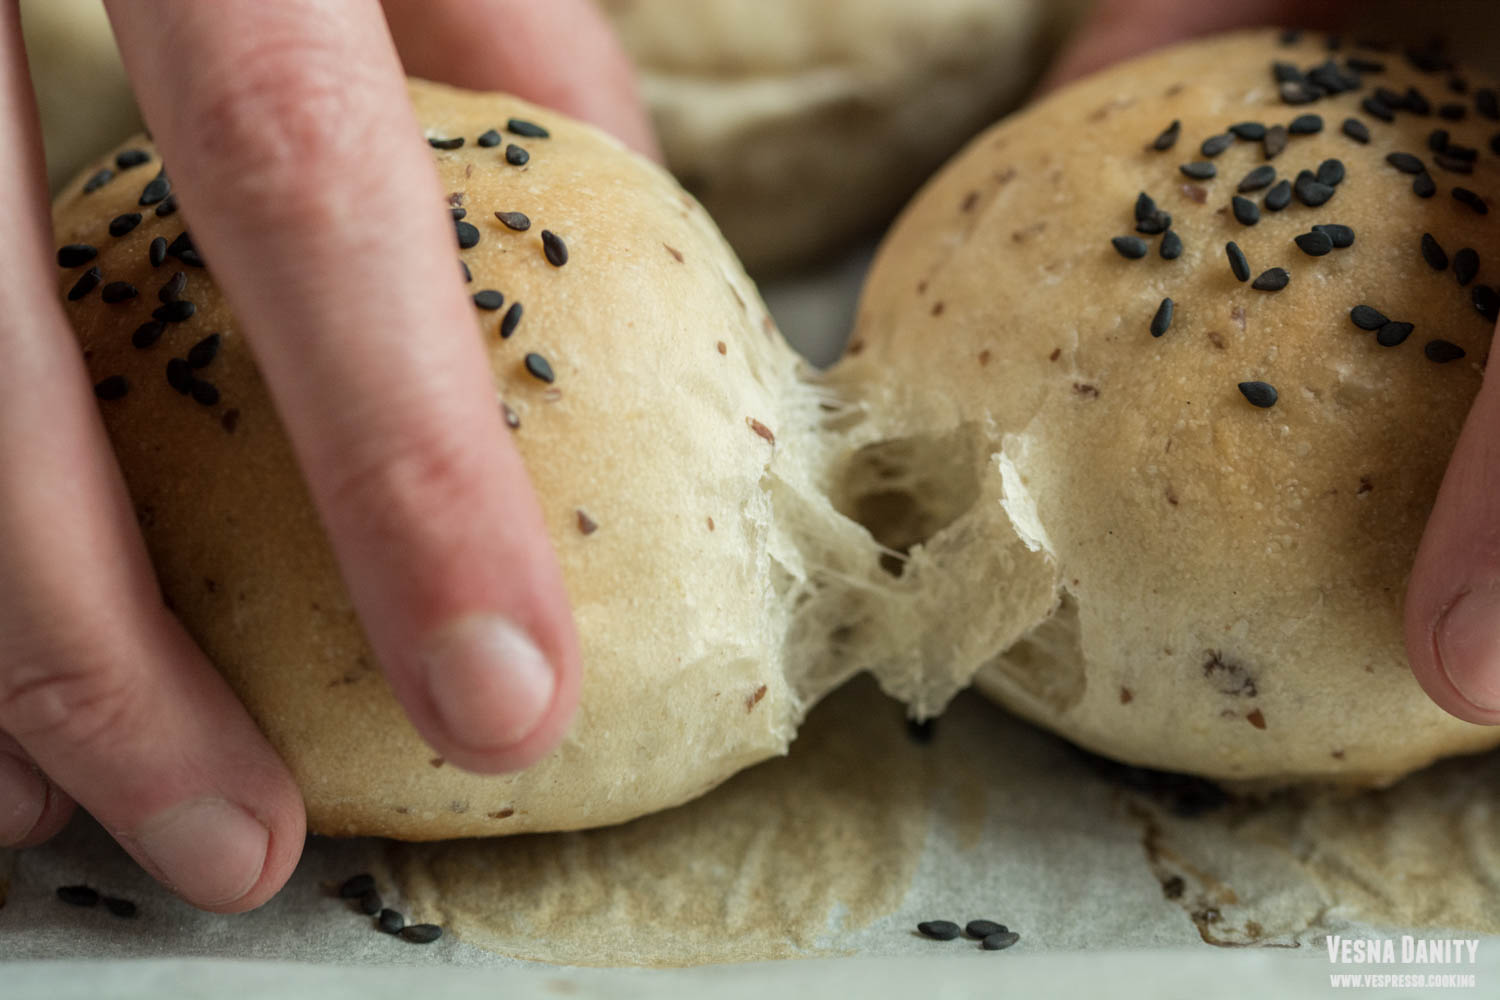
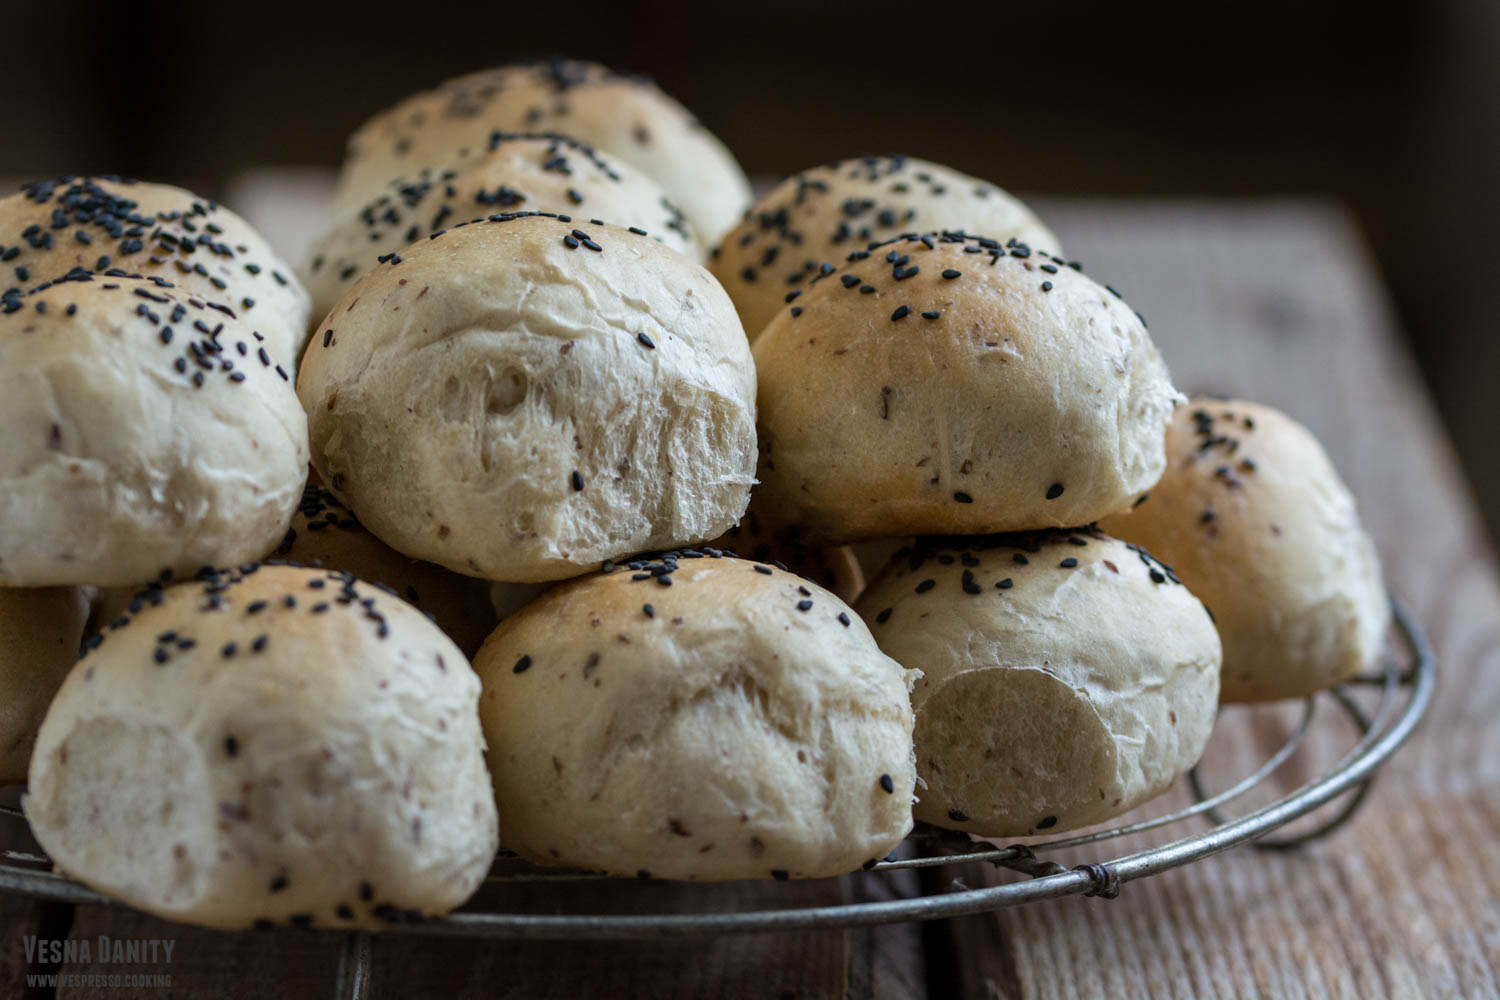
It would be impossible for me to even try to describe how delicious these homemade buns are. From my point of view, these are the perfect burger buns; they taste amazing and smell absolutely divine, they have a tender, flavorful crust and an elastic, pillowy center. Even though I’m not the typical ‘bread on every meal’ kind of person, I cannot stop at just one bun. These guys are so delicious that I cannot imagine a person who could stop after just one piece. They are simply exquisite. And I just have to tell you a tiny secret: they are vegan. Over and out.

Ingredients (for 20 buns):

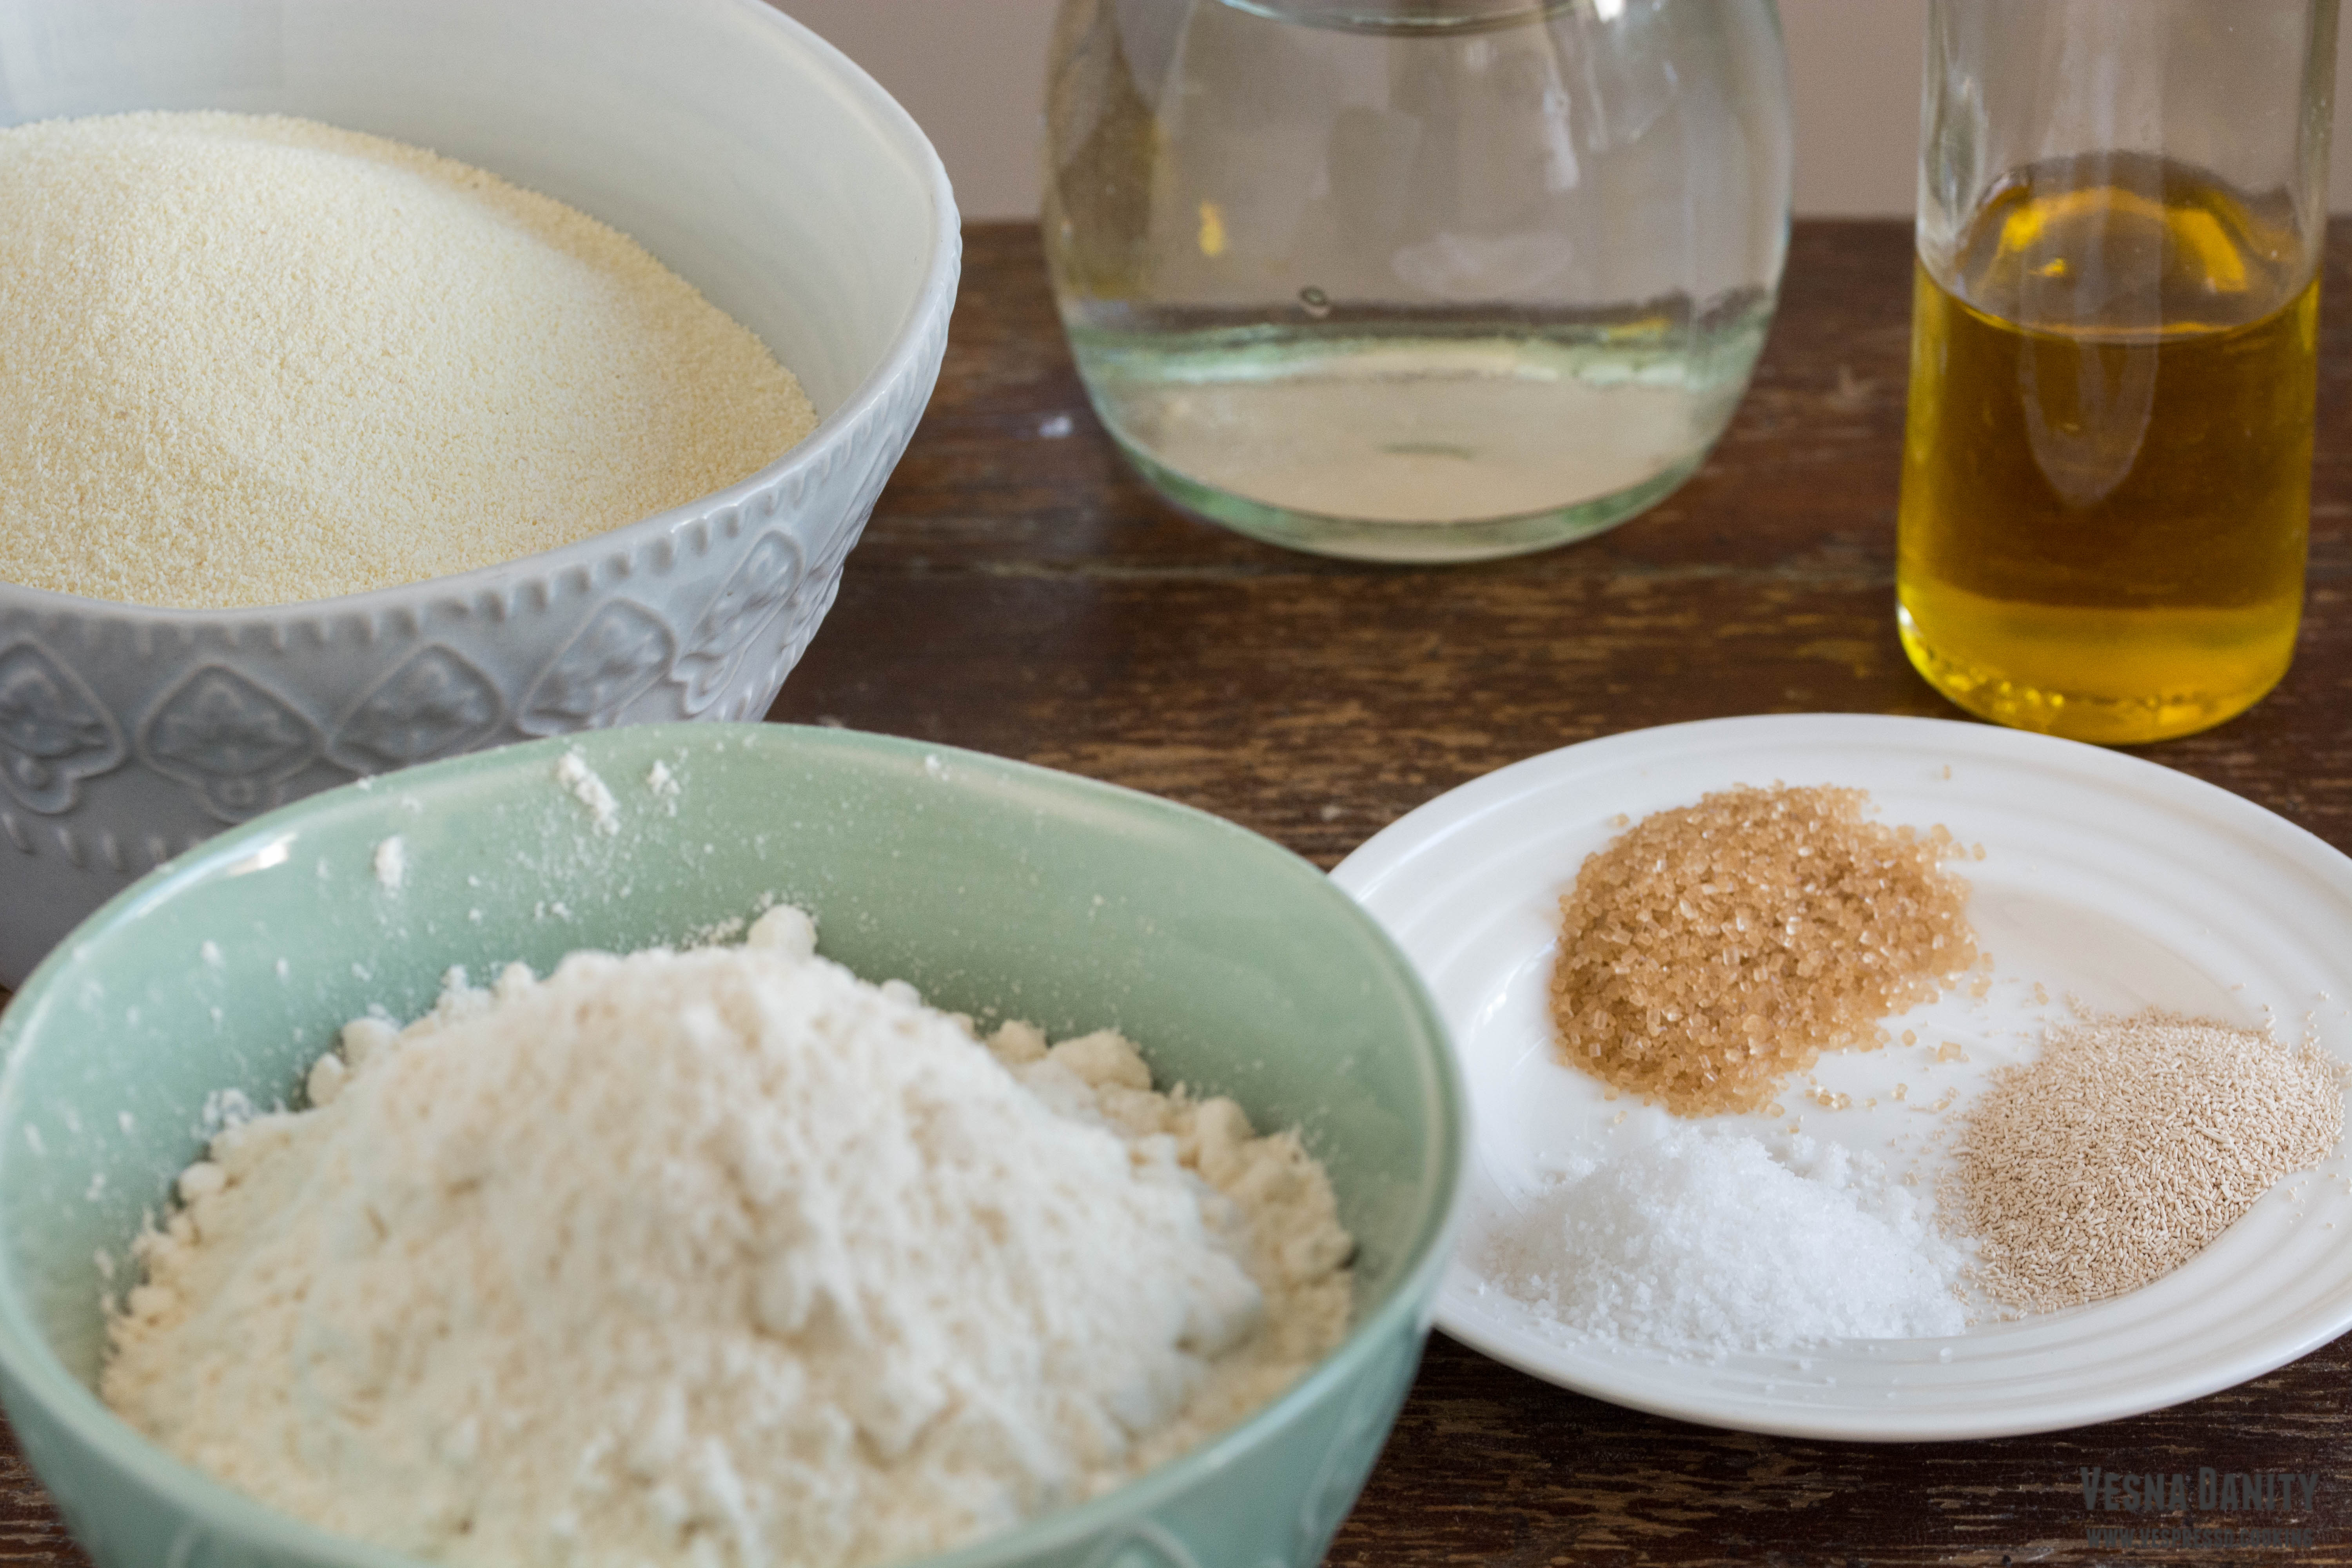
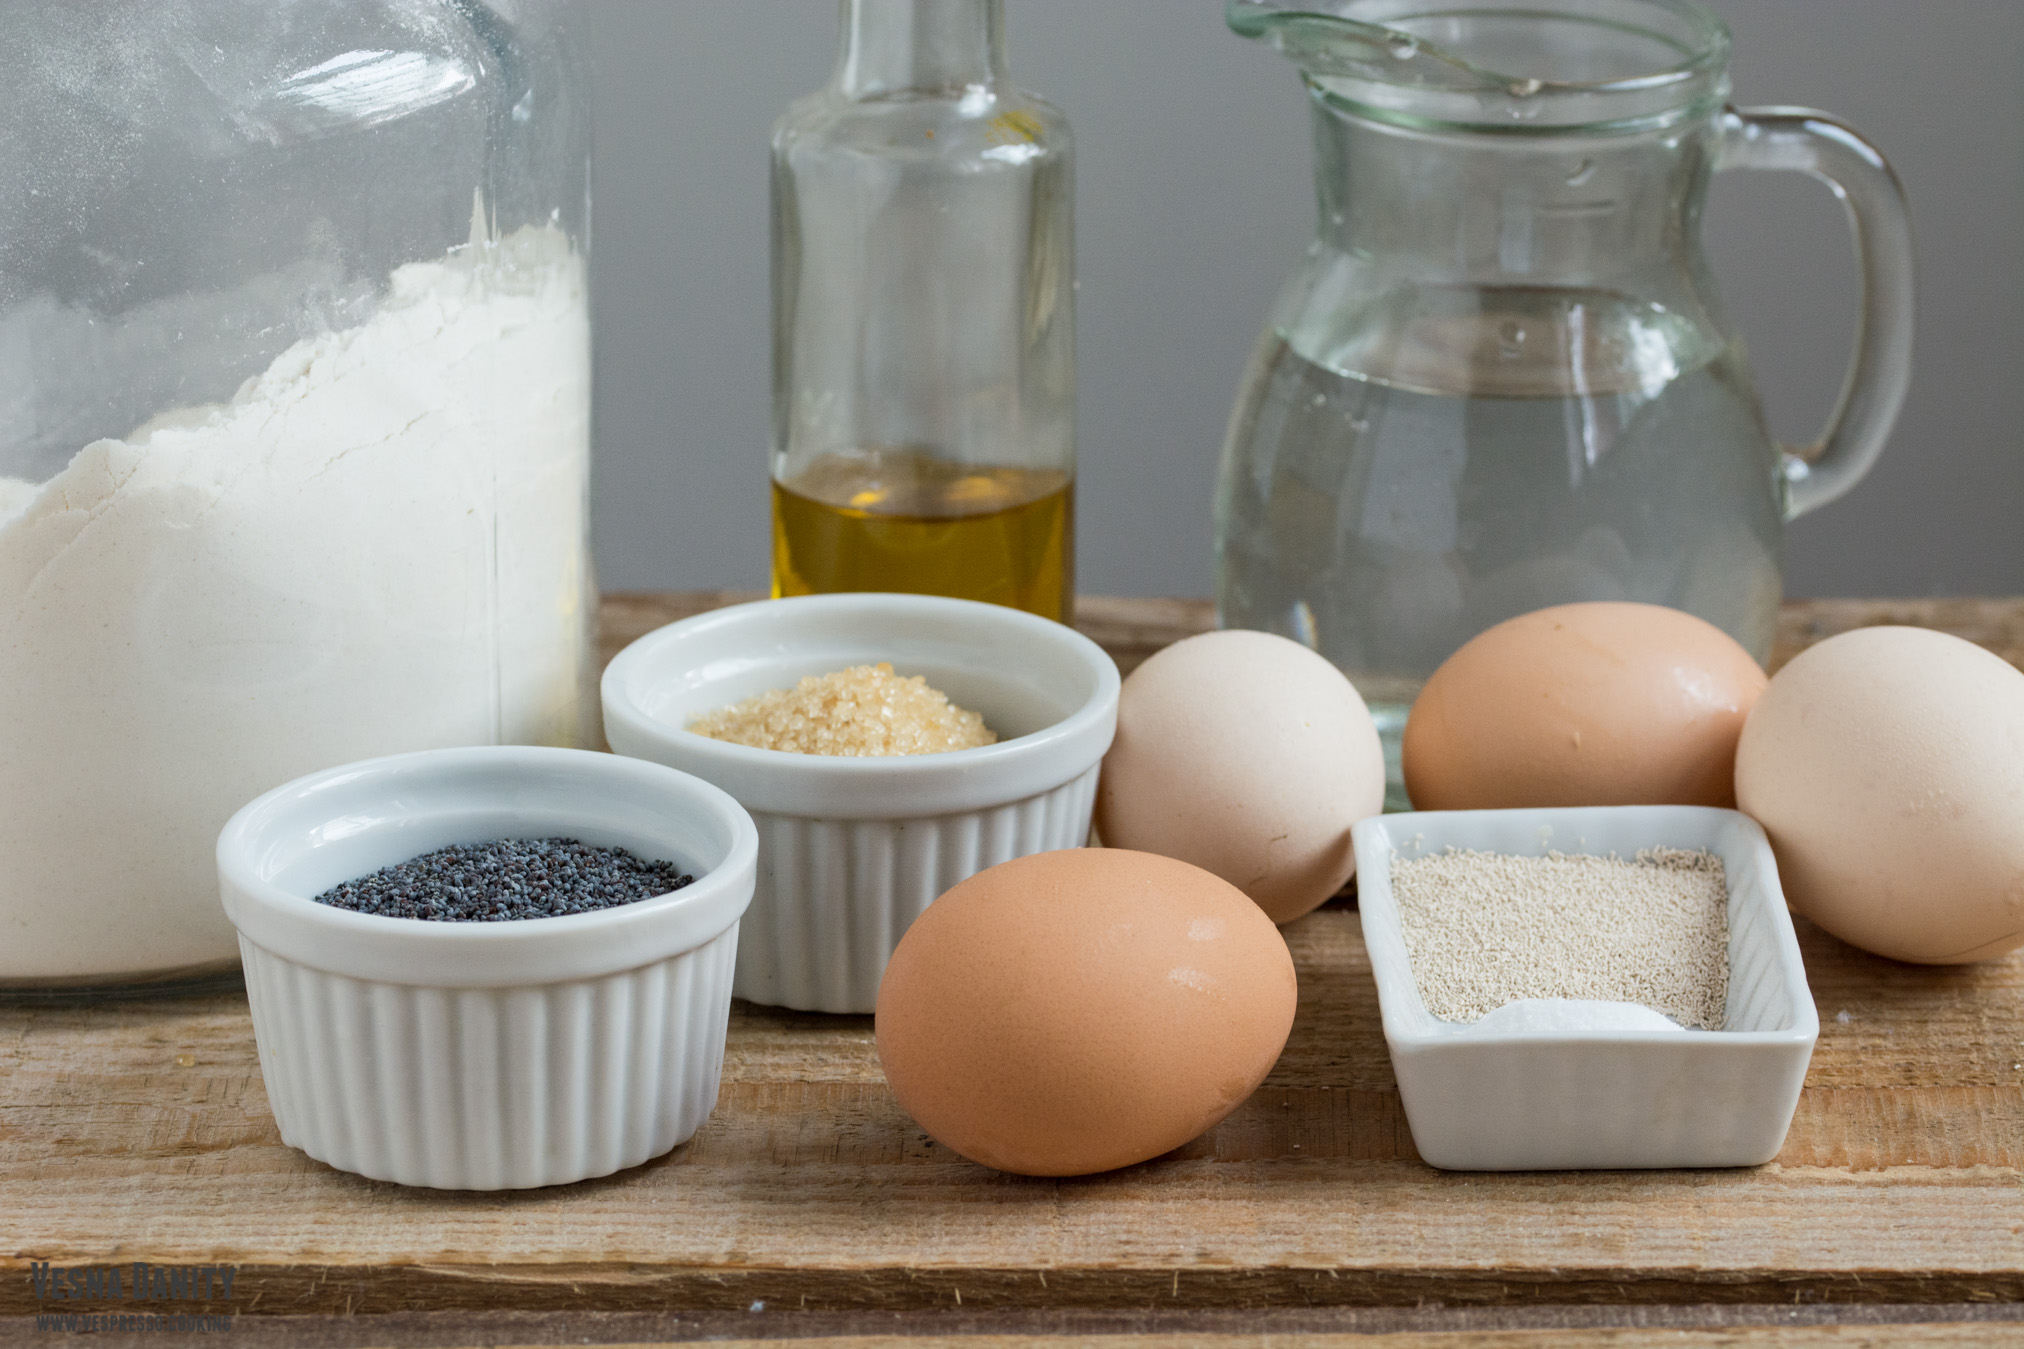
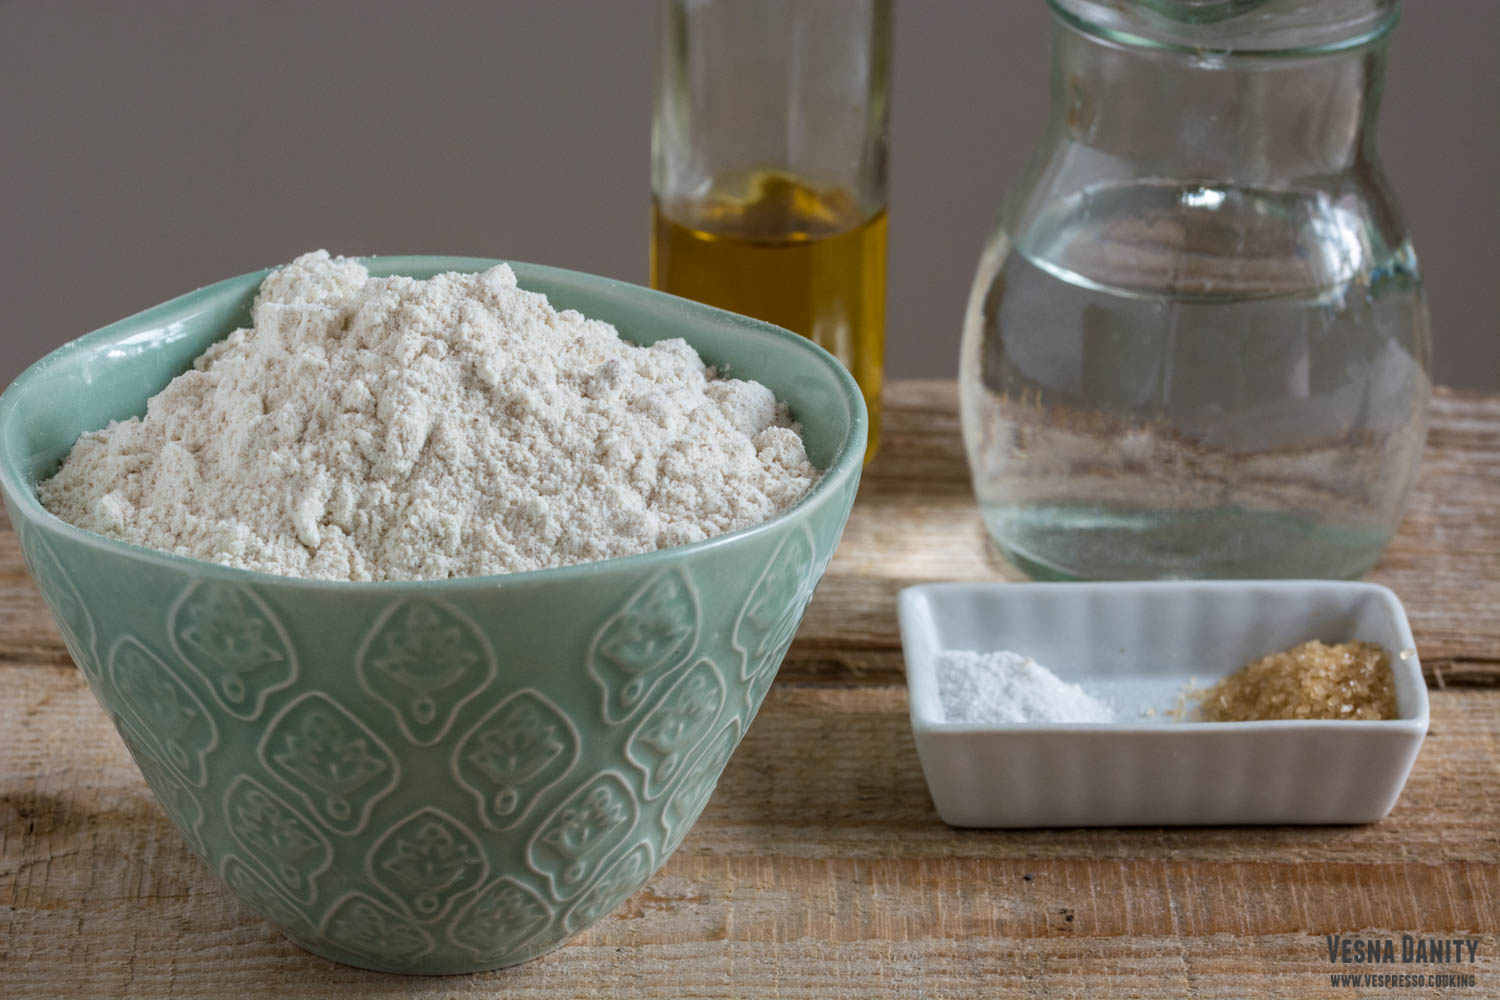
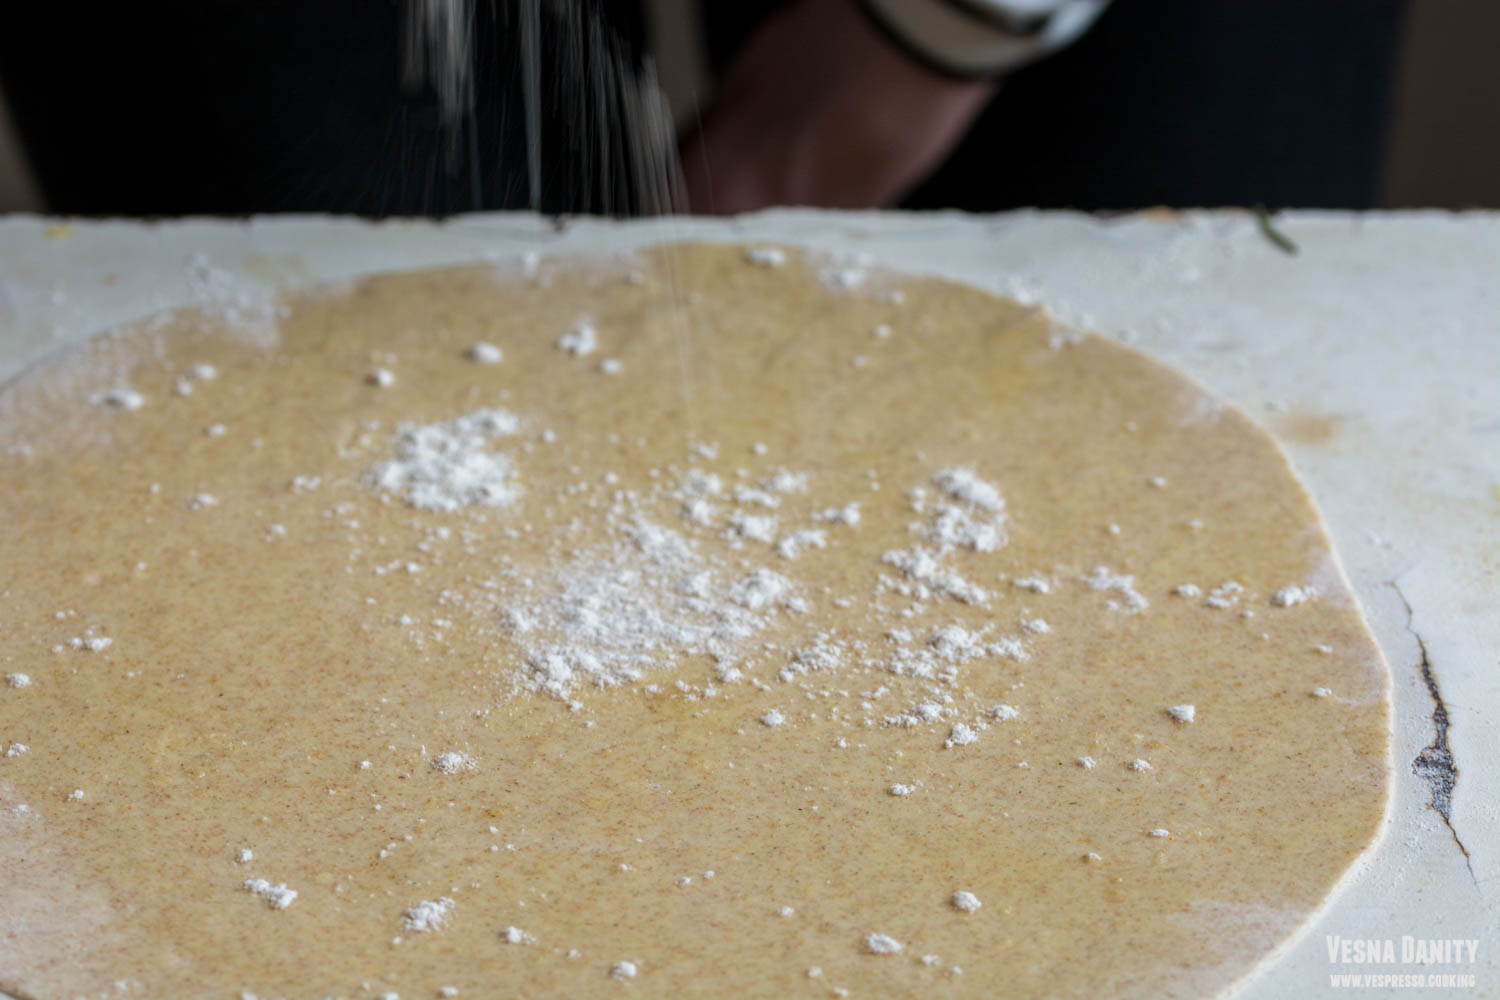
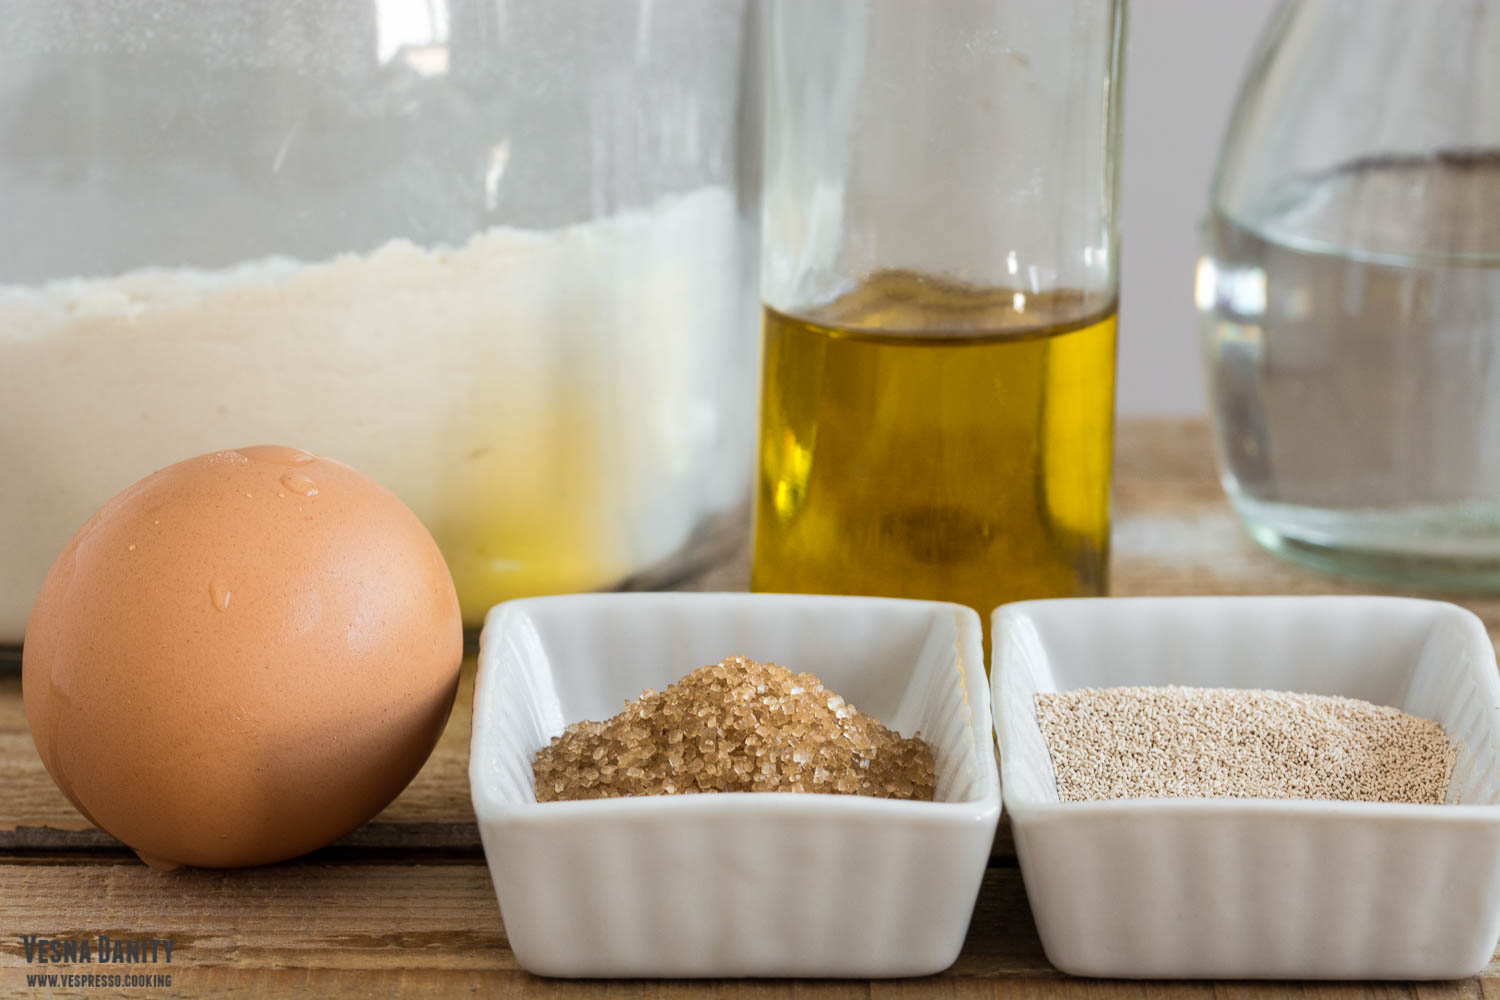
  • 450g all-purpose flour + extra 50g for kneading
  • 120ml water
  • 120ml vegan milk (I used almond milk)
  • 2 Tbsp brown sugar
  • 2 Tbsp olive oil
  • 1 satchel active dry yeast
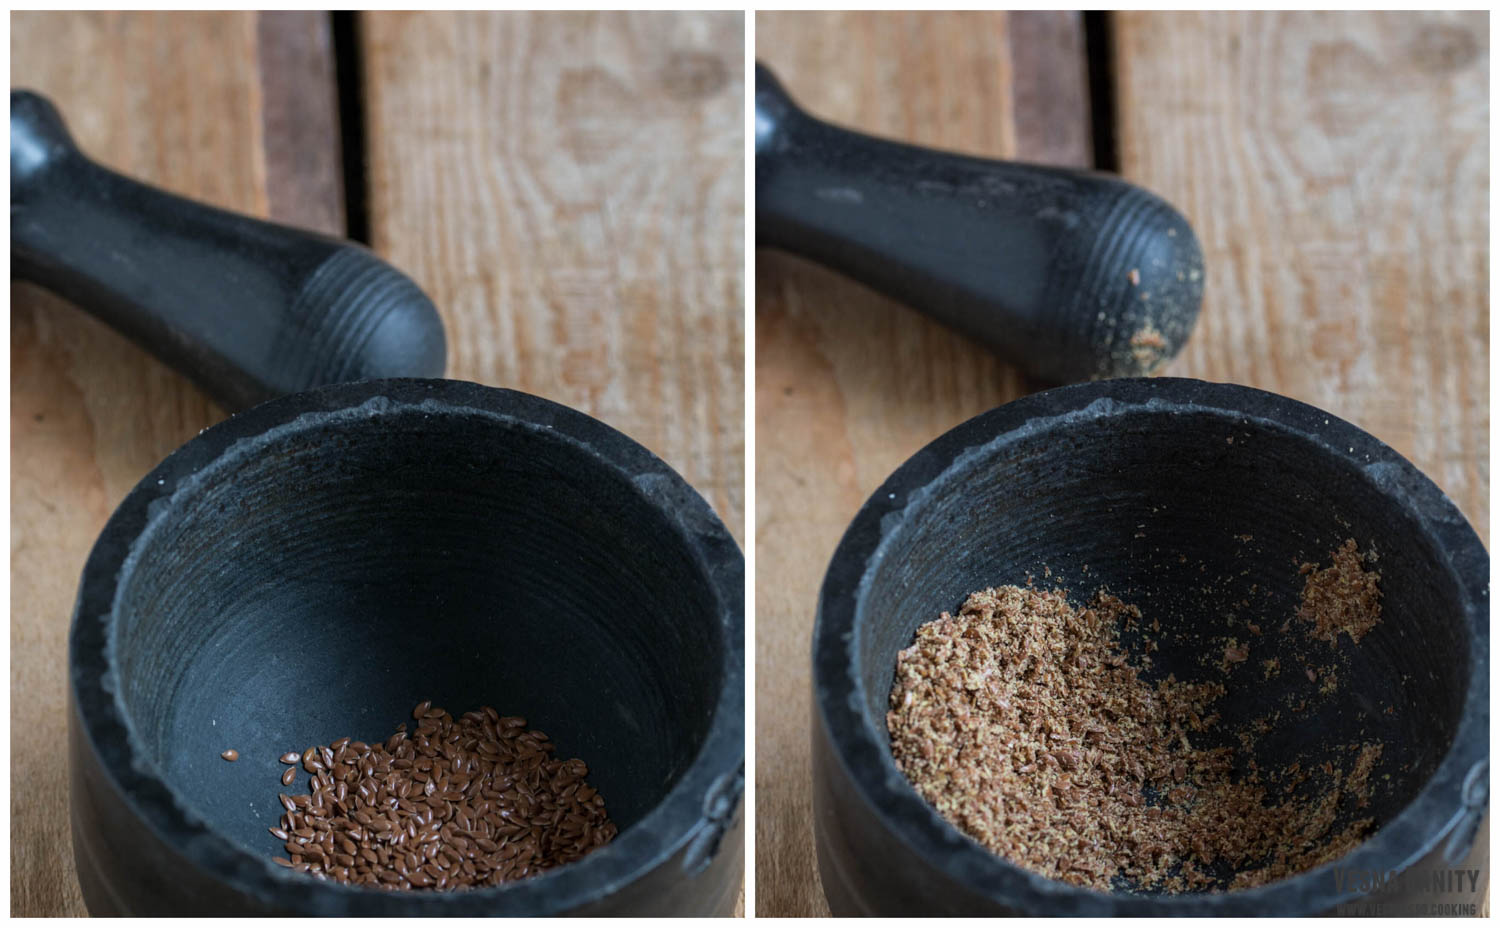
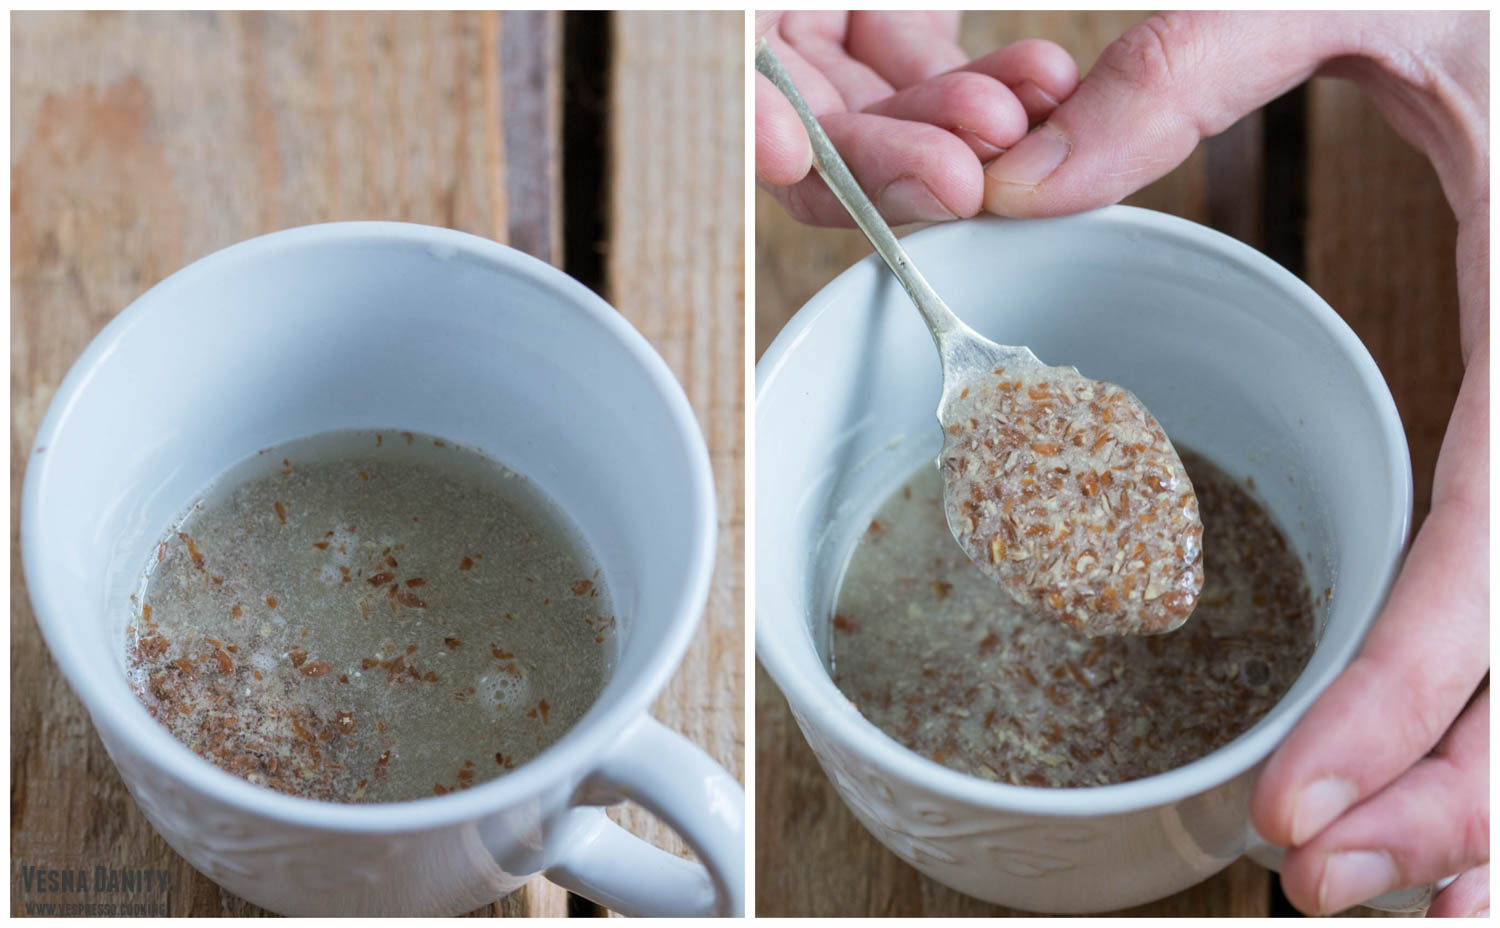
  • egg substitute: 1 Tbsp ground flax seeds + 3 Tbsp water

for the garnish:

  • 2 Tbsp vegan milk
  • ½ brown sugar
  • 2 Tbsp sesame seeds

Method:

  1. Egg substitute. Grind the flax seeds using a mortar and pestle. Add 3 Tbsp of water and leave aside for 5 minutes.
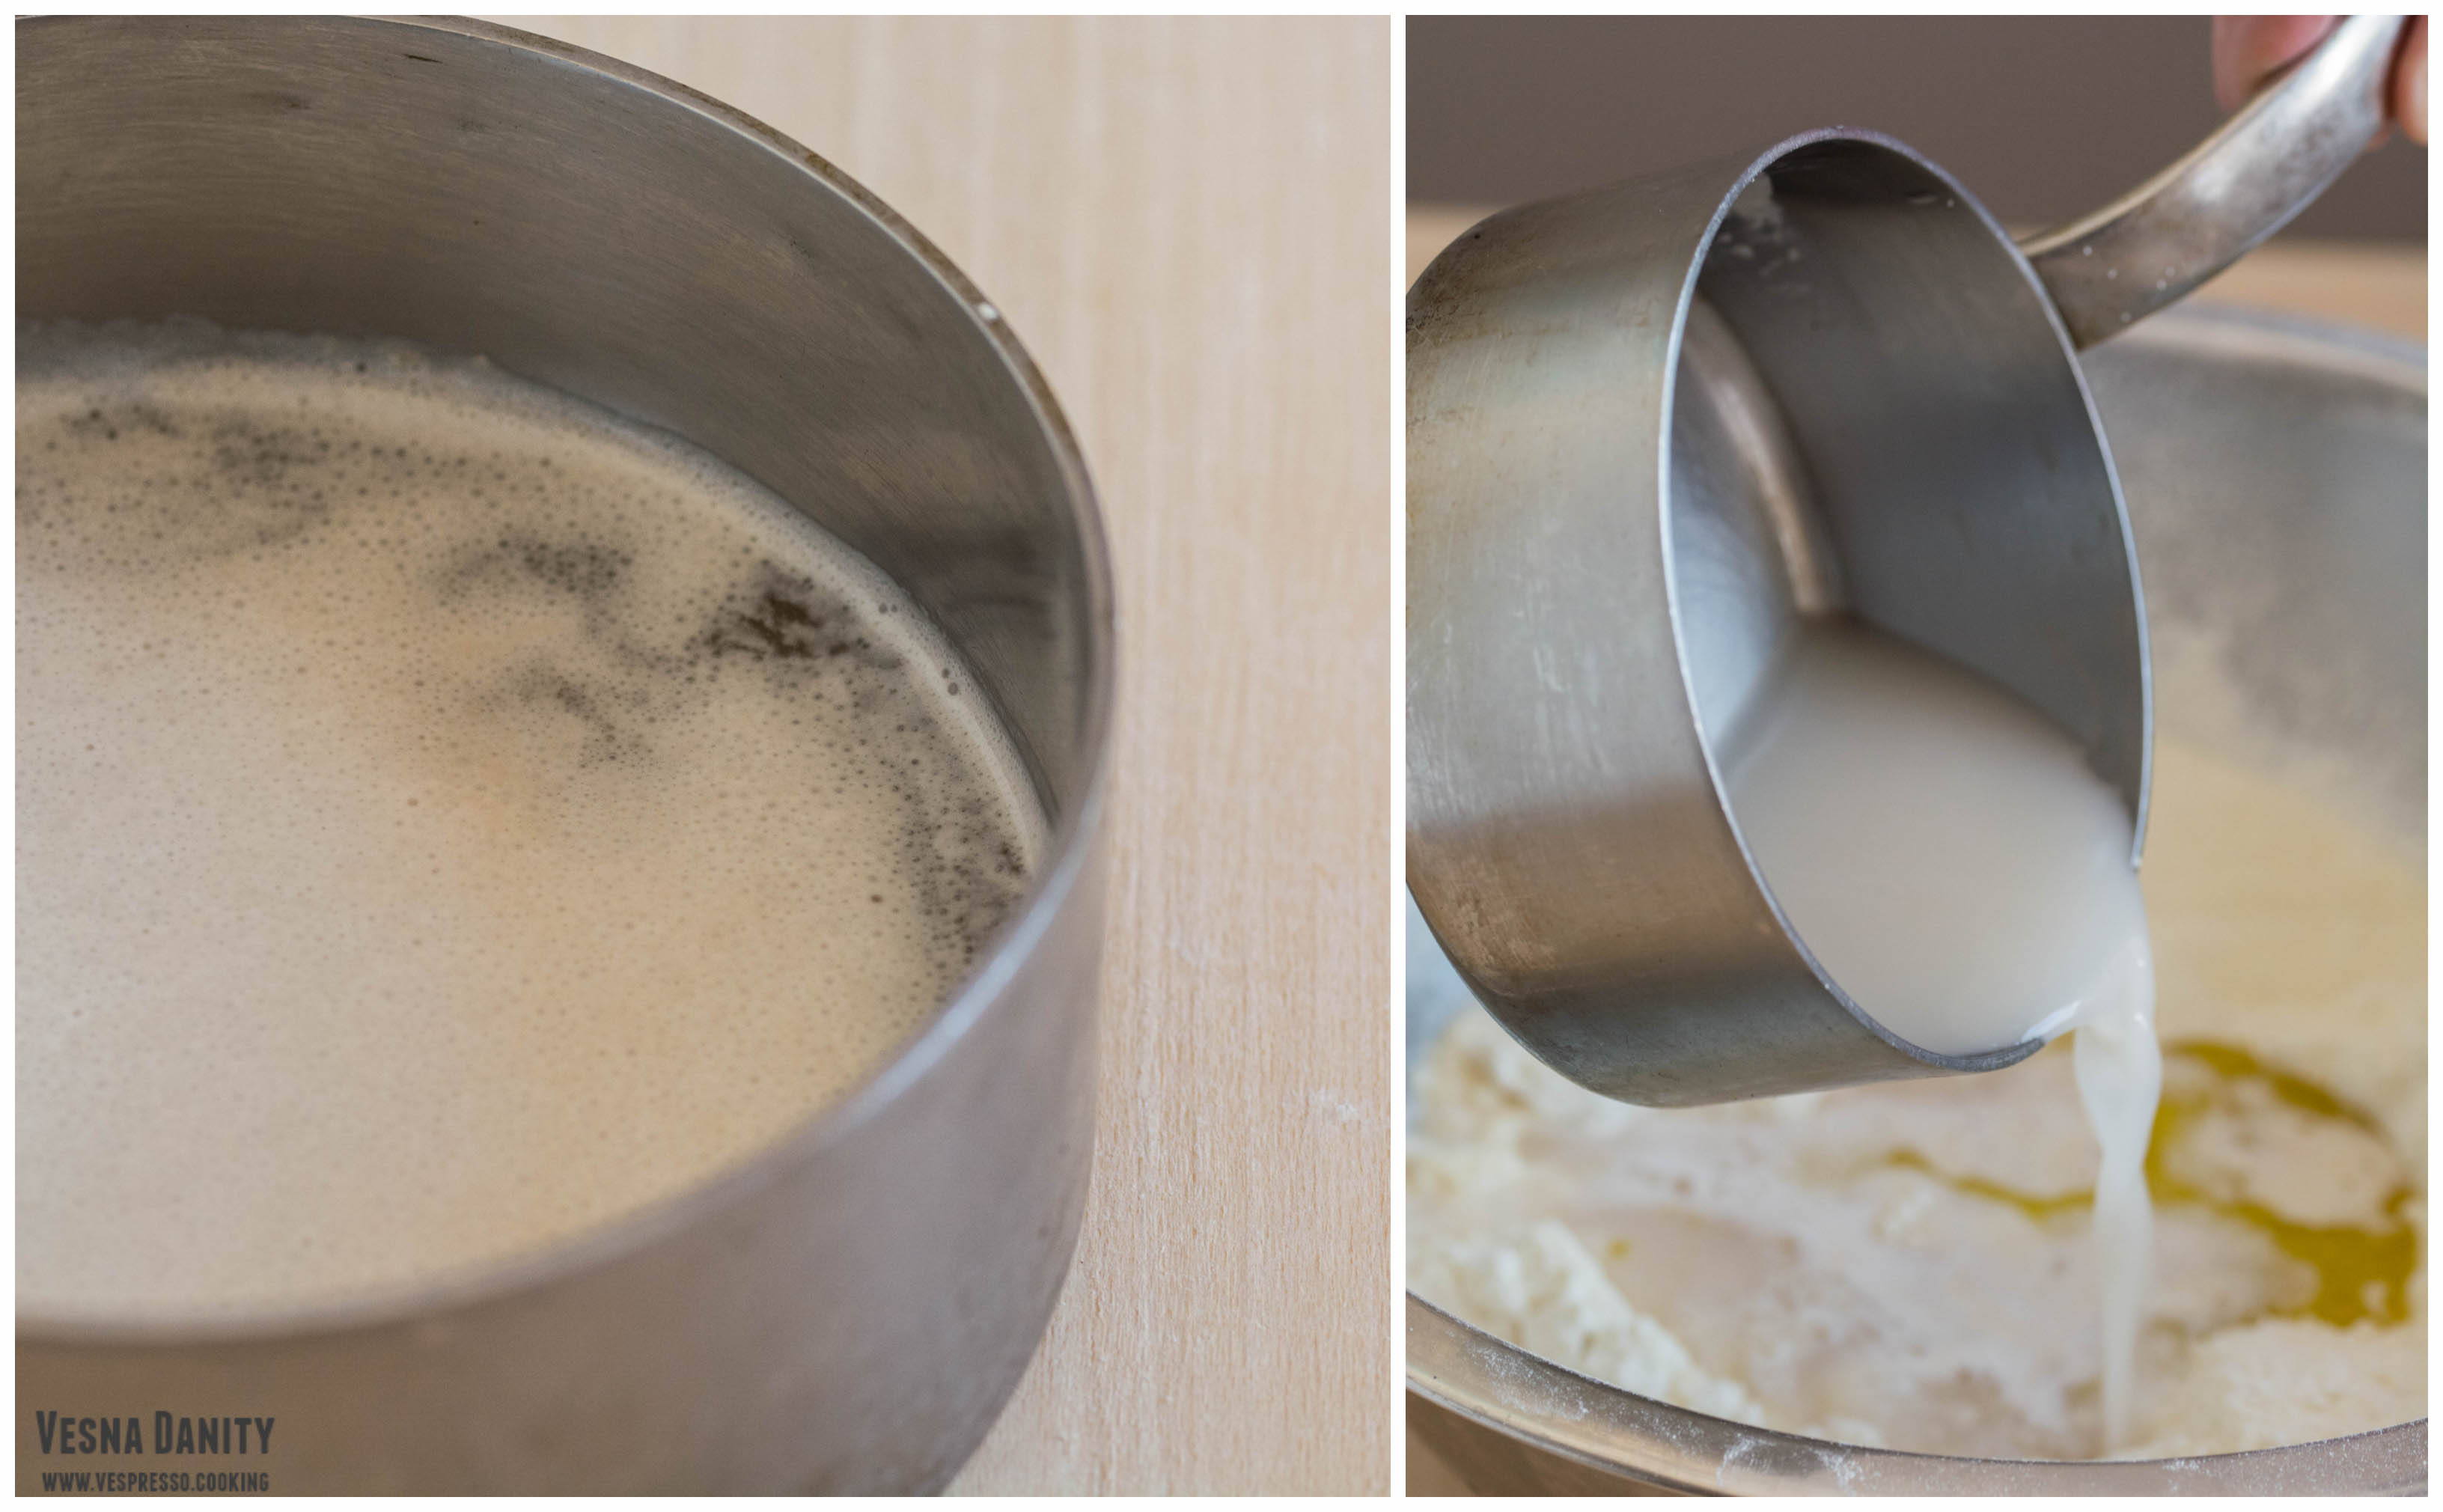
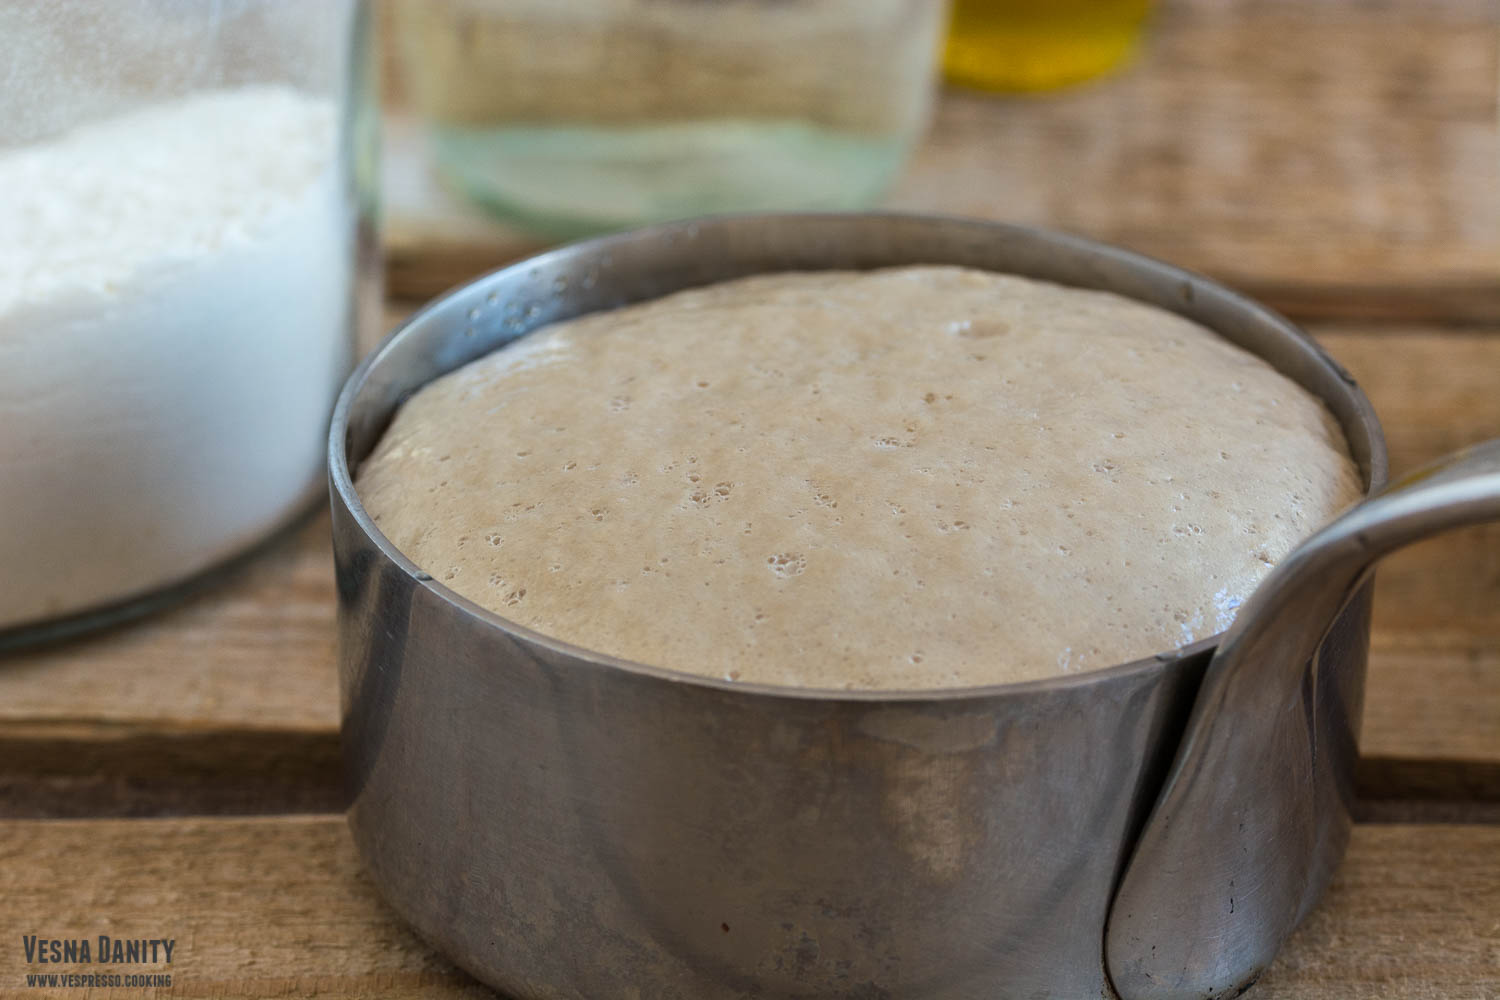
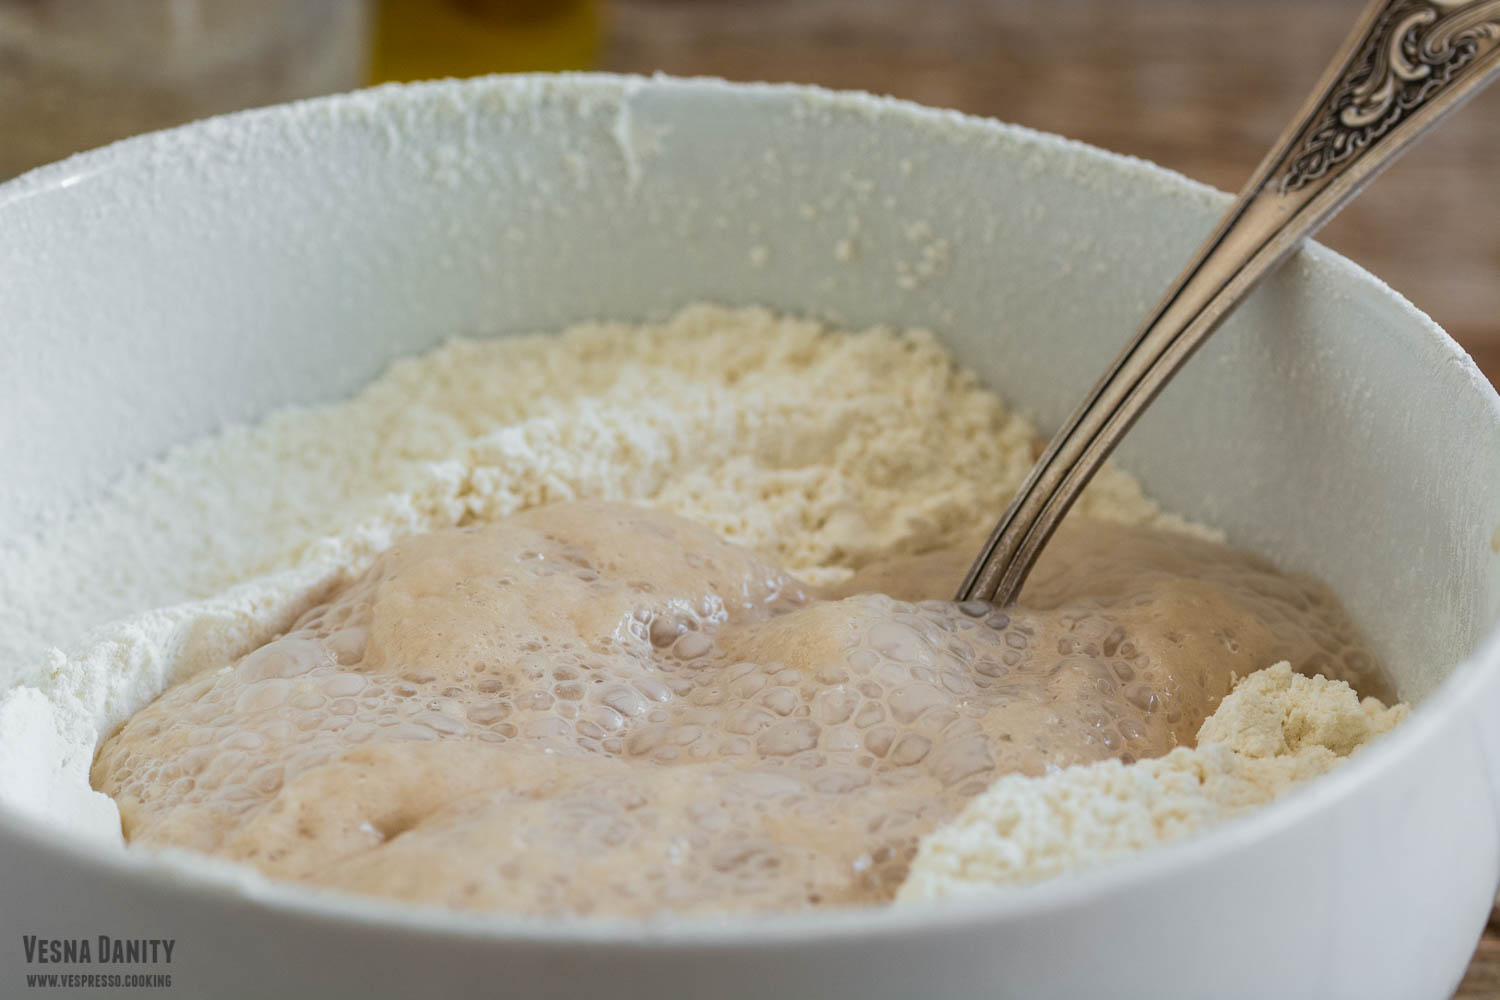
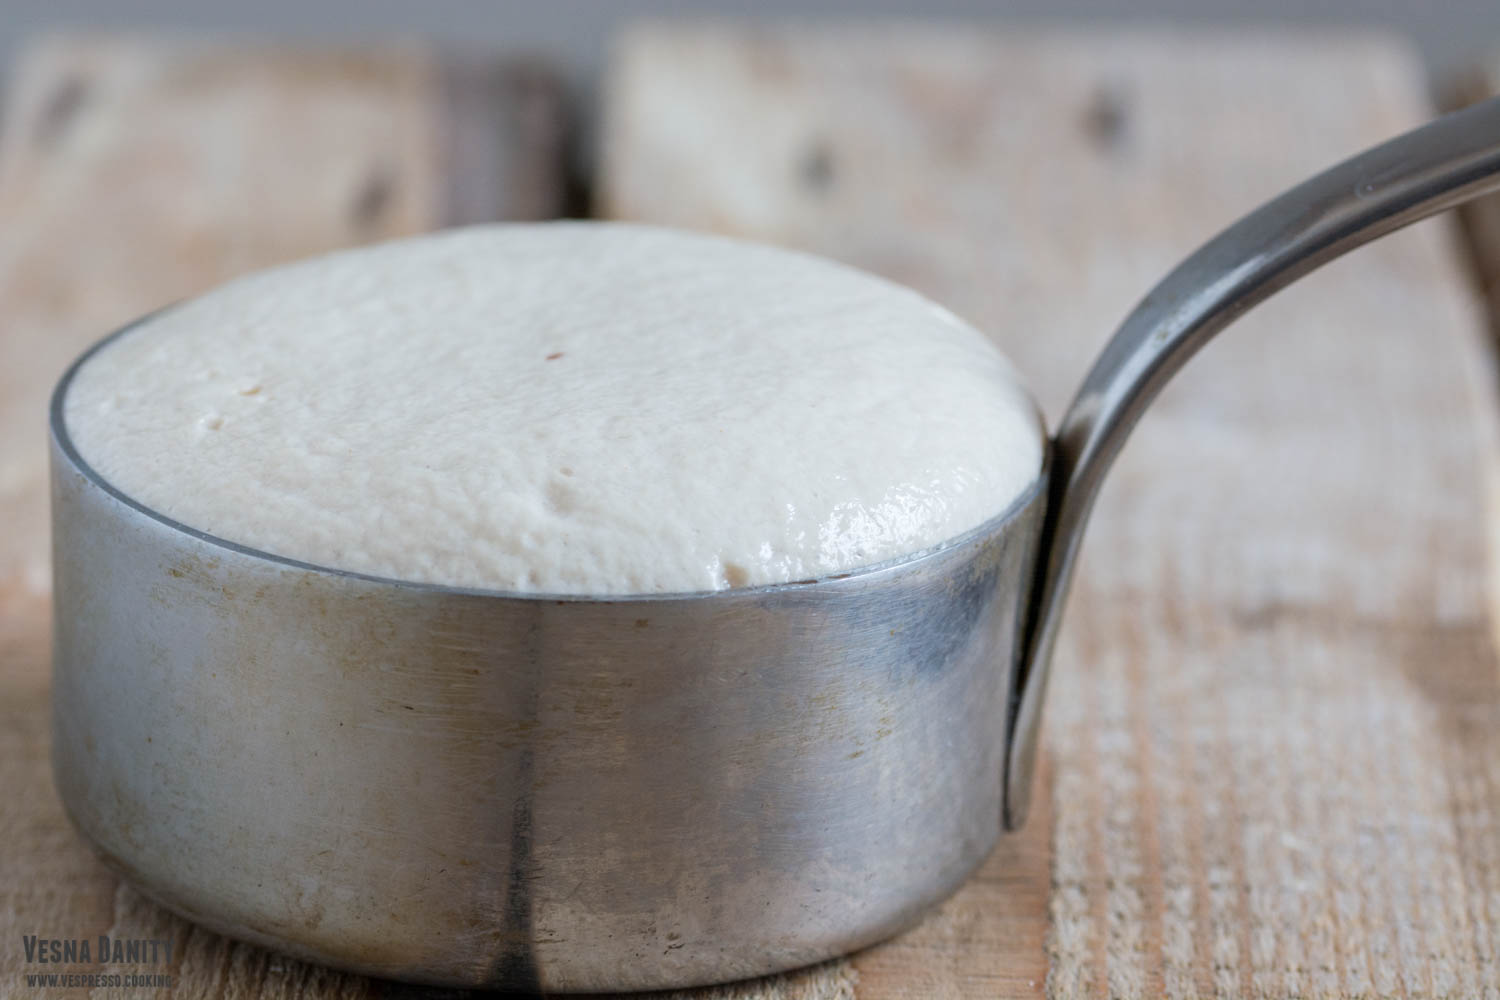
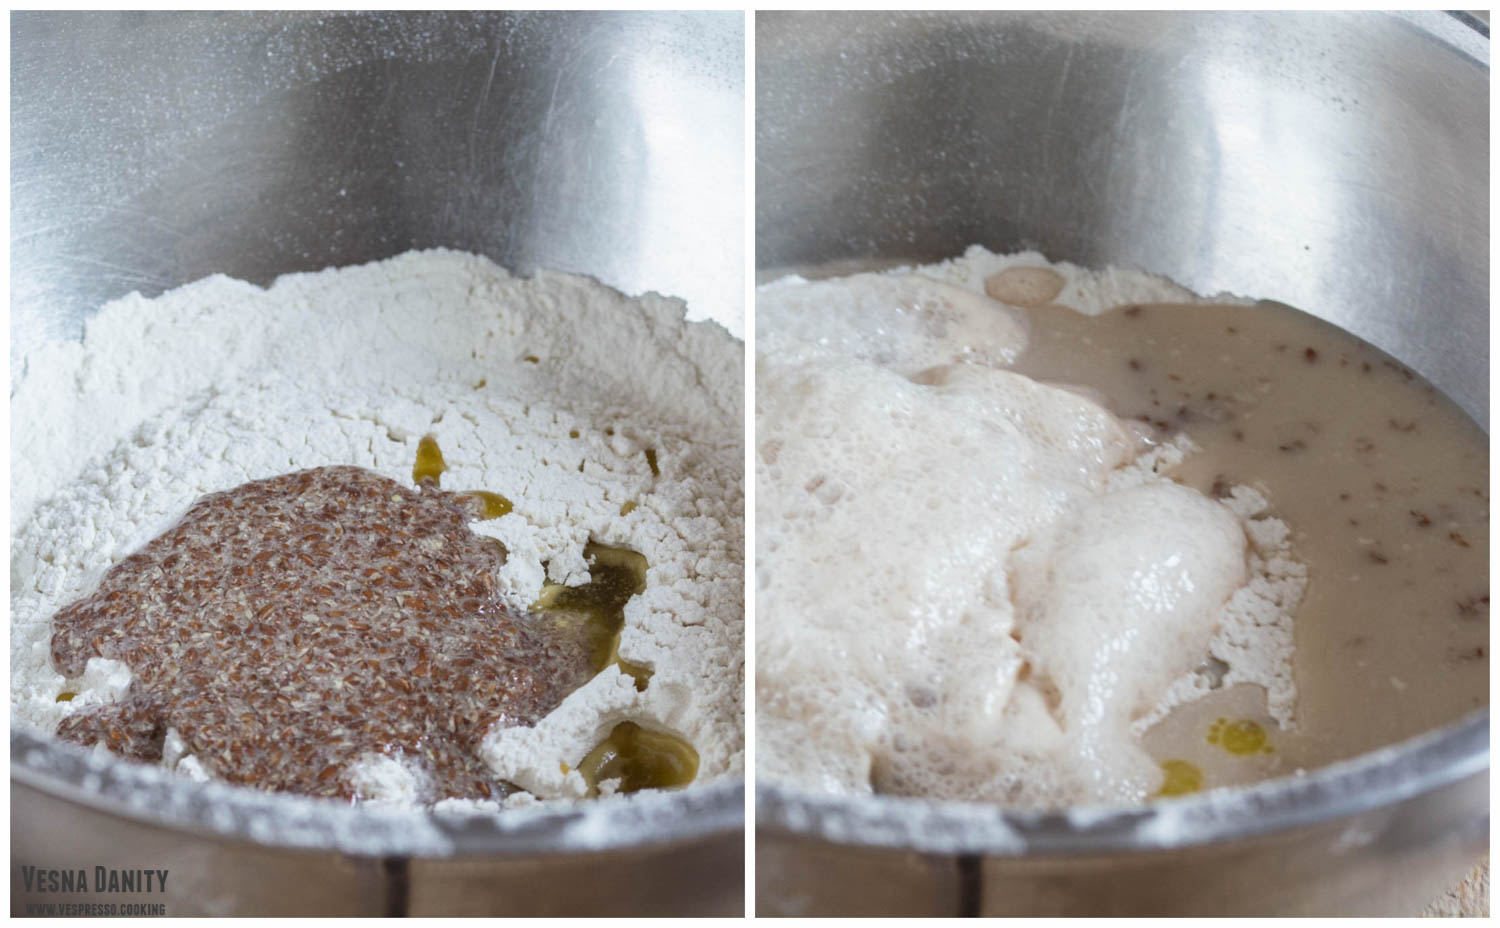
  2. Activate the yeast. Heat the water and the milk in a small saucepan until lukewarm (36 – 38°C). Add the sugar and the yeast and leave aside for 5 minutes. The mixture should be frothy.
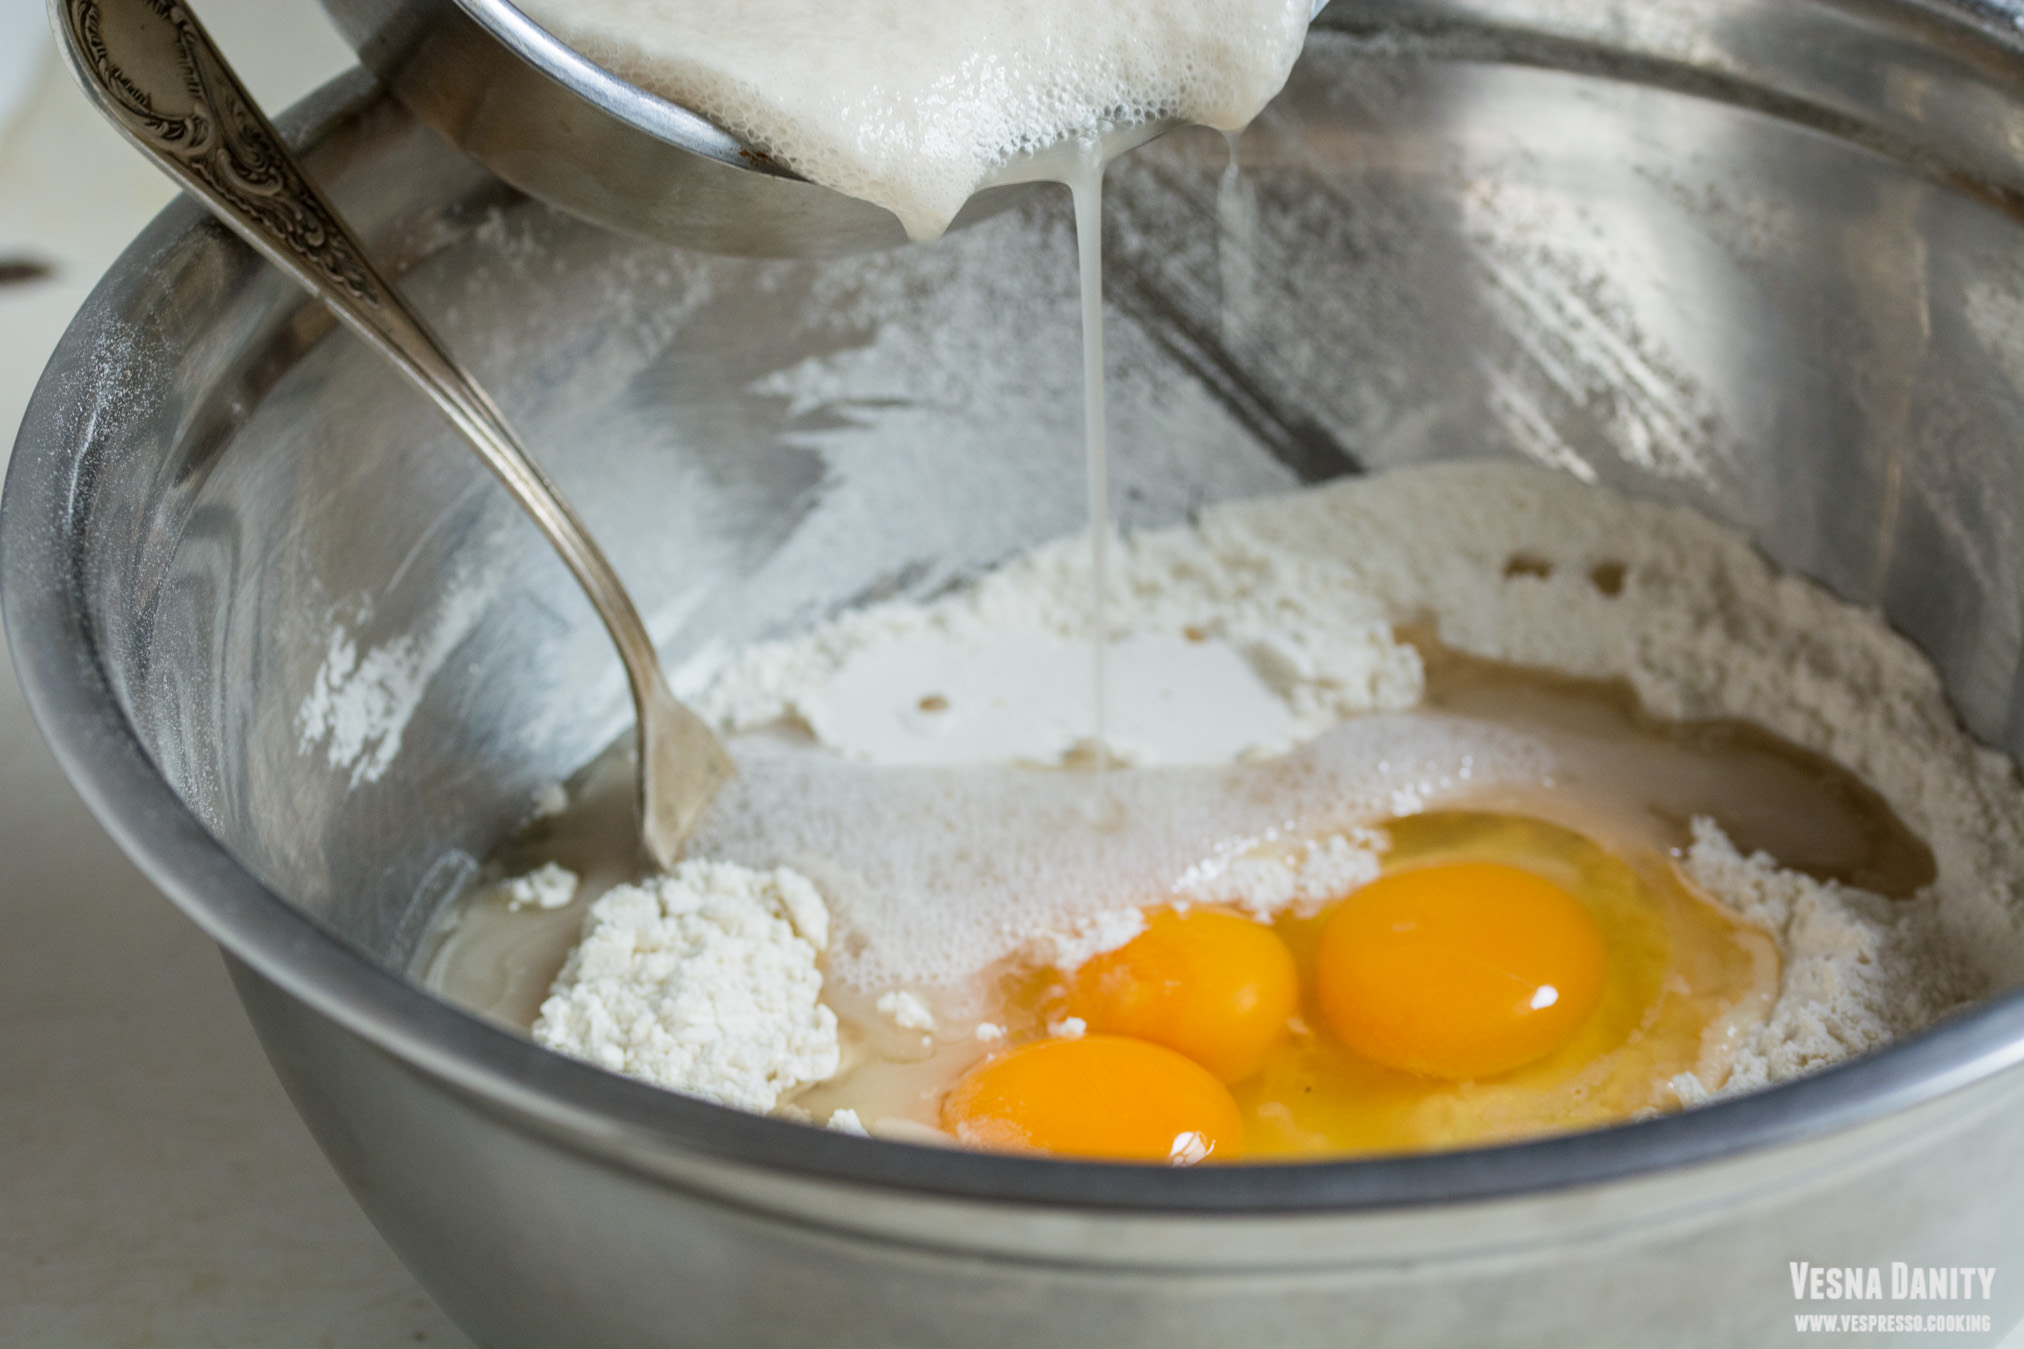
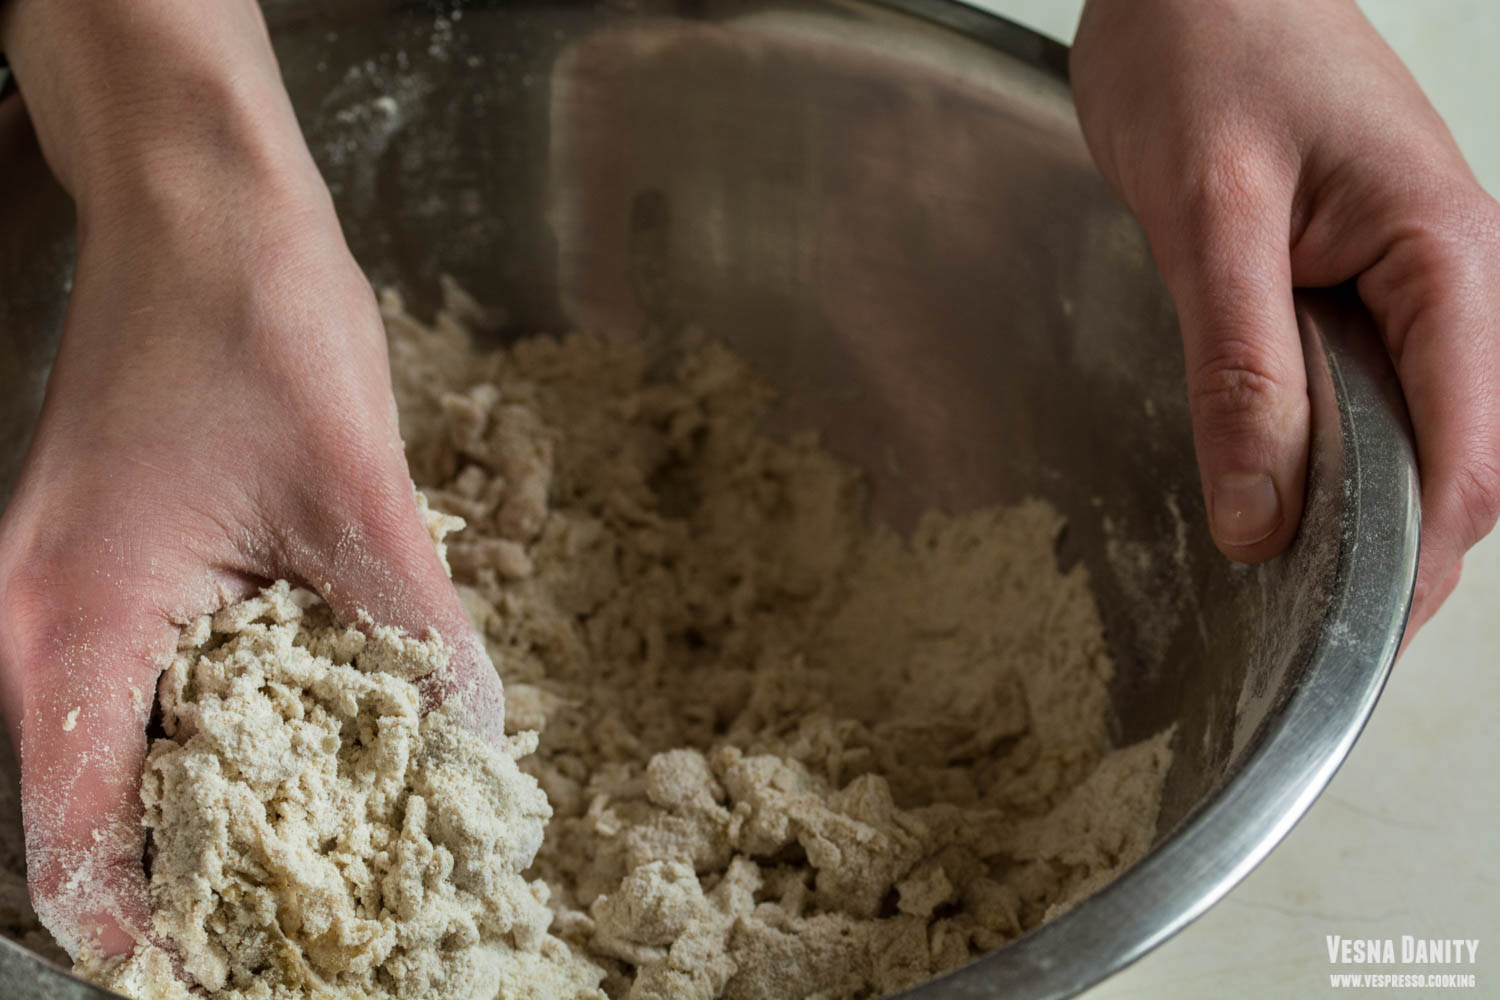
  3. Sift the flour. In a large bowl sift the flour and make a well in the center. Add the oil, flax seed mixture and yeast mixture and mix with a fork.
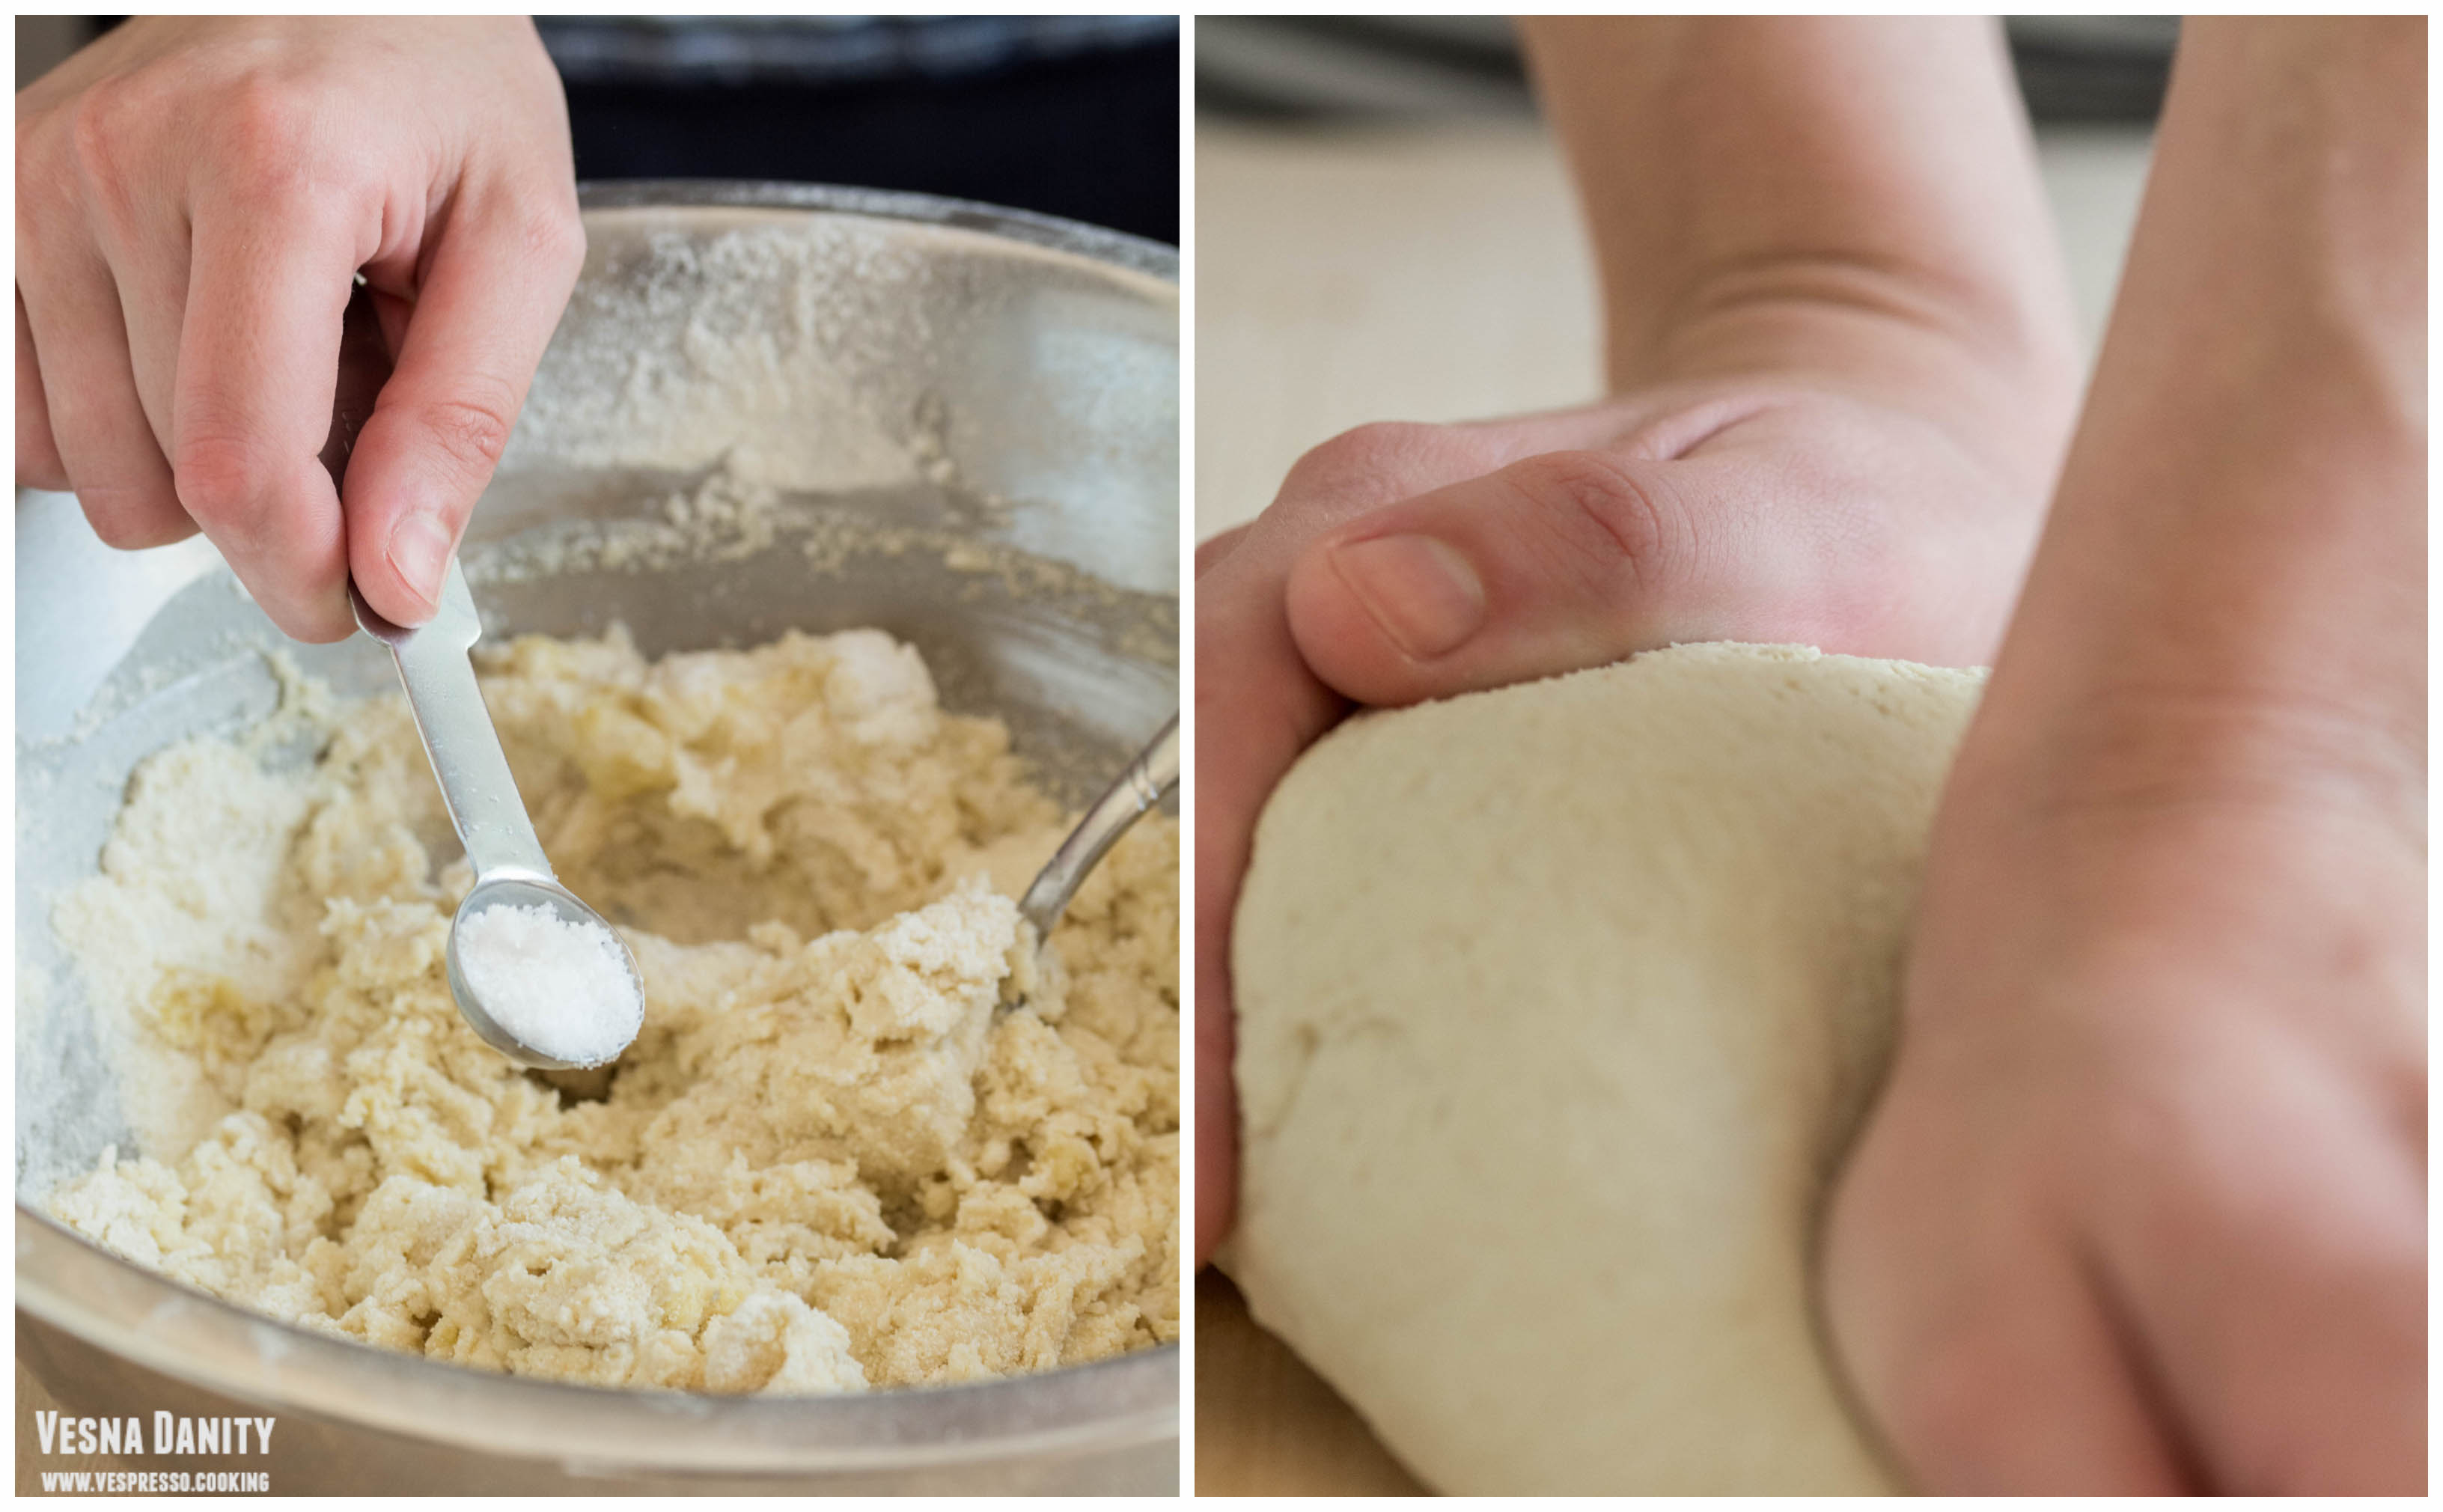
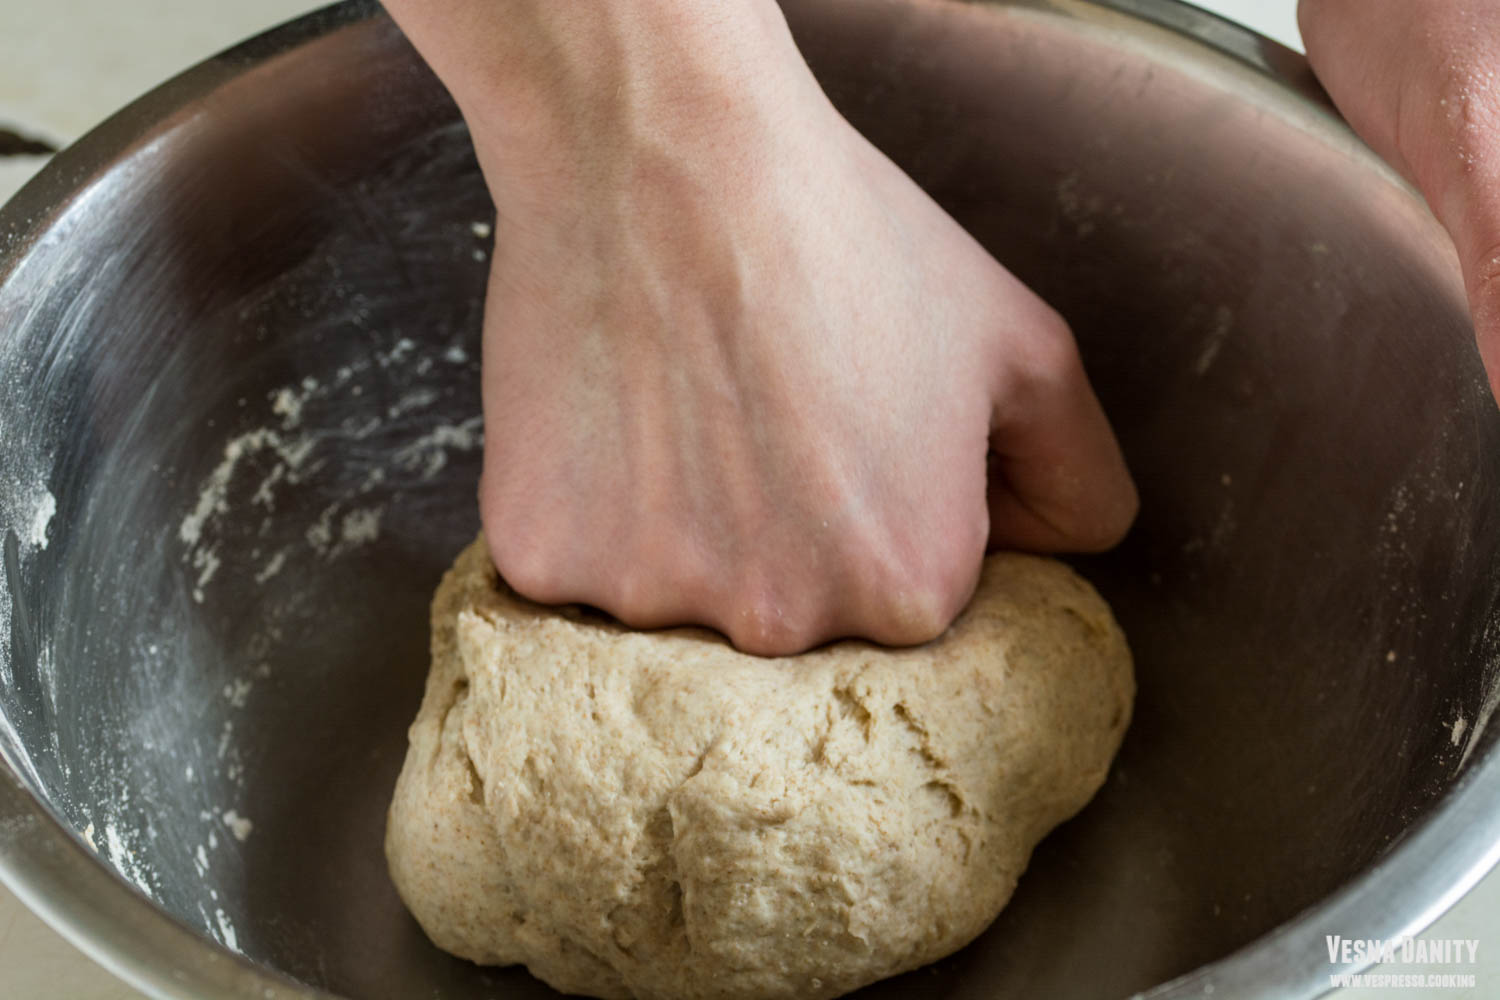
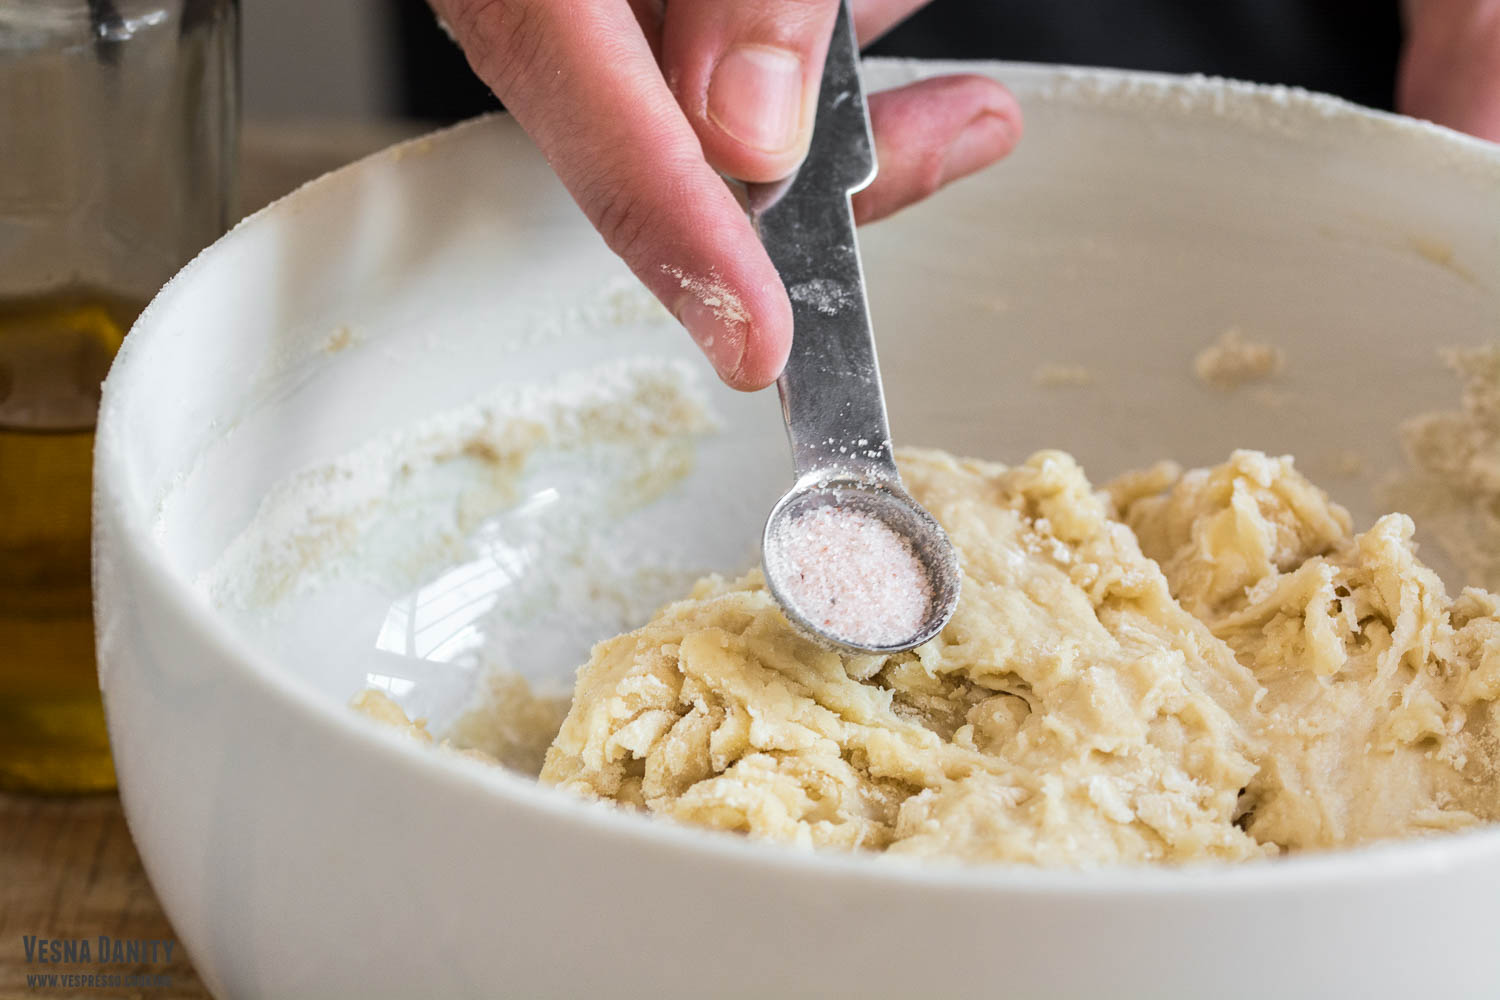
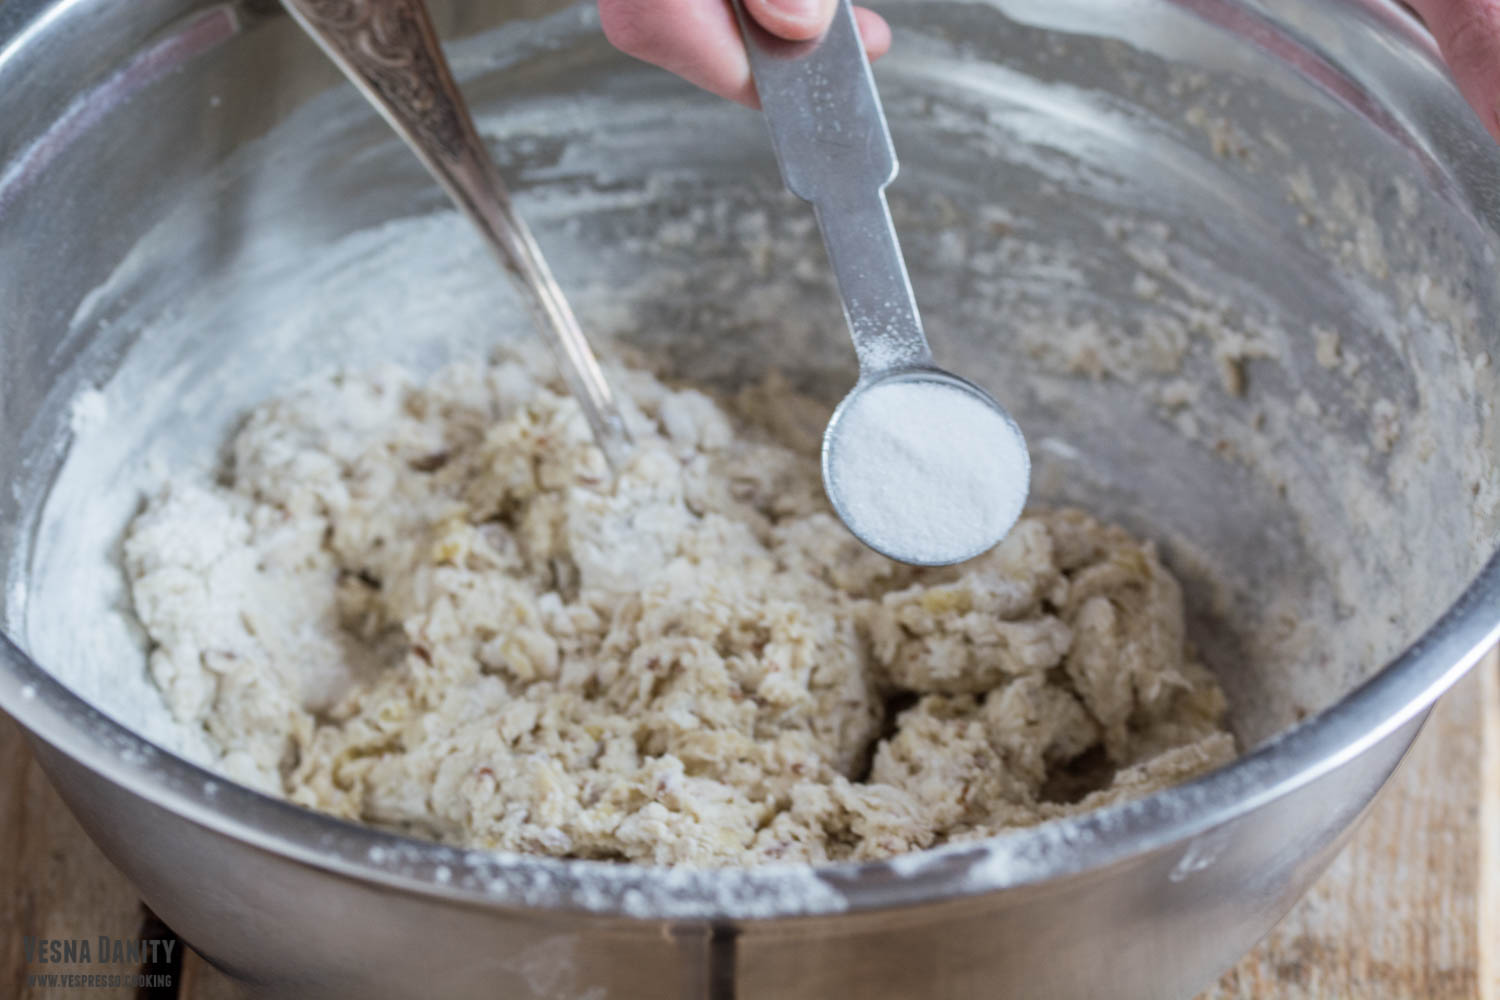
  4. Add the salt. Add the salt and continue mixing with your hands until you form a sticky ball.
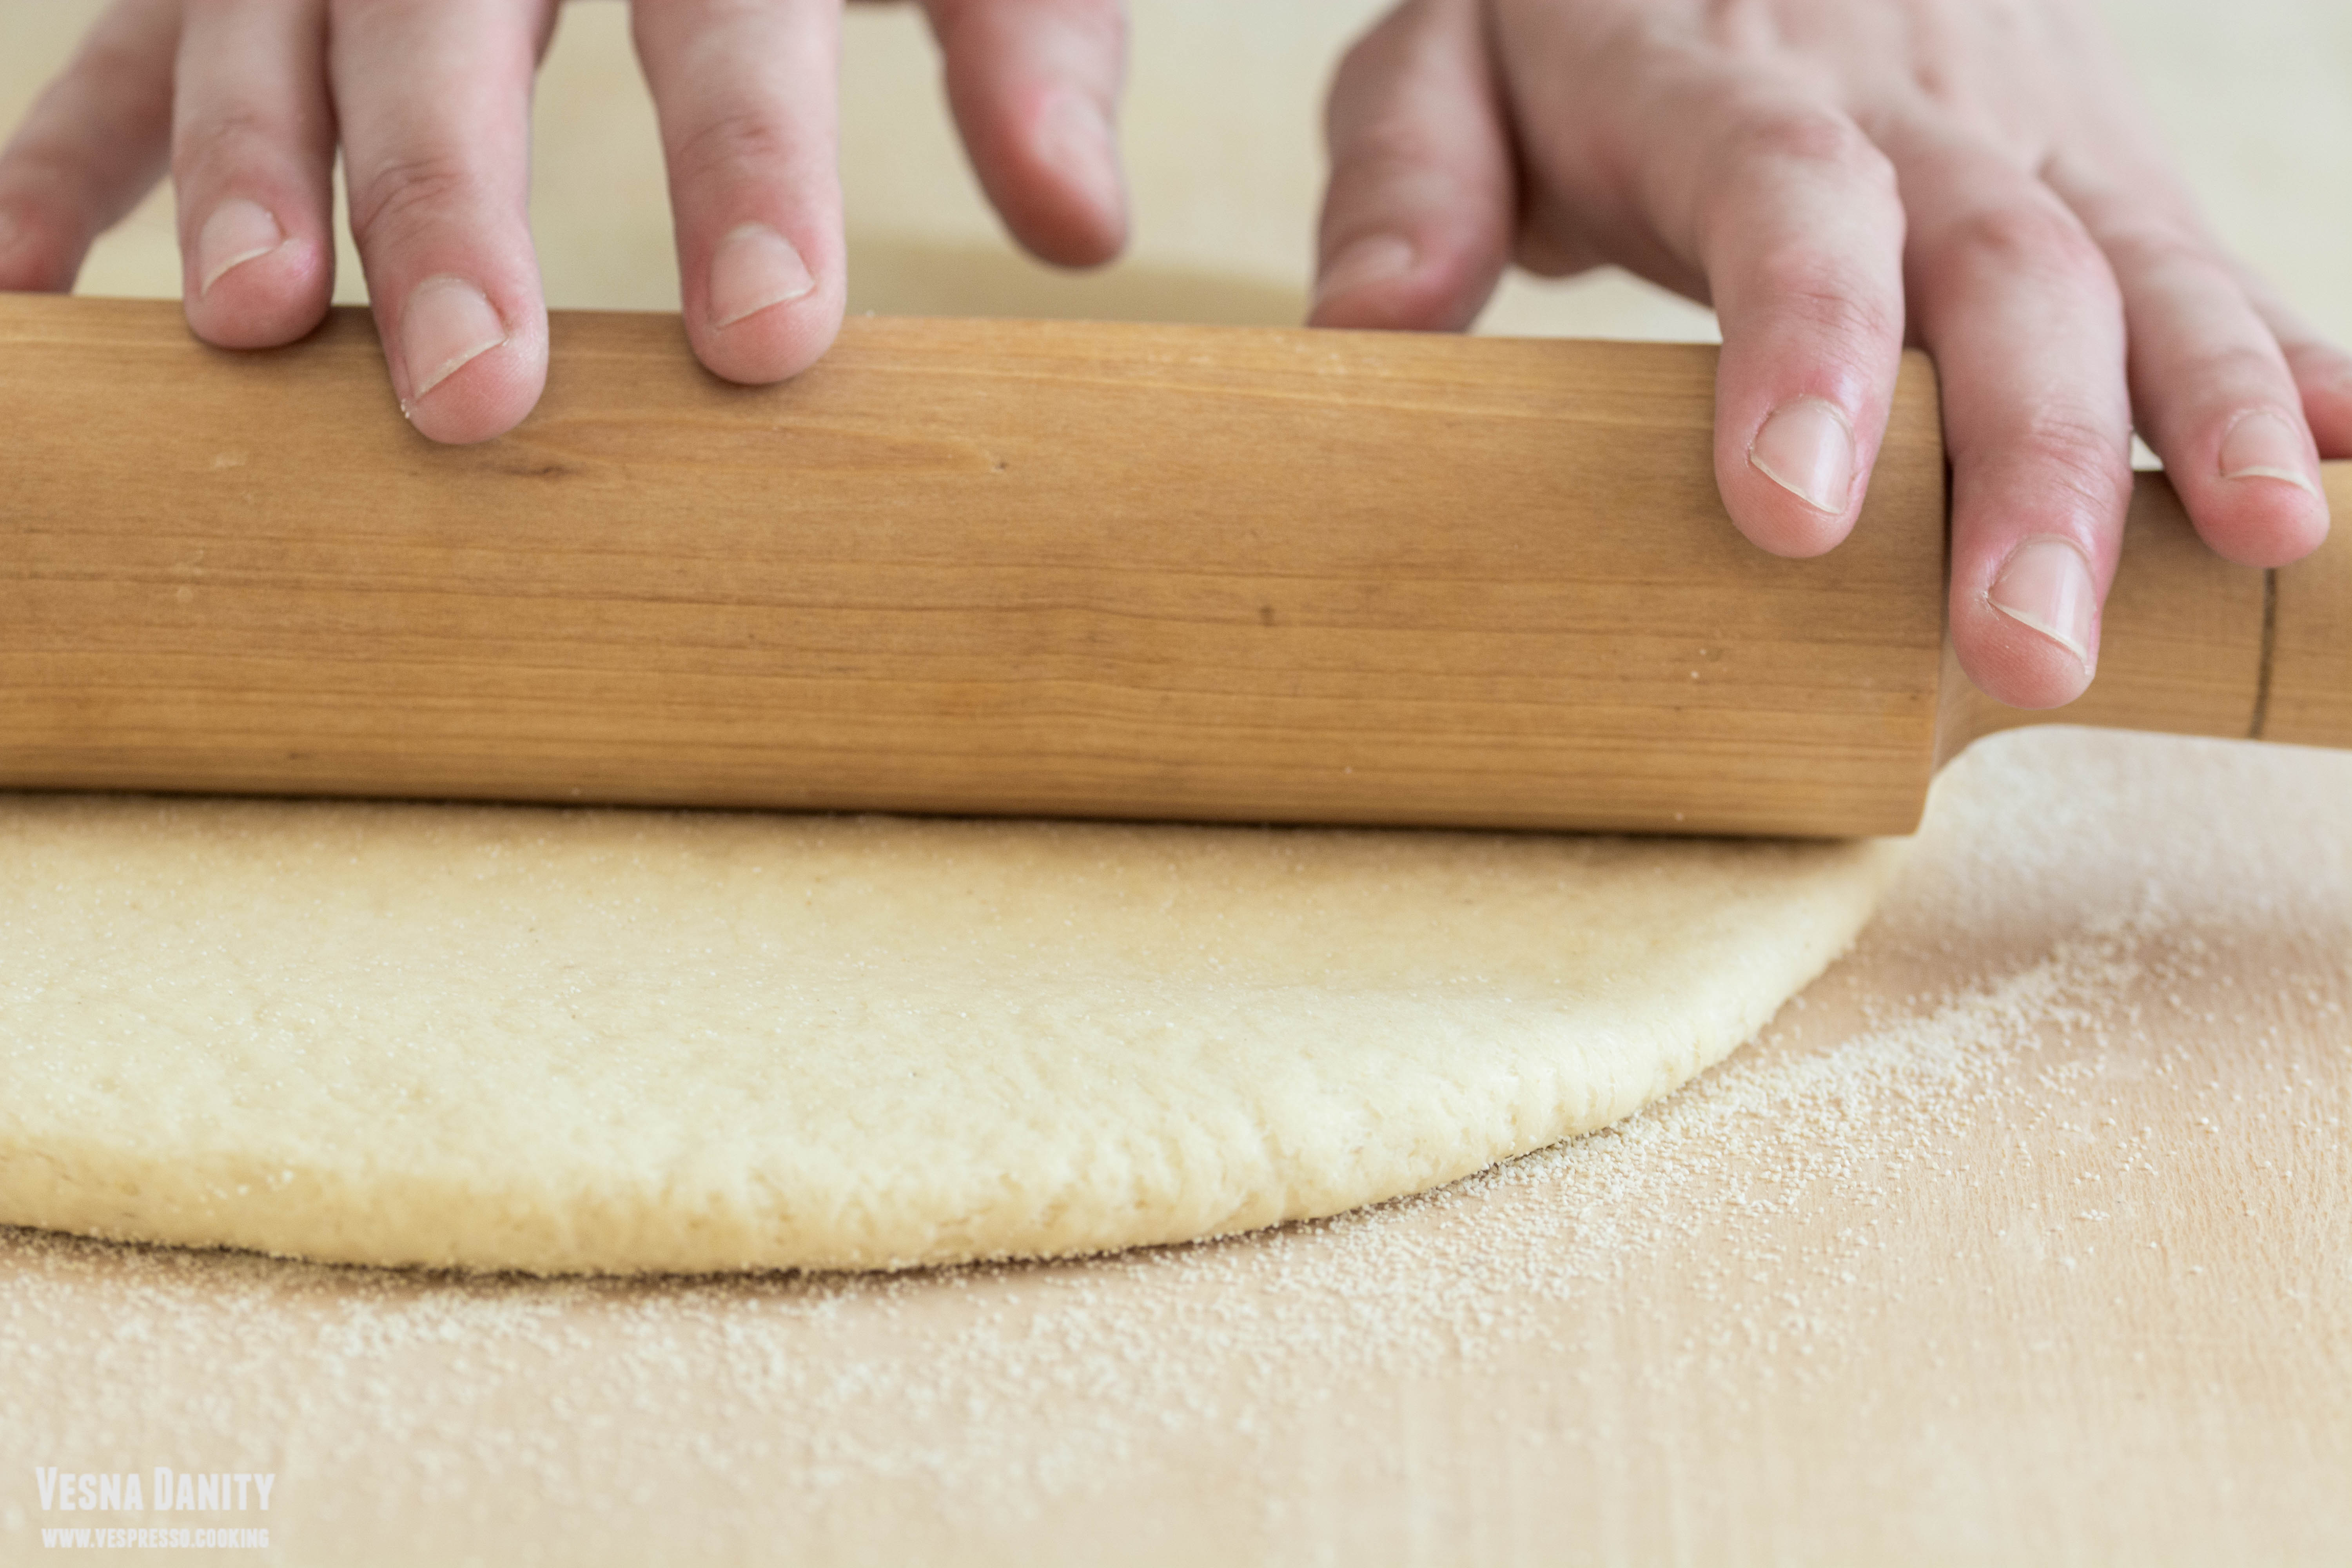
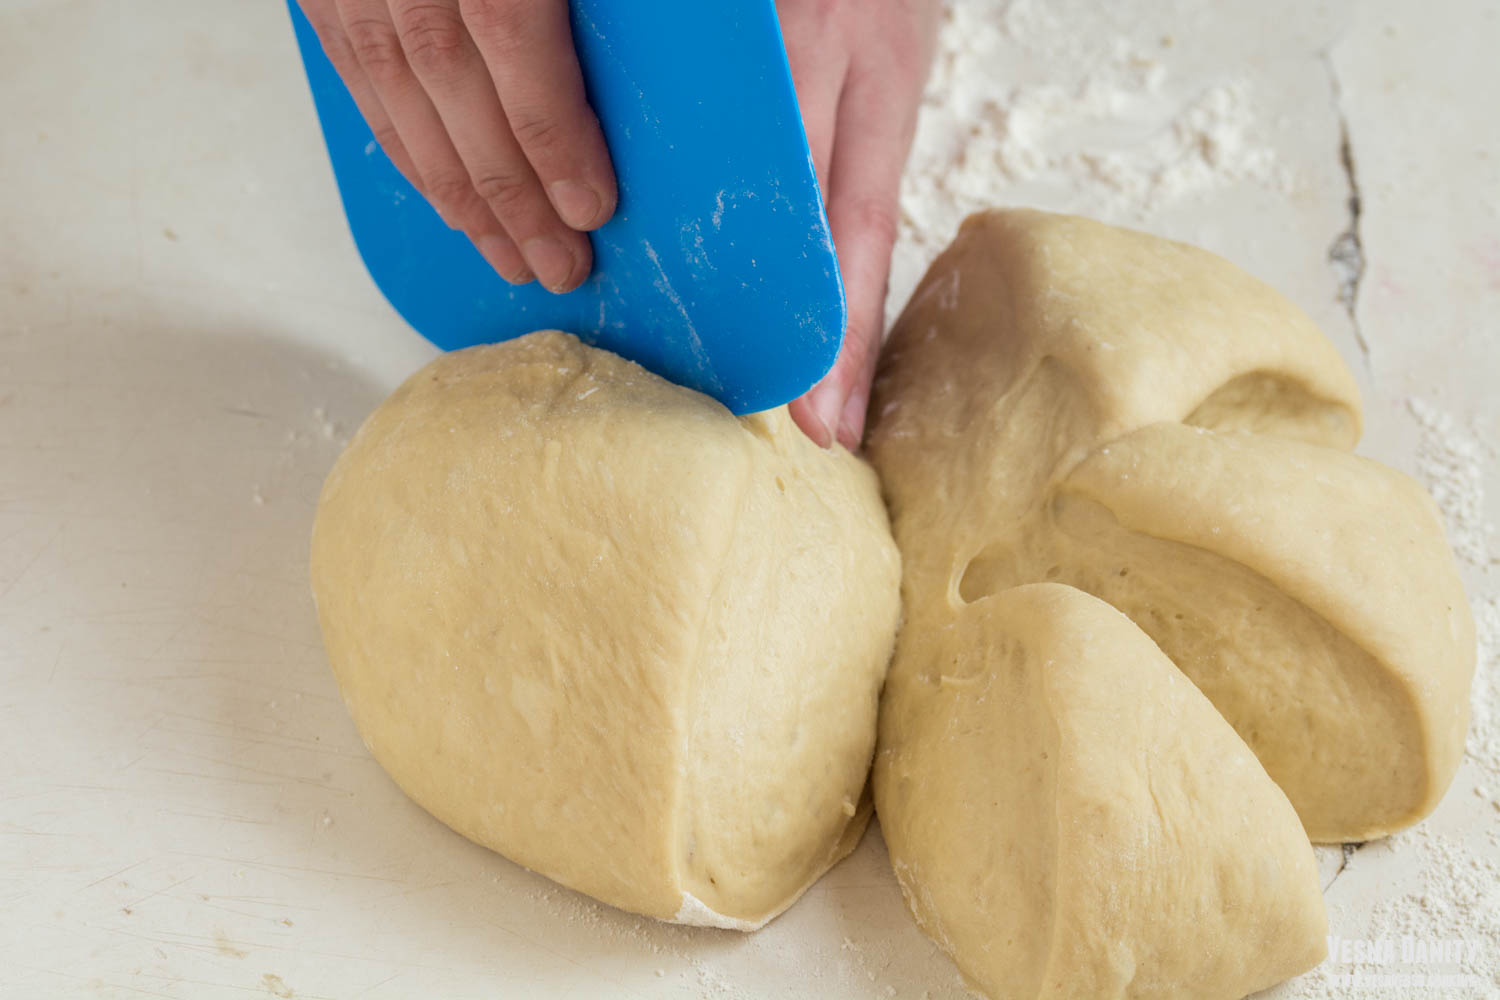
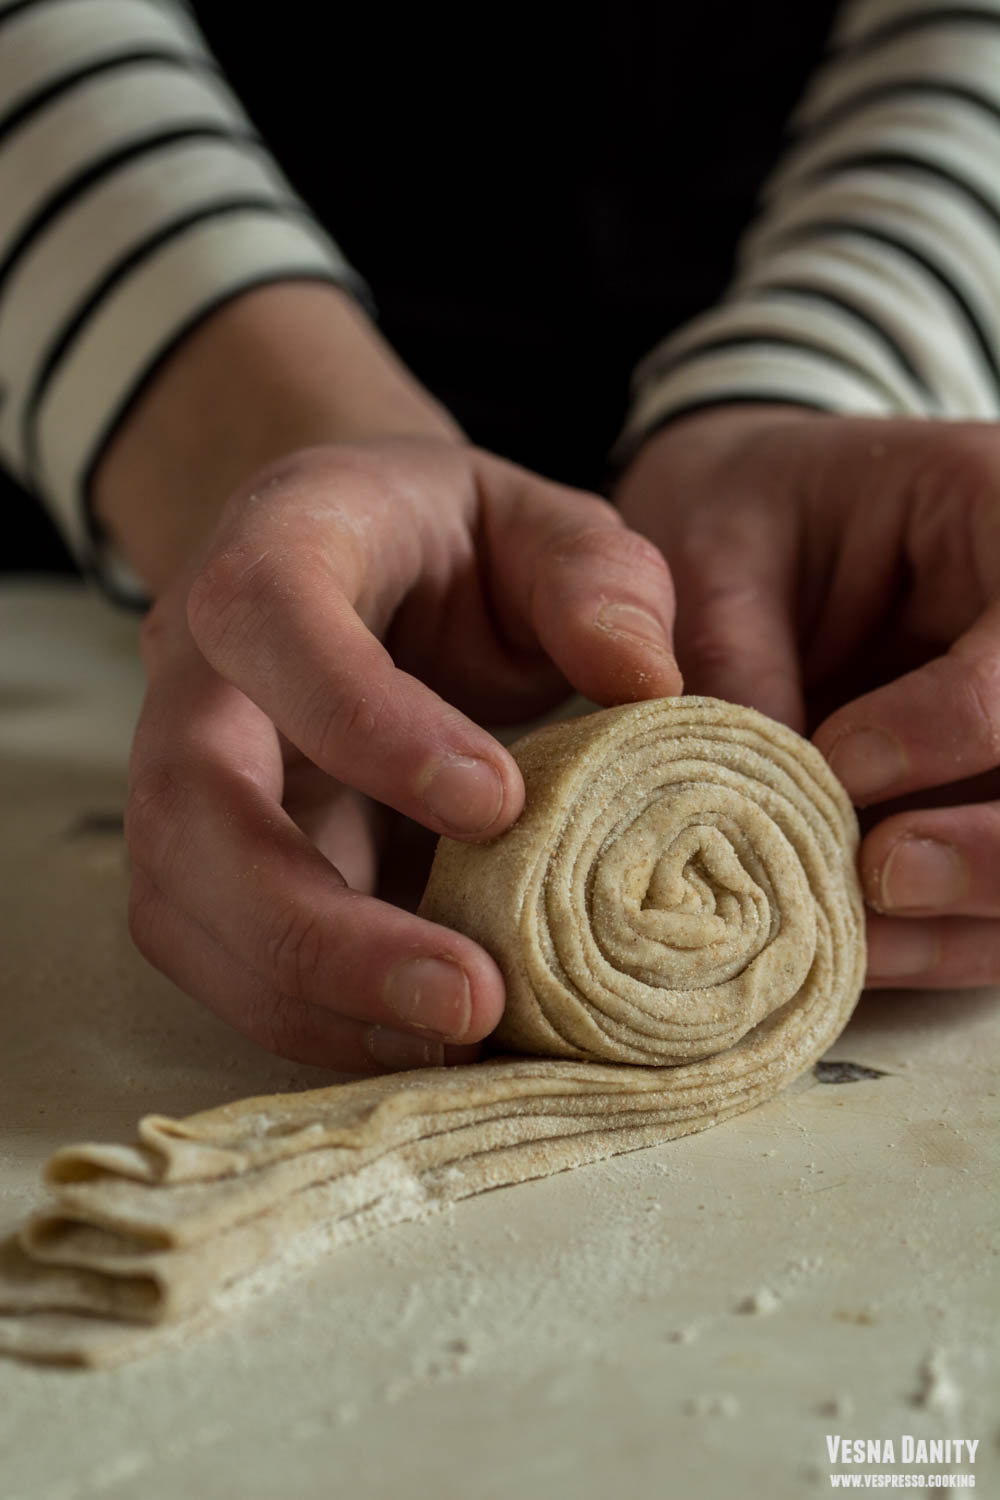
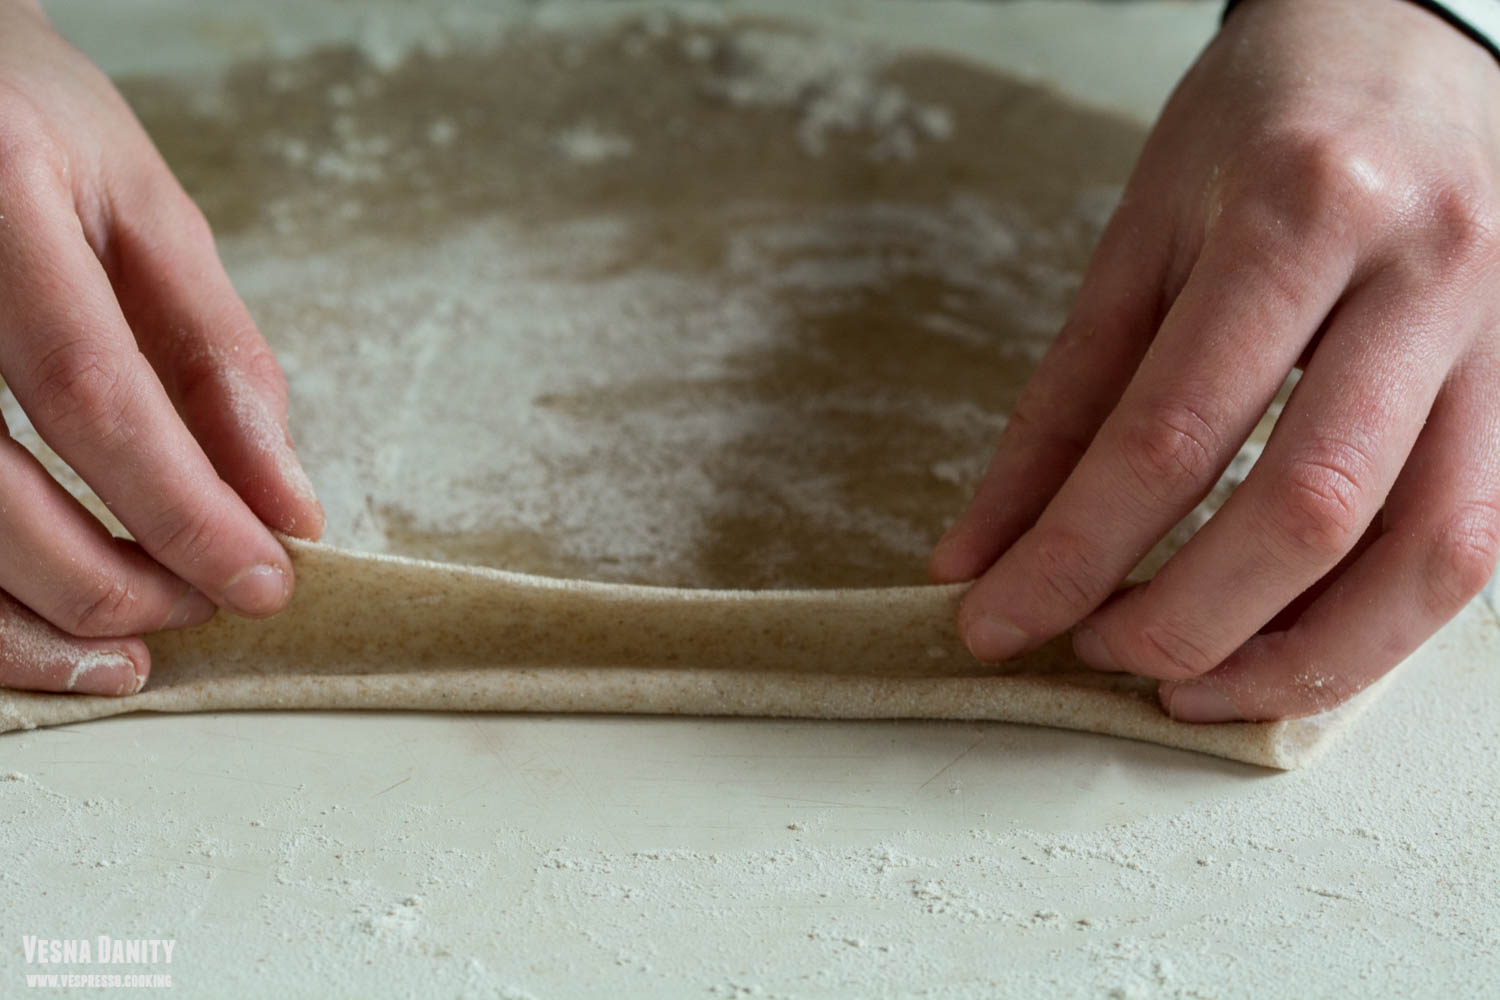
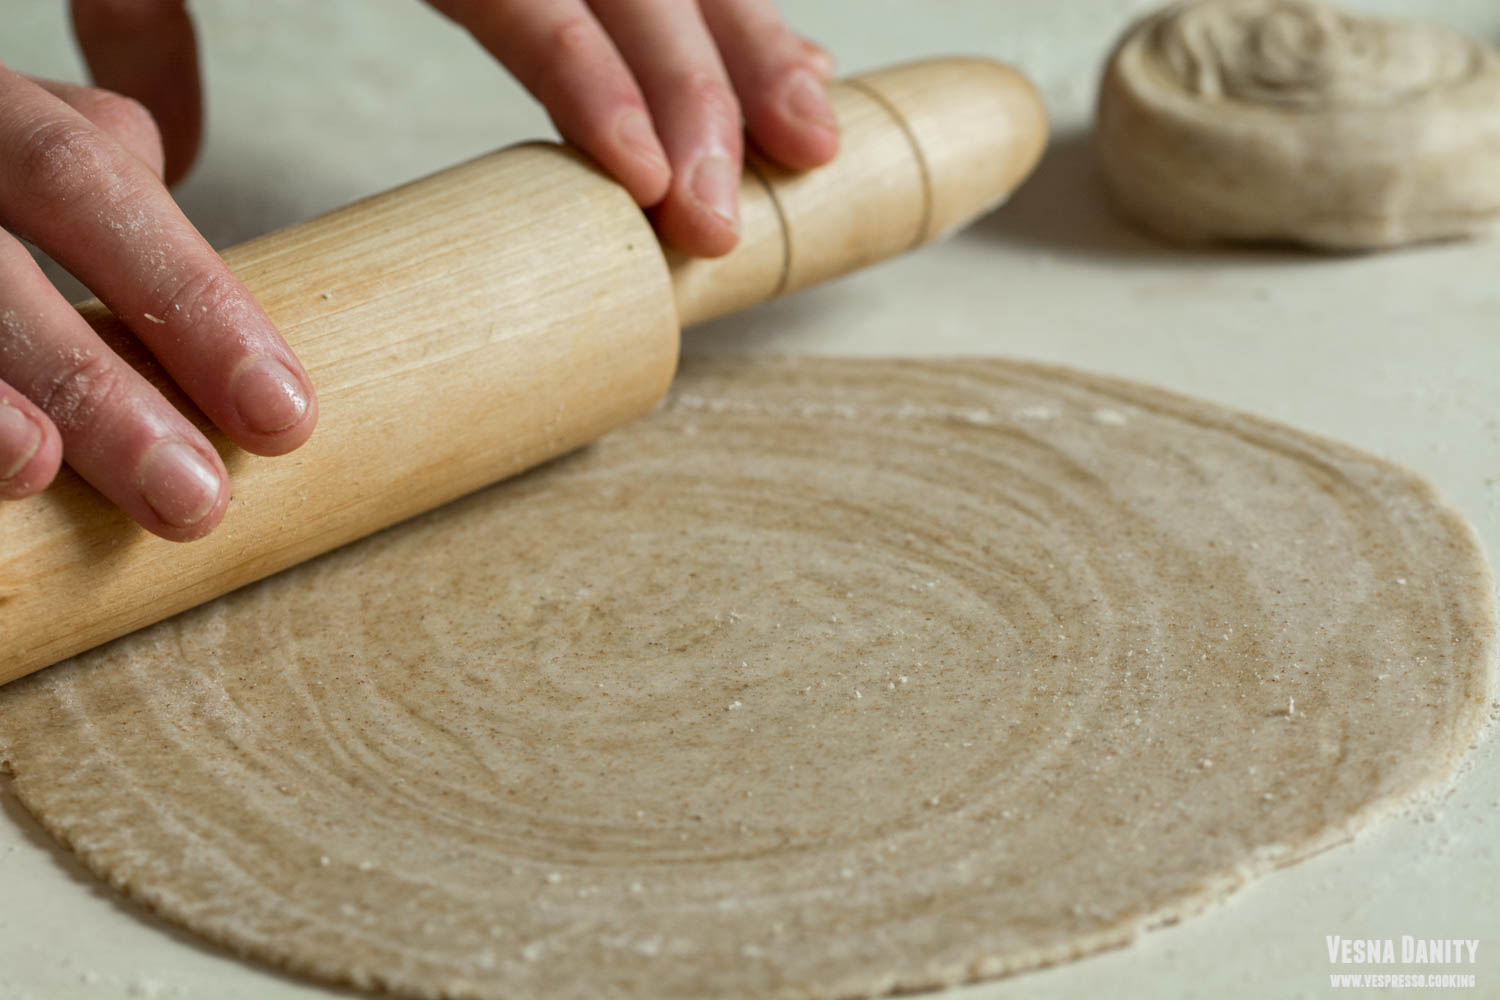
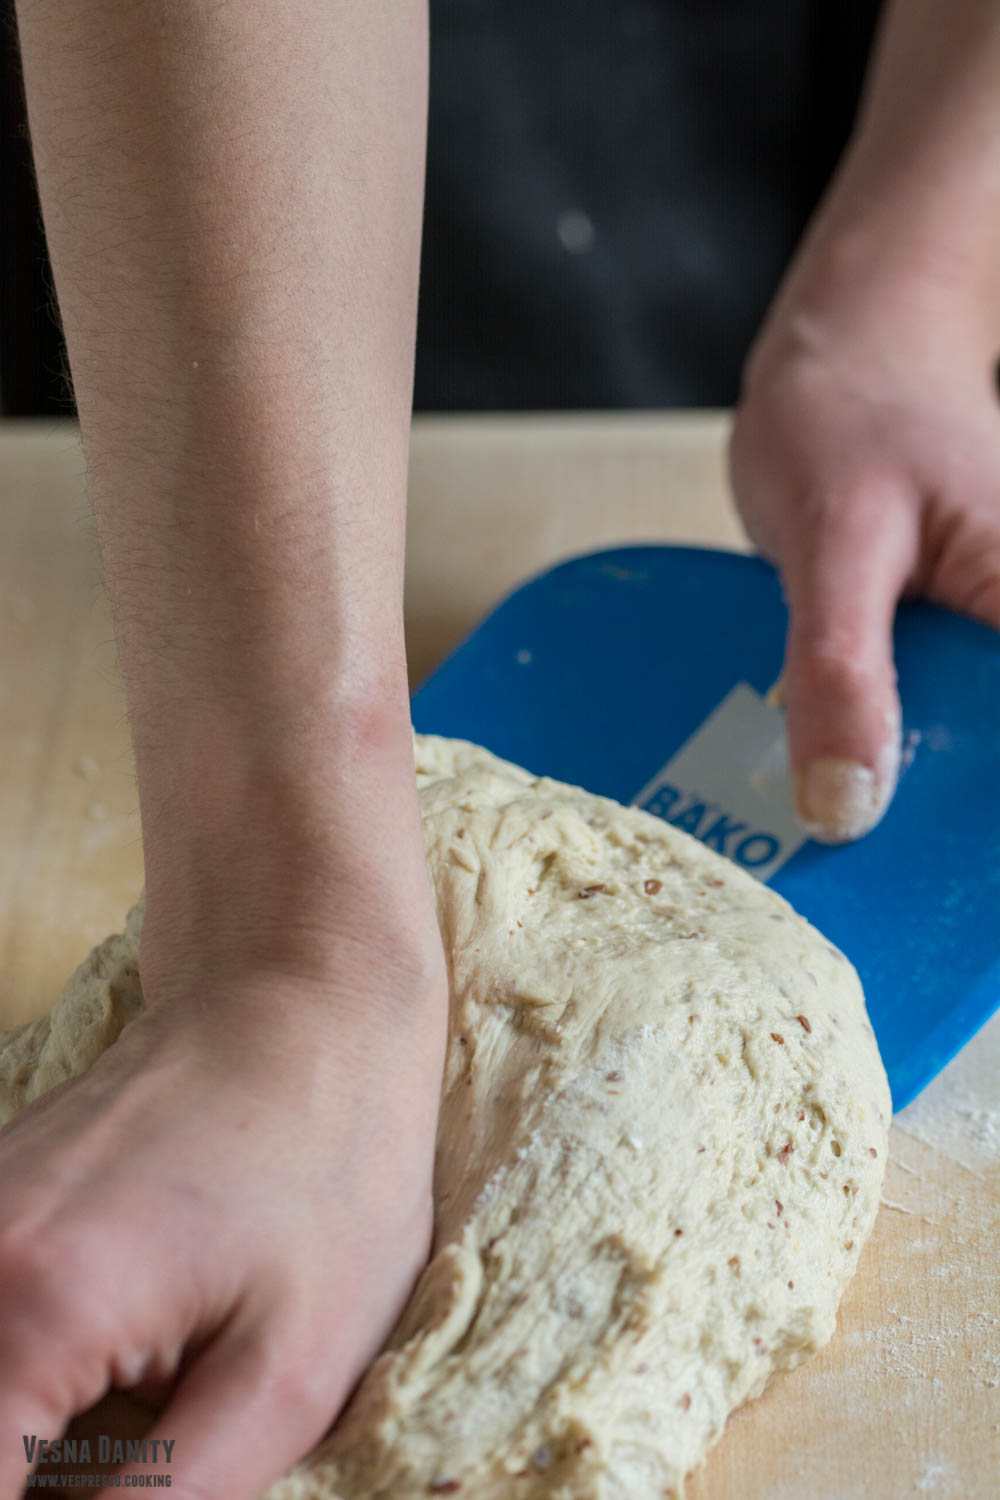
  5. Knead the dough. Bring the sticky dough on a floured working surface and knead it for 10 minutes. Use a dough scraper to knead the ball.
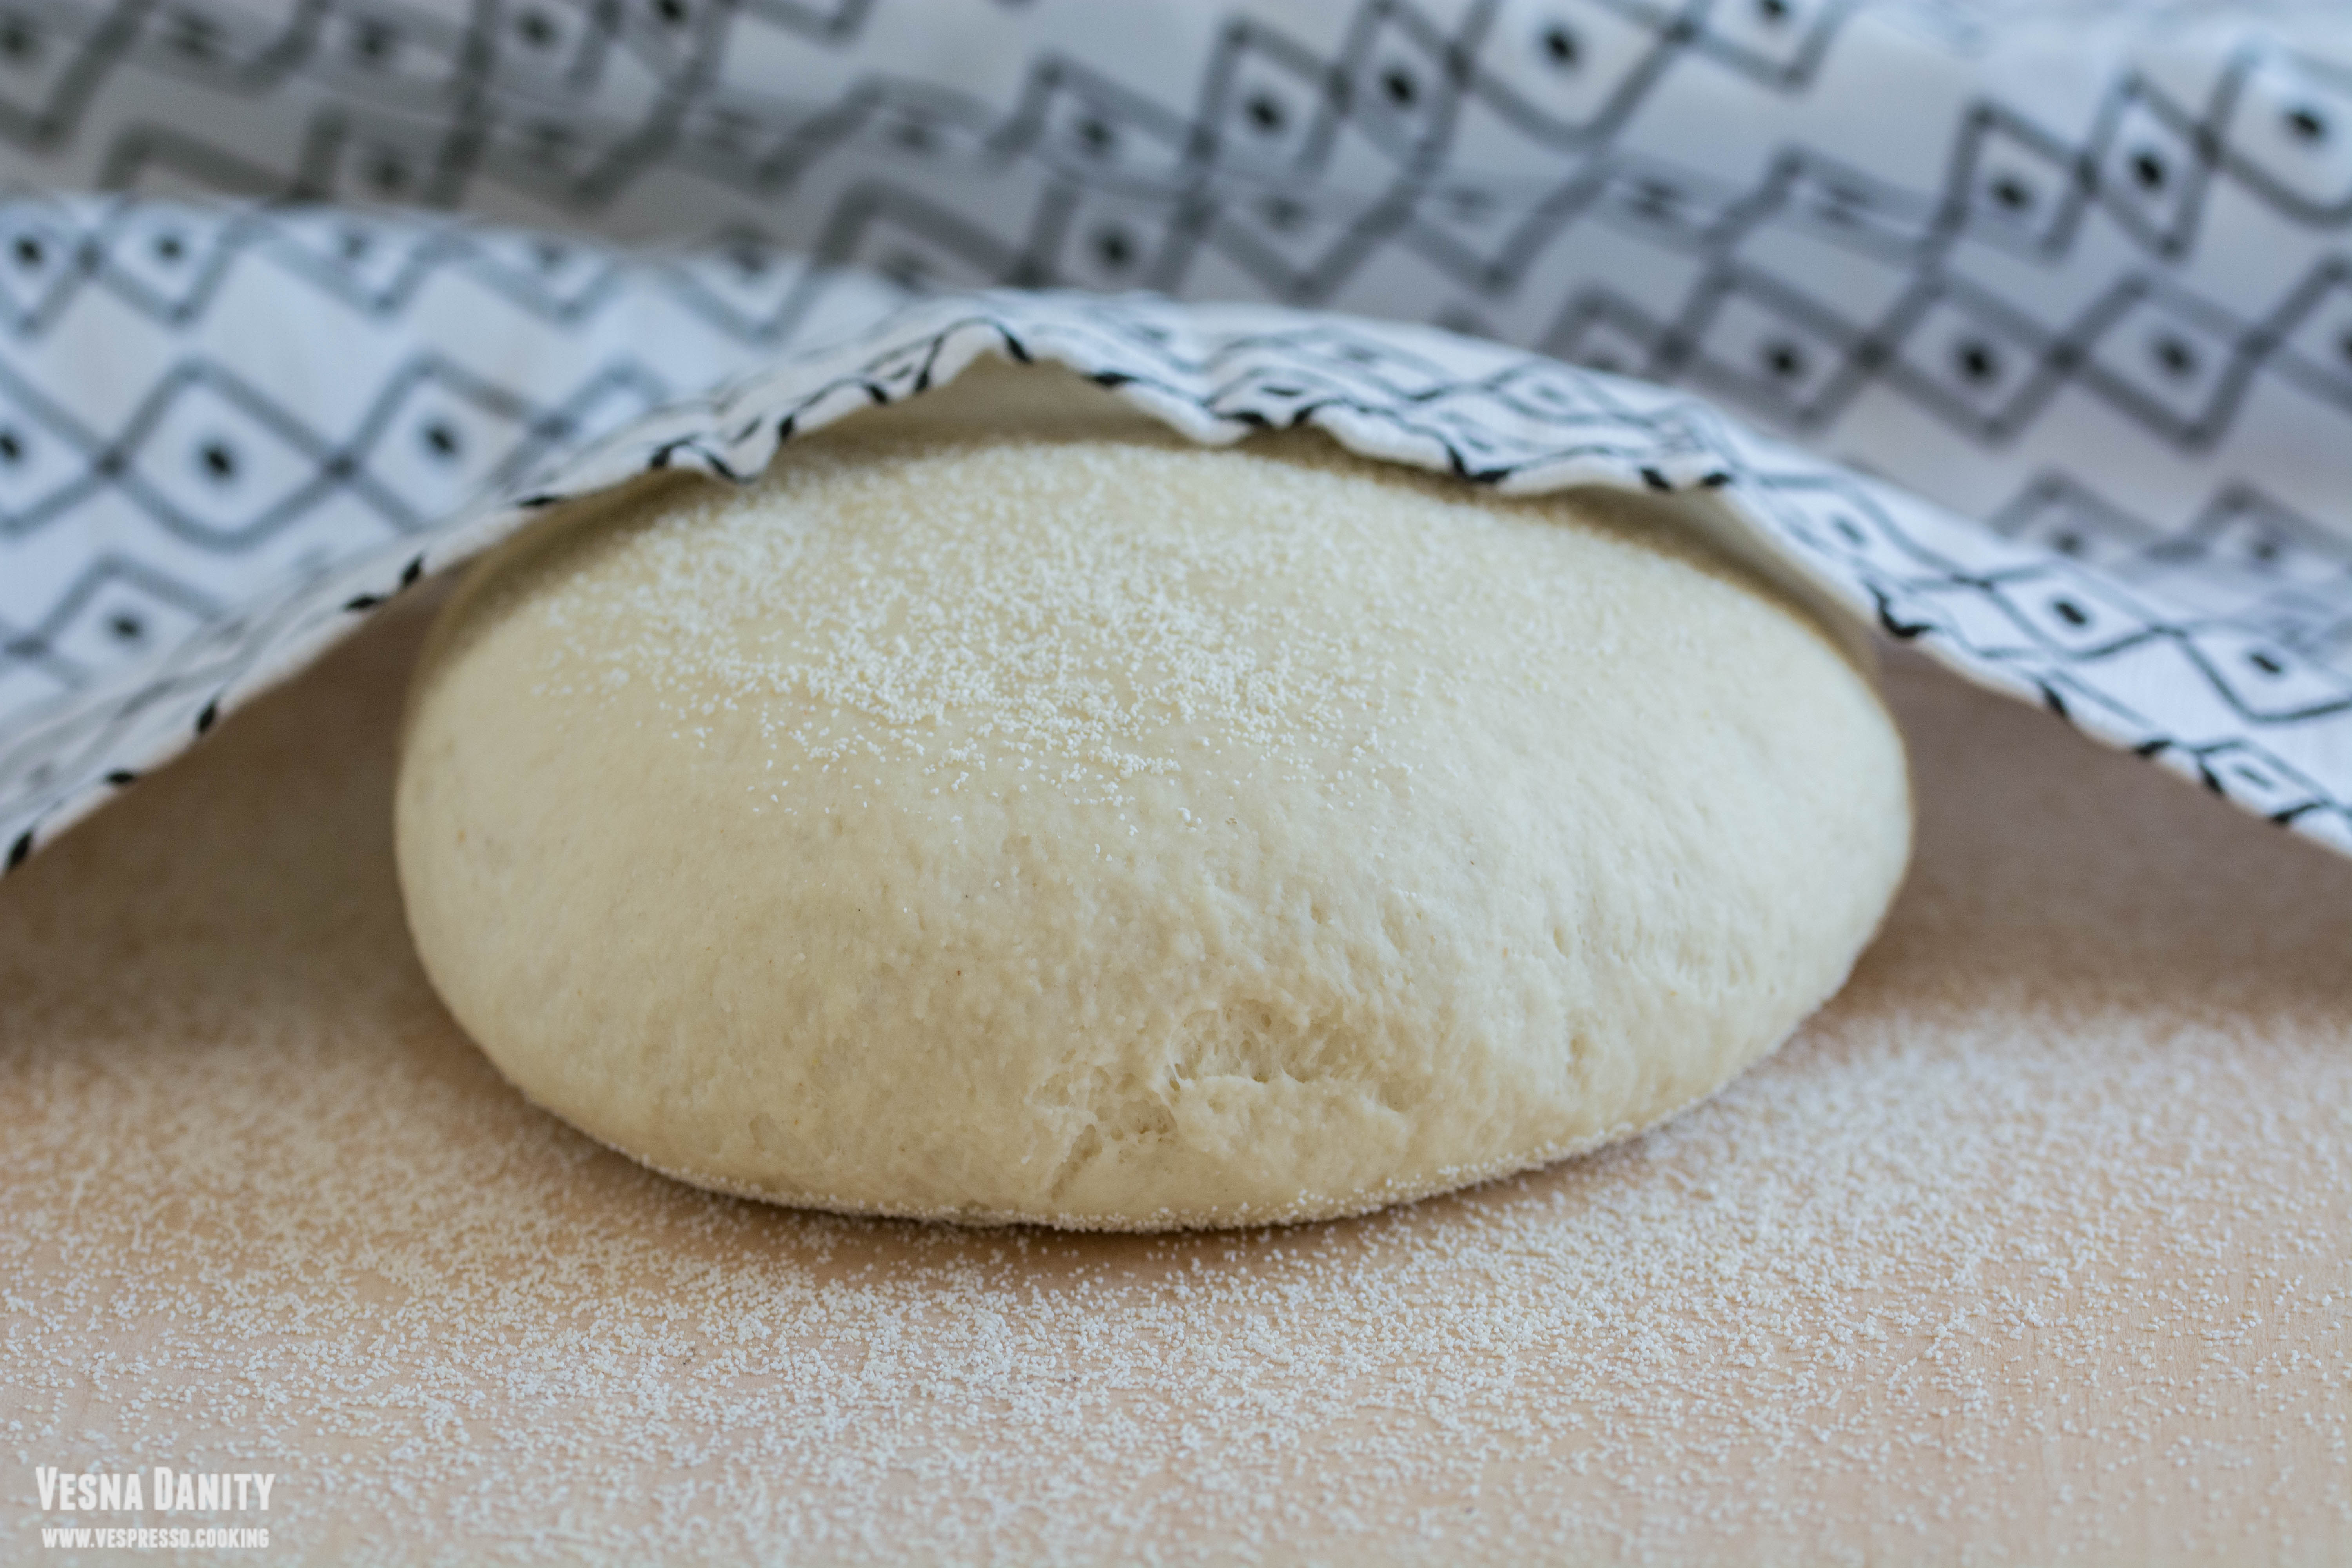
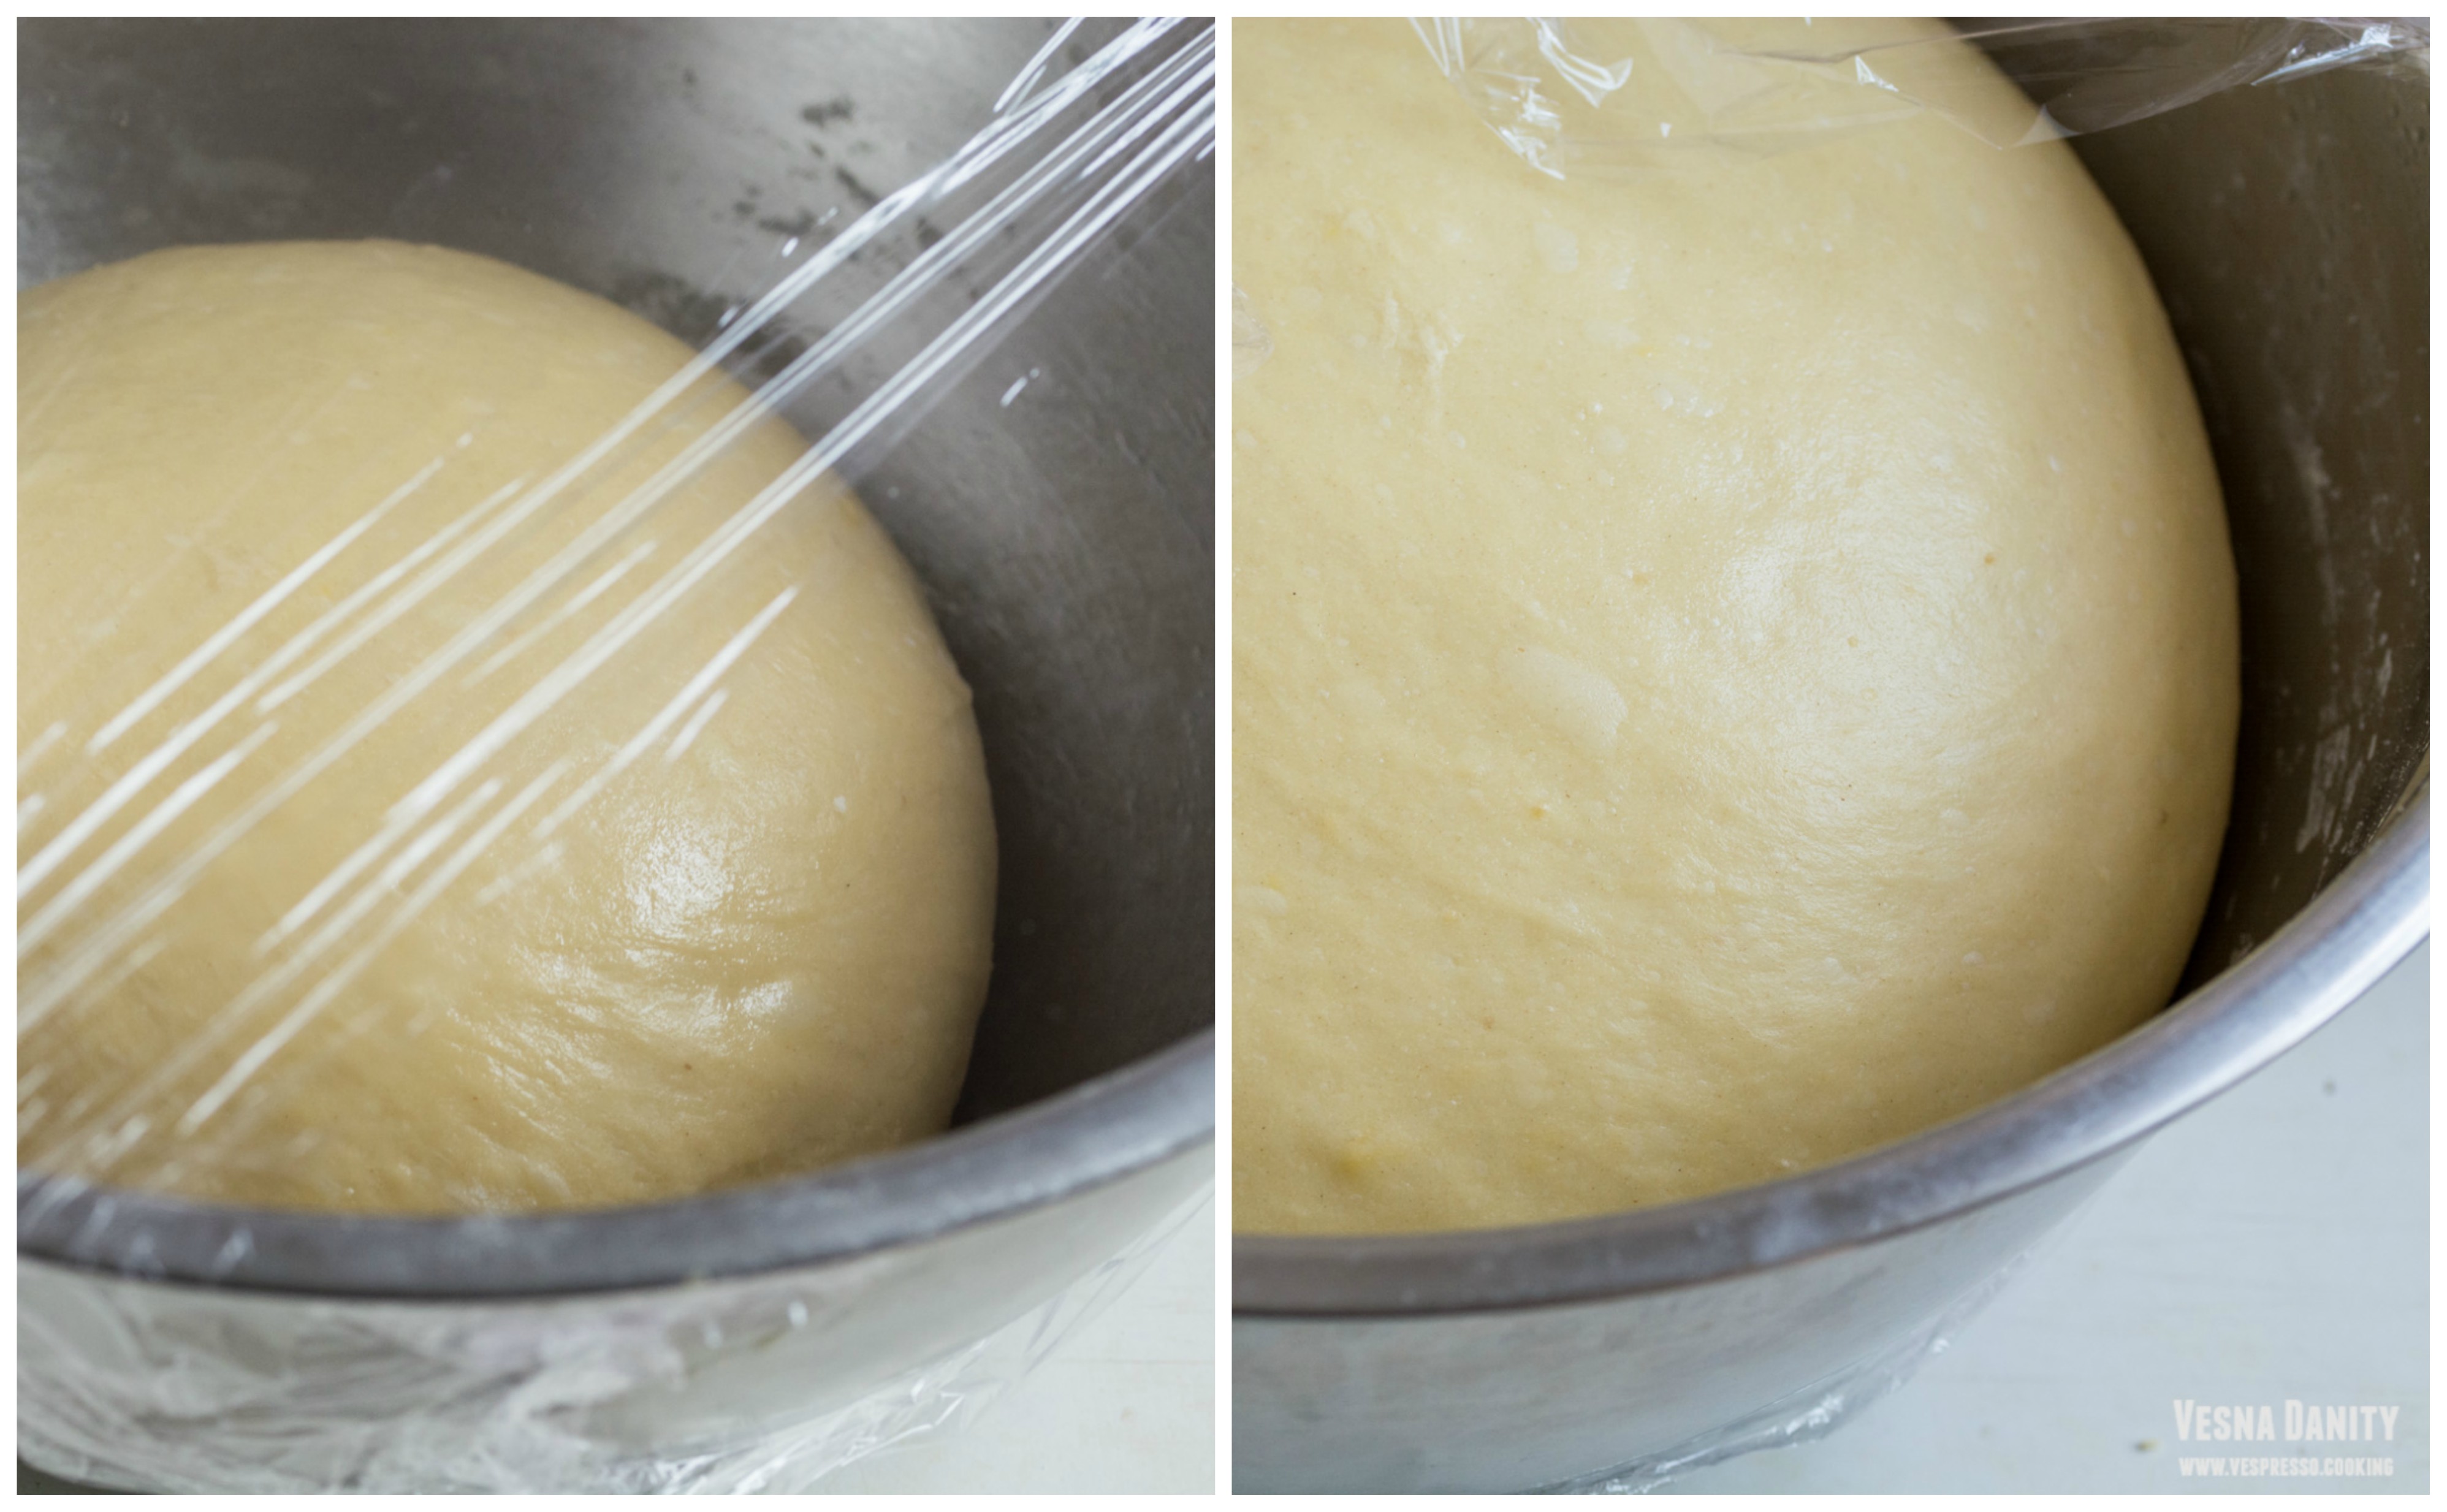
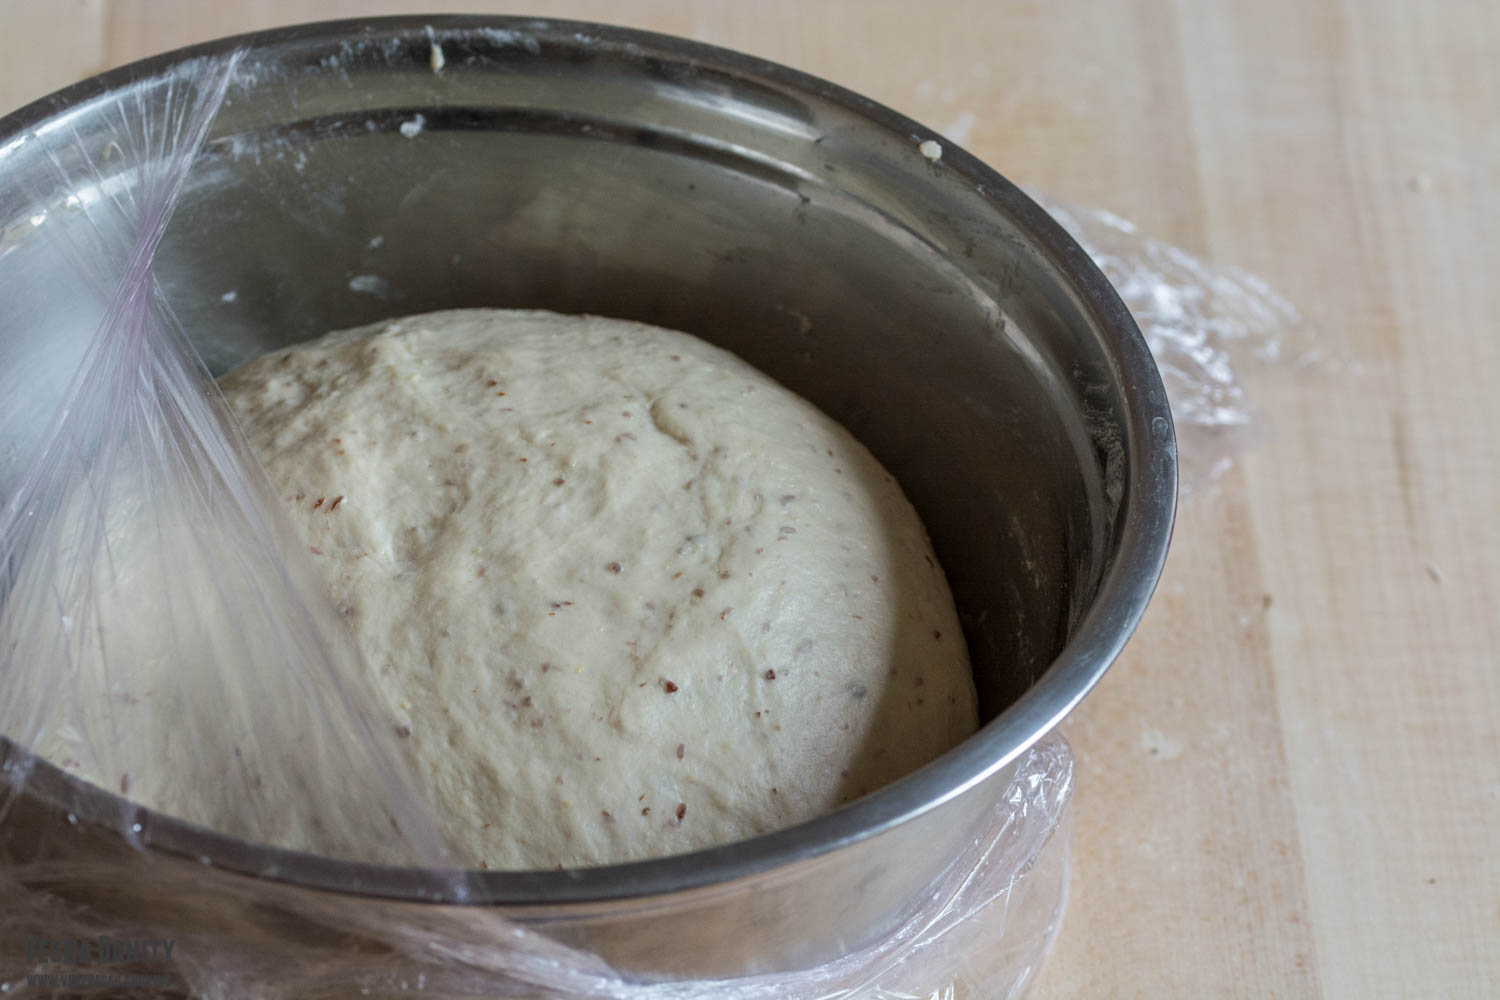
  6. Proof. Place the dough in the bowl, cover with cling film and let it rise in a warm place until doubled in size (about 1 hour).
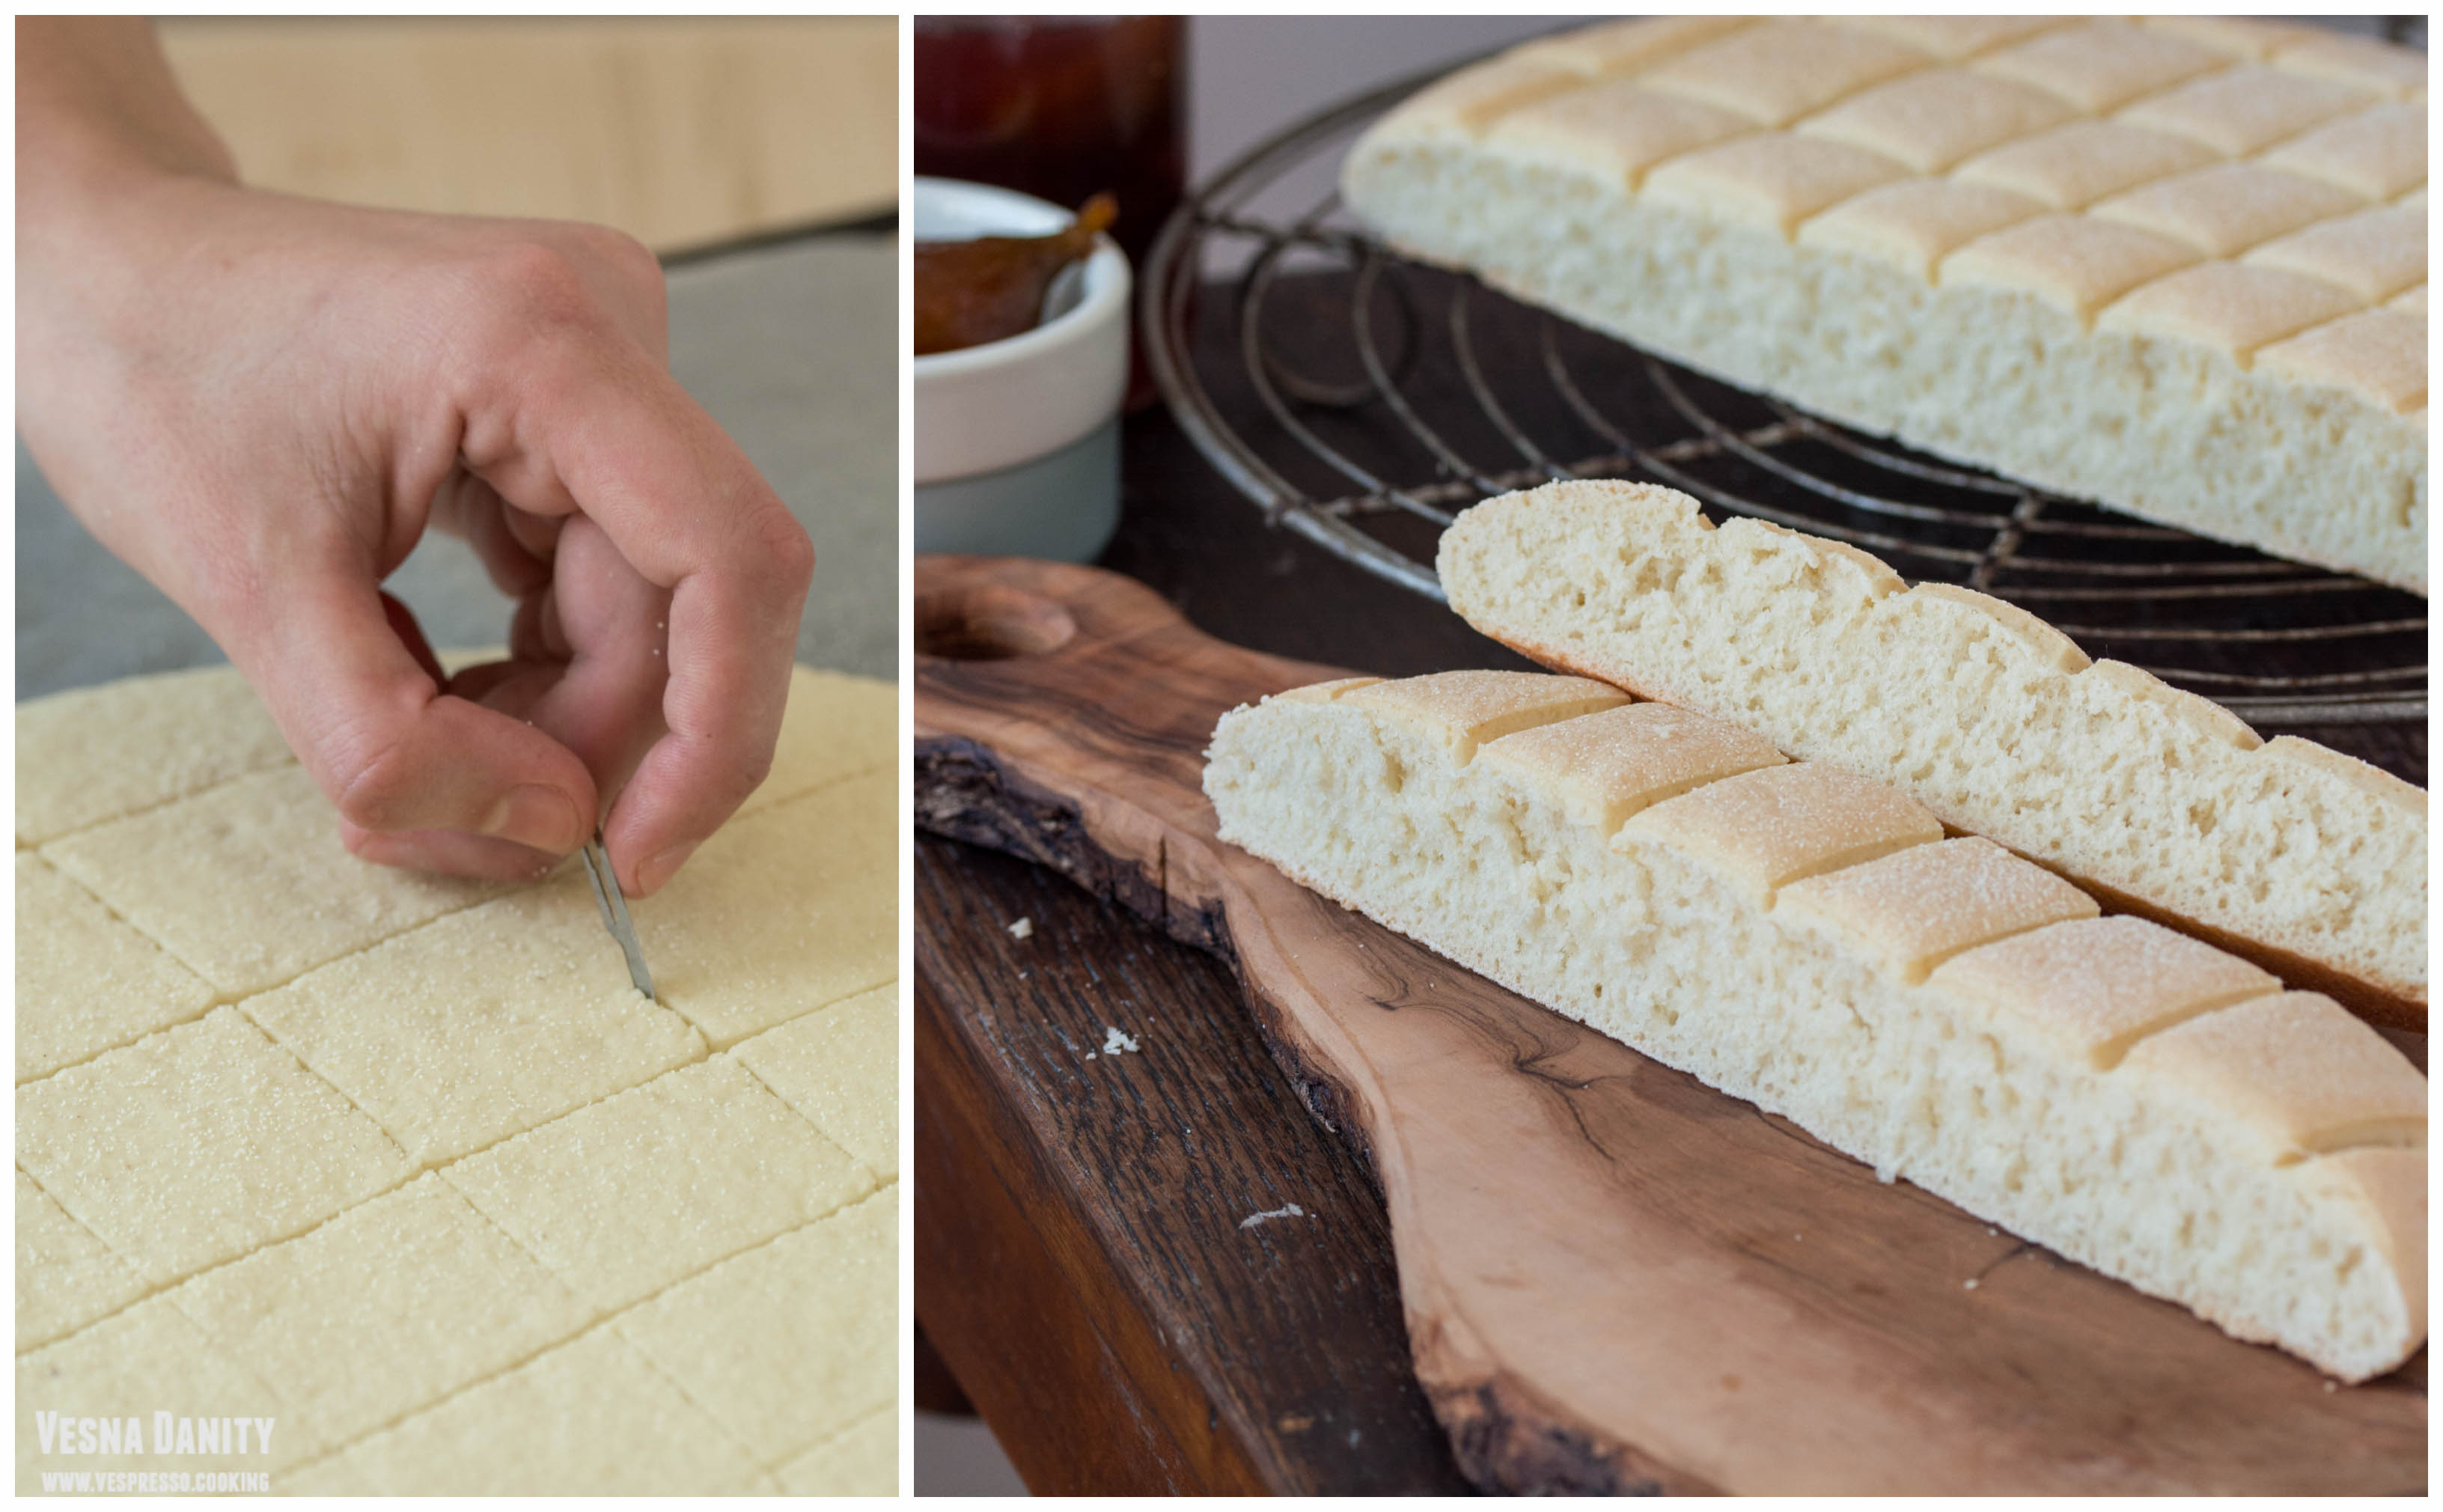
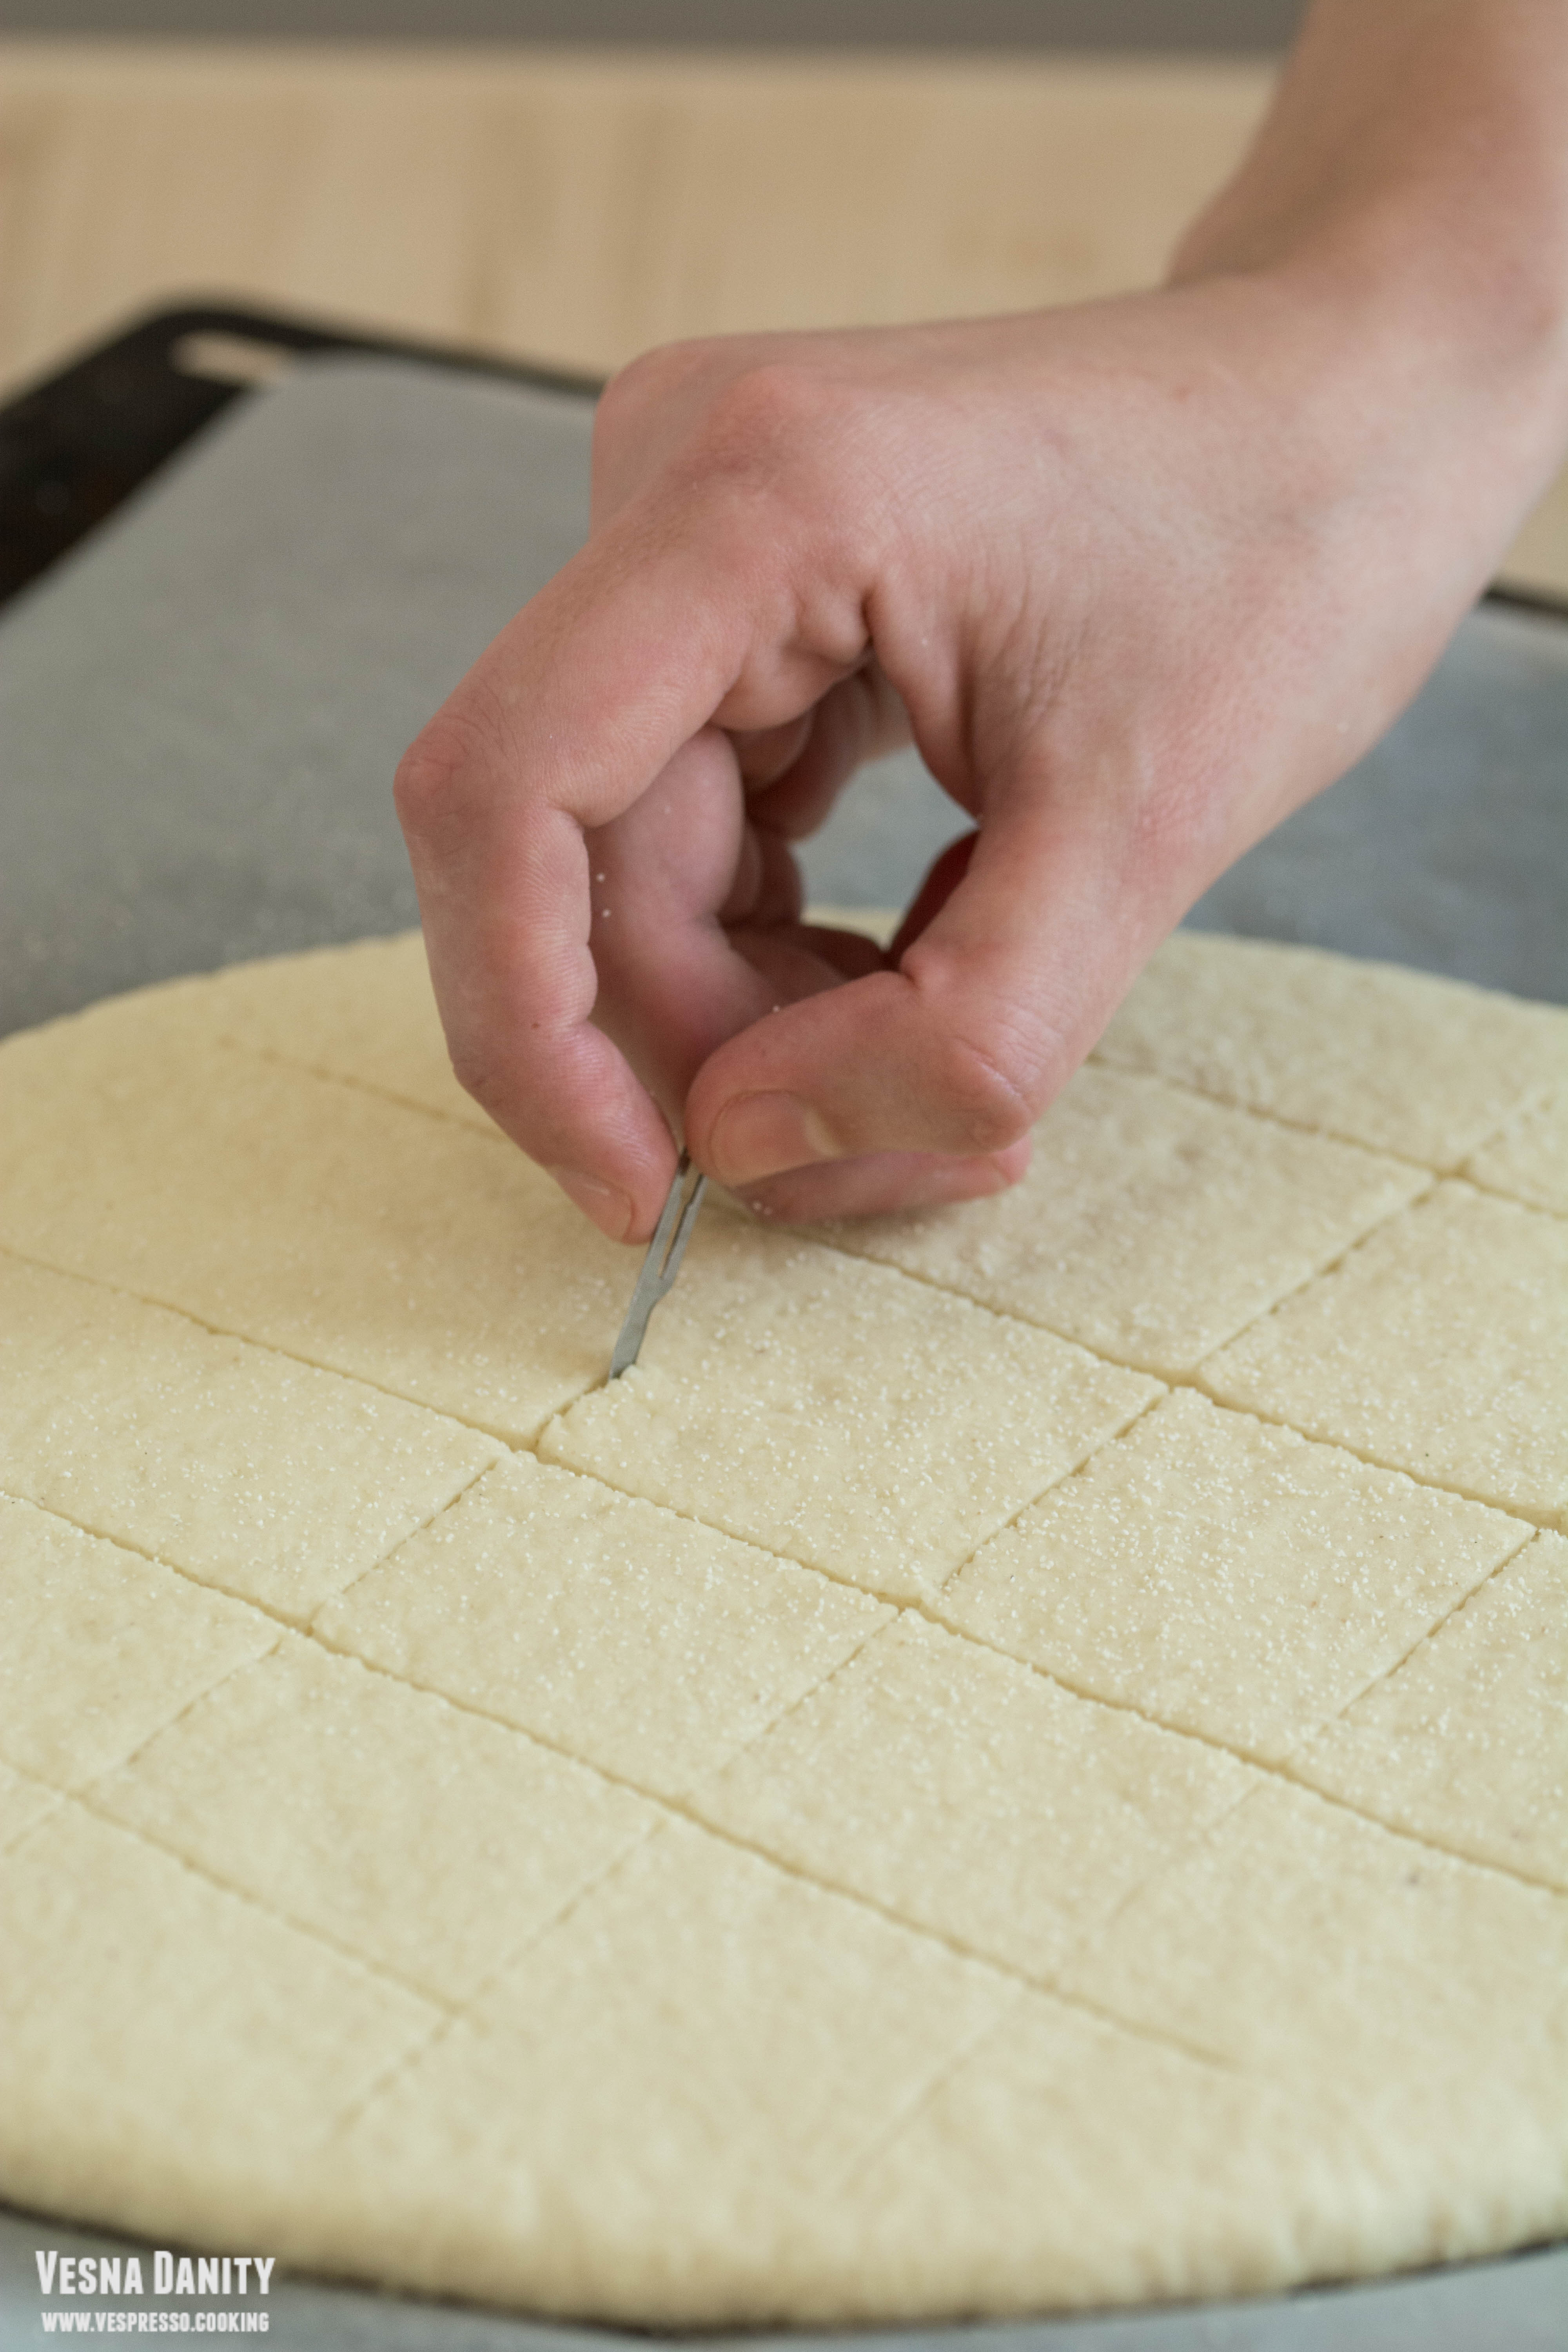
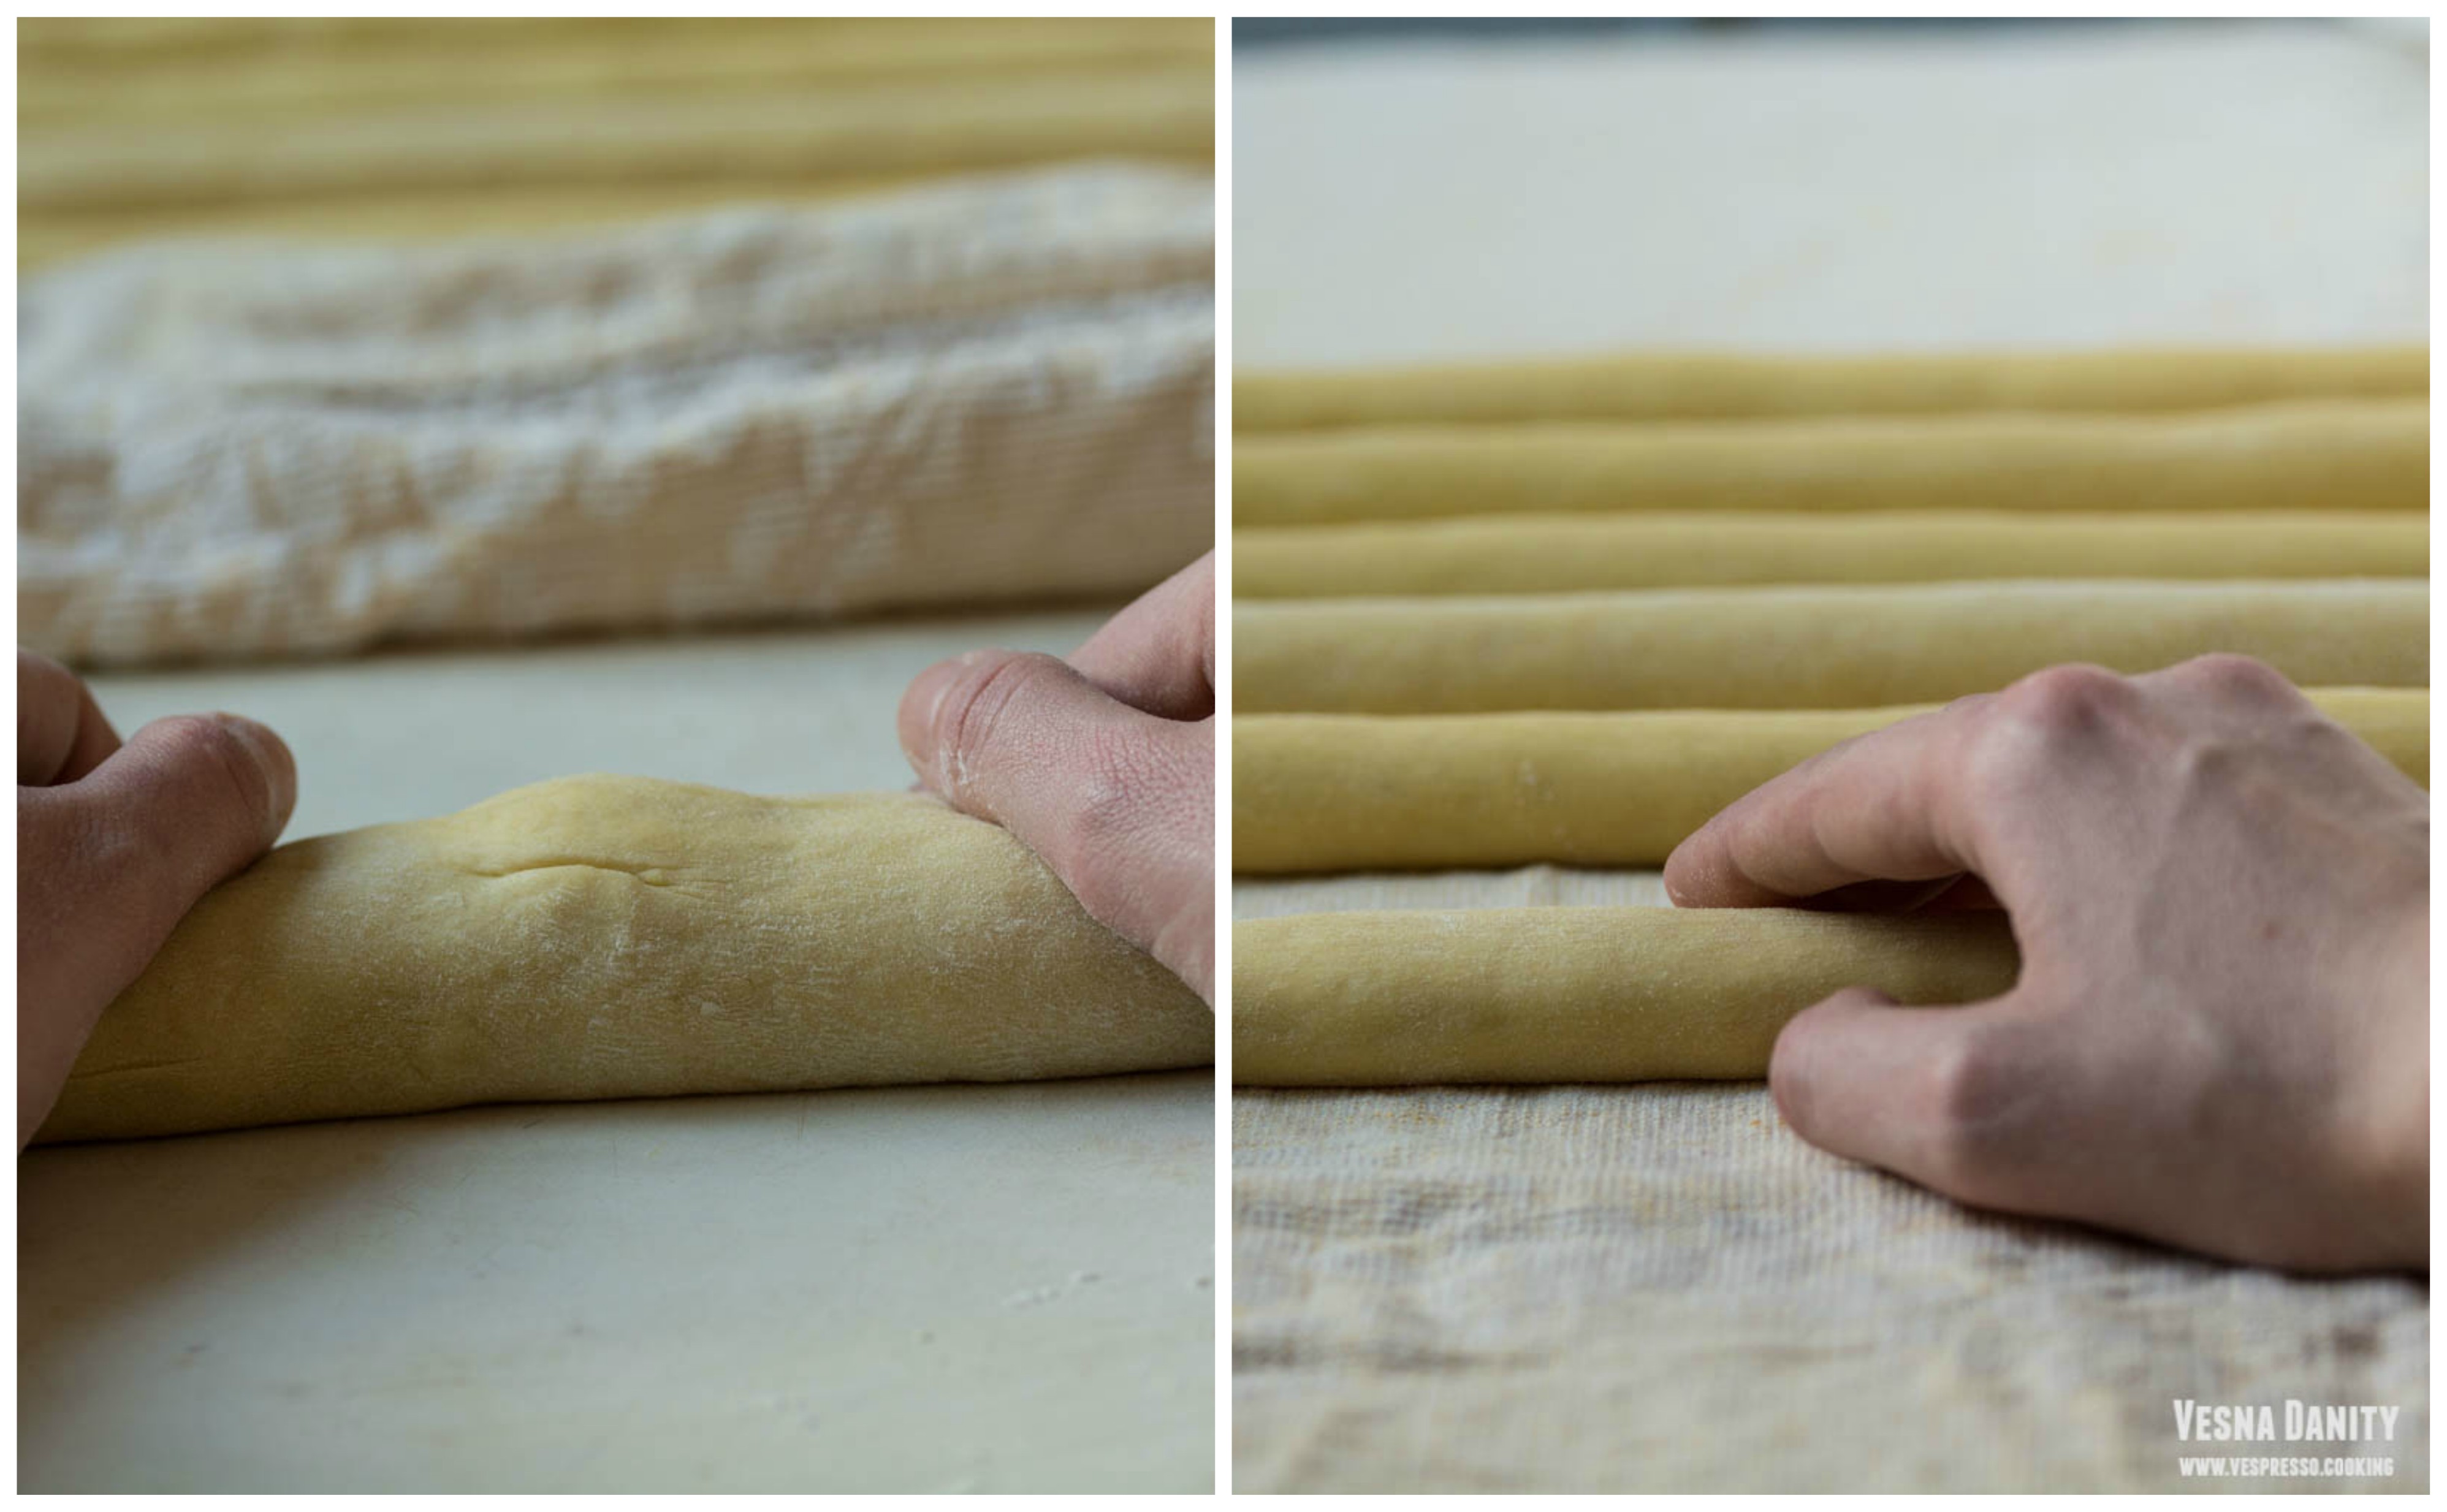
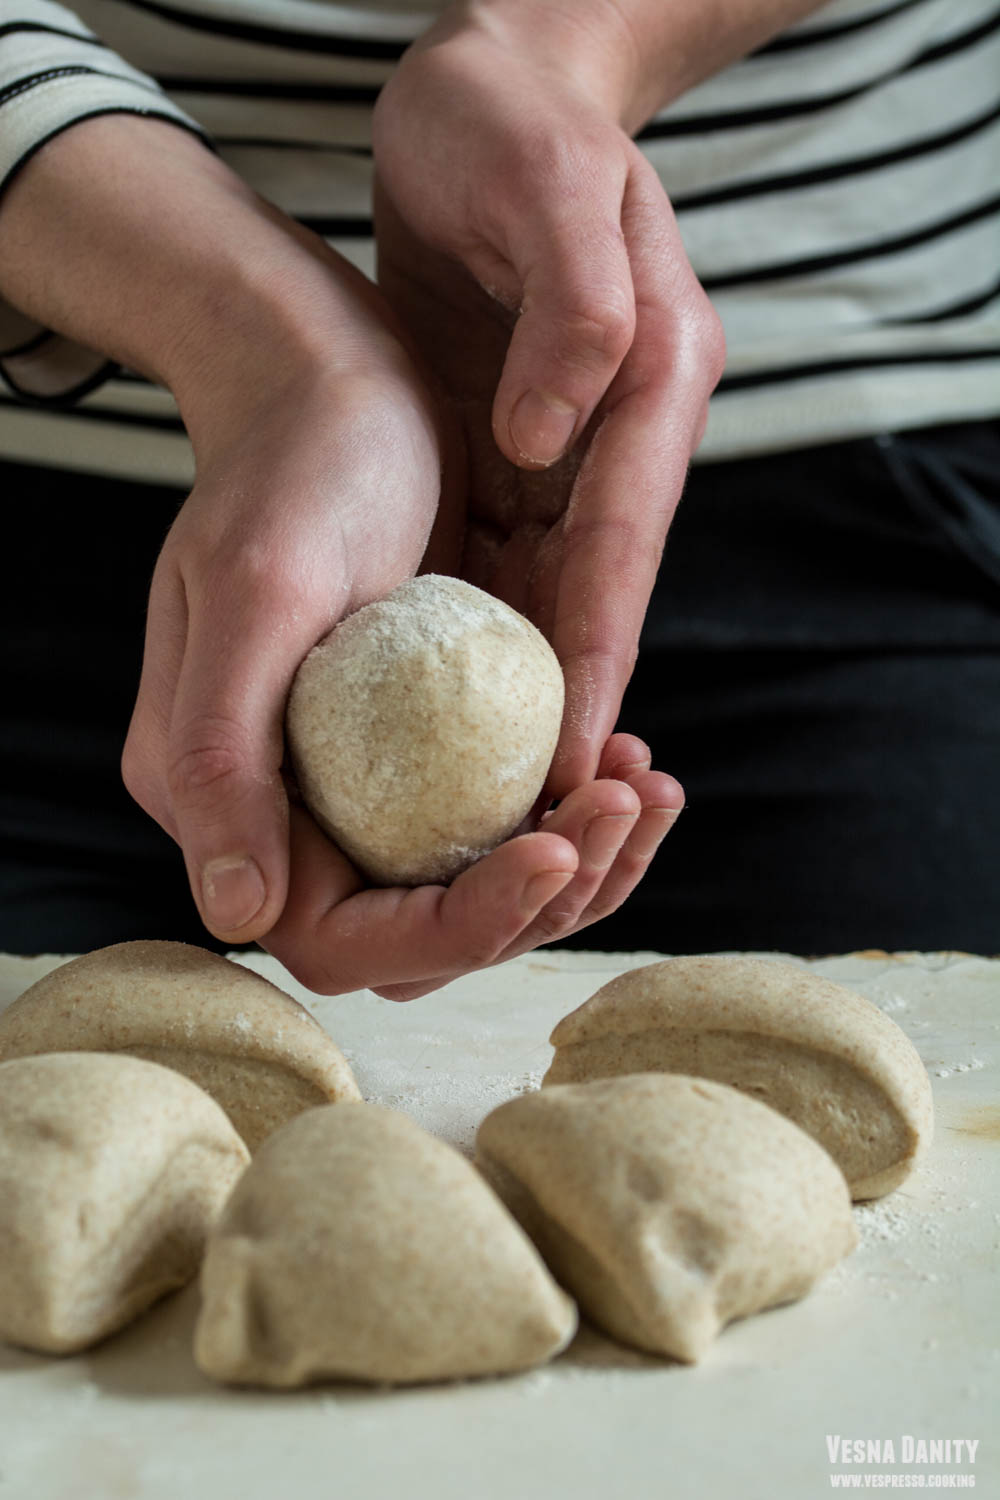
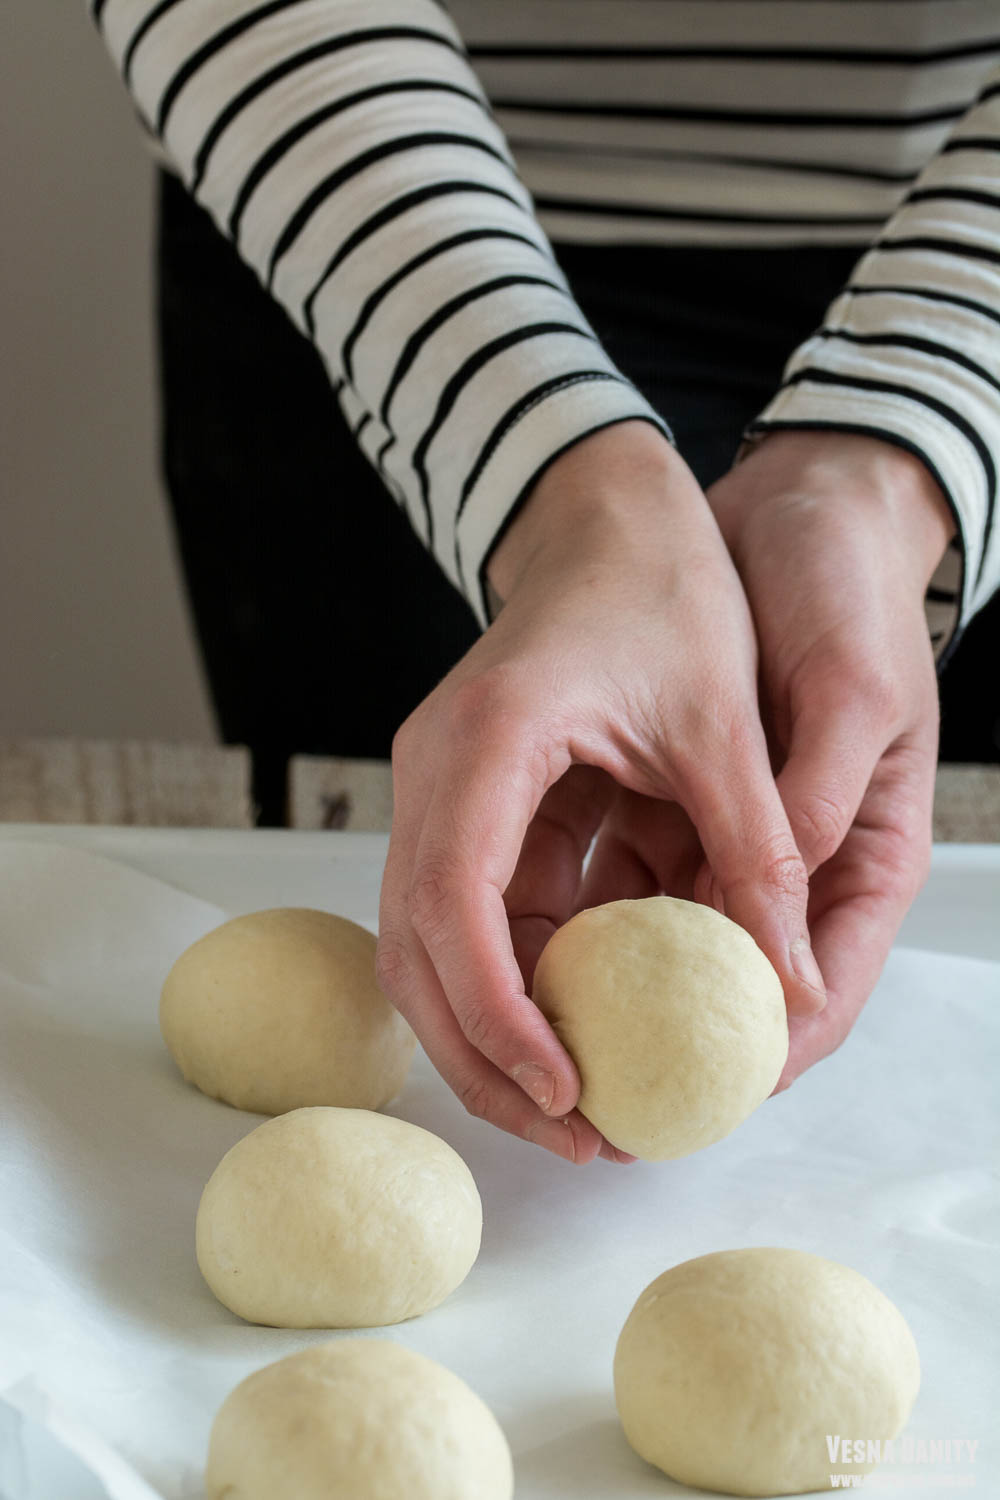
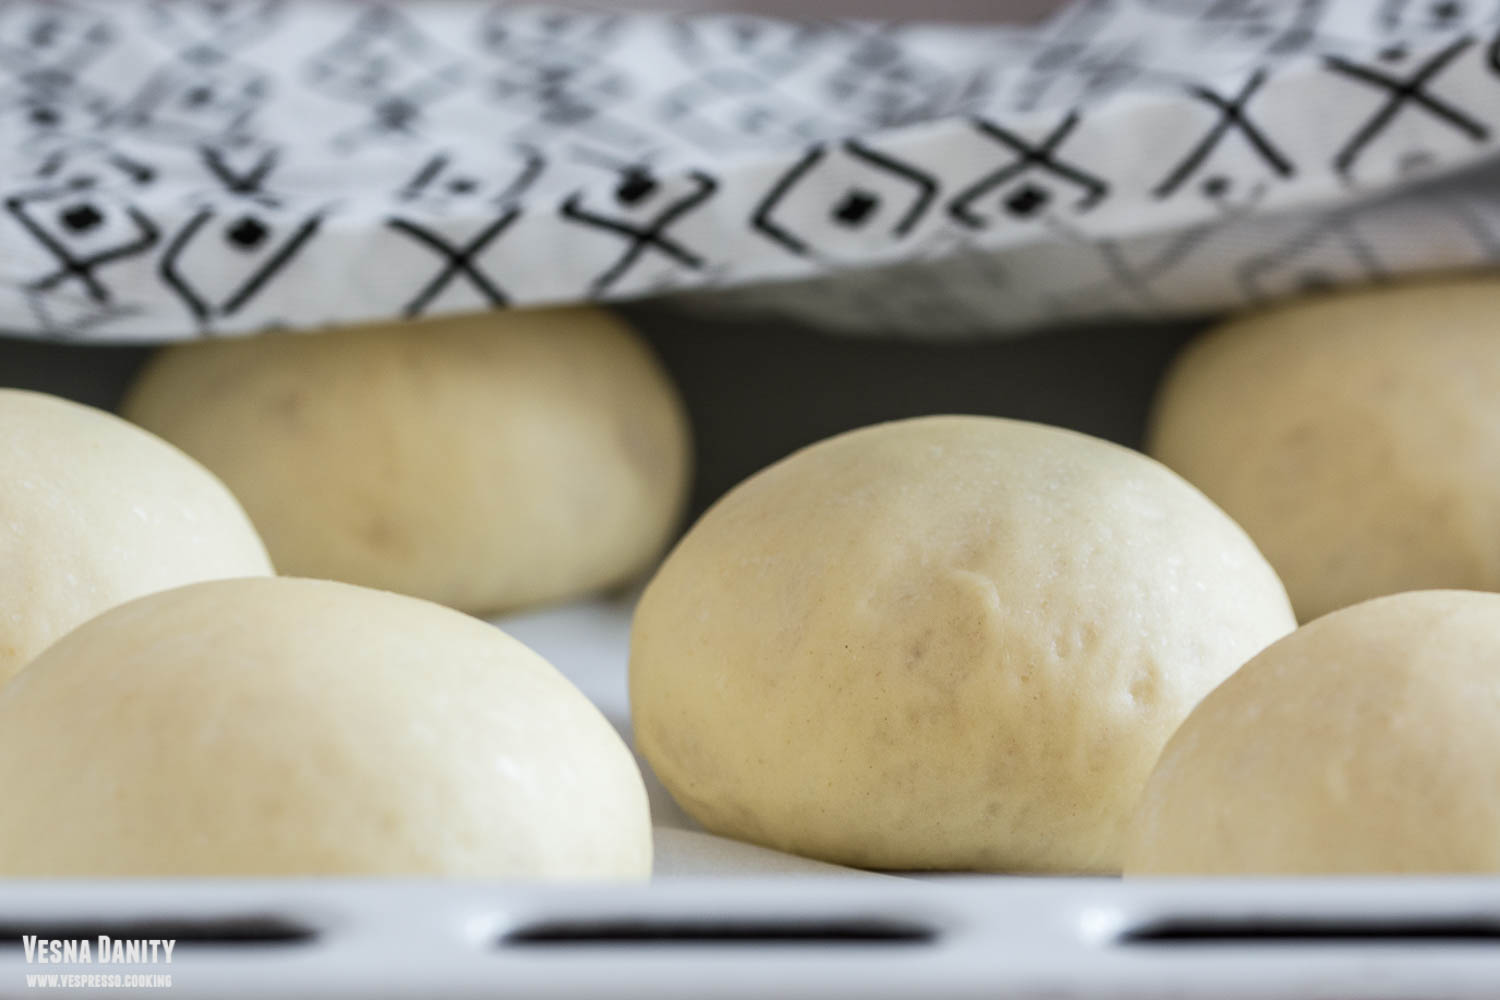
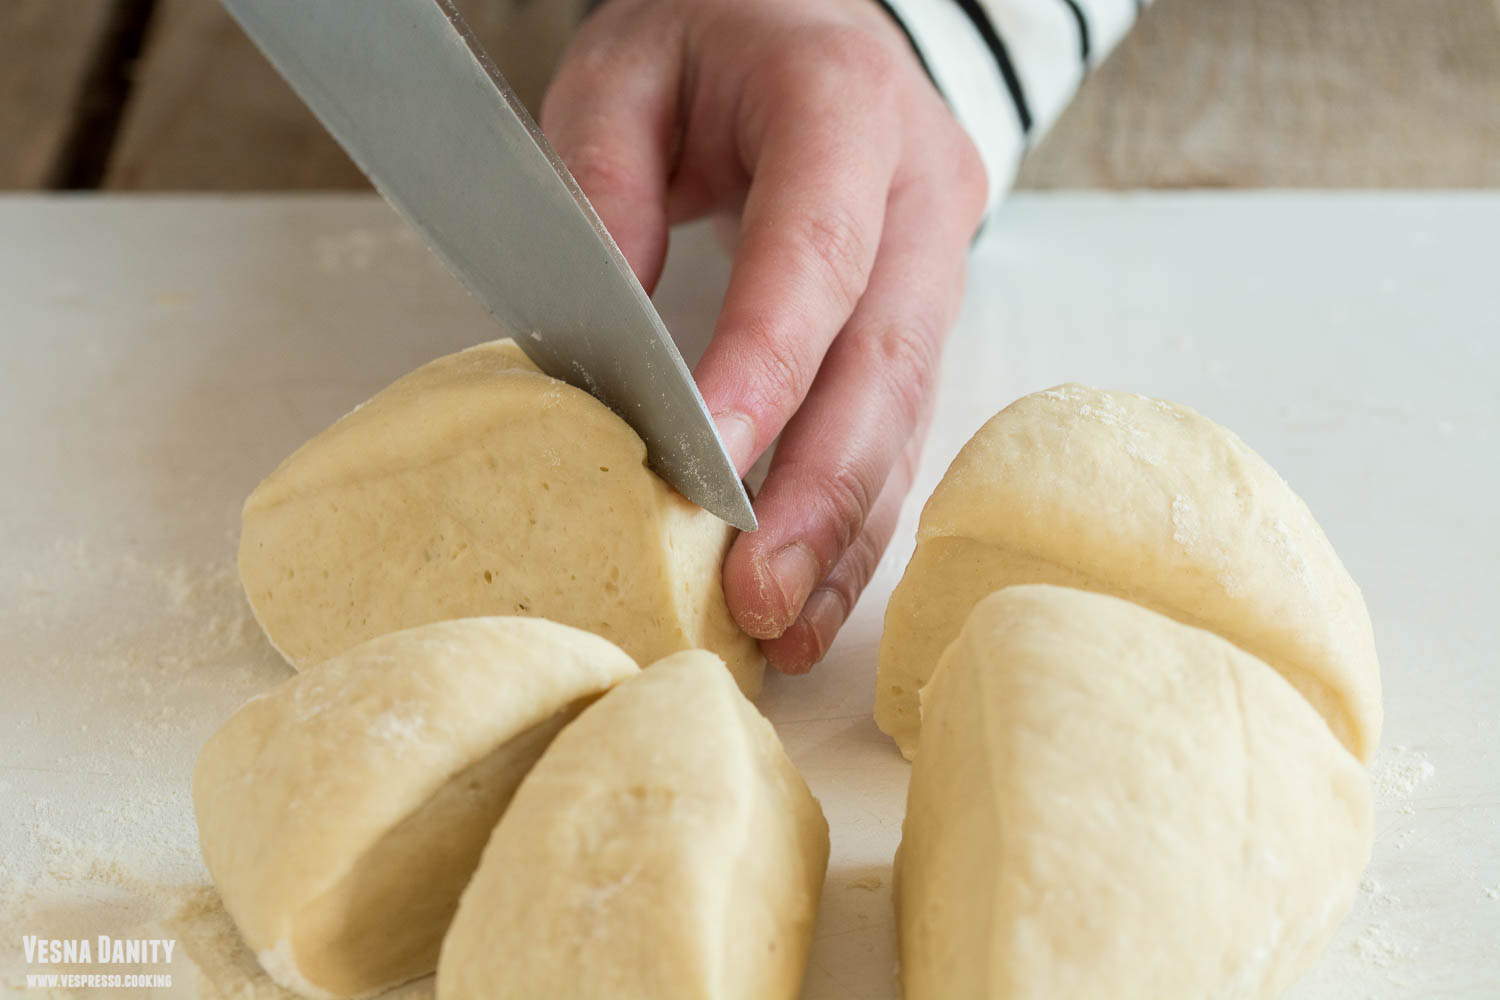
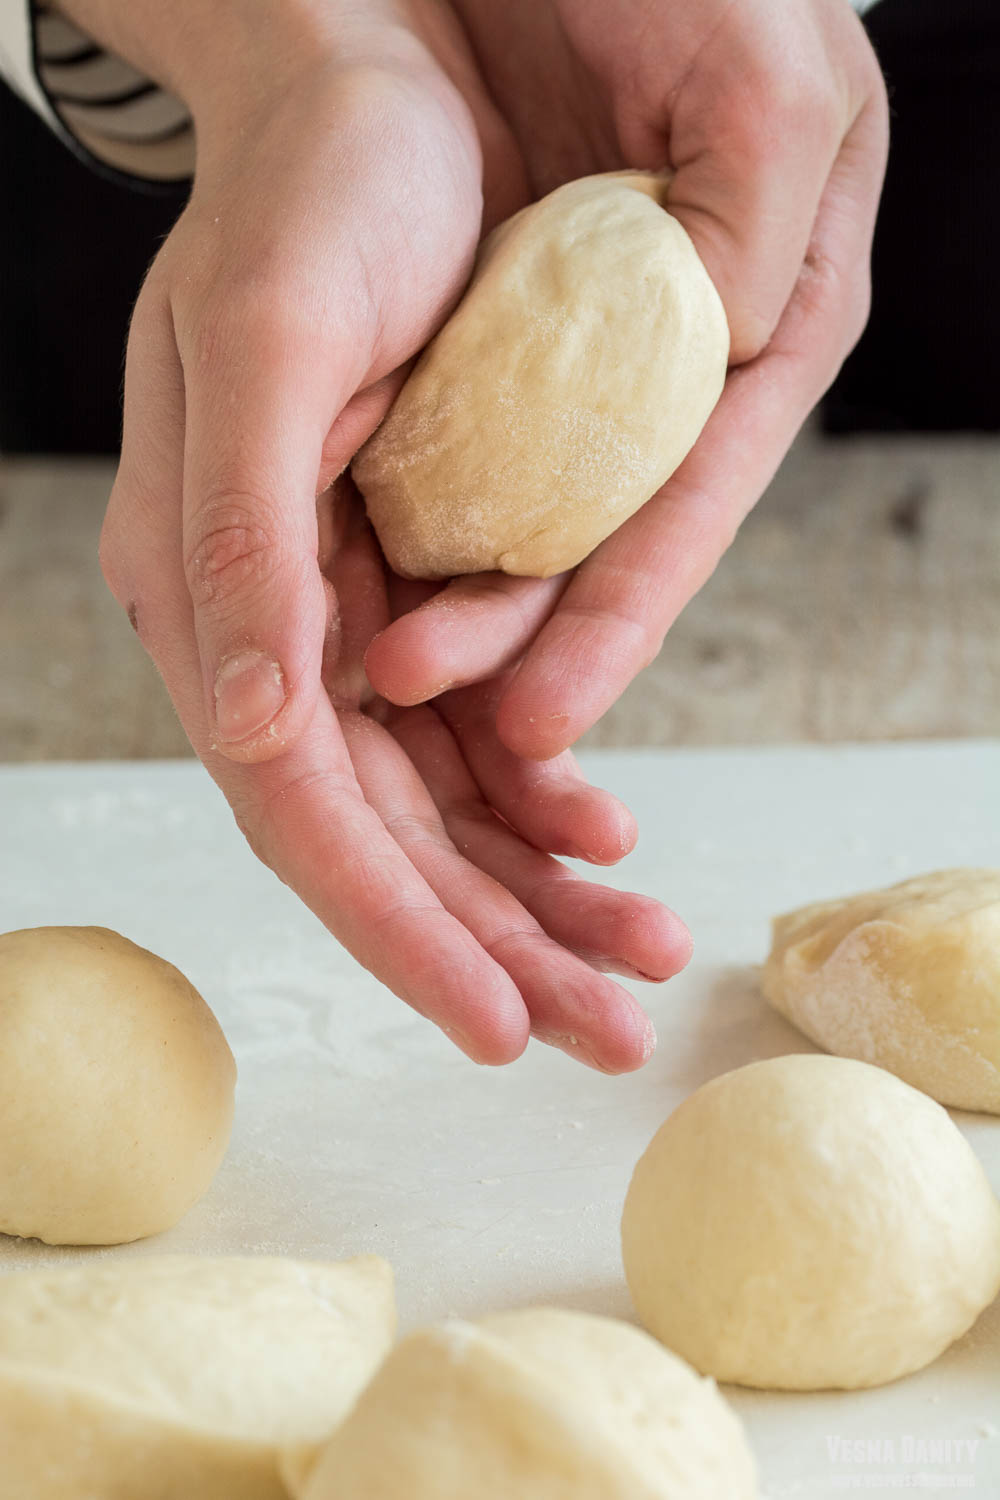
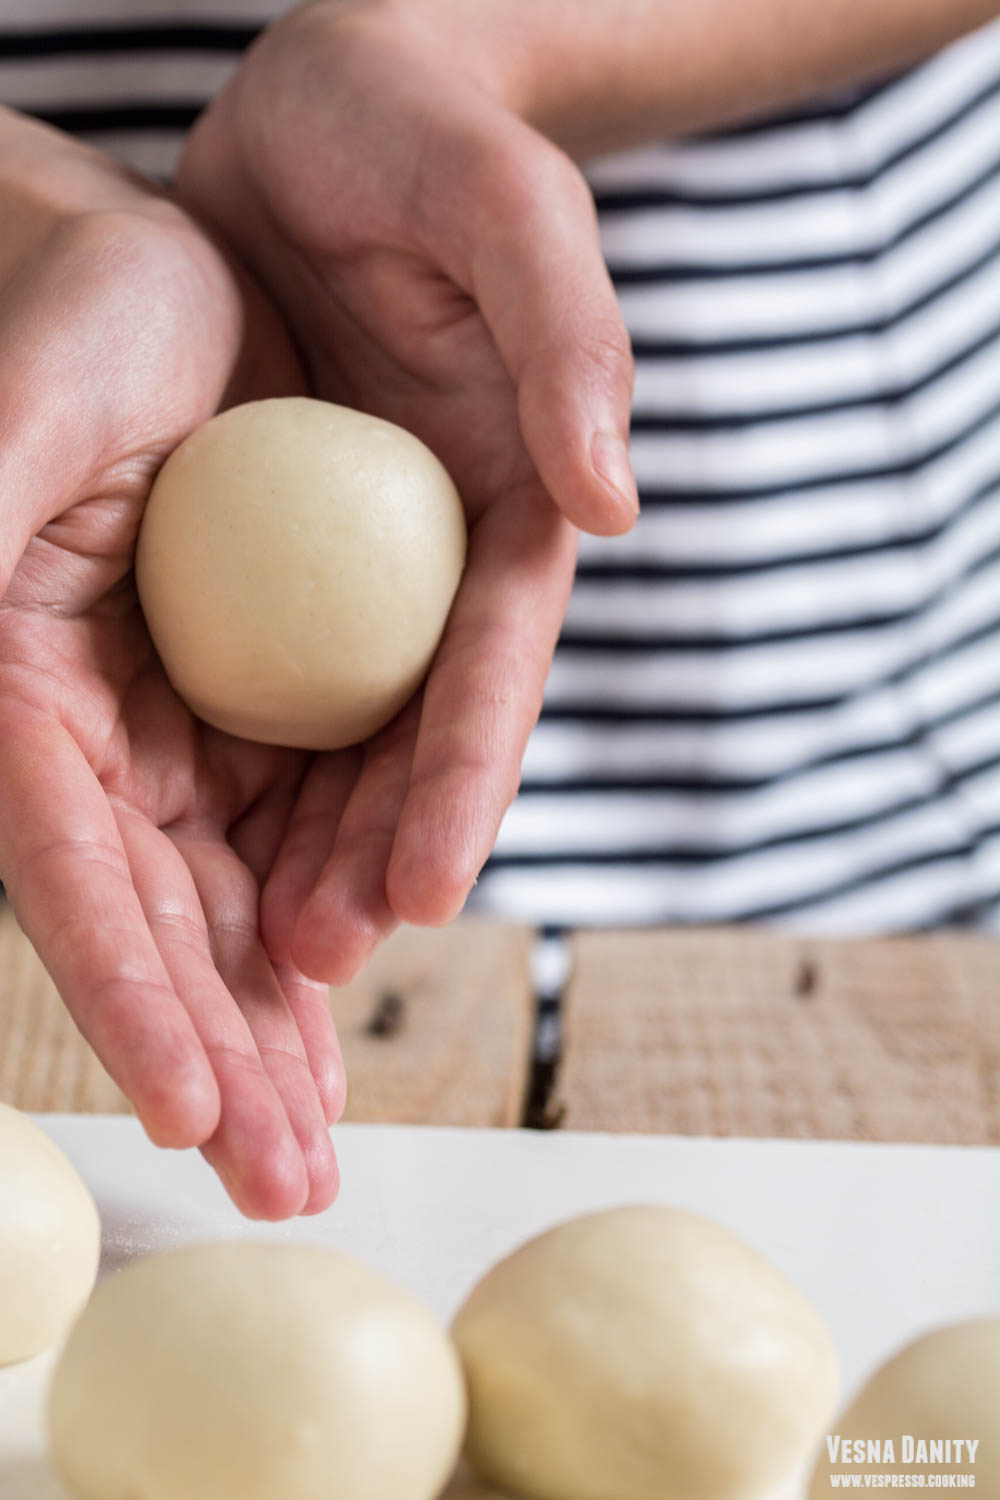
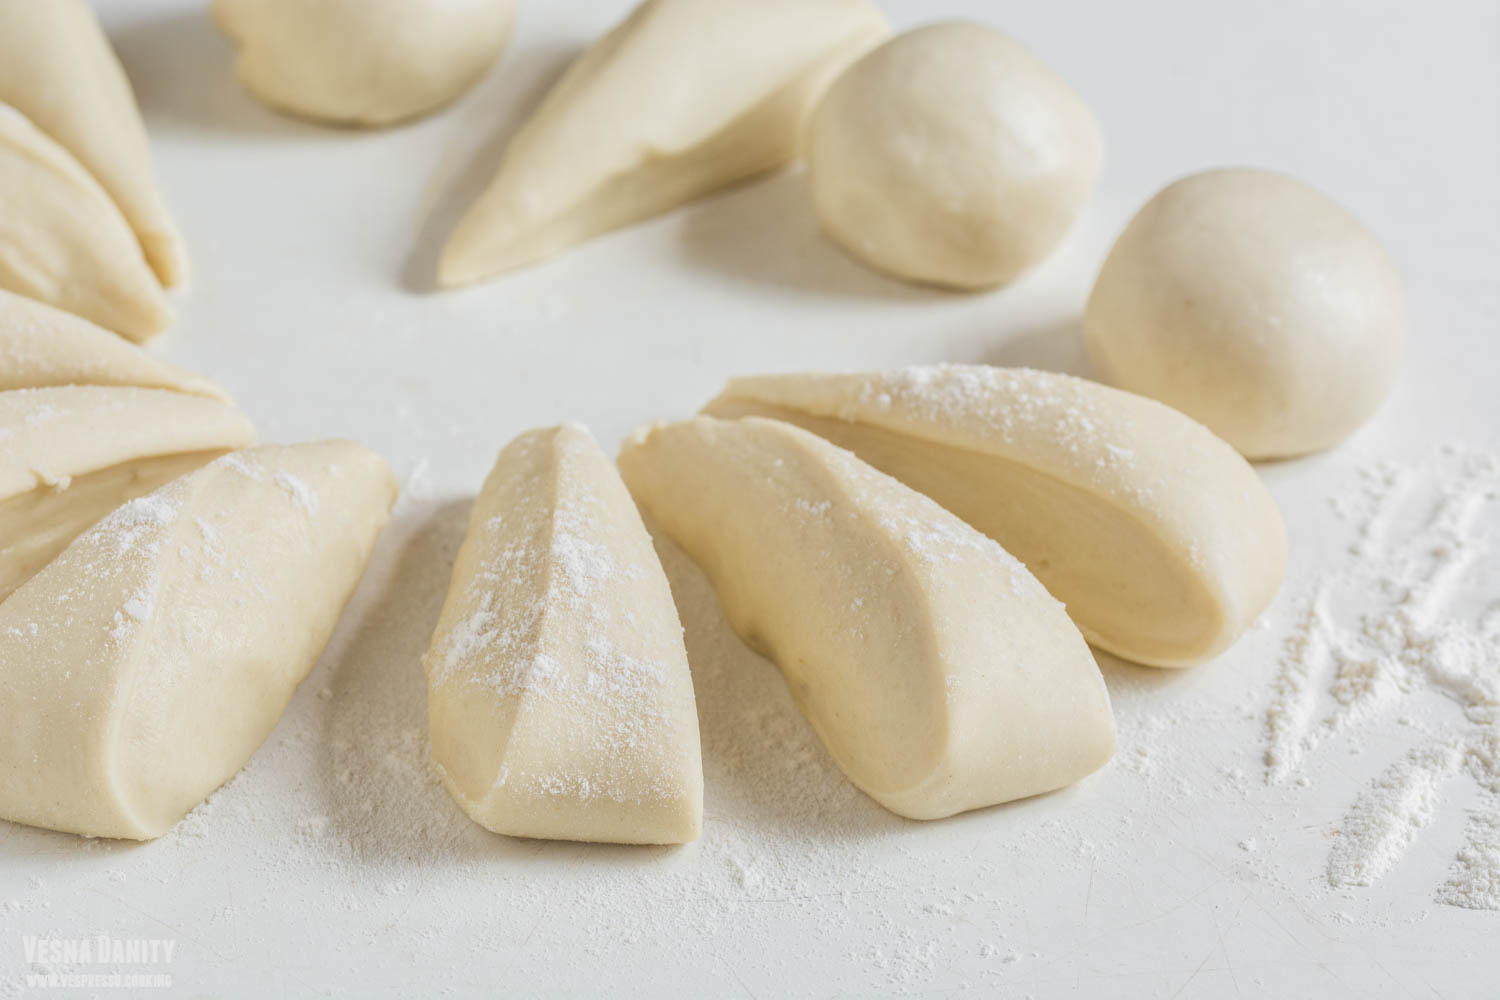
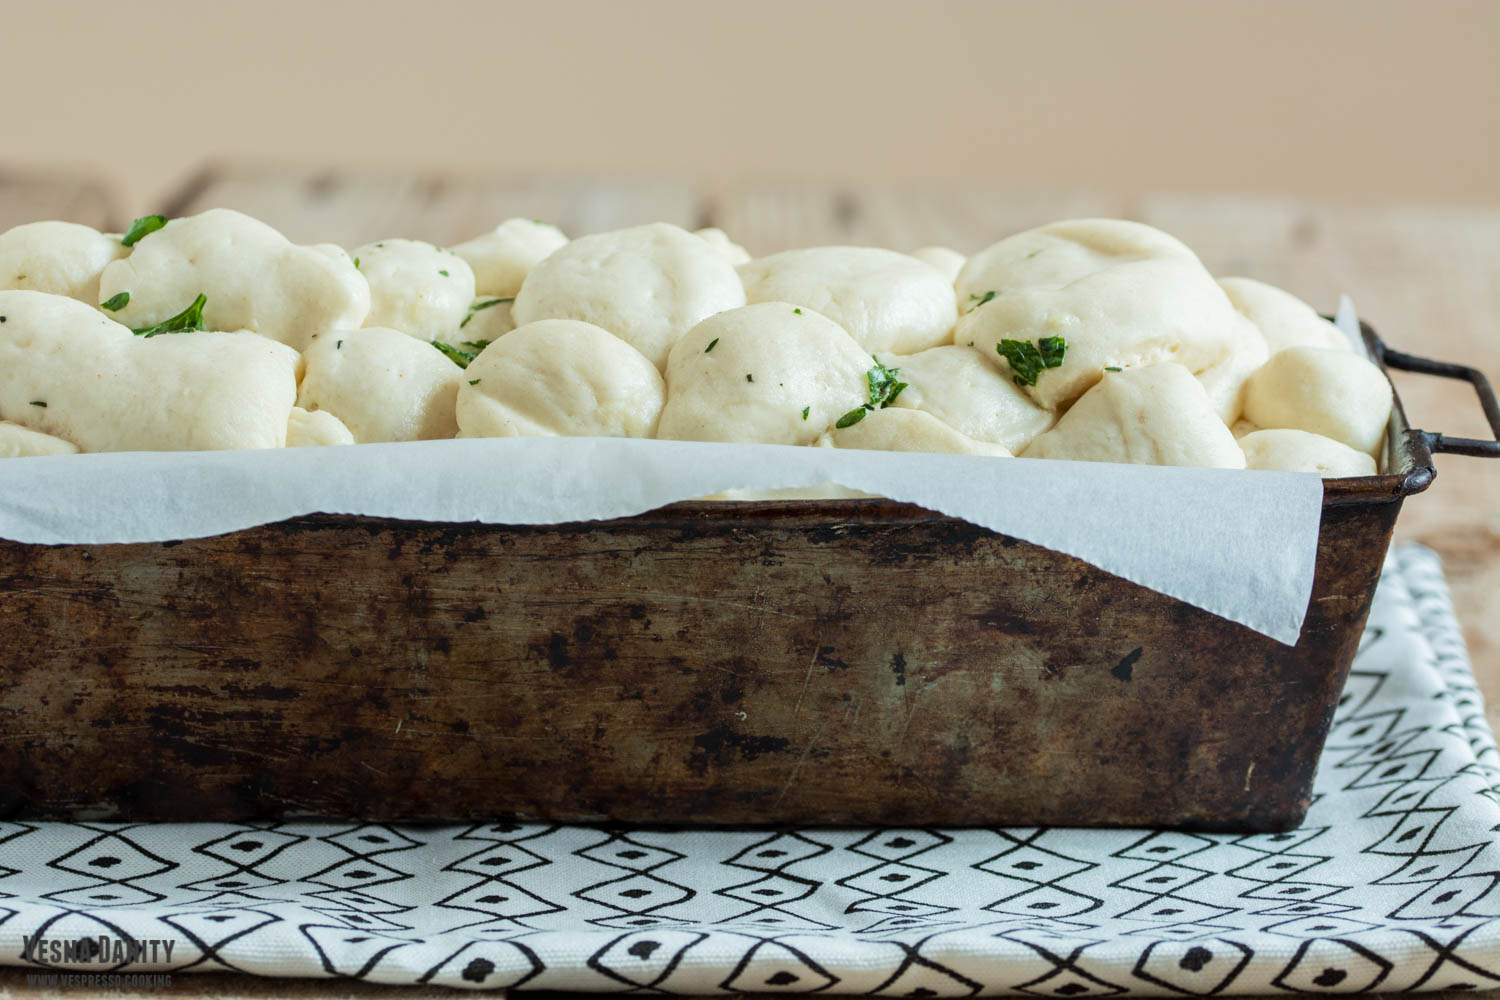
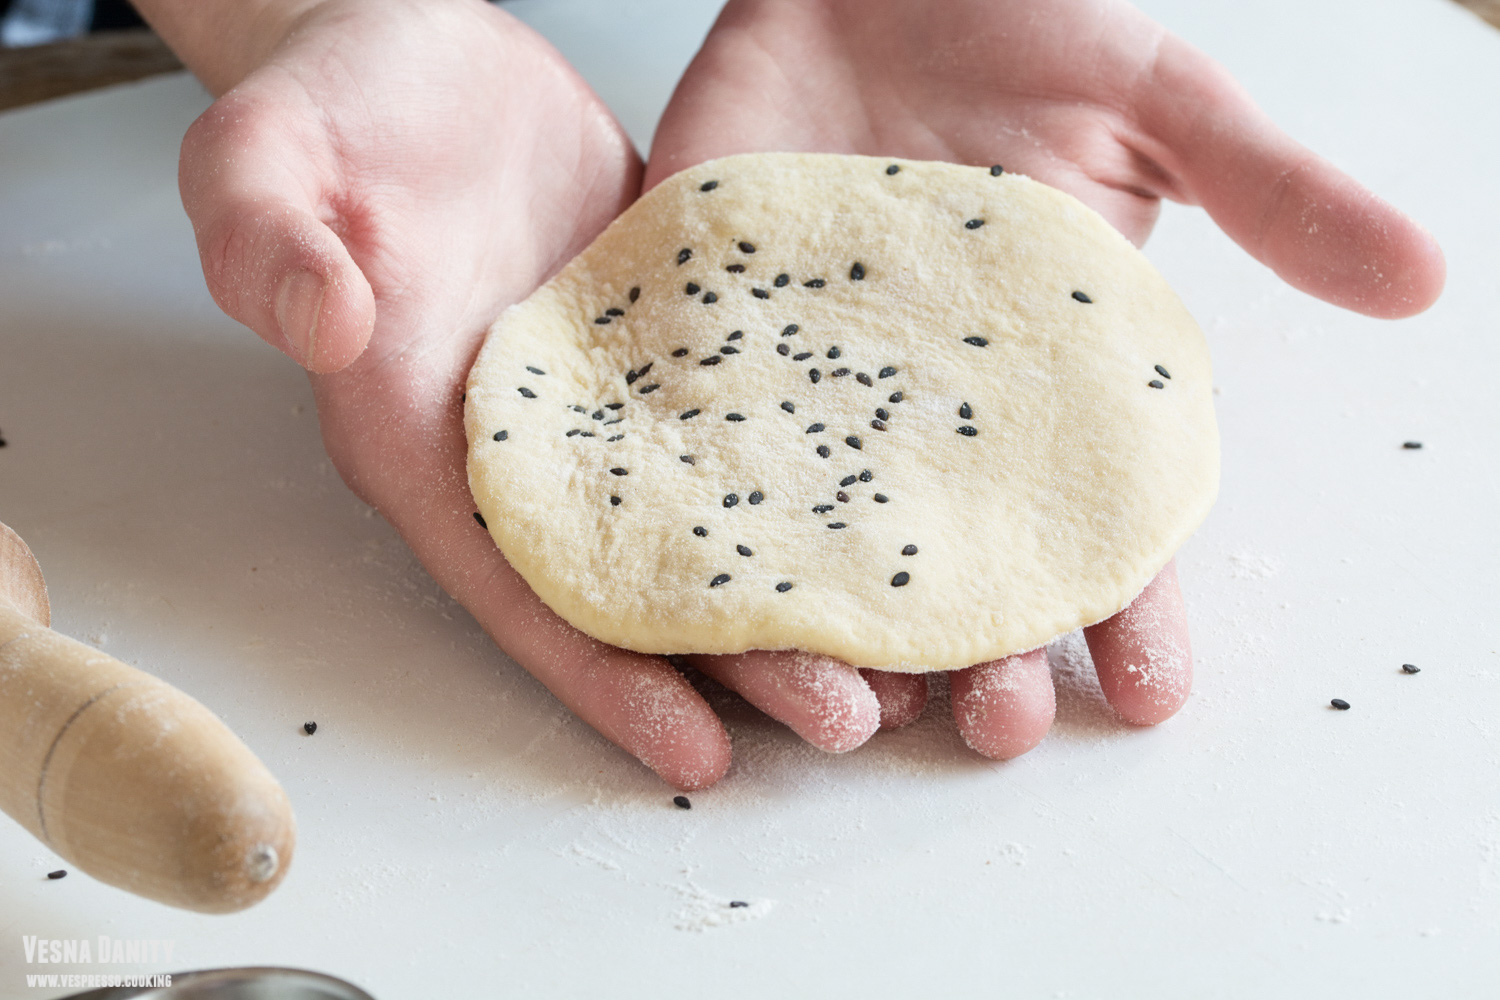
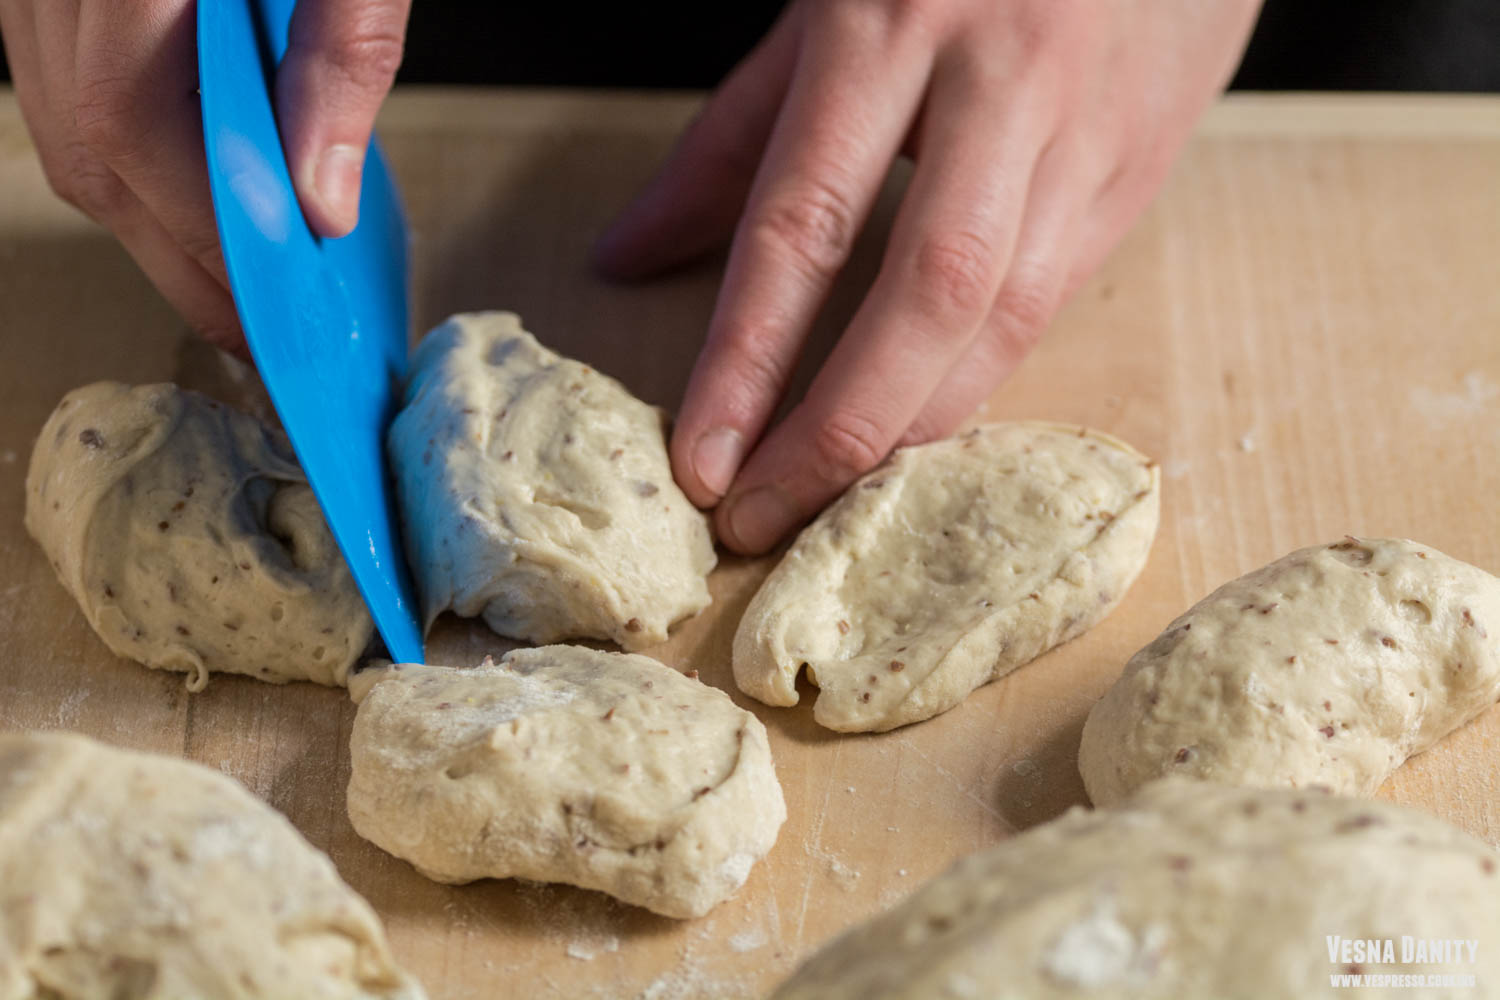
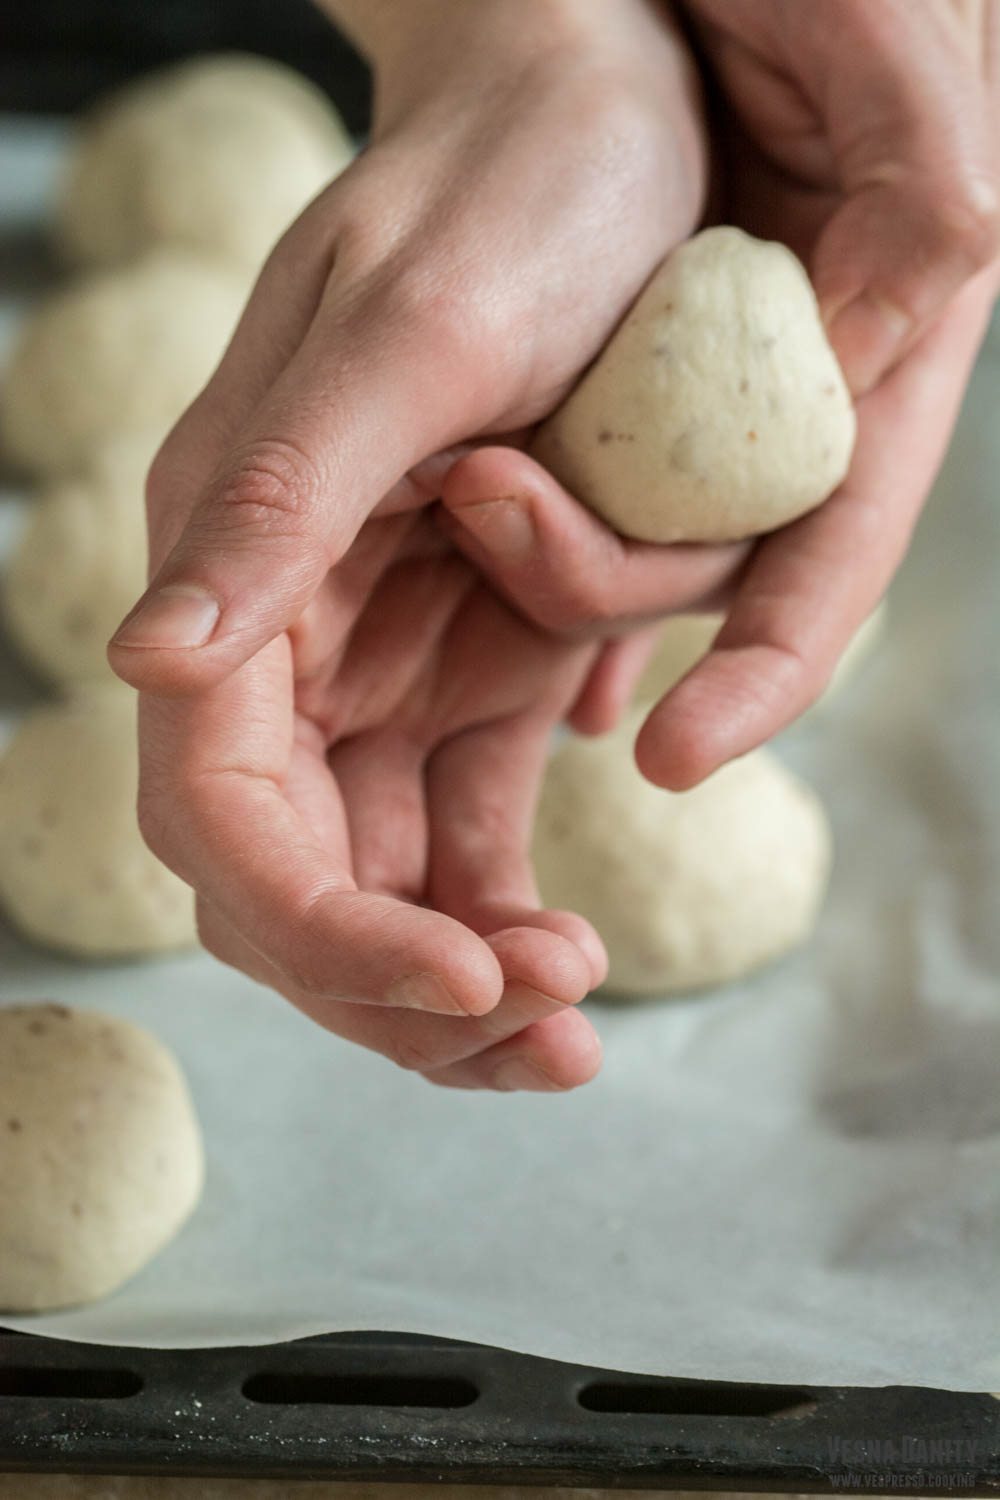
  7. Form the buns. Heat the oven at 400°F/204°C (gas mark 6). After 1 hour, place the dough back on the working surface and knead vigorously to knock out the air bubbles. Divide dough into 20 pieces and shape them into 20 balls (I had 20 balls x 40g).
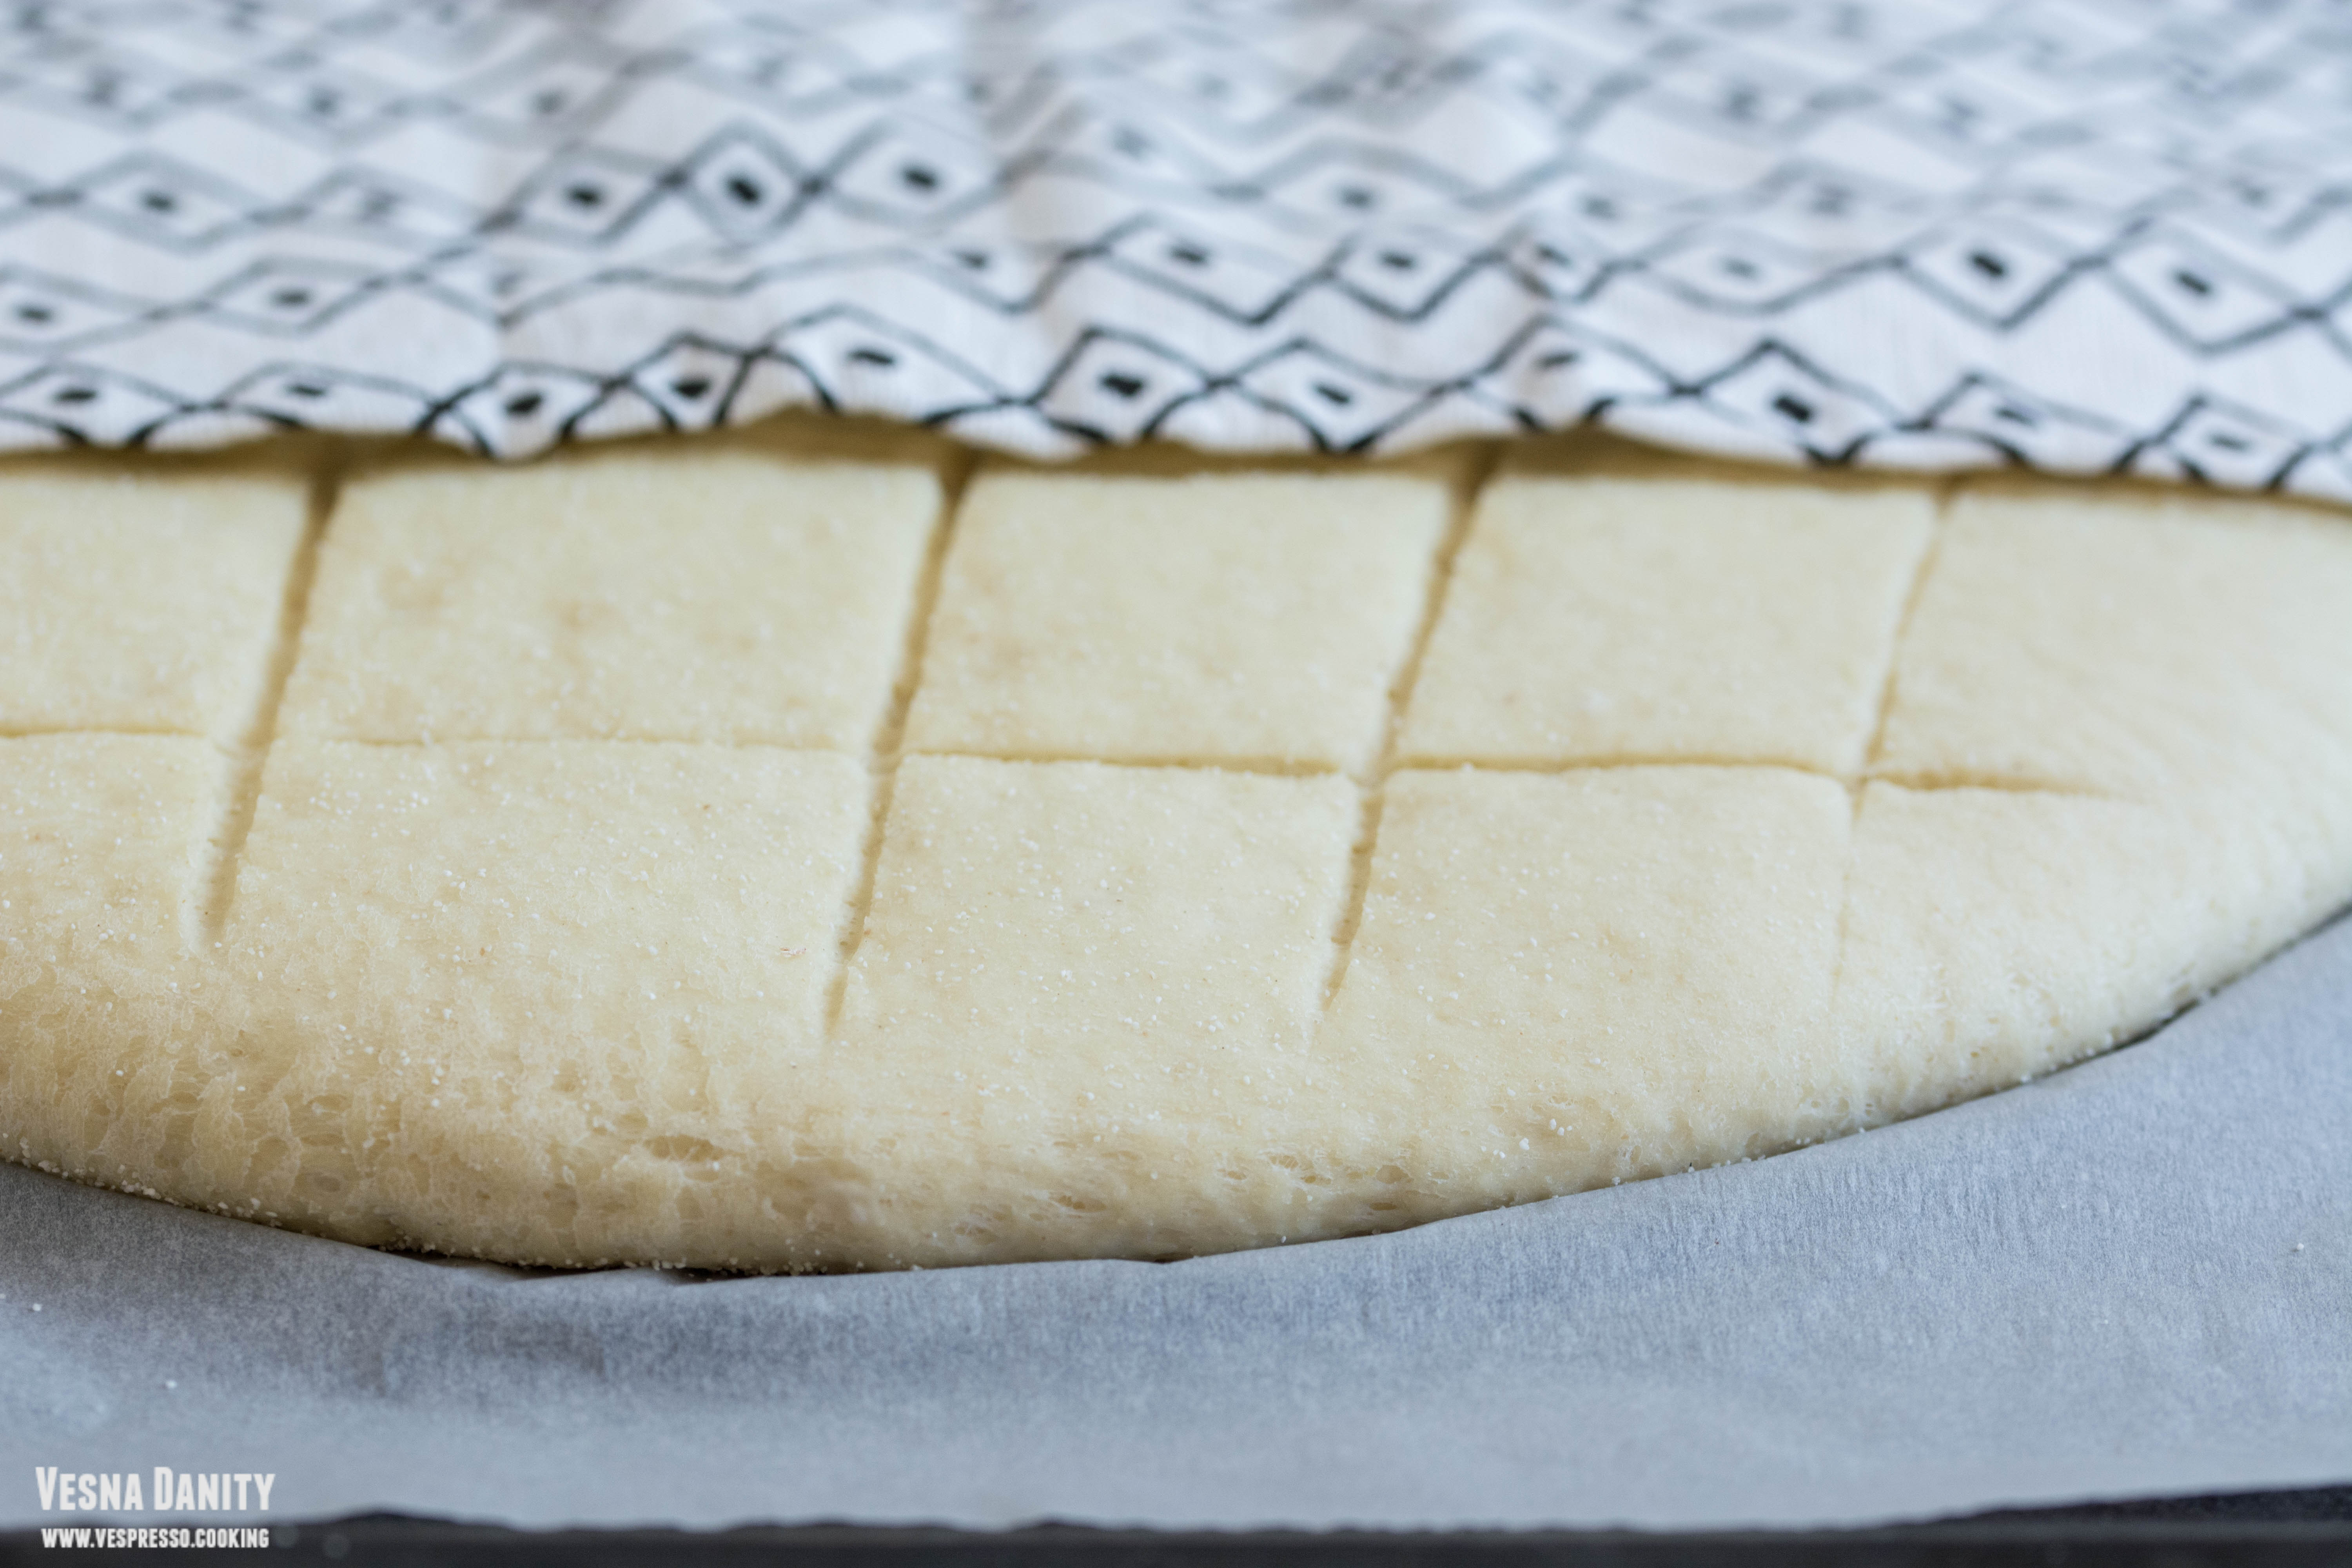
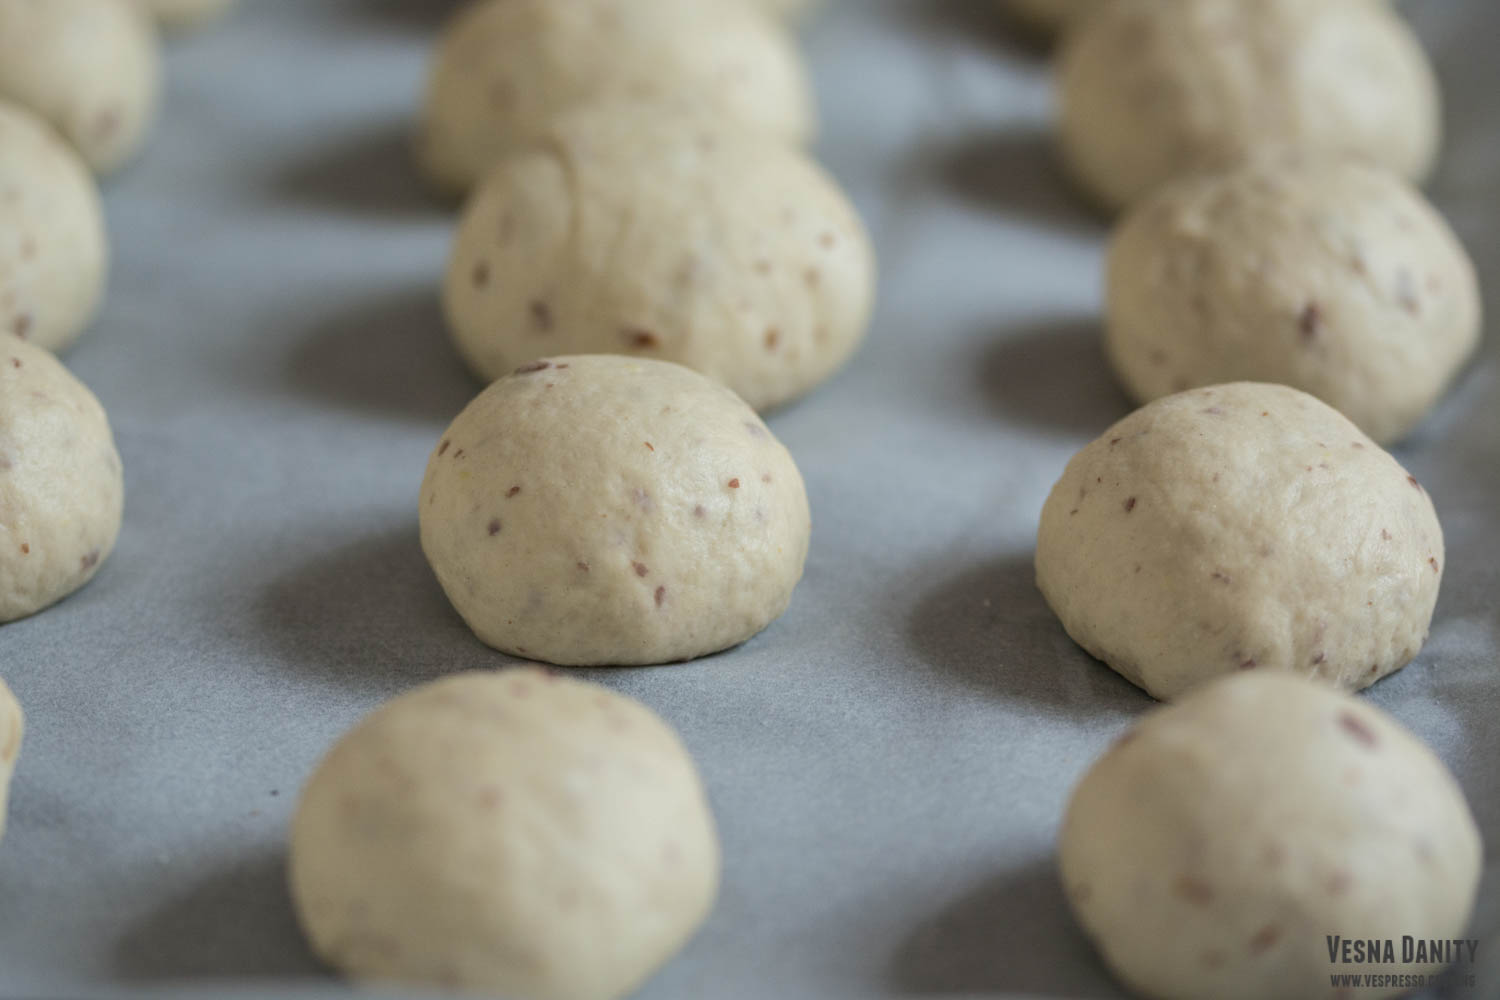
  8. Rise. Place them on a tray lined with parchment paper and let them rise for about 30 minutes.
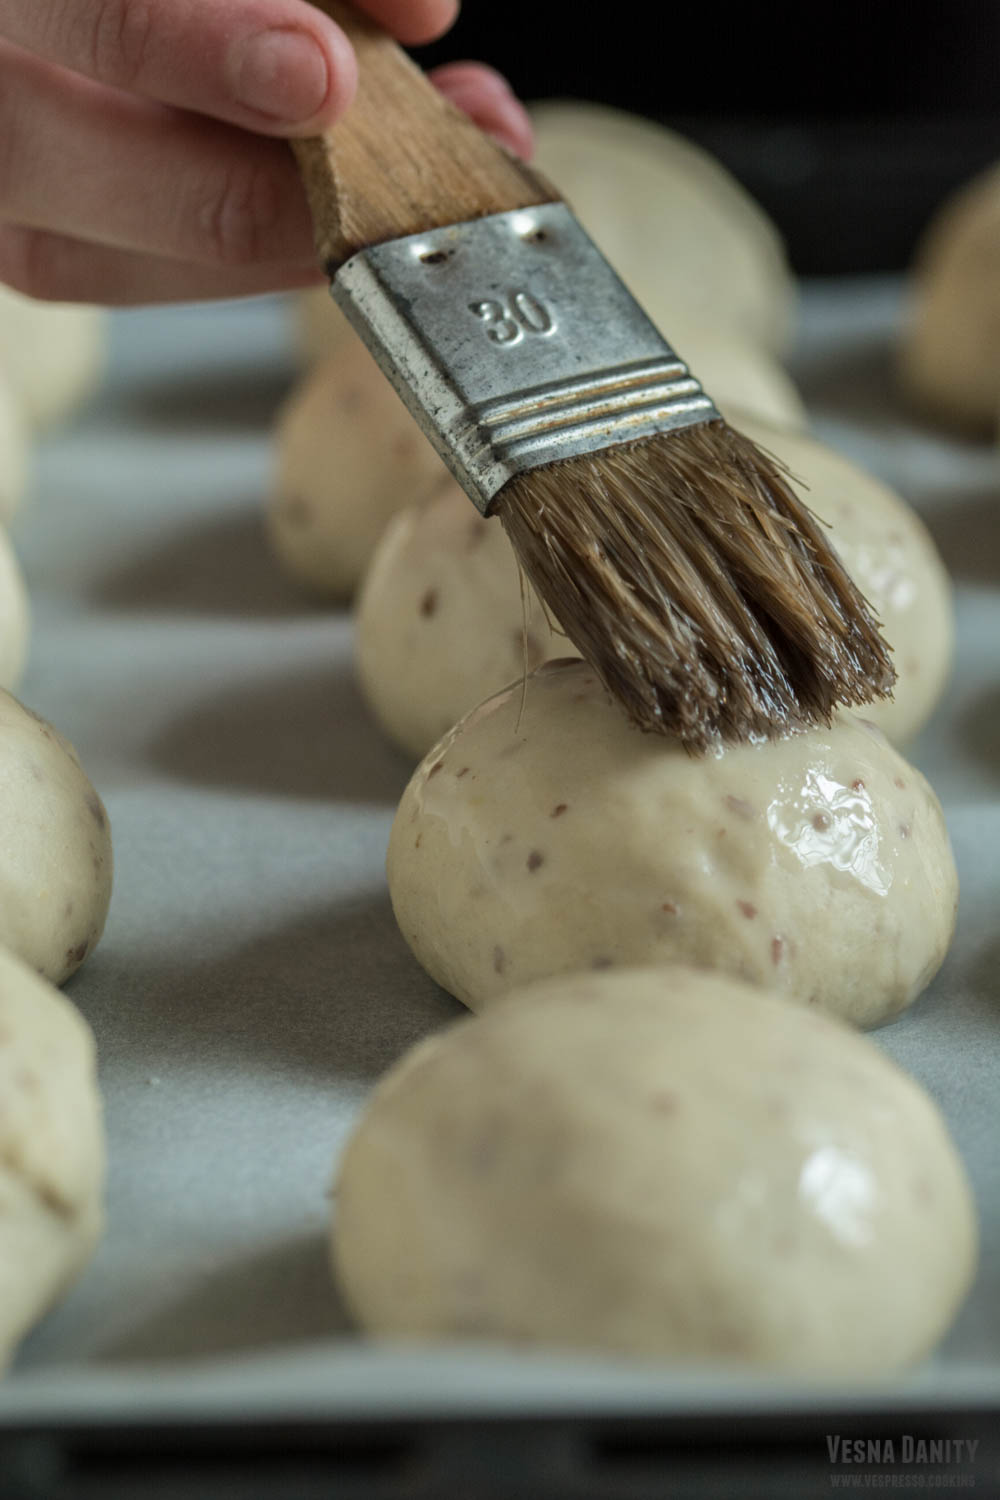
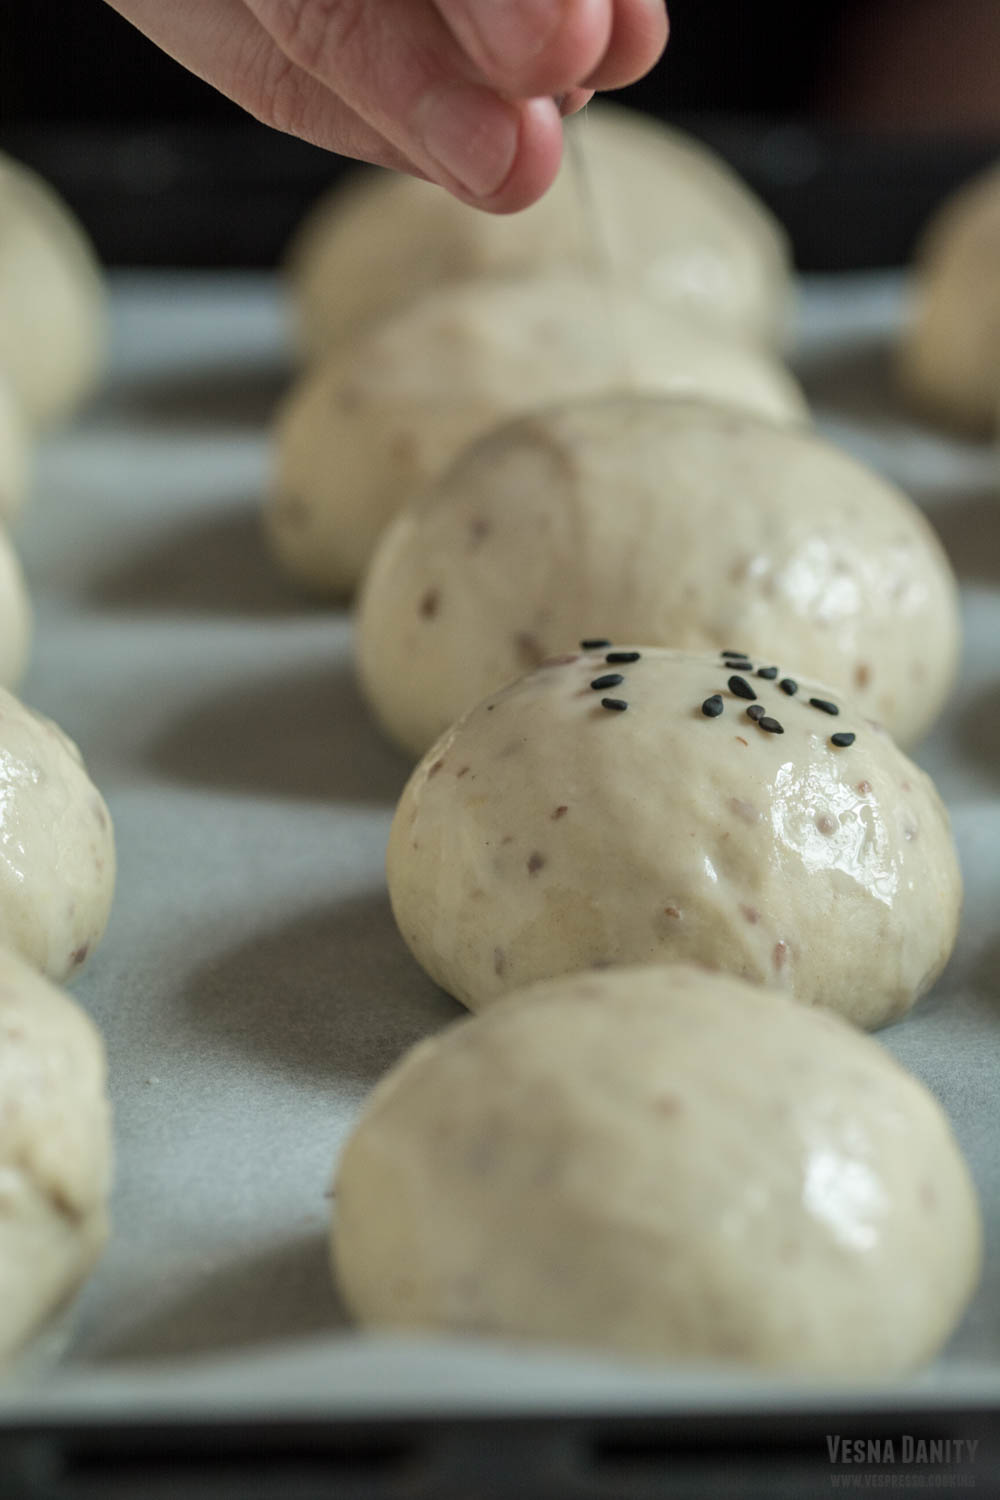
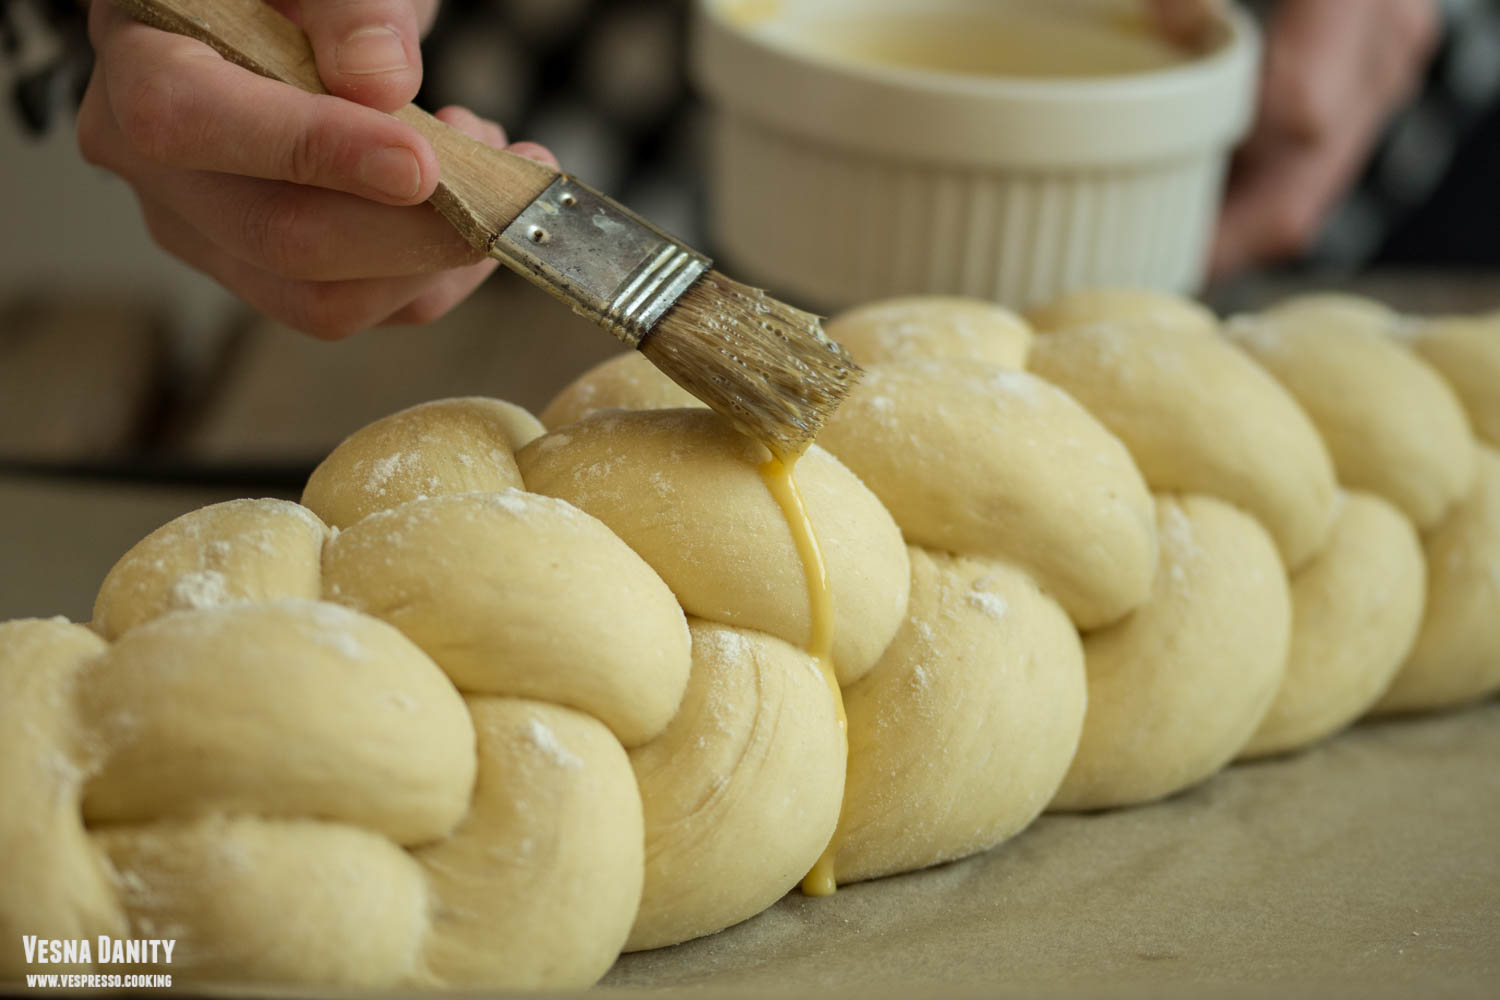
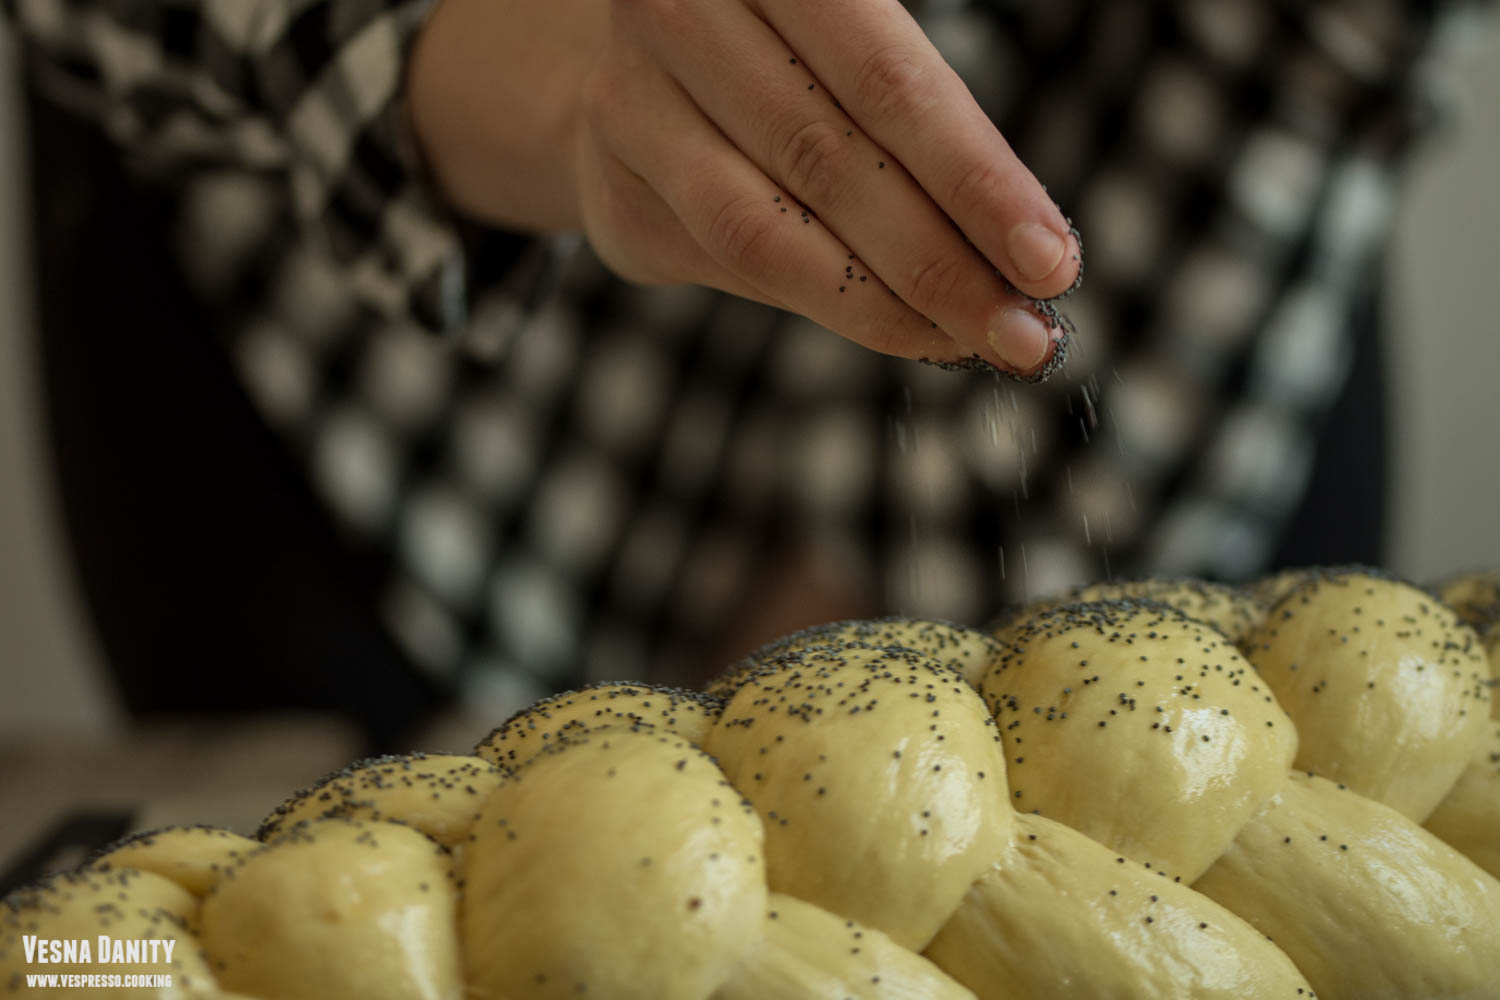
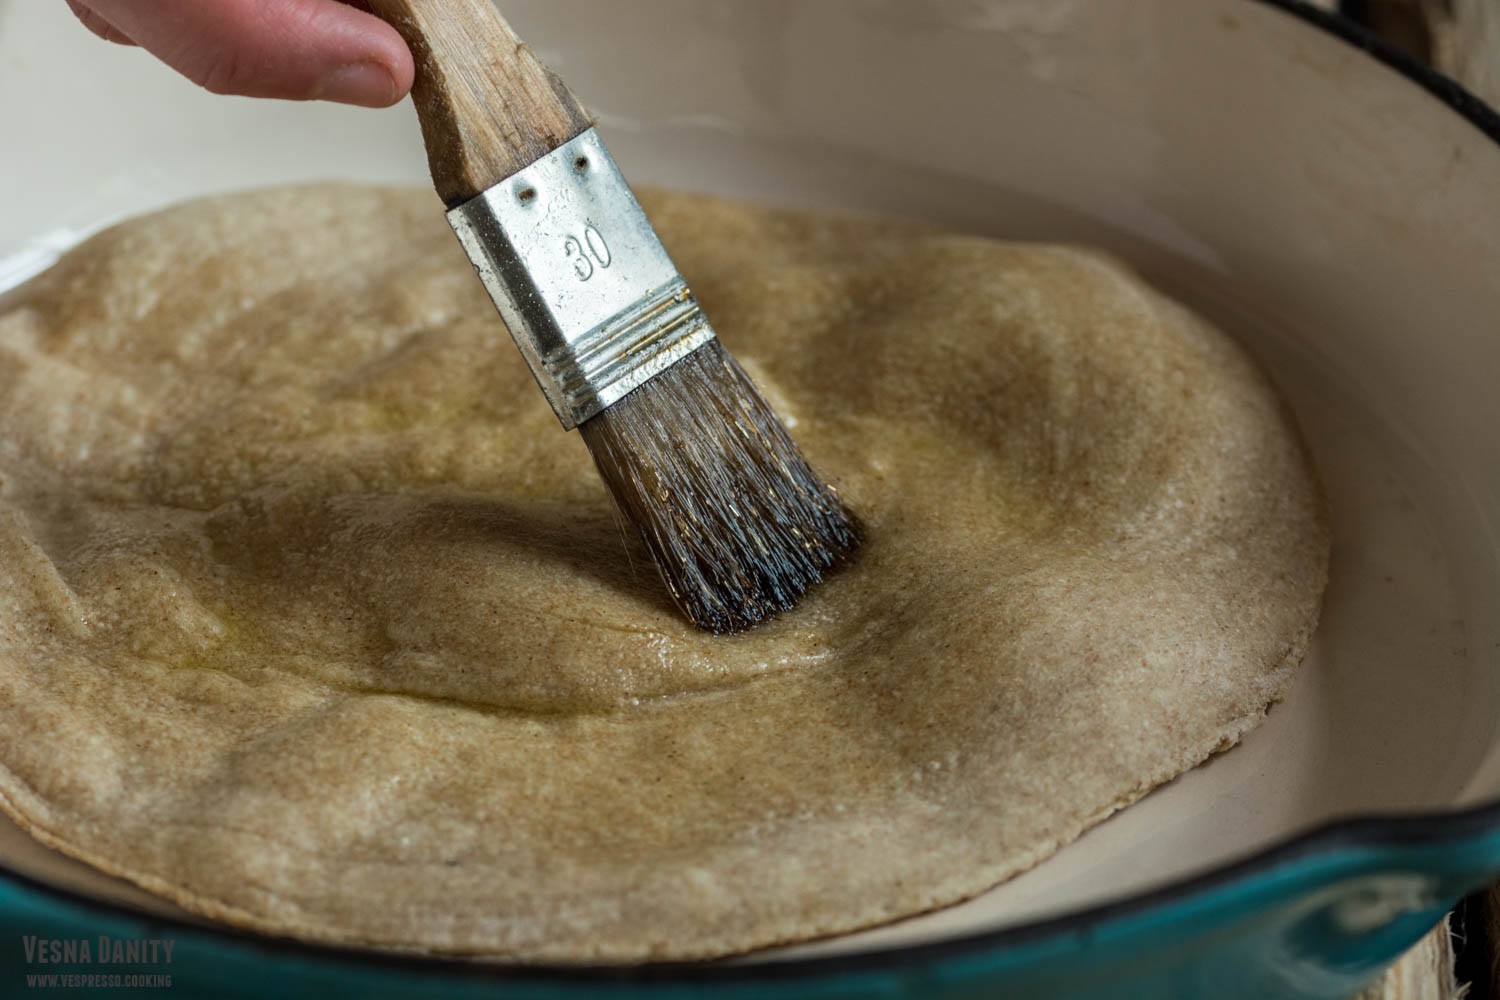
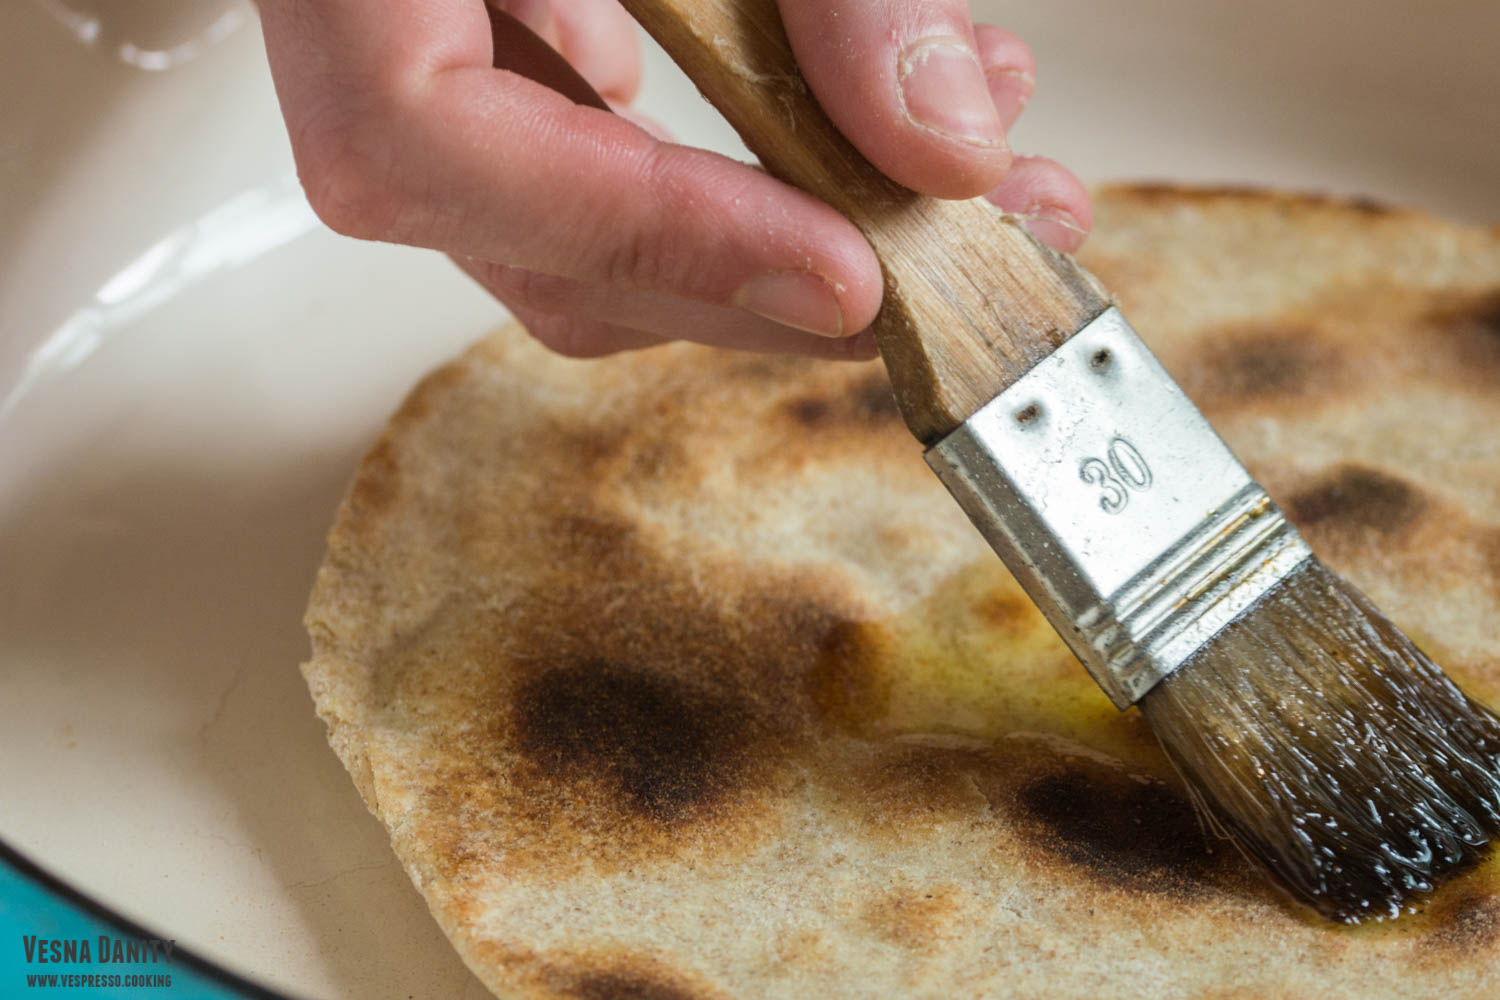
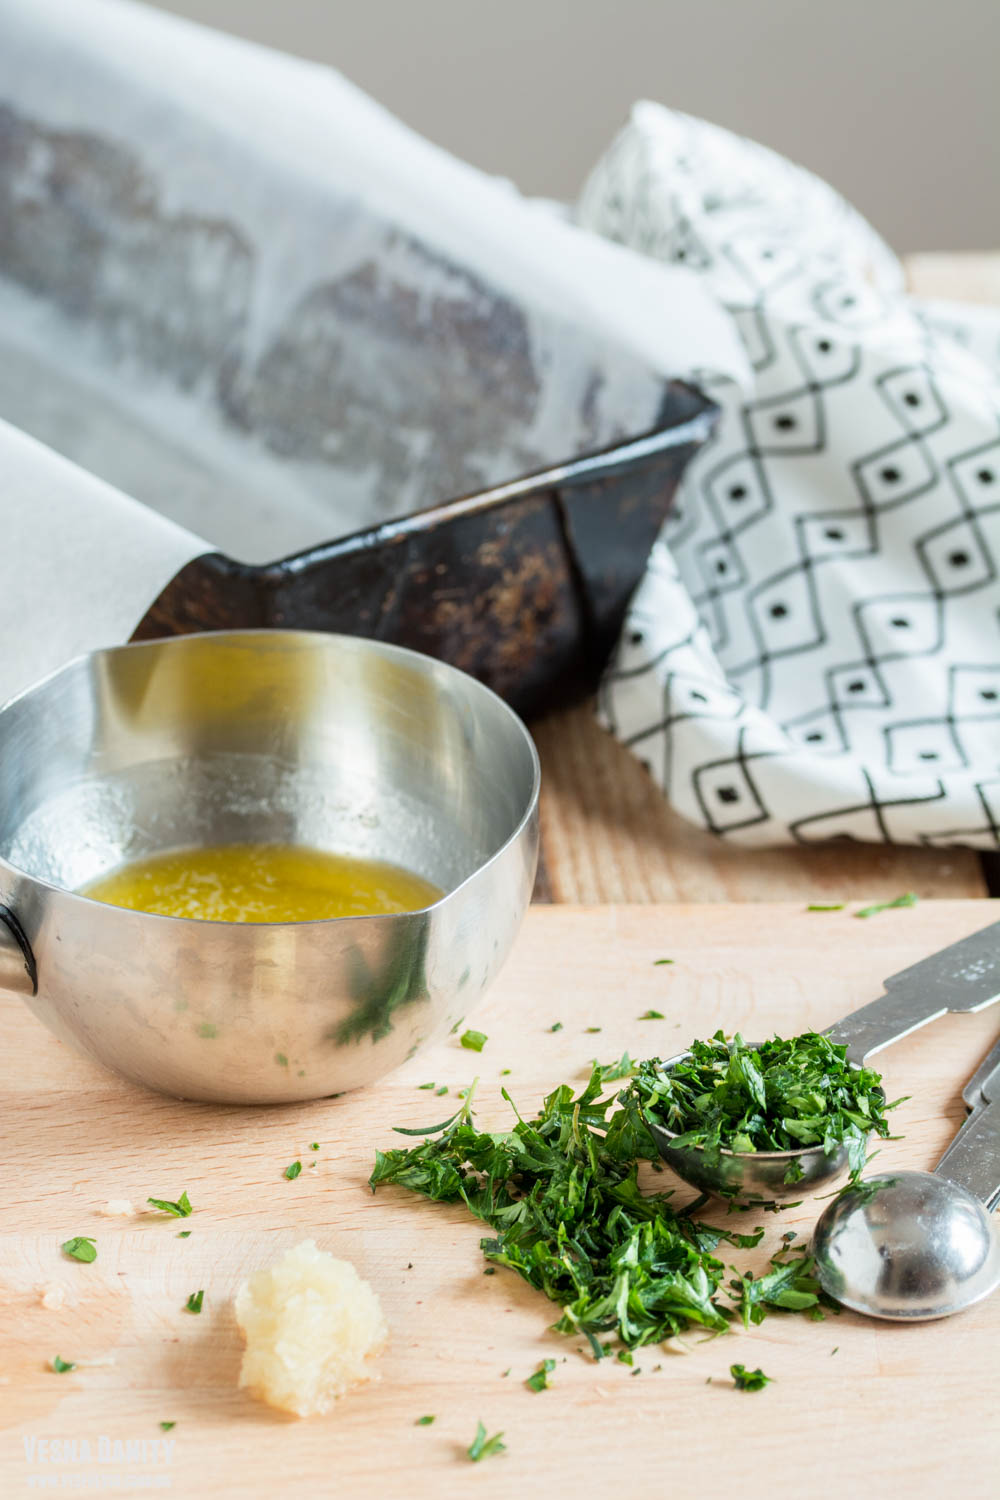
  9. Garnish. Mix the milk with the sugar, heat the liquid slightly and give them a quick wash. Sprinkle some black sesame seeds.
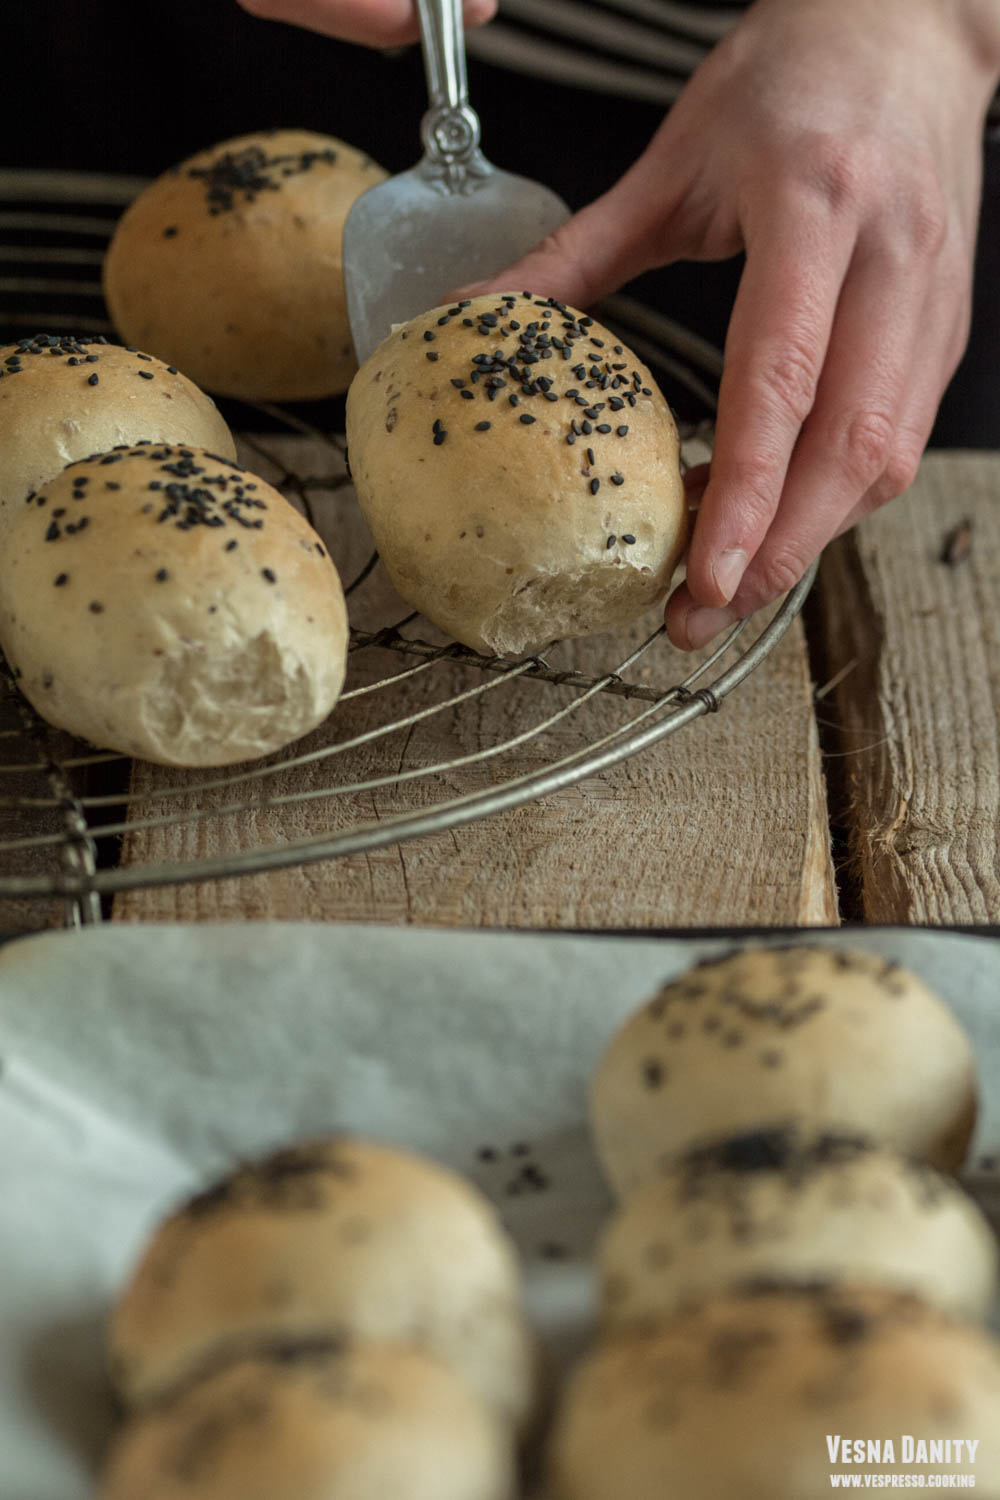
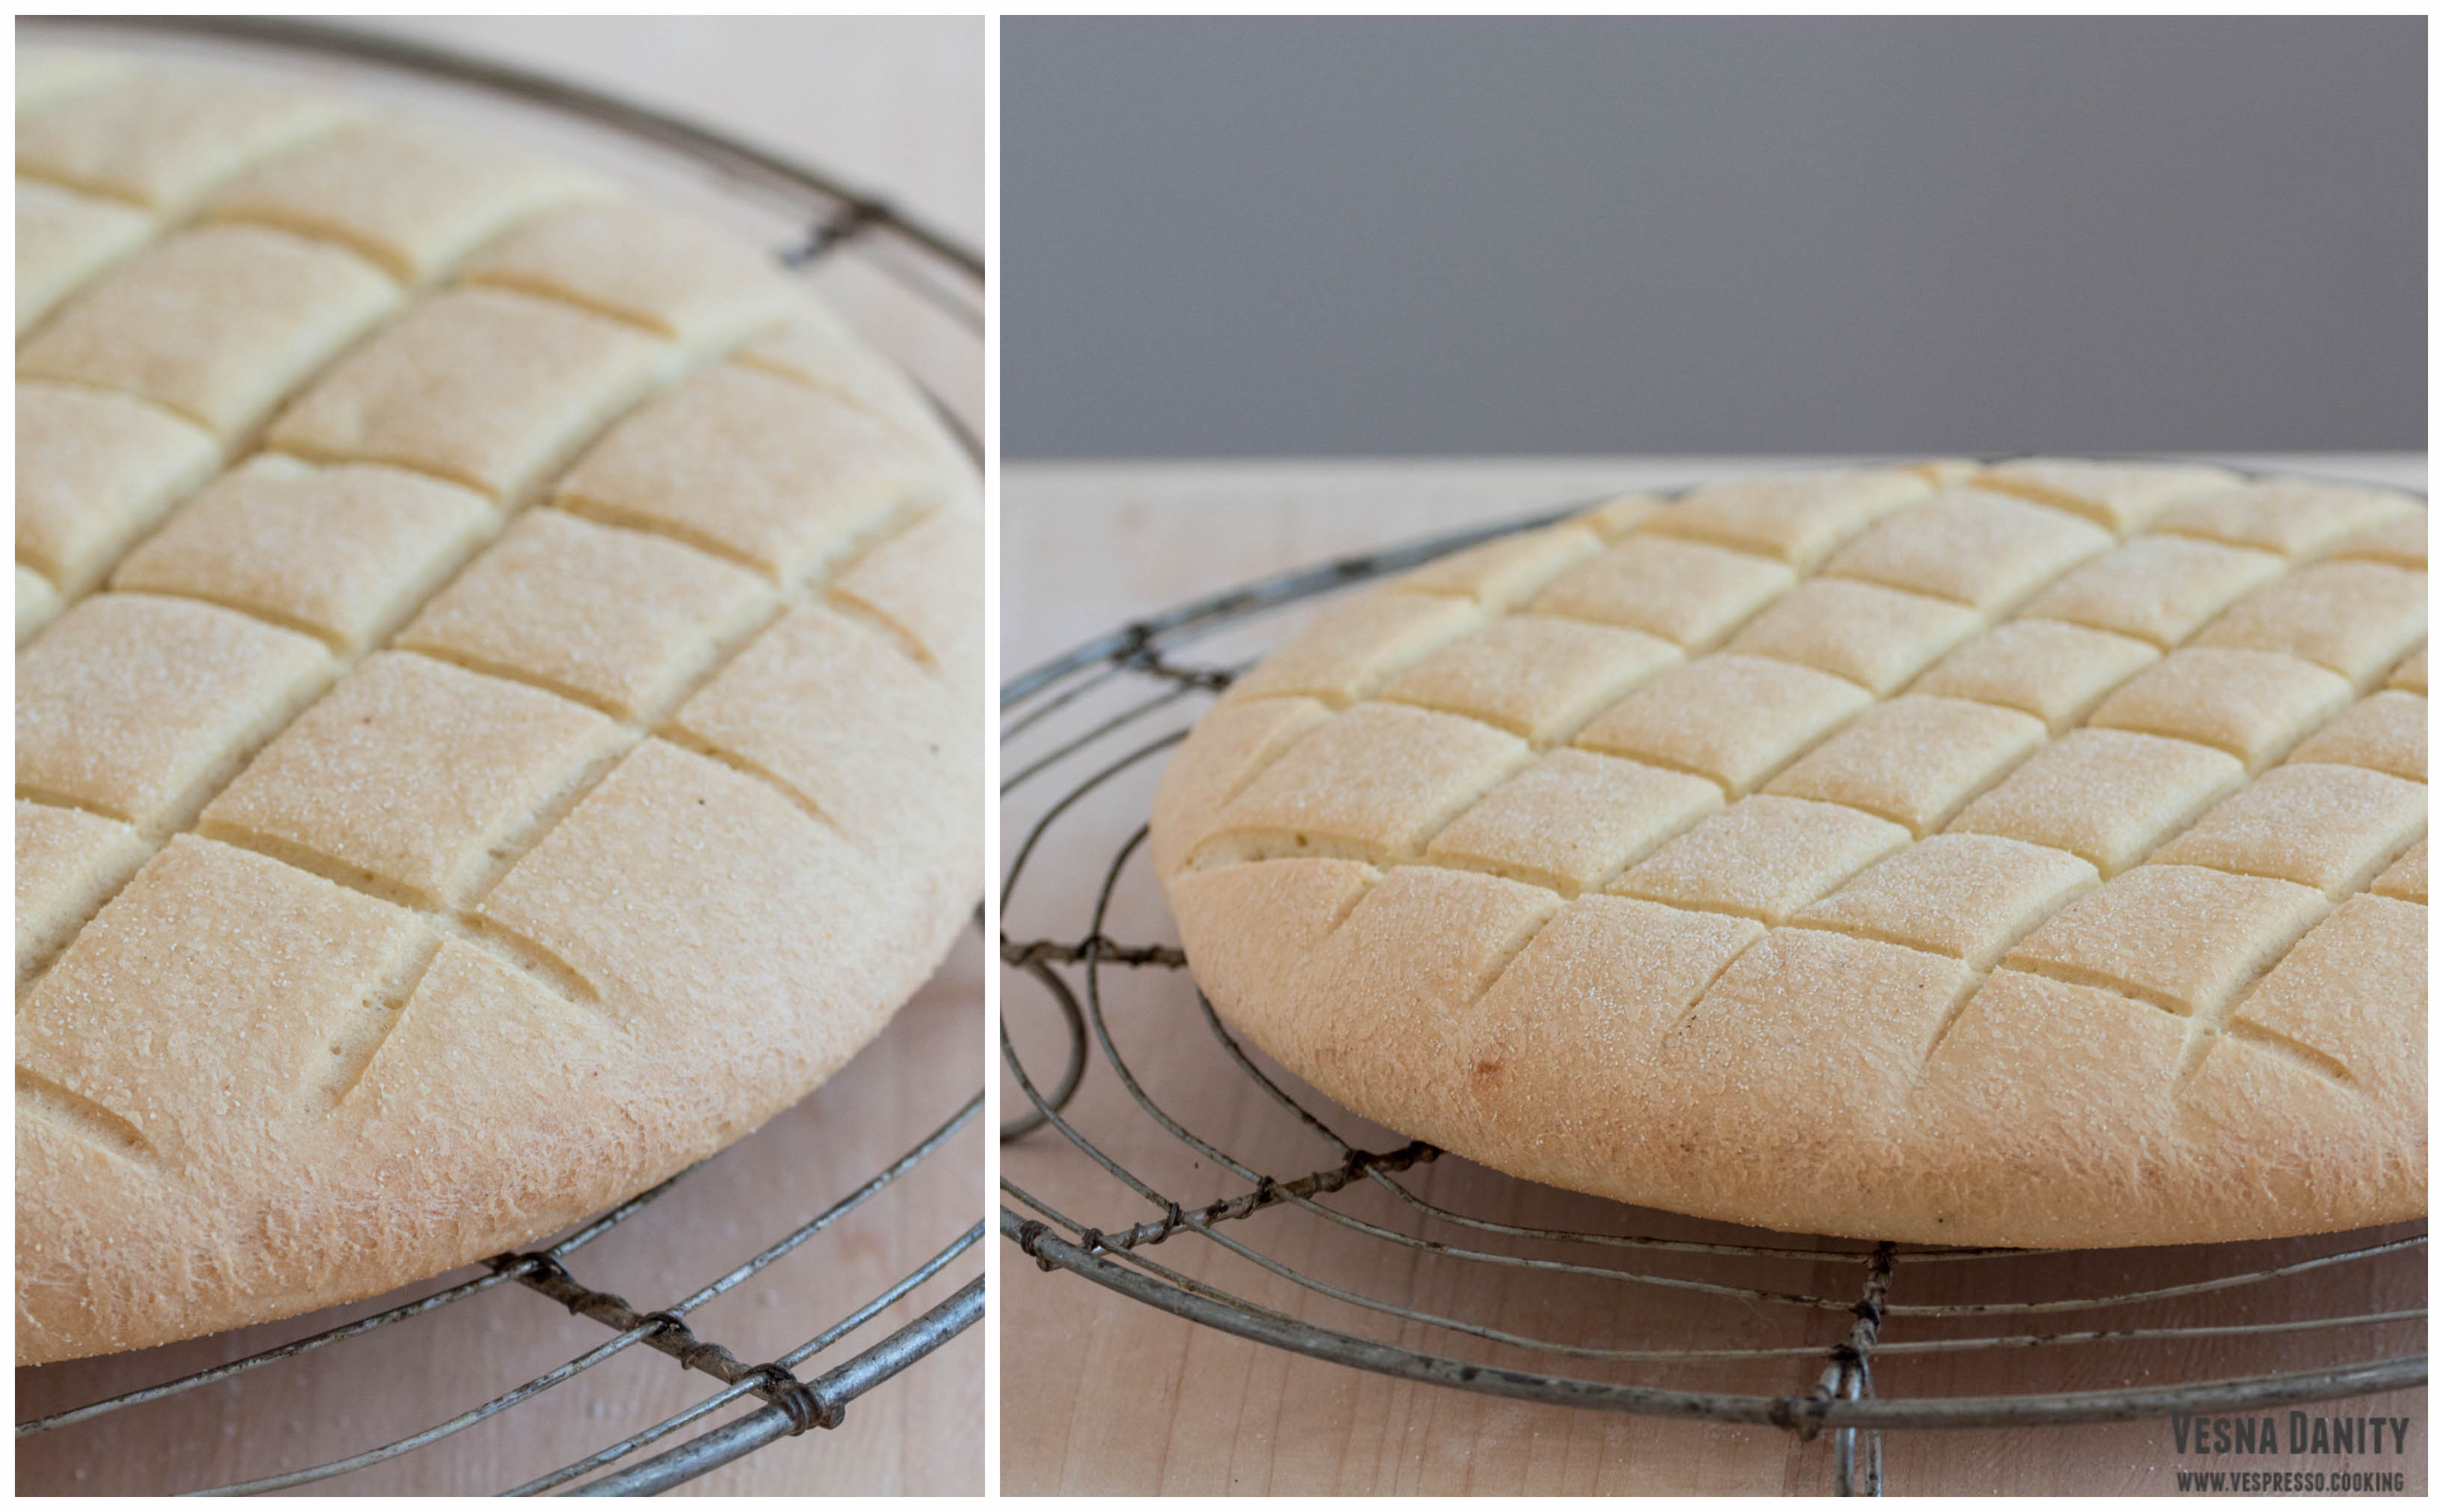
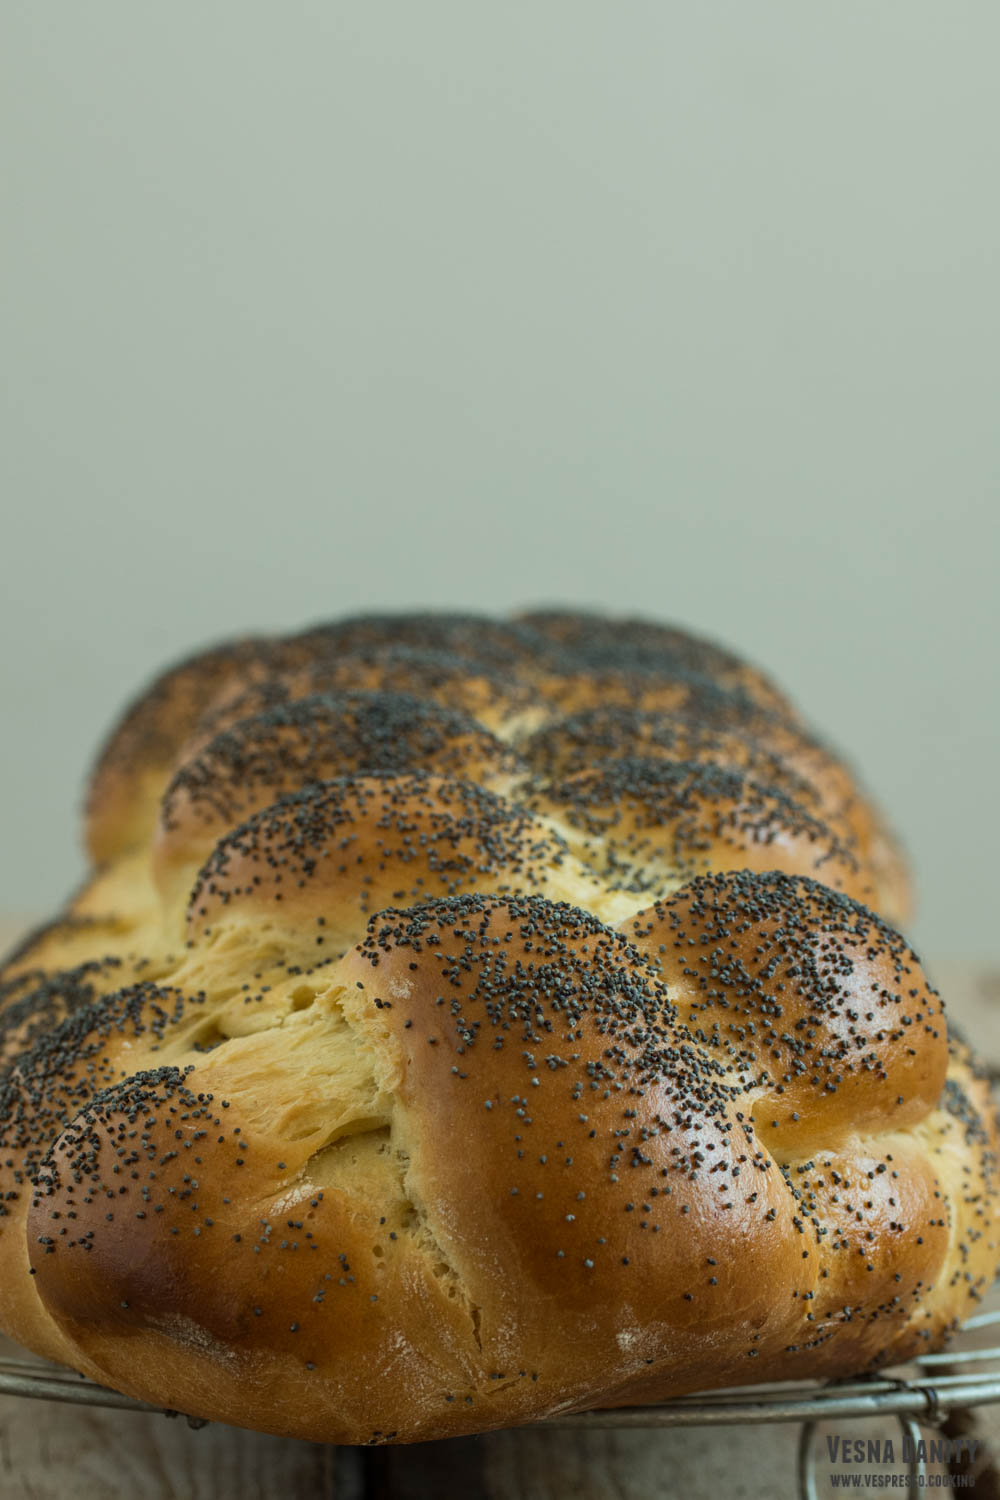
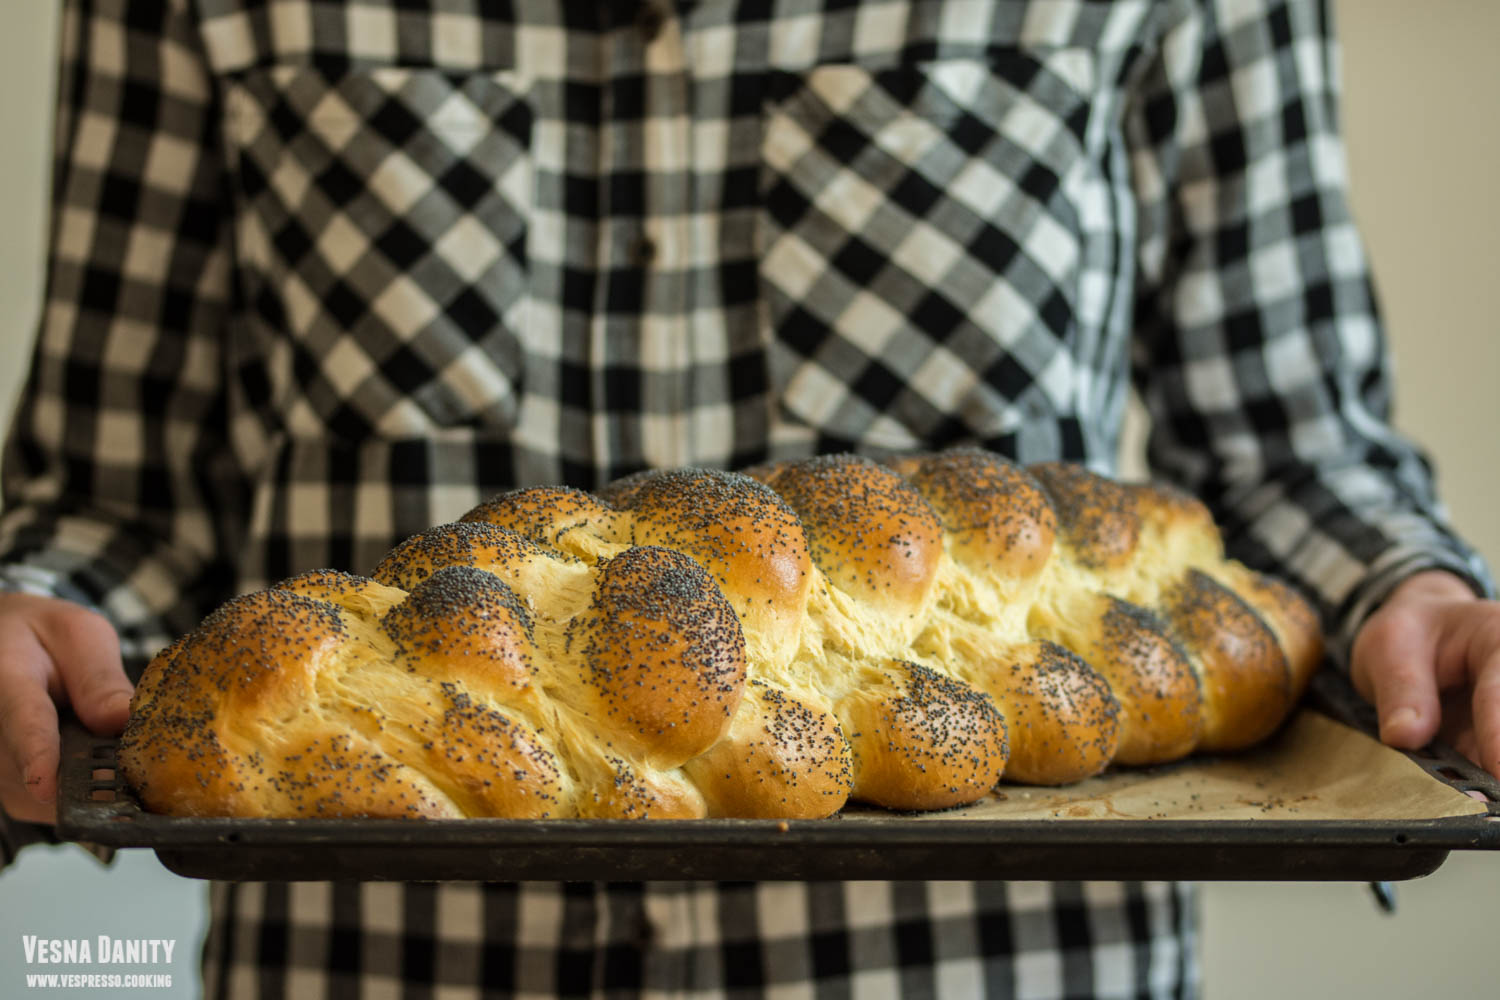
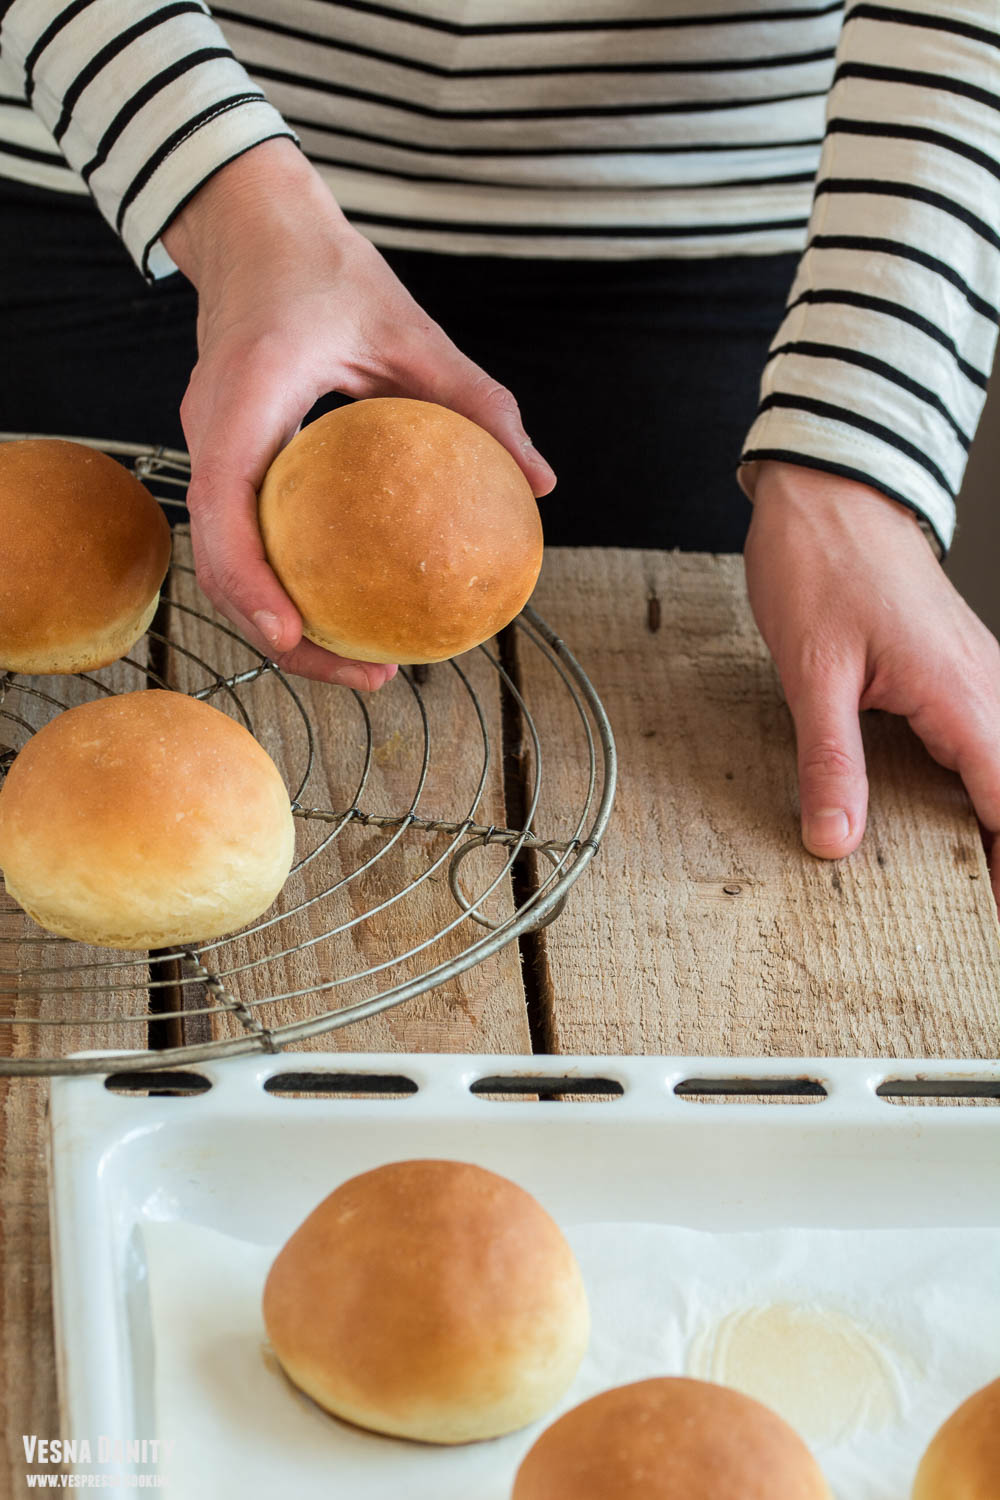
  10. Bake. Bake them in the preheated oven for 20 minutes or until golden. Let them cool for 30 minutes before serving.

Source: www.thehealthyfamilyandhome.com


Maroccan Semolina Bread – Khobz dyal Smida (Vegan)

I simply love to make bread, I find the science behind it fascinating and I cannot think of a better therapy than kneading the dough with my bare hands. But my adventurous side keeps me from repeating the same old recipes over and over again, so every fortnight I came up with new and exciting recipes. Some of them leave me as soon as I rest my head on the pillow but others refuse to leave my side. It’s been more than three years since I discovered this delicious Maroccan semolina bread and I turn to it every month ever since. It’s one of the easiest bread recipe I’ve ever made and the taste is simply amazing. It has a lovely thin crust and a pillowy and chewy center. I must confess that although I’m deeply fond of all my bread recipes, this one has a special place in my heart.

Ingredients:
⦁ 180ml lukewarm water
⦁ 1 tsp sugar
⦁ 1 tsp active dry yeast
⦁ 200g semolina
⦁ 170g all-purpose white flour
⦁ 1 Tbsp olive oil (15ml)
⦁ 1 tsp salt


Method:

1. In a small bowl combine water, sugar and yeast and let aside for 10 minutes. After 10 minutes, the mixture should be foamy.
2. In a large bowl sift together the white flour, semolina and salt and make a well in the center. Add the yeast mixture and the olive oil and mix with a wooden spatula until you form a ball.
3. Bring the dough on a floured working surface and knead it for 5 minutes. After 5 minutes, the dough should be smooth.
4. Place dough on the semolina-powdered working surface, cover with a clean towel and let it relax for 10 minutes.
5. After 10 minutes using a rolling pin, roll the dough in a 1 cm thick disc and place it on a parchment paper – lined tray. With a sharp blade score the surface in a diamond pattern. Cover with the same towel and let it rise for 45 – 60 minutes. Preheat the oven at 400°F/204°C (gas mark 6).
6. When the bread has doubled its thickness place the tray in the preheated oven and bake for 25 minutes or until golden brown.
7. Let the bread cool down on a wire rack for about 1 hour before slicing it.

Source: www.landsandflavors.com

Challah Bread

Challah is a braided bread made traditionally in the Jewish cuisine. This spectacular bread has a golden-brown, shiny crust and a airy and pilowy slightly sweet interior. It’s more than possible I’ve made challah more than two dozen times, in fact I bake it each and every time I want to surprise my guests. Beside the wow factor, this bread surprizes with its amazing taste as well.

Besides the usual ingredients, such as flour, water, salt, yeast and sugar, this bread is usually enriched with vegetable oil or melted butter and eggs,  which give challah a golden color and an unmistakable richness. These ingredients also allow this bread to remain soft for several days. If you’ve never tried to make challah before, I encourage you with all my heart to give it a try!

Ingredients (for a 45x15cm loaf):

  • 630g all-purpose flour (22 oz)
  • 225ml lukewarm water (8 oz)
  • 1 satchel active dry yeast (7g)
  • 2 Tbsp granulated sugar (30g)
  • 1 1/2 tsp salt (8g)
  • 55ml vegetable oil (2 oz)
  • 4 egg (2 egg + 1 yolk for the dough and 1 egg for the wash)
  • 2 – 3 Tbsp poppy seeds

Method:

  1. Activate the yeast. In a small bowl combine water, sugar and yeast and let aside for 10 minutes. After 10 minutes, the mixture should be frothy.
  2. Form the dough. In a large bowl sift the flour and make a well in the center. Add the yeast mixture (point 1) and the oil, 2 eggs and 1 yolk and mix with a wooden spatula. Add the salt and continue mixing until you form a ball.
  3. Knead the dough. Bring the dough on a floured working surface and knead it for 5 minutes. After 5 minutes, the dough should be smooth.
  4. Let the dough rise. Place dough in the bowl, cover with a clean towel and let it rise in a warm place for about 90 minutes (or until doubled in size).
  5. After 90 minutes, place the dough back on the working surface and knead vigorously to knock out the air bubbles.
  6. Form the ropes. Divide the dough into 6 pieces. Shape each piece into a ball. Elongate each ball of dough with your hands until you form a 45cm rope. Proceed the same with the rest of the dough.
  7. Braid the loaf. For a six-rope braid, I’ll leave you below the step by step pictures, as well as a gif.
  8. Preheat the the oven at 180°C / 350°F (gas mark 4).
  9. Place the loaf on a parchment paper-lined tray. Cover with a clean towel and let it rise for about 45 – 60 minutes.
  10. After about 1 hour give the apply egg wash and sprinkle with poppy seeds.
  11. Bake it in the preheated oven for about 30 minutes or until golden brown.
  12. Place it on a wire rack and let it cool down for about 30 minutes before slicing.

Source: www.thekitchn.com

3-Ingredient Cloud Bread


Cloud bread is basically an airy, soft and pillowy bread replacement, characteristics suggested by its own name. This dietetic bread is gluten-free and it’s also high in protein and low in carbohydrates. This bread is so delicious and extremely easy to make. As I mentioned in the title, cloud bread is made from only three ingredients: eggs, cream cheese and cream of tartar. The eggs are separated and the egg whites and the cream of tartar are beaten until stiff peaks form, while the egg yolks and the cream cheese are combined in another bowl. The meringue is carefully incorporated in the yolk mixture with gentle movements. The batter is divided into 9 small portions which are going to be baked in the oven until golden. Simple as that!

Ingredients (for 9 servings):

  • 4 large eggs *
  • 4 Tbsp cream cheese (60g) **
  • 1/2 tsp cream of tartar (or lemon juice) ***Note:

    * I use 1 Tbsp cream cheese for each large egg.
    ** This recipe is also delicious with mascarpone cheese, Greek yogurt and cottage cheese.
    *** If you don’t have cream of tartar, you can use the same amount of lemon juice. Don’t skip the acid, it stabilizes the egg whites and allows them to keep their form.


Method:

  1. Preheat the oven at 150°C / 300°F (gas mark 2). Line a tray with parchment paper.
  2. Take 2 bowls, a large one and a medium one. Place the cream cheese in the large bowl. Beat the cream cheese with a spatula or a whisk to soften.
  3. Separate the eggs. Add the yolk to the large bowl. Add the egg whites to the medium ball. Mix the yolk with the cream cheese using the whisk.
  4. Add the cream of tartar to the egg whites and beat on high speed until stiff peaks form (about 3 minutes).
  5. With gentle circular movements, fold one third of the stiff egg whites into the yolk and cream cheese mixture, incorporating them thoroughly. Add another half of the remaining stiff egg whites and fold them in as well. Try to deflate the fluffy egg whites as little as possible. Fold in the remaining stiff egg whites.
  6. Divide the composition into 9 portions, using about 2 tablespoons of mixture / portion. With the same spoon, gently level the top of the breads, giving them a circular shape.
  7. Bake in the preheated oven for about 25 – 30 minutes, or until lightly brown.
  8. Move to a wire rack and cool completely. Once completely cool, store them in an airtight container or a zip-lock bag. Overnight they will change their consistency, becoming more breadlike. They will last in the refrigerator for several days.

Source: www.geniouskitchen.com


Lachha Paratha


Lachha paratha is an Indian multi layered flatbread. For this simple recipe you’ll only need a handful of budget-friendly ingredients. The dough for lachha paratha is a mix of flour, water and oil, with a pinch of salt and sugar. After the dough has rested for a while, it is divided into 6 balls, and each ball is flatten into a disc with a rolling pin. And this is where the magic begins. Each disc, after being brushed with oil and powdered with flour, is folded into a fan and the fan is shaped as a pinwheel. Each pinwheel is flatten with a rolling pin into a flatbread. All the steps mentioned above are responsible for those lovely, flaky layers of goodness. Lachha paratha is more labor-intensive than a regular flatbread, but the result is absolutely spectacular; these multi layered flatbreads are not only a feast for the taste buds, but also for the eyes (and even for the ears).

Ingredients (for 6 – 8 flatbreads):

  • 280g whole wheat flour (2 cups) * + extra 70g for rolling (1/2 cups)
  • 75ml olive oil (5 Tbsp)**
  • aprox 140ml lukewarm water (38 – 40°C)***
  • 5g salt (1 tsp)
  • 5g  granulated sugar (1 tsp)

* I used whole wheat flour. This recipe can be made with all-purpose white flour or with a mixture of all-purpose and whole wheat flour.

** One Tbsp of olive oil is added to the dough and 4 Tbsp are used for brushing the rolled flatbread.

*** The quantity of water depends on the type of flour. The water is added 2 Tbsp at a time until you form a soft ball of dough, a ball that doesn’t stick to the bowl. For 280g whole wheat flour I use about 140ml water.

Method:

  1. Prepare the dough. In a large bowl combine white flour (sifted), sugar, salt and oil and make a well in the center. Add about 2 Tbsp of water at a time and mix with your fingers until you form a ball. The ball should be soft but it shouldn’t stick to the bowl.
  2. Knead the dough. Bring the dough to a floured working surface and knead it for 2 minutes. Place the dough in the bowl, cover it with a damp towel and let it rest for 30 minutes.
  3. Cut the dough into triangles. After 30 minutes, place the dough back on the working surface, knead it and cut it into 6 triangles. Shape each triangle into a small ball.
  4. Roll the first piece of dough. Place one ball on the floured working surface and cover the other 5 with the same damp towel. Roll the first ball with a rolling pin until it gets 2mm thick.
  5. Olive oil & flour.  Brush the first flatbread with olive oil and sprinkle with flour. Beginning with one end, fold it to form pleats.
  6. Make a pinwheel. Take one end of the fan and roll it like a pinwheel.
  7. Roll the flatbread. Flatten the pinwheel with a rolling pin until 3 – 4mm thick.
  8. Cook. Heat a cast iron skillet over medium heat. When you see pockets of air forming at the surface brush the raw surface with oil and flip it. Brush the cooked surface with olive oil too. Flip it again and cook until golden brown.
  9. Repeat with the other pieces of dough. Proceed the same with the remaining flatbreads. I prefer to roll the second one while the first one is cooking. It saves times.
  10. Serve. Serve warm with curry, chutney or different vegetable spreads.


Fast One-Hour Buns


I love everything that remotely resembles to bread, but if I’d have to choose between a slice of bread and a bun I’d choose the latter. And I have 2 main reasons:

  1. I’m the “crust” type of person, the crunchier, the better.
  2. I’m incapable of evenly slicing a bread. And I’ve tried. A lot. And don’t get me started on the cake-slicing topic.

These being said, I think I found the perfect buns. They are dense without being tough and they have a wonderful crunchy crust. Oh, I almost forgot the best part. These buns are made in 40 minutes.

Ingredients (for 10 Buns):

  • 250g strong white flour (+ extra 10g for kneading)
  • 25g beaten egg (1/2 egg)
  • ¼ tsp salt
  • 120ml lukewarm water (36-38°C)
  • 35ml Tbsp olive oil
  • 15g granulated sugar (I used packed brown sugar)
  • 1 envelope active dry yeast (7g)
  • Method:

    1. Preheat the oven at 400°F/204°C (gas mark 6).
    2. In a small bowl combine water, oil, sugar and yeast and let aside for 10 minutes. After 10 minutes, the mixture should be really foamy (picture).
    3. In a large bowl combine white flour, oat flour and salt and make a well in the center.
    4. Add the yeast mixture and ½ an egg and mix with a wooden spatula until you form a ball.
    5. Bring the sticky dough on a floured working surface and knead it for 2 minutes.
    6. Place dough in the bowl, cover and let it rise in a warm place for 10 minutes.
    7. After 10 minutes, place the dough back on the working surface and knead vigorously to knock out the air bubbles.
    8. Divide dough into 10 pieces and shape them into 10 balls (I had 10 balls x 53g).
    9. Place them on a tray lined with parchment paper, give them a quick egg wash, sprinkle some cumin seeds and bake them for 12 minutes or until golden.


    Source: www.kitchemeetsgirl.com

Homemade Flour Tortilla


I can’t remember last time I had a store-bought tortilla. I always make my own tender and delicious tortillas. These flatbreads are so easy to make, they taste incredible and they are also budget-friendly. I usually use olive oil in this recipe because I love its flavor but any other vegetable oil works just fine.
Continue reading Homemade Flour Tortilla

Pull-Apart Garlic & Herb Bread


This flavorful pull-apart bread is by far my favorite kind of bread. It is so soft and airy and I can’t even begin to describe how wonderful it tastes. Although it may look fancy, it is in fact very easy to make. If you have a bit of extra time on your hands, you can make this beauty from scratch, using just a few budget-friendly ingredients. Not to mention the fact that you don’t need a knife to slice it, you just tear it apart.

This loaf is the piece de resistence that you proudly place in the middle of the table during a dinner among friends. You just have to sit and enjoy how everyone tears it apart, piece by piece. This loaf obviously has the wow factor, but it is also extremely delicious. It’s something inexplicably satisfactory about tearing it into pieces, pieces that simply melt in your mouth and delight you with a buttery roasted garlic aroma. This bread is simply madness!

Continue reading Pull-Apart Garlic & Herb Bread

Homemade Naan

Naan is an oven baked flatbread made with yeast. These flatbreads are by far my favorite kind of flatbread. They are so easy to make, the ingredients are always in my pantry, they look so adorable, but also these beauties are extremely delicious. This flatbread is so elastic, soft and airy, with a lovely buttery and toasted sesame seed flavor. It is such a rustic bread and yet so sophisticated. The technique is quite simple and the active part takes no more than 20 minutes. The passive part, the part when the dough rests or rises is the most challenging part, if you will. It takes about 2 hours to rise, so this recipe isn’t the most suitable if you are in a hurry. But if you have some time to spare, trust me, the result is so rewarding and surely it is worth waiting every minute. Continue reading Homemade Naan

Cheese-Beer Bread

Cheese & beer bread

Mixing

Beer loaf


My latest obsession in the bread-making field is this cheesy beer bread. It is so easy to make, it’s quick, it’s no fuss, it doesn’t involve kneading / finding a warm place in the kitchen / figuring out what in the name of God lukewarm is supposed to mean. Even though the ingredients are pretty common, the result exceeds all expectations – a lovely crunchy cheesy crust and a dense, elastic and flavorful center. Even though the only fat-source is the cheese (and a low-fat version, to be more accurate), the taste is so unexpectedly rich and the flavor amplifies with every bite. These being said, good luck on limiting yourself to just one serving! Continue reading Cheese-Beer Bread