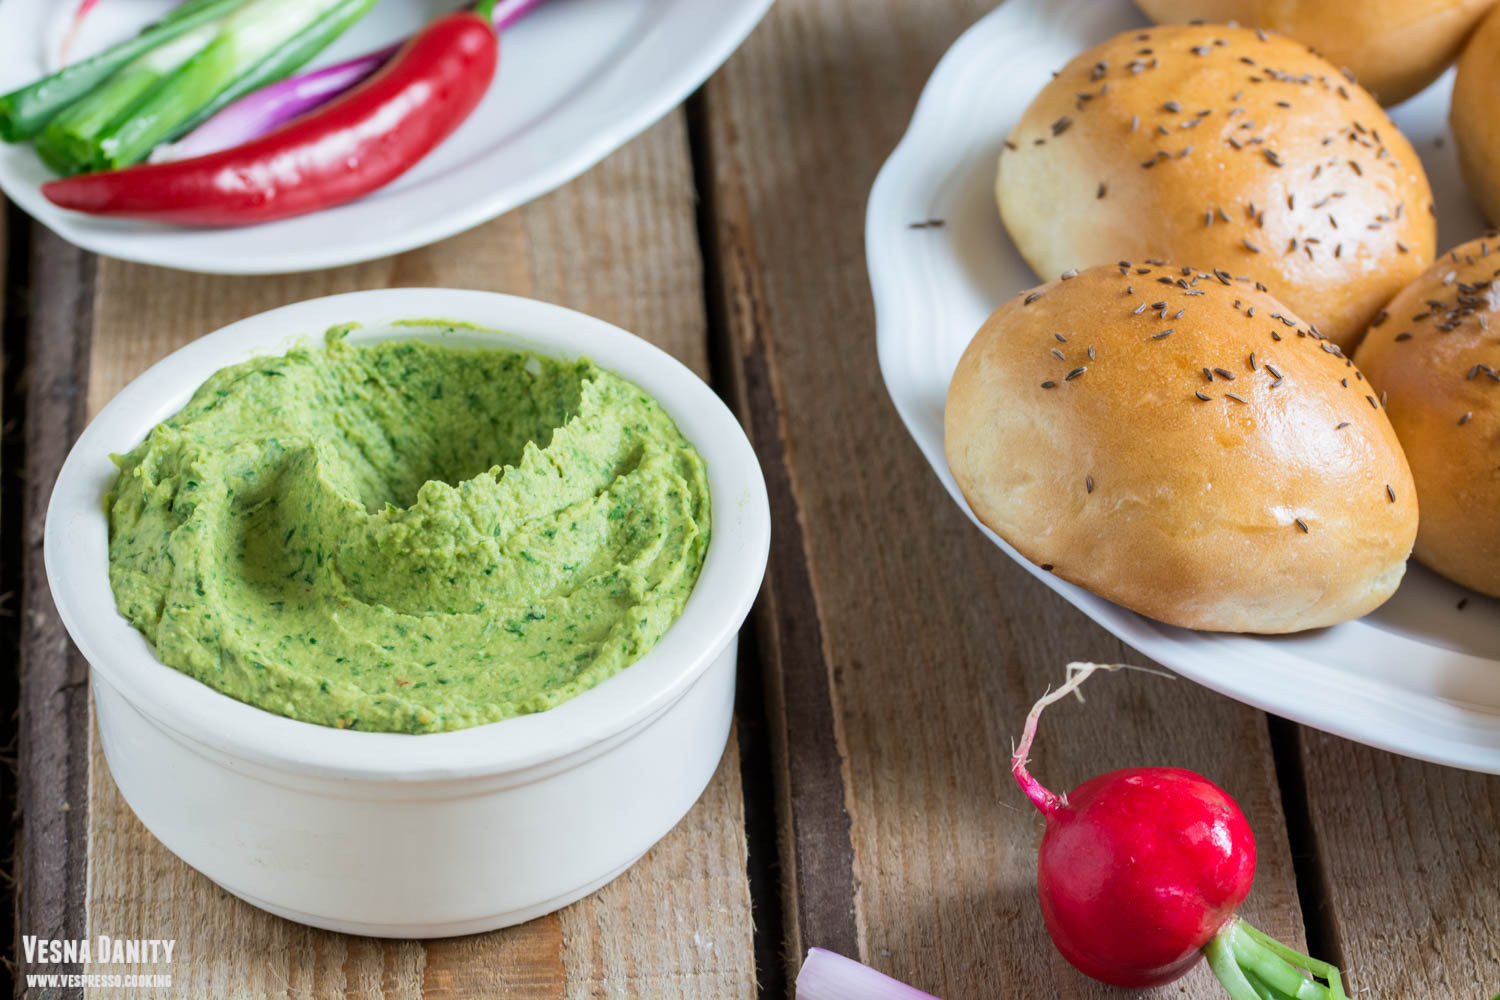
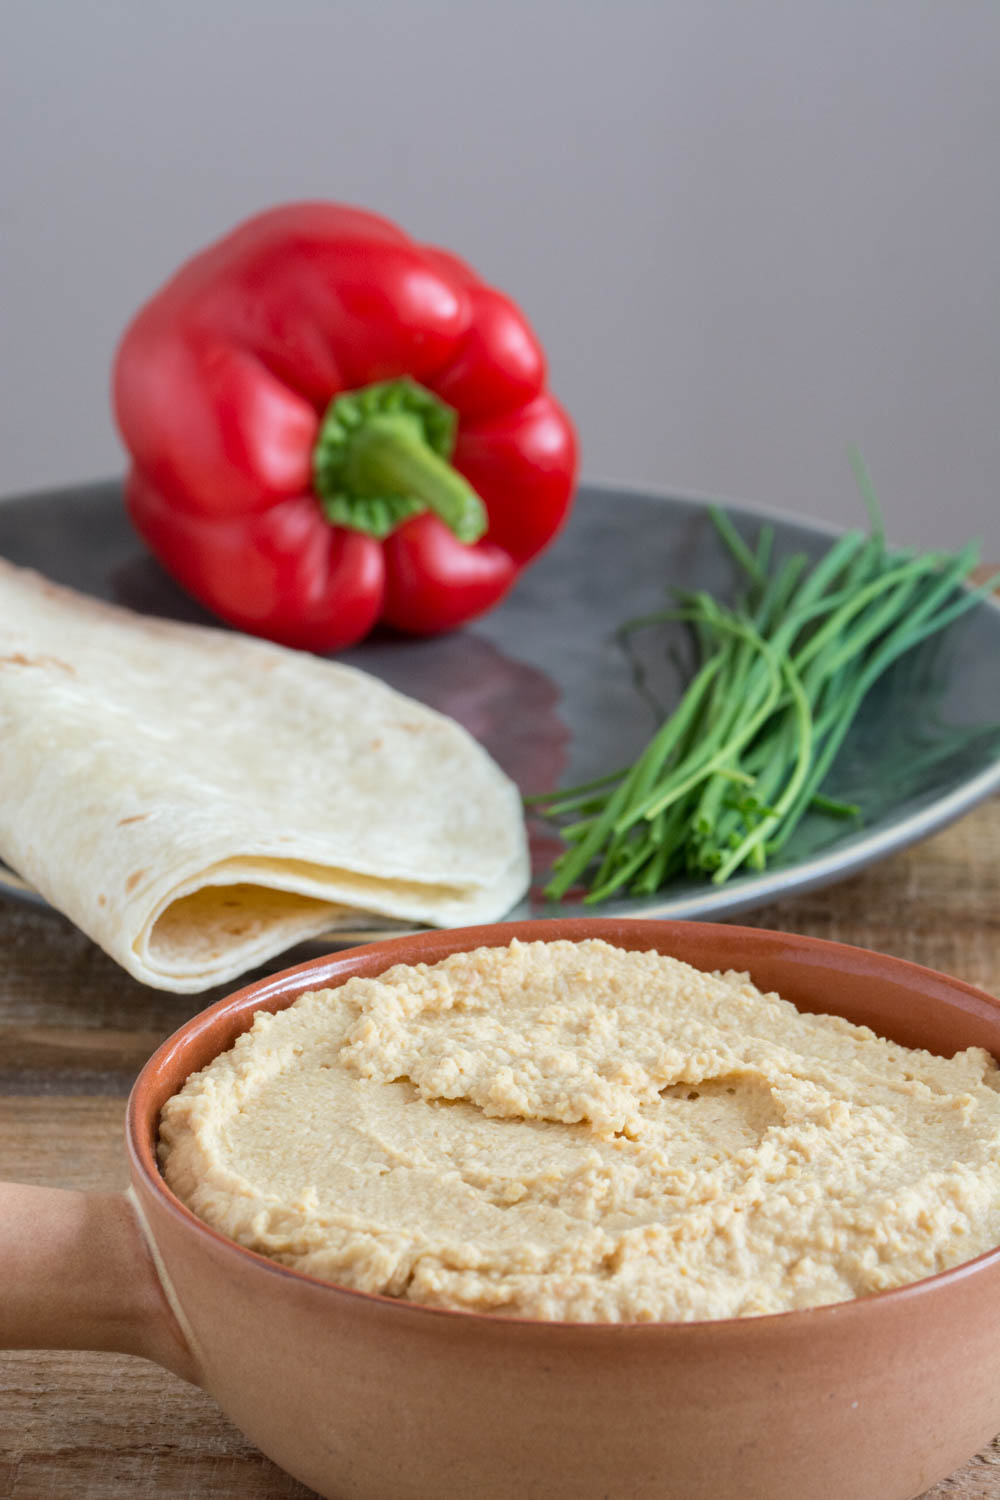
These homemade tortilla rolls are filled with a smooth and creamy chick pea spread and some sweet roasted red bell peppers. I cannot possibly imagine a finger food platter made without these creamy tortilla rolls, as they are incredibly easy to make and they are the first ones that vanish off the platter. And the reasons are quite simple: they are delicious, hearty and nutritious.
Ingredients (for 2 rolls):
- 2 large tortillas
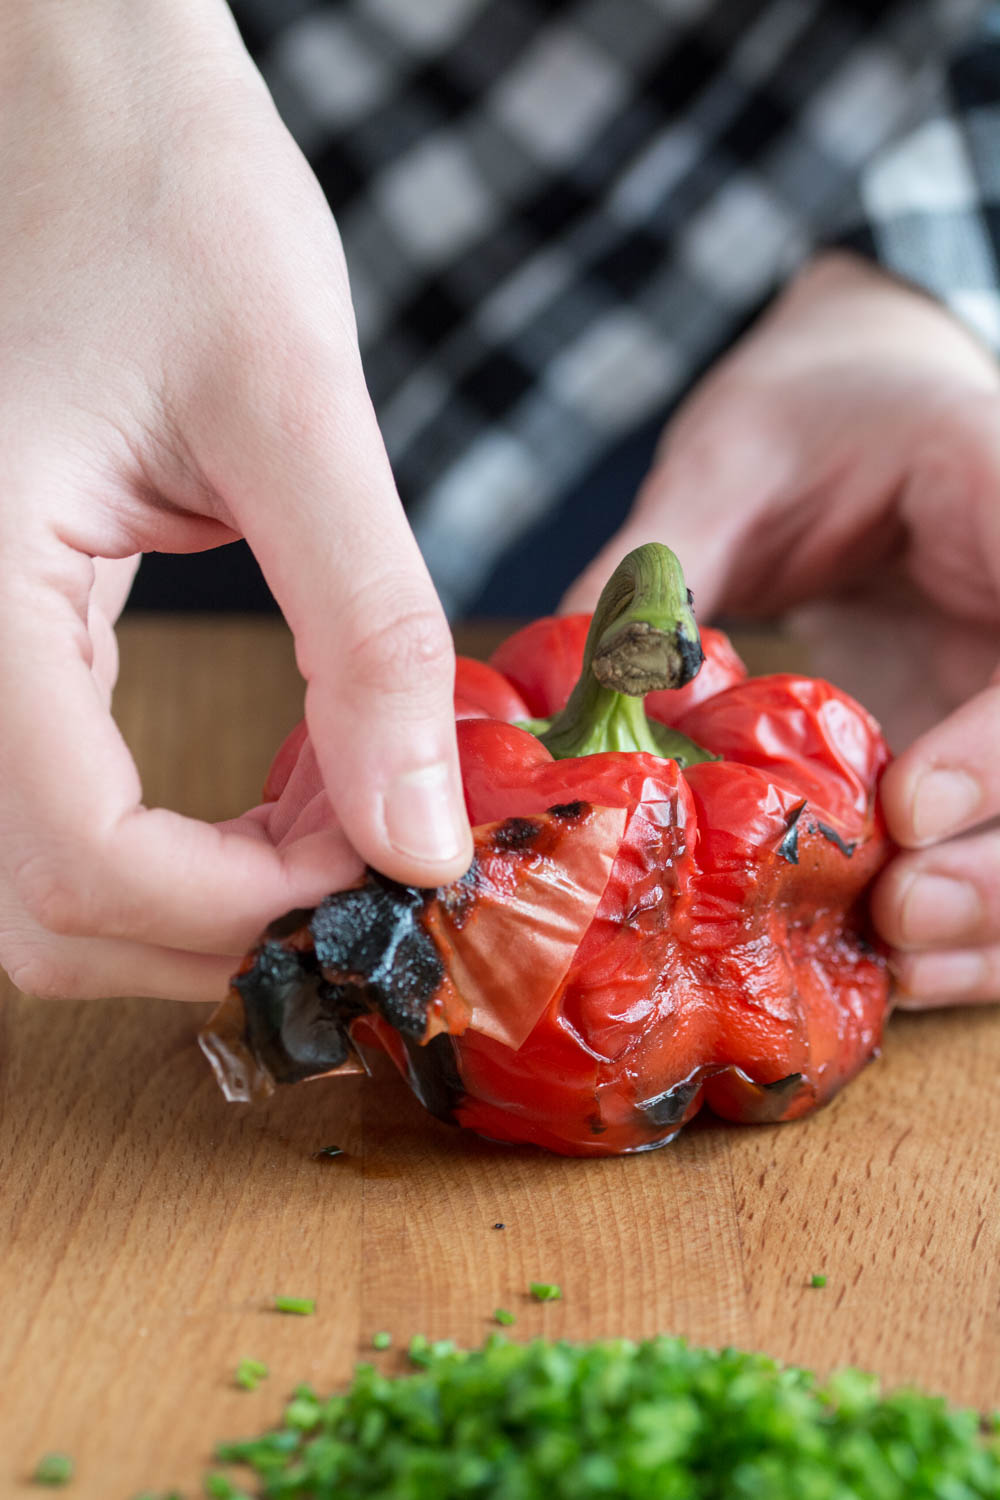
- 1 red bell pepper
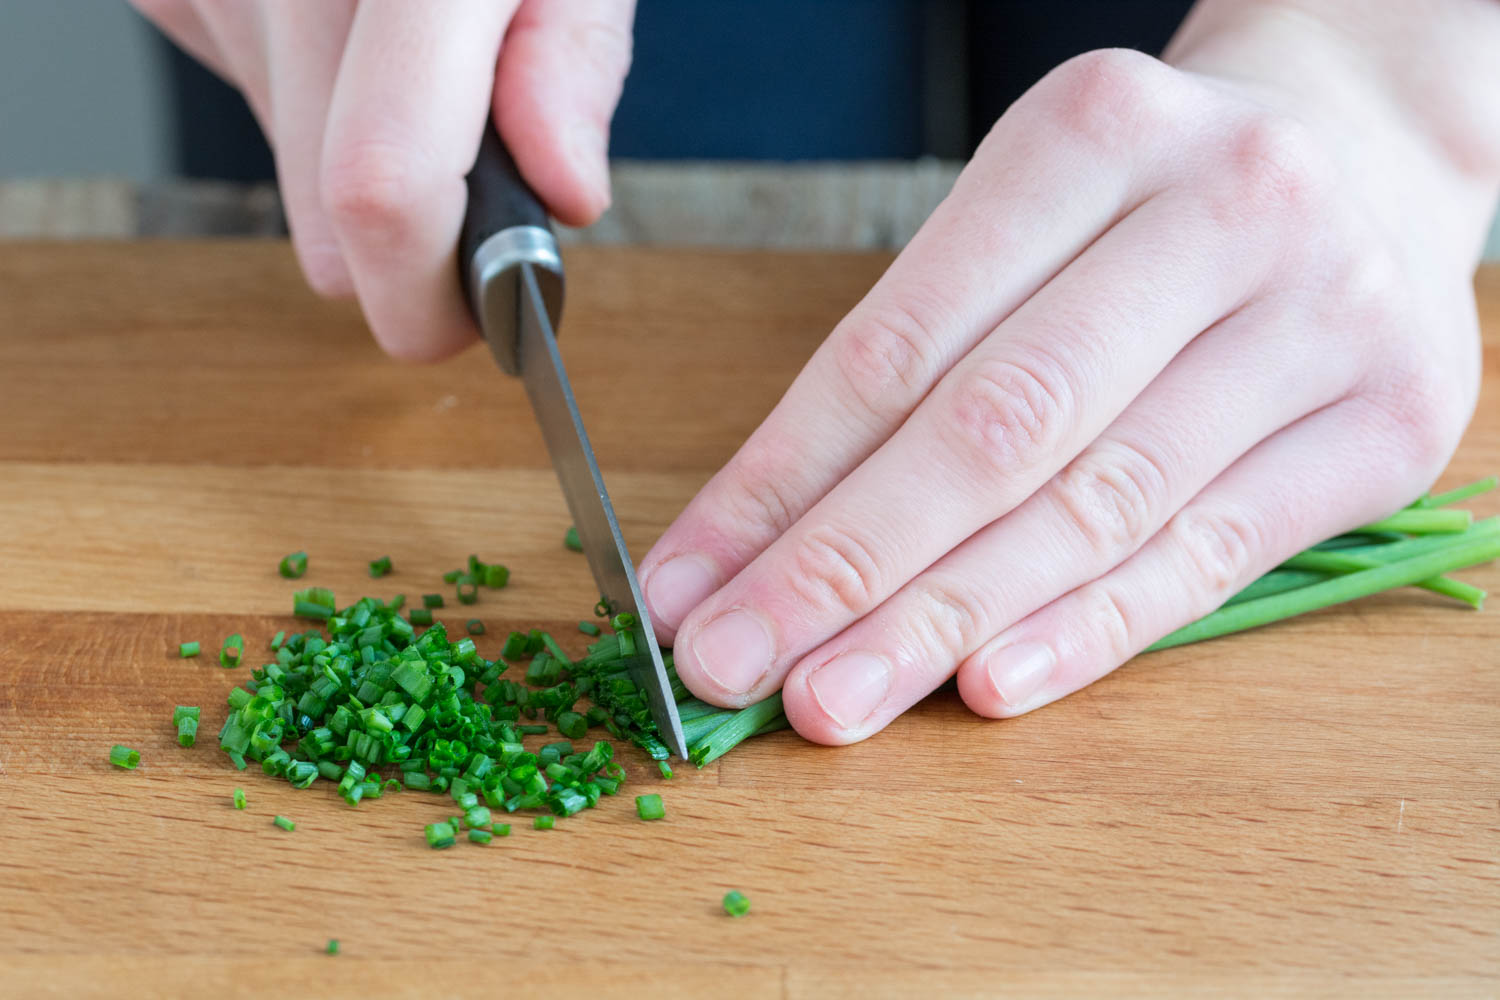
- 1 Tbsp chopped chives
for the hummus:
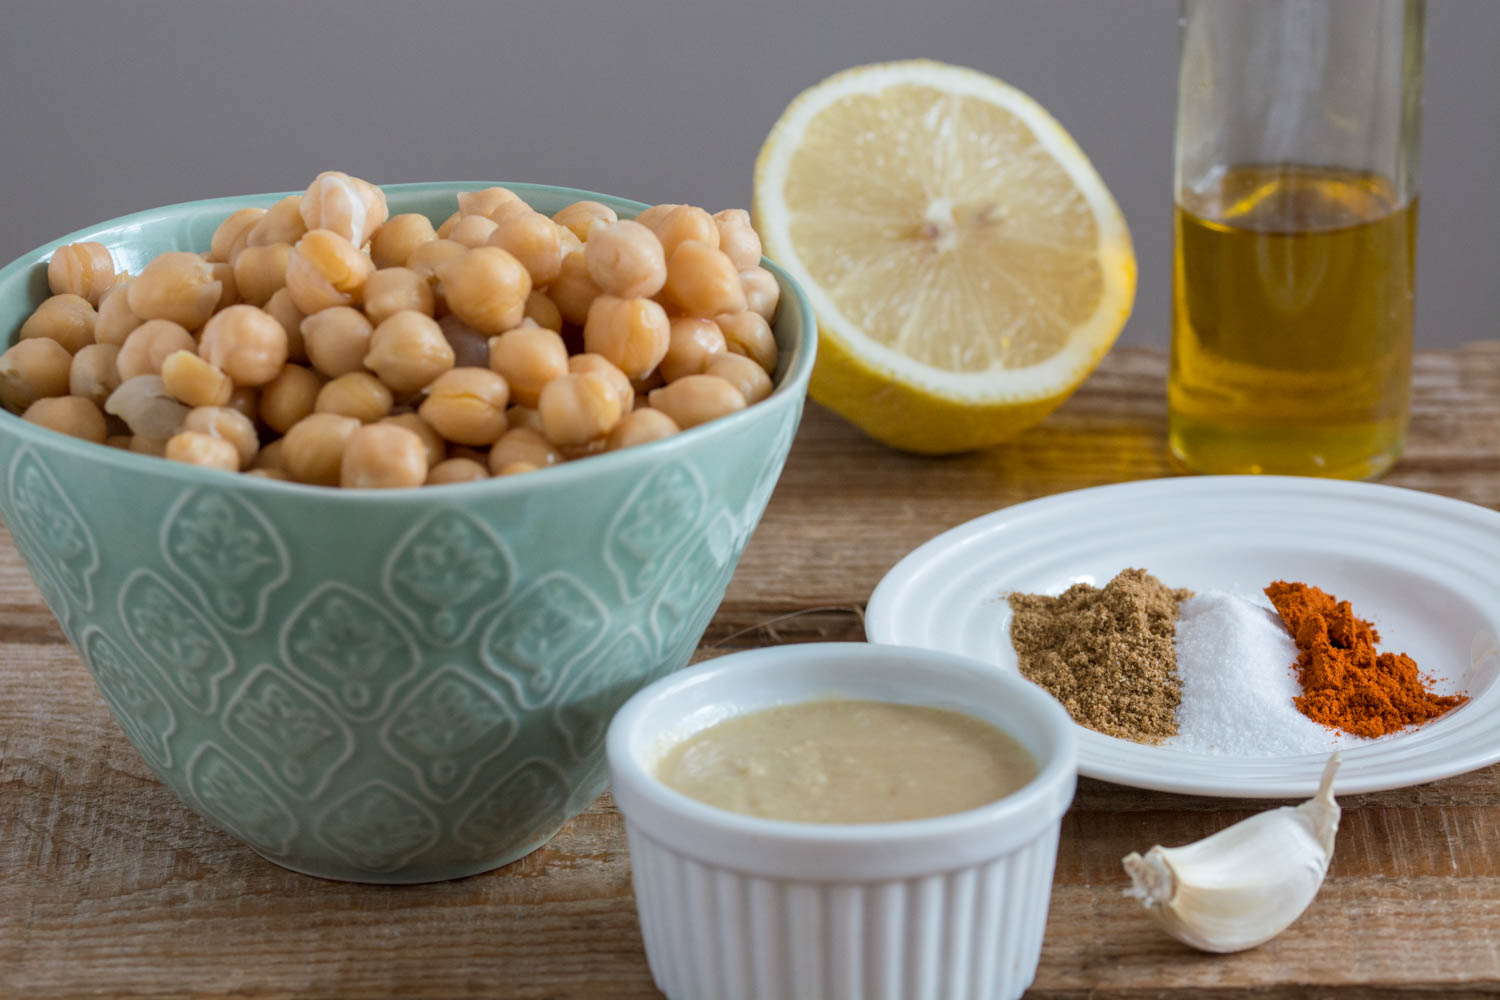
- 1 can of chickpeas (400g)
- 1 Tbsp tahini (I used homemade tahini – here is the recipe)
- 2 Tbsp lime juice
- 3 Tbsp olive oil
- 1 – 2 Tbsp water
- ¼ tsp cumin
- 1/8 tsp chili flakes
- salt to taste
Method:
- Roast the red bell pepper. Take a metal disk, place it on the stove and roast the pepper on each side. Place the roasted pepper in a small saucepan and cover with a lid. After 10 minutes carefully peel the pepper. Remove the stem and the seeds, give it a quick wash and pat it dry with a paper towel. Slice it.
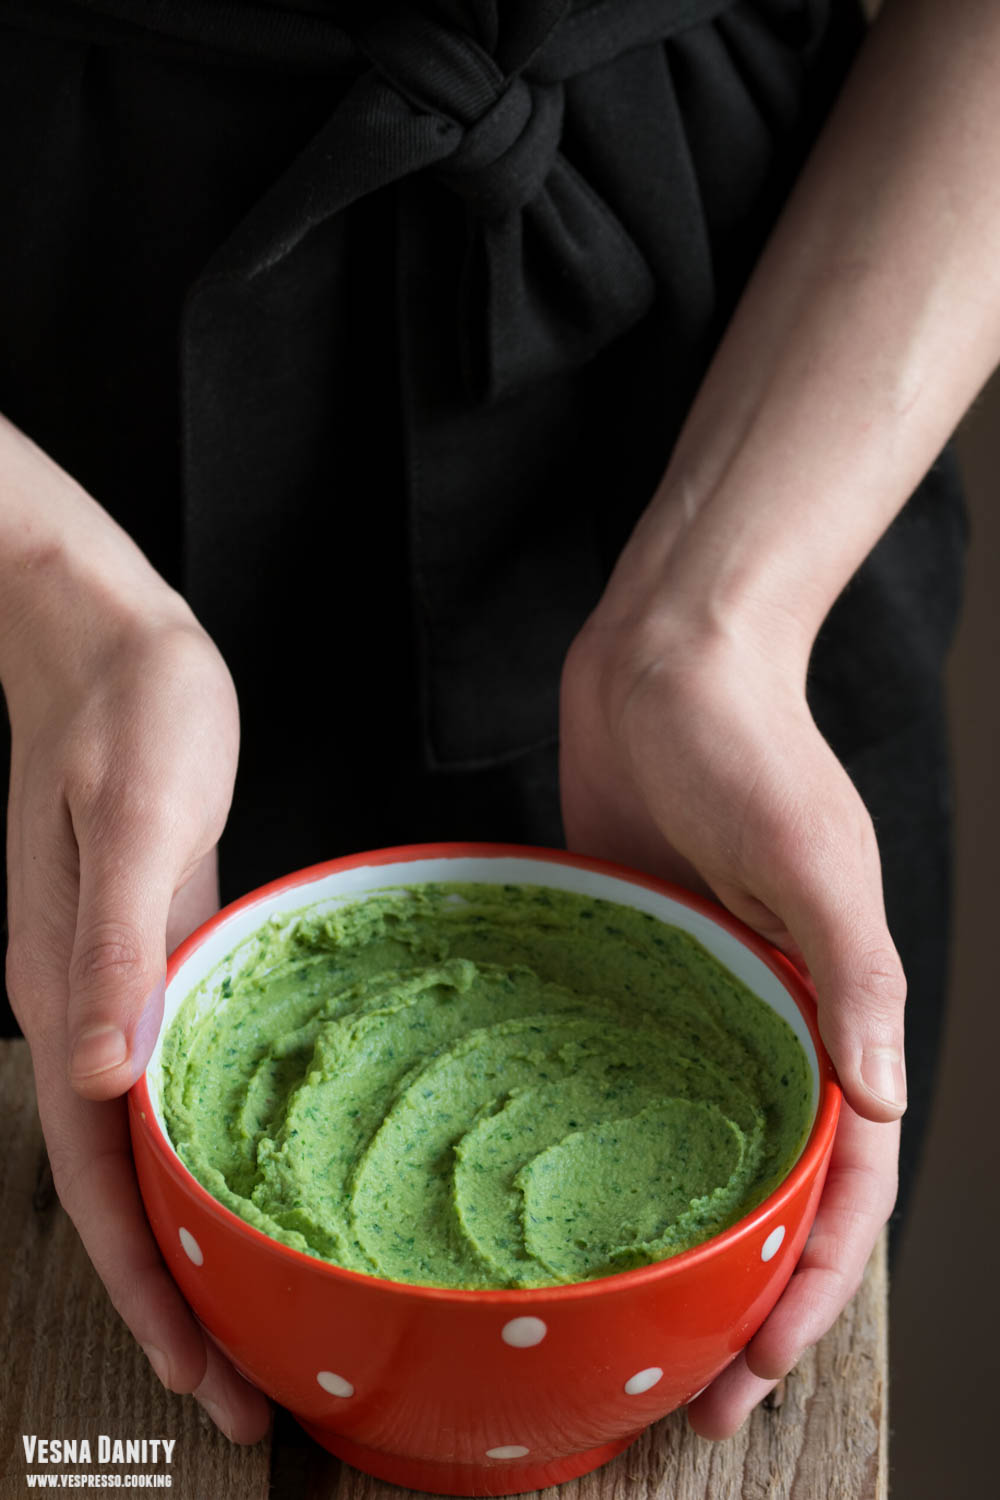
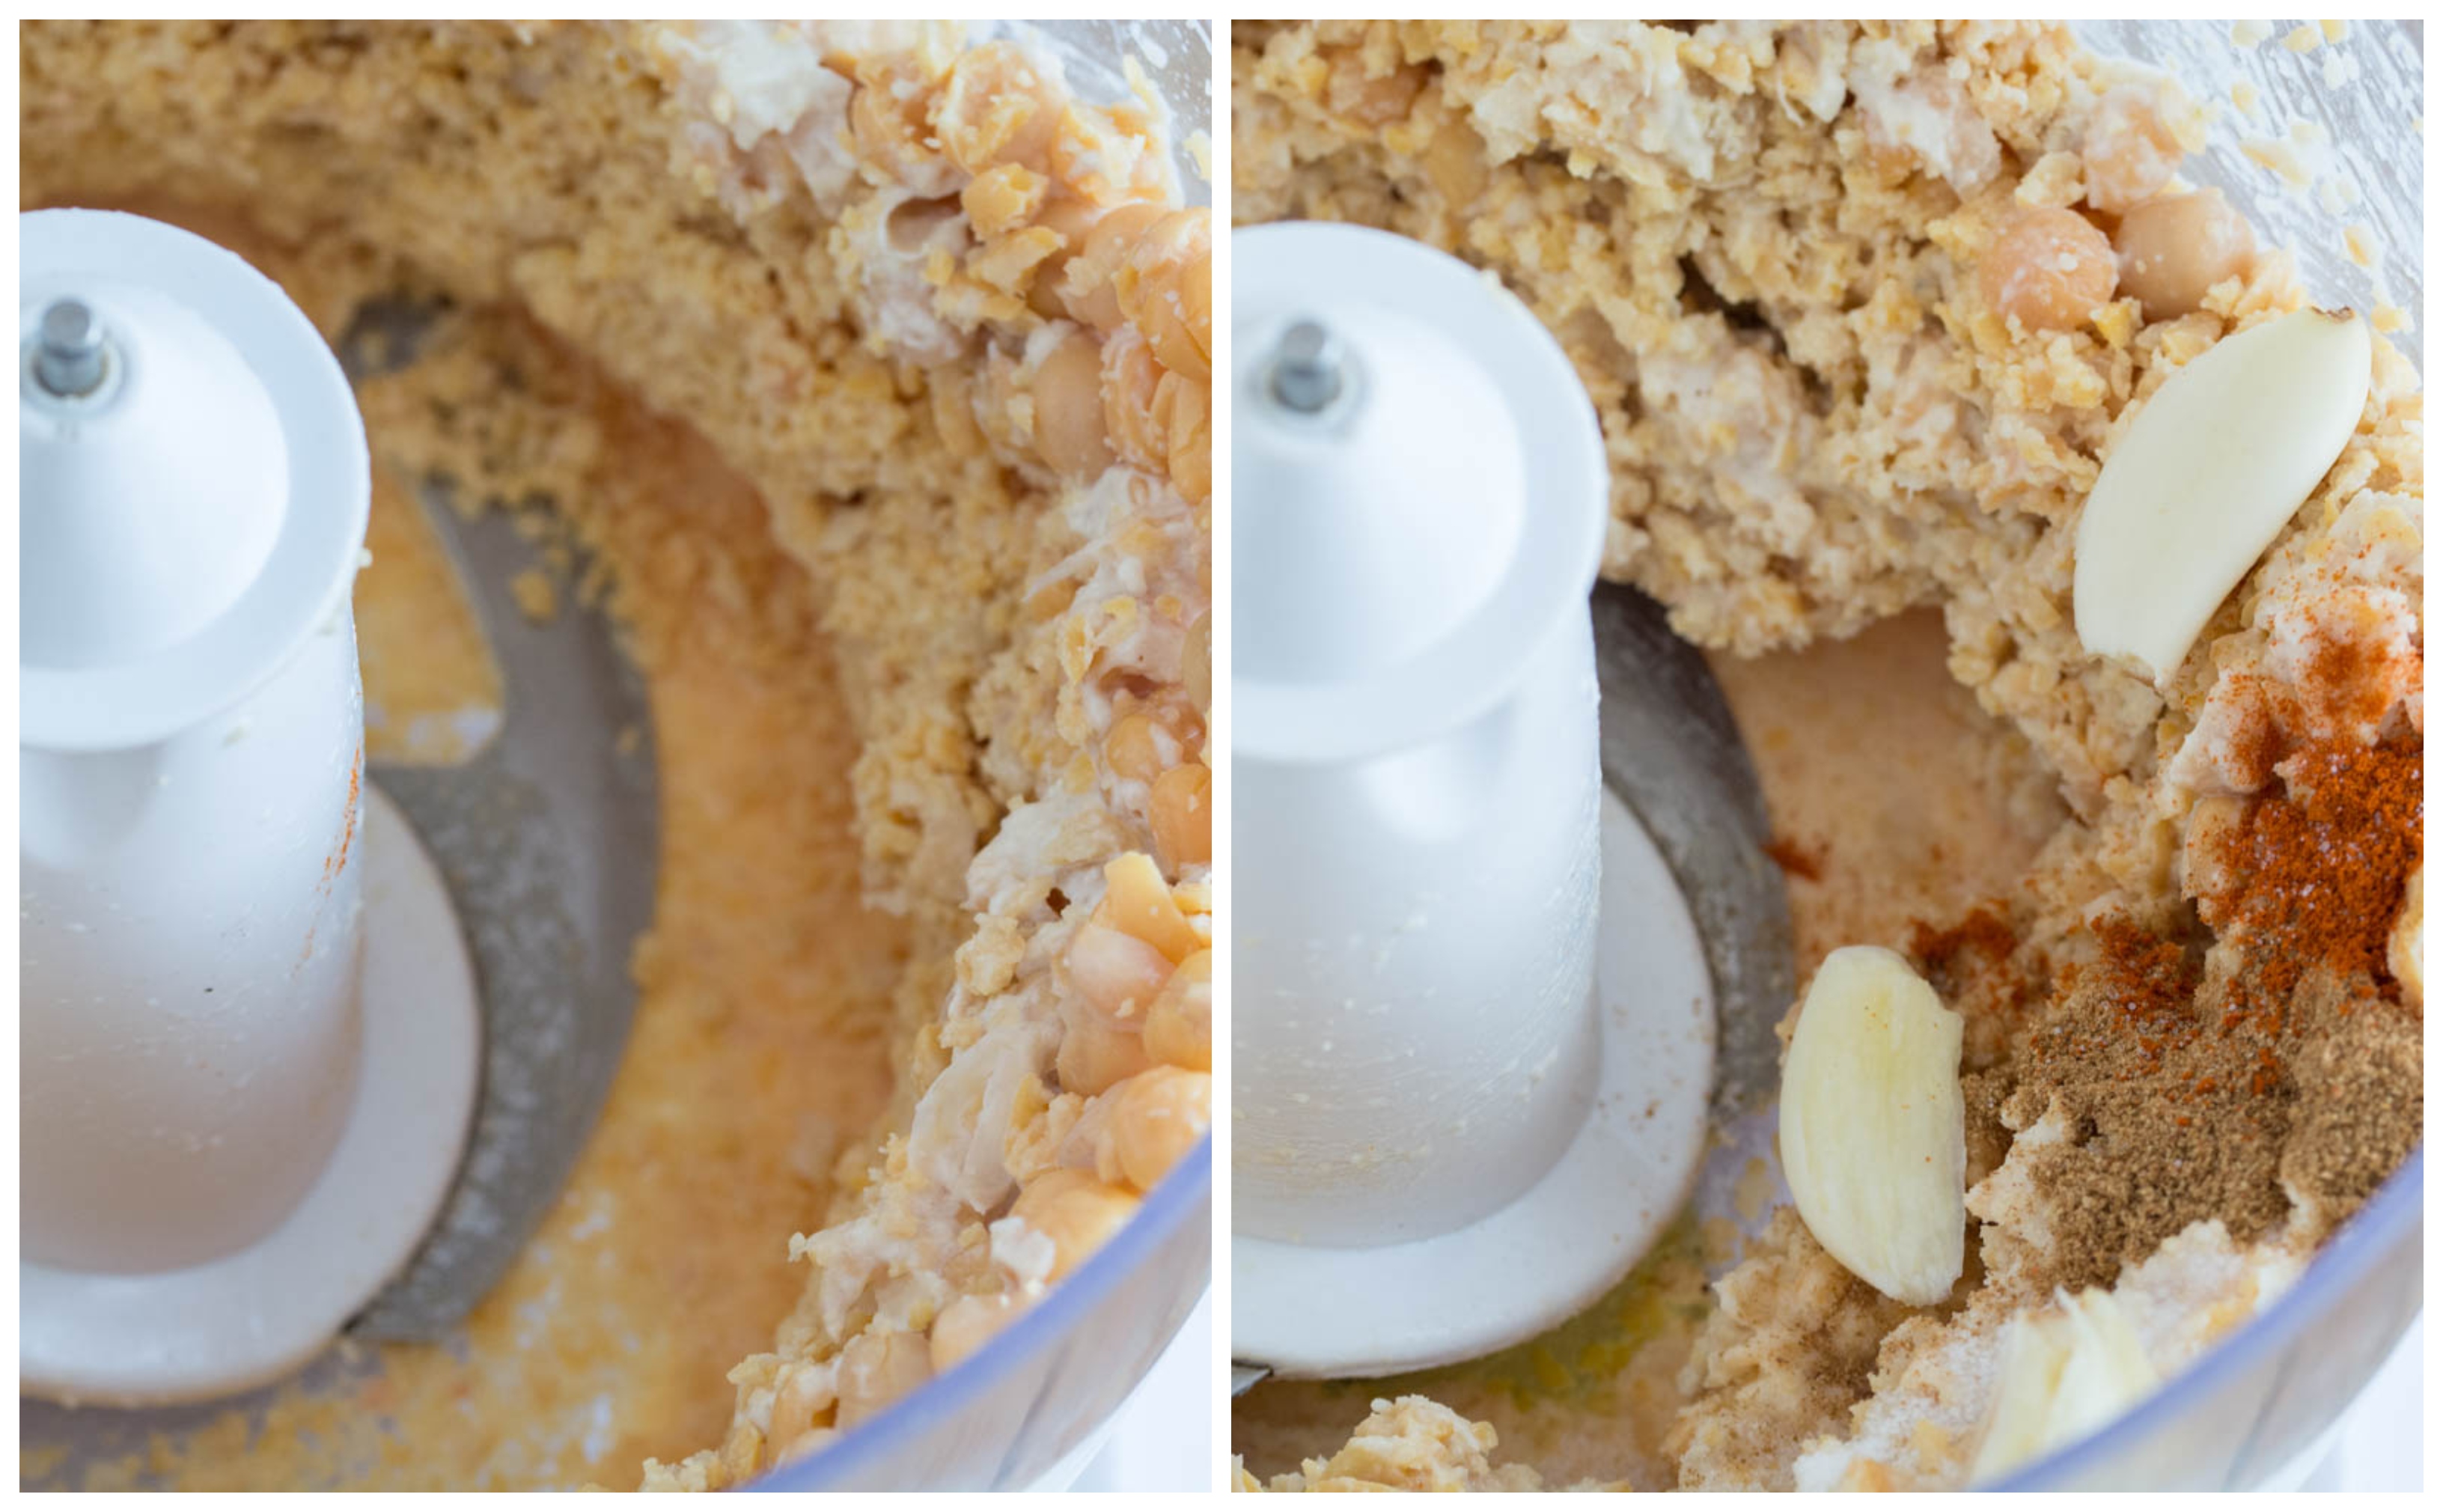
- Prepare the hummus. Drain the chickpeas using a colander and rinse it under cold water. Take about 8 – 10 chickpeas and gently squeeze them in your fingers to remove their skins. Proceed the same with the rest of the chickpeas – this step is optional.
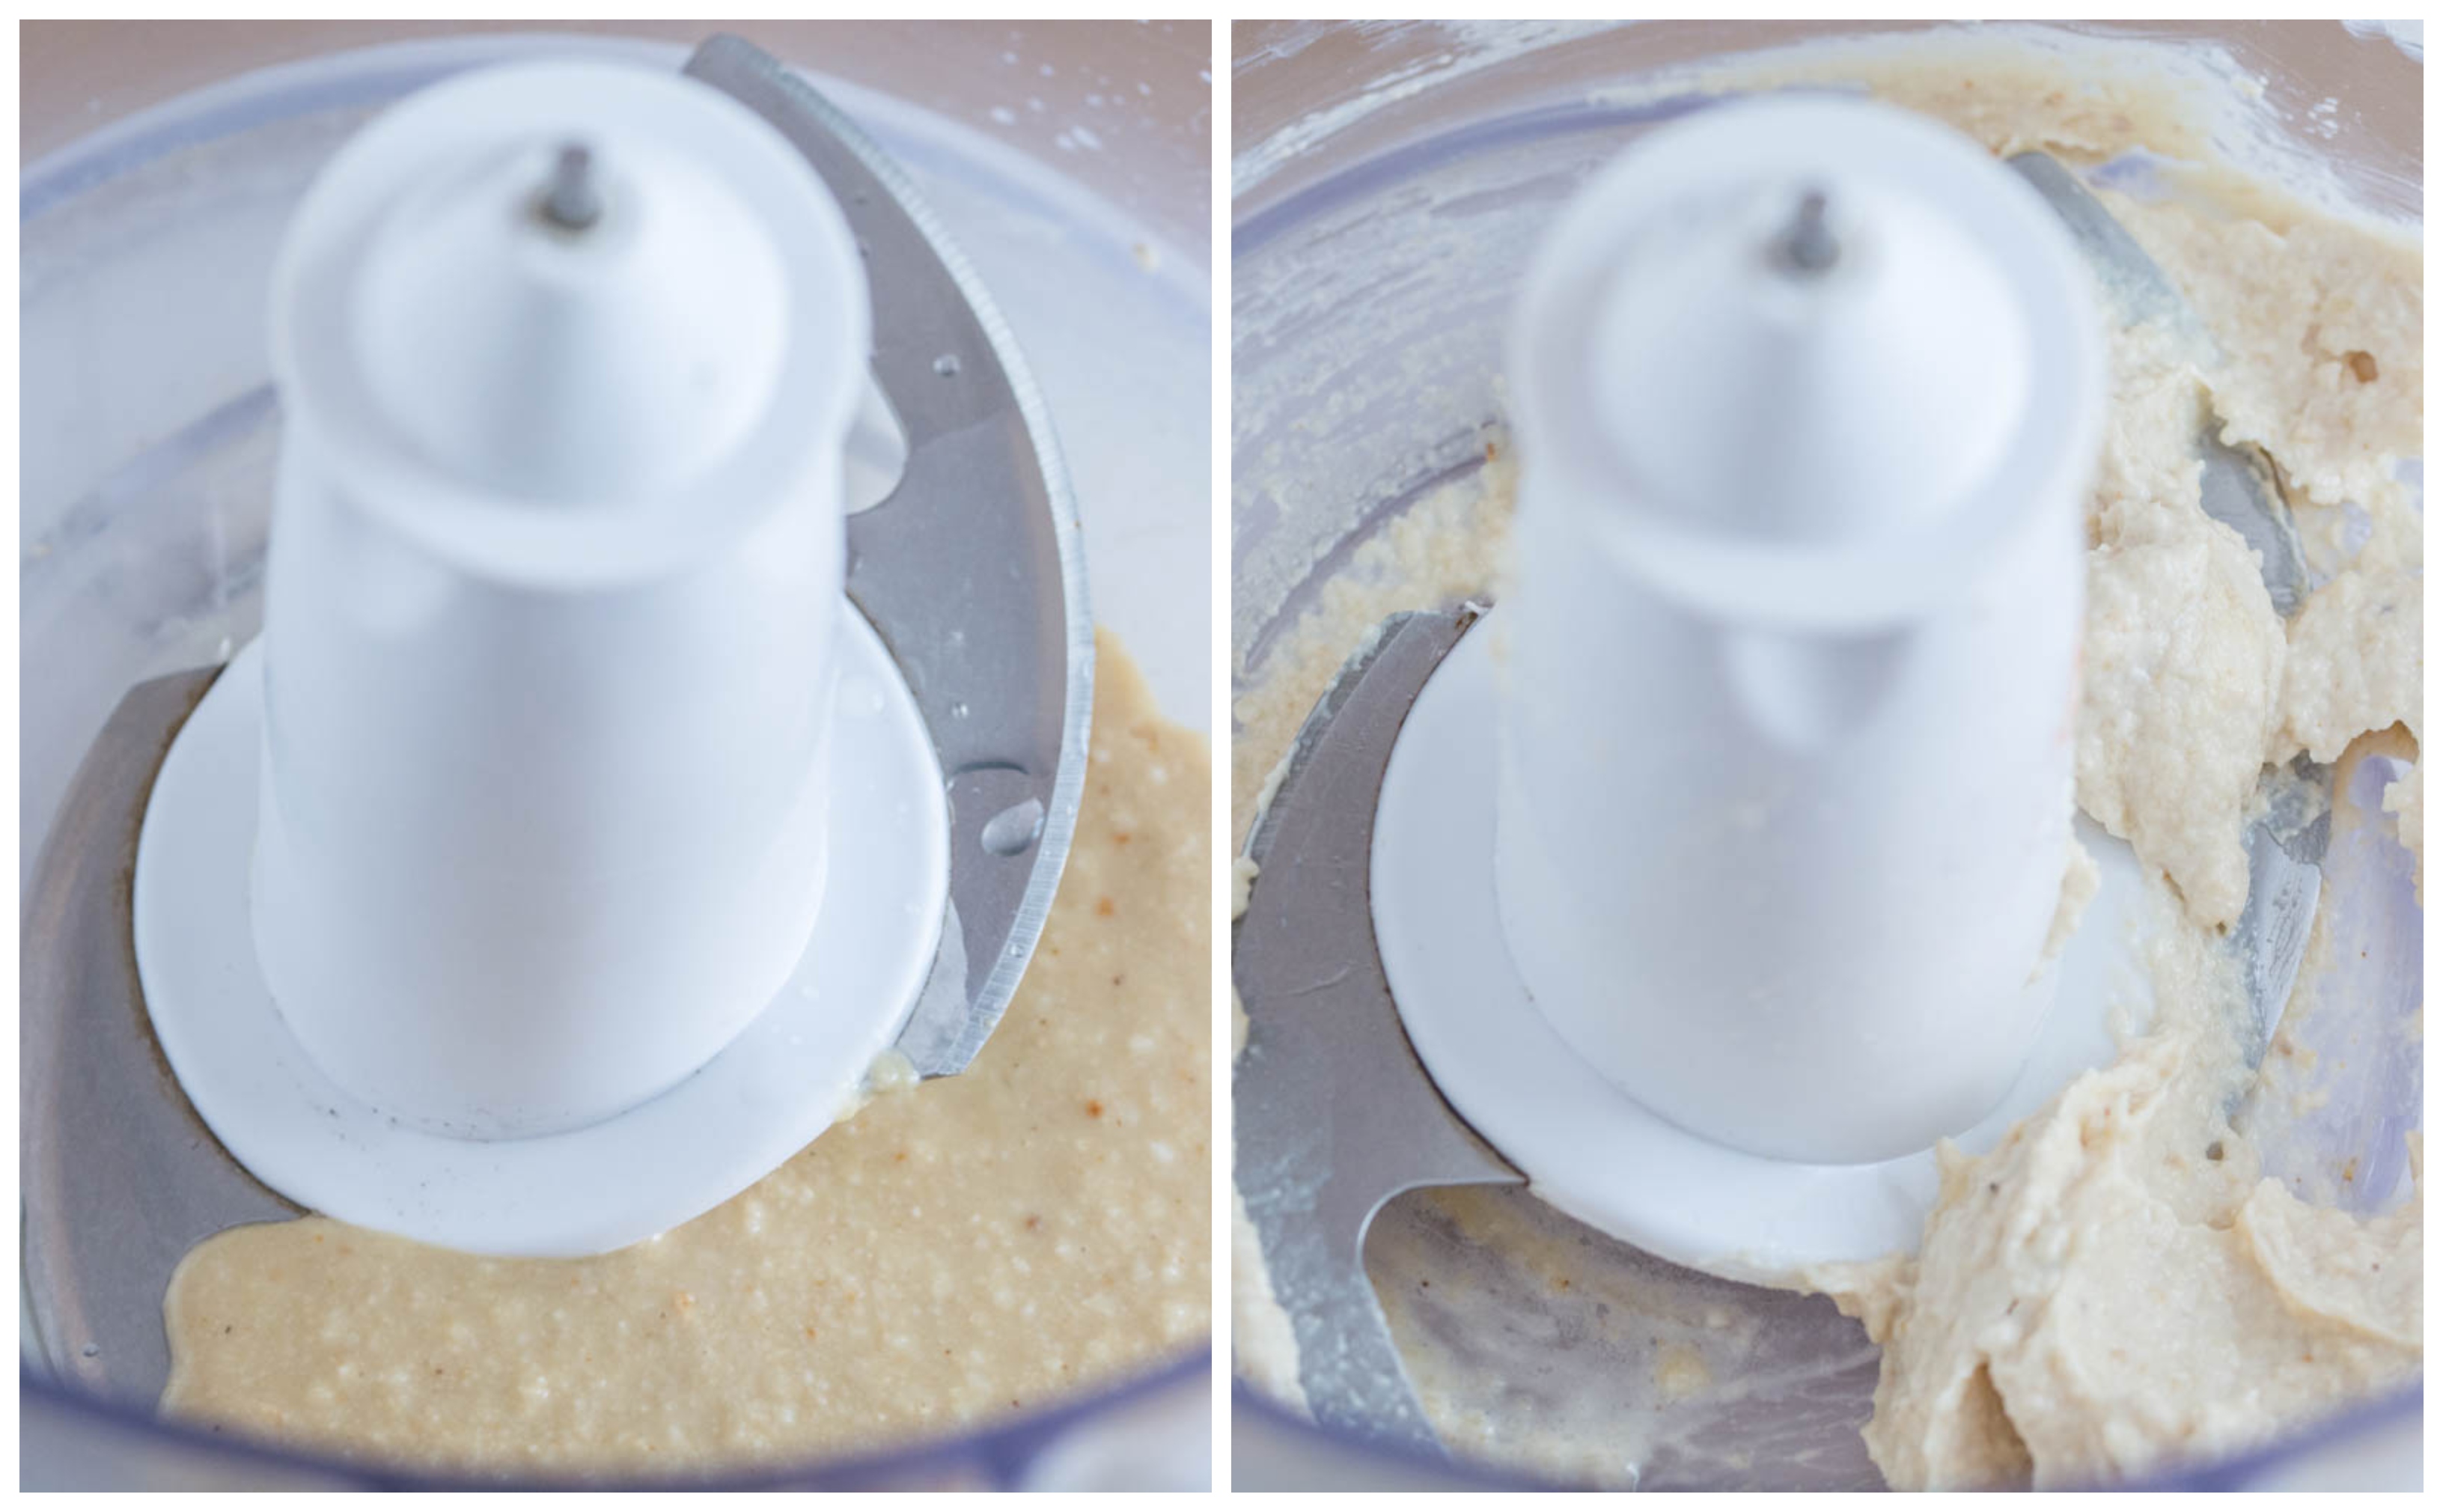
- In the bowl of the food processor add the tahini and the lime juice and pulse until combined.
- Drizzle the olive oil 1 Tbsp at a time. Pulse until the mixture resembles to a mayonnaise.
- Add the chickpeas and pulse until you form a paste, scraping down the sides of the bowl with a spatula.
- Add the spices (cumin, chili flakes and salt). Add 1 Tbsp of water and process. Add more water until you reach the desired consistency. Spoon it into a bowl and drizzle some olive oil on top.
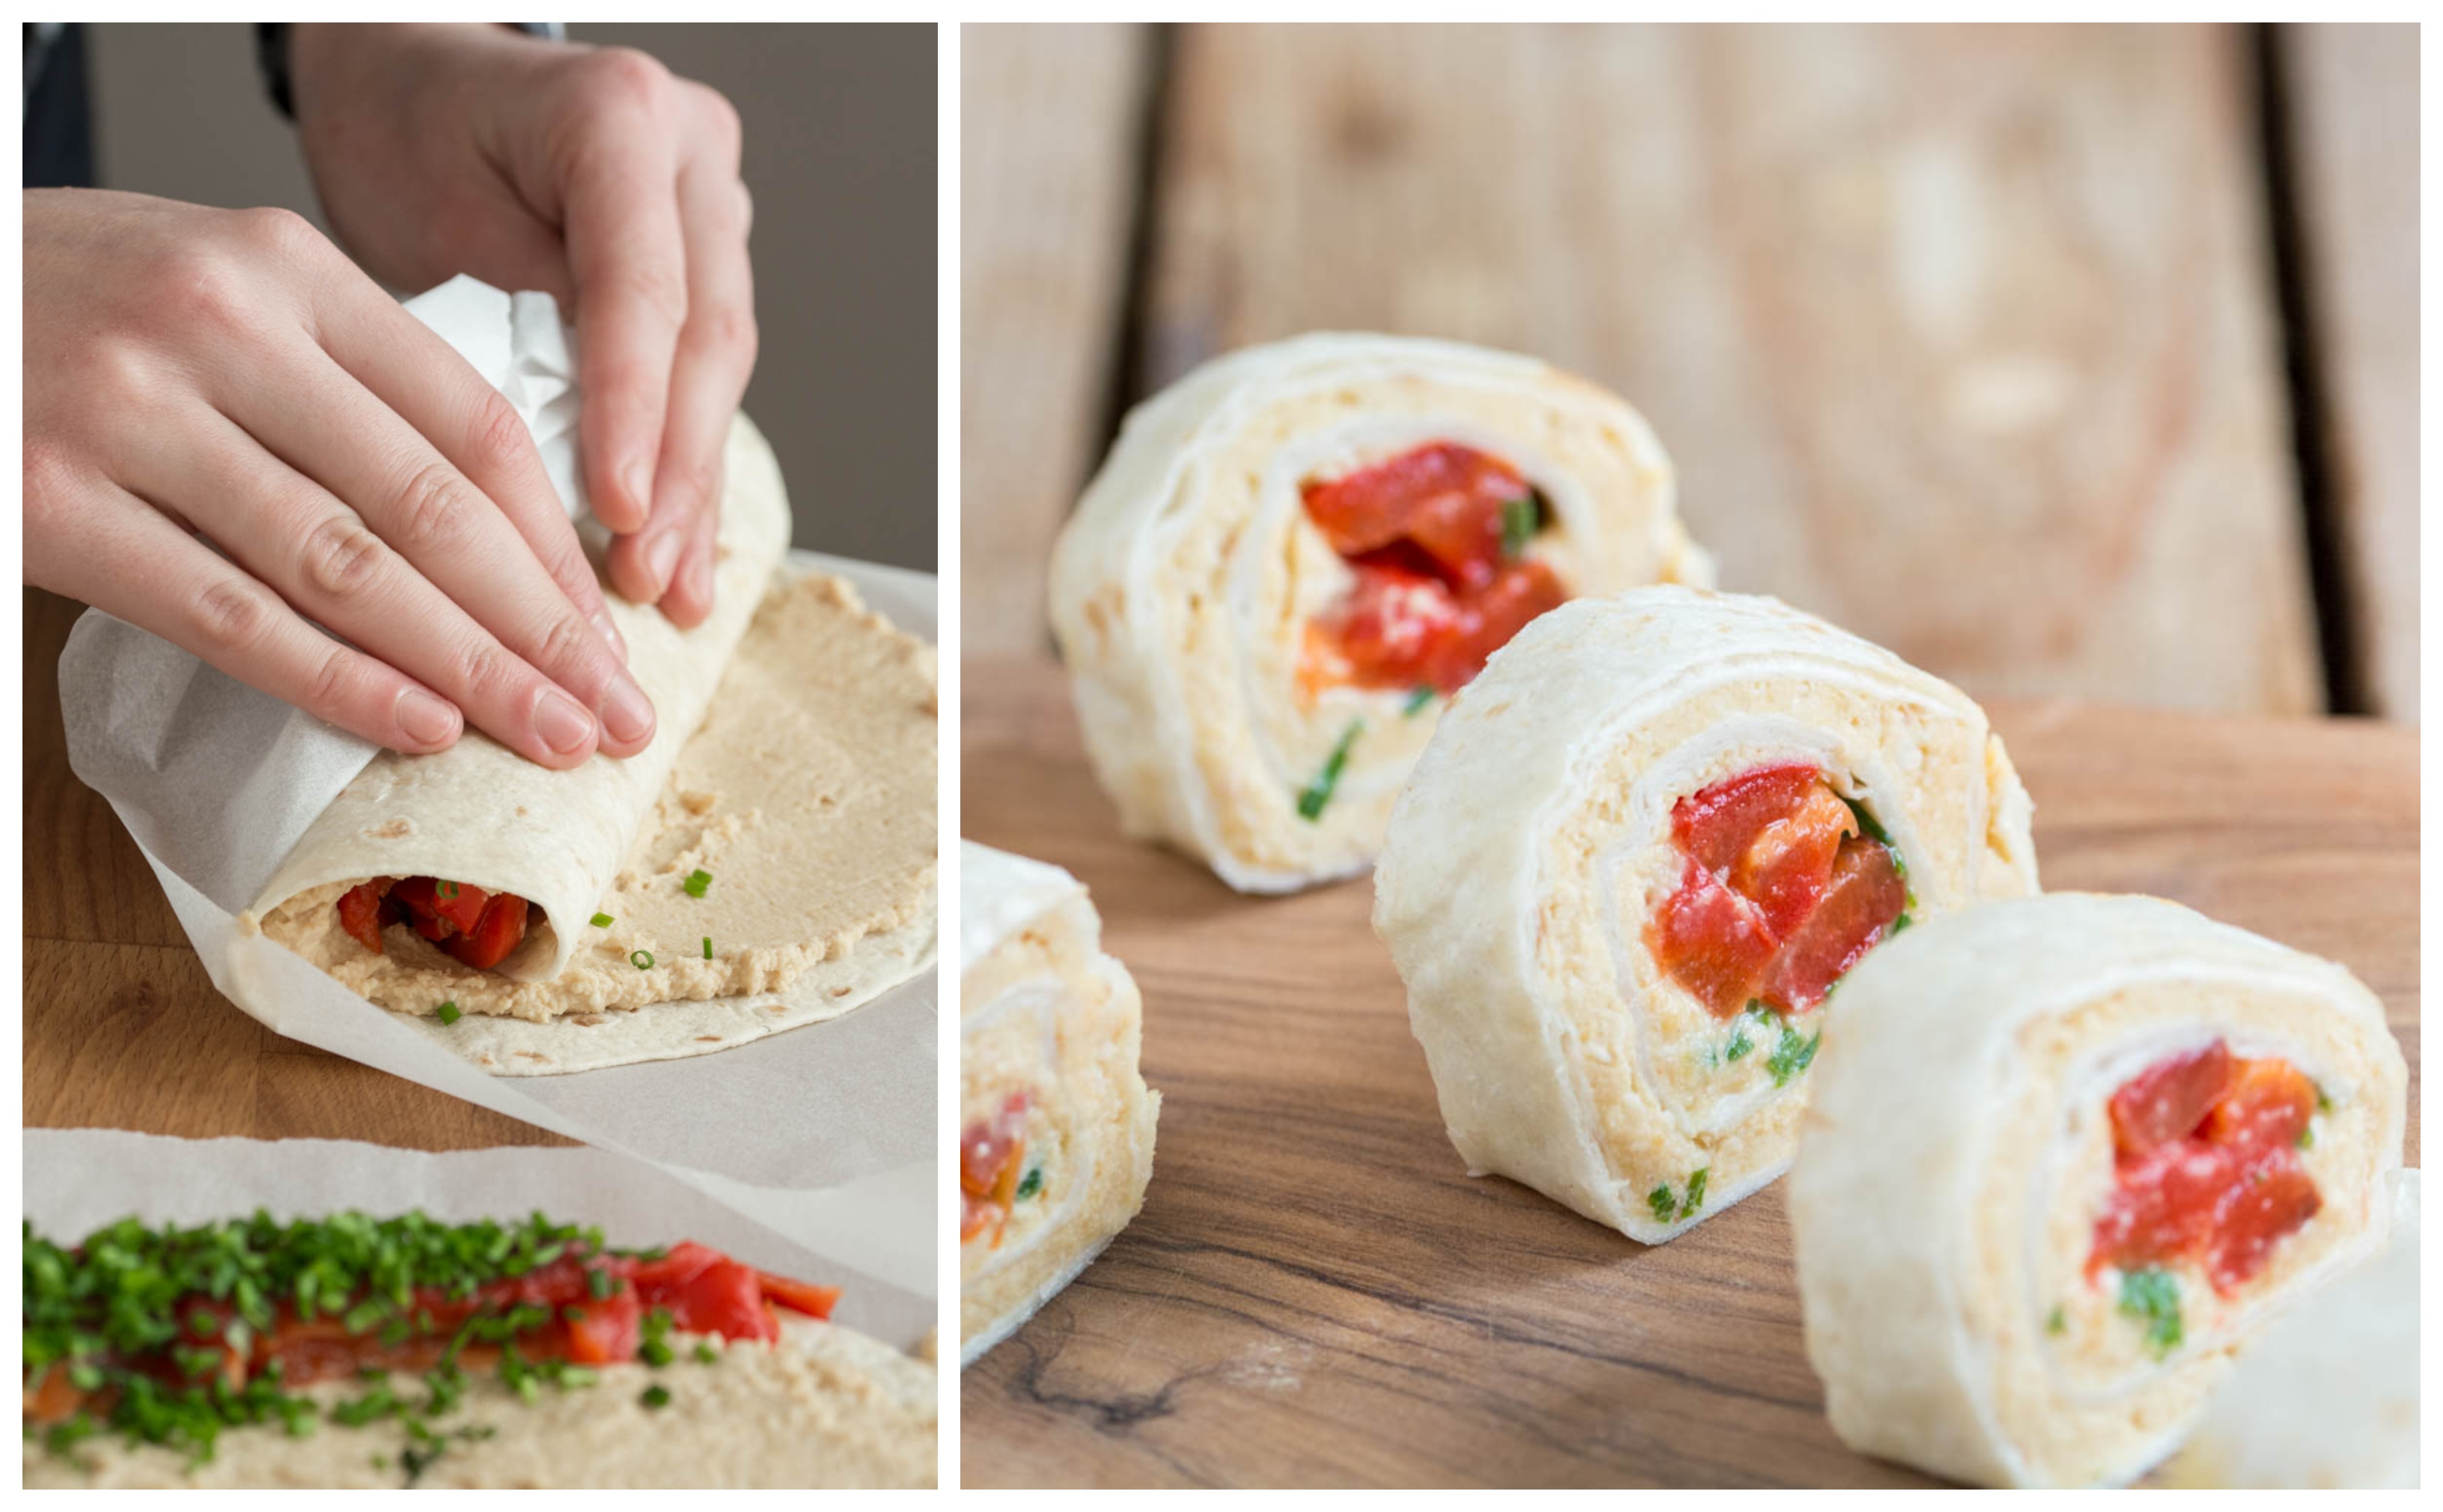
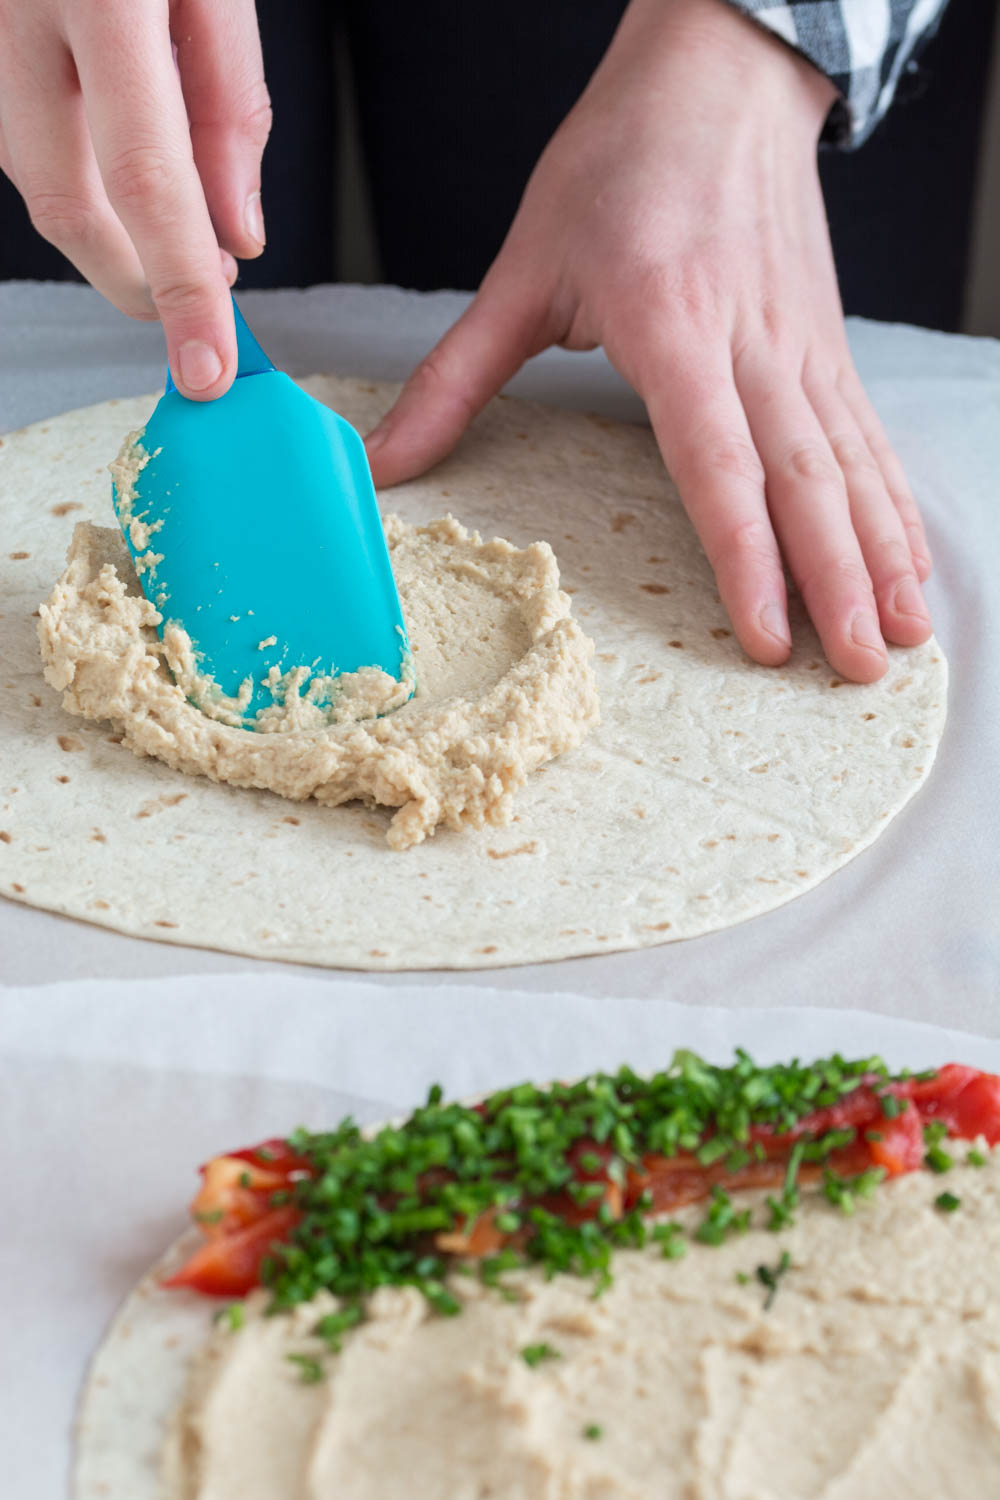
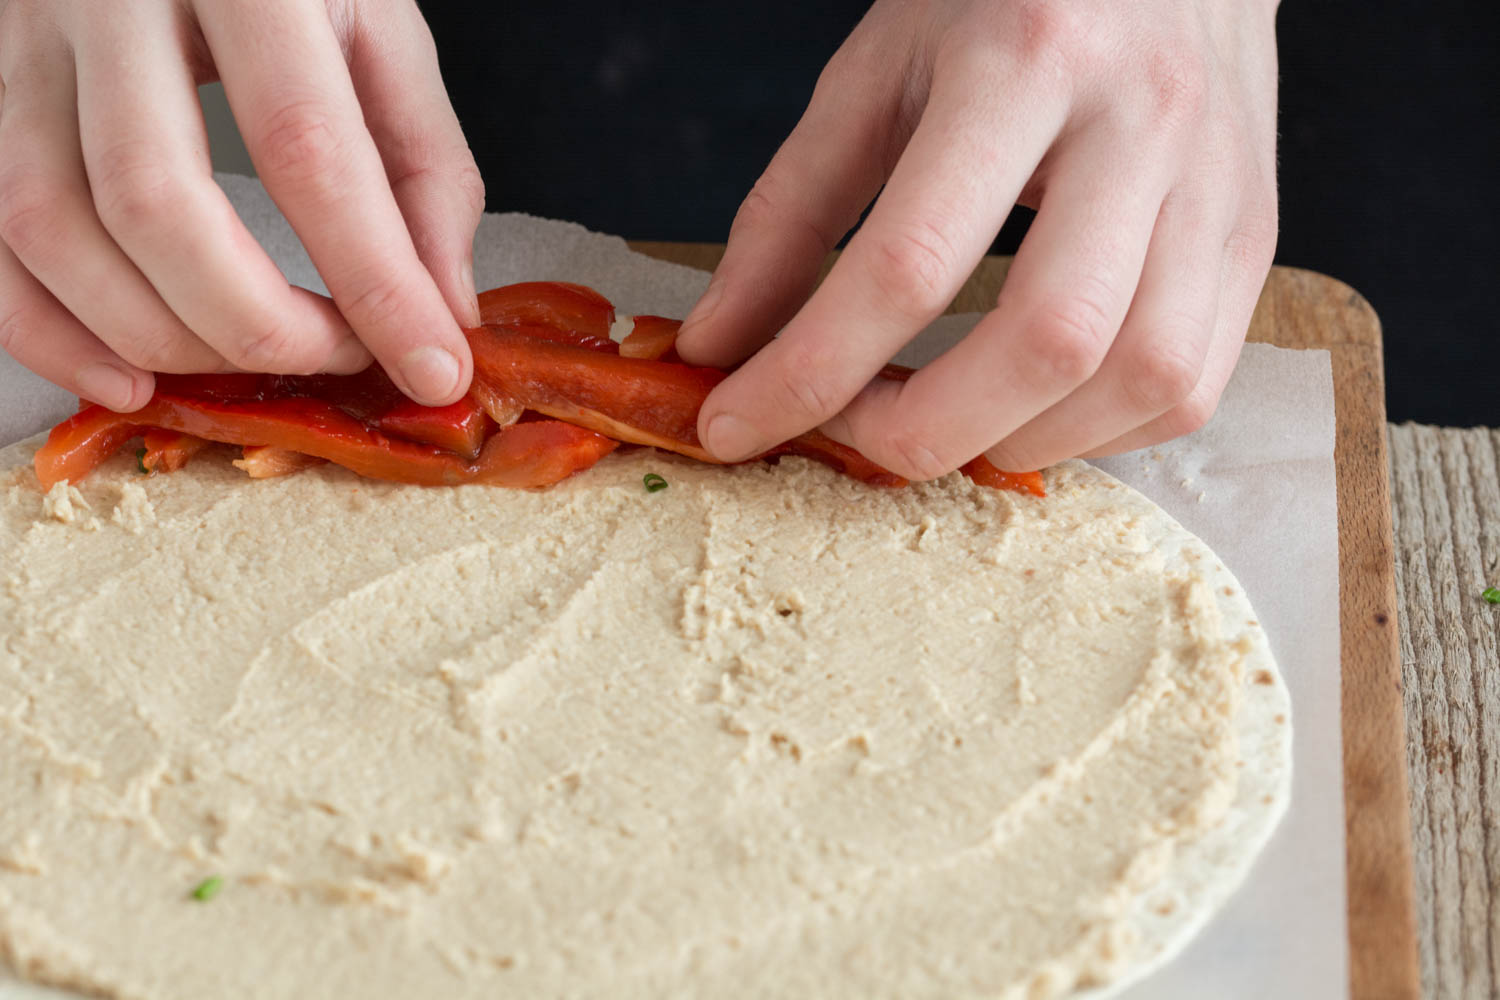
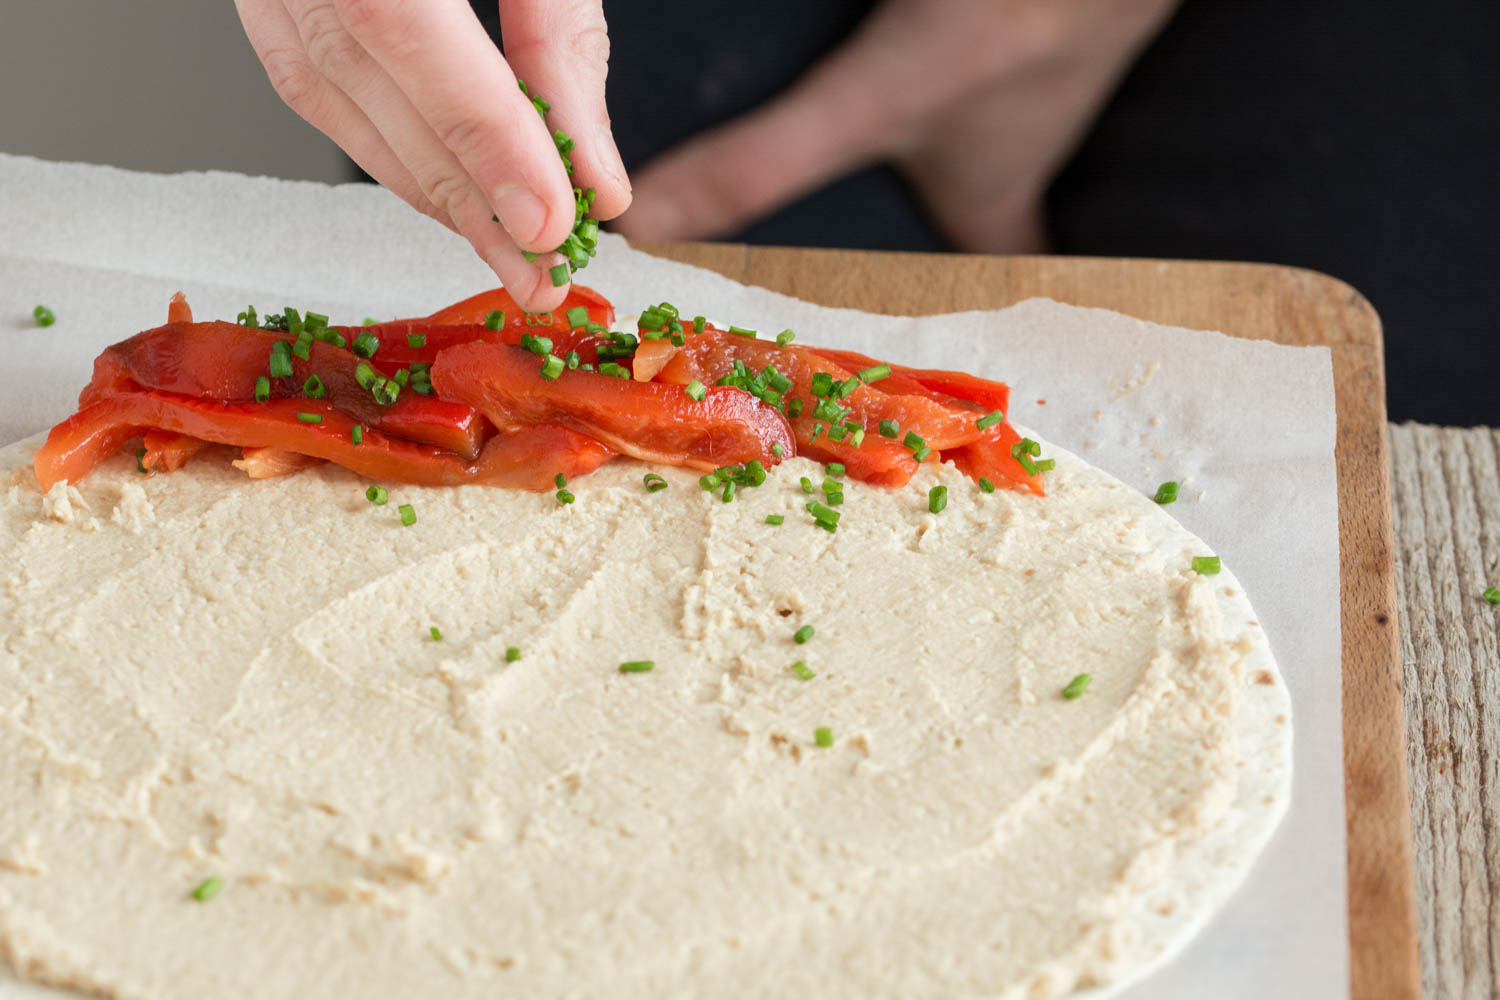
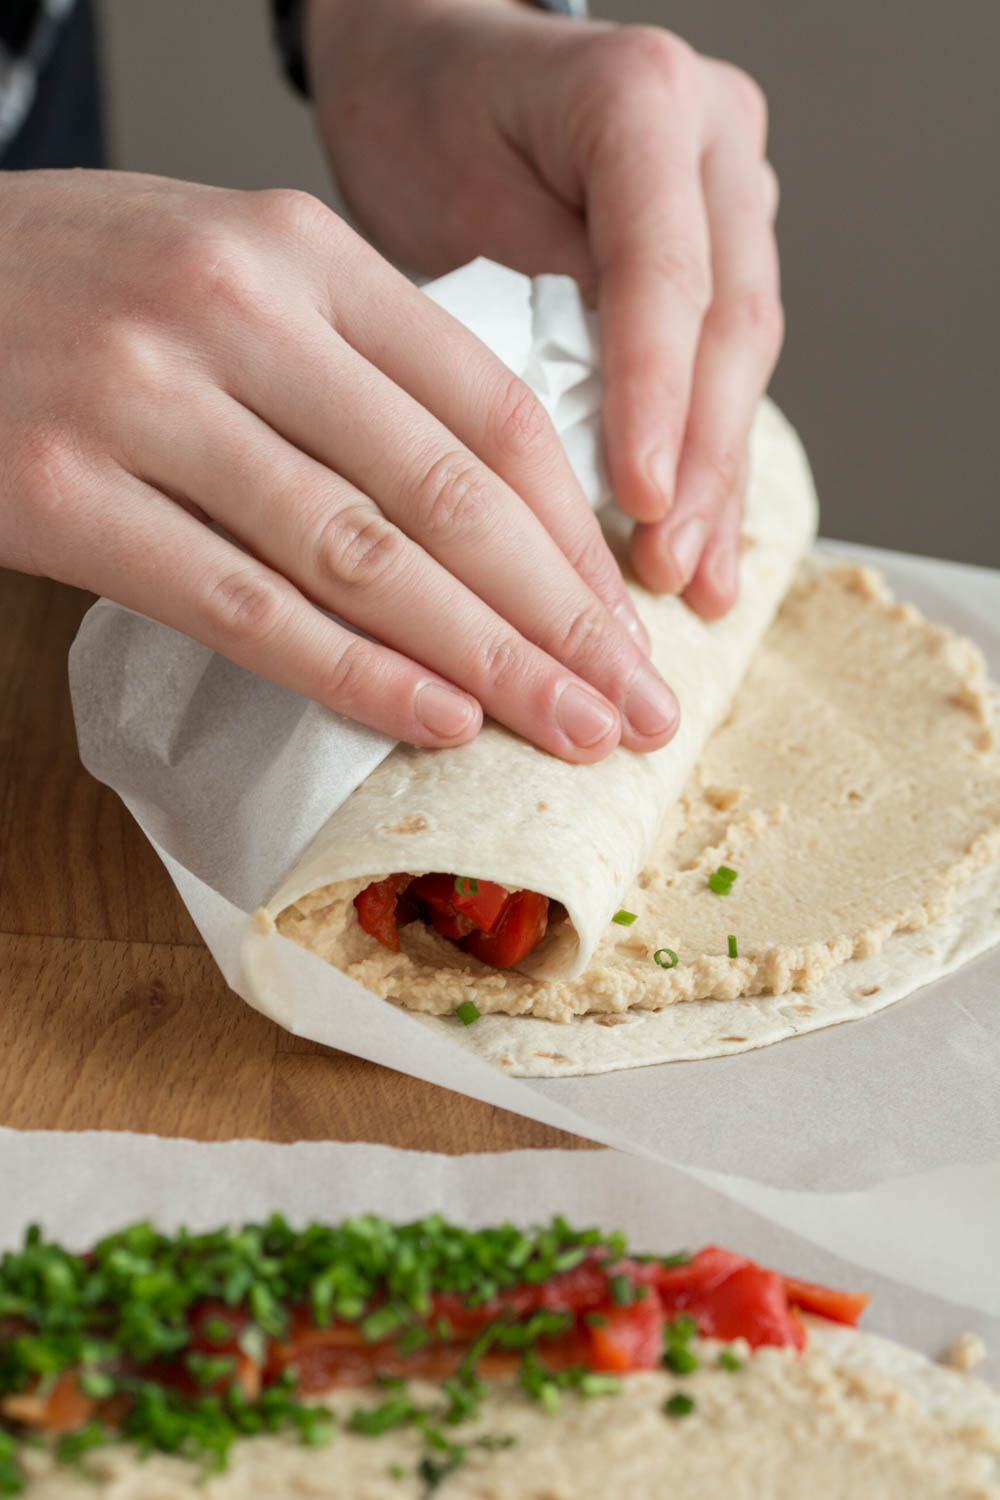
- Assemble the wrap. Take both flatbread and place each one on a different square of parchment paper. Divide the hummus between the two flatbreads and spread it into a fine layer. Place half of the pepper slices on one side and sprinkle them with ½ Tbsp of chopped chives. Using the parchment paper, starting from the side with the peppers, start rolling the flatbread as tight as possible. Process the same with the second flatbread and wrap tightly each roll with the parchment paper. Refrigerate for at least 1 hour before slicing.
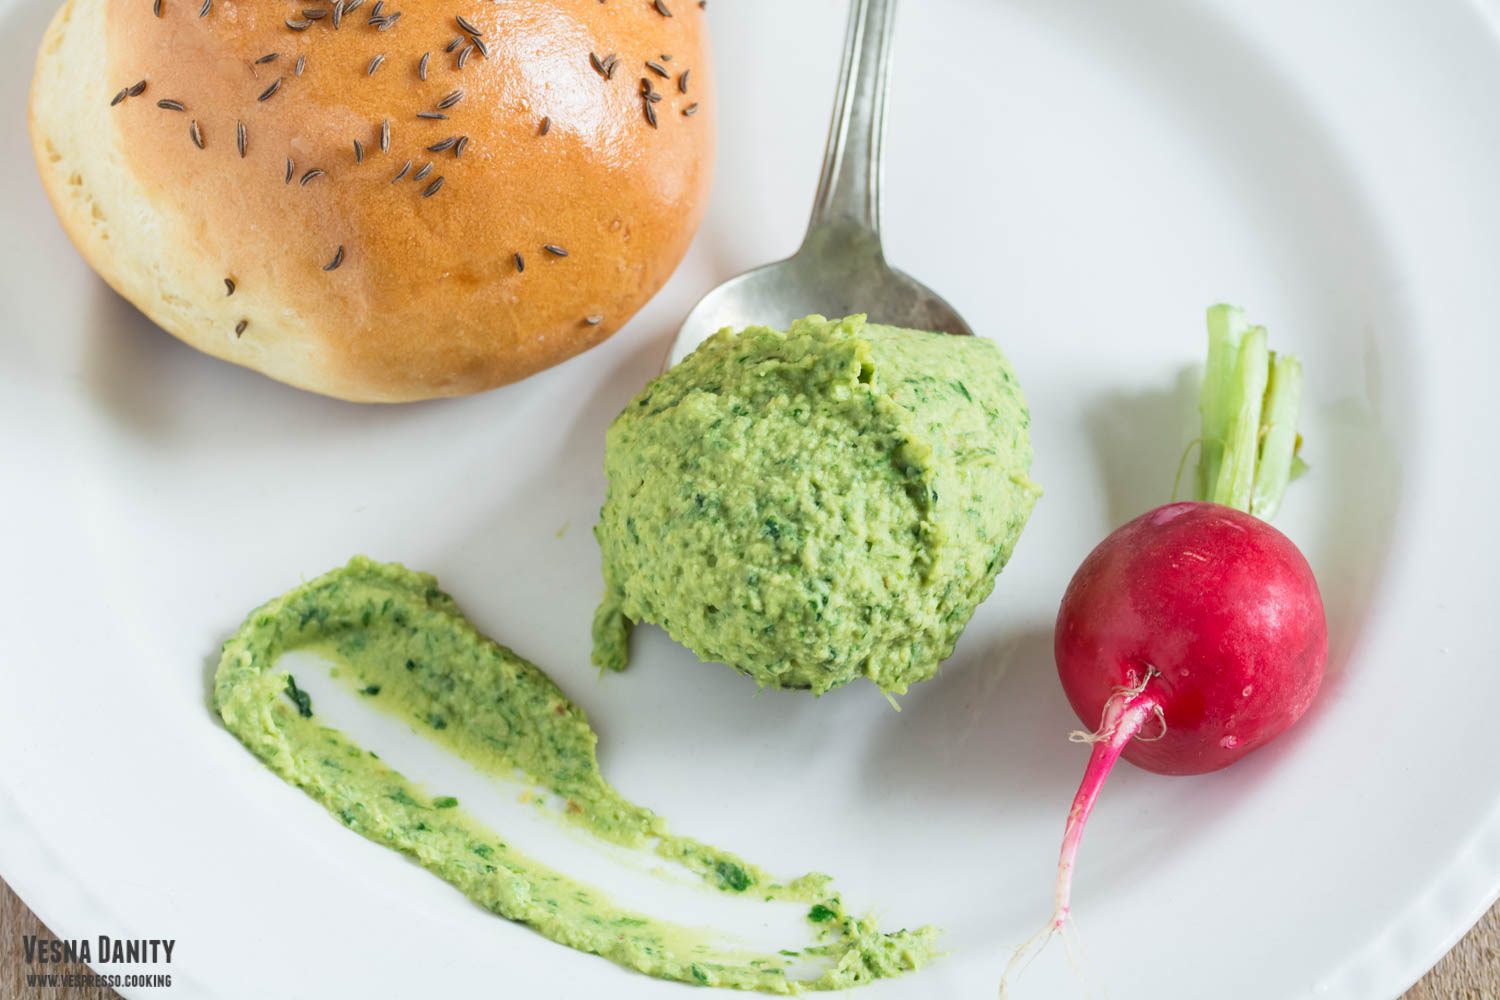
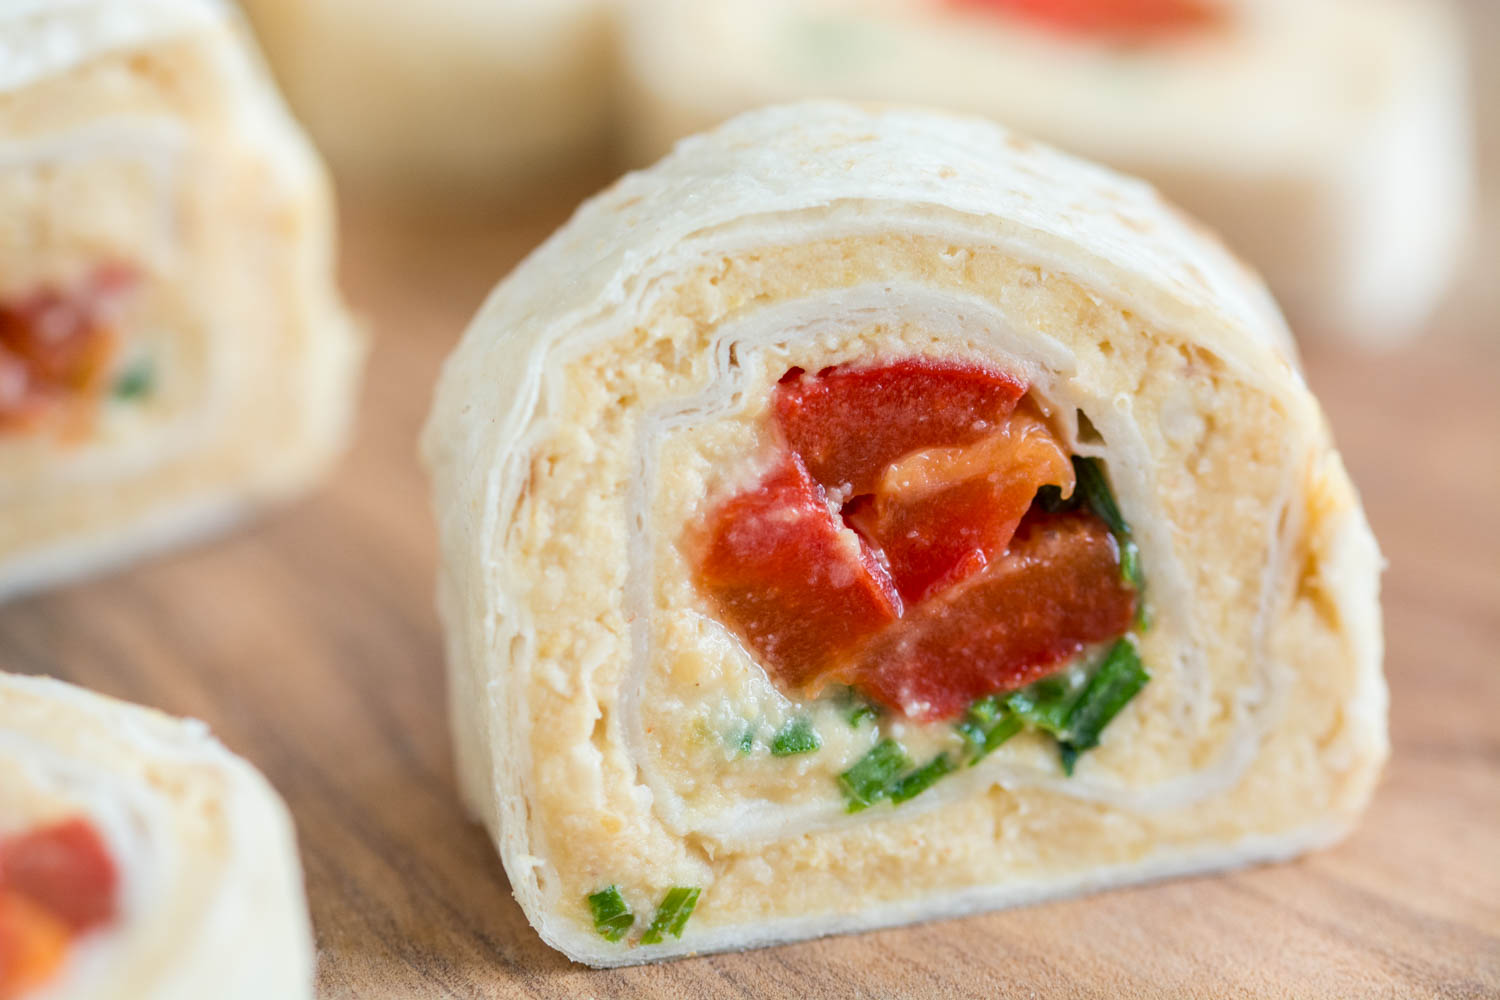
- Serving and leftovers. Slice the wrap into 3cm thick slices and serve. Wrap the leftovers (if any) in cling film and refrigerate for up to 2 days.


 Sourc
Sourc