Tapenade – olive spread (vegan)

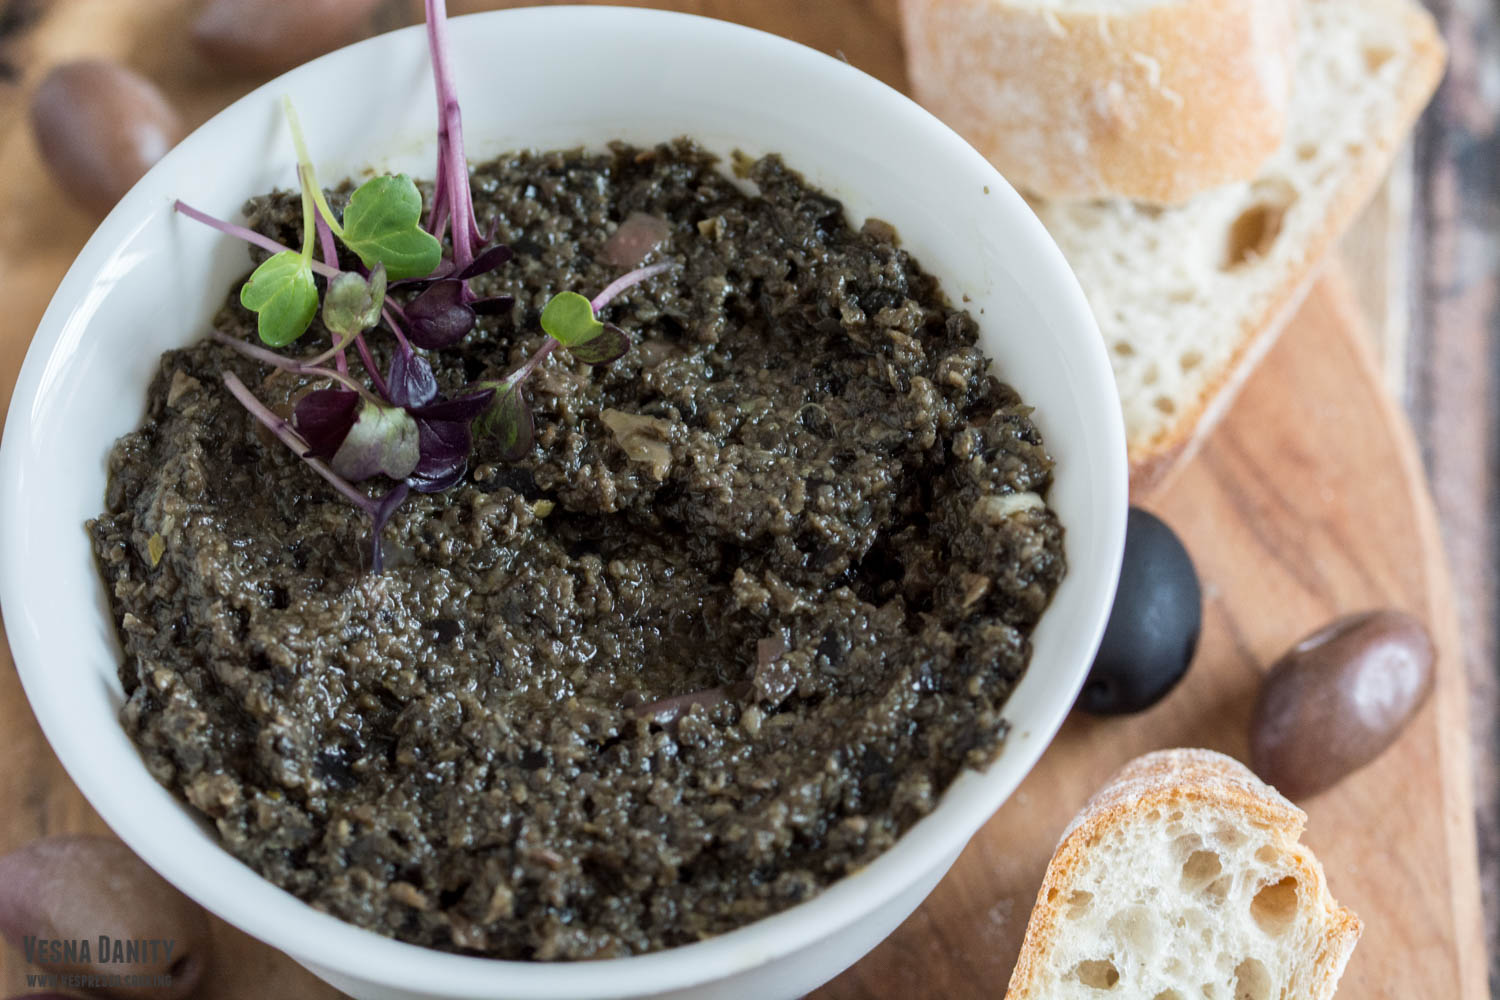
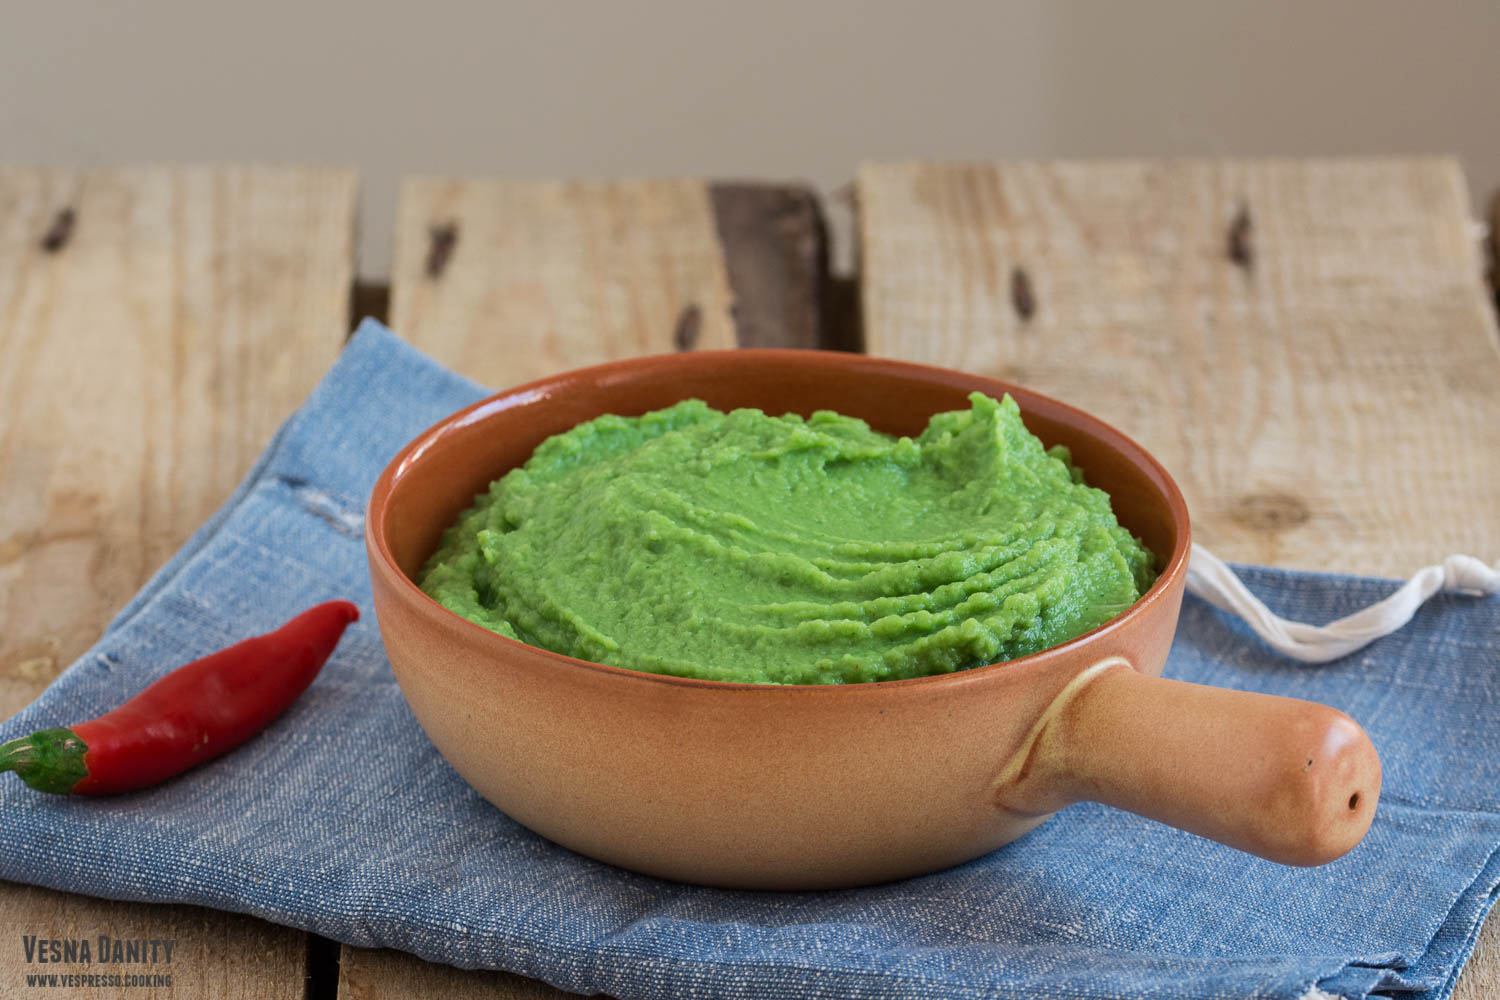
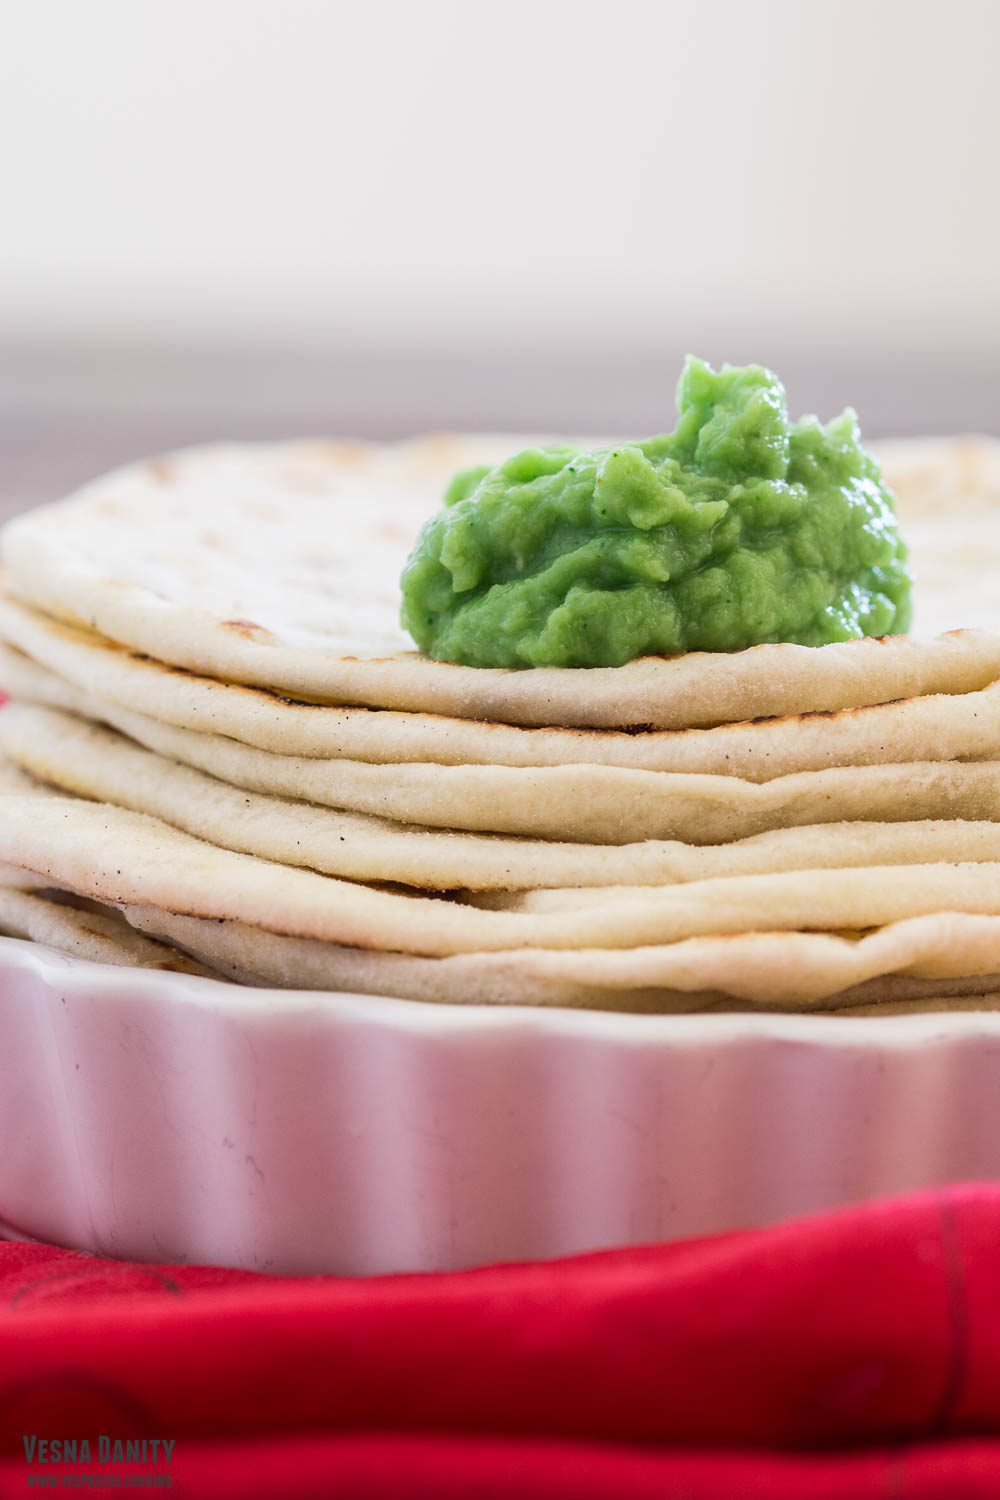
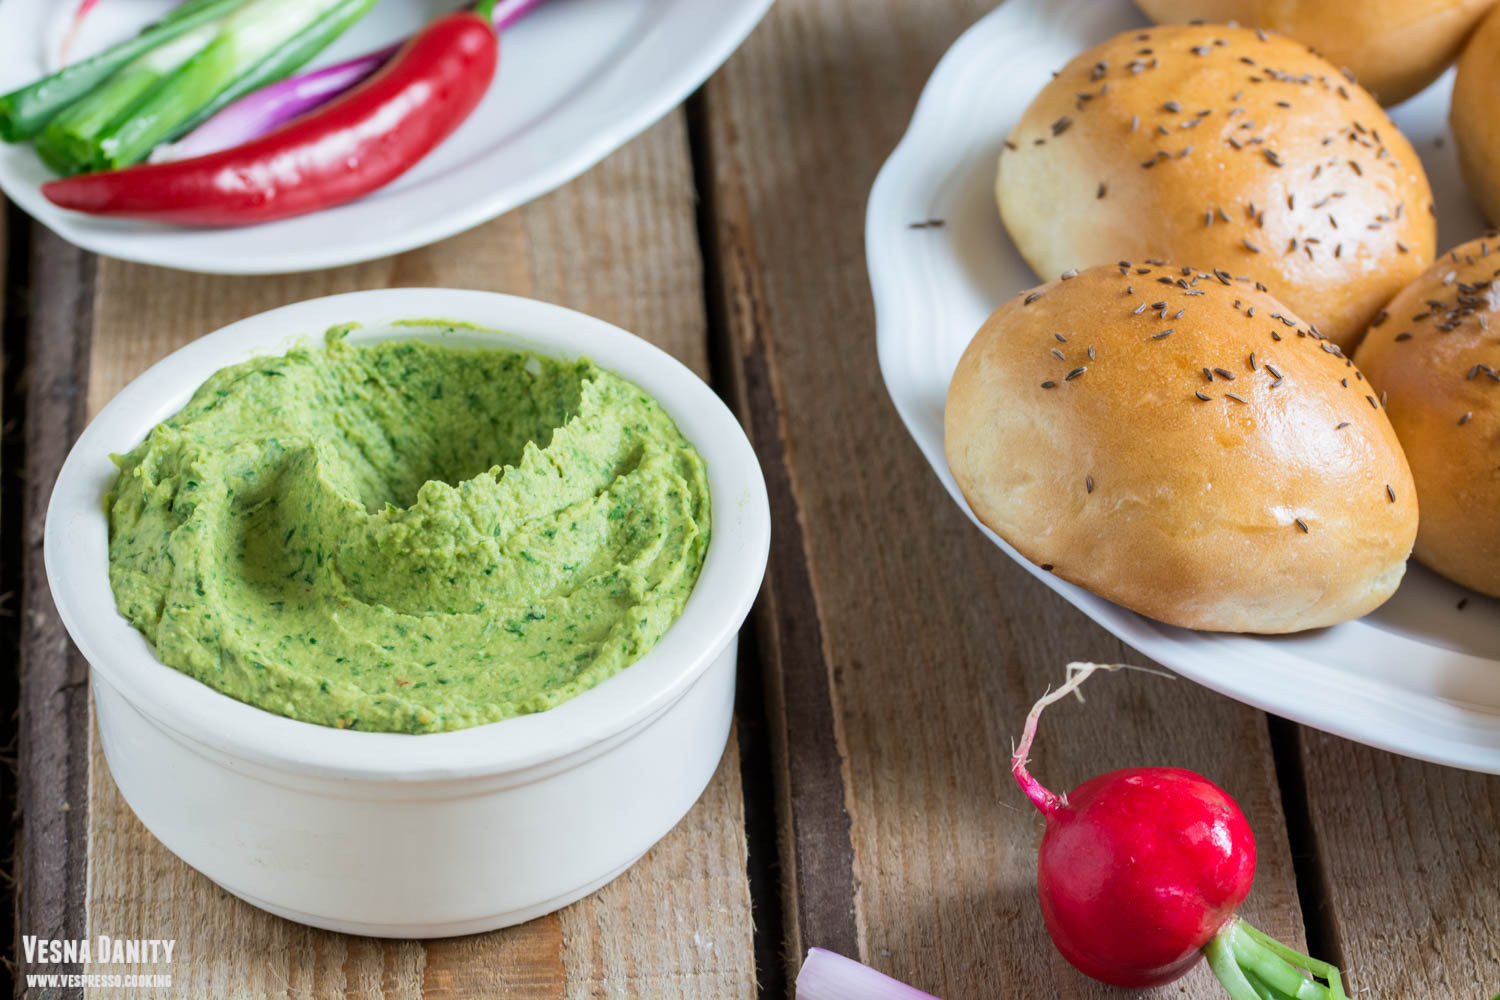
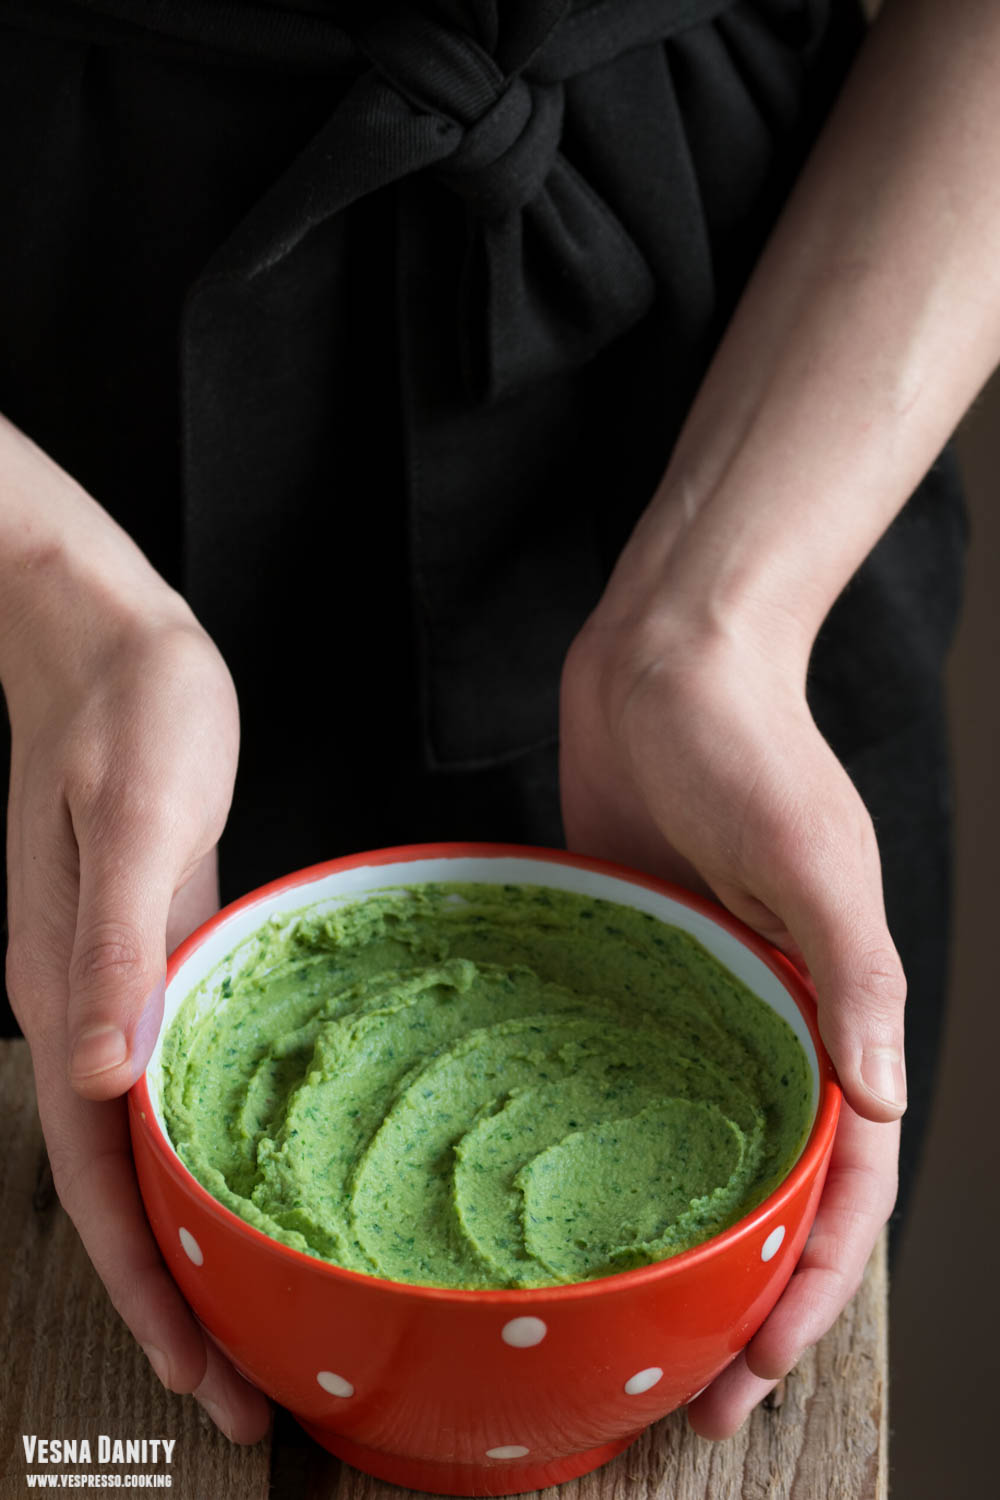
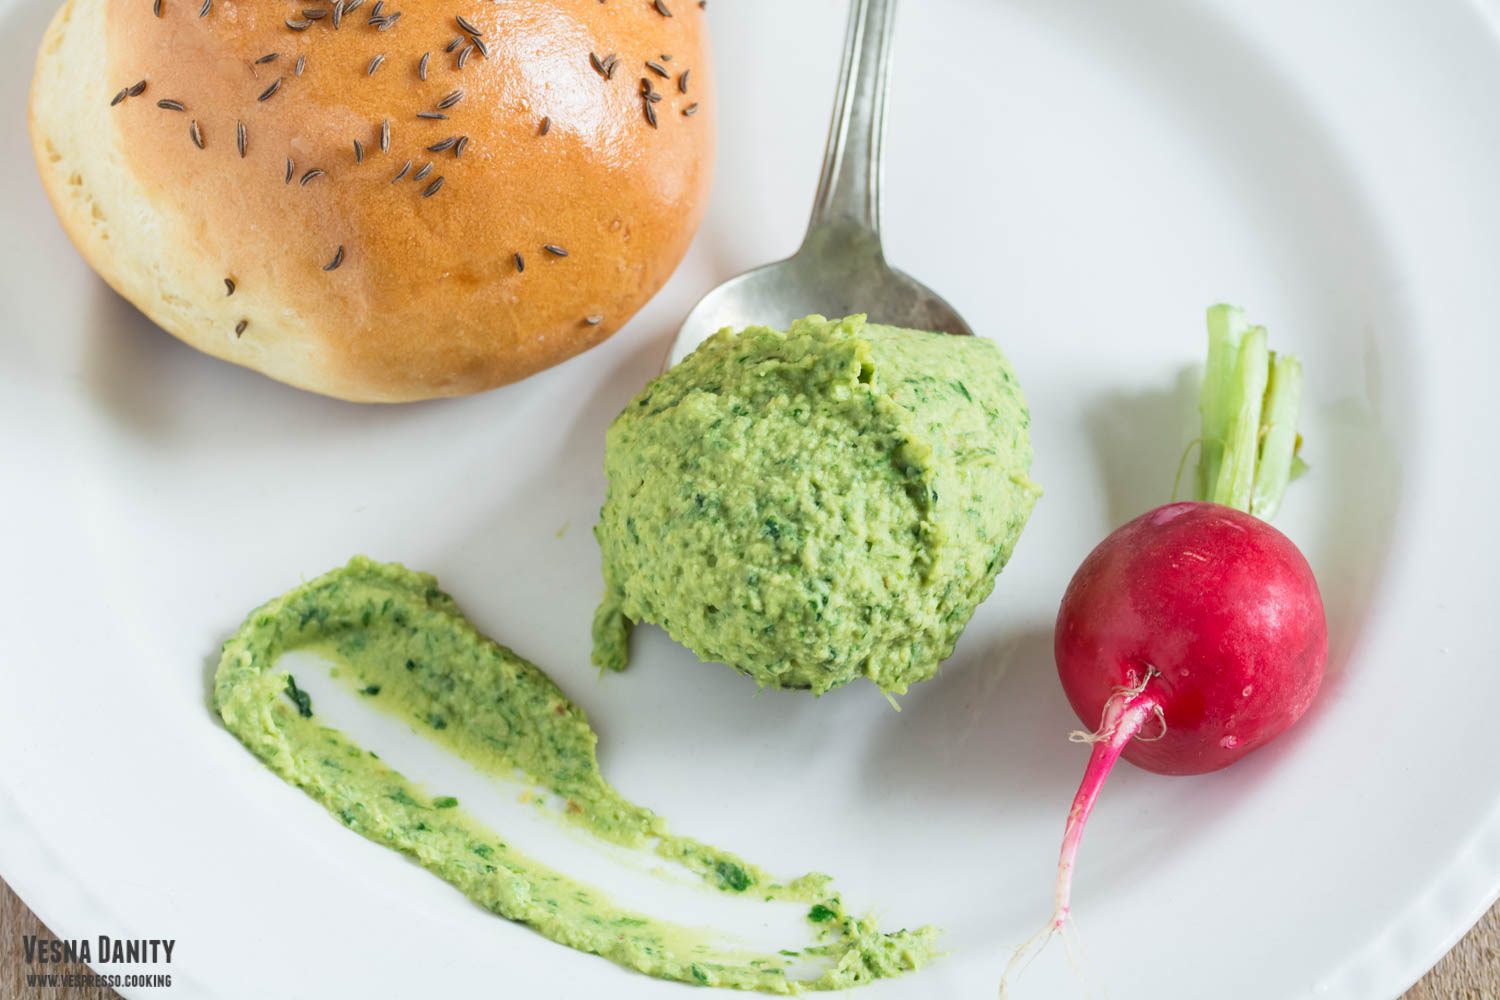
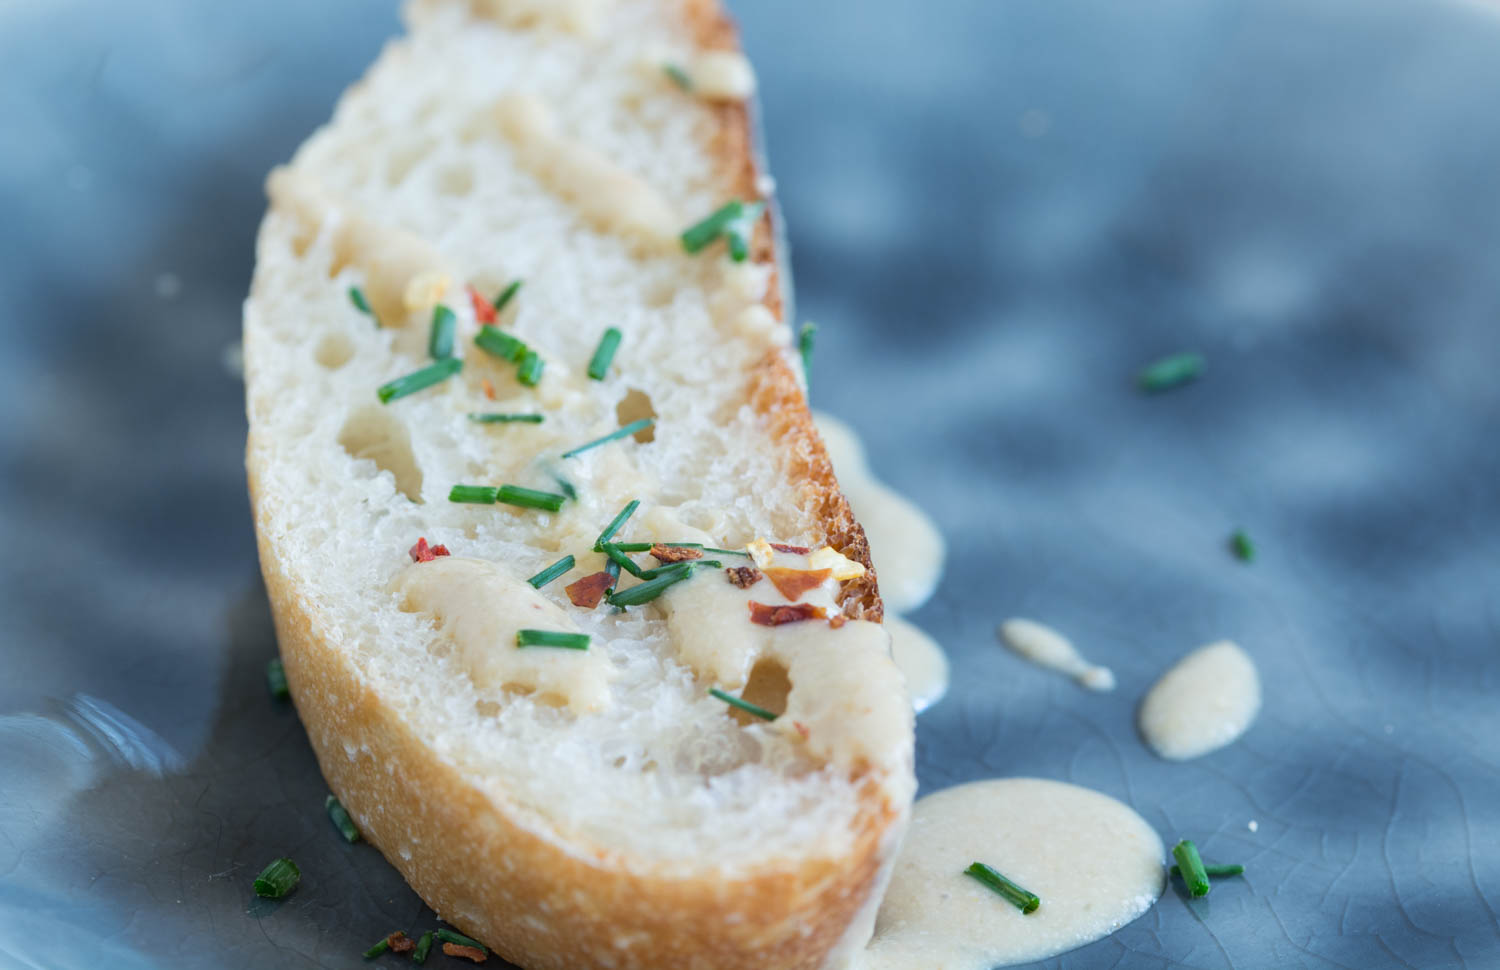
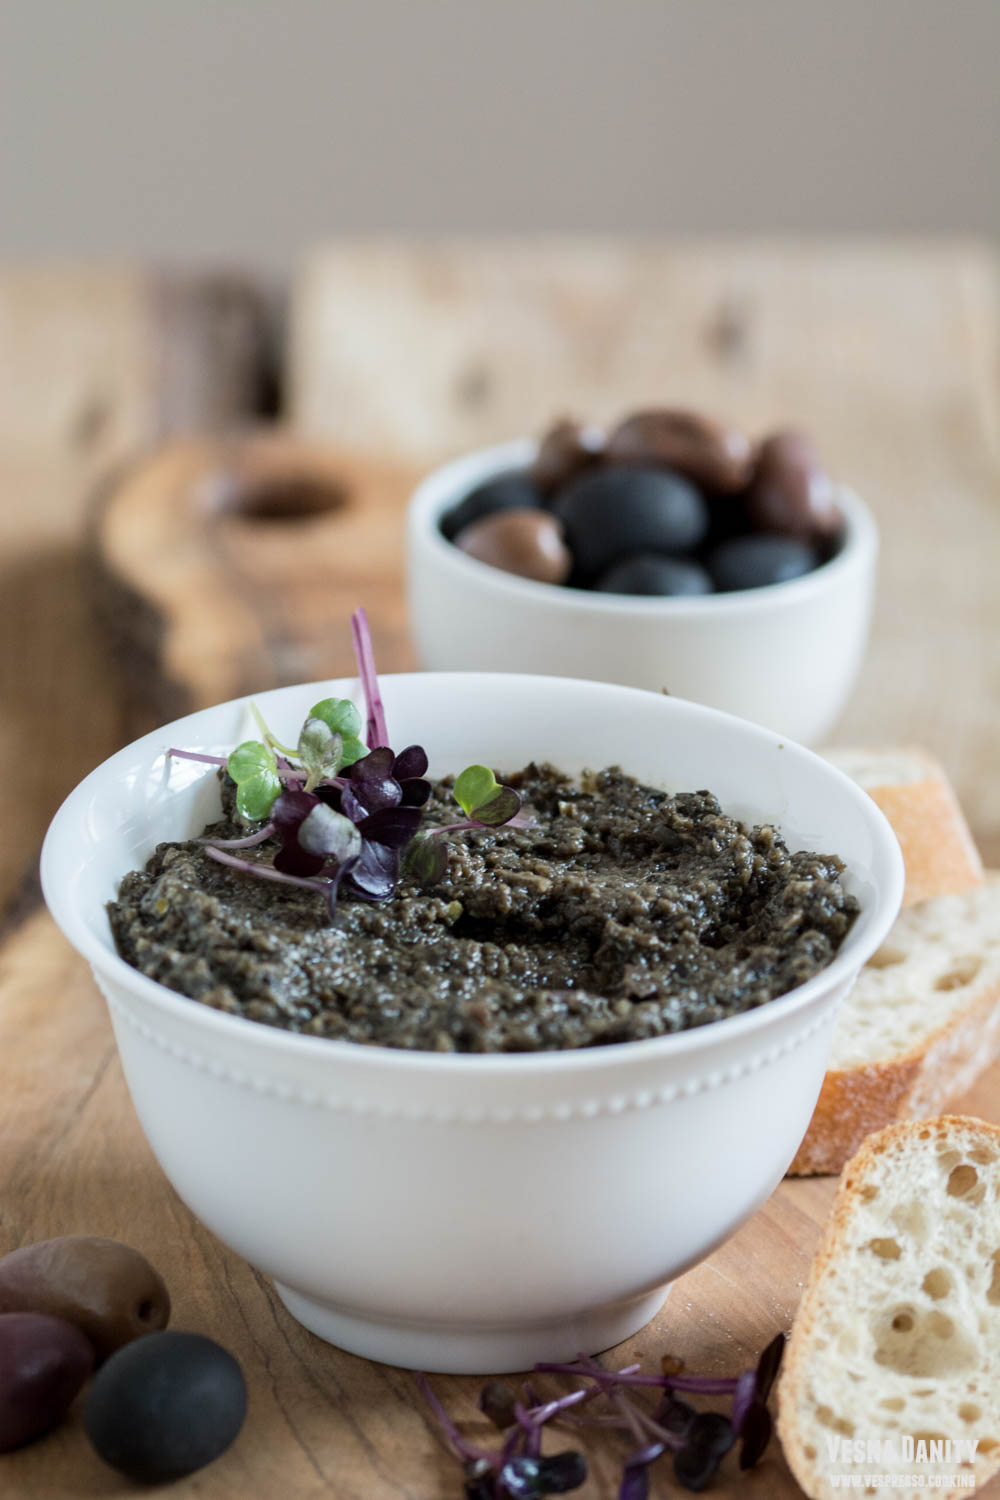
Creamy and flavorful, this olive spread is the answer when you’re in the mood for something delicious but not overly complicated. This olive paste is also quite versatile, it’s absolutely divine spread over fresh bread, it can be rolled into wraps or served as a dip for a plethora of raw vegetables. The technique is as simple as it can be. You press the olives against a wooden board to smash them, you remove the pits and you blend them in the food processor. In the end you season the spread with garlic, capers and salt and you enjoy this delicacy spread over a nice crusty, preferably homemade slice of bread.


Ingredients (for 4 servings):

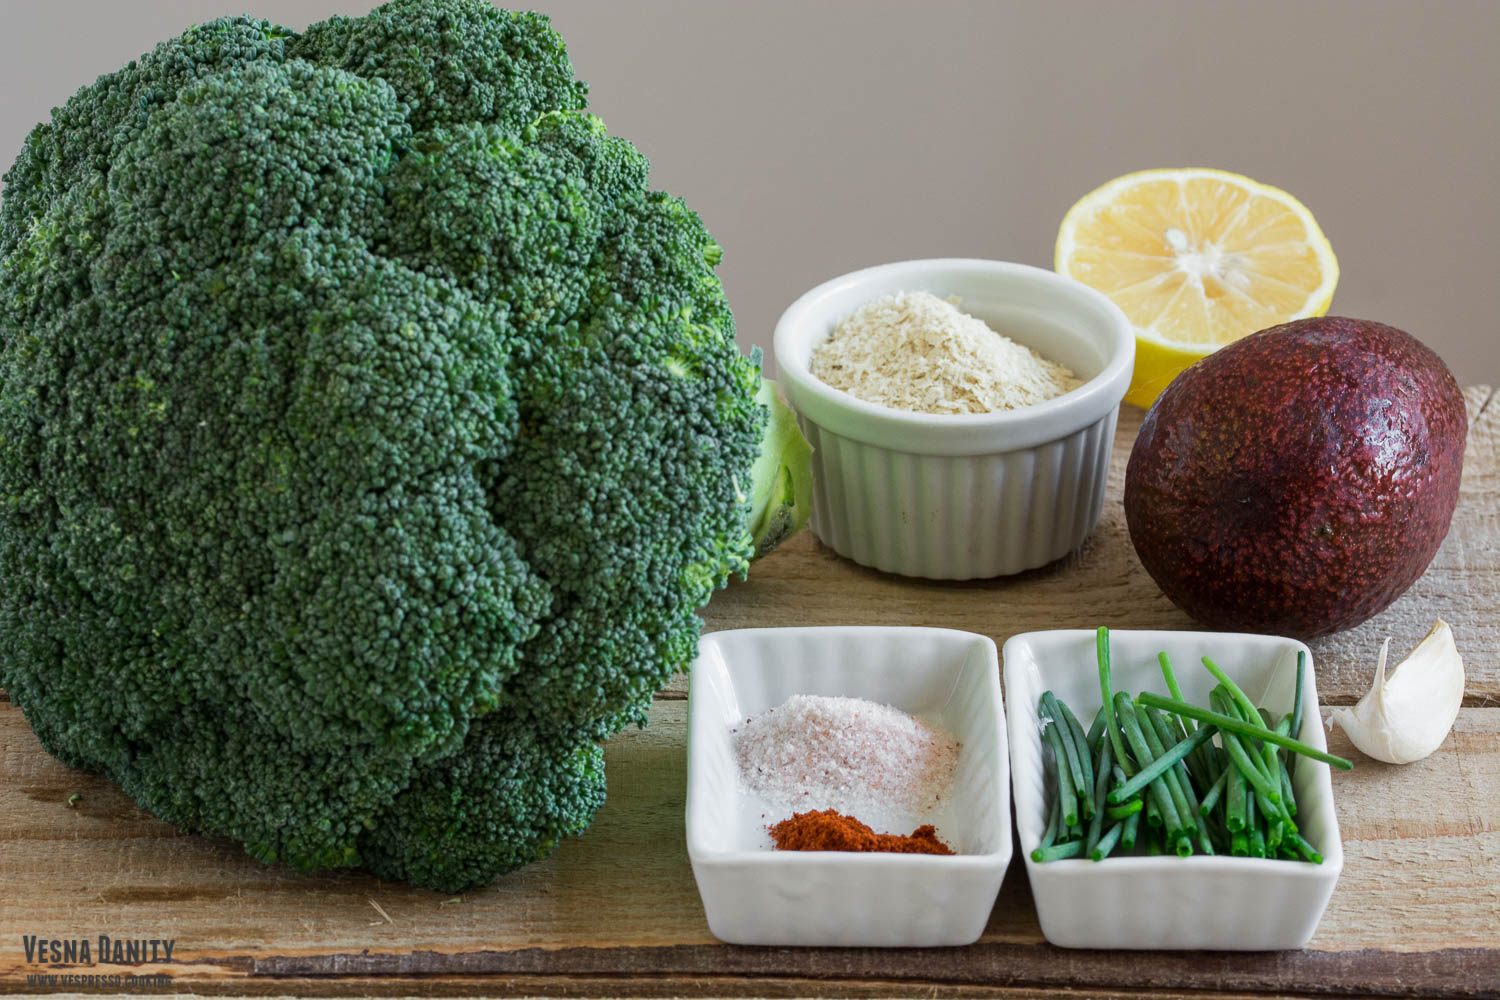
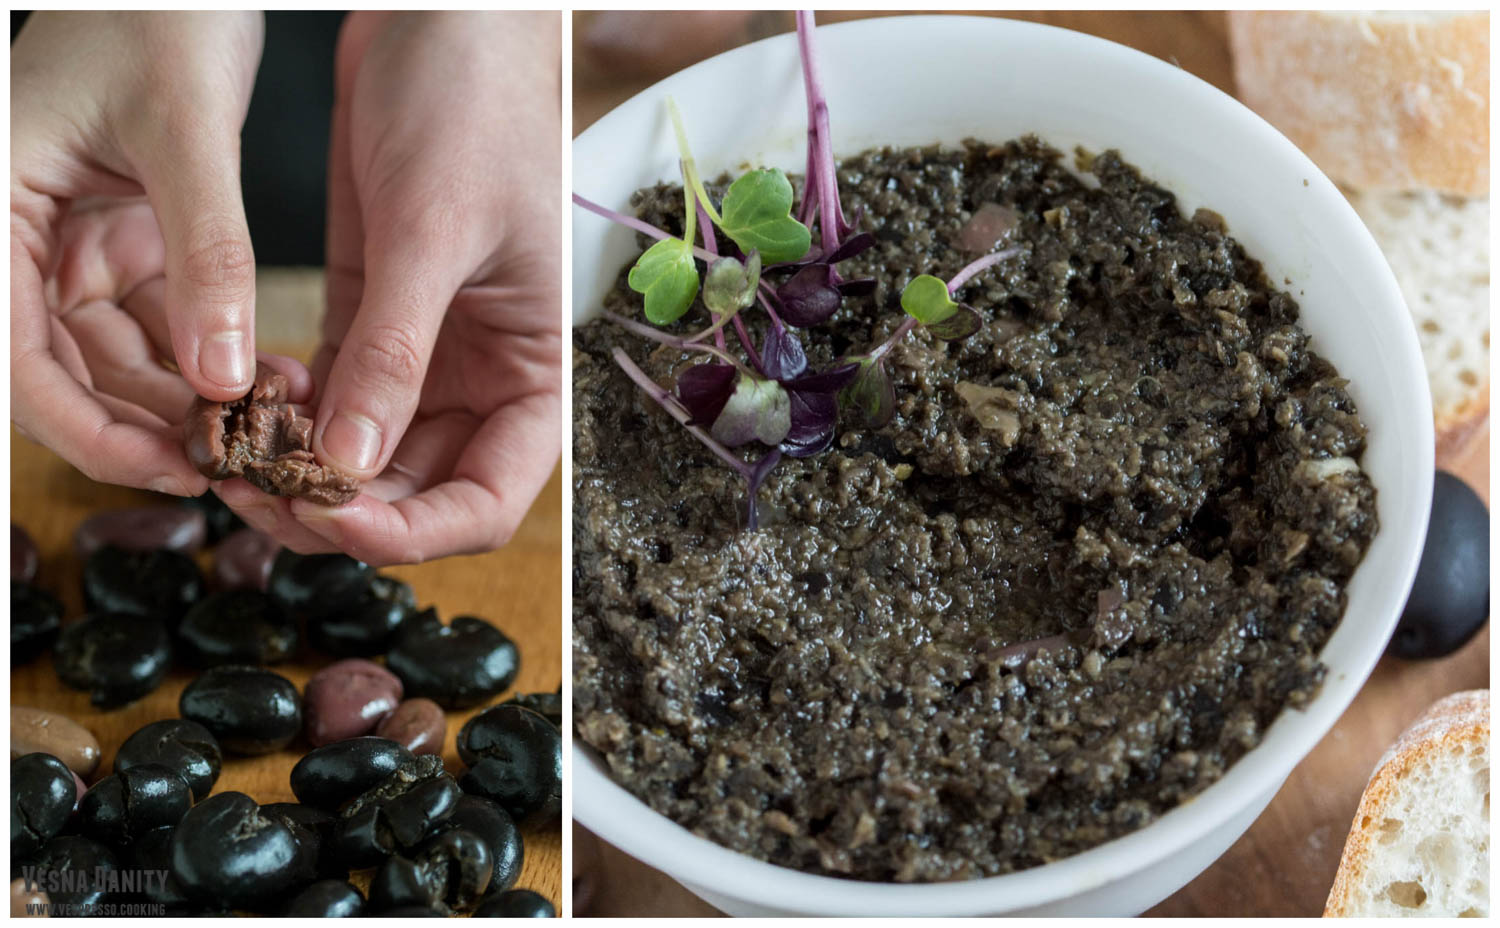
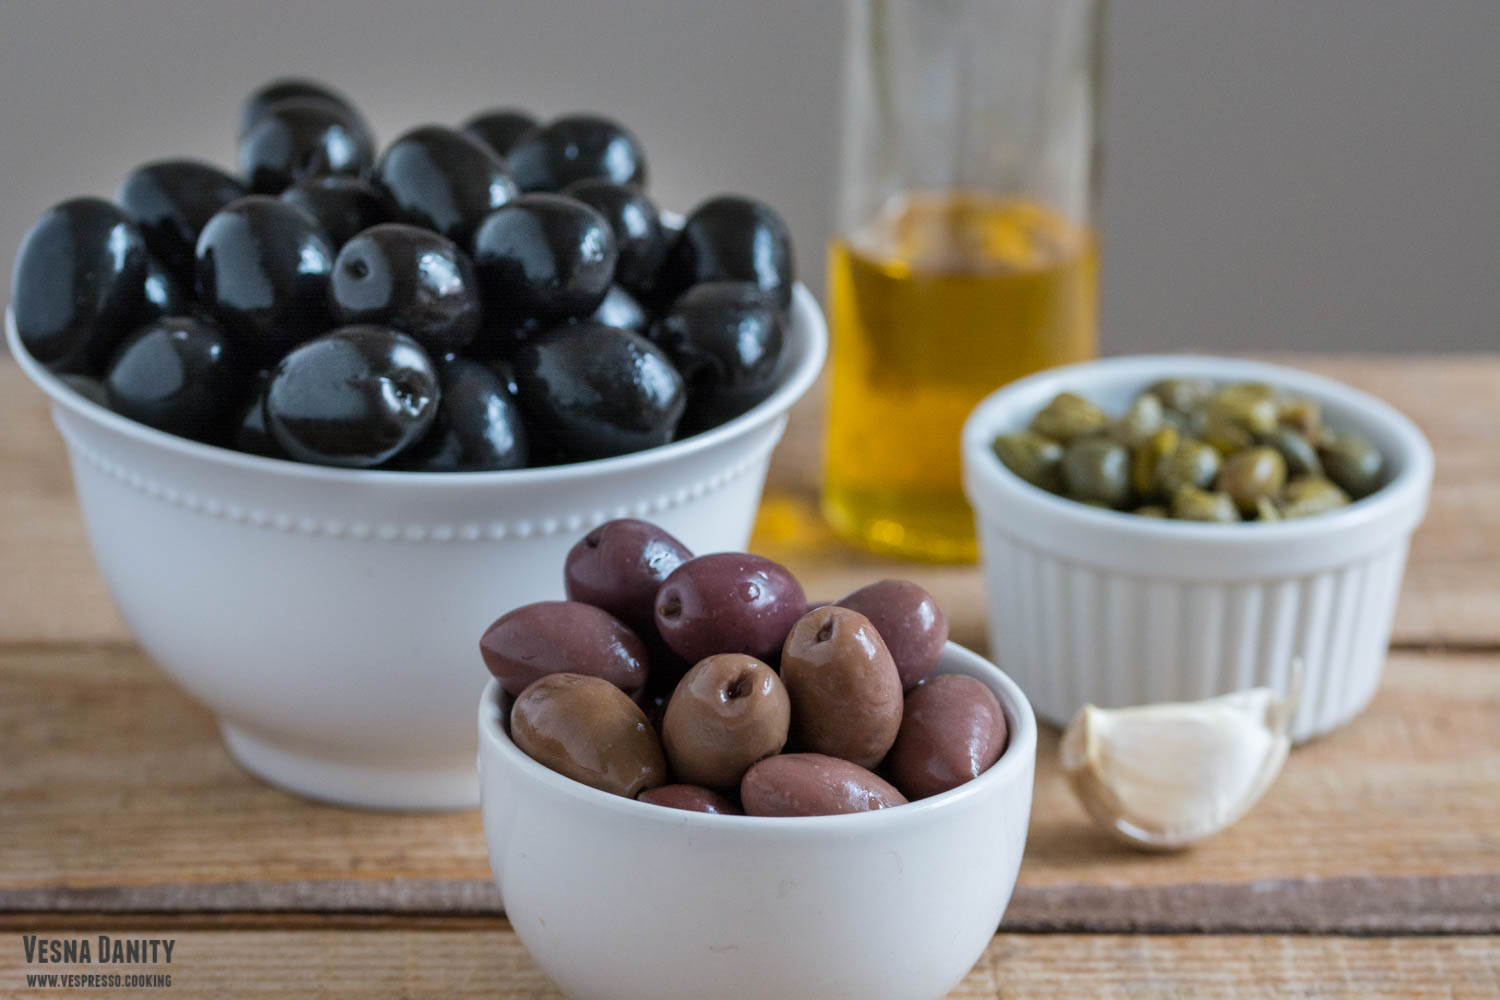
  • 300g olives (I used 200g black olives and 100g Kalamata olives)
  • 2 Tbsp olive oil
  • 2 tsp capers
  • 1 garlic clove
  • salt to taste

Method:

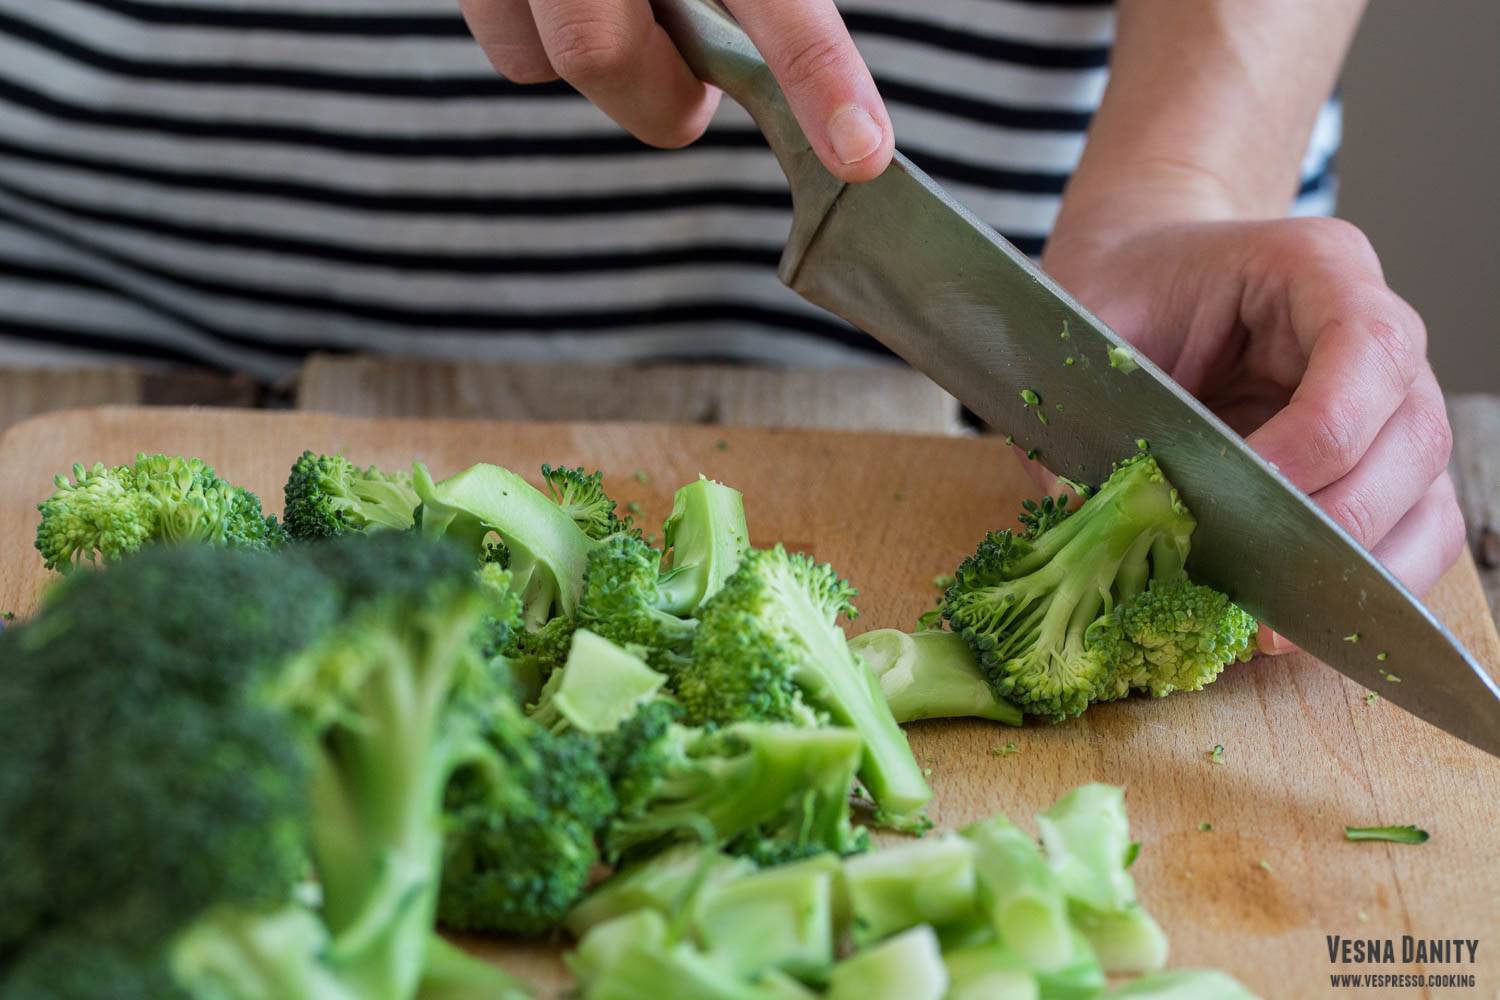
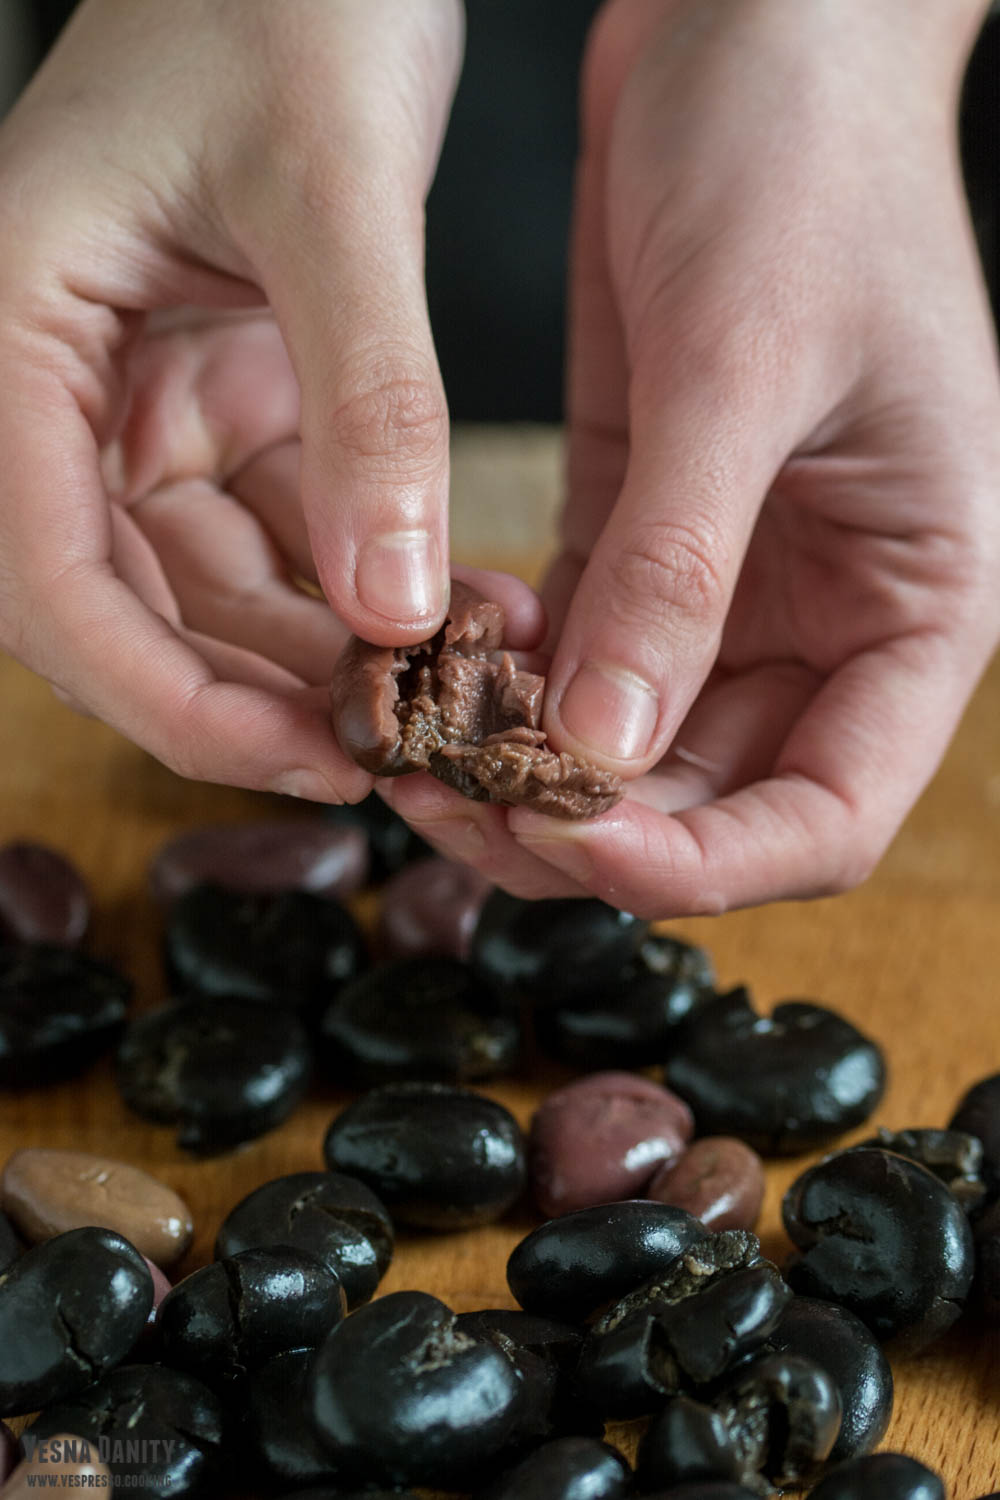
  1. Remove the pits. For this step I never use pitted olives as they tend to be less flavorful. Smash the olives against the wooden board using a knife. Remove each stone with your fingers.
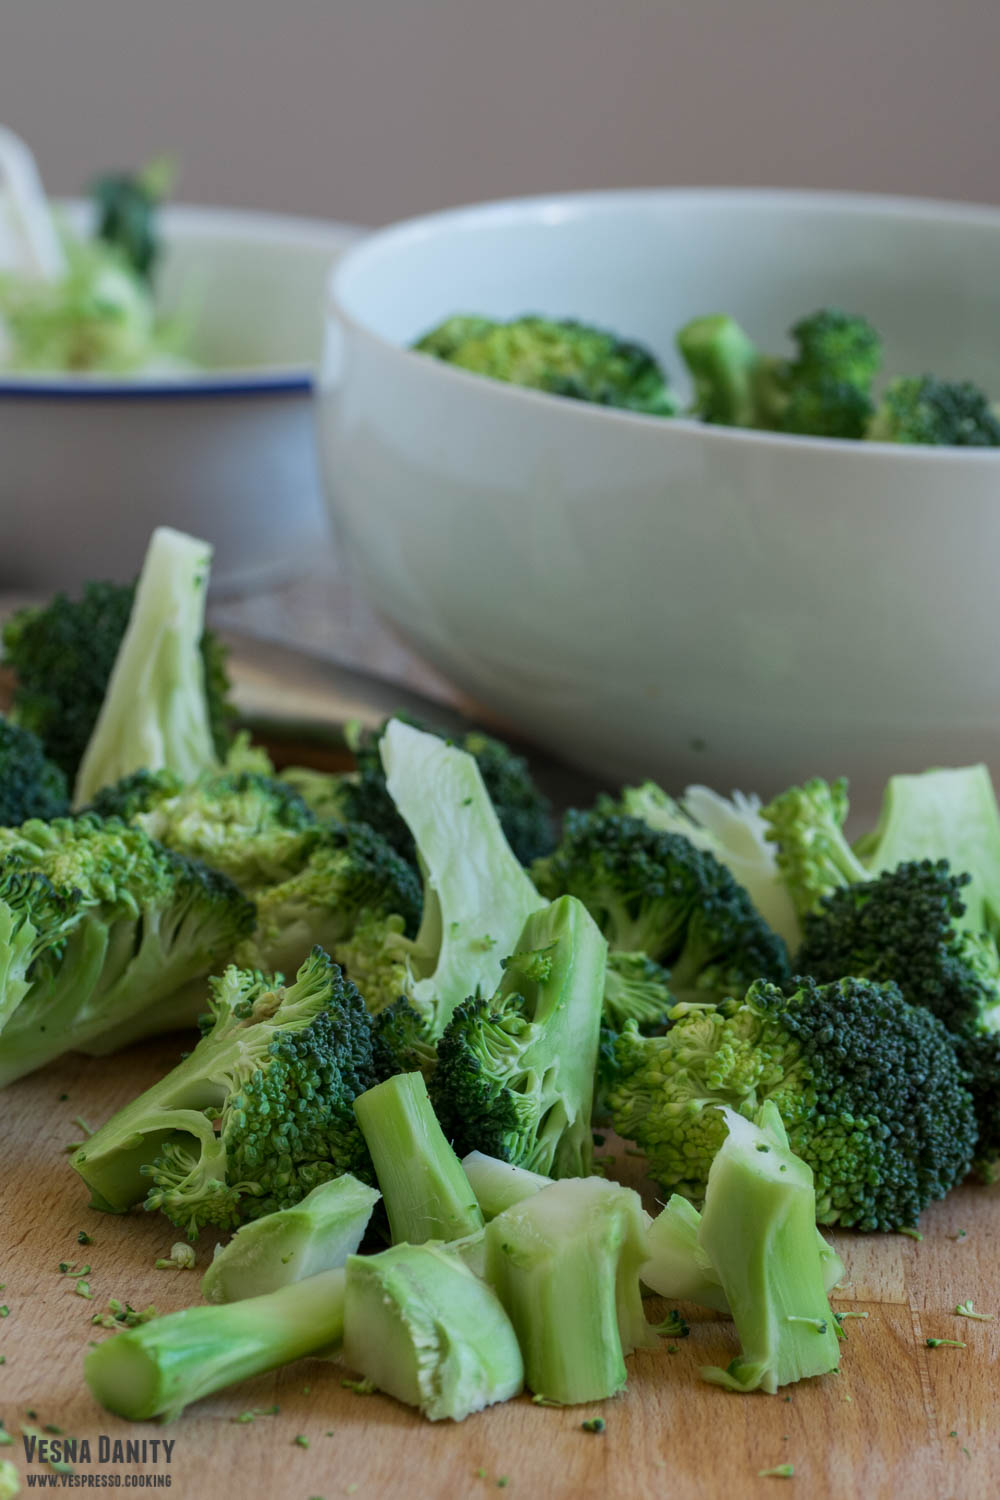
  2. Pat the olives dry. Place the olives on a paper towel – lined cutting board and cover them with another paper towel. Gently press the olives to remove the excess moisture.
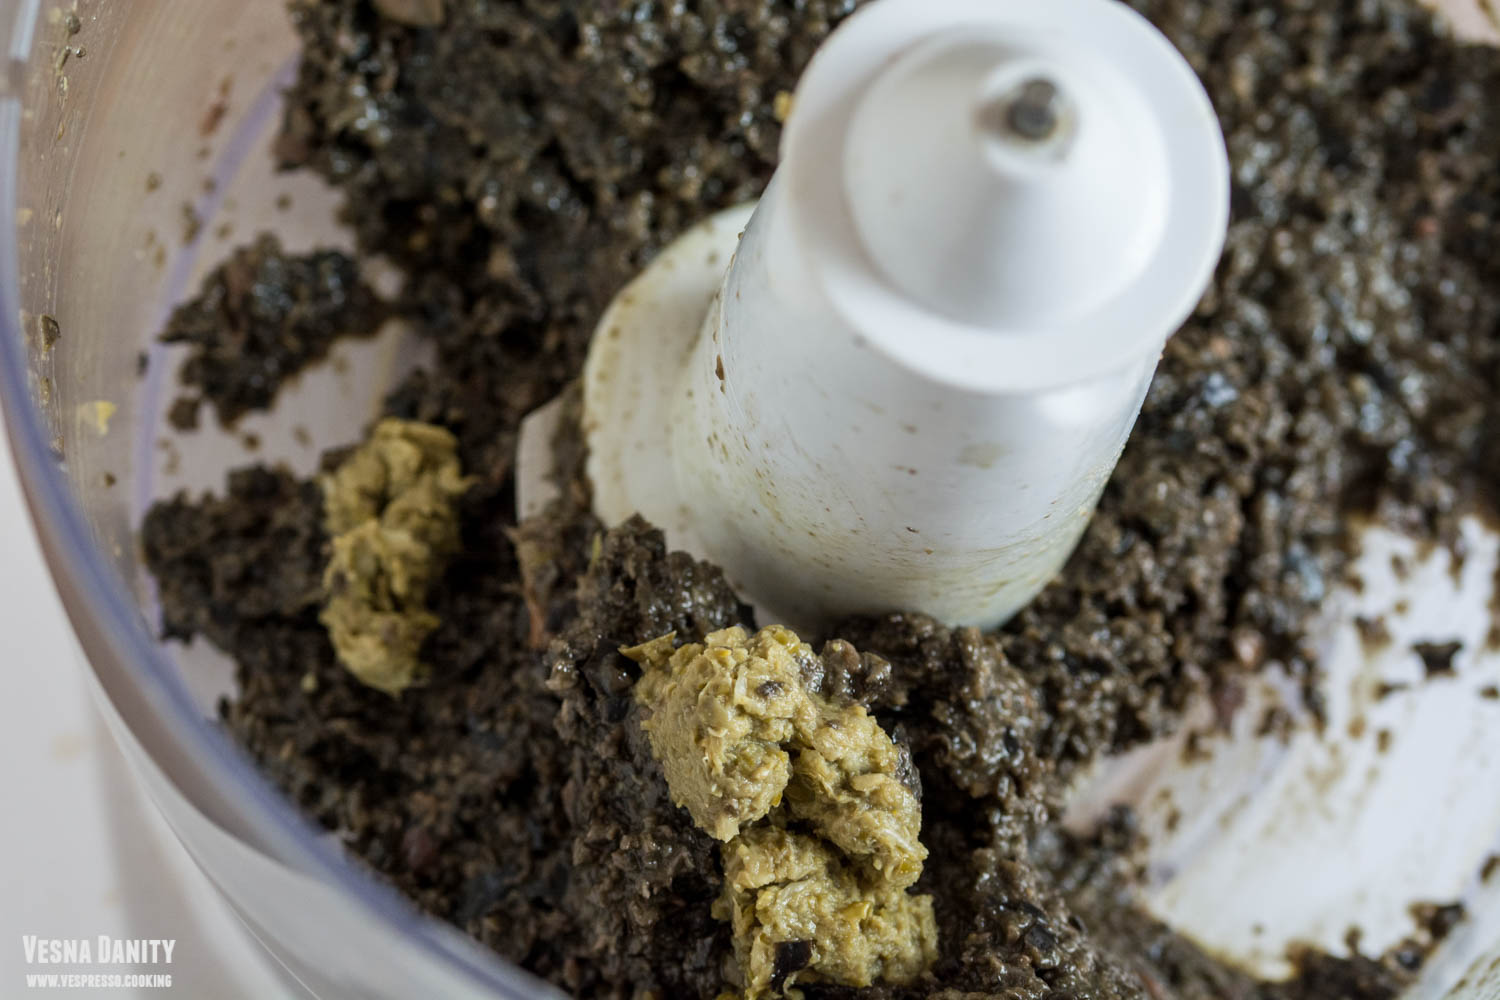
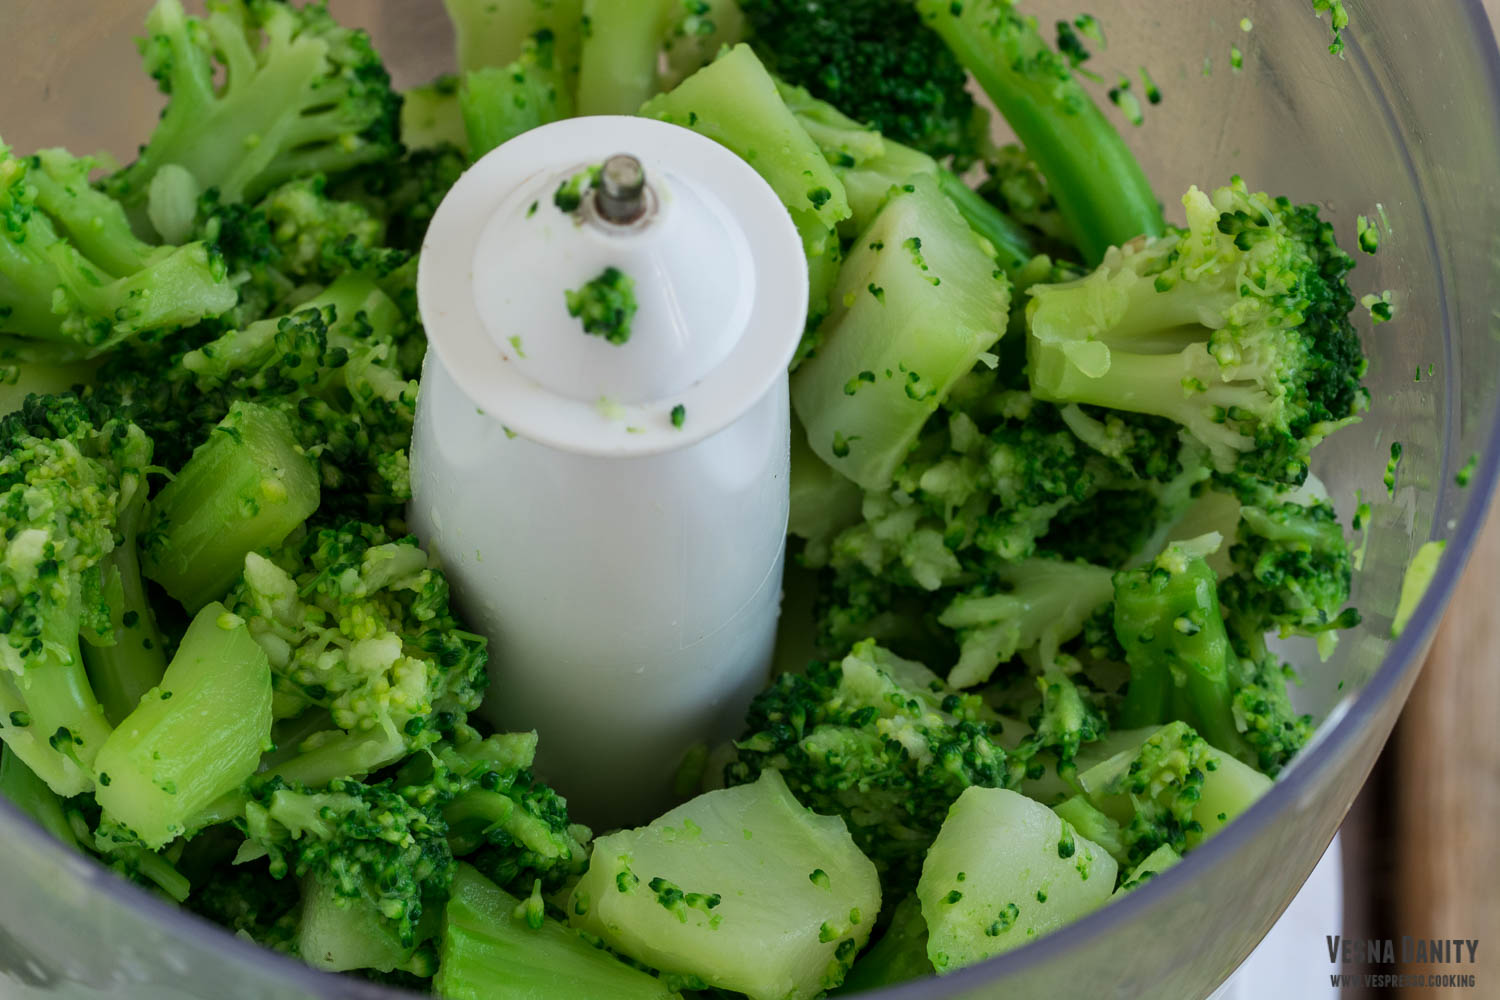
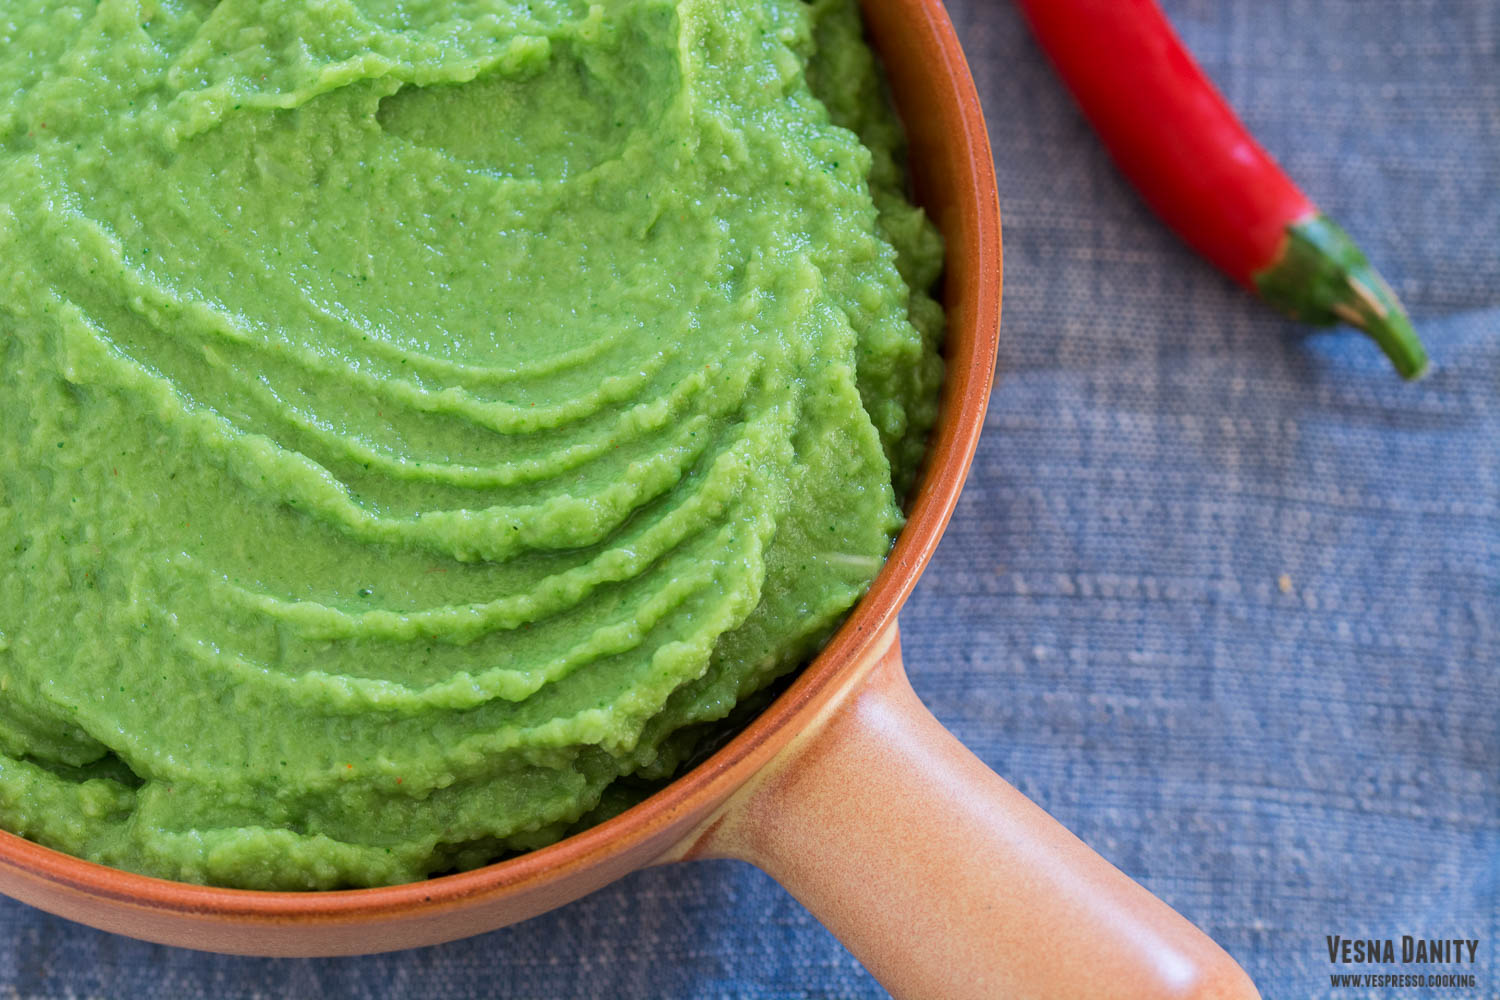
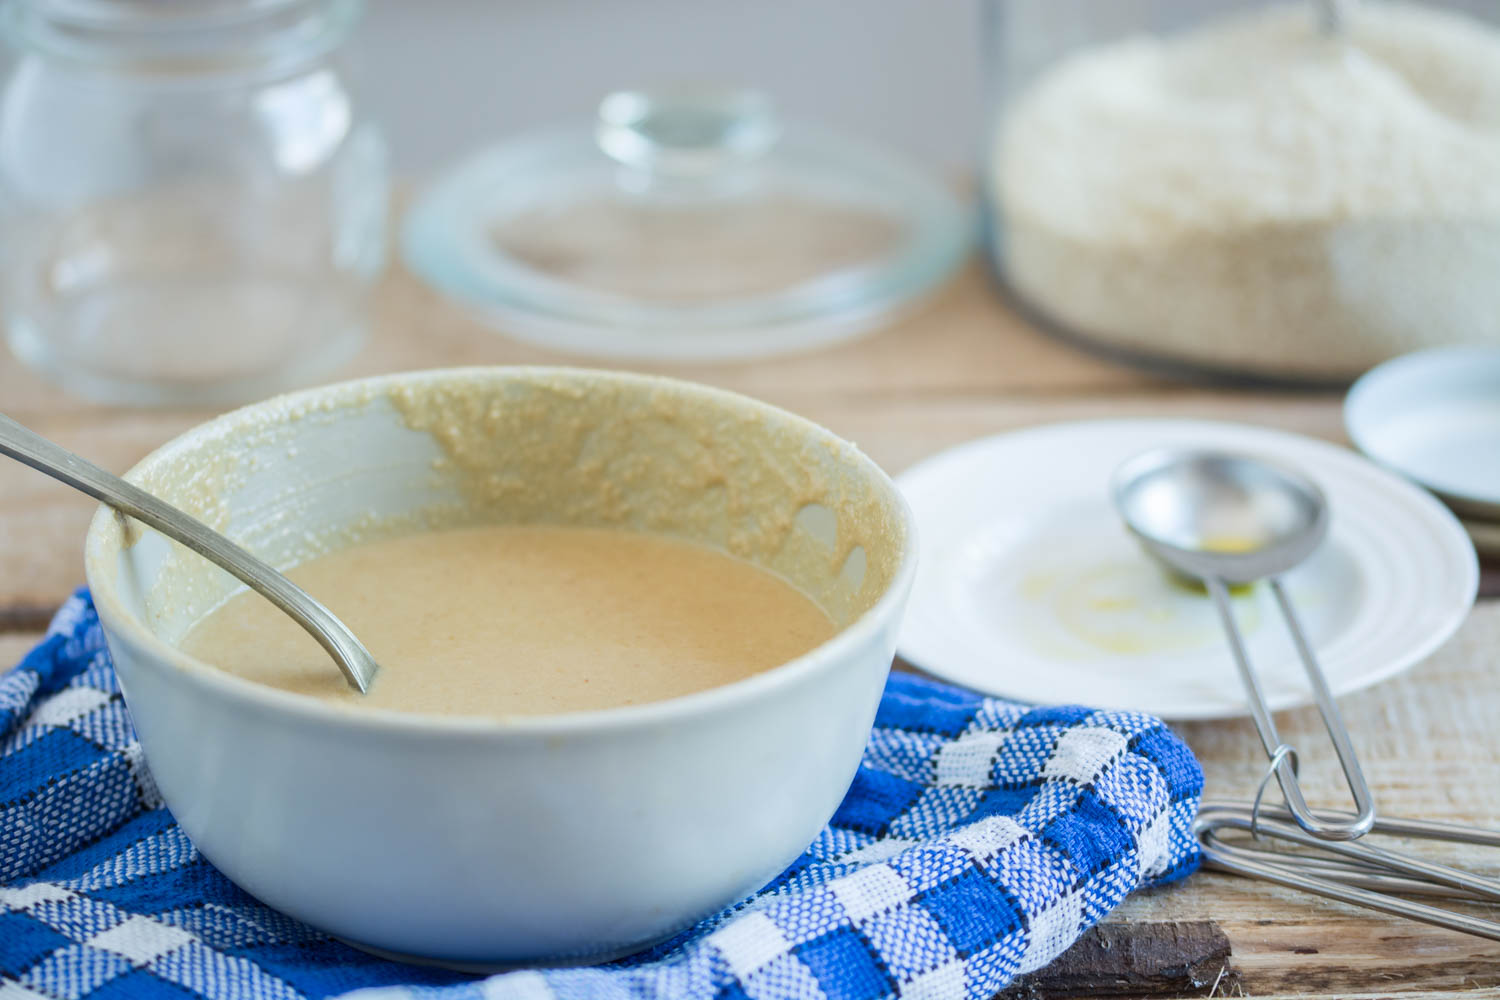
  3. Blend the olives. Place the olive chunks and blend them until you form a chunky spread, adding about 1 tablespoon at a time.
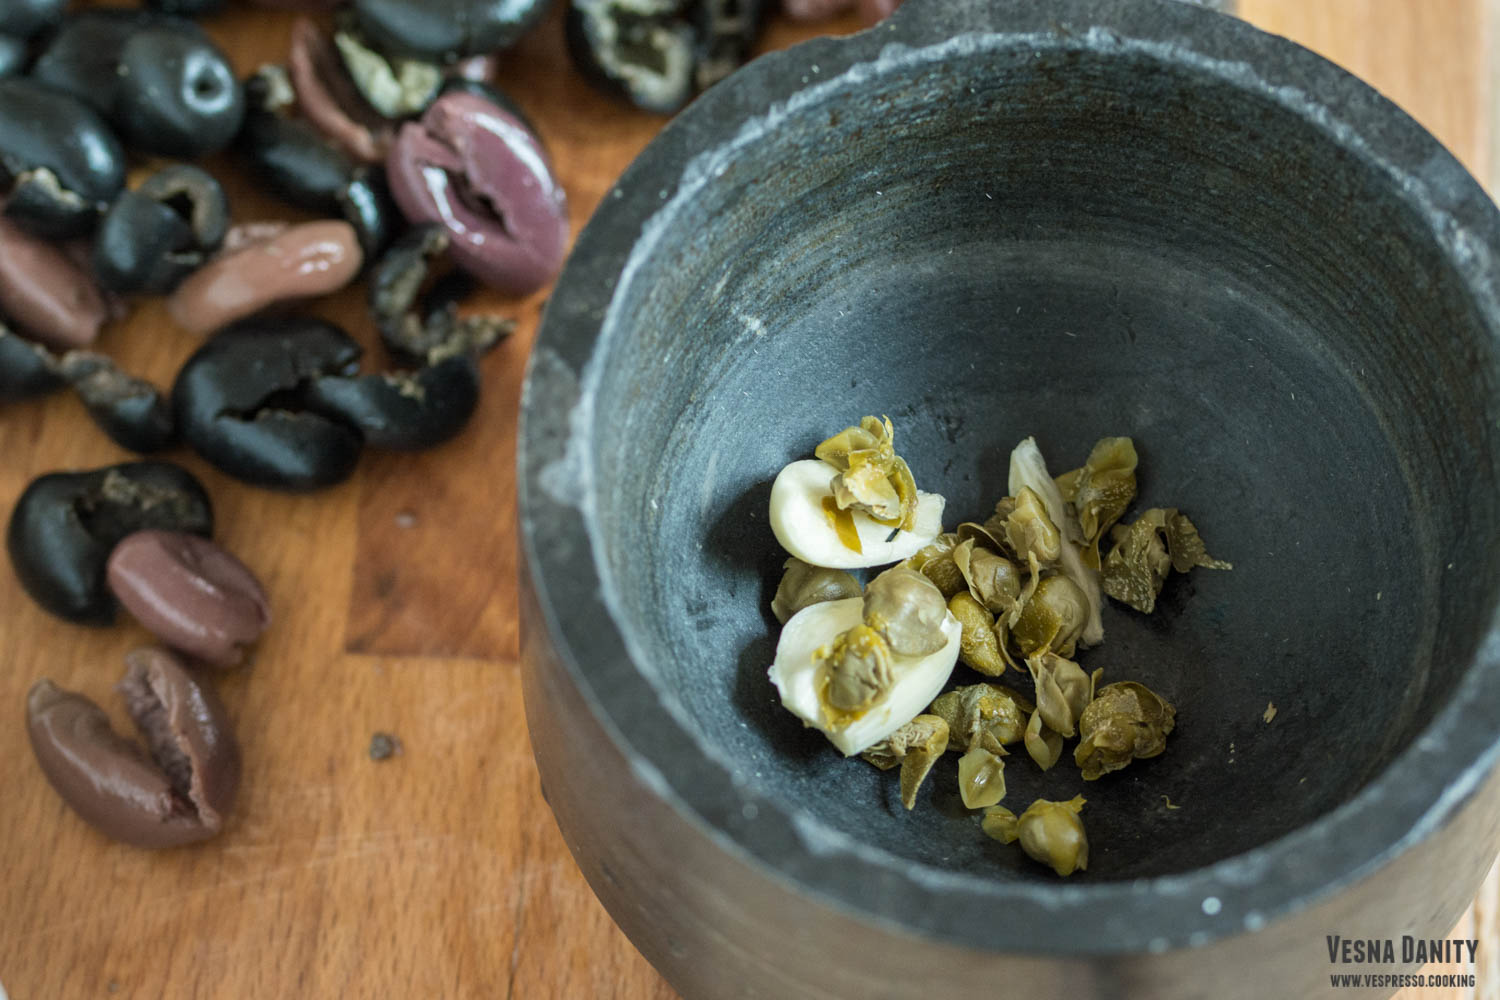
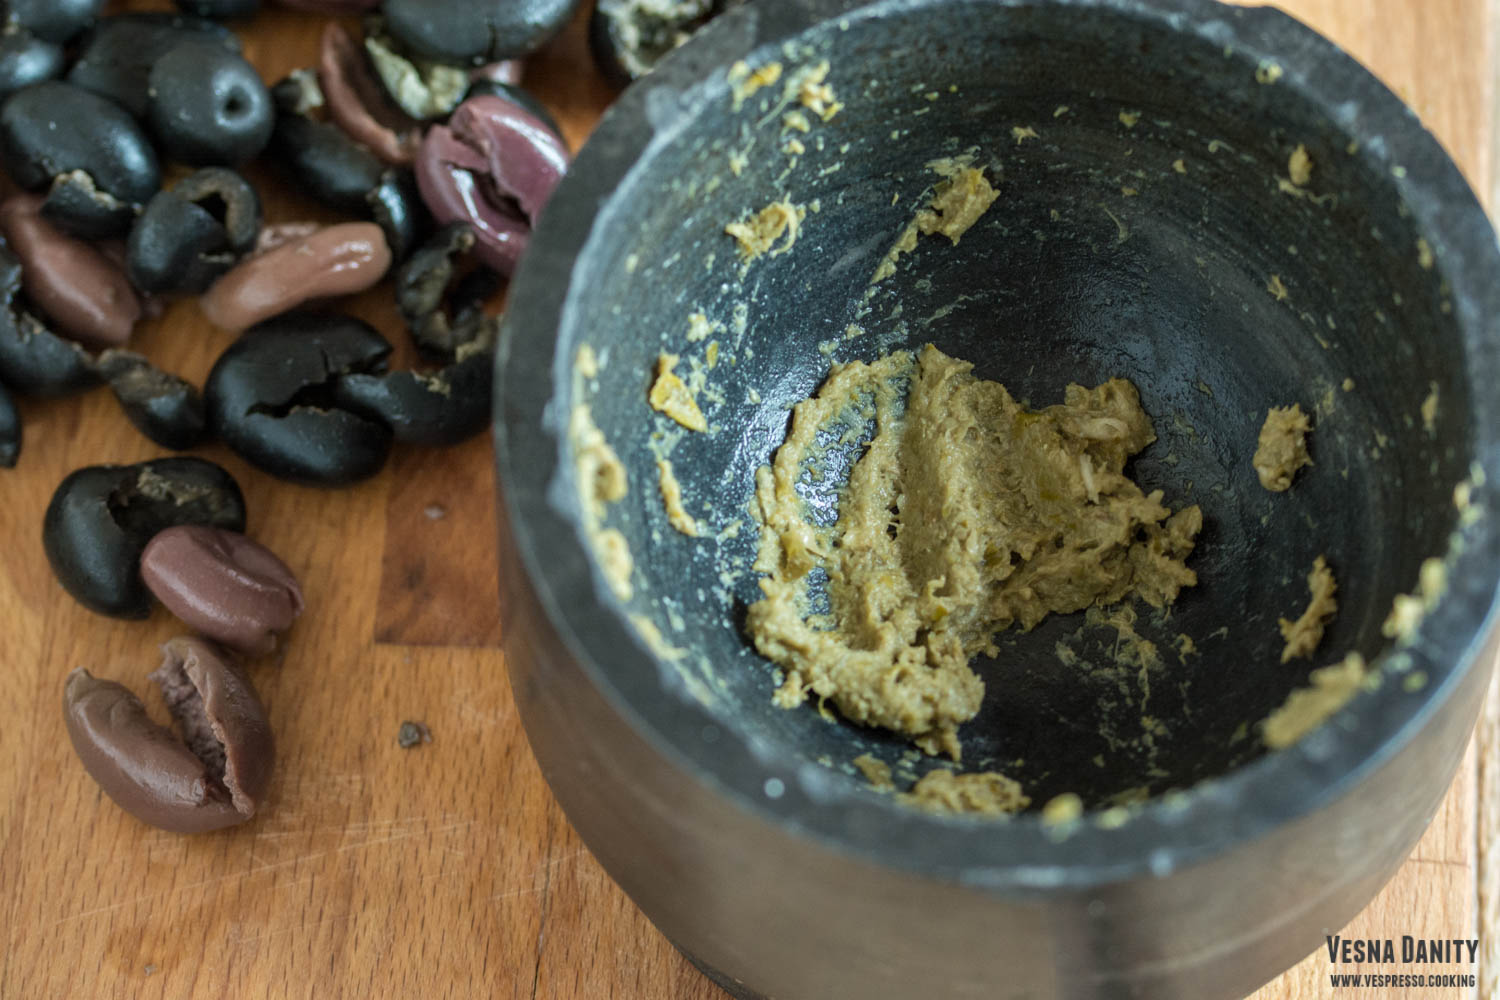
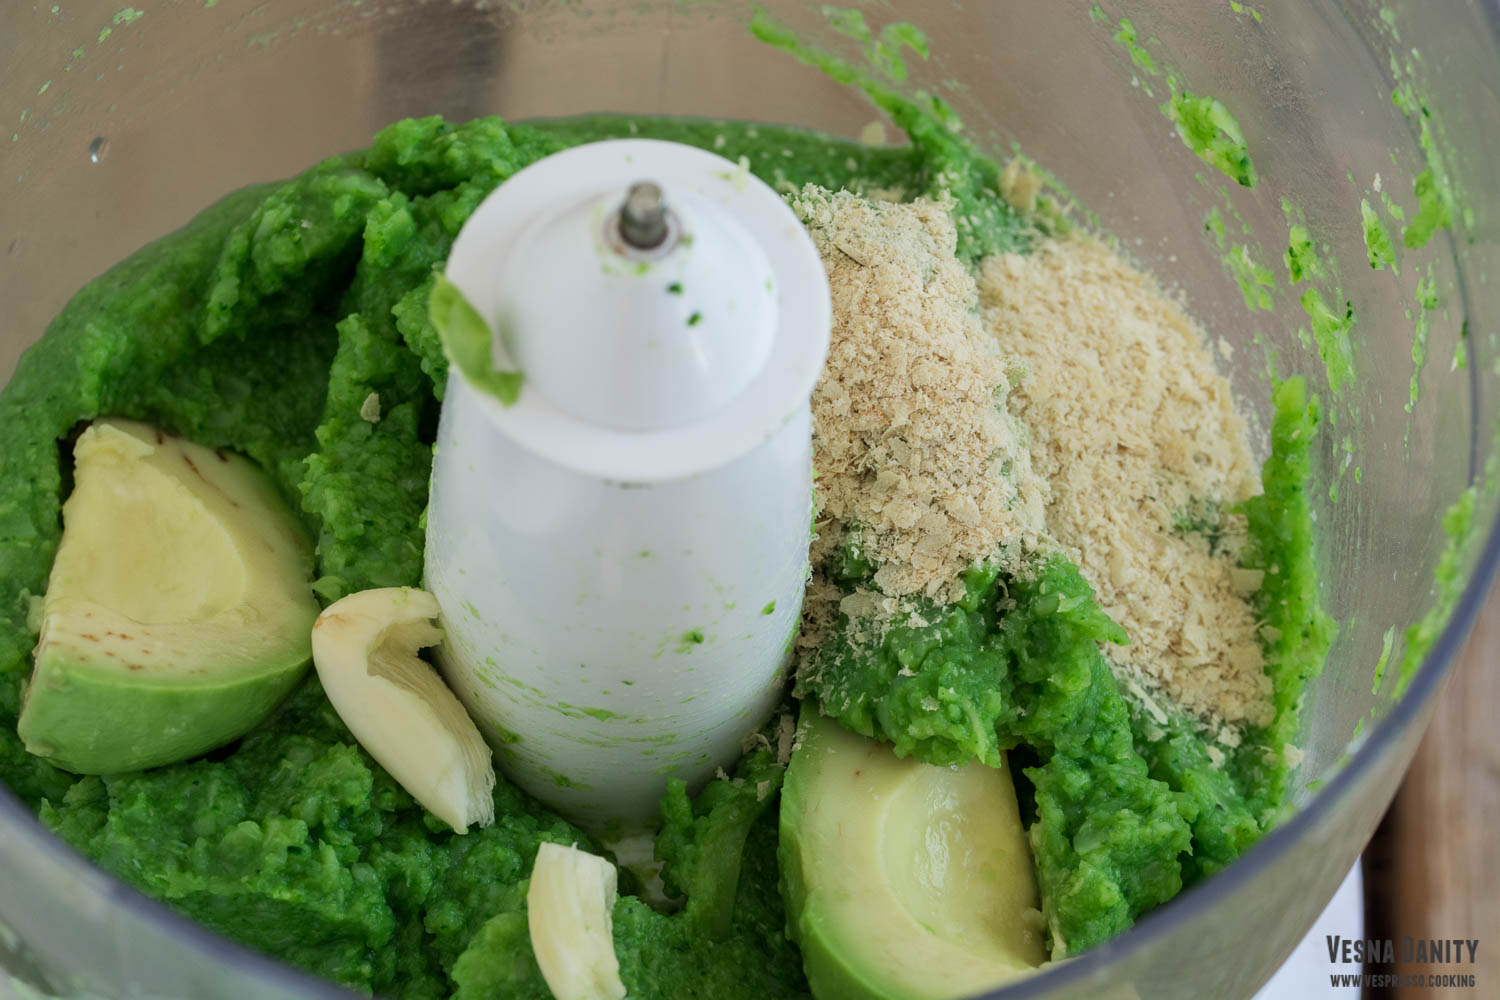
  4. Season. Peel the garlic, place it in a mortar, season it with some salt and smash it with a pestle. Add the capers and smash them as well until you form a paste.
  5. Serveing and leftovers. Add the condiment over the olive paste and give it a few pulses to make sure the spread is homogenous. Place the leftovers (if any) in a bowl, cover with cling film and refrigerate for up to 2 days.

Broccoli Spread


Undoubtedly, broccoli is one of my favorite vegetables. I love everything about broccoli, the taste, the texture, the fact that it’s so versatile. One of the most simple and yet delicious recipes with broccoli is broccoli spread. It’s extremely creamy and it’s wonderful spread on a slice of homemade bread (or tortilla, in my case). It’s so hearty and flavorful and the color is simply hypnothyc. This recipe is a great way to use the whole vegetable, stem included, so nothing goes to waste. And before I forget, all the ingredients are plant-based, so it’s suitable for a vegan diet.

Ingredients (for 6 servings):

  • 500g broccoli
  • 1/2 large avocado
  • 2 Tbsp nutritional yeast
  • 1 garlic clove
  • 1 tsp chopped chives
  • 1 Tbsp lemon juice
  • 1/8 tsp chili powder
  • salt to taste

Method:

  1. Fill a medium saucepan with water, cover with a lid and bring to a boil.
  2. Peel the broccoli stalk using a vegetable peeler. Cut the broccoli into florets and cube the peeled stalk.
  3. When the water starts to boil, add the broccoli and simmer them for 8 minutes ( the cooking time depends on the size of the florets). Meanwhile prepare the ice bath by adding 1 cup of ice to a bowl filled with cold water. Carefully drain the broccoli and immediately place itin the ice bath. Drain the broccoli using a collander and refrigerate it for about 20 minutes.
  4. After 20 minutes place it in the bowl of a food processor and pulse until smooth and creamy.
  5. Add the rest of the ingredients and pulse until smooth. Give it a taste and adjust the salt. Spoon it into a bowl and refrigerate until ready to use.

Wild Garlic Hummus


Hummus is an oriental chickpea and tahini paste. It is hearty, smooth and creamy and it has a rich and nutty sesame seed flavor. It is a high-protein vegan spread and it’s also so easy to make. I’ve tried a myriad of recipes over the years, I played both with the ingredients and with the different techniques involved in preparing this simple yet delicious spread. I learnt two tricks which I use each time to get an incredibly creamy texture. I remove the skins of the chickpeas by squeezing them with my fingers – this extra step makes a smoother final product. The second trick is to start the hummus by mixing the tahini with lemon juice and olive oil, which creates a mayonnaise-like consistency emulsion. This two tricks make the difference between a regular and an over-the-top delicious hummus.

The version of hummus I bring you today is a velvety, flavorful and colorful hummus, a wild garlic hummus, to be more accurate. Wild garlic is a wonderful plant, it has a fresh garlicky taste and it is packed with nutrients, from carotenoids to vit A, vit C and vit B complex. I’m not a fan of the raw wild garlic, I find it too overpowering, so I blanch it for 40 seconds before using it, to temper its wild taste. Continue reading Wild Garlic Hummus

Homemade Tahini


Tahini is a delicious Middle Eastern sesame spread. It has a velvety smooth texture and a lovely nutty flavor. Tahini can be found in the ethnic department of almost every large grocery store but it can also be made at home, from scratch. It’s so easy to make and it’s significantly less expensive than the store-bought version. Tahini is made from only 3 ingredients: sesame seeds, vegetable oil and salt. The process is very simple: the sesame seeds are lightly toasted just until they turn golden and fragrant, and after that they are ground using a food processor (or you can use a mortar, if you’re into extreme sports). The addition of the oil turns the fragrant sesame crumbs into a golden silky spread.

I must confess that I enjoy tahini almost daily. I use it to prepare hummus and baba ganoush, I use it to make salad dressings, I pour it over steamed veggies, rice or pasta or I simply enjoy it with homemade bread, with lime, chili flakes and chives sprinkled on top. Tahini brings flavor to many dishes but it also brings a high amount of nutrients – tahini is high in protein, unsaturated fats, calcium and vit B complex). Tahini is simply divine, and if you haven’t had the opportunity to discover it yet, I strongly advise you to whip up a batch! Continue reading Homemade Tahini