Vegan Upside-Down Apple Cake

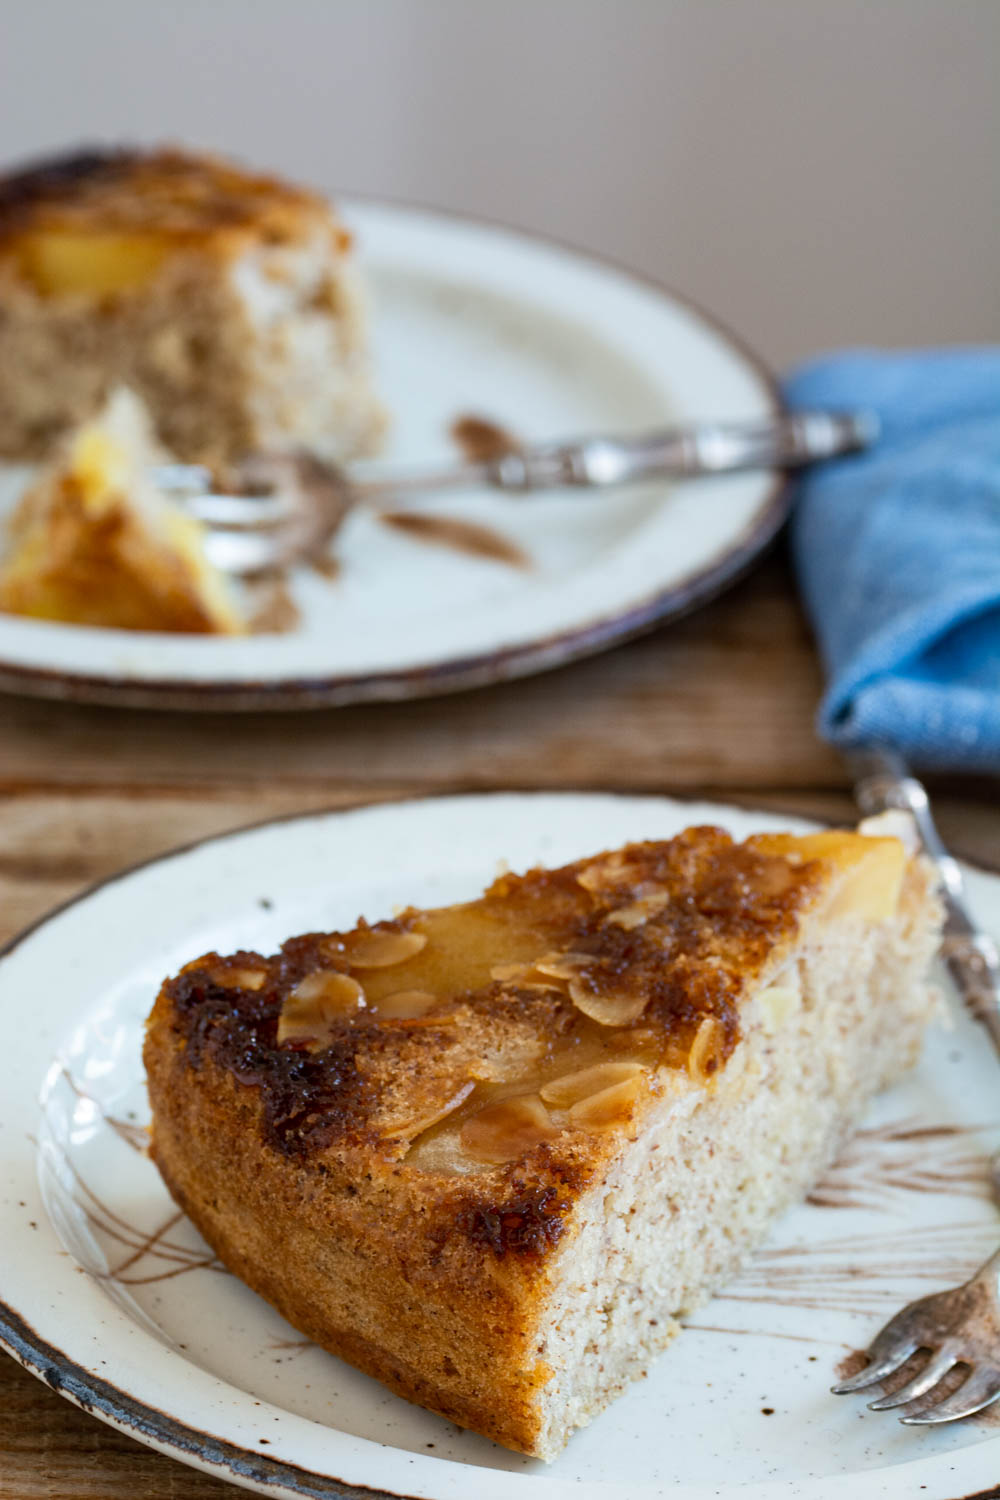
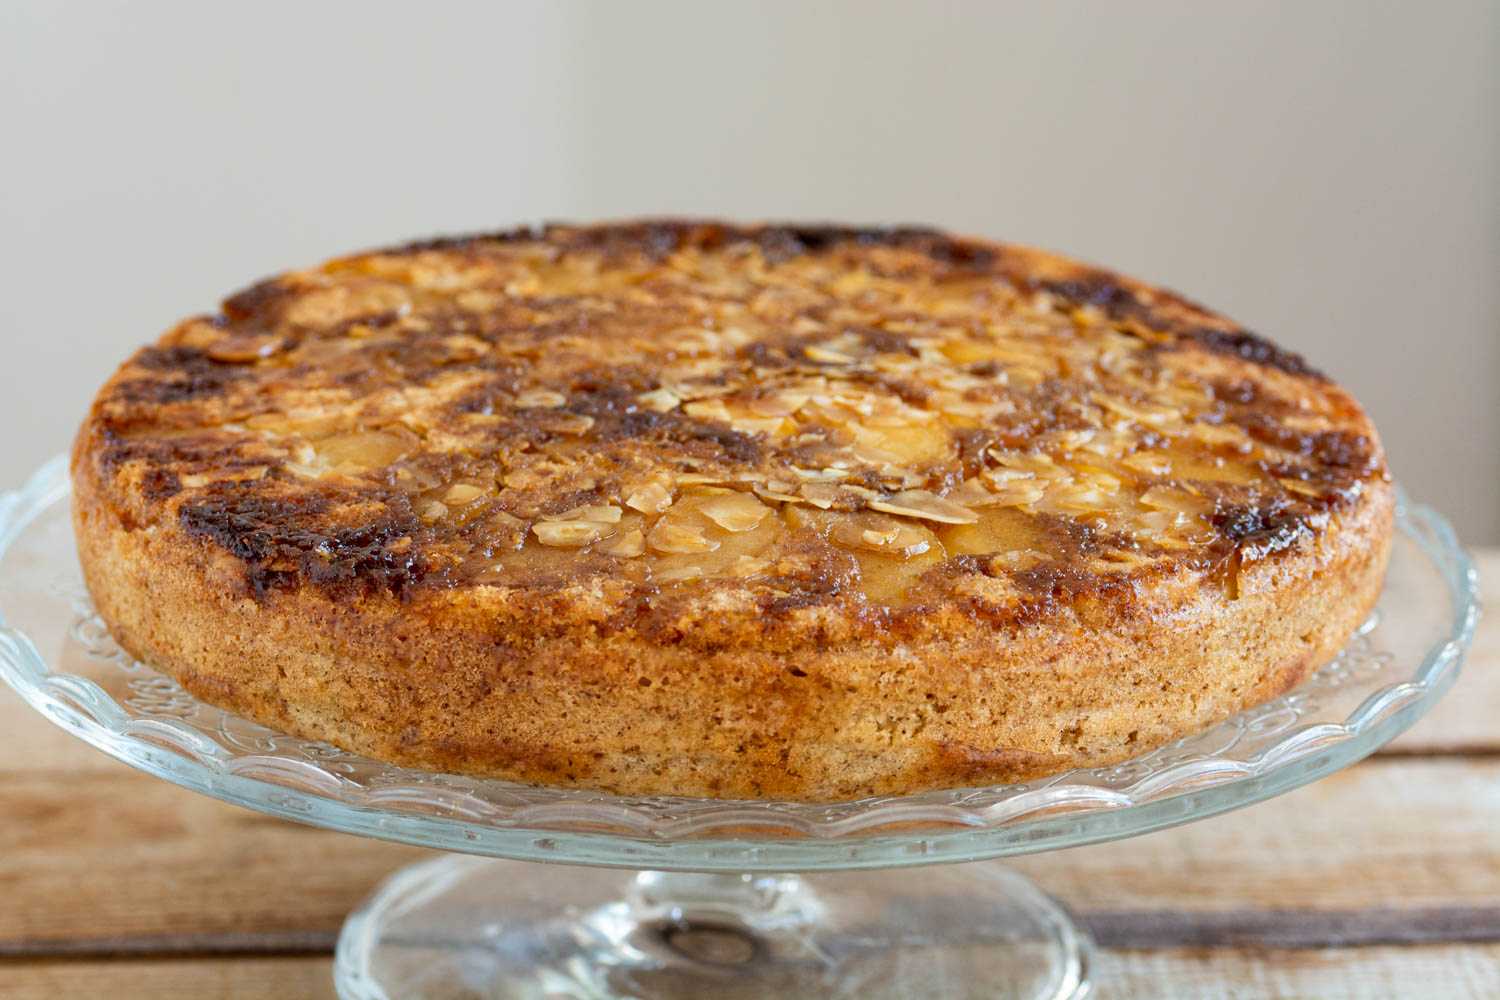
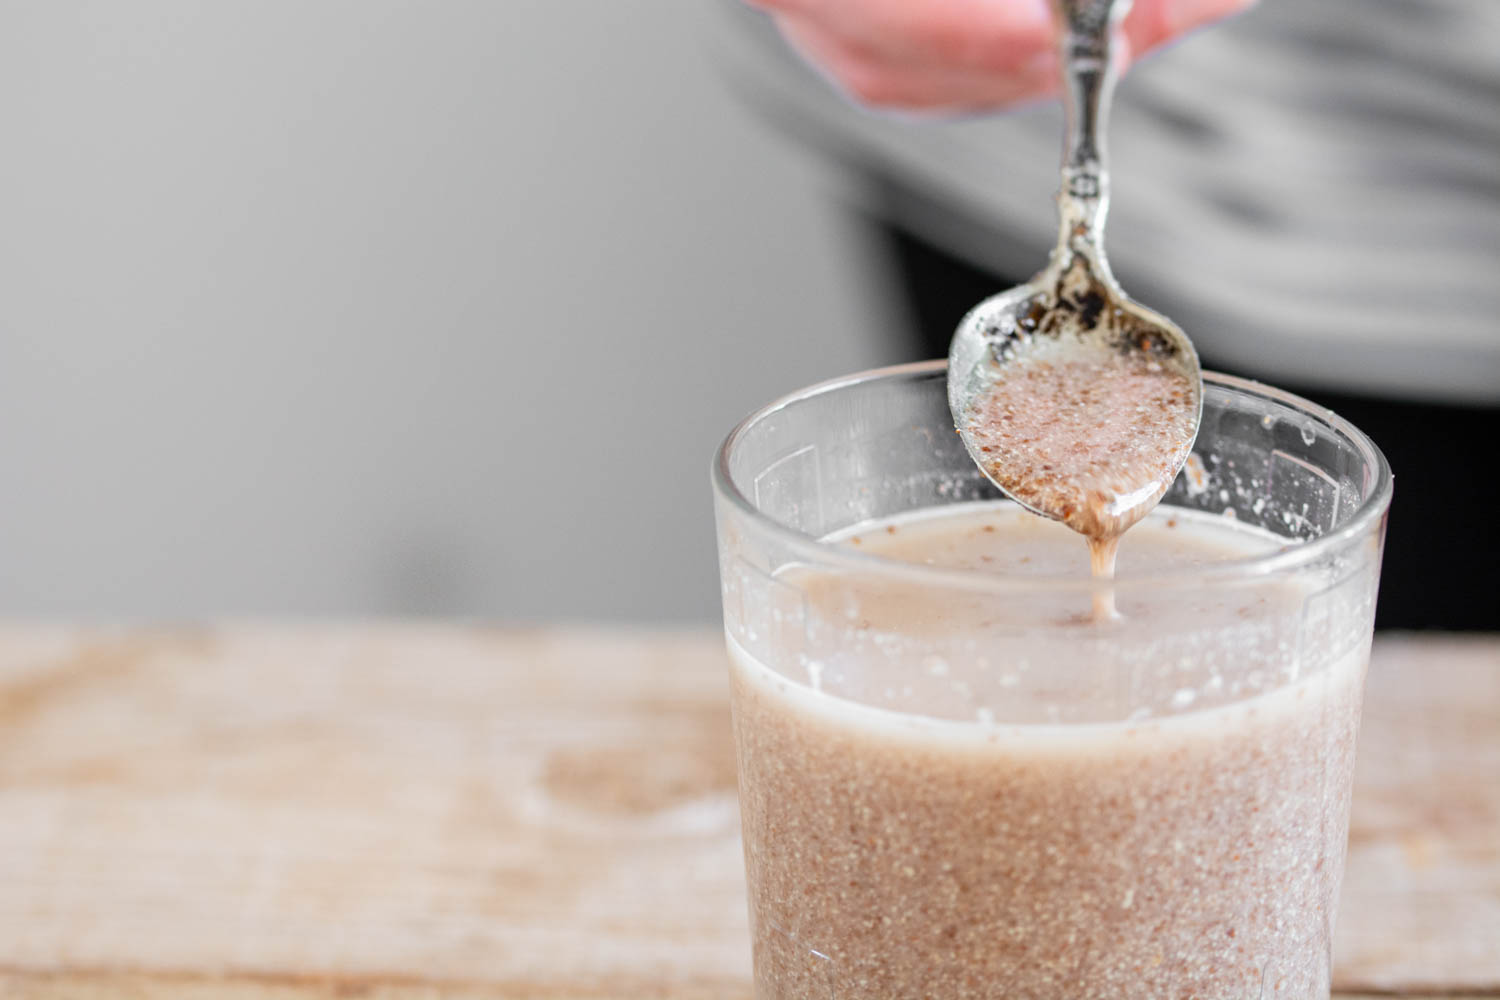
It’s been about 2 years since I’ve first made this awesome vegan upside down apple cake, and since then I’ve been searching ways to improve the recipe. I’ve tried a gazillion recipes, each one with its own shortcomings and at one point it seemed like I would never find the perfect texture and taste. But at last my prays were answered and I might have achieved the perfect result: a generous layer of apples dressed in a decadent salted caramel, hiding a tender and fluffy vegan sponge.
This upside down apple cake is perfect in its own simplicity, and it’s so quick and easy to make. I bake it all year round, during spring I use strawberries, during summer I choose peaches, figs for fall and canned pineapple does the trick all winter long. Honestly, sky is the limit regarding the fruit base. Let’s get to business, shall we…

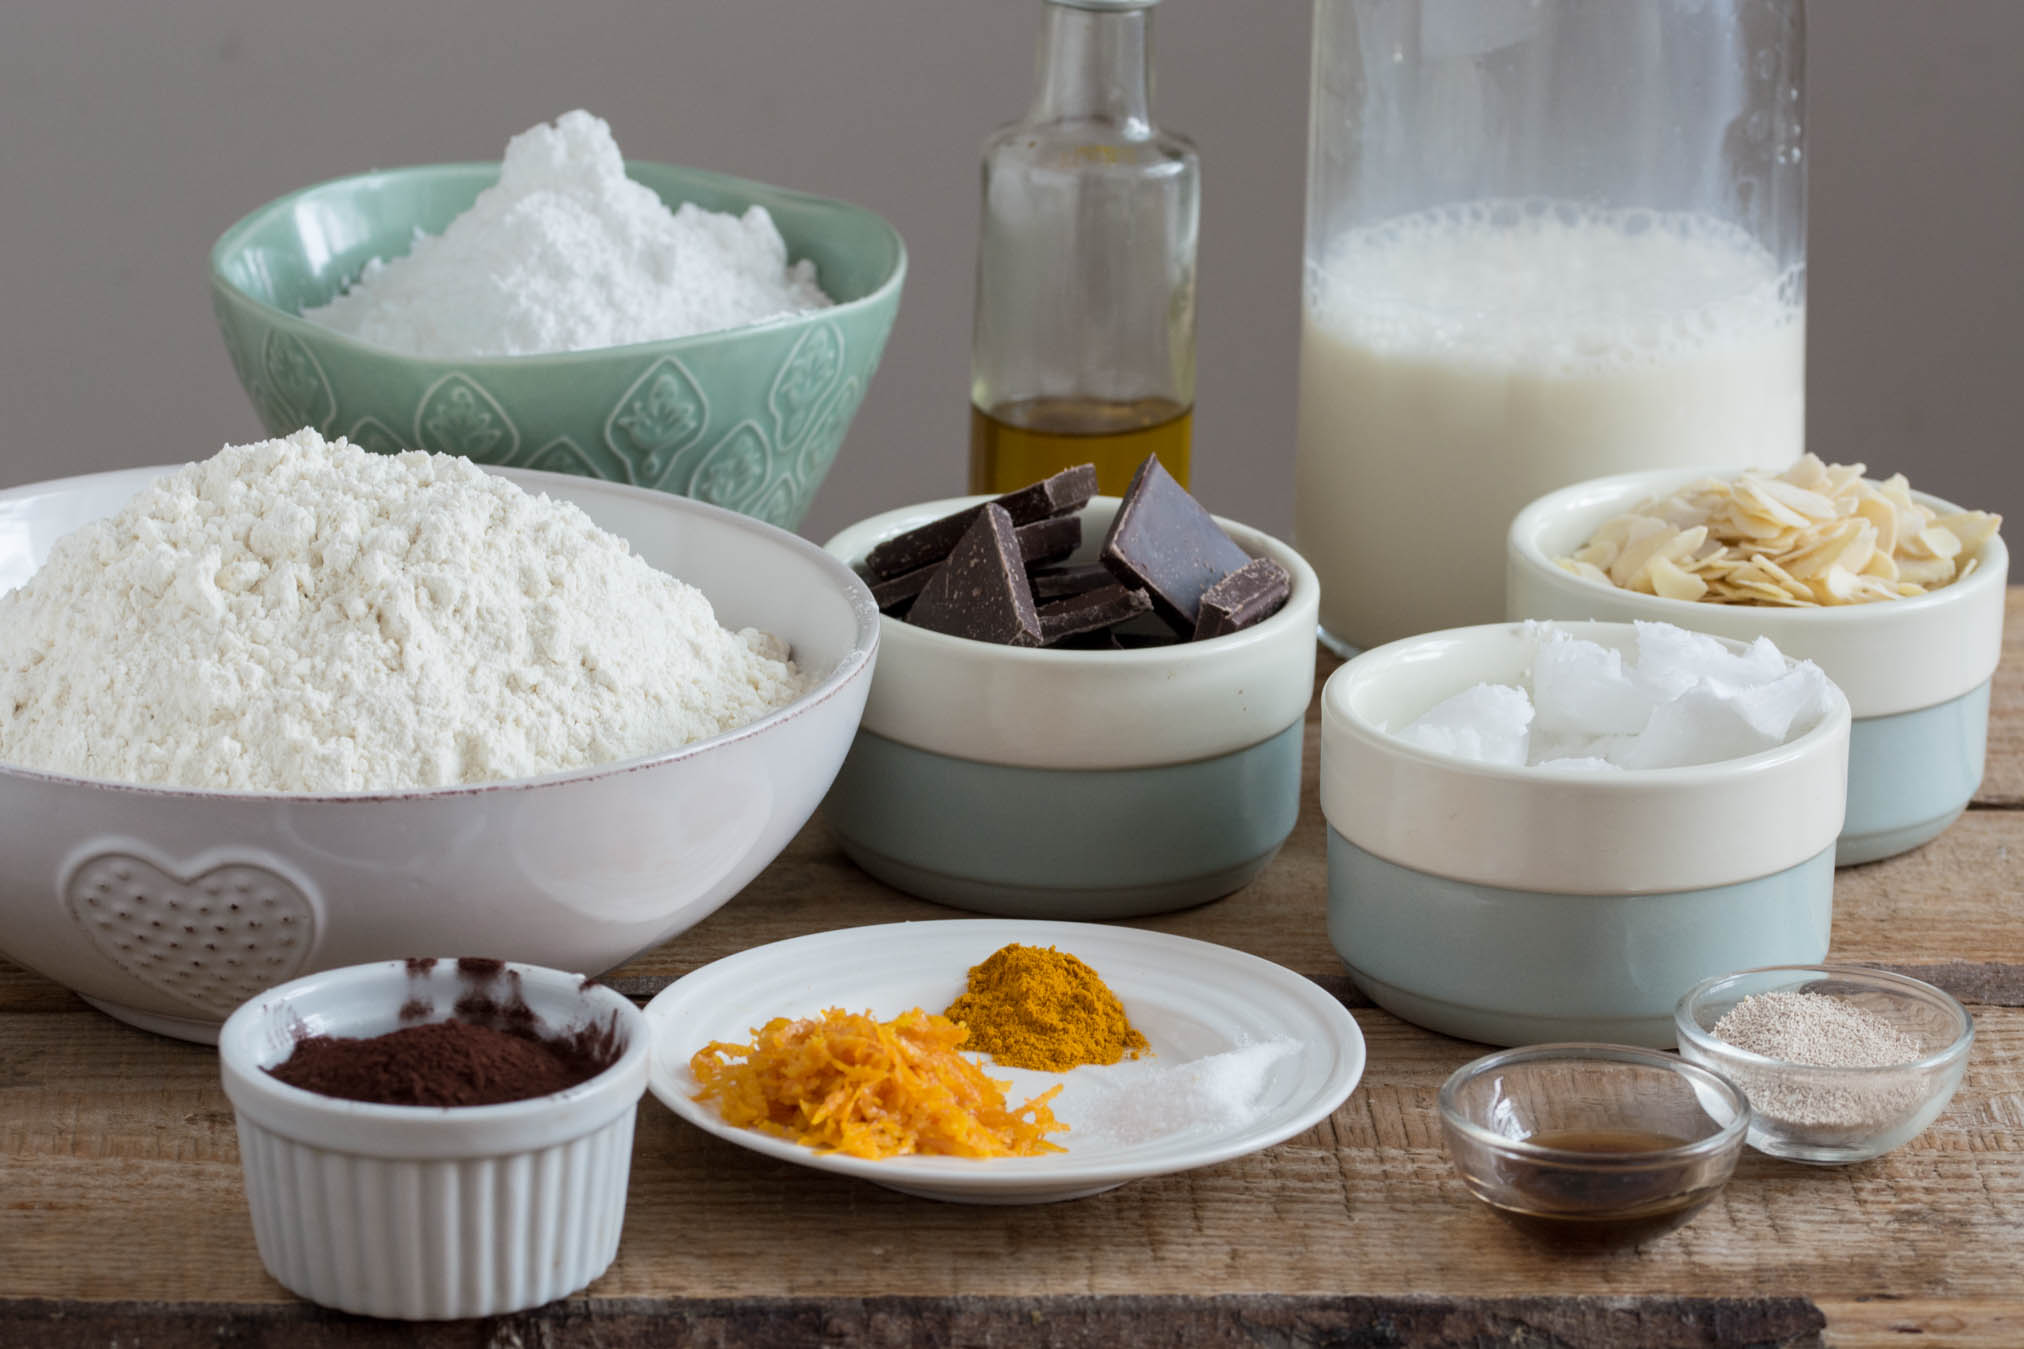
Ingredients ( for a 26cm tray):

⦁ 3 – 4 medium apples (I used Ida Red)
⦁ 2 Tbsp Muscovado sugar
⦁ 1 Tbsp coconut oil (melted)
⦁ 2 Tbsp almond flakes
⦁ 300g all-purpose white flour
⦁ 150g white granulated sugar
⦁ 1 satchet baking powder (about 2 1/2 tsp)
⦁ 1/4 tsp baking soda
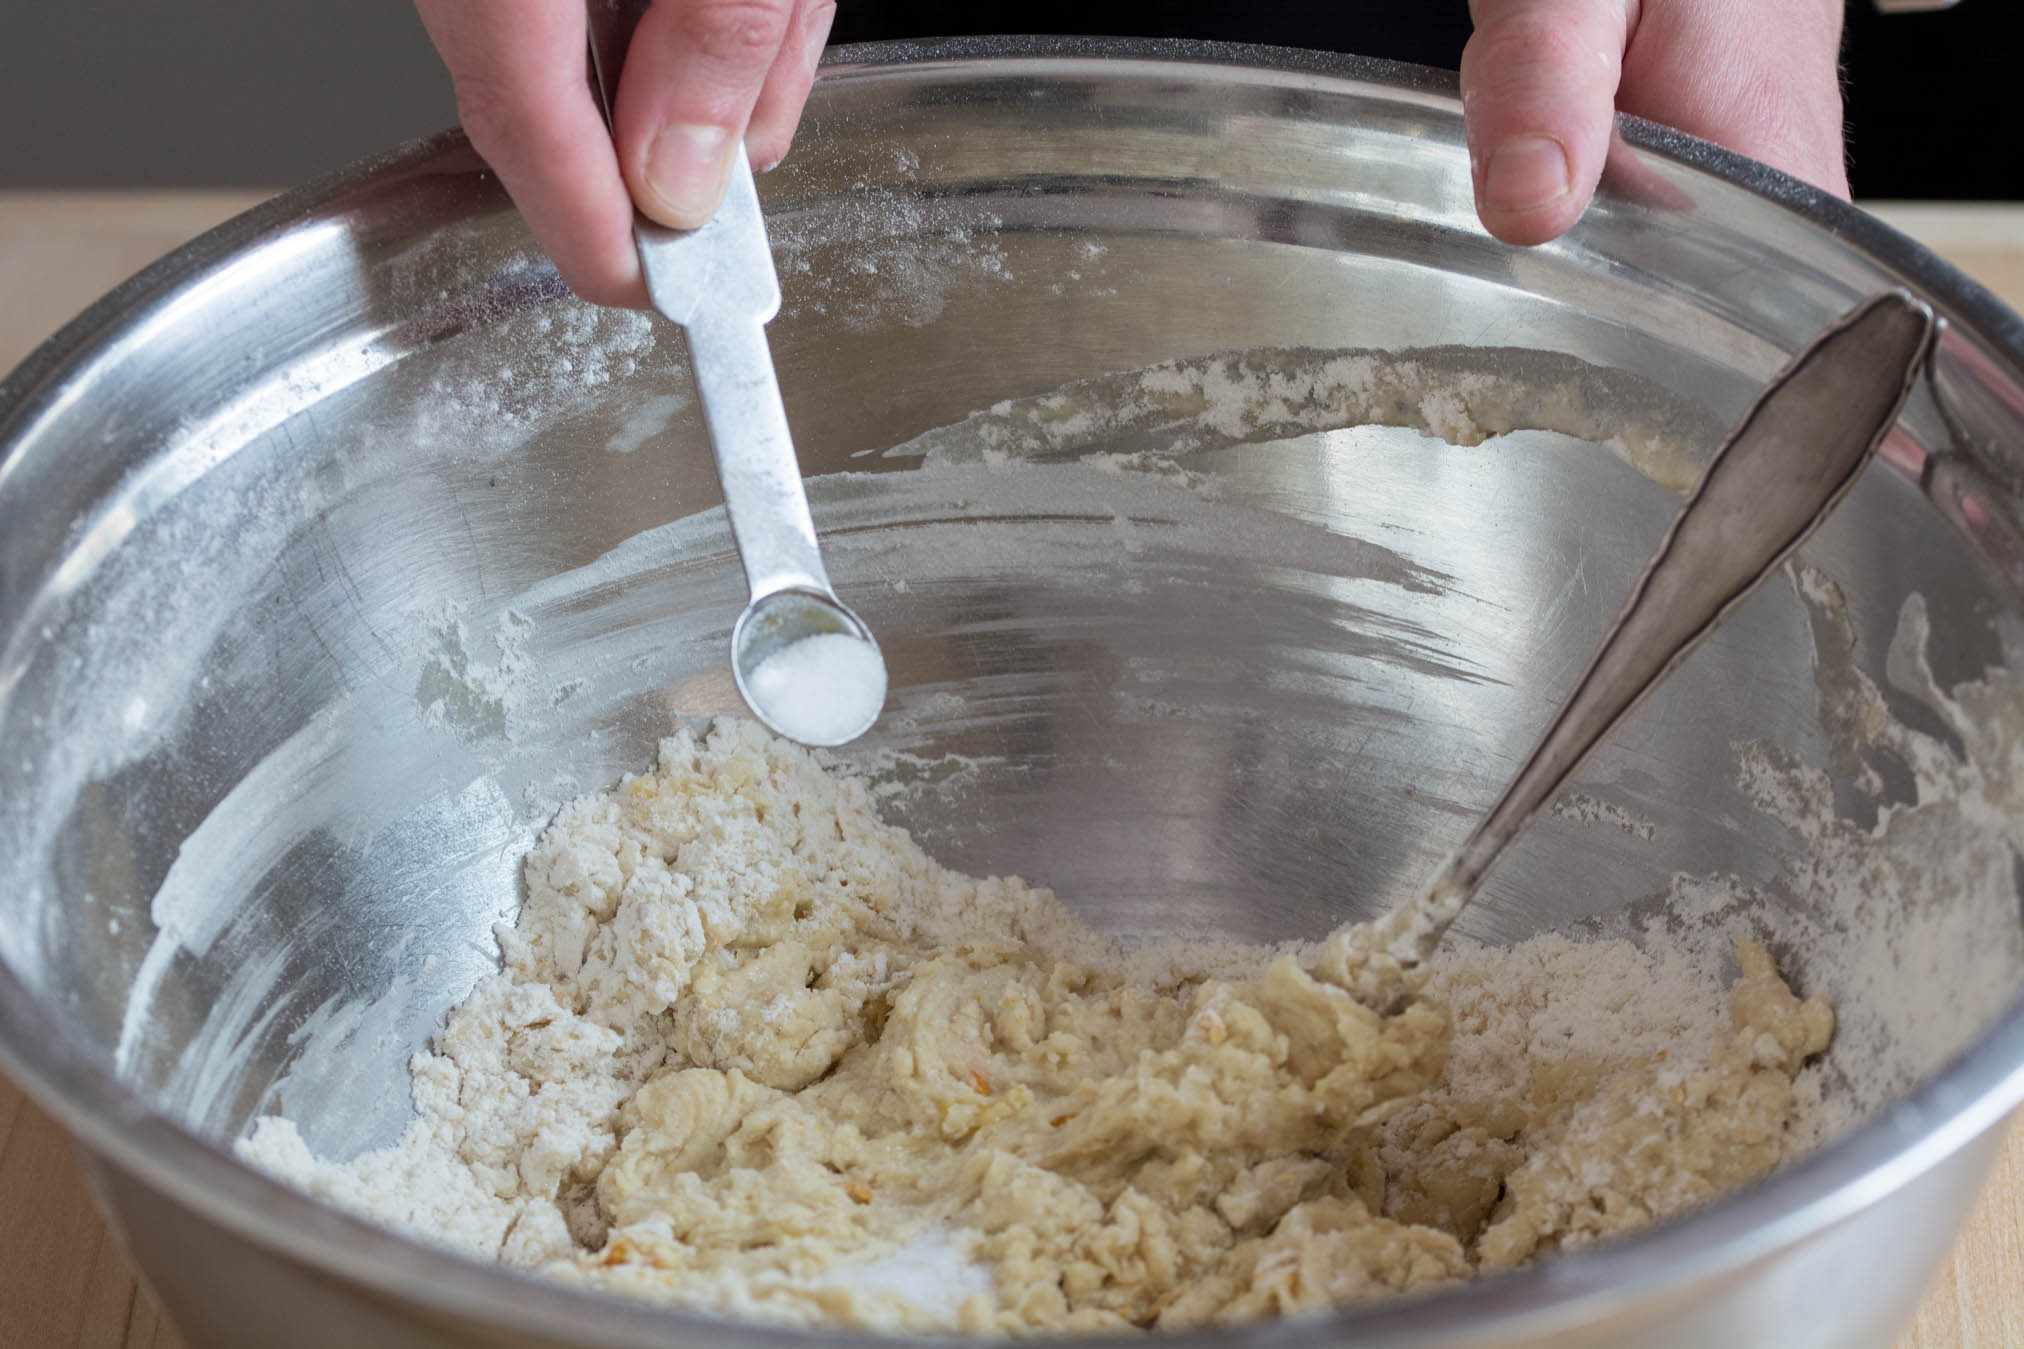
⦁ 1/2 tsp salt
⦁ 1/2 tsp cinnamon powder
⦁ 1 tsp vanilla extract
⦁ 300g soy yogurt
⦁ 120ml any mild vegetable oil
⦁ 3 Tbsp flax seed
⦁ 9 Tbsp water

Method:

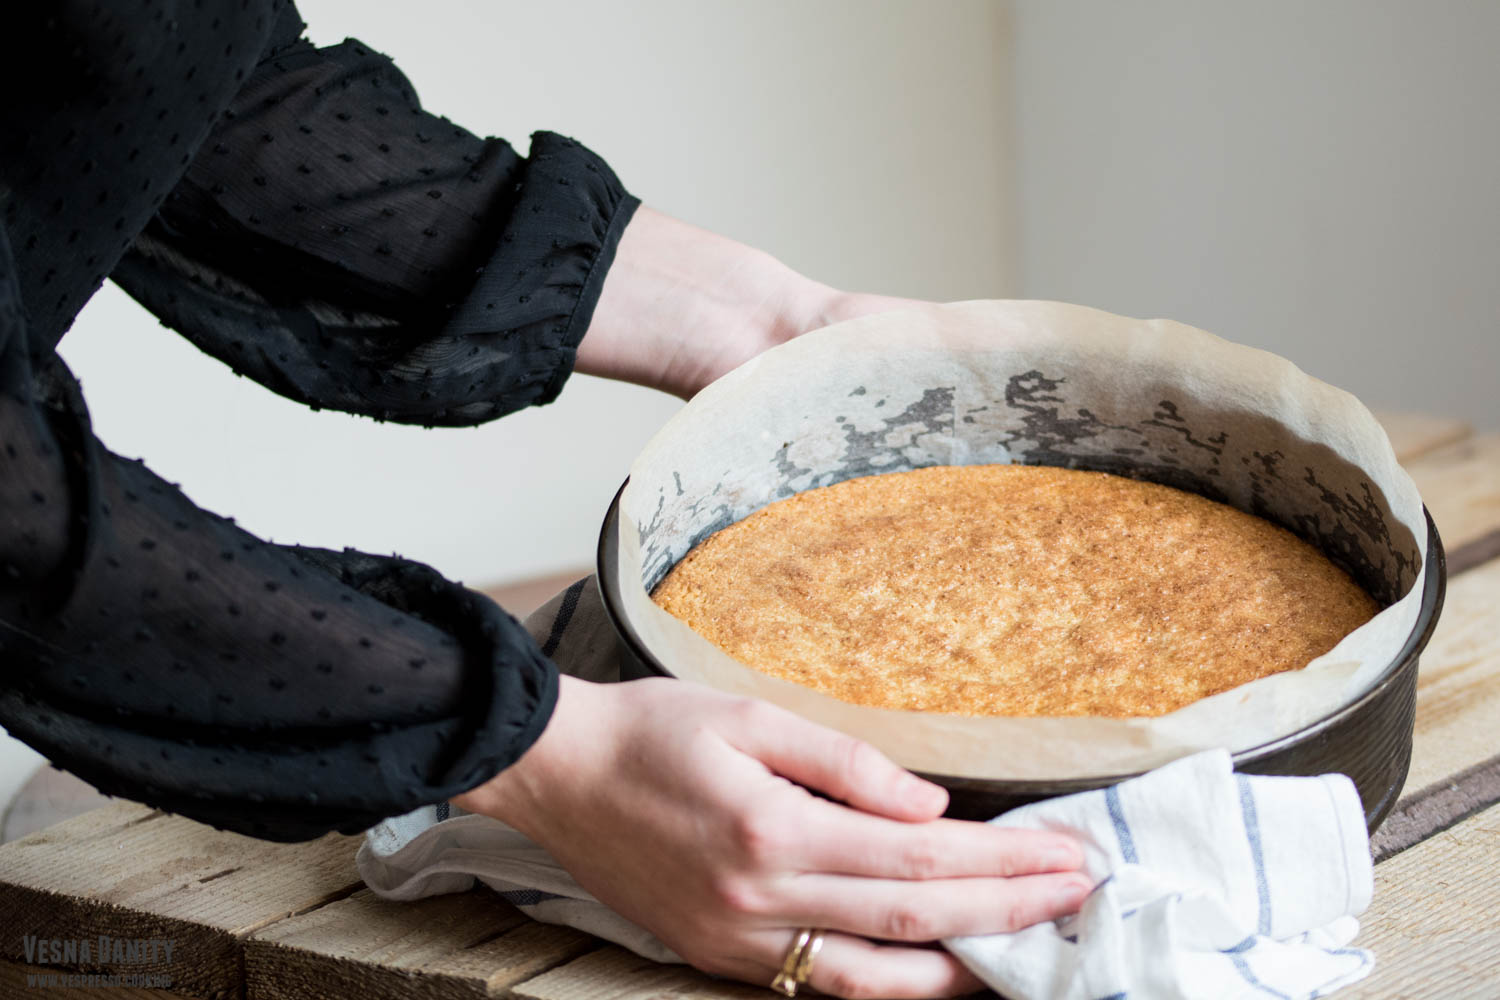
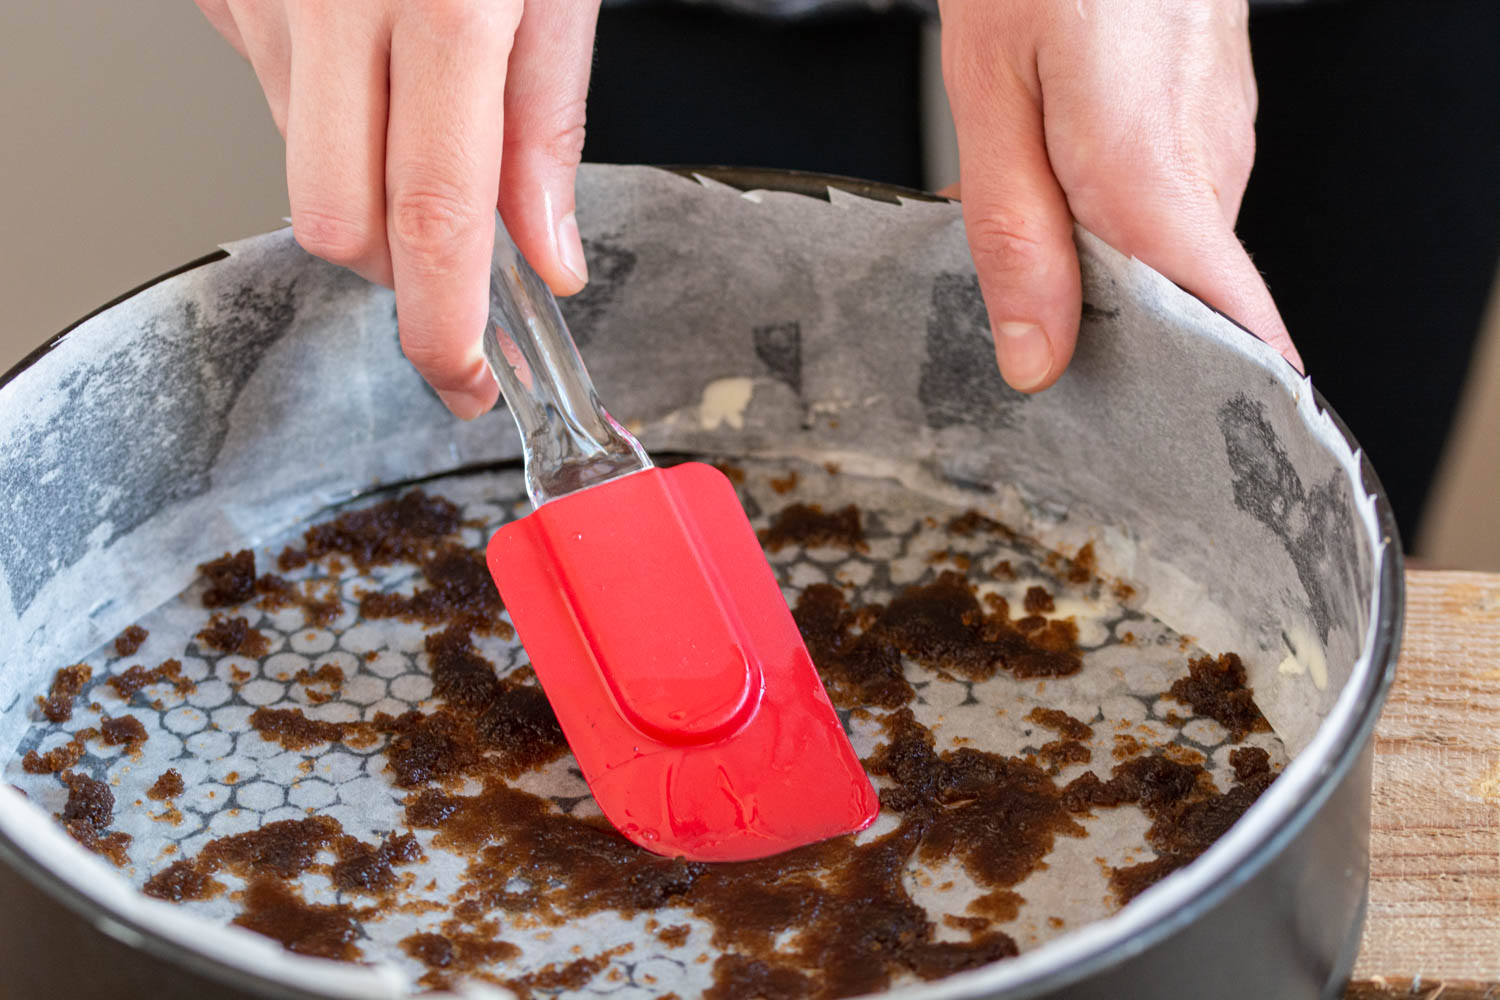
  1. Preheat the oven and prepare the tray. Preheat the oven at 200°C / 400° F (gas mark 6). Line the tray with parchment paper.
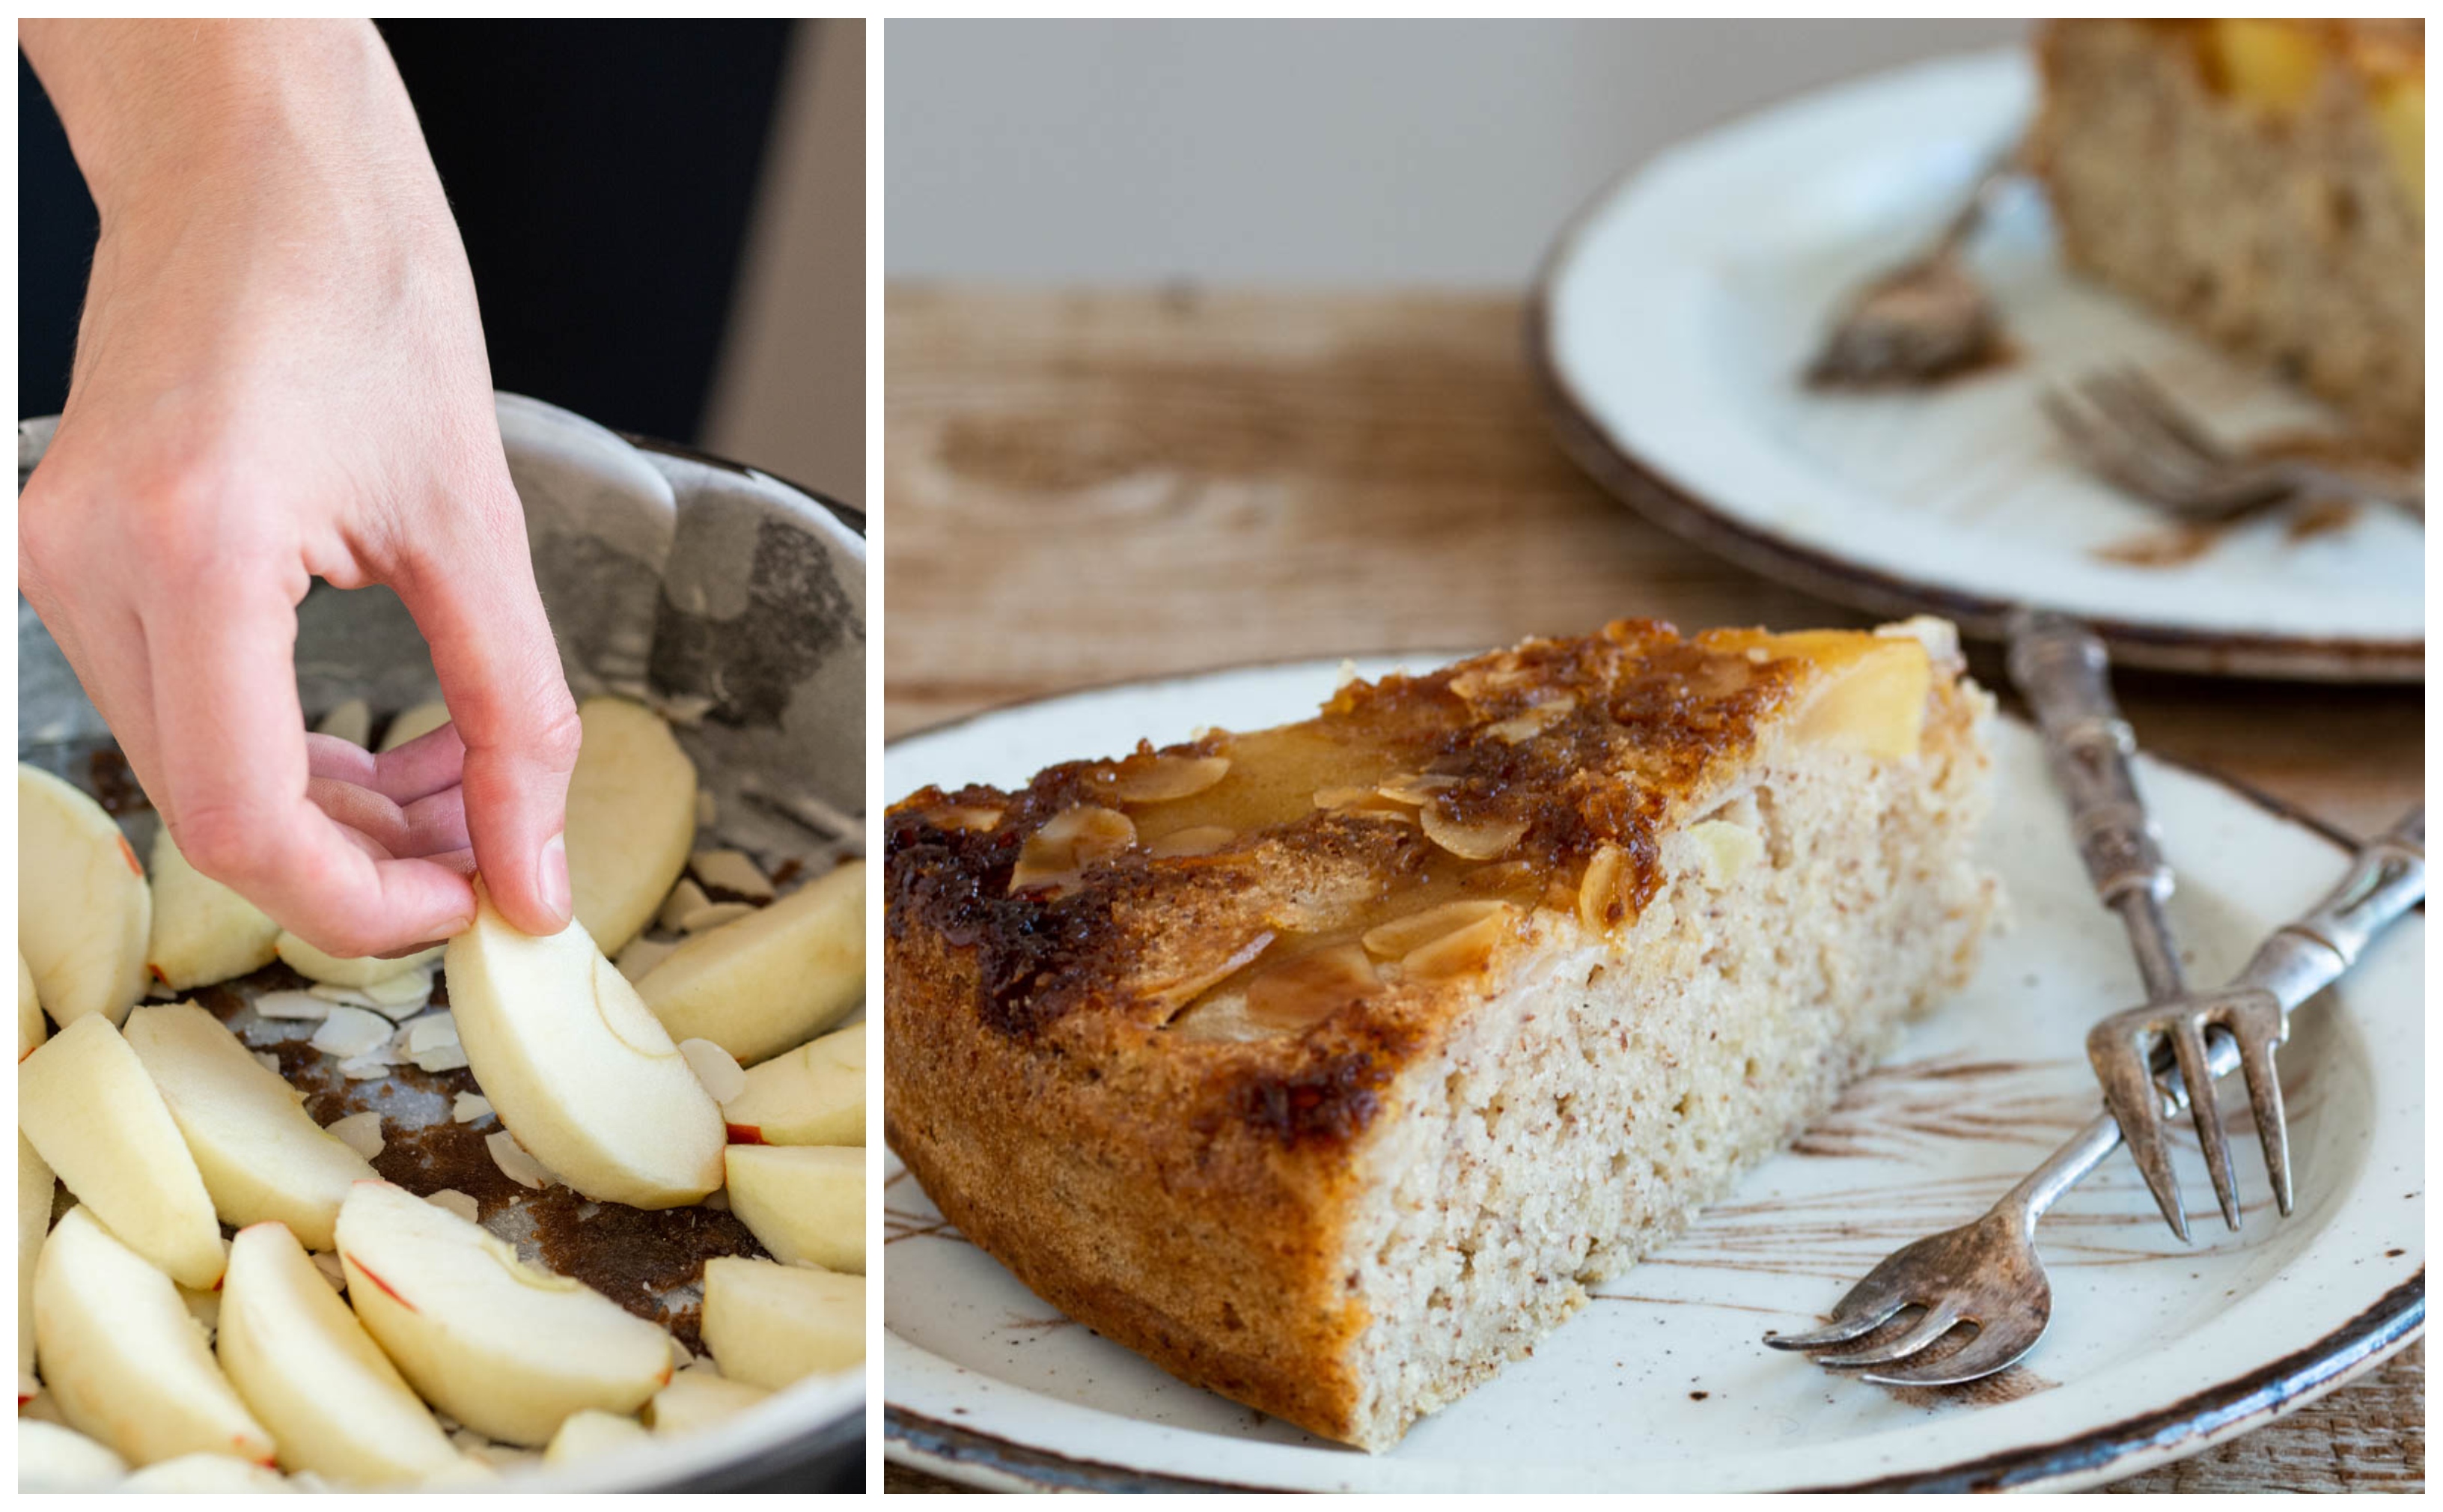
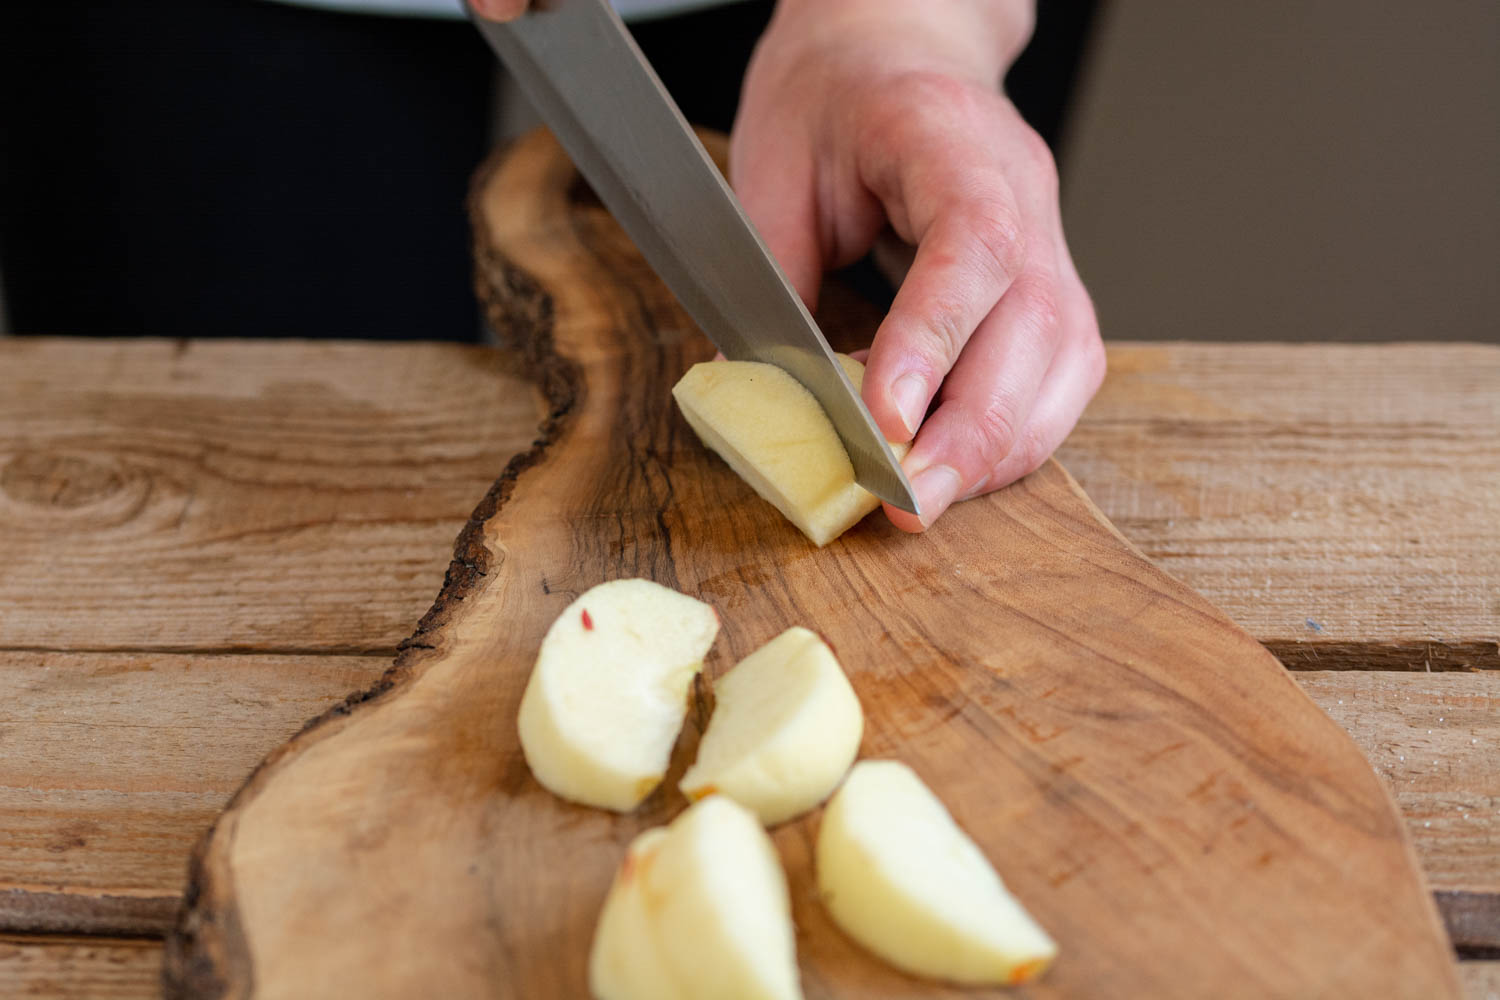
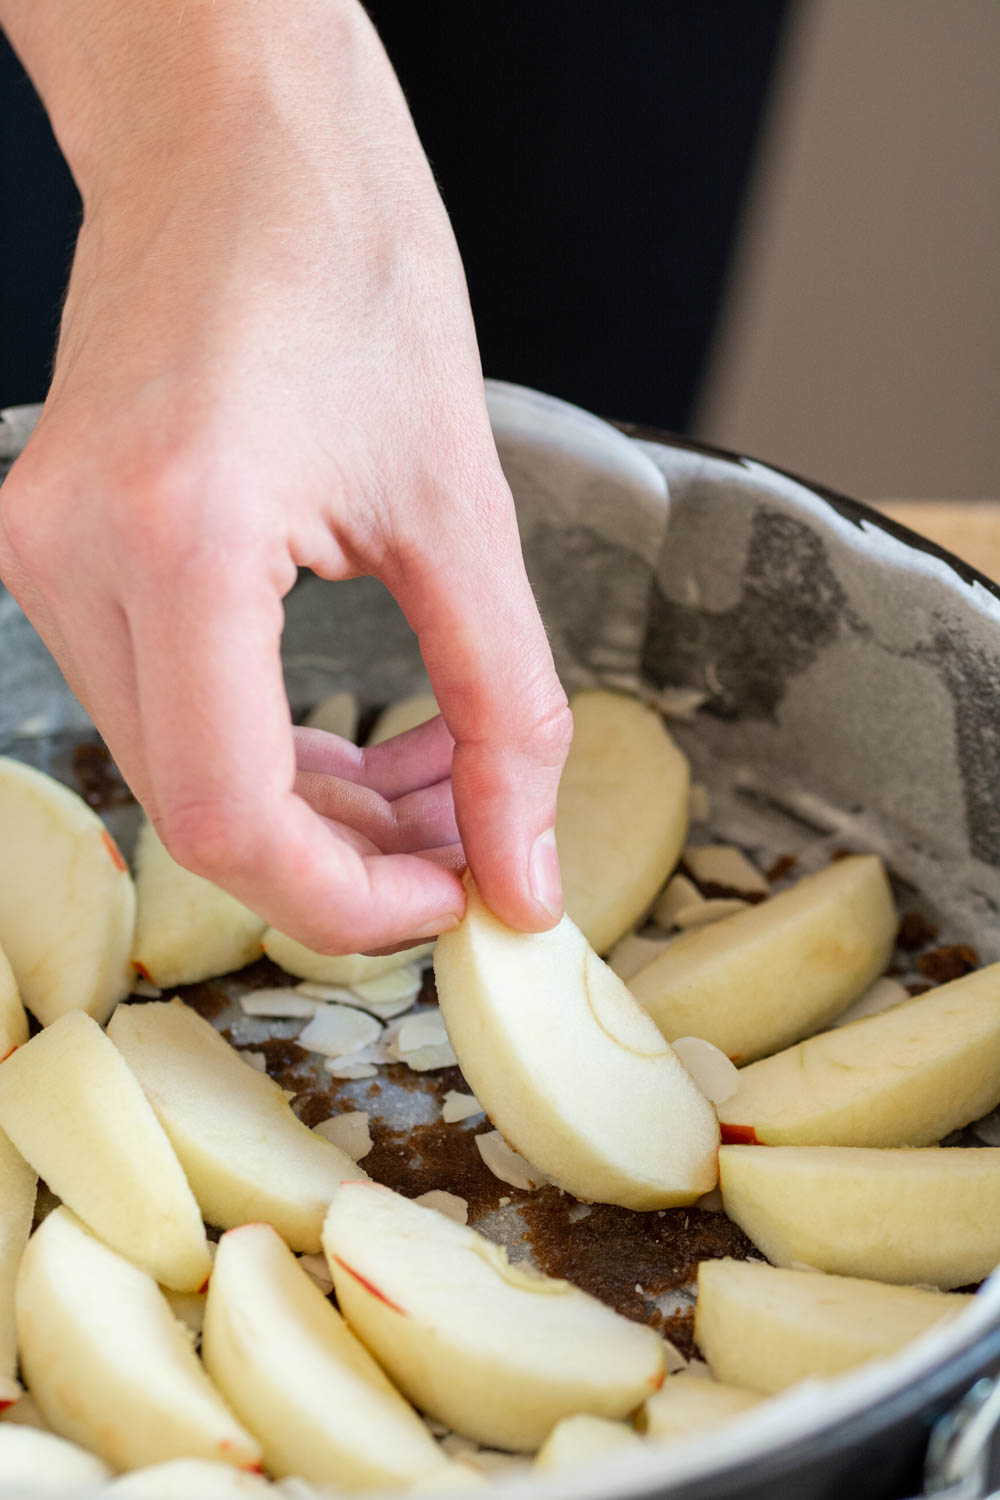
  2. Prepare the ingredients. Weight each ingredient. Peel the apples, quarter them, remove the seeds and cut each quarter into 3. Grind the flax seeds (I used a coffee grinder, but you can also use a mortar and a pestle). Add the water and let it aside for about 5 minutes.
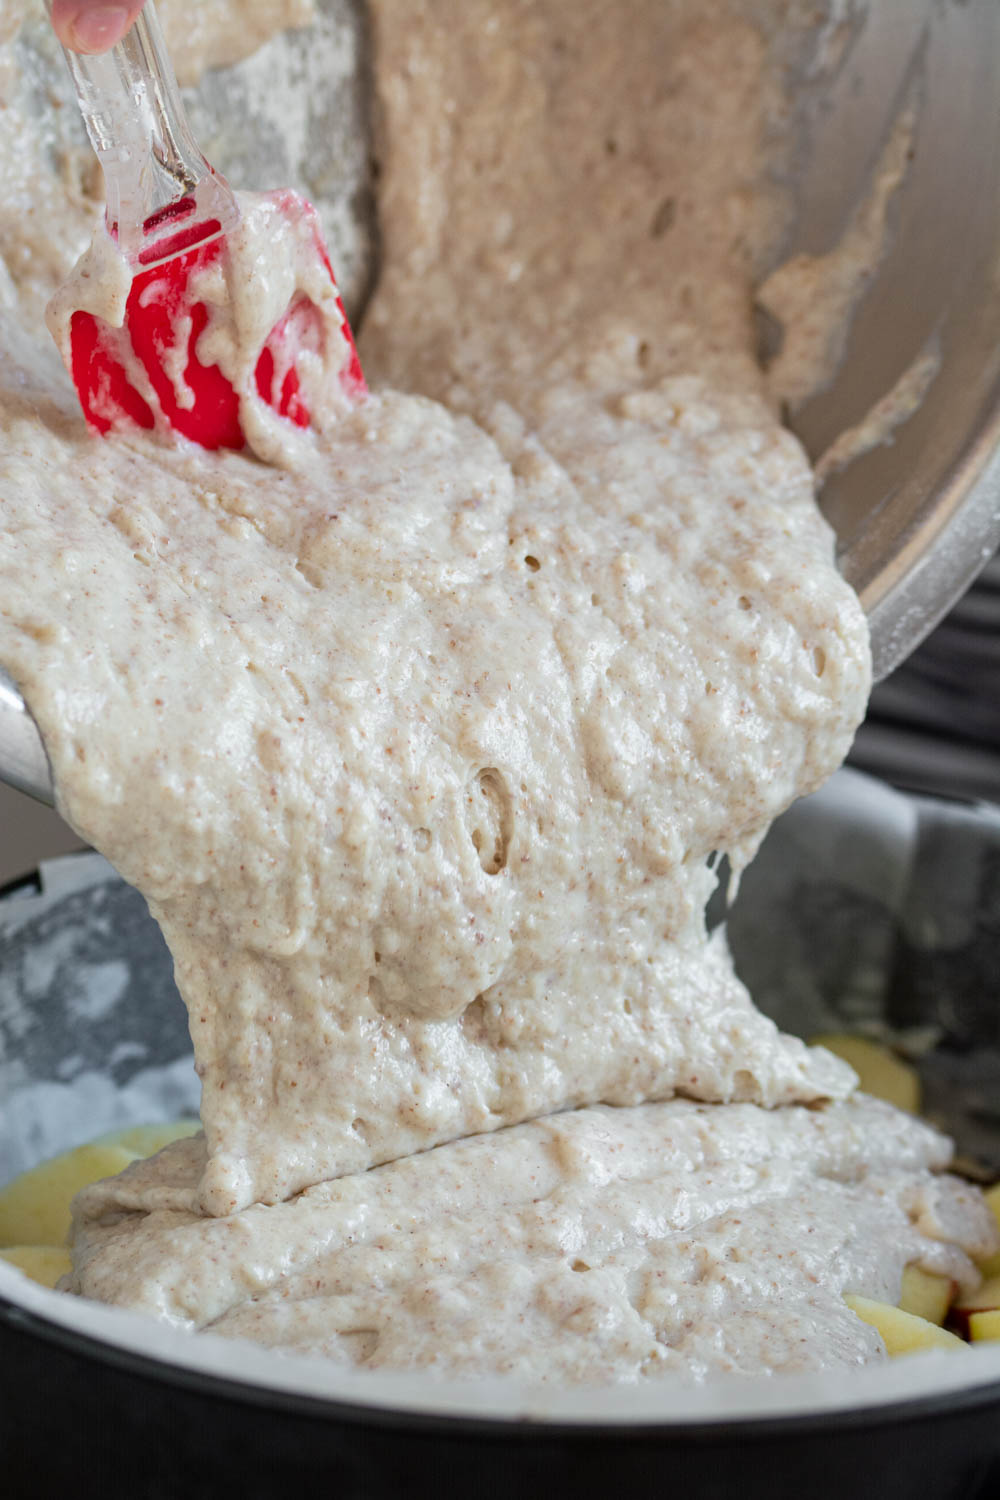
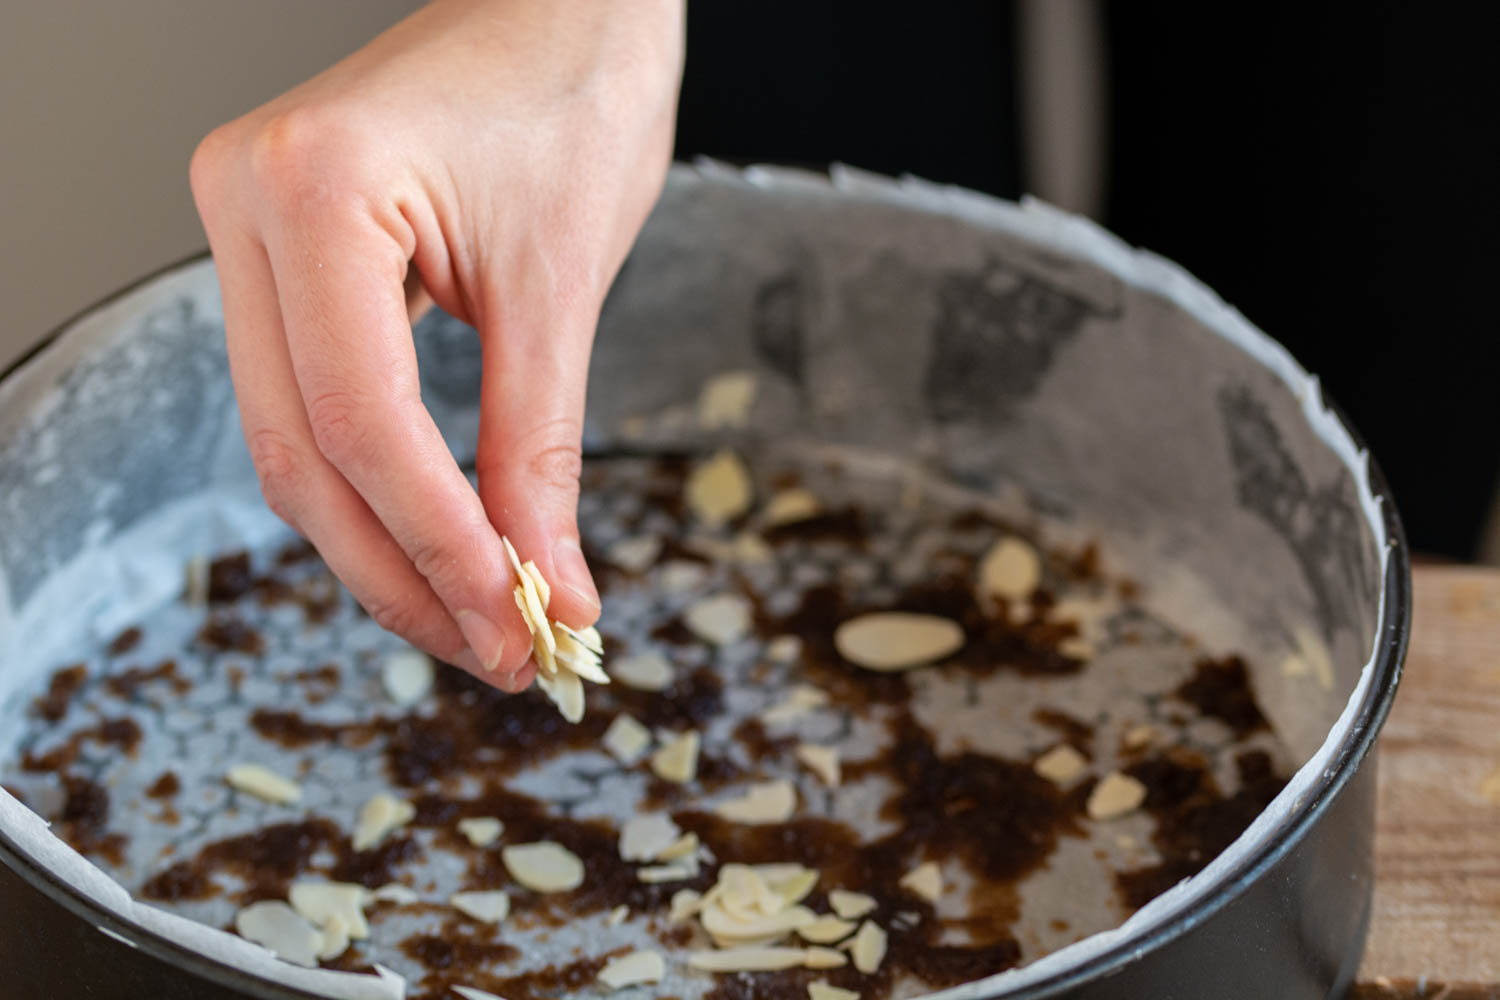
  3. Place the apples. Take the tray, add the sugar and melted coconut oil and give them a stir. Add a pinch of salted, sprinkle the almond flakes and arrange the apple slices.
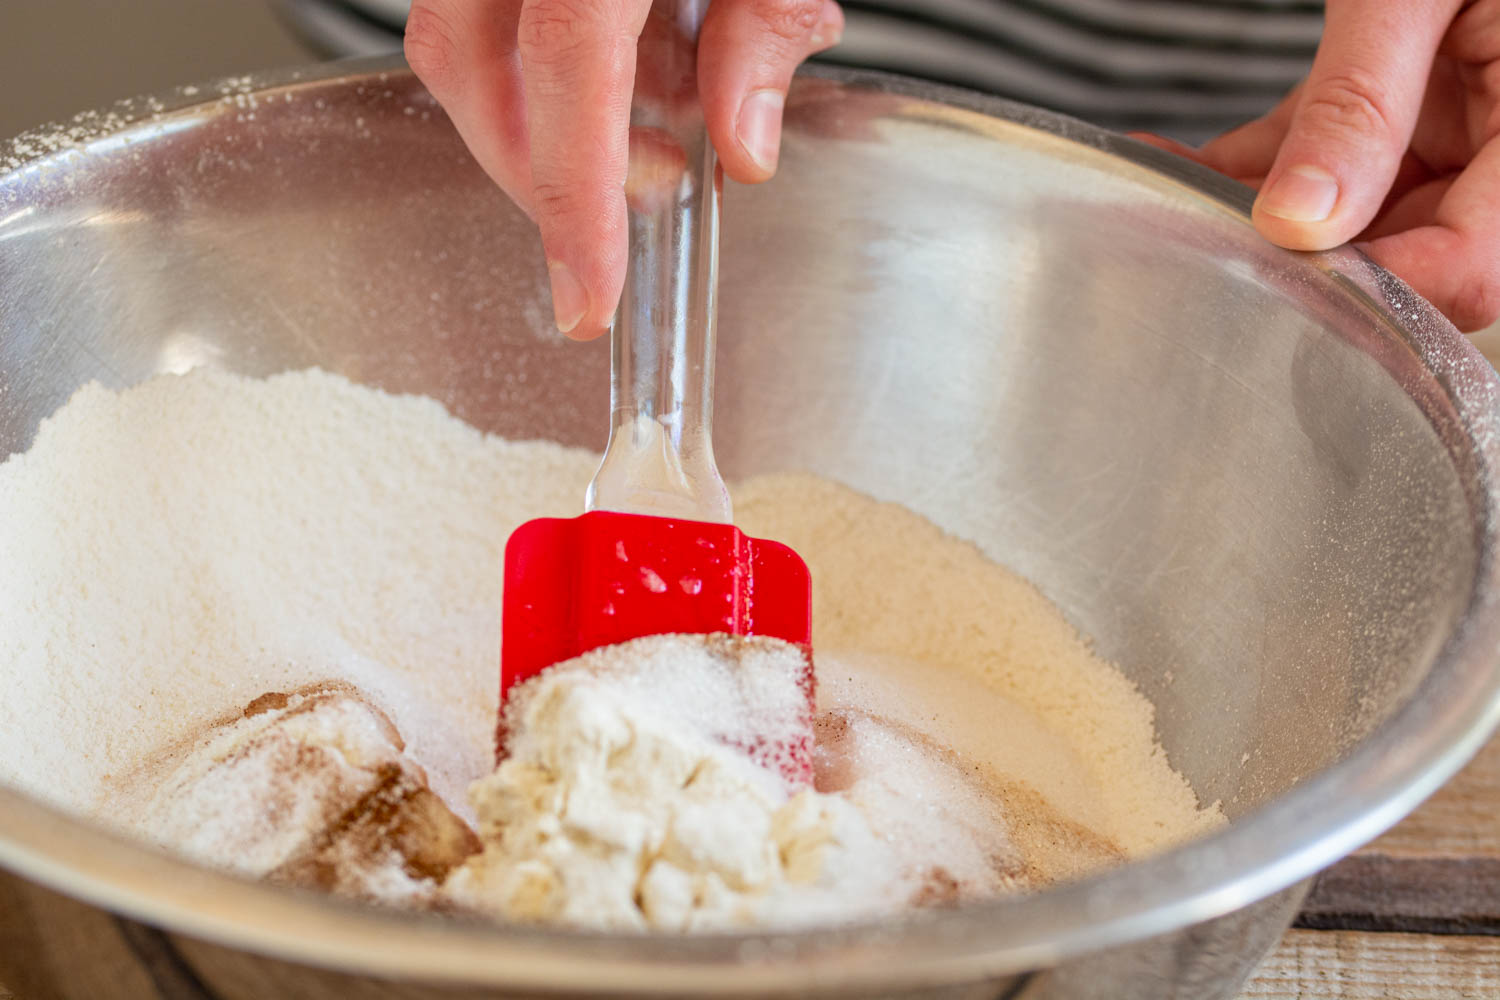
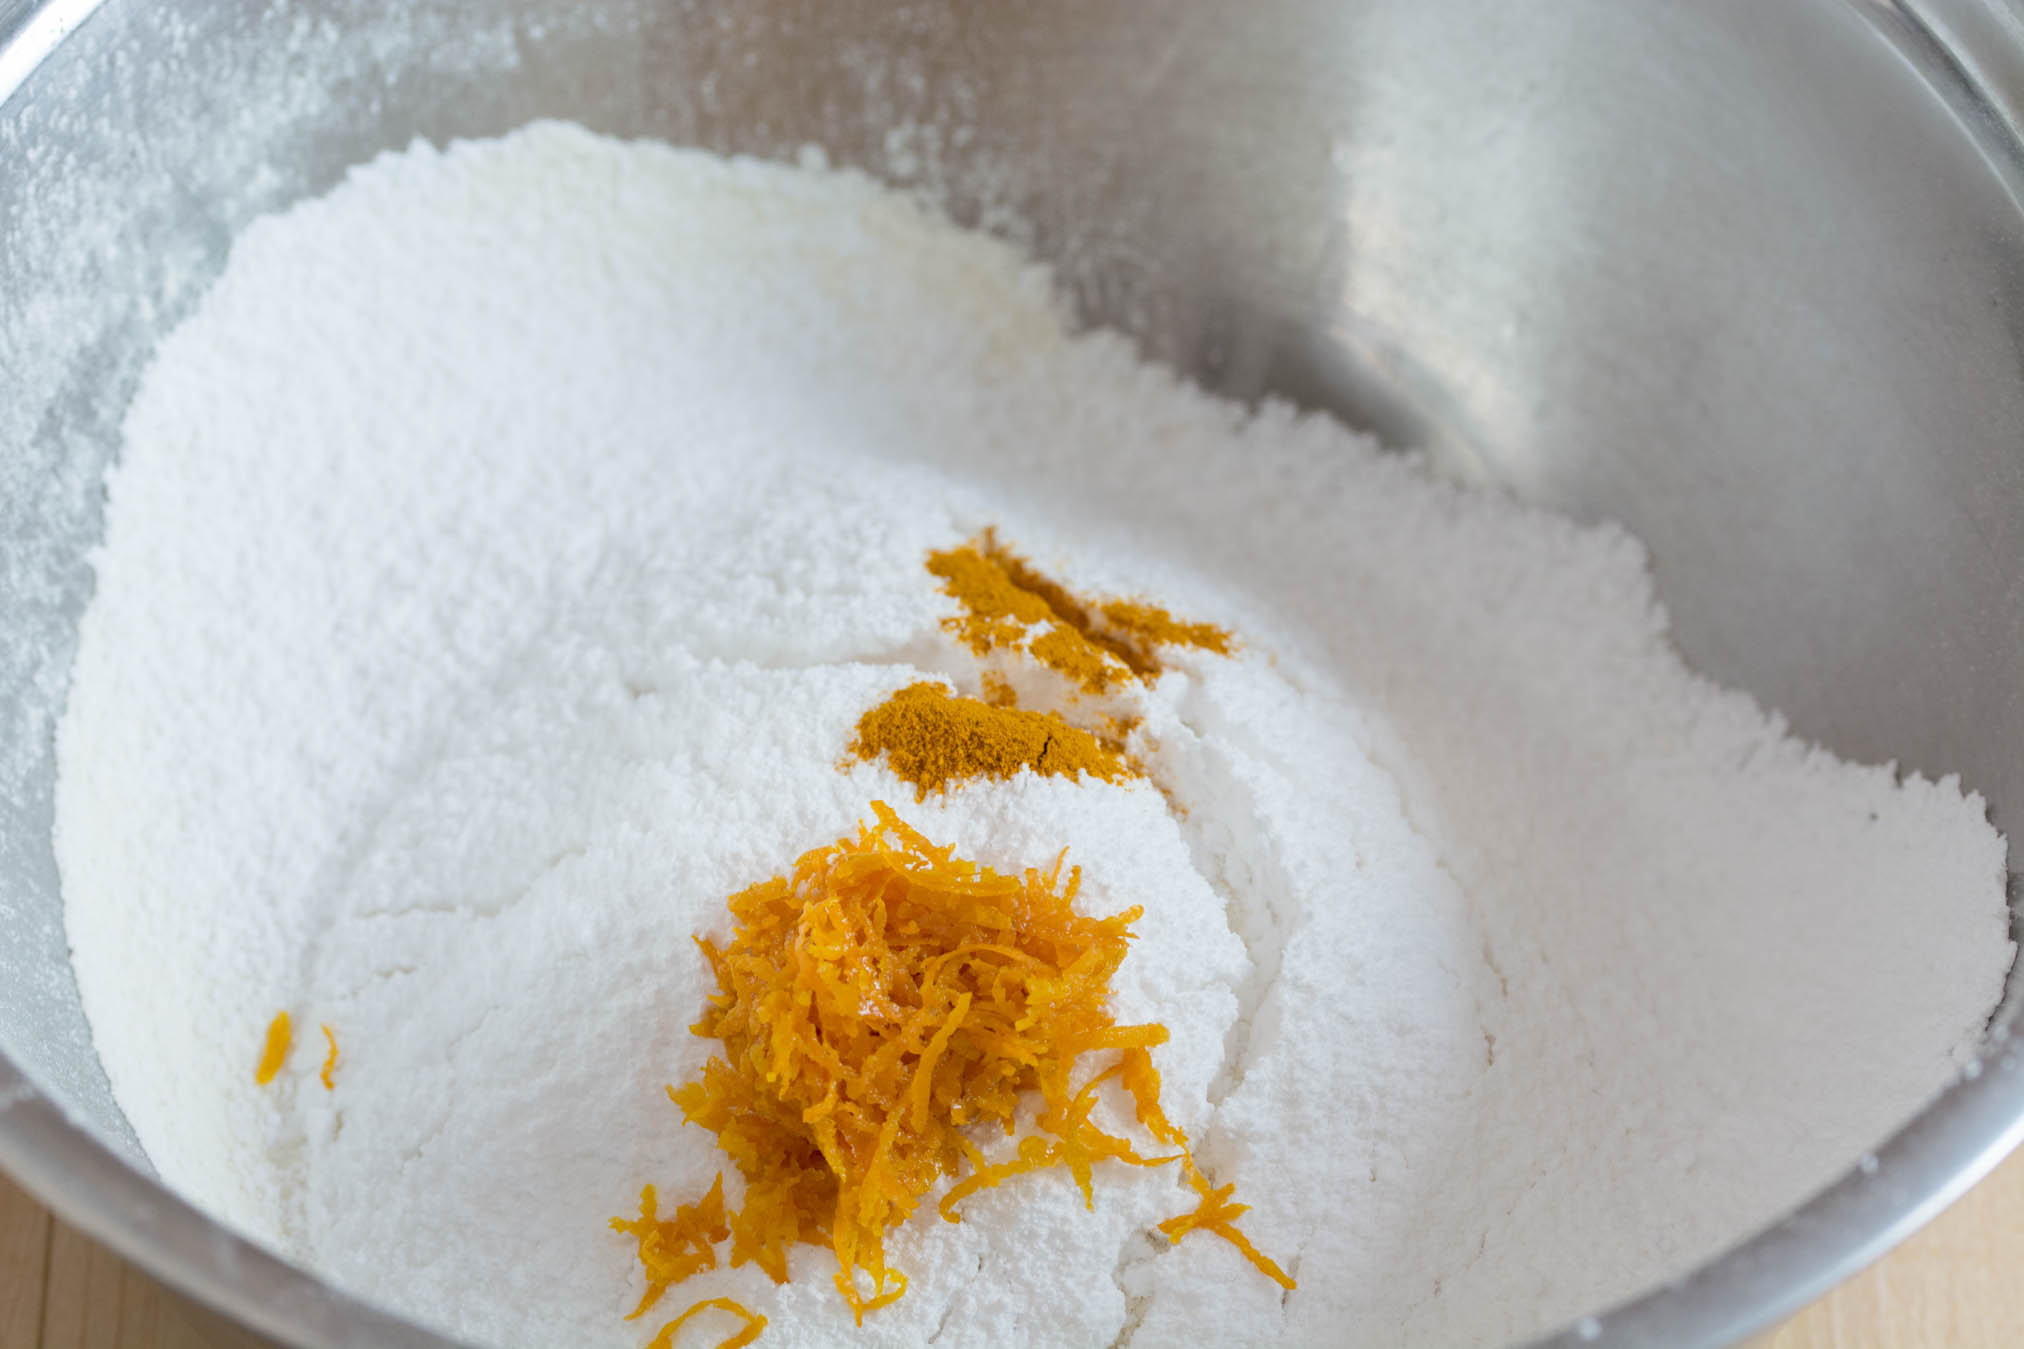
  4. Prepare the dry ingredients. In a large bowl sift the flour. Add sugar, baking soda, baking powder, salt (the remaining quantity), cinnamon and mix well.
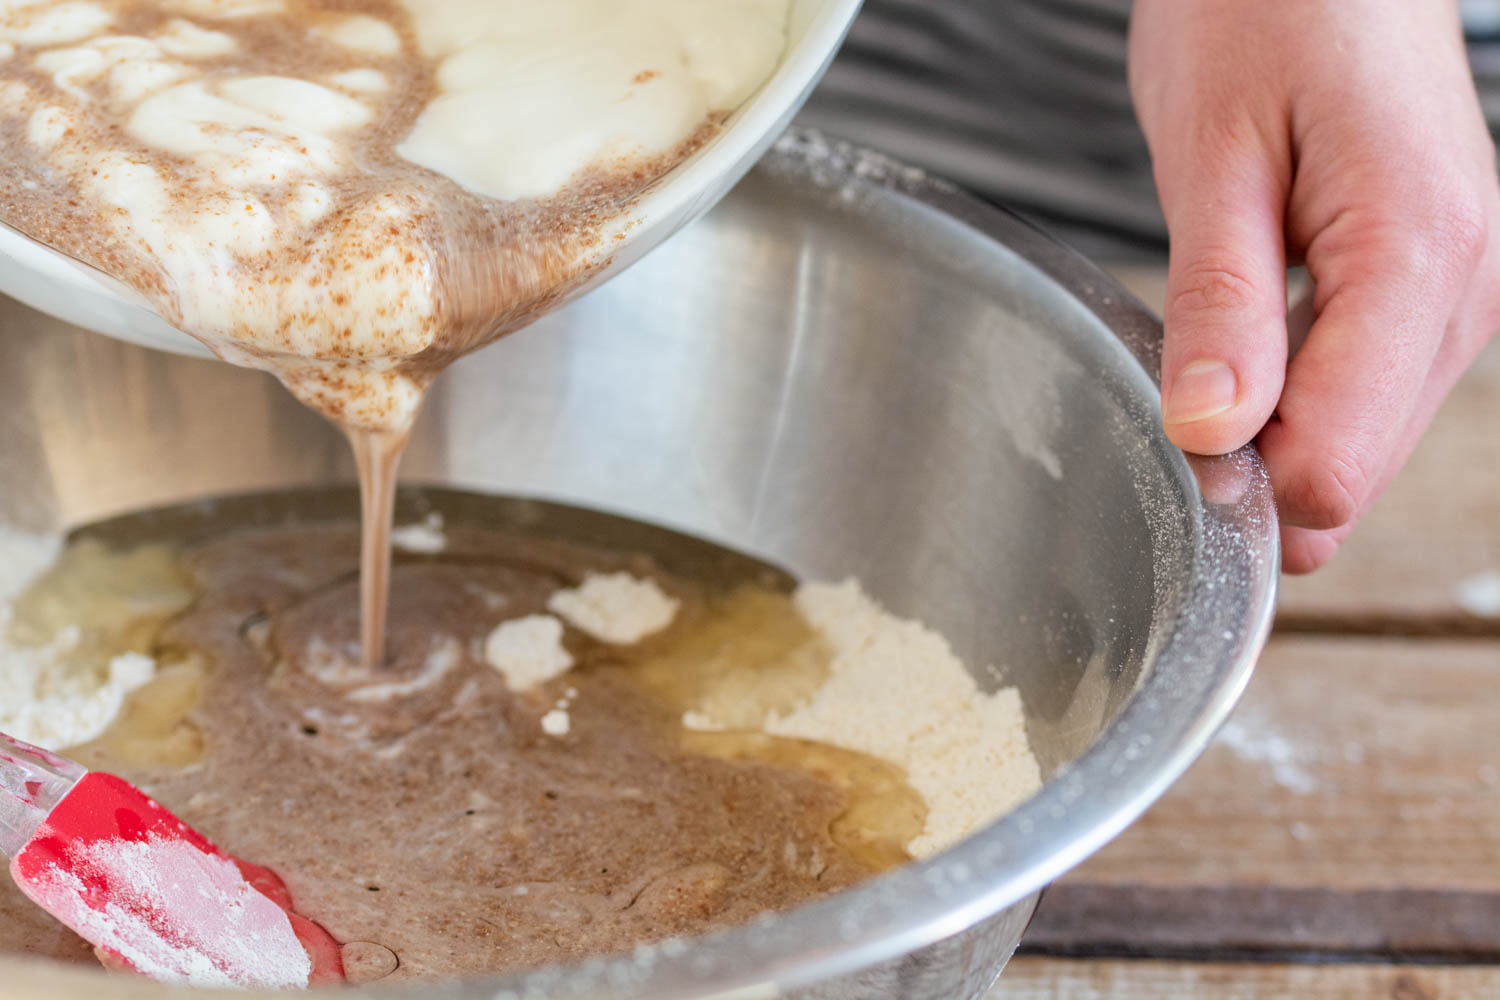
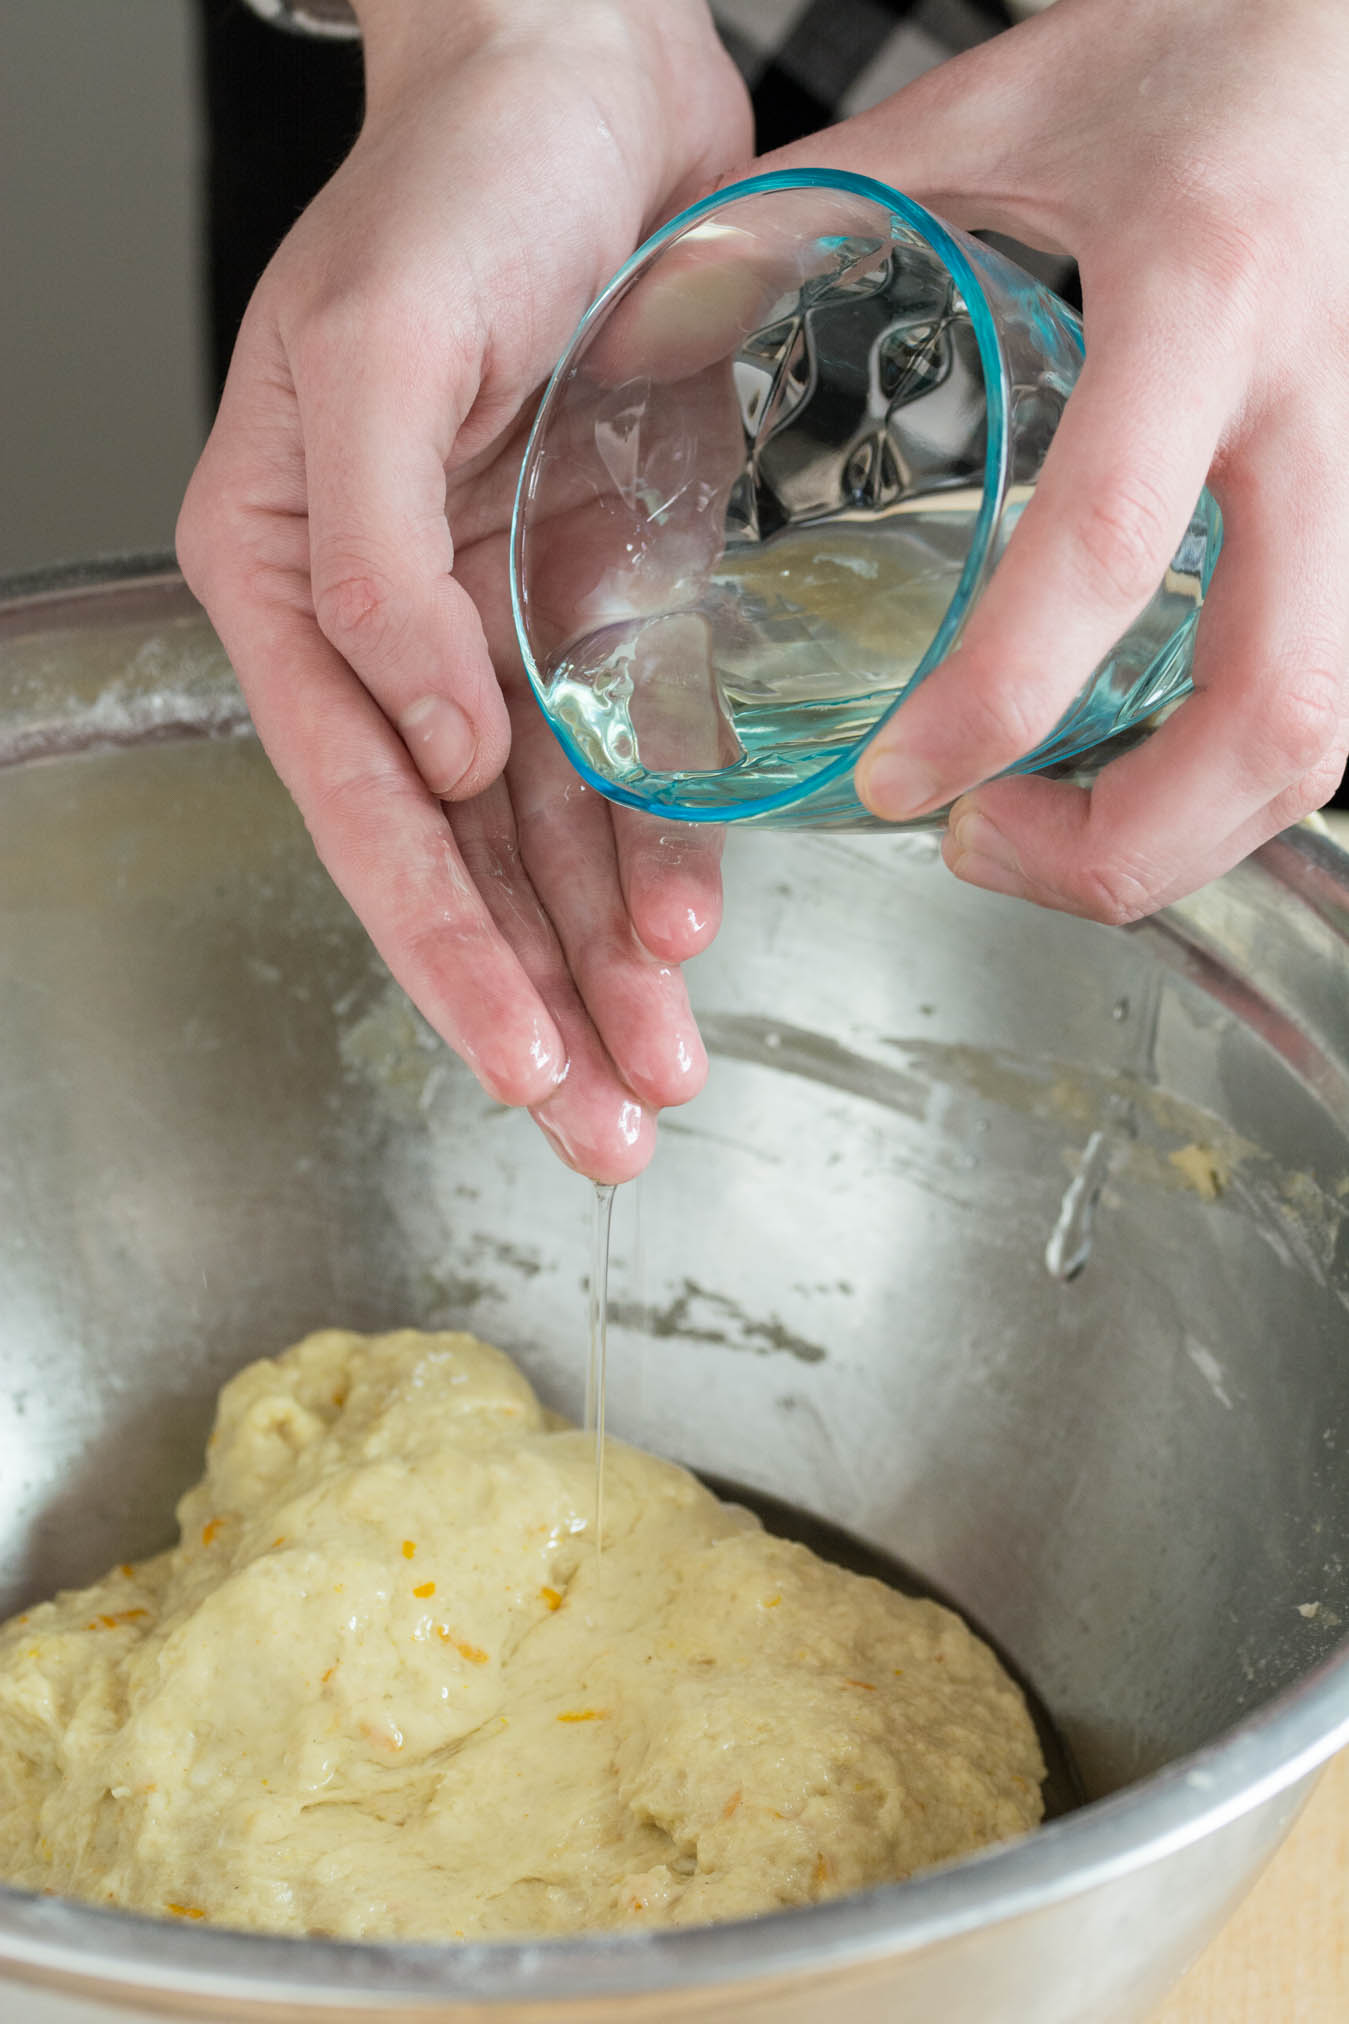
  5. Prepare the wet ingredients. In a smaller bowl combine yogurt with oil, vanilla extract and flax seed mixture.
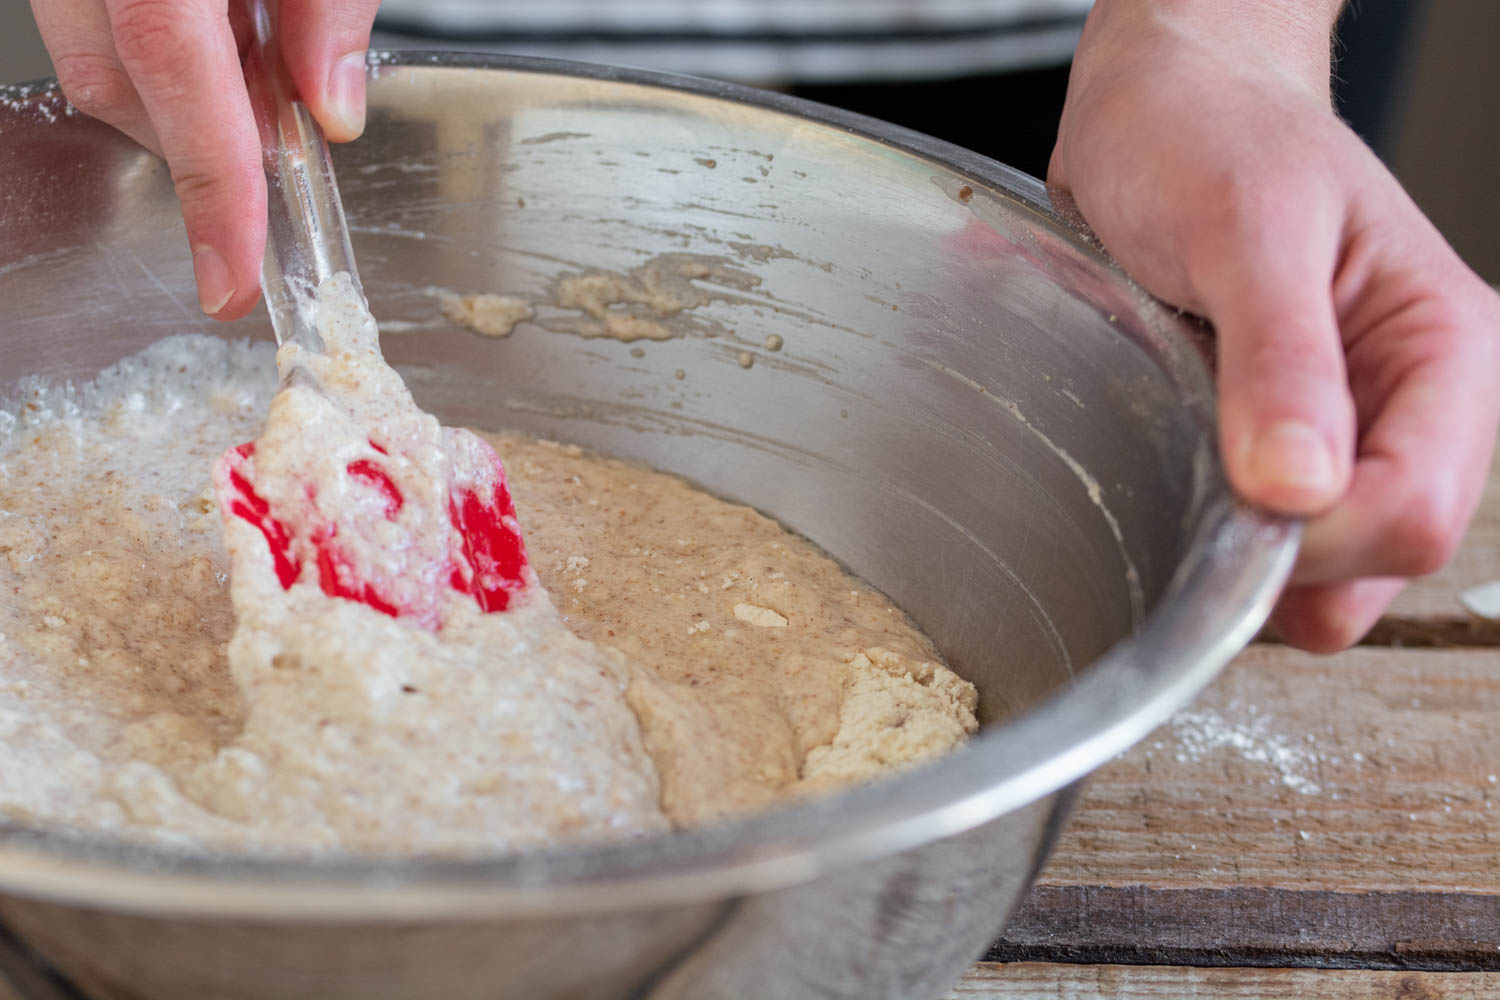
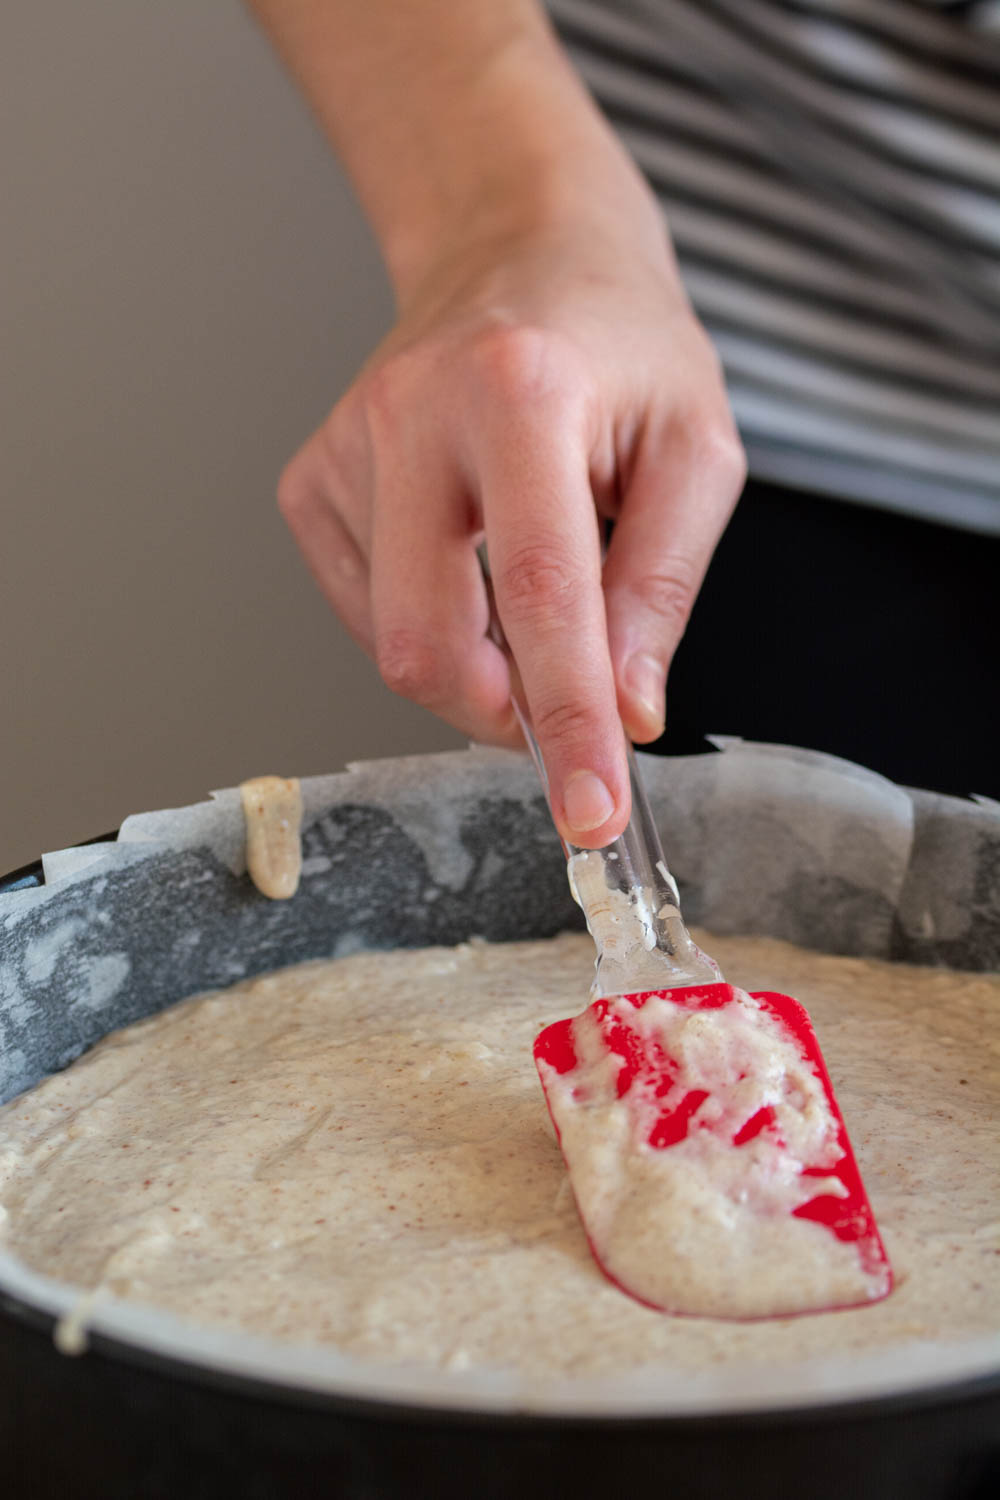
  6. Prepare the batter. Add the wet ingredients to the dry ones and mix with a spatula until just combined.
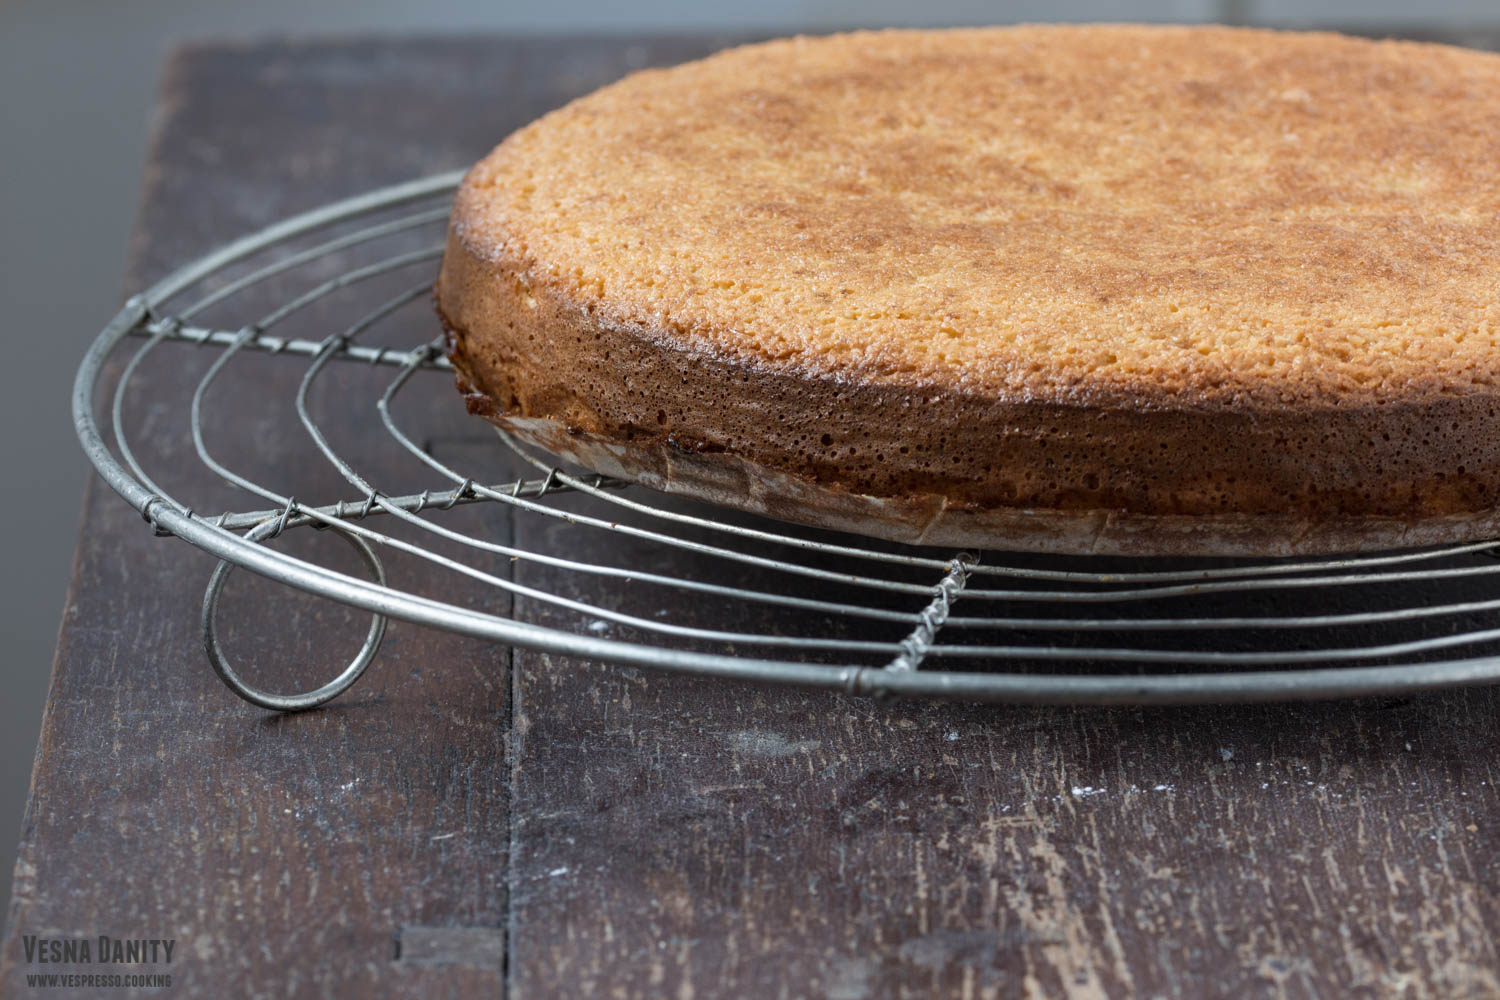
  7. Bake the cake. Pour the mixture into a parchment paper-lined tray and bake in the preheated oven for 10 minutes. Lower the temperature to 180°C / 350° F (gas mark 4) and bake for further 30 -35 minutes or until a toothpick inserted in the center comes out clean.
  8. Allow the sponge to cool down on a wire rack.

Chocolate Truffles (Vegan)

Decadent and velvety, these vegan chocolate truffles are the perfect dessert on those hot July evenings. For these delicious chocolate balls you only need two main ingredients and about 2 – 3 optional ingredients, which do nothing else but provide an even better taste. They are ready in practically no time and it take about the same amount of time for them disappear from the dining table. I surely recommend you to give them a try.

Ingredients:

  • 300g dark chocolate ( I used 60% cocoa)
  • 240ml coconut cream
  • the zest of ½ an orange
  • 1 tsp vanilla extract
  • 4 – 5 Tbsp cocoa powder

Method:

  1. Prepare the chocolate. Cut the chocolate into small pieces, the smaller the pieces are, the faster they melt. Place the chocolate in a bowl.
  2. Heat the coconut cream. Heat the coconut cream to a simmer. Pour the simmering coconut cream over the chocolate pieces in the mixing bowl. Leave to sit for around 2 -3 minutes to melt.
  3. Prepare the ganache. Mix the ingredients until you obtain a smooth chocolate sauce.
  4. Cool the ganache. Place the bowl into the fridge to set. This will take a few hours (3 hours, you’ll know it is set when you stick a knife into it and it is solid all the way down).
  5. Shape the truffles. When set, use a melon baller to scoop out even amounts of the ganache and drop it into the cocoa powder, then use your hands to roll it into a ball. The cocoa powder will stop it from sticking to your hands. Place the balls onto a parchment lined baking tray. When all the balls are rolled, place into the freezer to harden.

Source: www.lovingitvegan.com

Chocolate & Almond Babka (Vegan)


I can’t even begin to describe my passion for any kind of brioche. I simply adore them. I love the simple version, the chocolate one, the one with walnuts, or poppy seeds, or Turkish delight, or coconut meringue. Any kind, really. I’m not picky at all.  One of my favourite recipes is Babka, chocolate brioche with Polish origins. So I decided to make a vegan version and the result vas a fluffy golden brioche with a decadent chocolate-almond filling. A vegan brioche which is not only looks incredible but also tastes absolutely amazing.

Ingredients (for 2 loaves):

500g all-purpose flour

250ml almond milk

90ml sunflower oil

1 satchel active dry yeast

120g powdered sugar

¼ tsp salt

1/8 tsp turmenic

1 tsp vanilla extract

zest of 1 orange

for the filling:

100g dark chocolate

100g ground almonds

60ml coconut oil

50g powdered sugar

30g cocoa powder


Method:

Mix sugar with lukewarm milk and stir until combined. Add yeast and leave aside for 15 minutes.

In a large mixing bowl sift the flour together with the turmenic powder. Add the milk mixture, orange zest and vanilla. Mix with a wooden spoon until combined. Add the salt and continue mixing until you form a ball.

Turn the dough on to a floured working surface and knead adding one teaspoon of oil at a time. Knead for 15 minutes adding flour if necessary. Put dough back in the mixing bowl, cover with a towel and let it rise in a warm place for about 90 minutes.

Prepare the filling by melting the chocolate and the coconut oil in the microwave. Ass the sifted cocoa and powdered sugar. Mix until well combined.

Put dough on a floured working surface and knead for 2 minutes. Divide it into 2 smaller balls.

Take the first ball and toll it out with a rolling pin until you have a 1cm thick rectangle making sure it has the same length as the tray.

Spread ½ the quantity of the chocolate cream over it, leaving a 2cm wide clean border. Sprinkle half of the almonds over the chocolate cream.

Brush the left border with almond milk. Begin rolling the loaf from right to left, making sure the left end sticks well. Take a sharp knife and divide the log into two halves. Take one end and begin twisting them. Place the loaf in a parchment paper- lined tray and proceed the same with the second brioche.

Cover them with a clean towel and leave the aside to rise for another 60 minutes. Bake them in the preheated oven at 180°C / 350°F (gas mark 4) for 25-30 minutes or until golden. Let them cool down on a wire rack for at least 2 hours until slicing.

Česnica with Homemade Phyllo Dough – Traditional Serbian Christmas Pie

Cesnica is a wonderful dessert made in the Serbian households on Christmas Eve. Two years ago I prepared it using store bough phyllo pastry, showing you an easy, no fuss way to make it. This year I decided to step up my game and make it old school, from scratch, just like my beloved grandmother used to. The person who prepares this delicious dessert always hides a coin inside it. The coin brings luck to whomever finds it.

I couldn’t have been more than seven when I saw my grandmother make the dough from scratch for the last time (it is quite labor intensive). But those images are still alive in my memory like an old black and while movie that goes on and on in my mind. This charming old movie marked my childhood more than anything else. I still remember vividly all the steps, sifting the flour, melting the lard, kneading the dough, leaving it to rest, grinding the walnuts, placing the tablecloth, pulling the dough, making the walnut filling, placing that shiny coin, cutting the pie, baking it to perfection…

Since it’s been quite a while since I last saw my grandmother making it from scratch, there was a solid chance that my memory could play some tricks on me, so I interviewed several women from the Serbian community, so this recipe is a fusion between my personal knowledge and their wonderful tricks learnt from a lifetime experience.


Ingredients (for a 30x22cm tray, which means 20 servings):

for the pastry:

  • 500g strong bread flour
  • 255ml lukewarm water (beetween 36 – 38°C)
  • 75ml any neutral vegetable oil / melted pork lard
  • 10ml vinegar
  • 1/8 tsp salt


for greasing the pastry sheets:

  • 45ml any neutral vegetable oil / melted pork lard – 3 Tbsp
  • 45ml milk 3 – Tbsp
  • 3 Tbsp honey (optional)


for the filling

  • 300g walnuts
  • 225 white granulated sugar
  • 1 lemon, zested
  • 3 coins (washed with water and soap and sterilized by boiling)

Method:

  1. In a large bowl sift the flour and salt and make a well in the center.
  2. Add the oil, water vinegar and mix with a fork until you form a ball. Knead the bowl of dough in the bowl for 3 minutes, or until the surface is smooth.
  3. Place the dough on a working surface and knead it vigorously with your hands. Slap the dough down to the working surface for 50 times.Wrap the dough in a plastic bag, cover it with a clean towel and and let it rest for 1 – 2 hours (resting the dough is vital for relaxing the gluten).
  4. Sterilize the coins by boiling them in hot water for 30 minutes.
  5. Grind the walnuts and zest the lemon. Take two bowls. Mix walnuts, sugar and lemon zest in a large bowl. In another bowl mix the oil with the milk.
  6. Take a large tray and line it with parchment paper.
  7. After the dough has rested I divide it into 3 relatively equal pieces. Leave one piece of dough on the working surface and place the other two in the same plastic bag.
  8. Place the first piece of dough on the floured working surface and roll it with the rolling pin until it gets about 1/2 cm thick.
  9. Cover the table with a clean table cloth (a clean sheet does the trick as well). Place the back of your hand under the sheet of dough and I begin stretching it from the center to the outer edges, working your way around the sheet of dough. If you don’t feel the sheet moving, let it relax for a few moments. It is ready when it’s so thin that you can read the newspaper under it. Take a knife or a pizza cutter and cut it into 4 equal pieces.
  10. Take one sheet, place it in a tray, remove the thicker outer edges with a knife and grease it with the milk mixture. Place the second sheet on top and grease it as well.
  11. Over the second sheet sprinkle about two handfulls of walnut mixture.
  12. Cover the walnut mixture with the third sheet, grease it as well and sprinkle a handful of walnuts.
  13. Continue with the layers until you place the sixth sheet. Grease it, sprinkle a handfull of walnuts and place the coins.
  14. Proceed the same until you reached the 10th sheet, grease it and sprinkle it with the remaining walnut mixture.
  15. Cover it with the eleventh sheet, grease it  cover with the last one. Using a sharp knife or a pizza cutter, cut the surface of the pie into 20 squares. Grease it with the milk mixture and bake in the preheated oven at 375°F/190°C (gas mark 5) for 30 minutes or until golden.
  16. Remove it from the oven and pour on top of it a mixture made form 3 Tbsp honey and 1 Tbsp water. Cover it with a towel and let it cool. This step is totally optional, some households prefer it moist, while other households love it dry.


Vegan Lavender Shortbread Cookies

If I have to imagine an ideal snack, I’d definitely pick a large cup of tea and some homemade biscuits. Simple as that! I love cookies so much, I love them in every shape, size or flavor, so it was impossible for me not to fall in love with these amazing lavender shortbread rectangles. Shortbread is a Scottish biscuit traditionally made from one part sugar, two parts butter and three parts flour. I followed these proportions but instead of butter, I used old-fashion margarine, to make them suitable for a plan-based diet. They turned out amazing, so crumbly that they simply melted in my mouth.

These lavender biscuits are so delicious and extremely easy to make. You shape the dough into a log, you refrigerate it and you cut it in thin rectangles, so you don’t need a cookie cutter to make this recipe. It’s simply fascinating how just a few basic ingredients can create something majestic.


Ingredients (for 20 biscuits):

  • 115g margarine / vegan butter / coconut oil refined or unrefined (unrefined coconut oil will give the cookies a subtle coconut flavor) at room temperature
  • 130g white flour
  • 30g powdered sugar
  • 1/2 tsp vanilla extract
  • 1/2 tsp chopped dried culinary lavender flowers
  • 1/8 tsp sea salt


Method:

  1. Preheat the oven at 180C / 350F (gas mark 4).
  2. Place the butter in a large bowl and use a mixer or a spatula to beat it until fluffy. Sift the powdered sugar, add it to the bowl and beat until smooth and creamy.
  3. Add the salt, chopped lavender flowers and vanilla extract and mix until combined.
  4. Sift in the flour and stir until the mixture resembles to wet sand. Mix with your finger until you form a ball of dough.
  5. Place the dough between two cling film rectangles and shape in into a log. Press gently on the top with a cookie sheet to flatten the log slightly, then turn the log on its side and press again. Begin smoothing the sides of the log with your fingers until all the sides are as flat an possible. Refrigerate the log for 15 minutes.
  6. After 15 minutes use a sharp knife to cut the log into 20 pieces. Place the biscuits on a parchment paper-lined tray and refrigerate for further 10 minutes.
  7. Bake the biscuits in the preheated oven for 13 – 14 minutes, or until they become light golden brown at the bottom.
  8. Place the lavender shortbread cookies on a wire rack to cool down and store them in an air-tight container for up to 7 days.


Watermelon Lemonade

This heat calls for lemonade, that’s for sure. This lemonade manages to refresh wonderfully, it hydrates terribly and it sweetens just as much as it should. I cannot decide what I like the most about this delicious watermelon lemonade. Maybe the hypnotic color. Or the lovely watermelon flavor. Or the fact that it’s ready in no time.

The sweetness of this lemonade is ensured mostly by the watermelon. And if the watermelon I choose is extra-ripe and extra-sweet, I might as well skip the sweetener. I like to keep my watermelon lemonade raw vegan, so if my melon isn’t sweet enough, I add a couple of tablespoons of maple syrup, but sugar or honey works just as fine. When it’s ready, I like to serve it in oversize glass jars, with lots of ice and mint leaves, just for an extra touch of freshness and I enjoy the whole thing at the shade of the huge cherry tree from my back yard. Continue reading Watermelon Lemonade

Carrot & Walnut Energy Bites (Raw Vegan)


If you have a sweet tooth, you’ll fall in love with this dessert / snack / energy booster. It’s incredibly easy to make, you basically mix a few ingredients in a food processor, and the whole shenanigan doesn’t take more than 10 minutes, from start to finish. These balls are raw vegan, they are made from nuts, seeds, cereals and dehydrated fruits, which makes them not only tasty but also very healthy and kid-friendly. For this recipe I used carrots, walnuts, oats and dates, which I’ve seasoned with cinnamon, orange peel and vanilla and I made 20 adorable, sweet, flavorful, fragrant, burnt-orange balls that simply melt in your mouth.

They are not only delicious, but also packed with nutrients (protein, fiber, vitamins, minerals and omega3 and omega6 fatty acids). These carrot balls are sweetened with naturals from dates and carrots, without the addition of any processed sugar, which makes them a great alternative to store-bought sweets. I must confess that since I’ve discovered this type of dessert, I quit visiting the chocolate isle from the supermarkets. Me, the ultimate sugar-lover… Continue reading Carrot & Walnut Energy Bites (Raw Vegan)

Cherry and Almond Crumble

Sometimes, I’m simply not looking for symmetries, geometries and flawlessness. Sometimes, a rustic dessert chaotically dropped on a white plate creates for me an ecstatic state of mind, a genuine satisfaction that no other form of perfection could ever bring. Moments like that tell me it’s time to make a crumble.

Fruit crumble isn’t the most aesthetic dessert that you could think of, I give you that, but the taste is simply divine. Those fresh fruit that bake in their own juice, creating a silky, flavorful sauce go wonderfully with the crunchy buttery crust. For this particular crumble I used meaty June cherries, I flavored them with rose water (vanilla or almond extract work beautifully too) and I topped them with a buttery almond flake mixture. A delicious madness! Continue reading Cherry and Almond Crumble

Italian Coconut Cake


This cake is simply divine! It has 3 components, all of them delicious and all of them coconutty. A lovely sponge that melts in your mouth and defies the laws of physics (and possibly the laws of chemistry too), a luscious coconut glaze and a crispy topping. It’s flavorful, satisfying and not overwhelmingly sweet, so it’s perfect for breakfast or brunch. It’s amazing served with coffee or tea as a late-afternoon snack and it’s also delicious served as a dessert, simply because it’s a cake after all.

Why I love Coconut Cake:

  • it has a lovely coconut flavor
  • it has such an interesting texture, it’s extremely  soft and tender
  • it’s flourless, it has only to 2 Tbsp of corn starch, so it’s gluten-free
  • it’s ready in 40 minutes
  • and before I forget: it has a lovely coconut flavor

Continue reading Italian Coconut Cake

Red Wine – Poached Pears Served with Mascarpone Orange Blossom Cream


Poached pears are simply amazing! If simplicity is the ultimate form of sophistication, this dessert might be the quintessence of this idea. Ripe pears, brown sugar, wine. Maybe a vanilla bean, a cinnamon stick and a star anise. This simple ingredients, combined together, create a mouth-watering, exquisite and stunning dessert.

Poached pears are so versatile. They can be paired with a cheese platter and nuts, creating the perfect way to end any sophisticated menu. They can be served with a scoop of vanilla ice cream, and they make a refreshing dessert ideal on a hot summer evening. I chose this time to serve them in a wine and brown sugar reduction and I paired them with a flavorful orange blossom mascarpone cream. Regarding poached pears, the possibilities are endless! Continue reading Red Wine – Poached Pears Served with Mascarpone Orange Blossom Cream