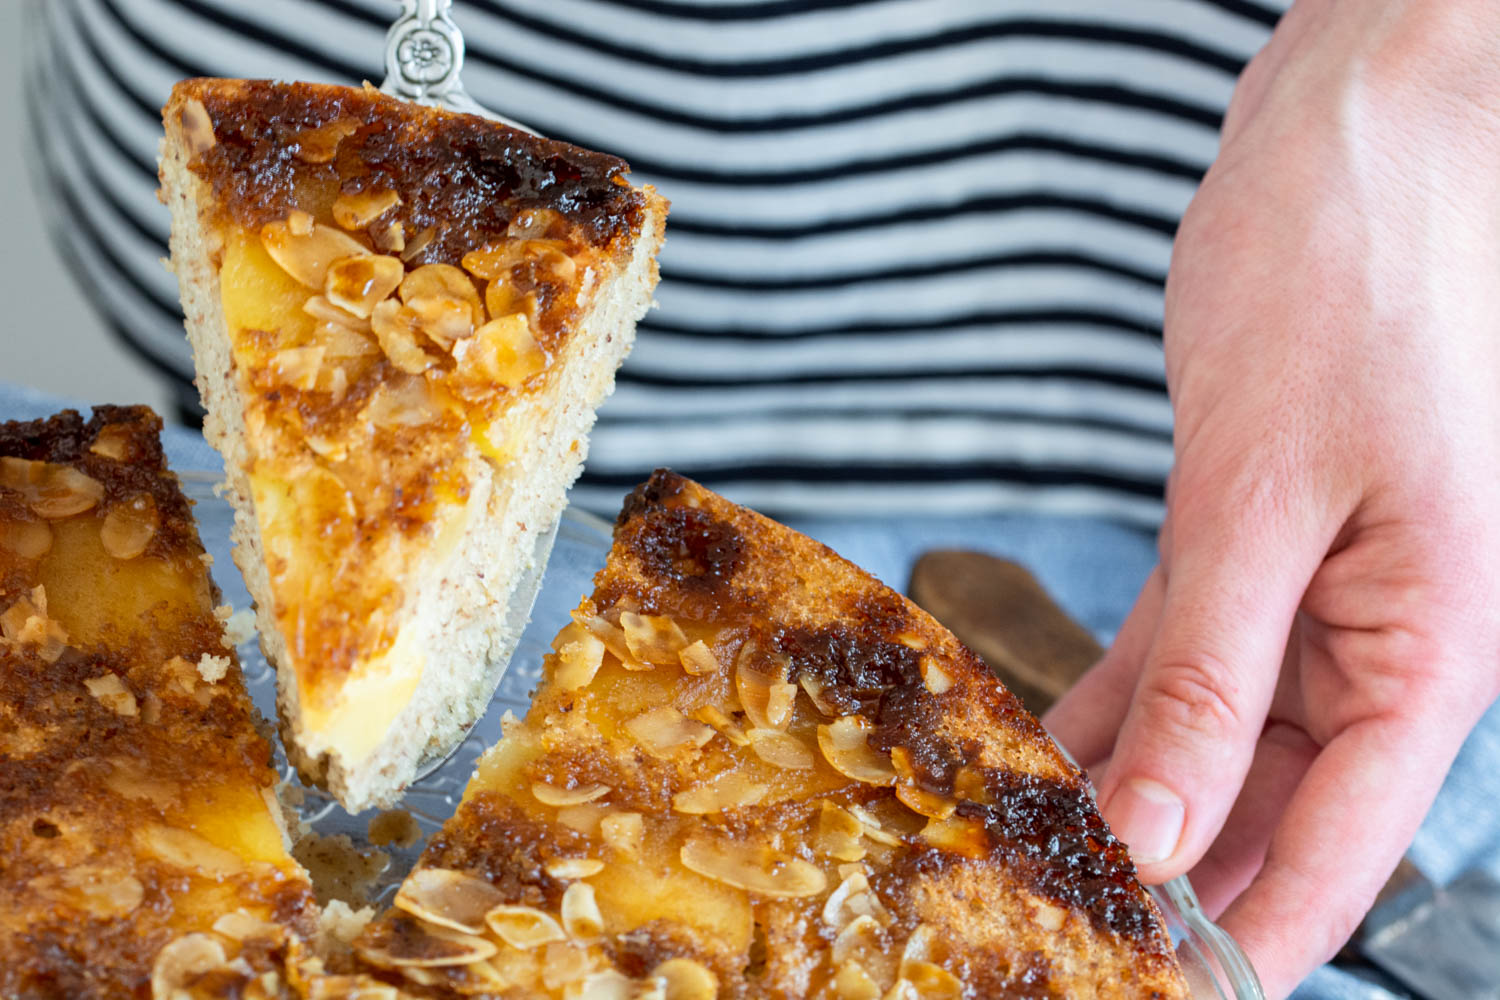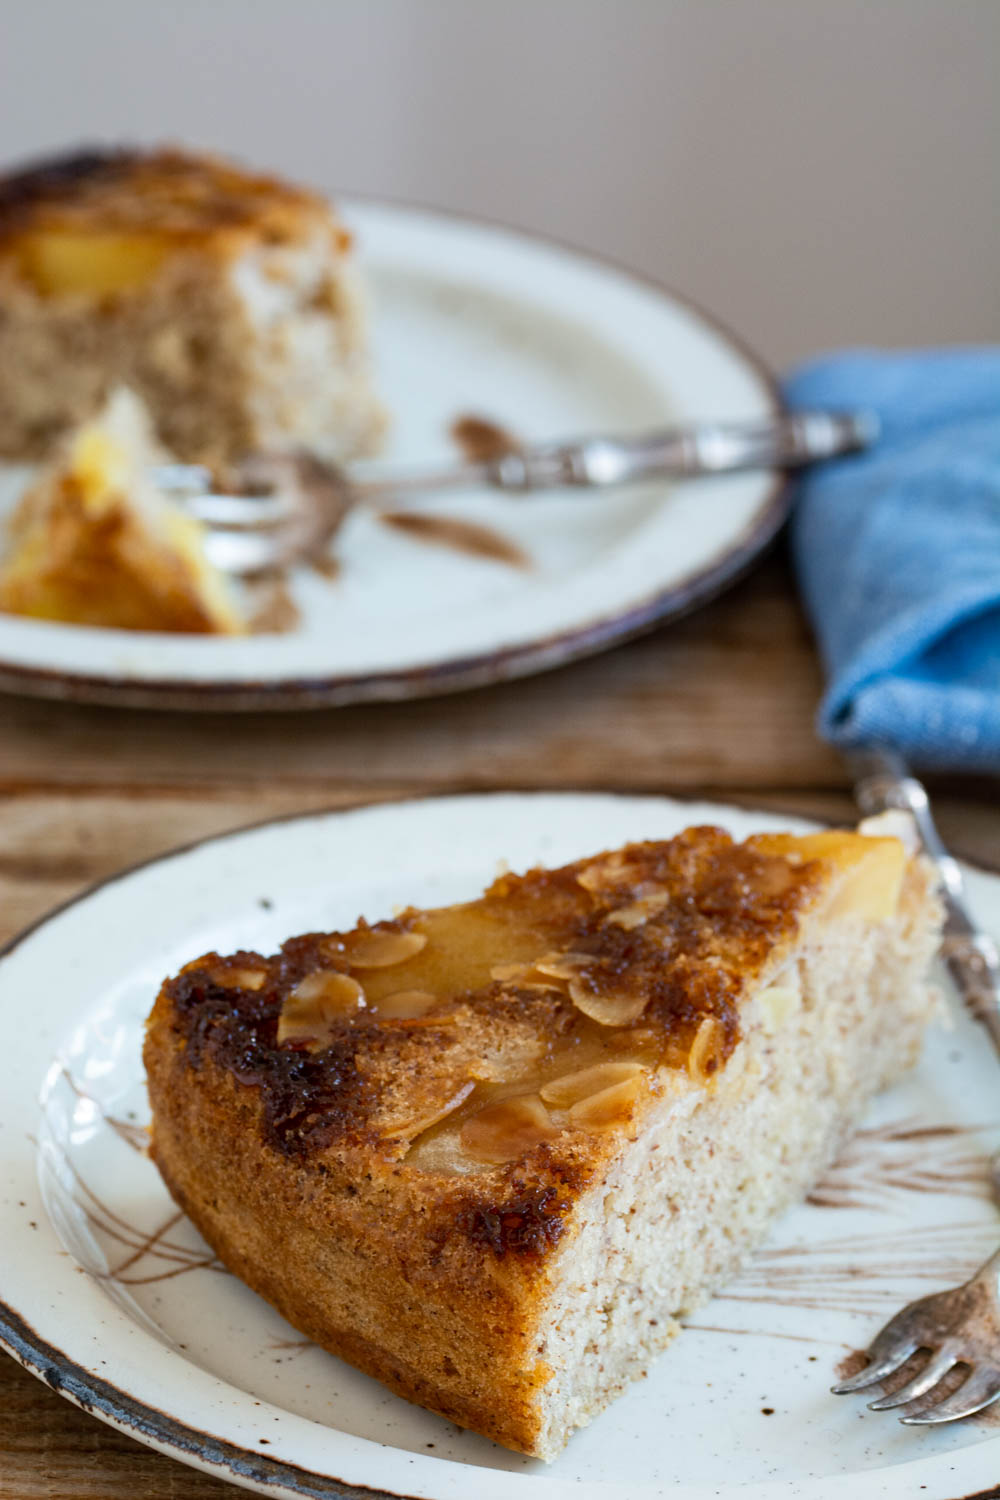
Vegan Upside-Down Apple Cake

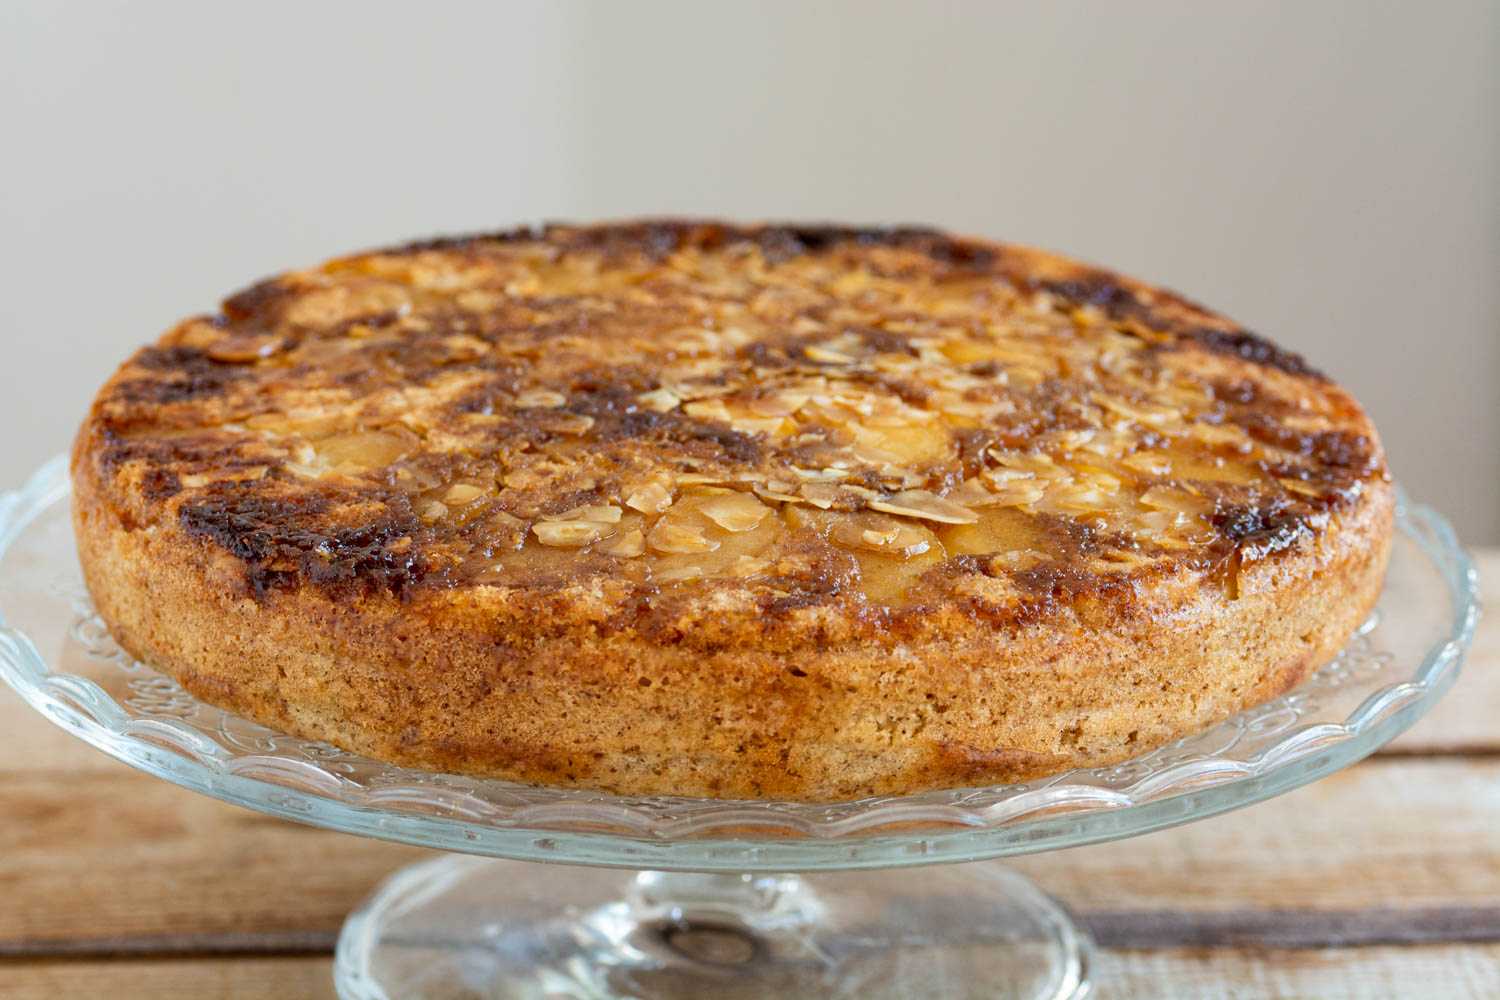
It’s been about 2 years since I’ve first made this awesome vegan upside down apple cake, and since then I’ve been searching ways to improve the recipe. I’ve tried a gazillion recipes, each one with its own shortcomings and at one point it seemed like I would never find the perfect texture and taste. But at last my prays were answered and I might have achieved the perfect result: a generous layer of apples dressed in a decadent salted caramel, hiding a tender and fluffy vegan sponge.
This upside down apple cake is perfect in its own simplicity, and it’s so quick and easy to make. I bake it all year round, during spring I use strawberries, during summer I choose peaches, figs for fall and canned pineapple does the trick all winter long. Honestly, sky is the limit regarding the fruit base. Let’s get to business, shall we…
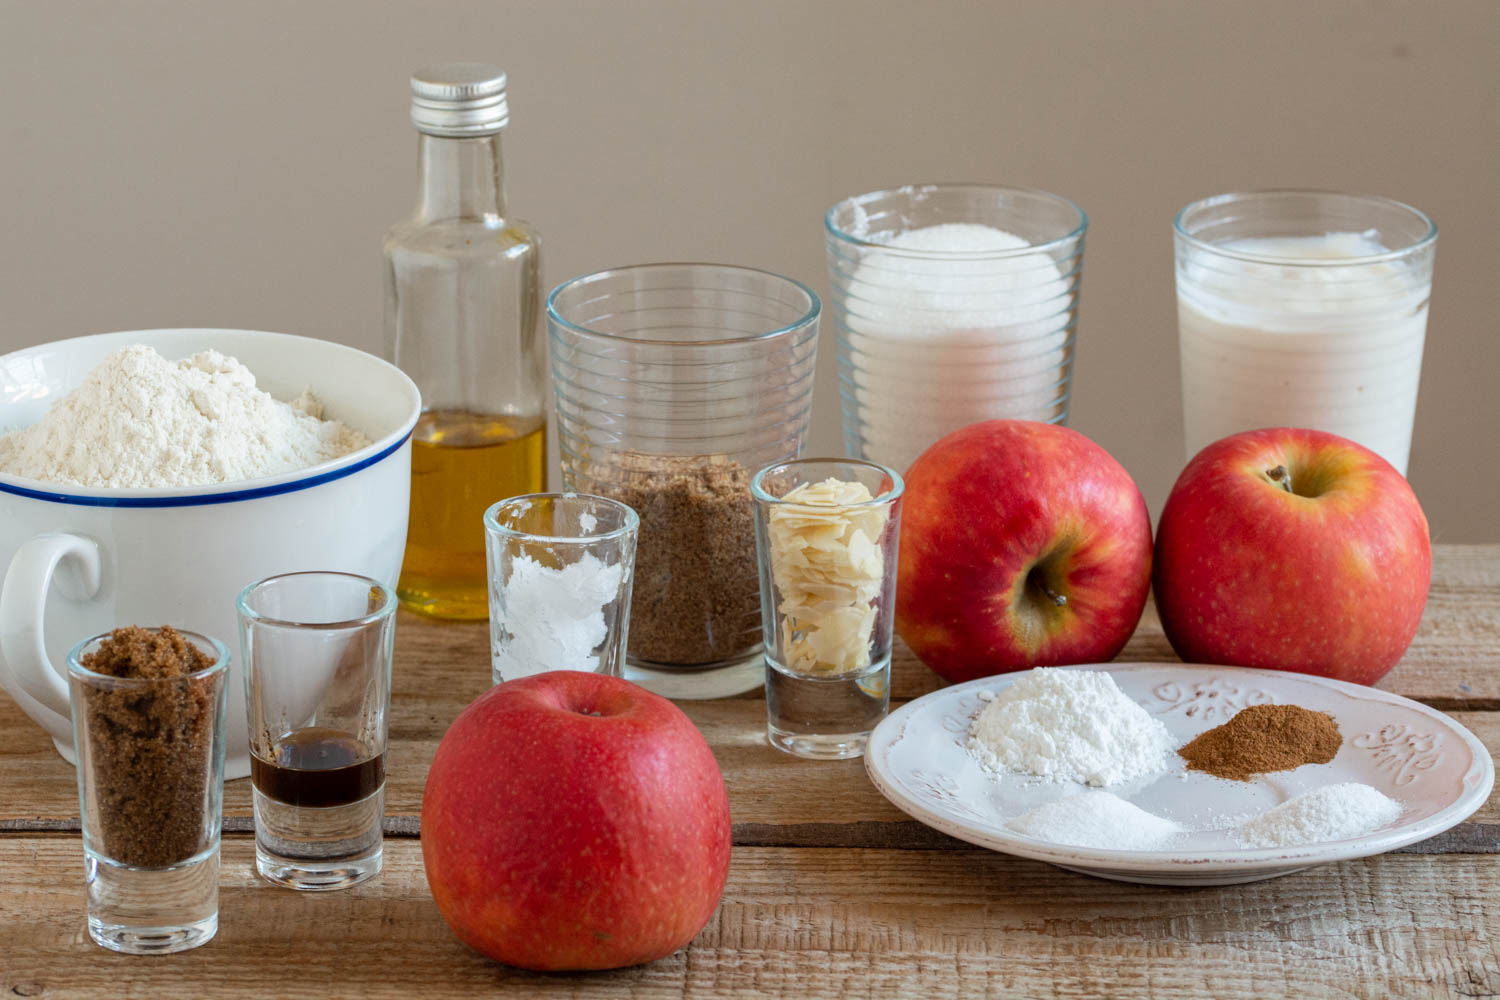
Ingredients ( for a 26cm tray):

⦁ 3 – 4 medium apples (I used Ida Red)
⦁ 2 Tbsp Muscovado sugar
⦁ 1 Tbsp coconut oil (melted)
⦁ 2 Tbsp almond flakes
⦁ 300g all-purpose white flour
⦁ 150g white granulated sugar
⦁ 1 satchet baking powder (about 2 1/2 tsp)
⦁ 1/4 tsp baking soda
⦁ 1/2 tsp salt
⦁ 1/2 tsp cinnamon powder
⦁ 1 tsp vanilla extract
⦁ 300g soy yogurt
⦁ 120ml any mild vegetable oil
⦁ 3 Tbsp flax seed
⦁ 9 Tbsp water

Method:

  1. Preheat the oven and prepare the tray. Preheat the oven at 200°C / 400° F (gas mark 6). Line the tray with parchment paper.
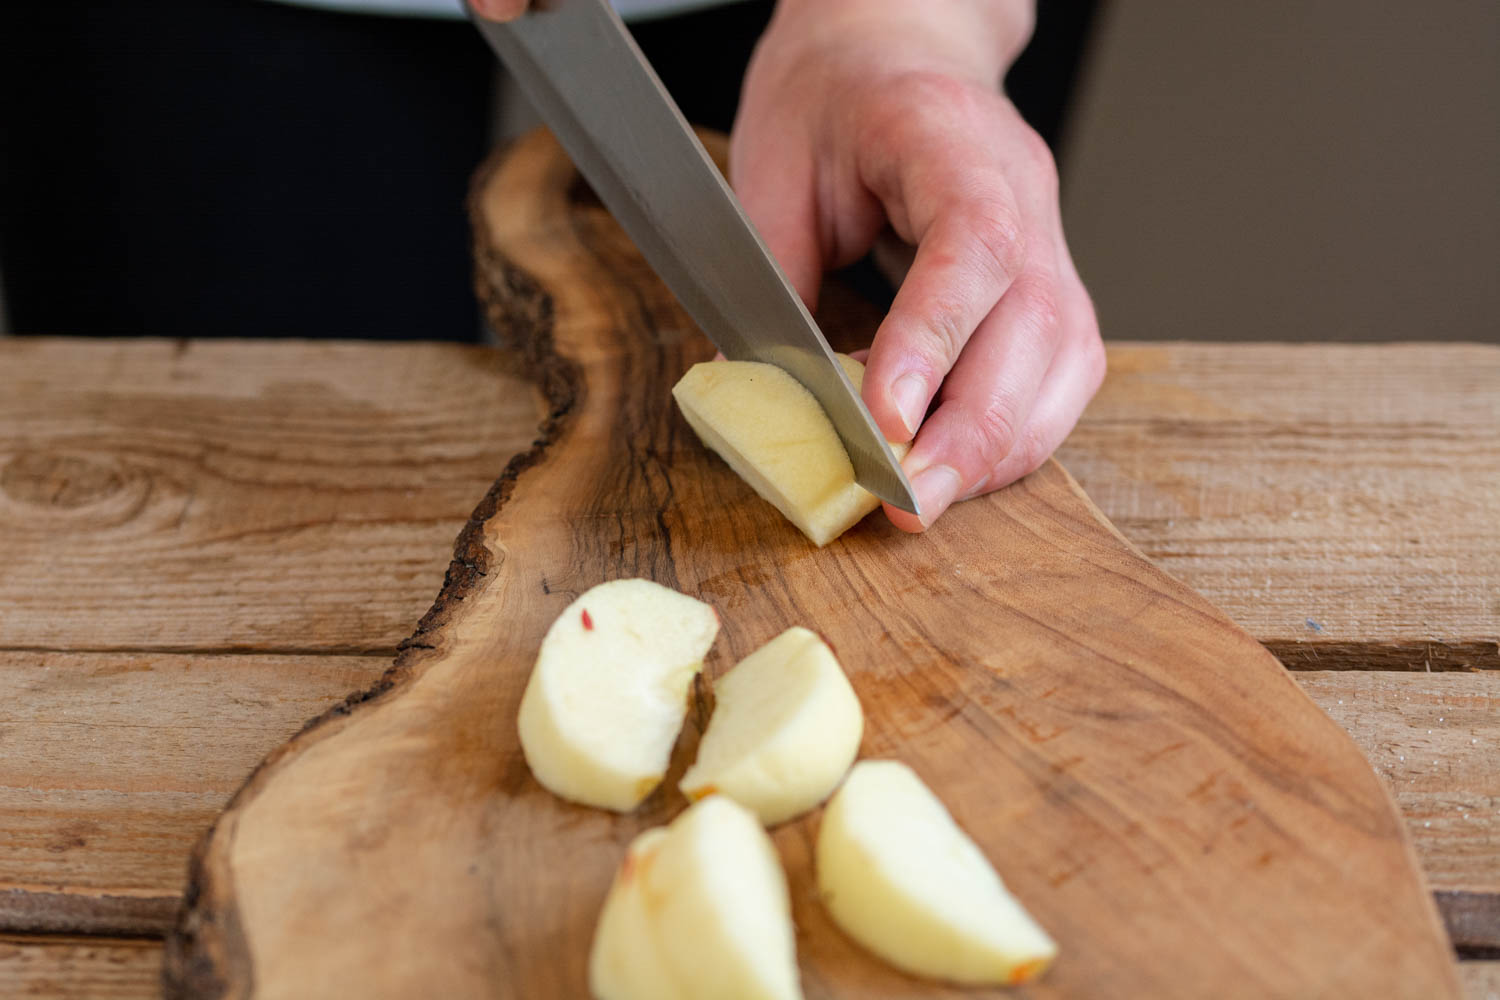
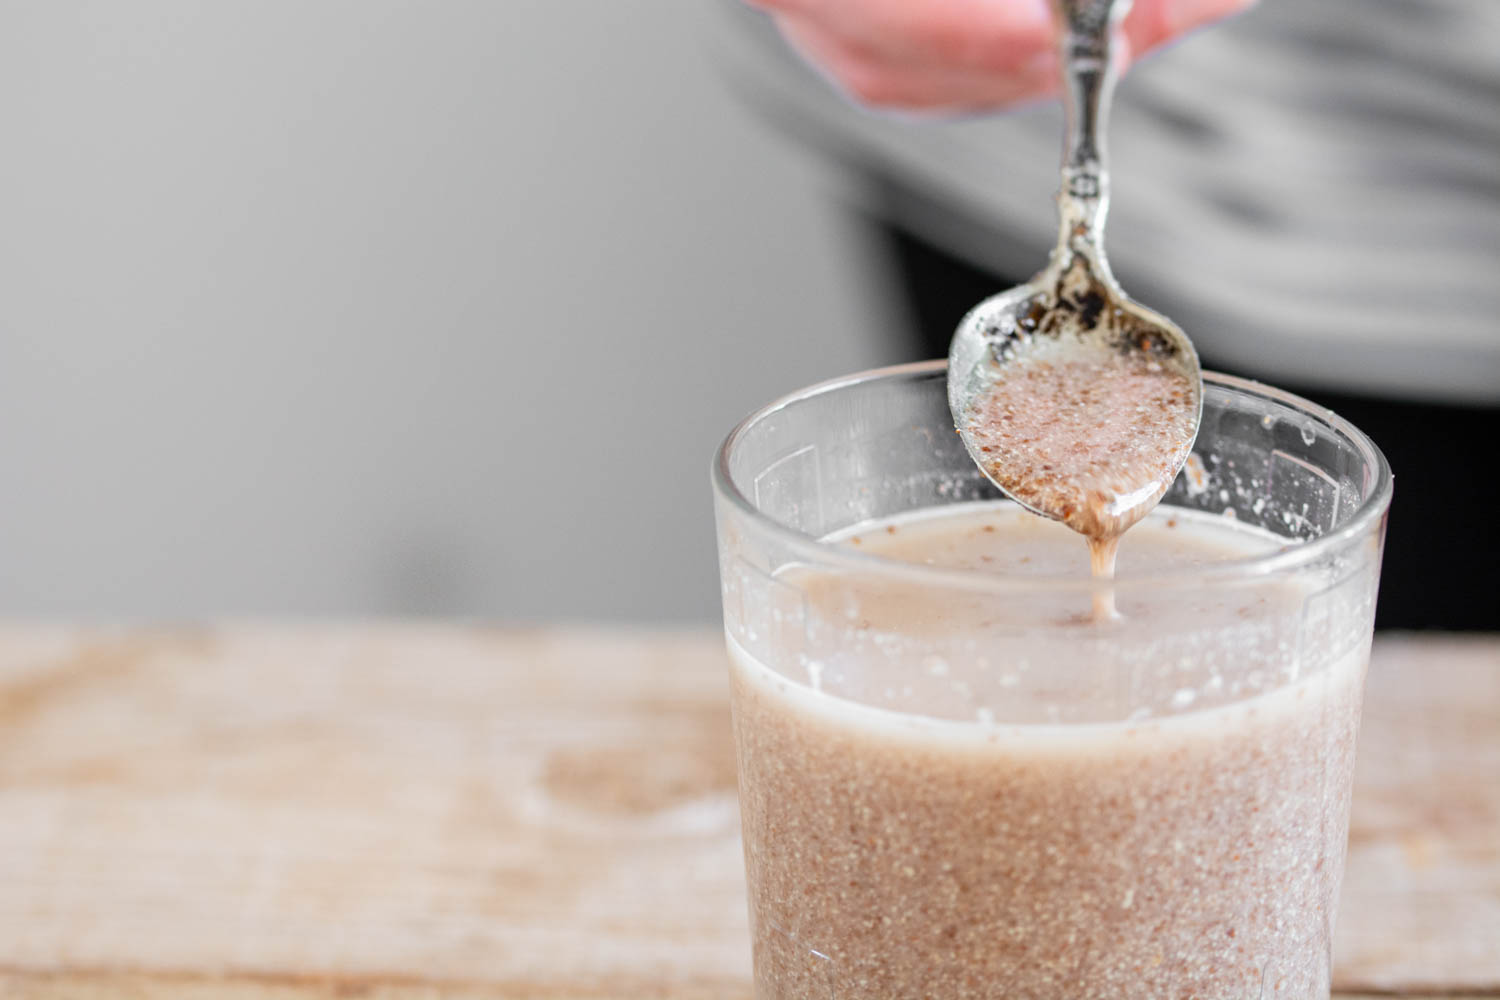
  2. Prepare the ingredients. Weight each ingredient. Peel the apples, quarter them, remove the seeds and cut each quarter into 3. Grind the flax seeds (I used a coffee grinder, but you can also use a mortar and a pestle). Add the water and let it aside for about 5 minutes.
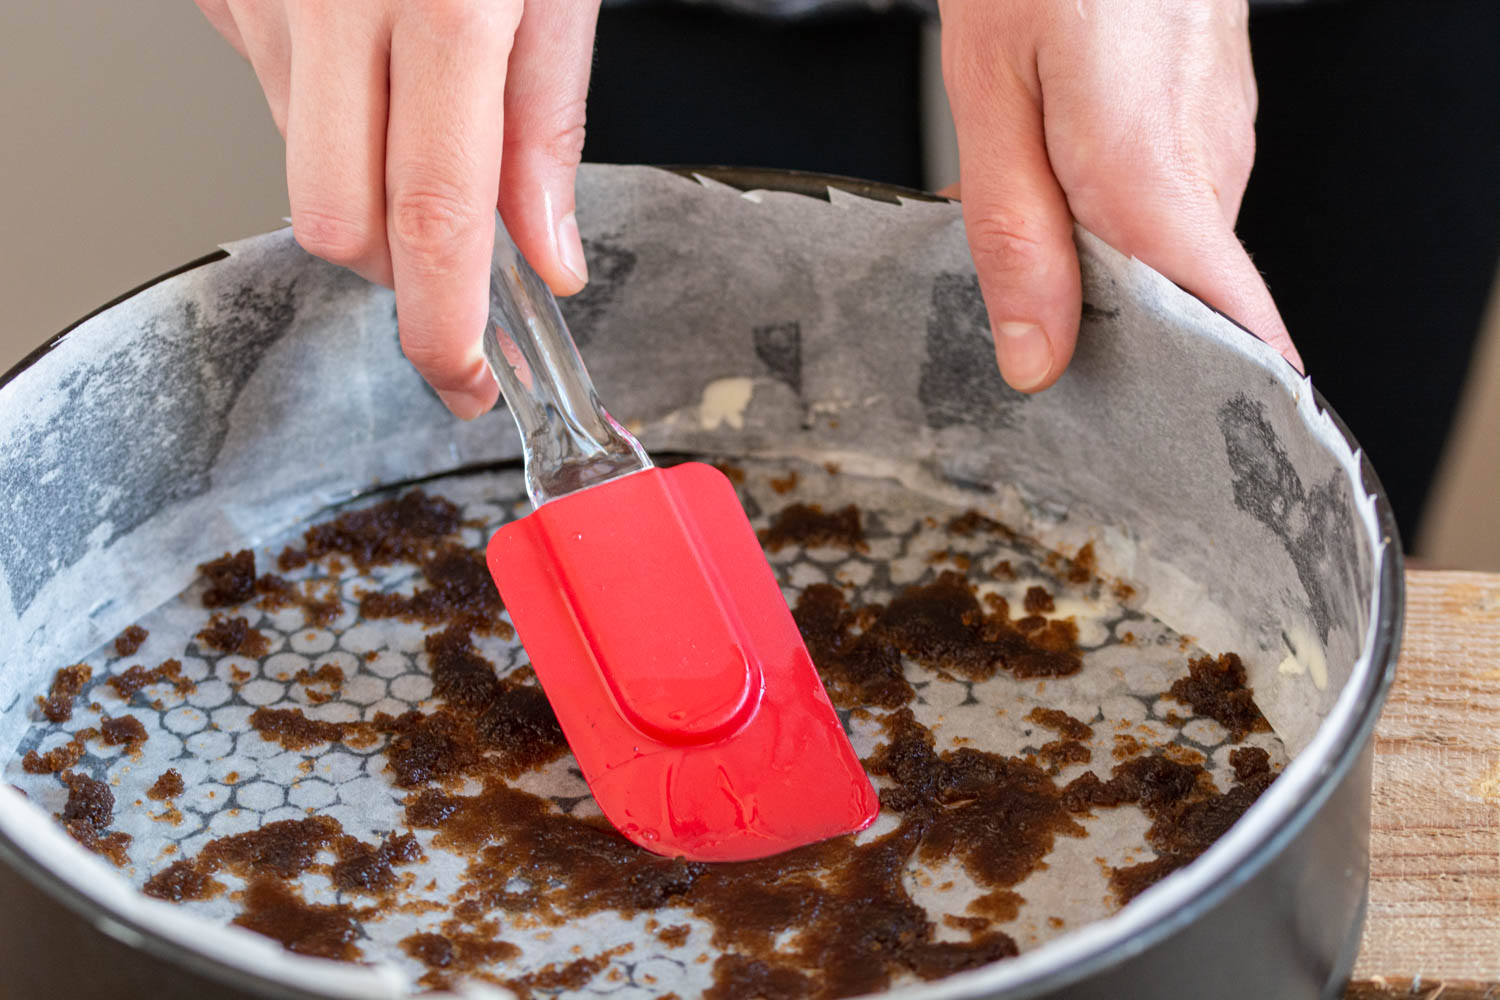
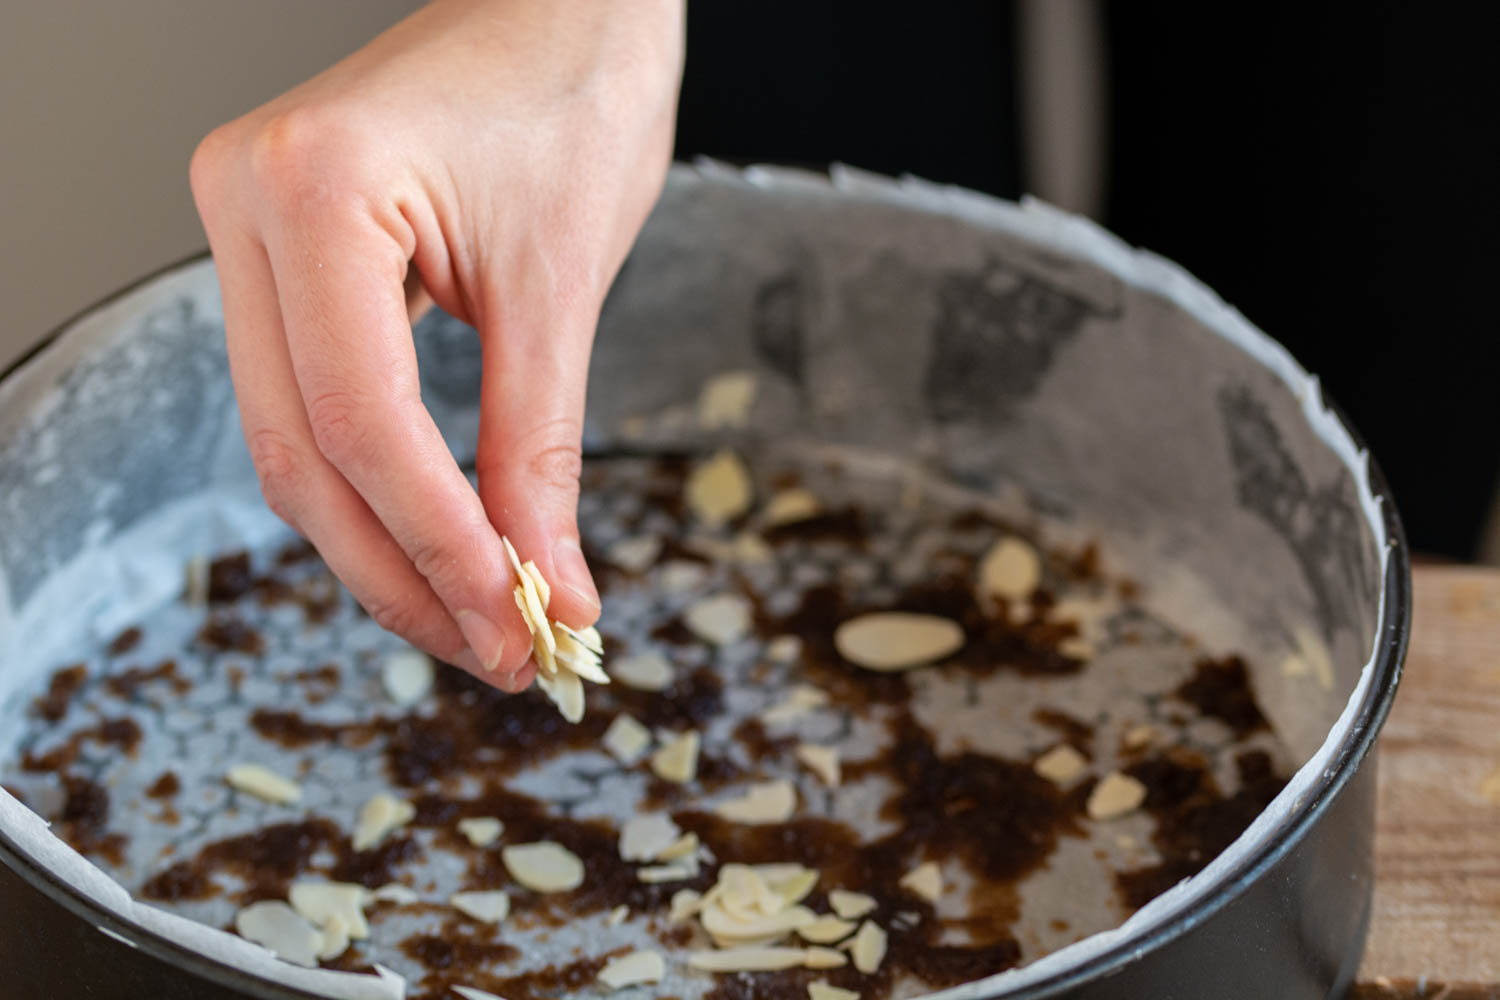
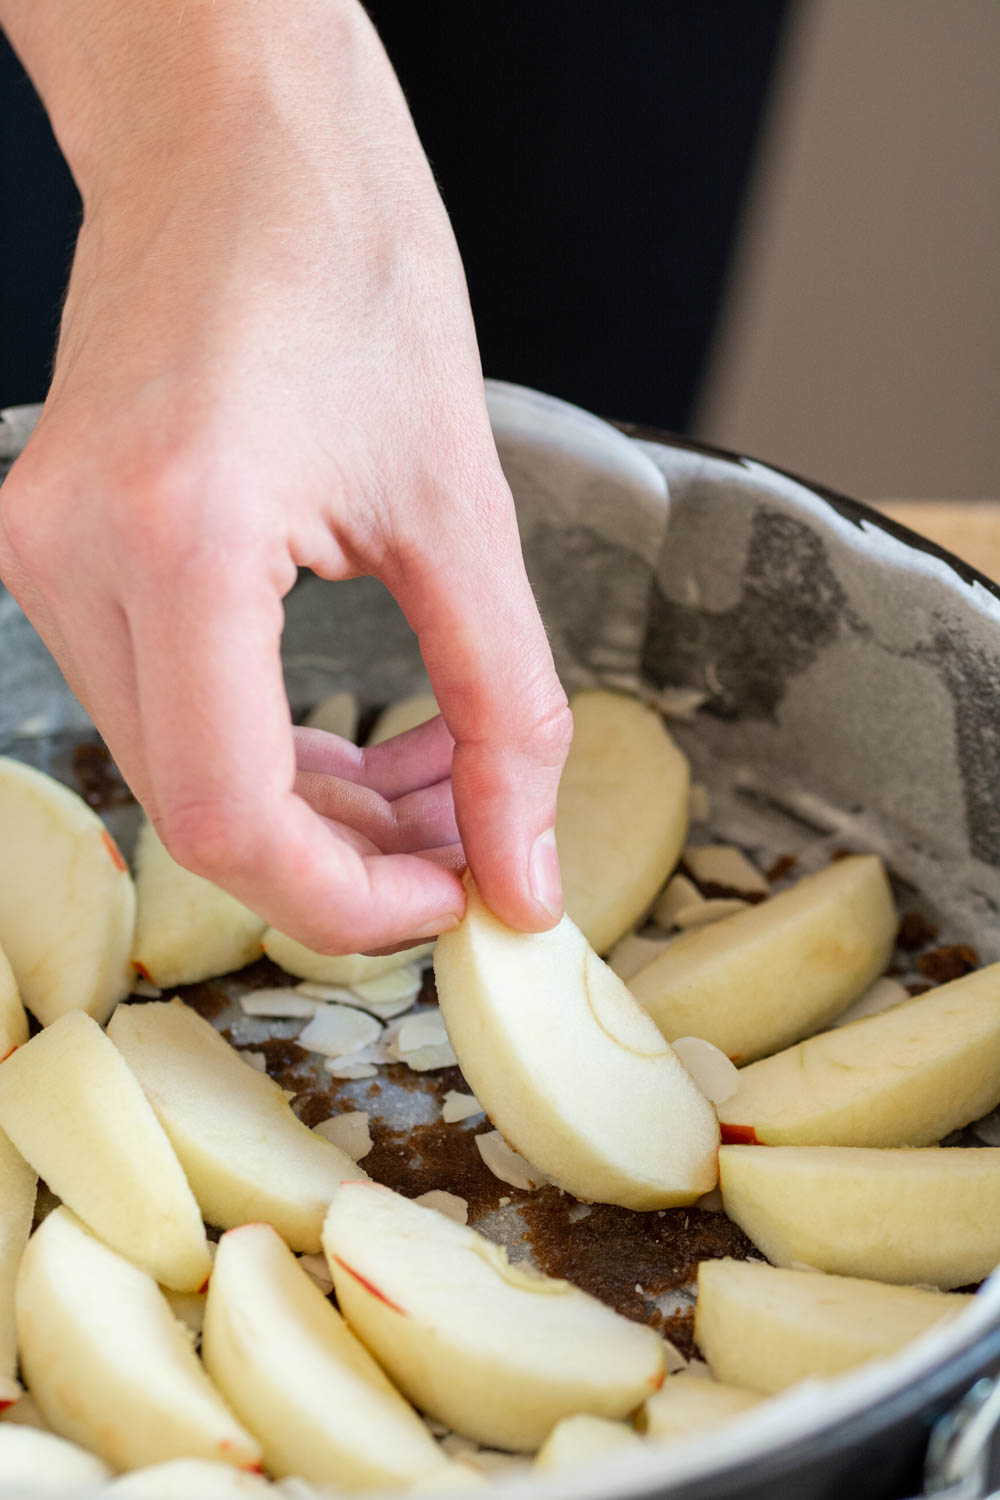
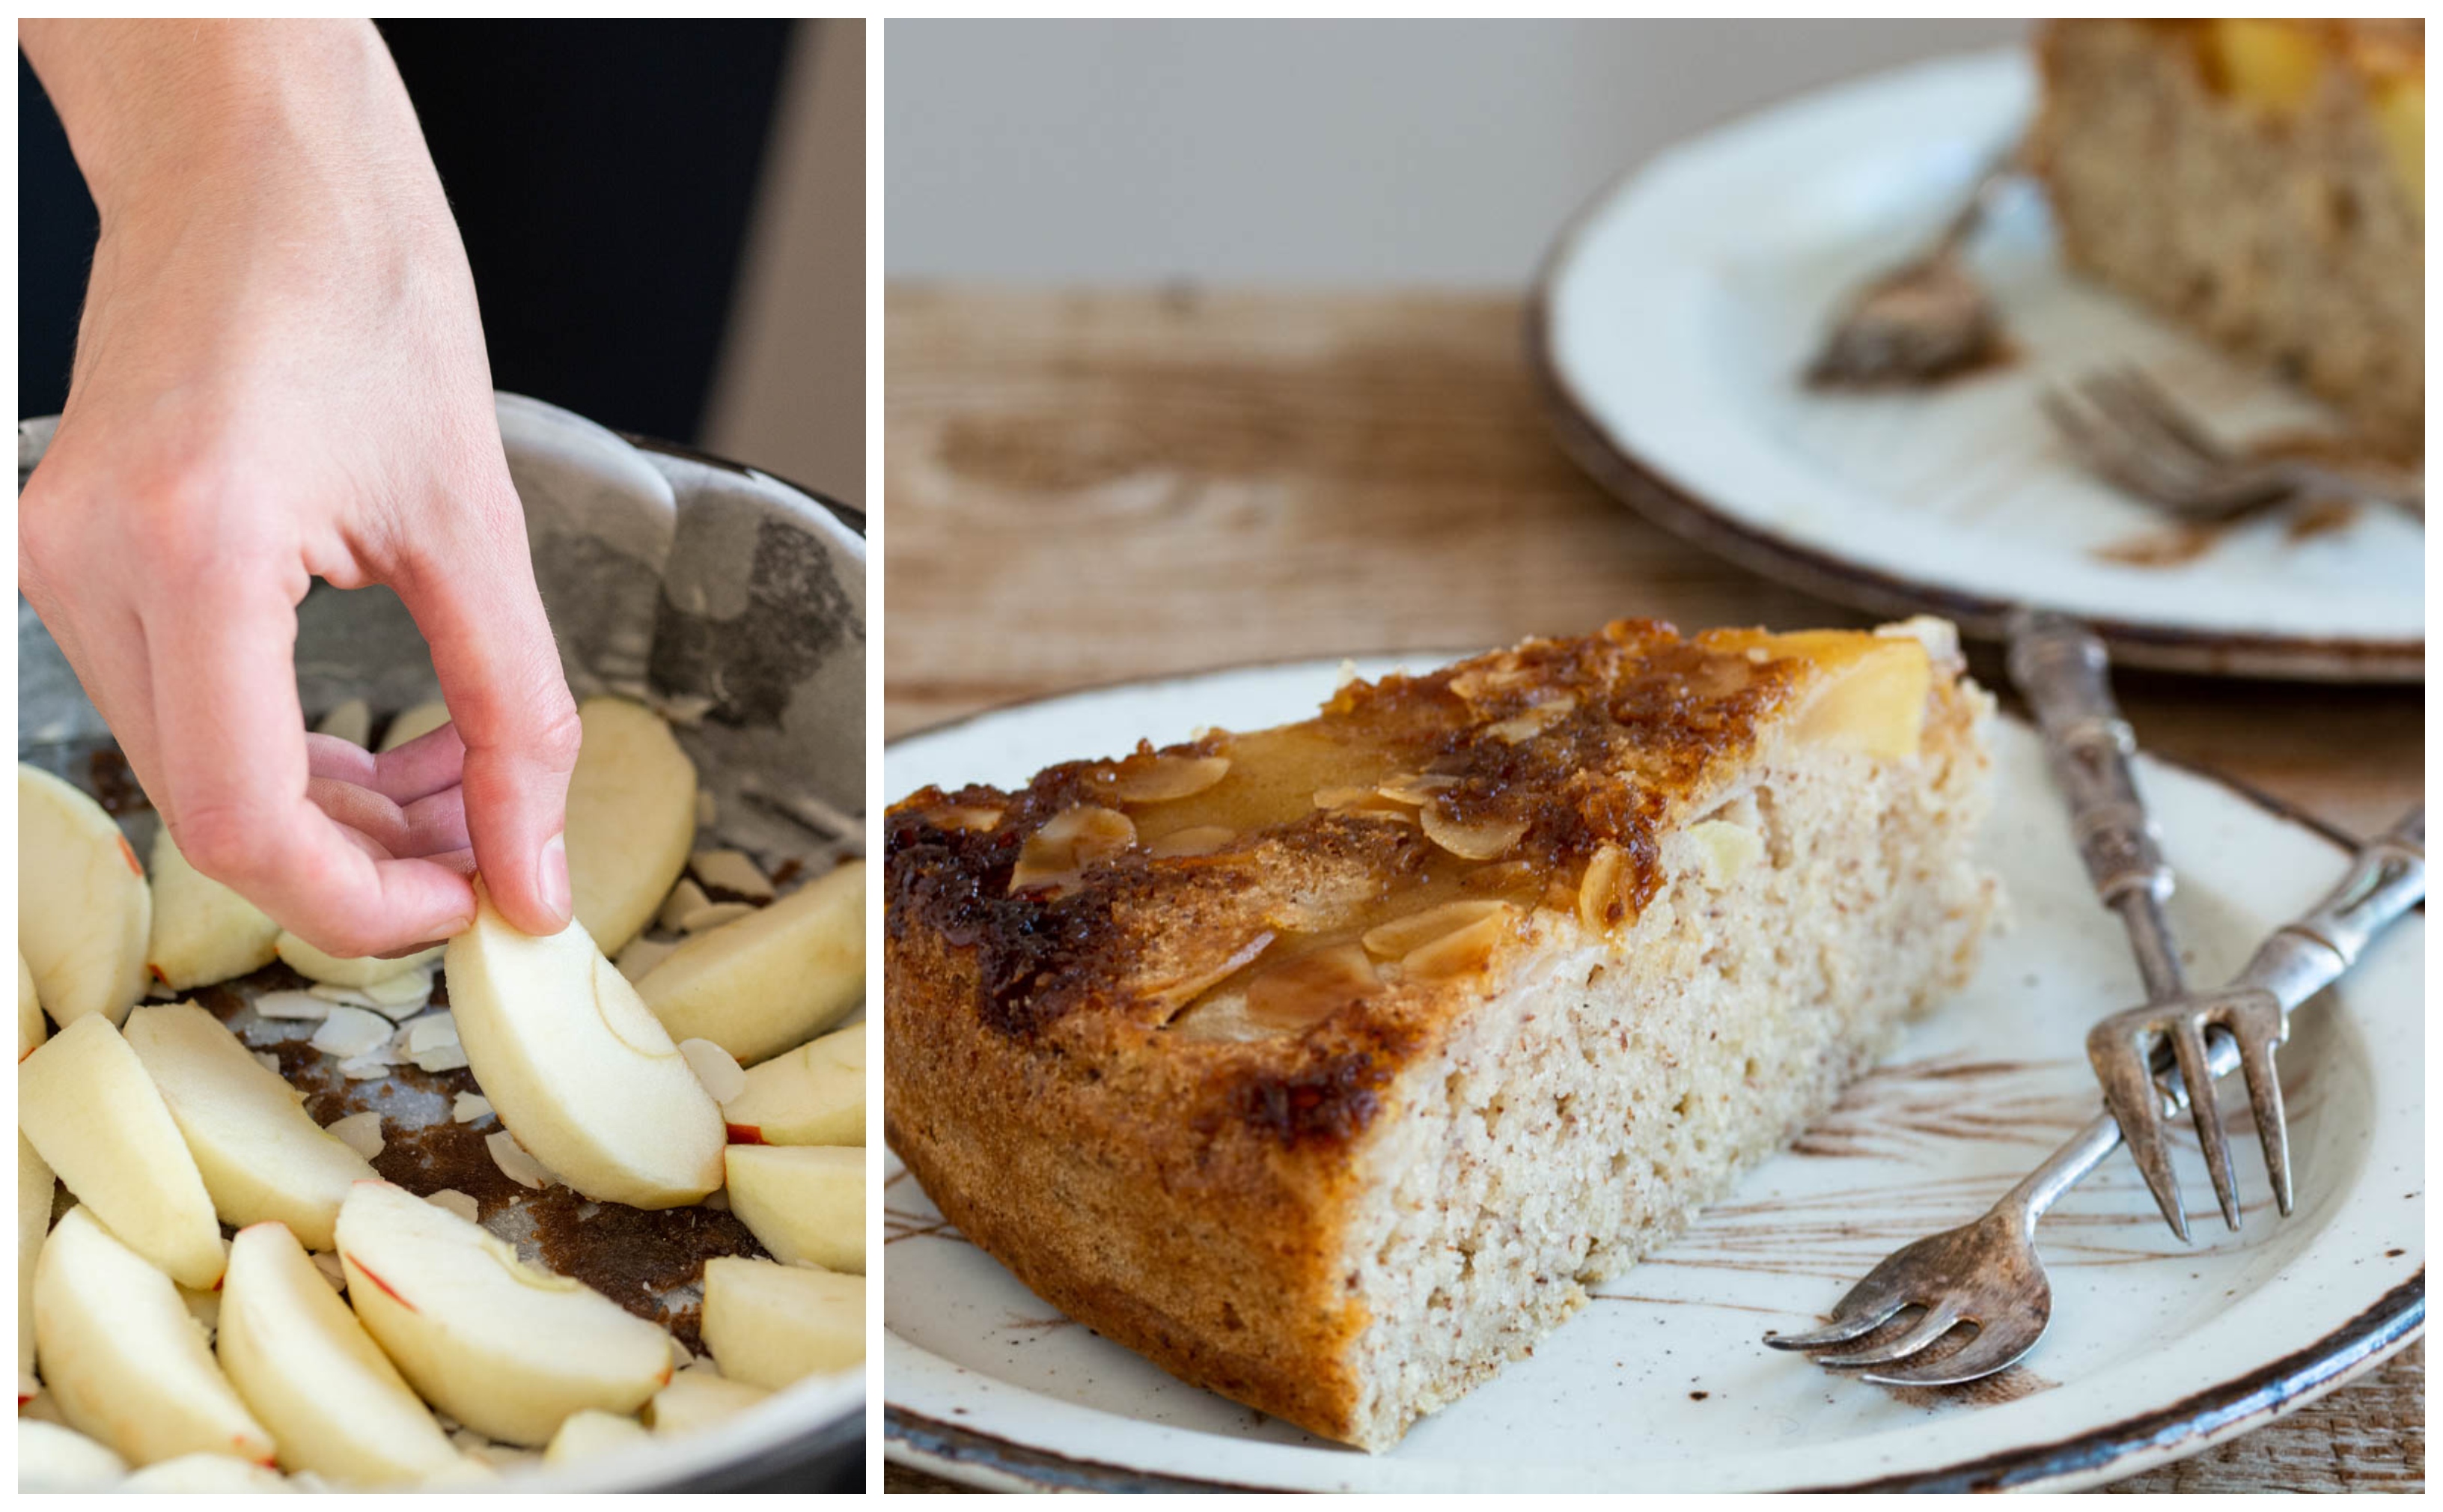
  3. Place the apples. Take the tray, add the sugar and melted coconut oil and give them a stir. Add a pinch of salted, sprinkle the almond flakes and arrange the apple slices.
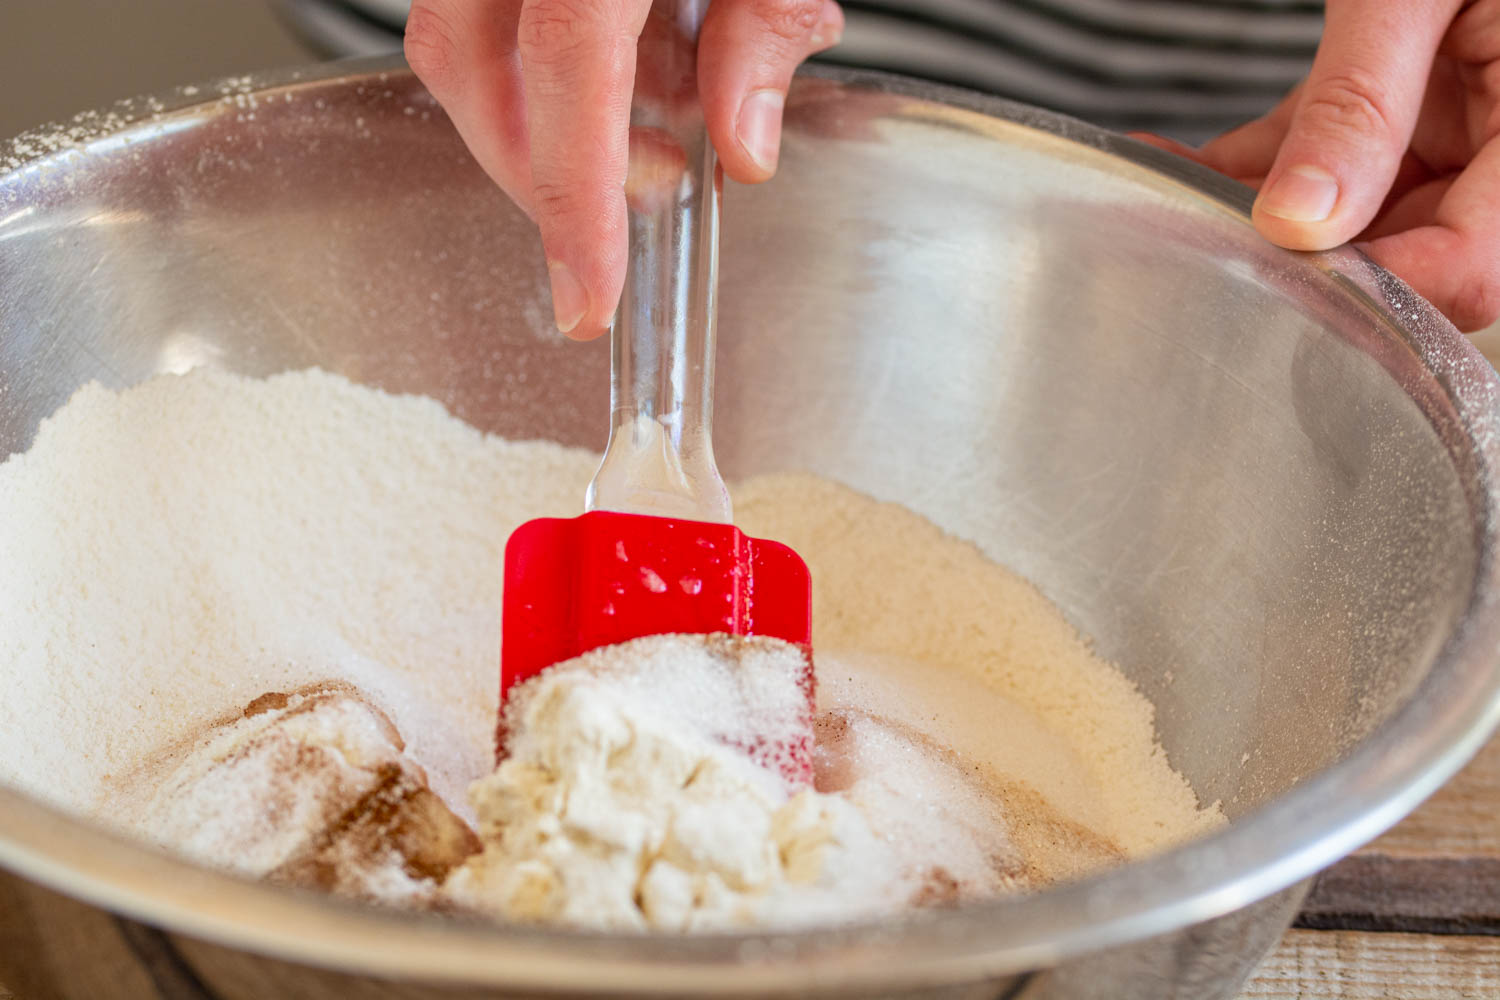
  4. Prepare the dry ingredients. In a large bowl sift the flour. Add sugar, baking soda, baking powder, salt (the remaining quantity), cinnamon and mix well.
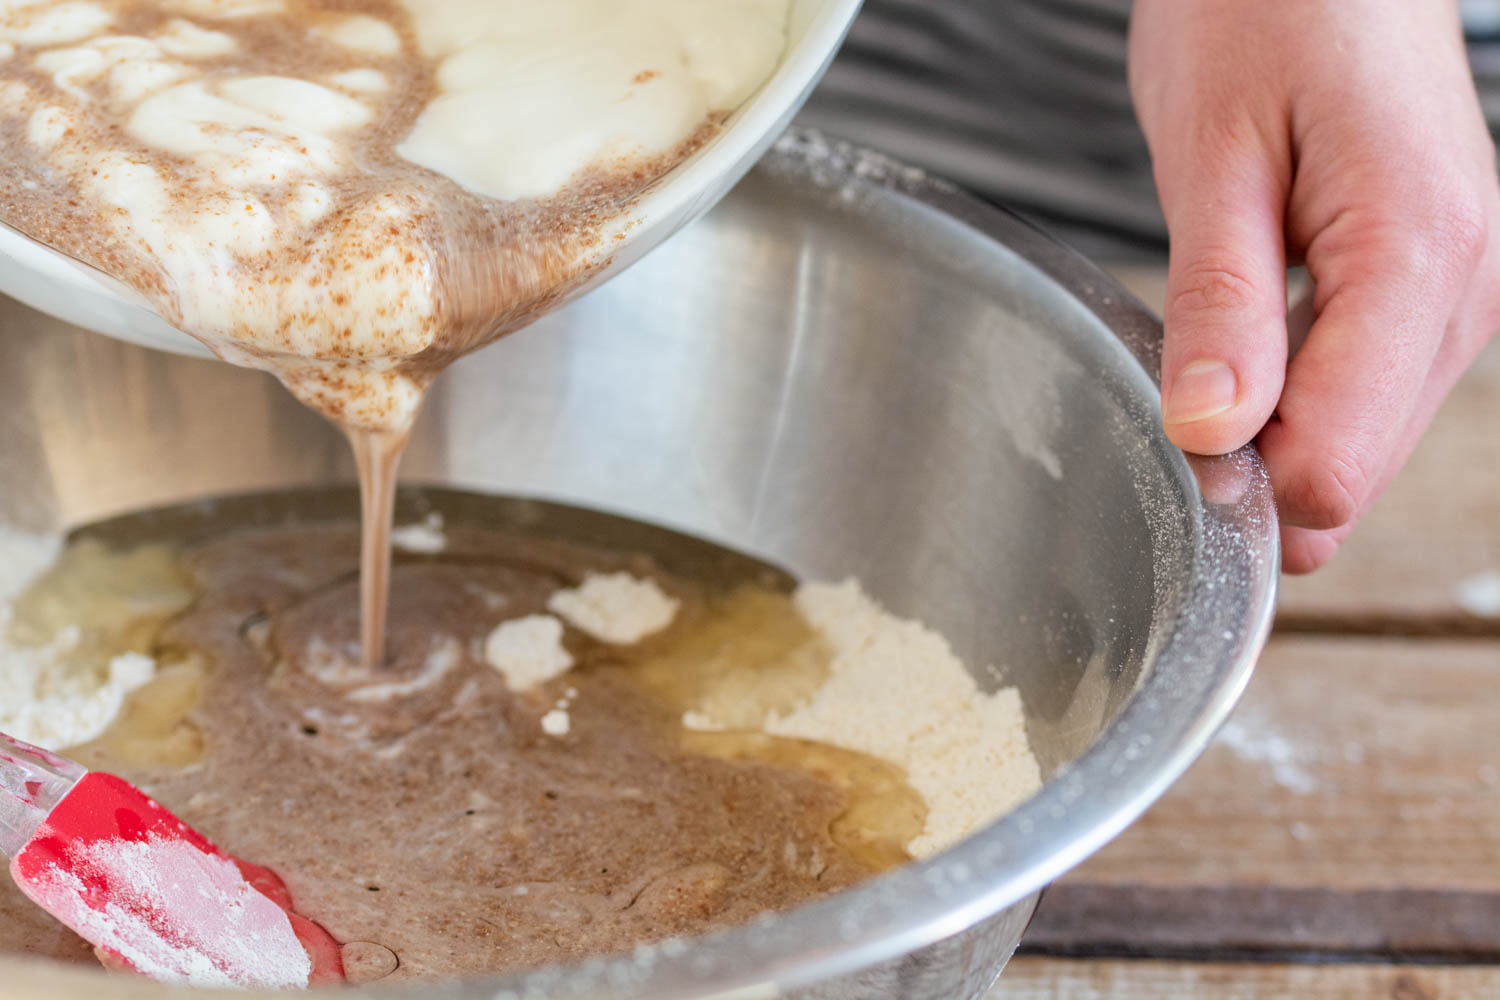
  5. Prepare the wet ingredients. In a smaller bowl combine yogurt with oil, vanilla extract and flax seed mixture.
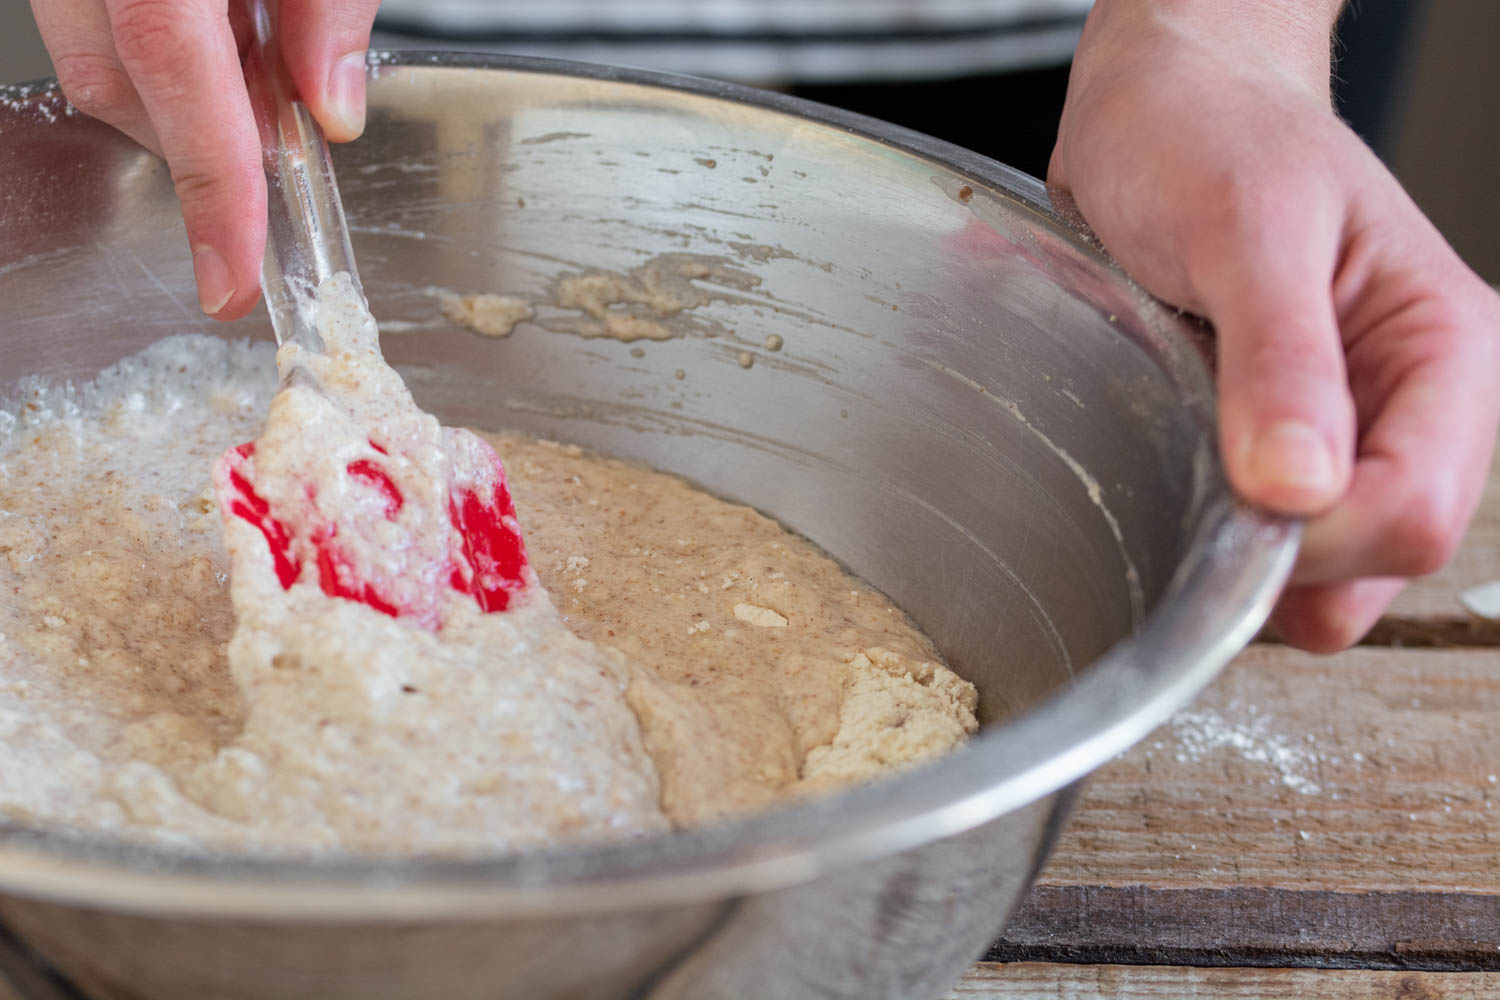
  6. Prepare the batter. Add the wet ingredients to the dry ones and mix with a spatula until just combined.
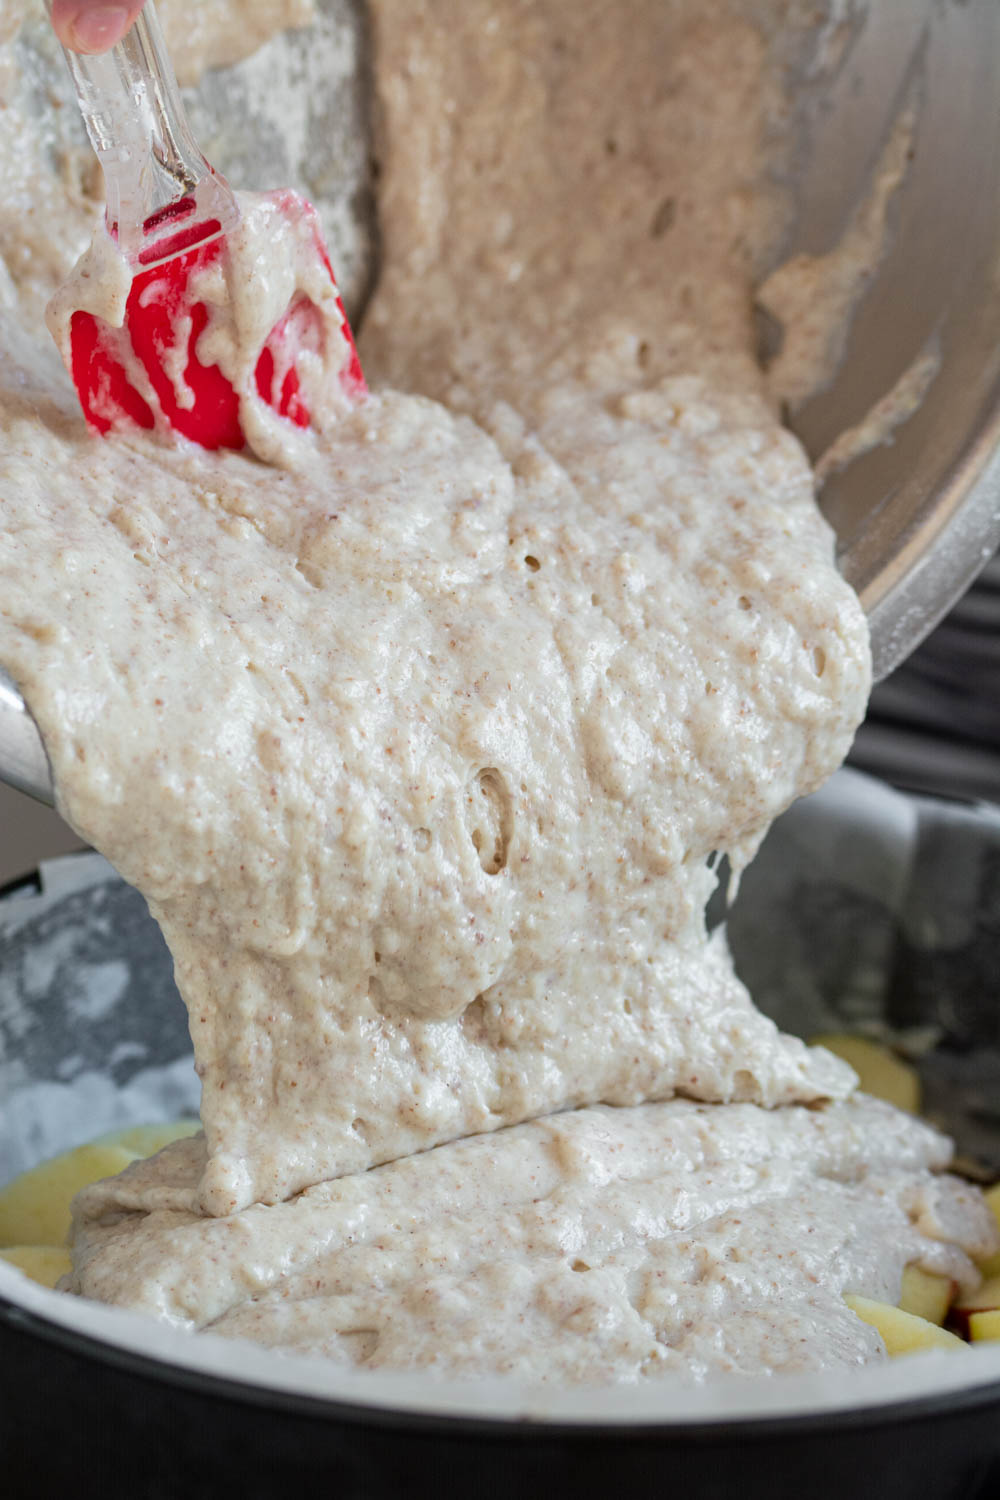
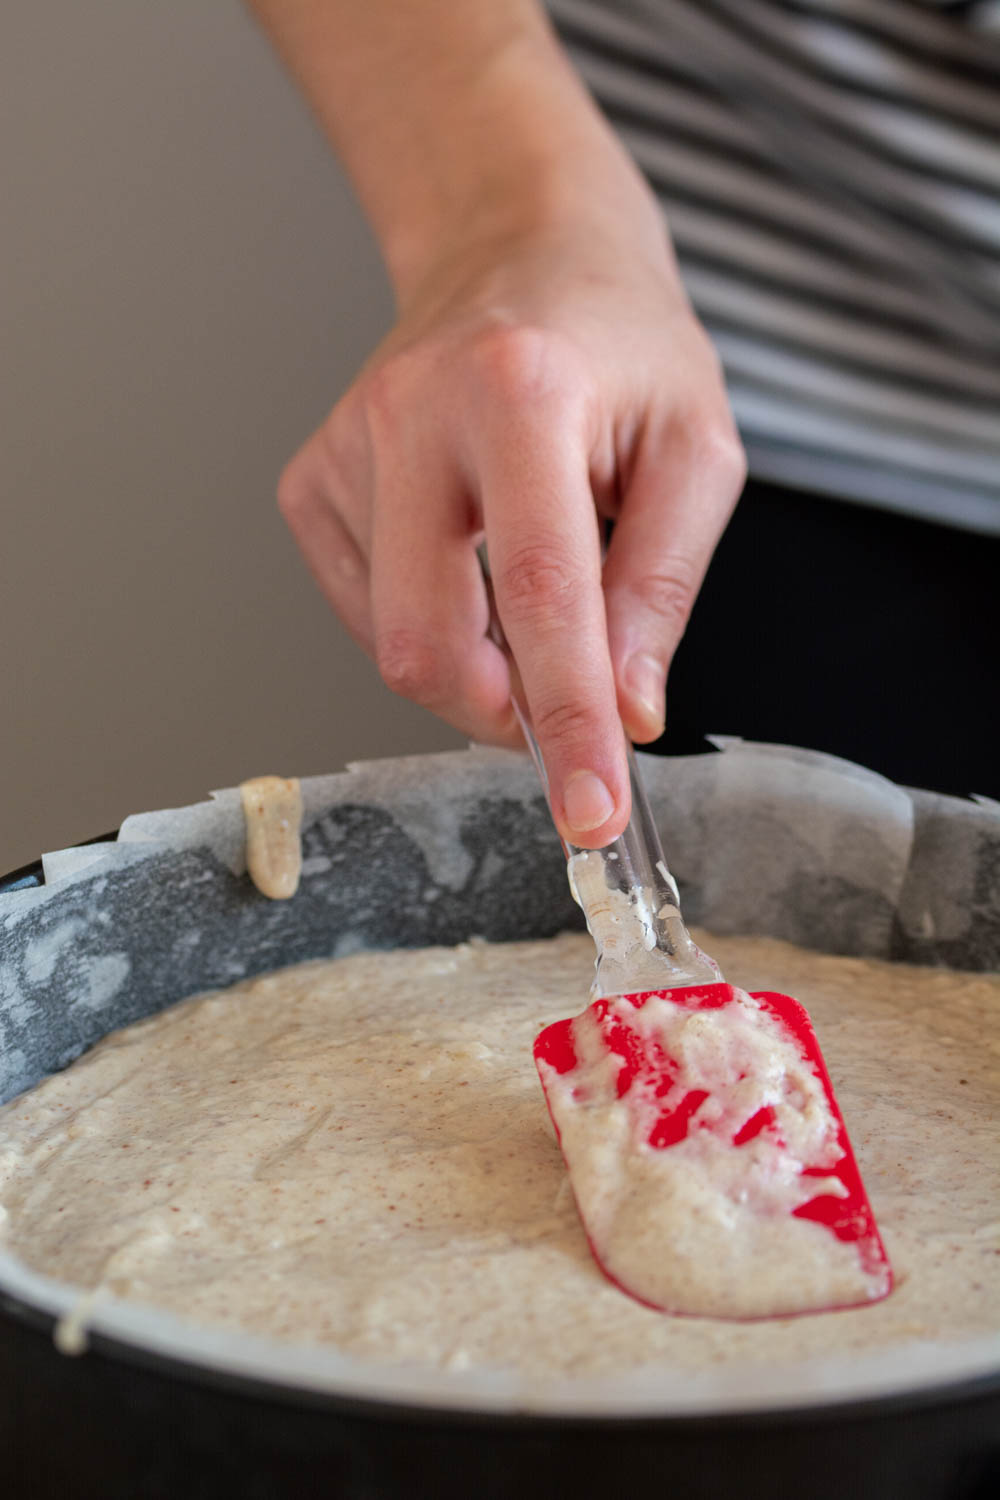
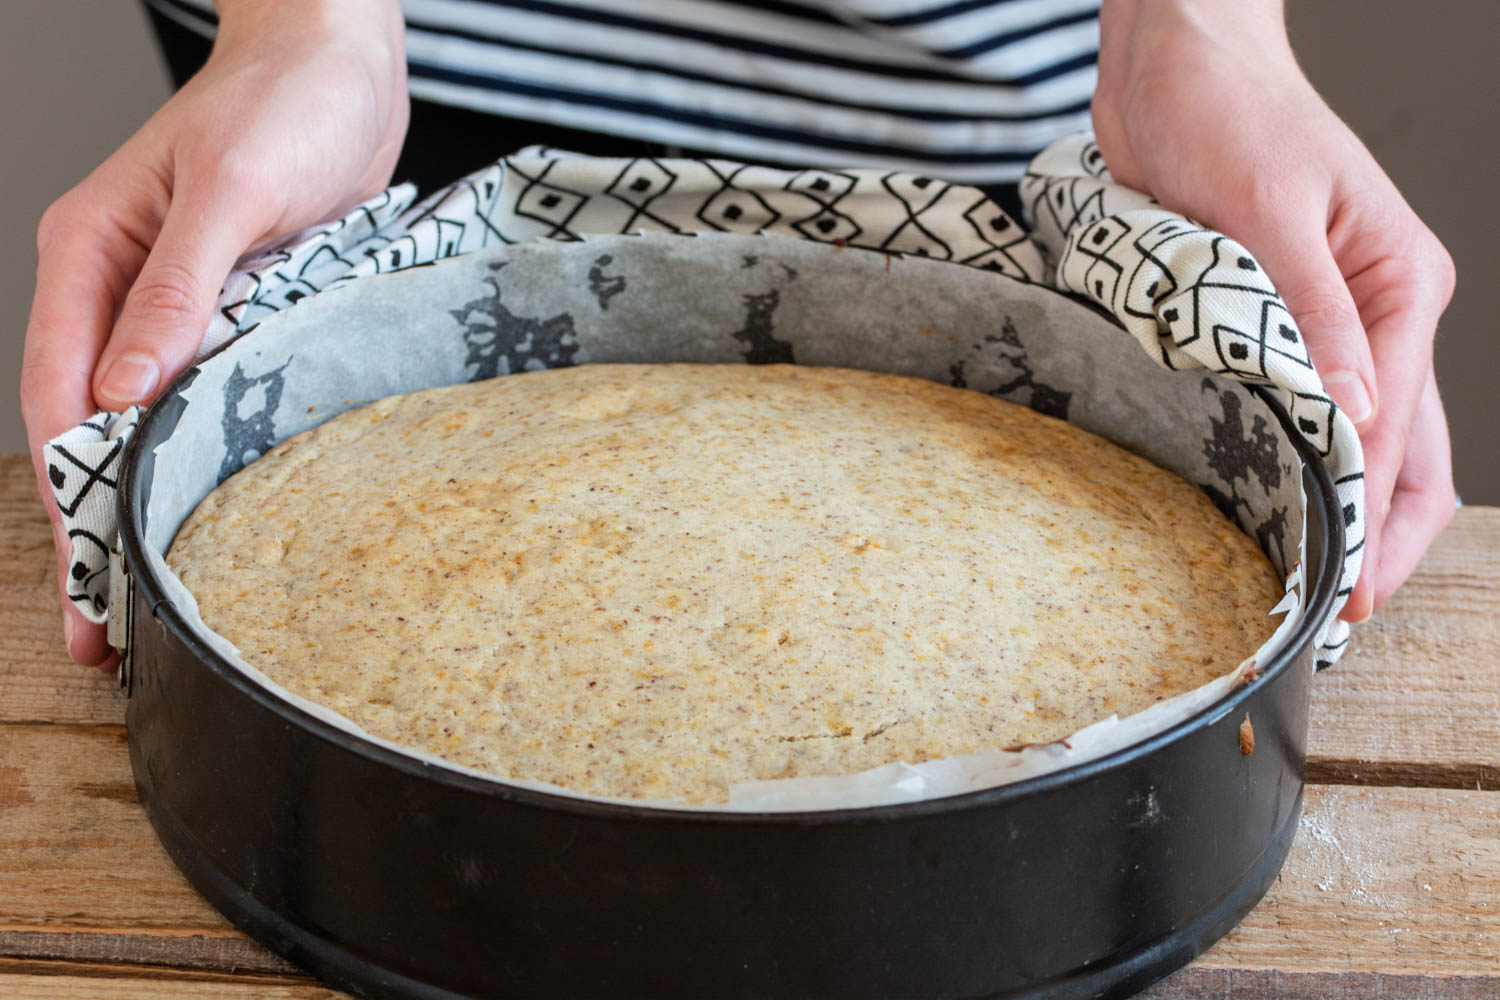
  7. Bake the cake. Pour the mixture into a parchment paper-lined tray and bake in the preheated oven for 10 minutes. Lower the temperature to 180°C / 350° F (gas mark 4) and bake for further 30 -35 minutes or until a toothpick inserted in the center comes out clean.
  8. Allow the sponge to cool down on a wire rack.
Challah Bread

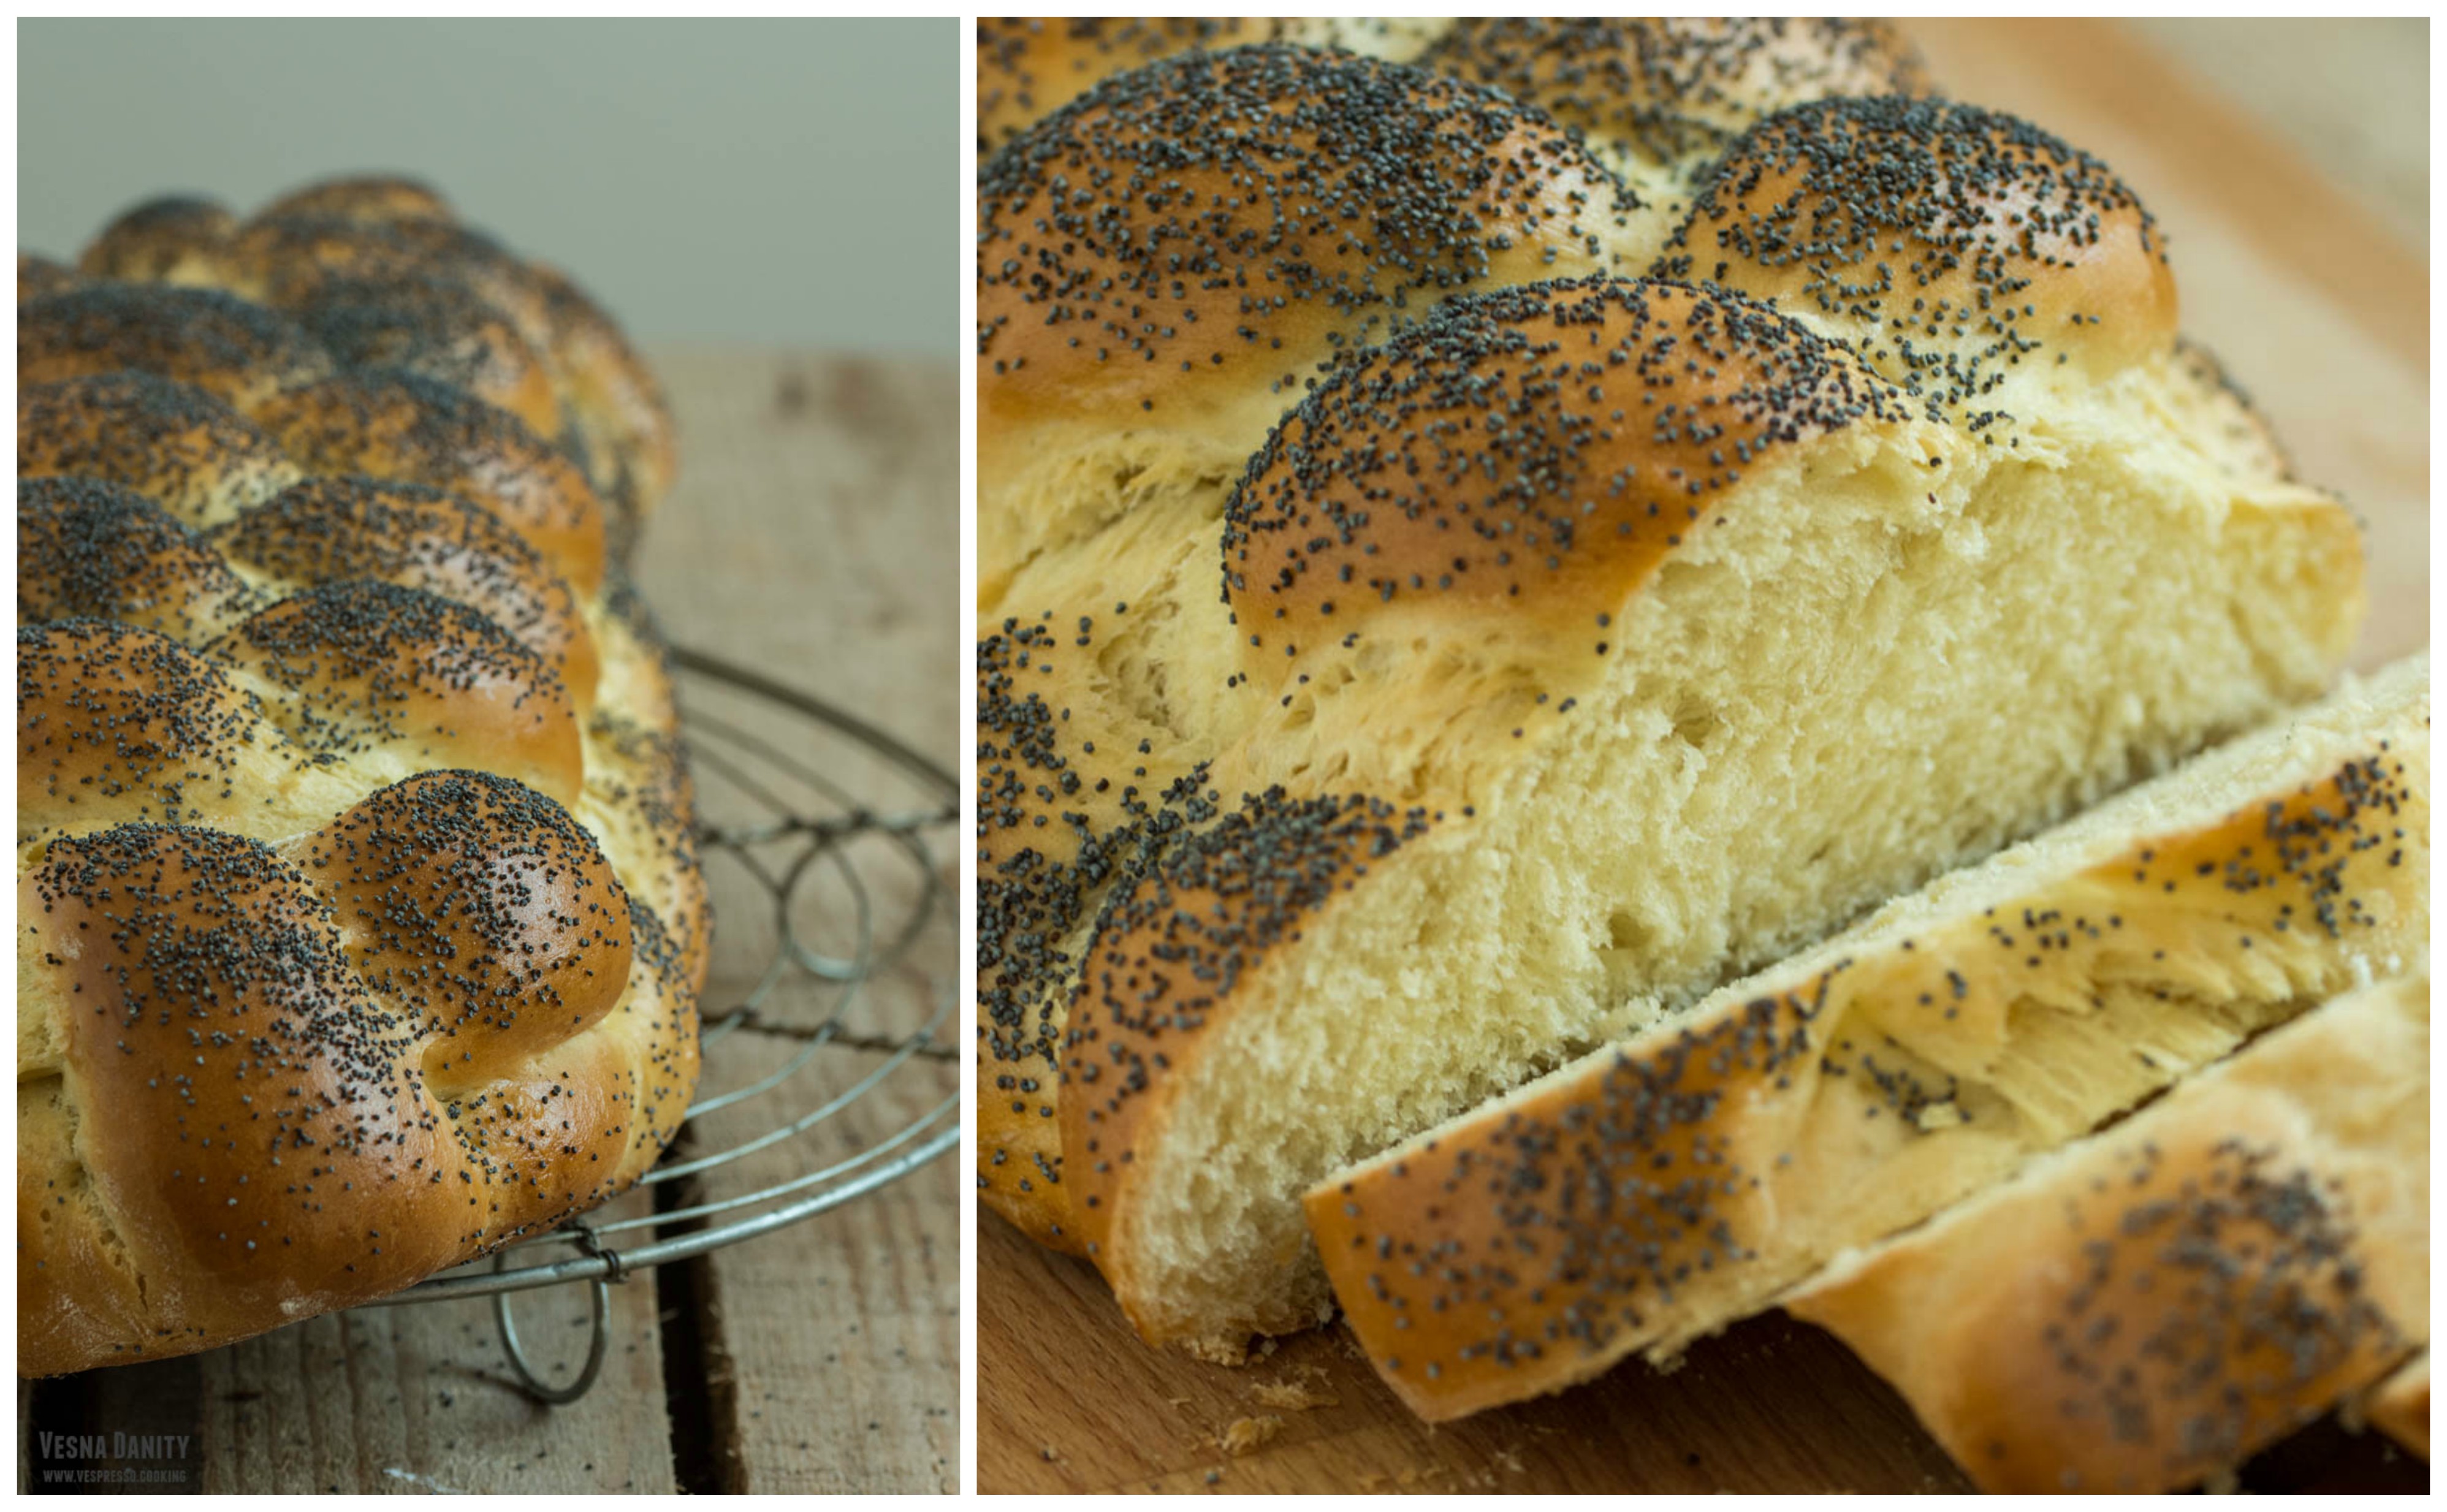
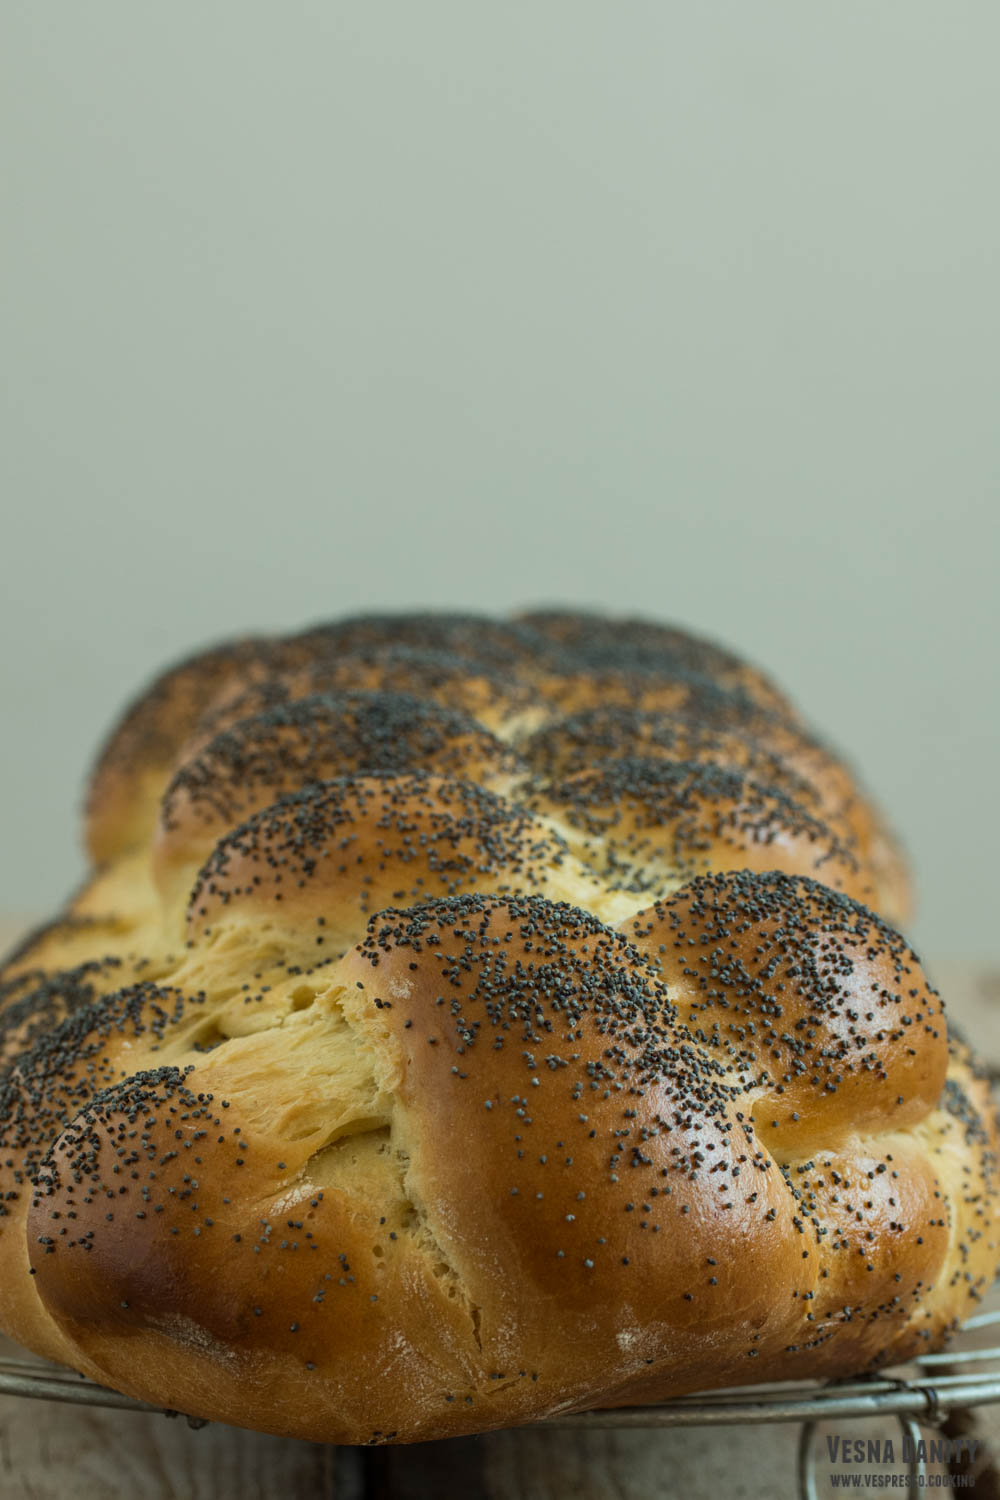
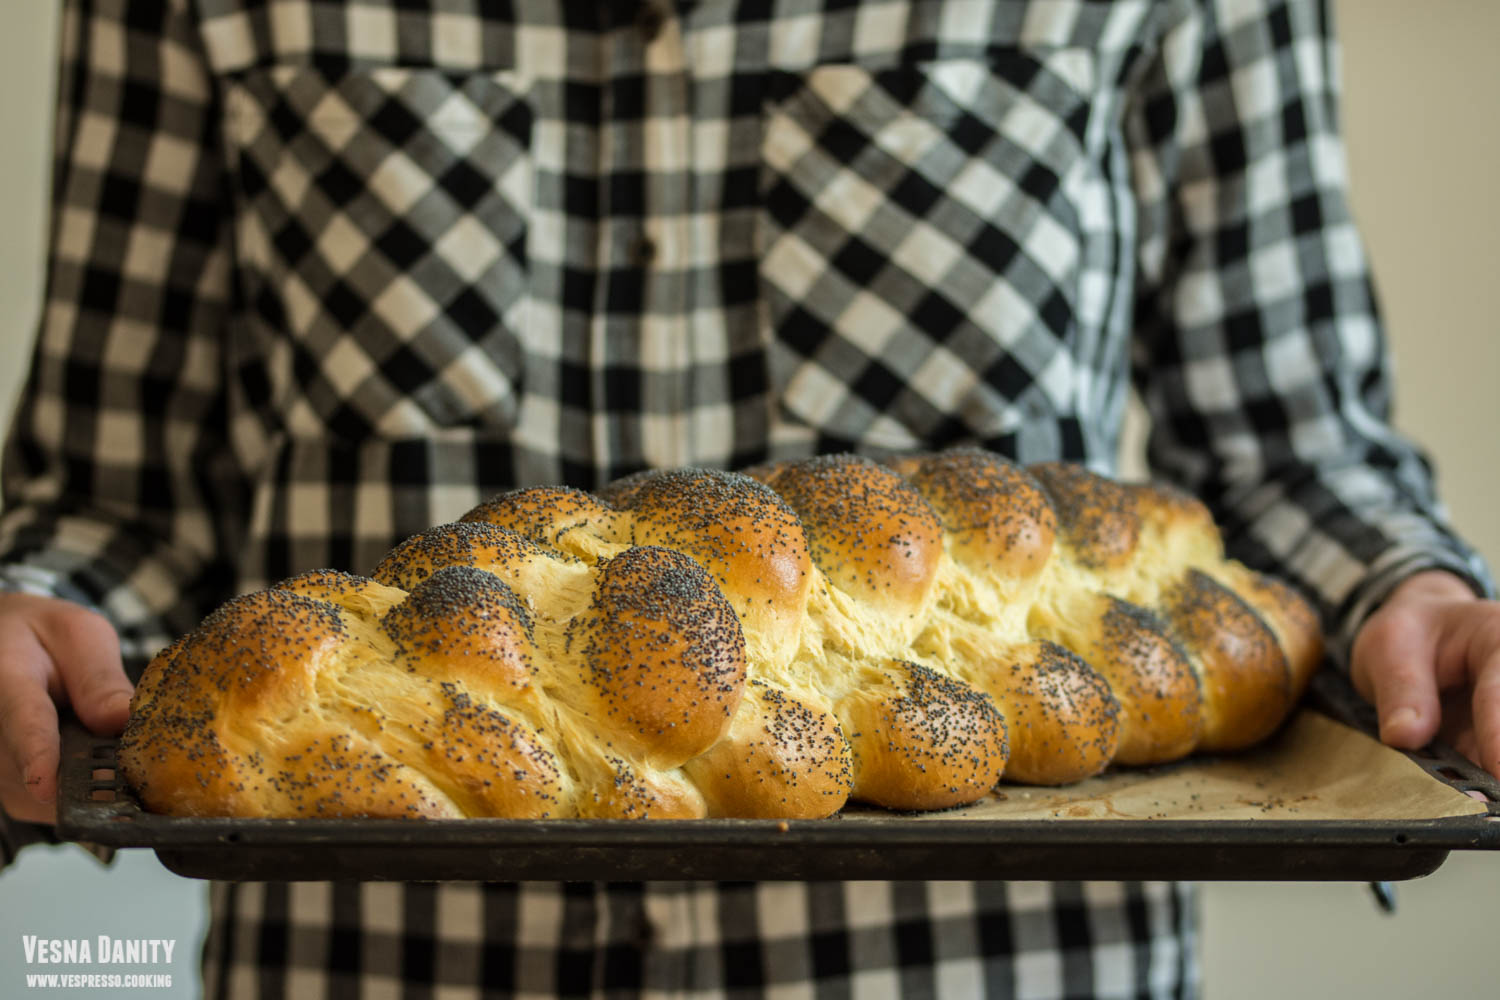
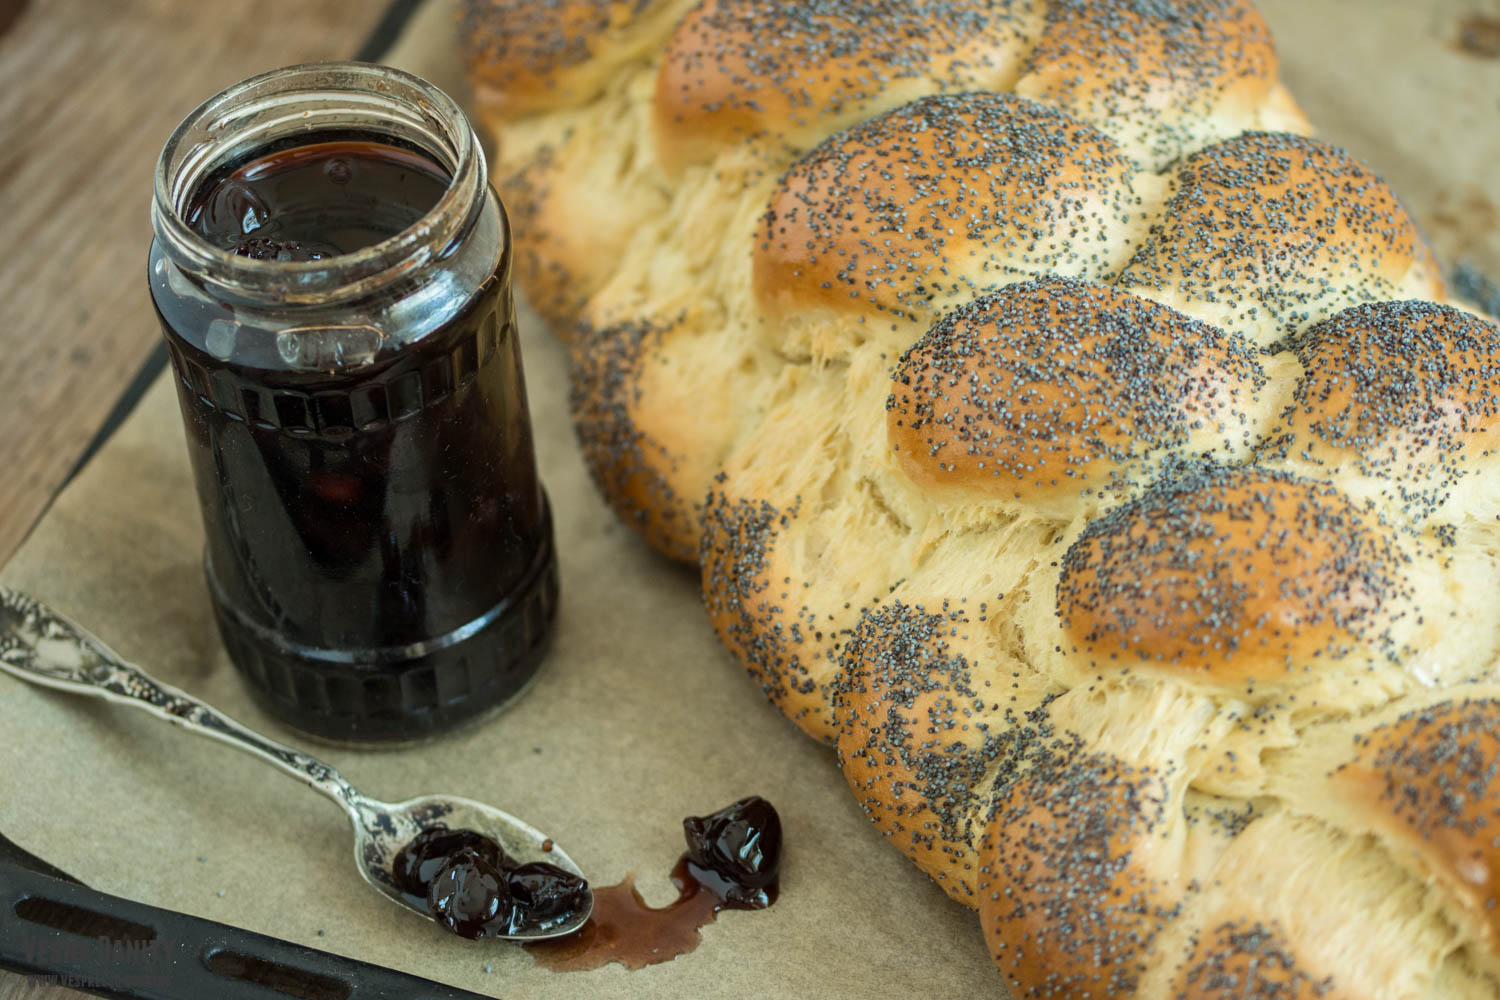
Challah is a braided bread made traditionally in the Jewish cuisine. This spectacular bread has a golden-brown, shiny crust and a airy and pilowy slightly sweet interior. It’s more than possible I’ve made challah more than two dozen times, in fact I bake it each and every time I want to surprise my guests. Beside the wow factor, this bread surprizes with its amazing taste as well.

Besides the usual ingredients, such as flour, water, salt, yeast and sugar, this bread is usually enriched with vegetable oil or melted butter and eggs,  which give challah a golden color and an unmistakable richness. These ingredients also allow this bread to remain soft for several days. If you’ve never tried to make challah before, I encourage you with all my heart to give it a try!

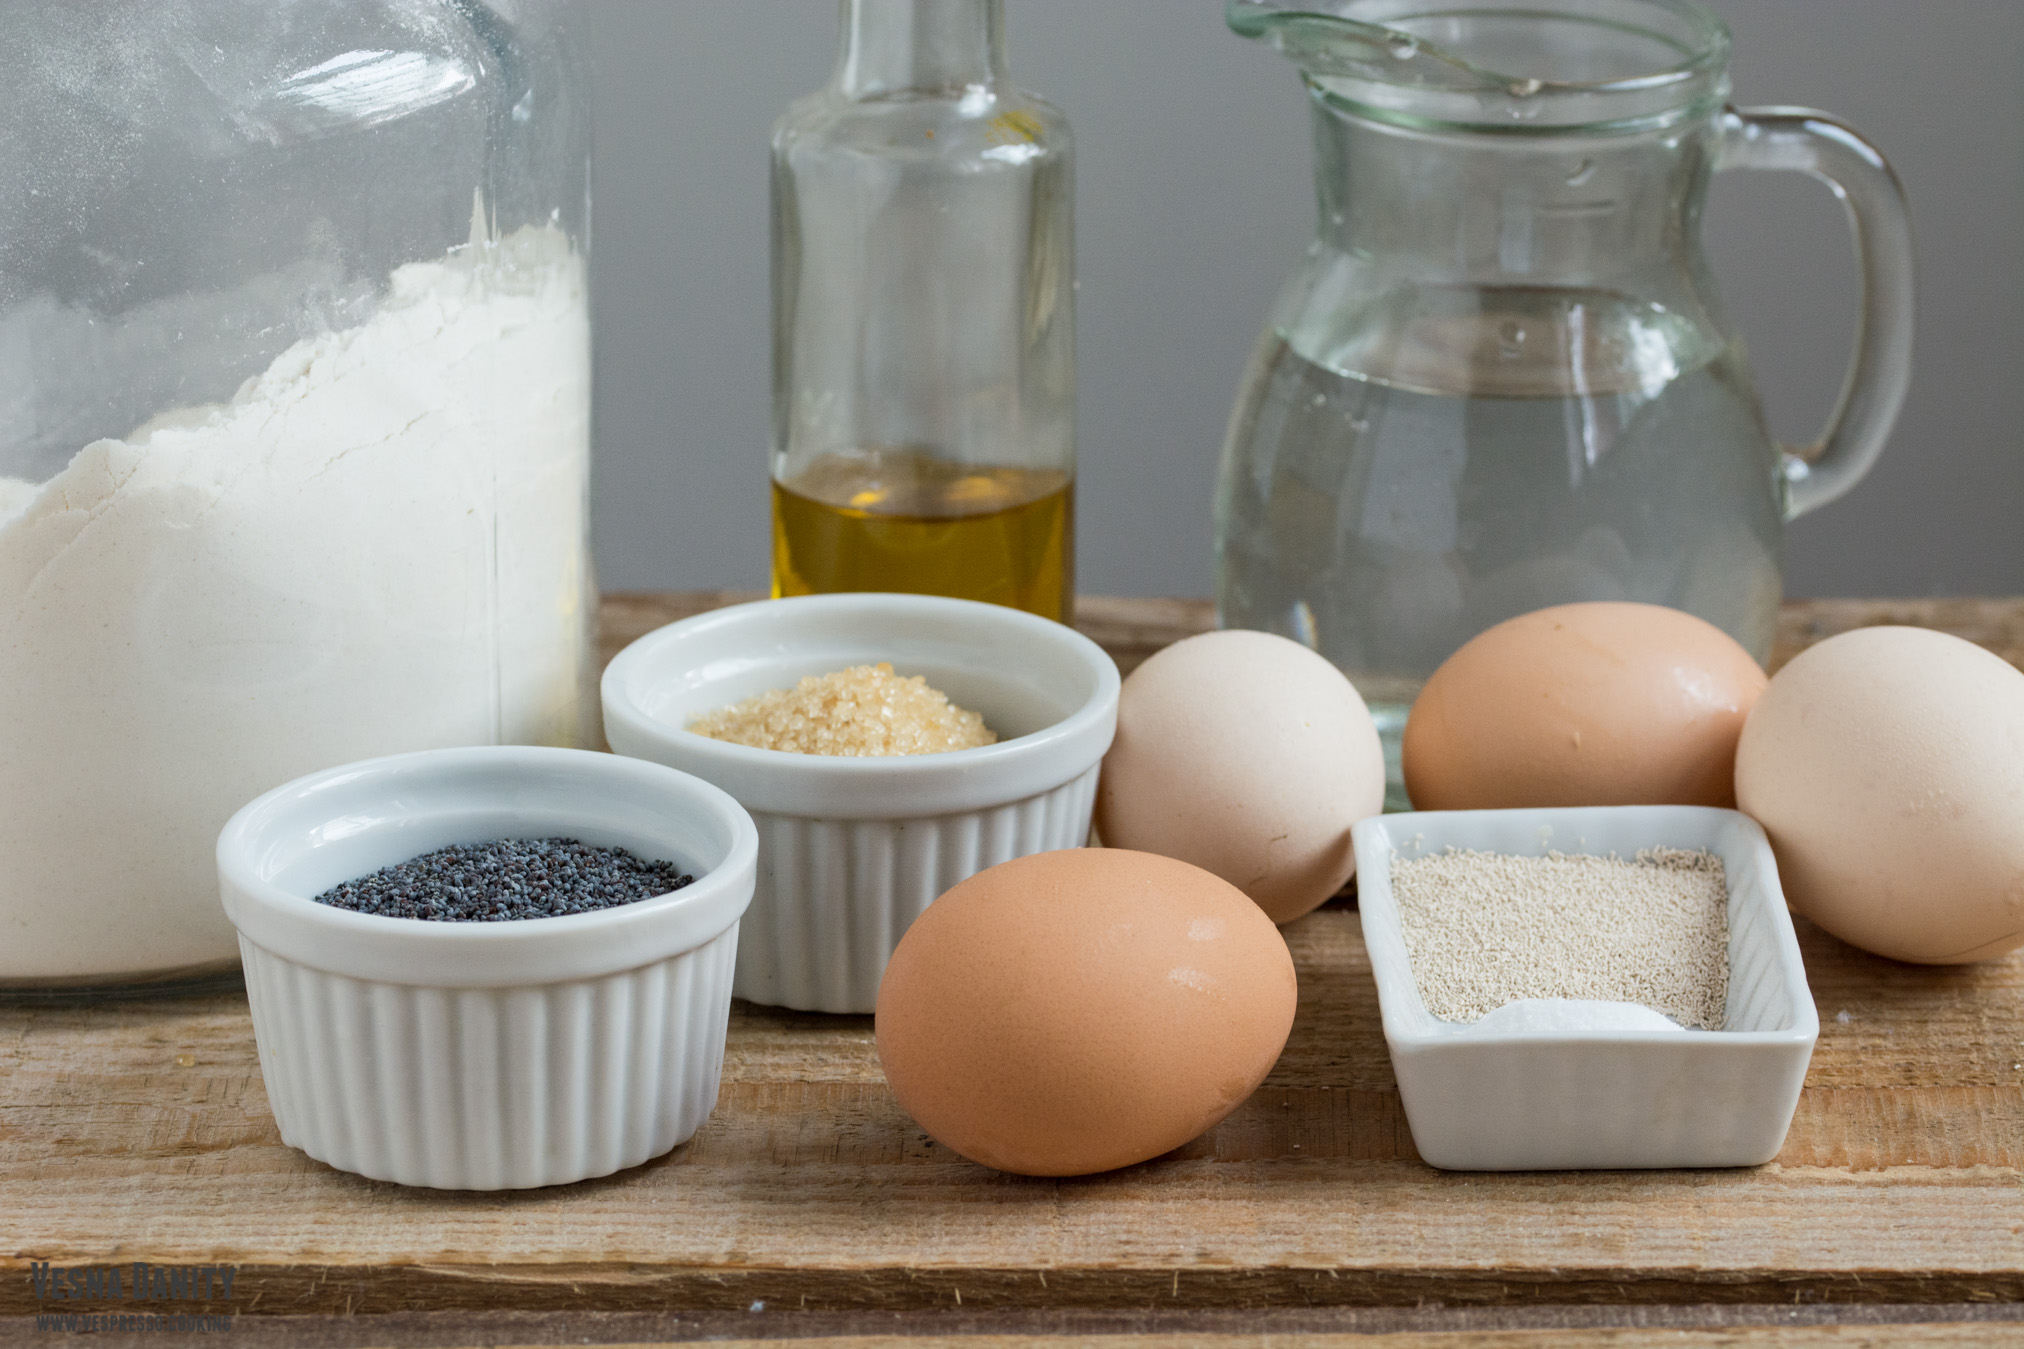
Ingredients (for a 45x15cm loaf):

  • 630g all-purpose flour (22 oz)
  • 225ml lukewarm water (8 oz)
  • 1 satchel active dry yeast (7g)
  • 2 Tbsp granulated sugar (30g)
  • 1 1/2 tsp salt (8g)
  • 55ml vegetable oil (2 oz)
  • 4 egg (2 egg + 1 yolk for the dough and 1 egg for the wash)
  • 2 – 3 Tbsp poppy seeds

Method:

  1. Activate the yeast. In a small bowl combine water, sugar and yeast and let aside for 10 minutes. After 10 minutes, the mixture should be frothy.
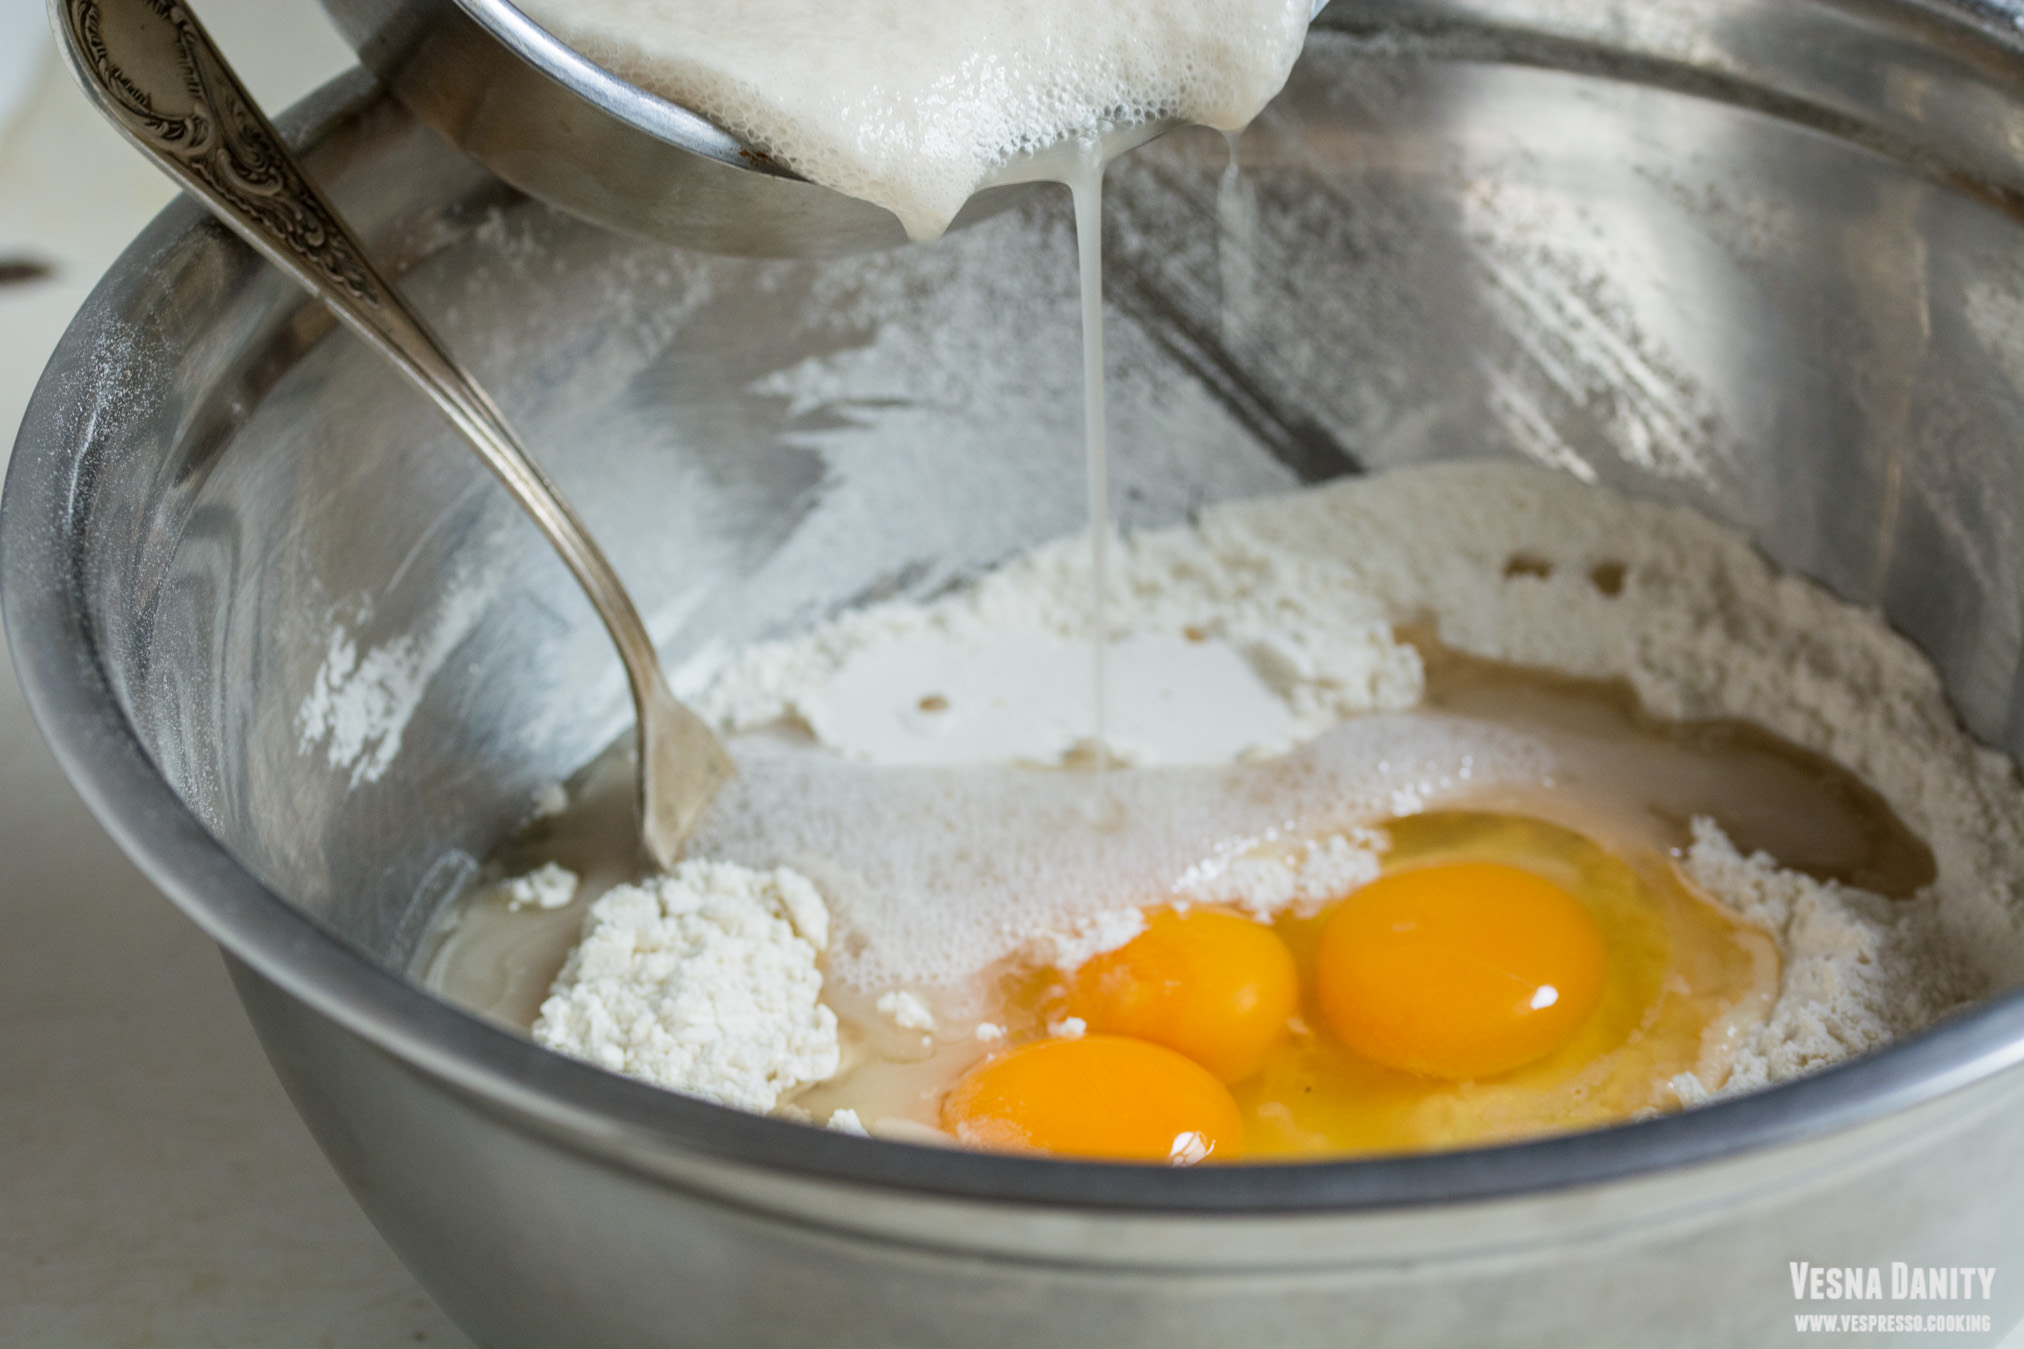
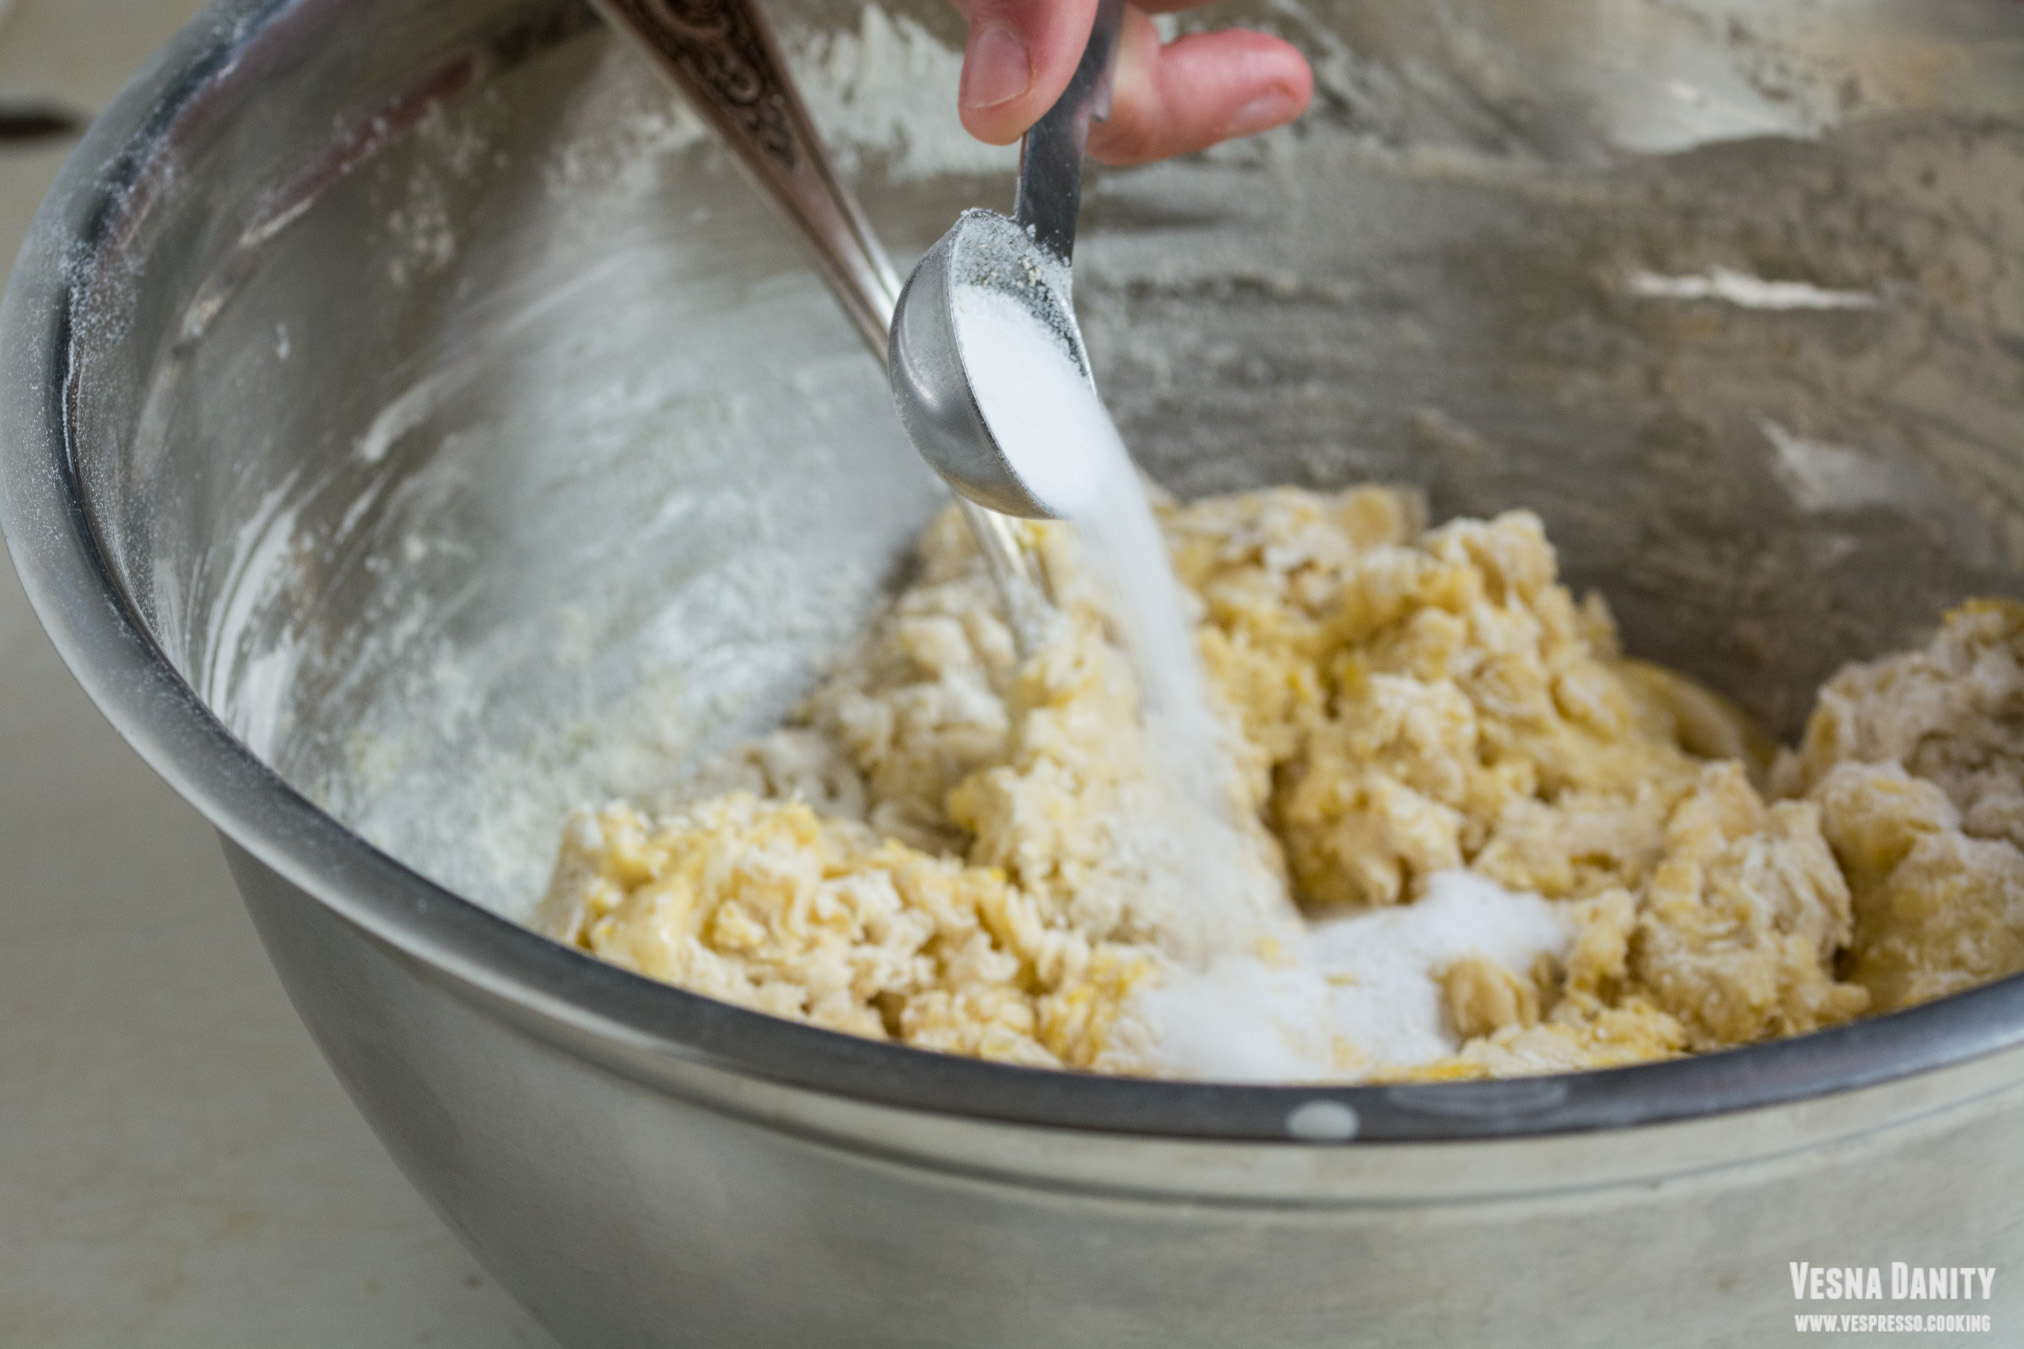
  2. Form the dough. In a large bowl sift the flour and make a well in the center. Add the yeast mixture (point 1) and the oil, 2 eggs and 1 yolk and mix with a wooden spatula. Add the salt and continue mixing until you form a ball.
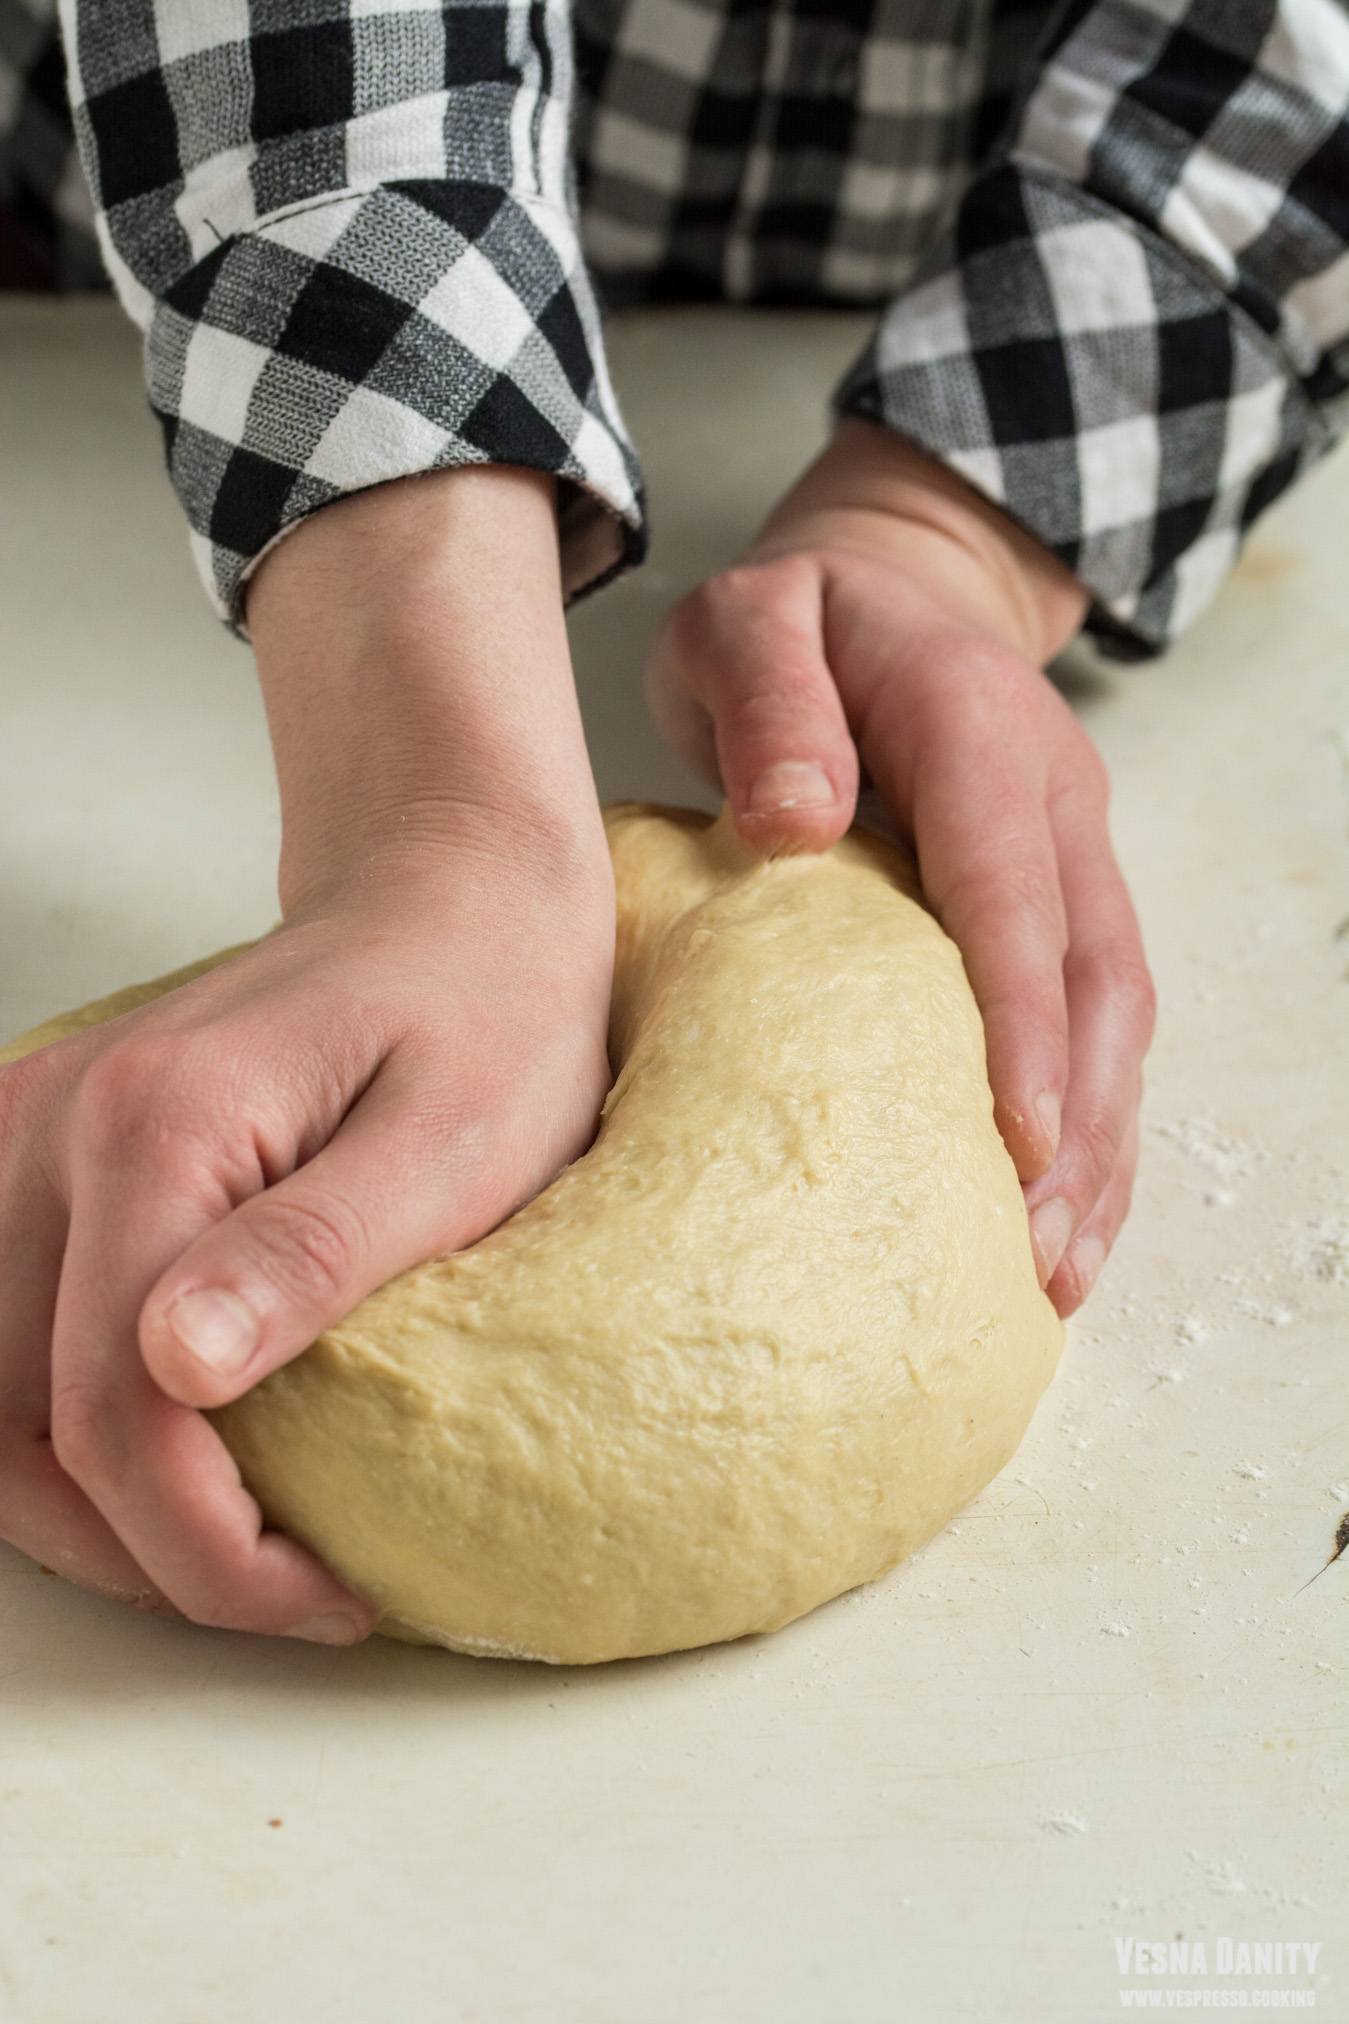
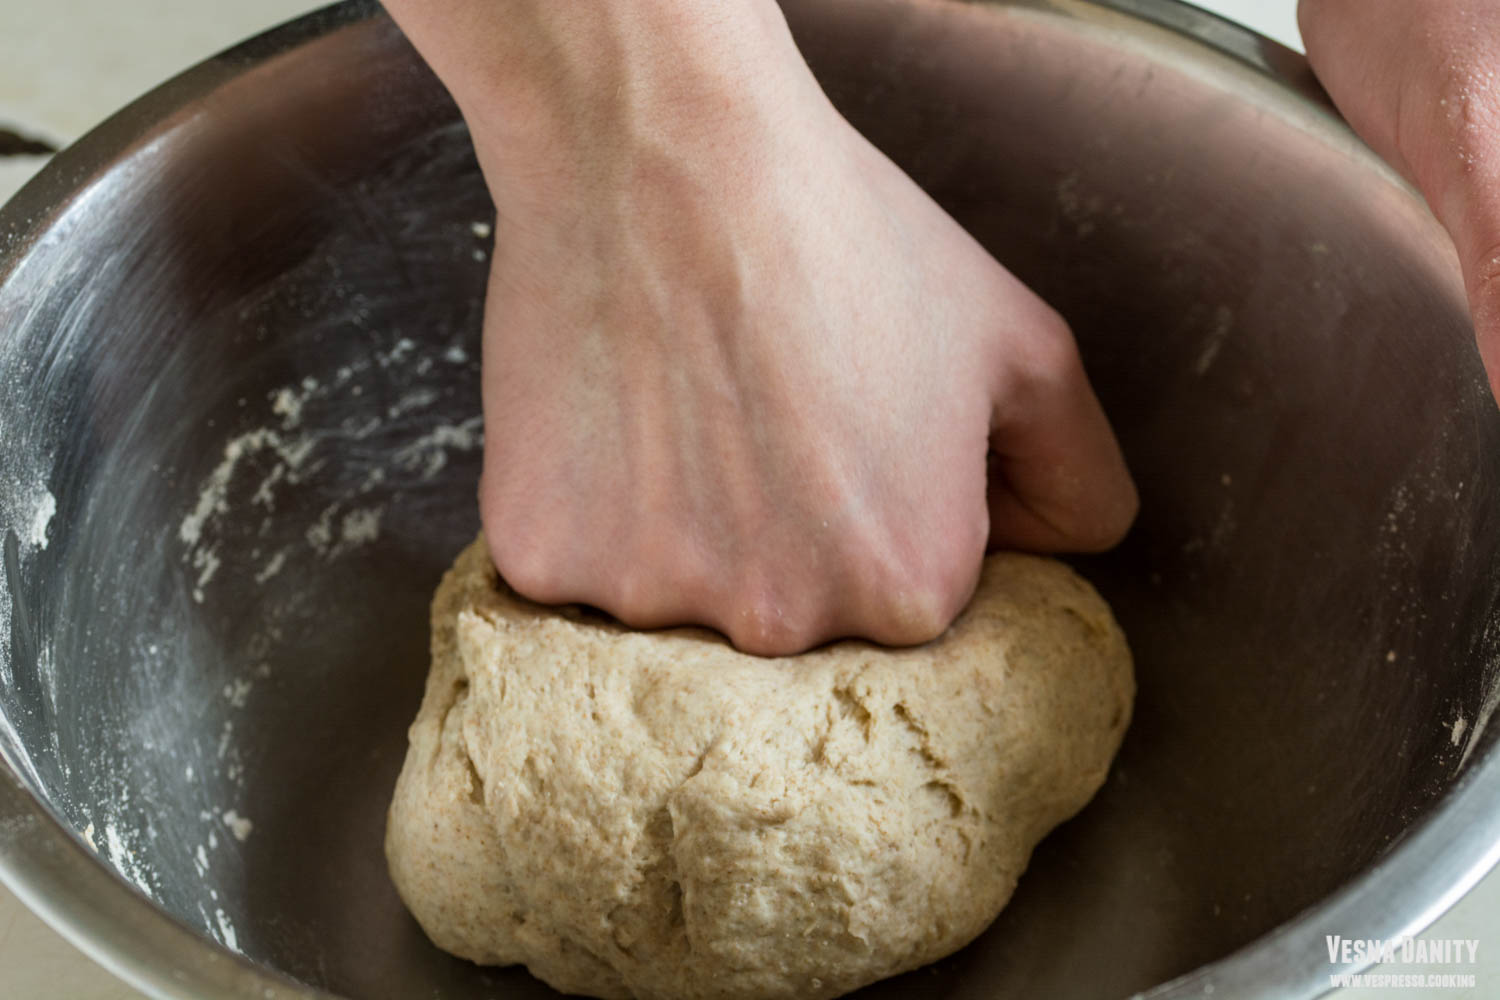
  3. Knead the dough. Bring the dough on a floured working surface and knead it for 5 minutes. After 5 minutes, the dough should be smooth.
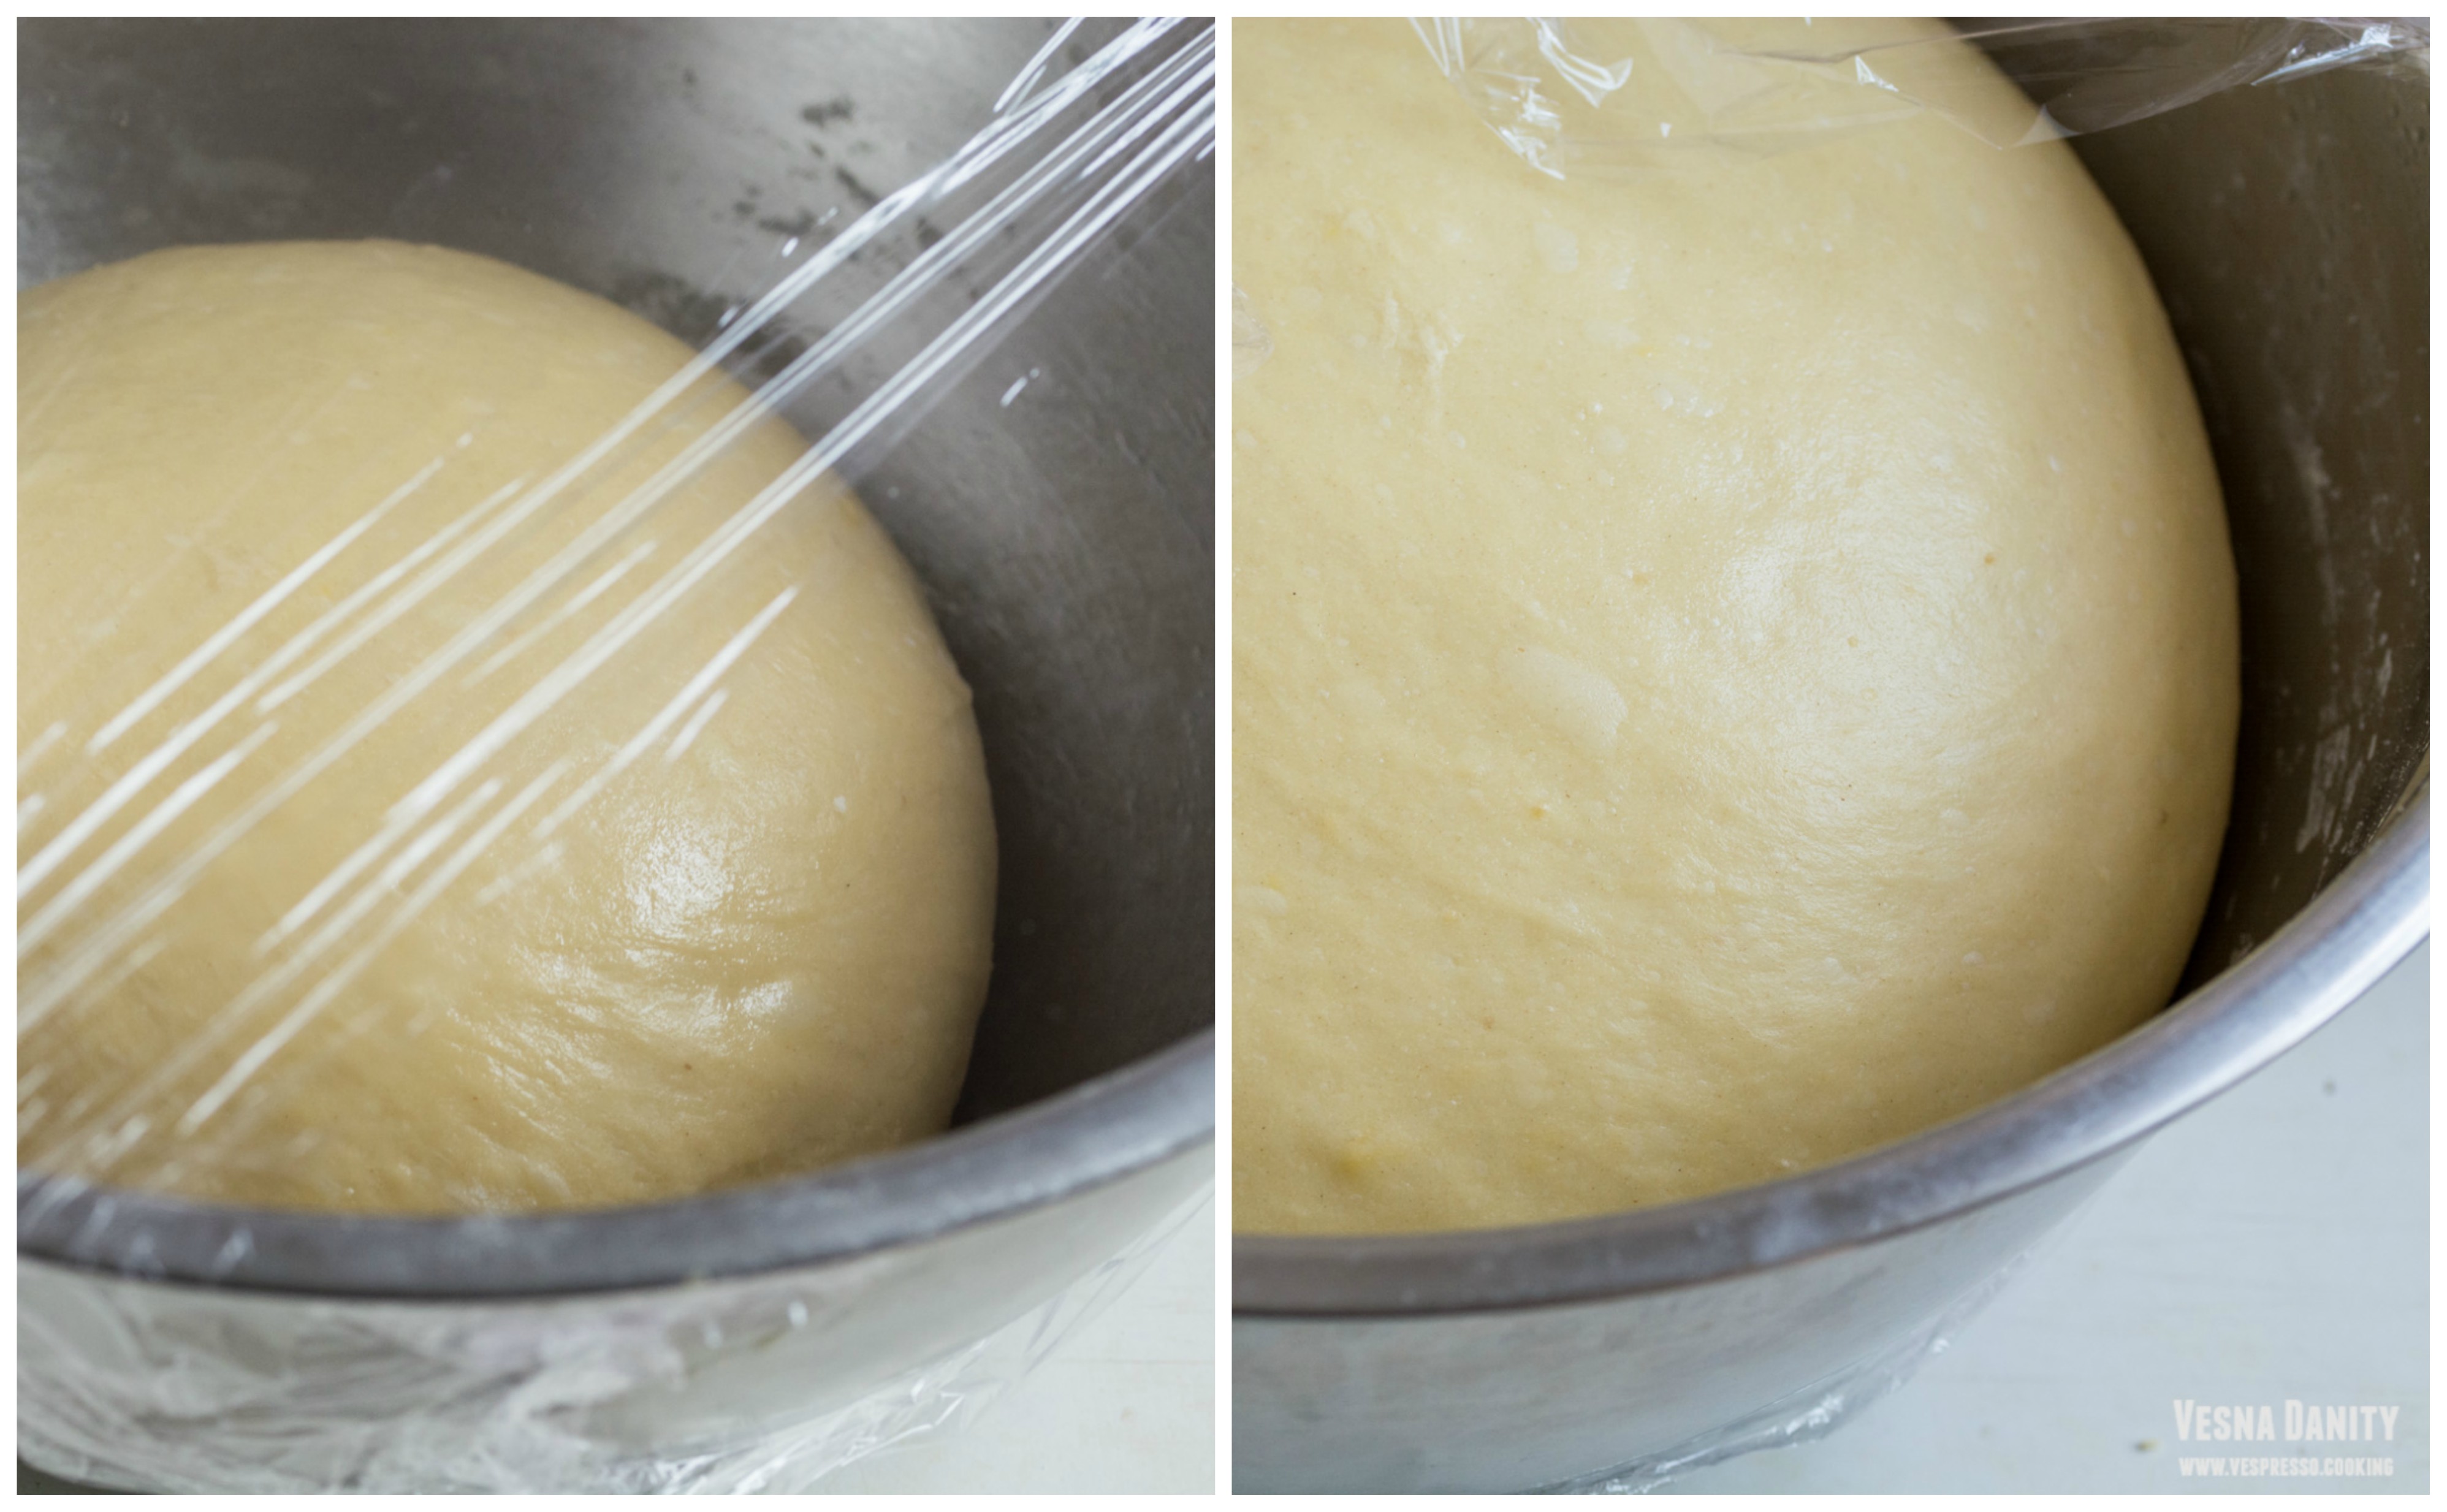
  4. Let the dough rise. Place dough in the bowl, cover with a clean towel and let it rise in a warm place for about 90 minutes (or until doubled in size).
  5. After 90 minutes, place the dough back on the working surface and knead vigorously to knock out the air bubbles.
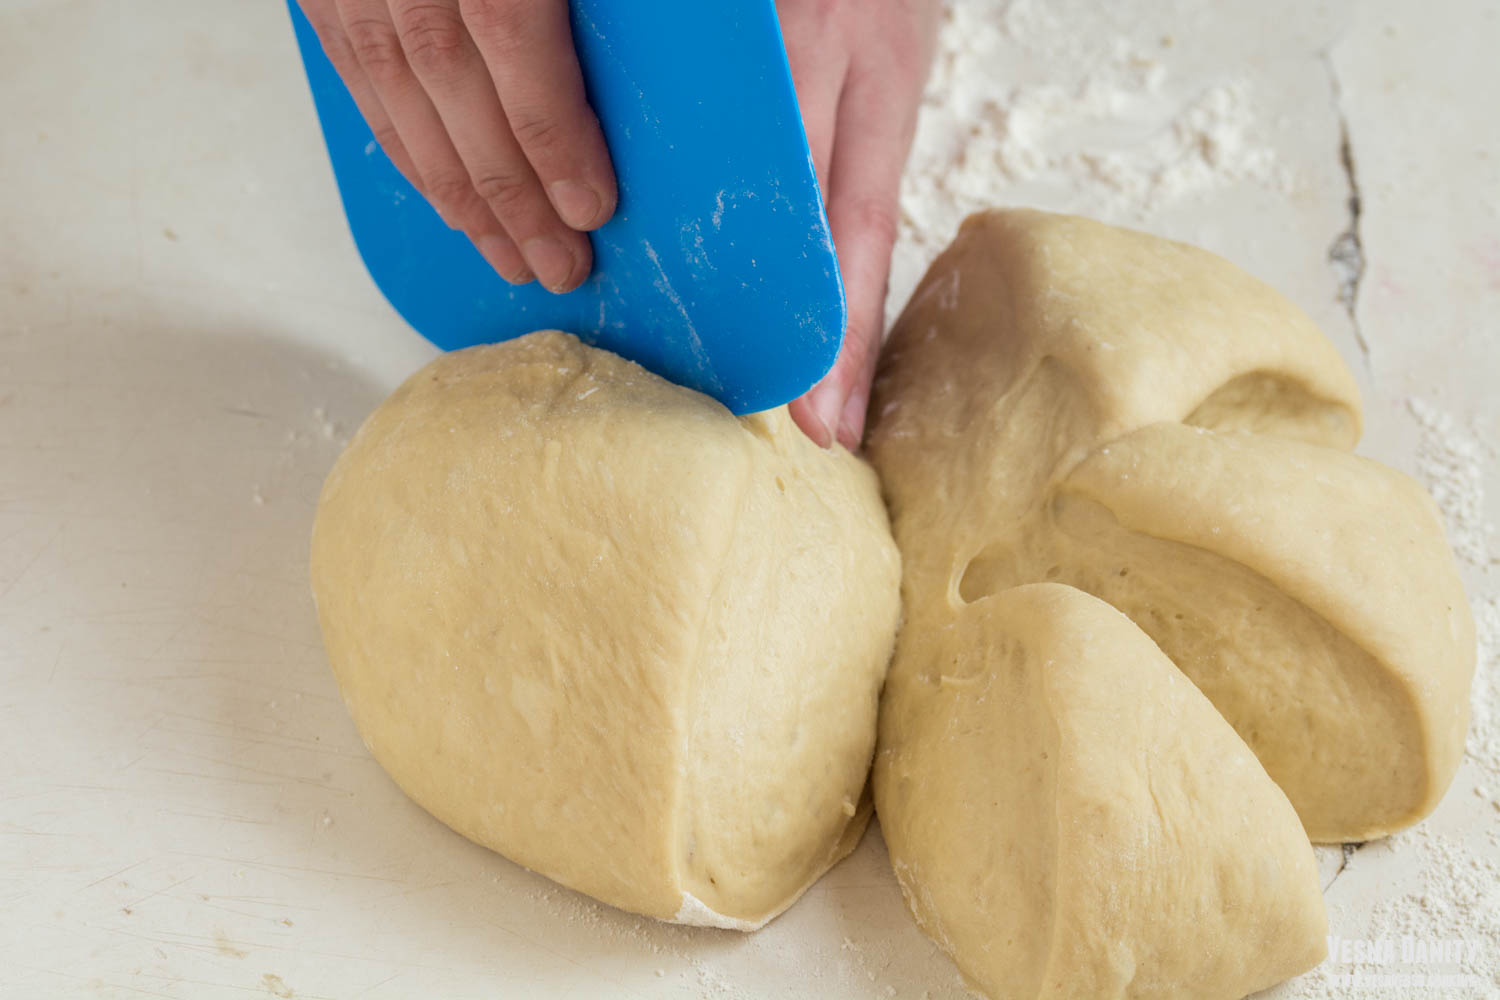
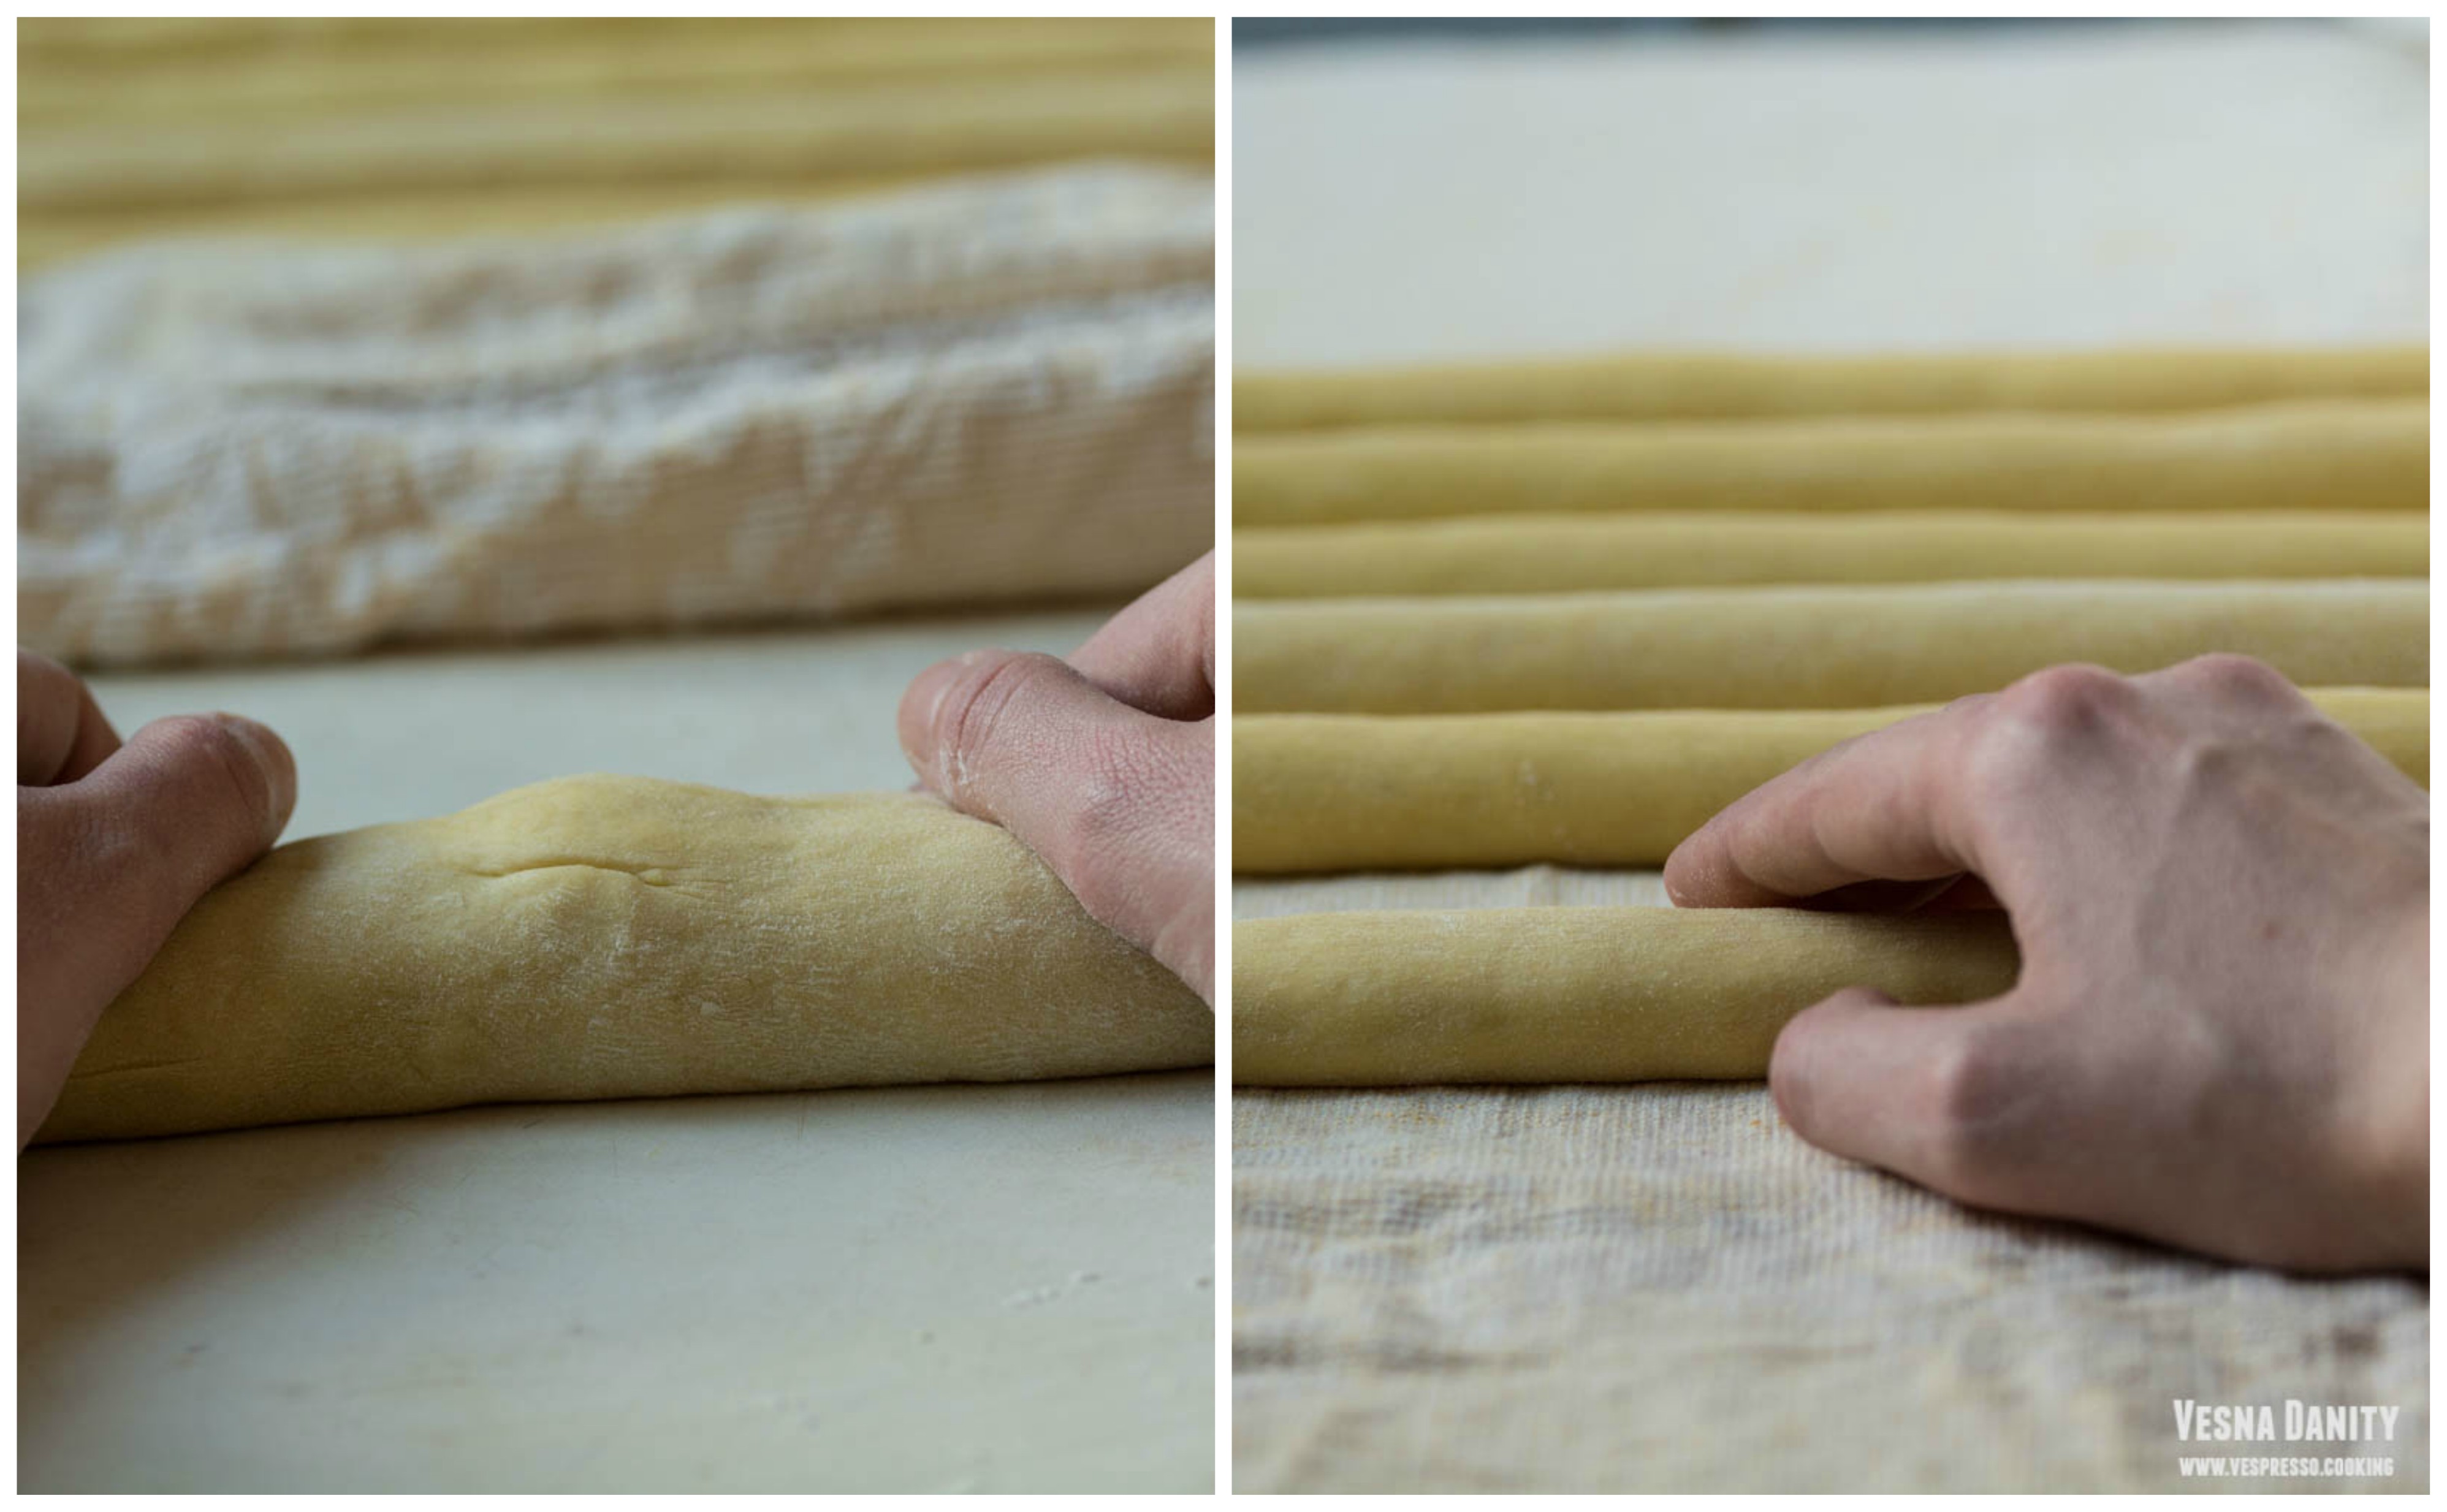
  6. Form the ropes. Divide the dough into 6 pieces. Shape each piece into a ball. Elongate each ball of dough with your hands until you form a 45cm rope. Proceed the same with the rest of the dough.
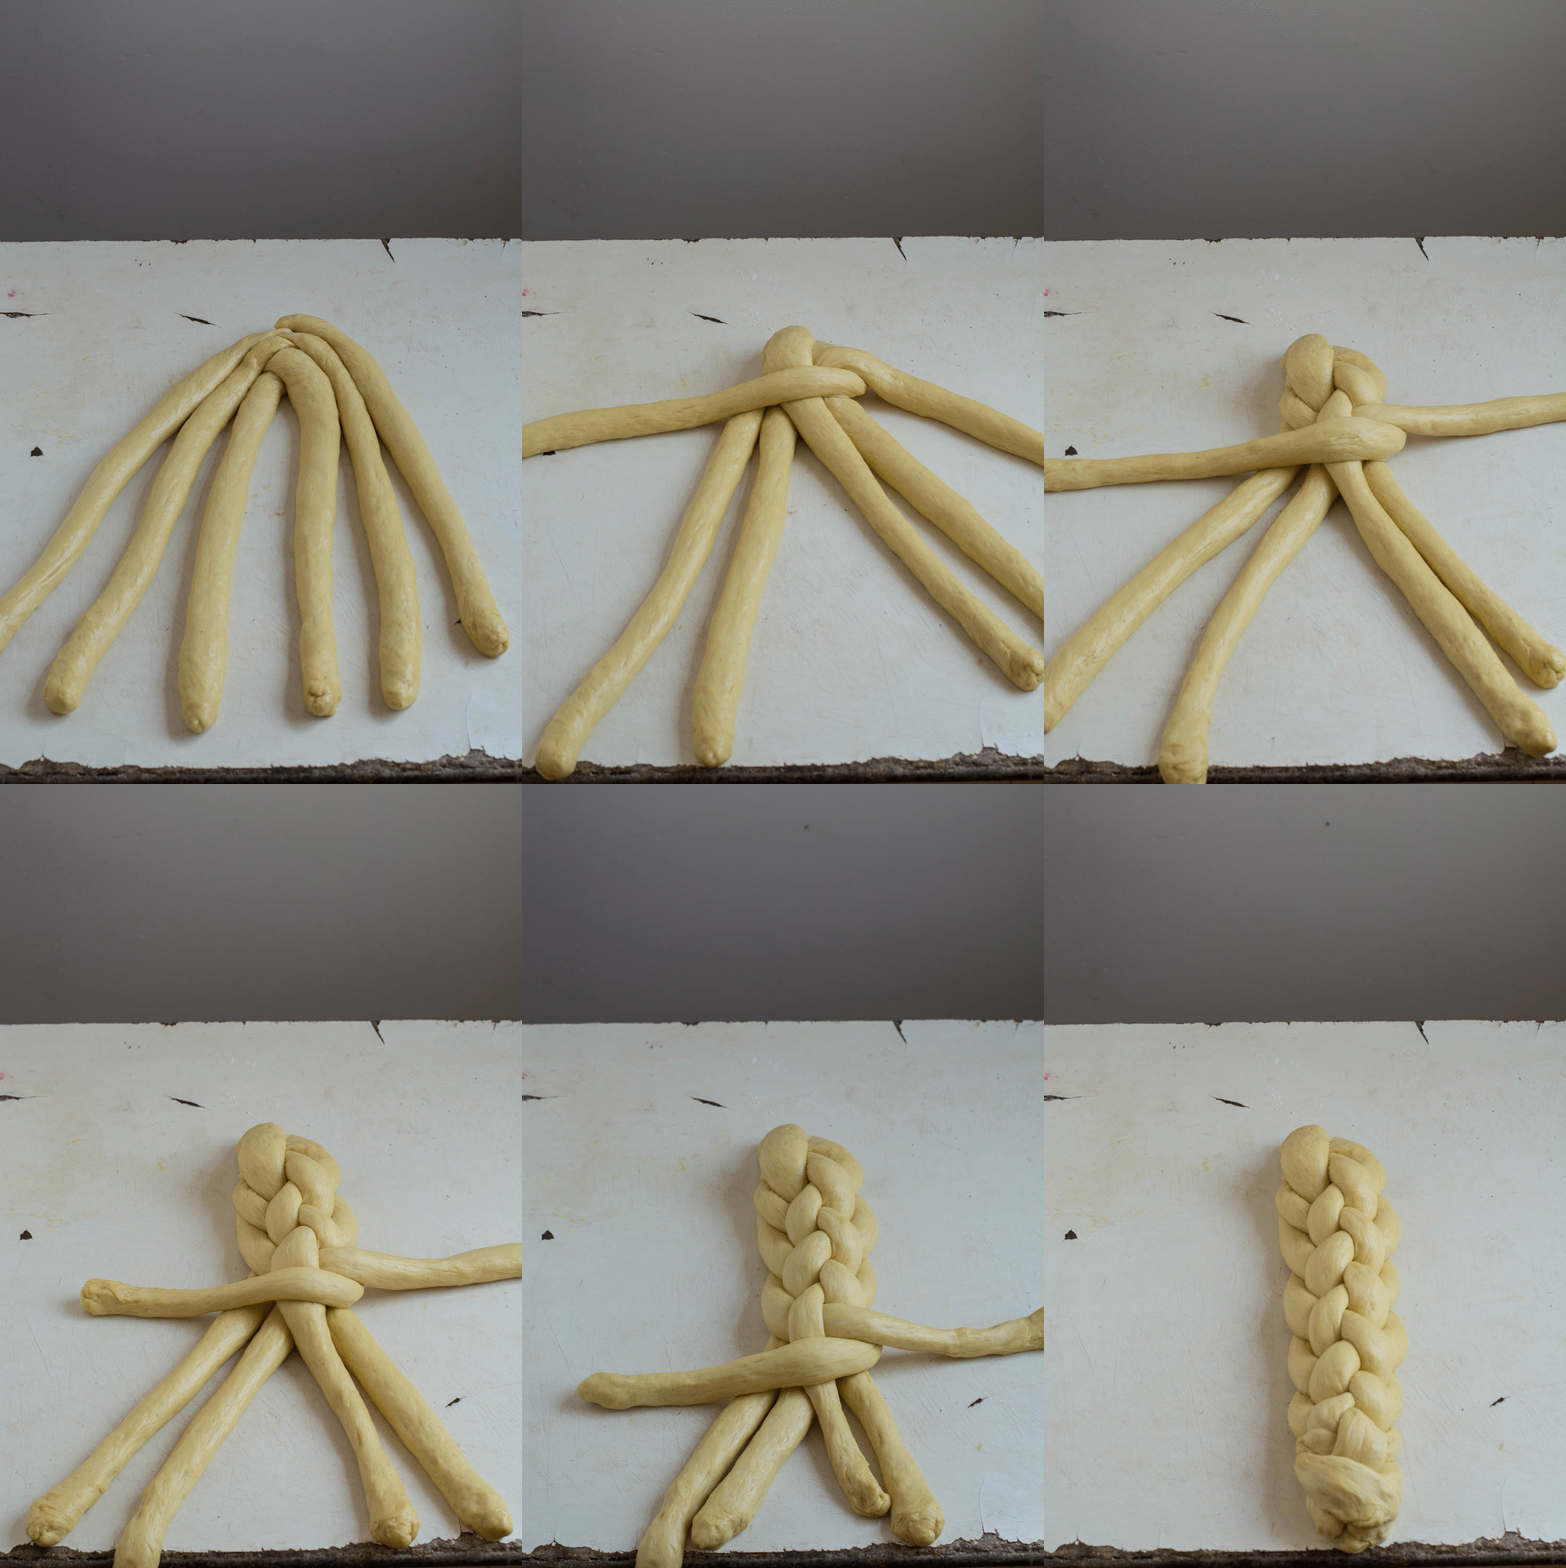
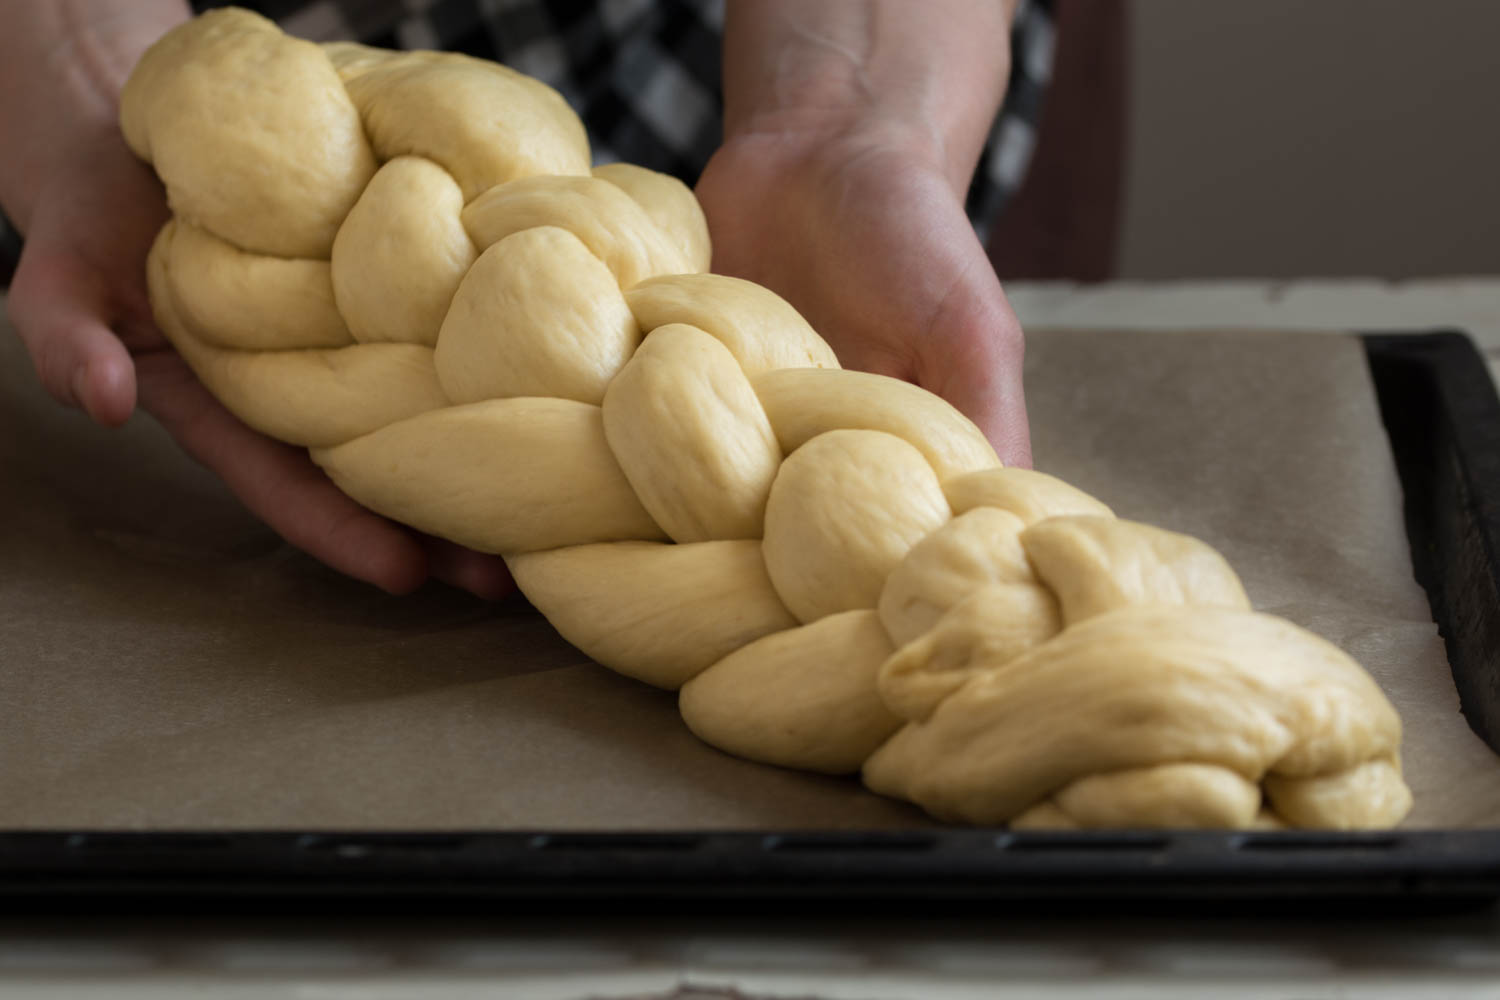
  7. Braid the loaf. For a six-rope braid, I’ll leave you below the step by step pictures, as well as a gif.
  8. Preheat the the oven at 180°C / 350°F (gas mark 4).
  9. Place the loaf on a parchment paper-lined tray. Cover with a clean towel and let it rise for about 45 – 60 minutes.
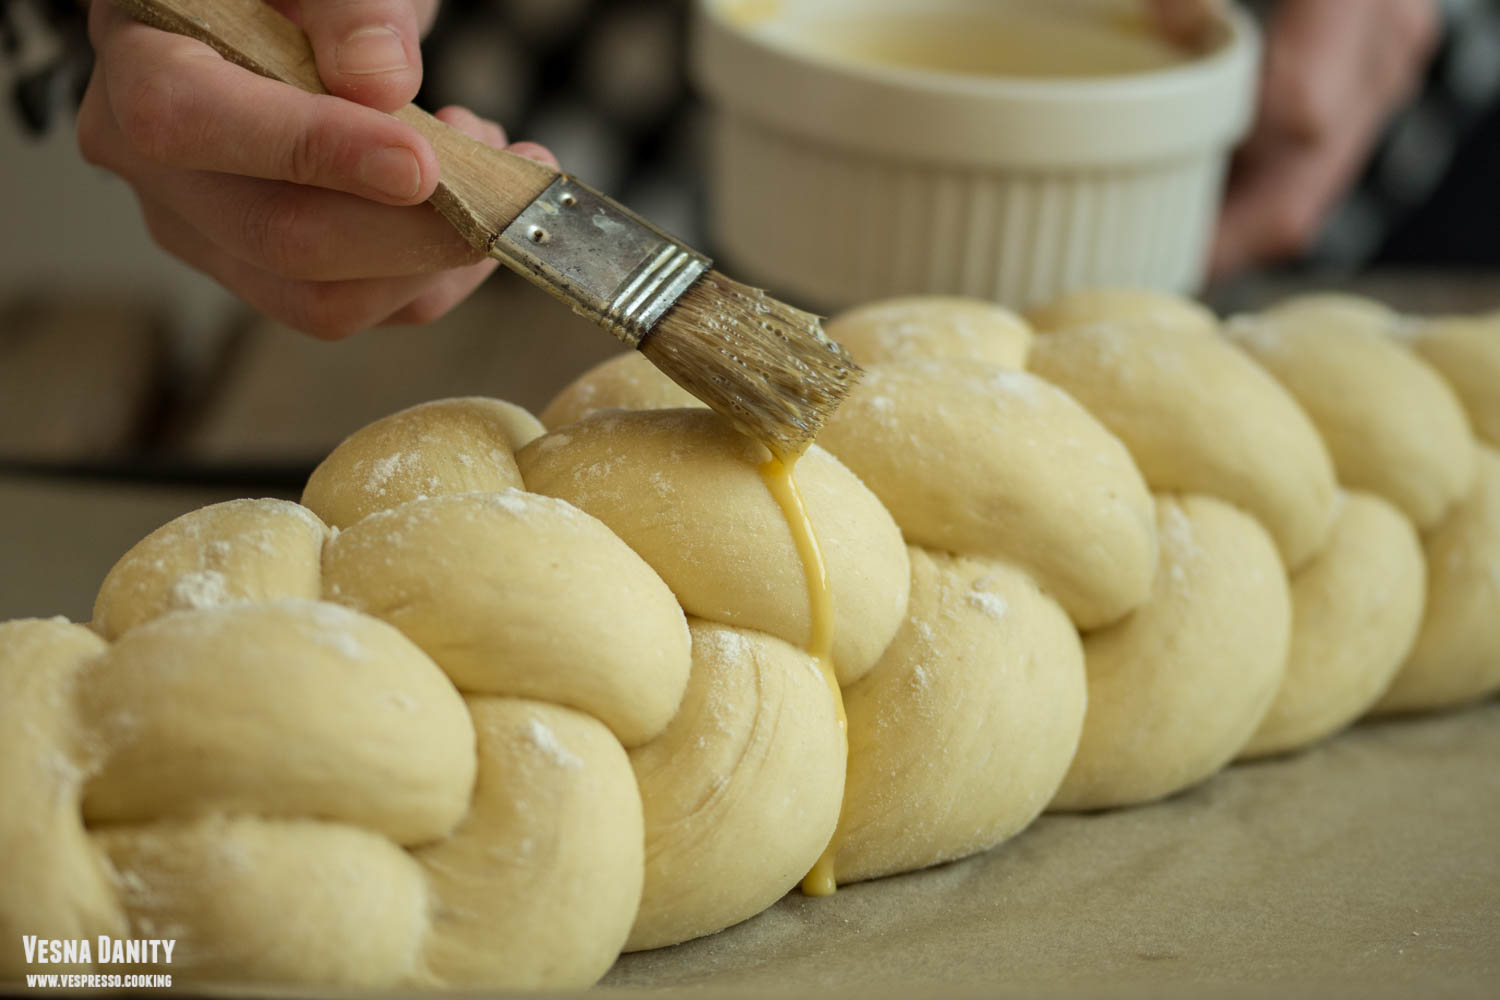
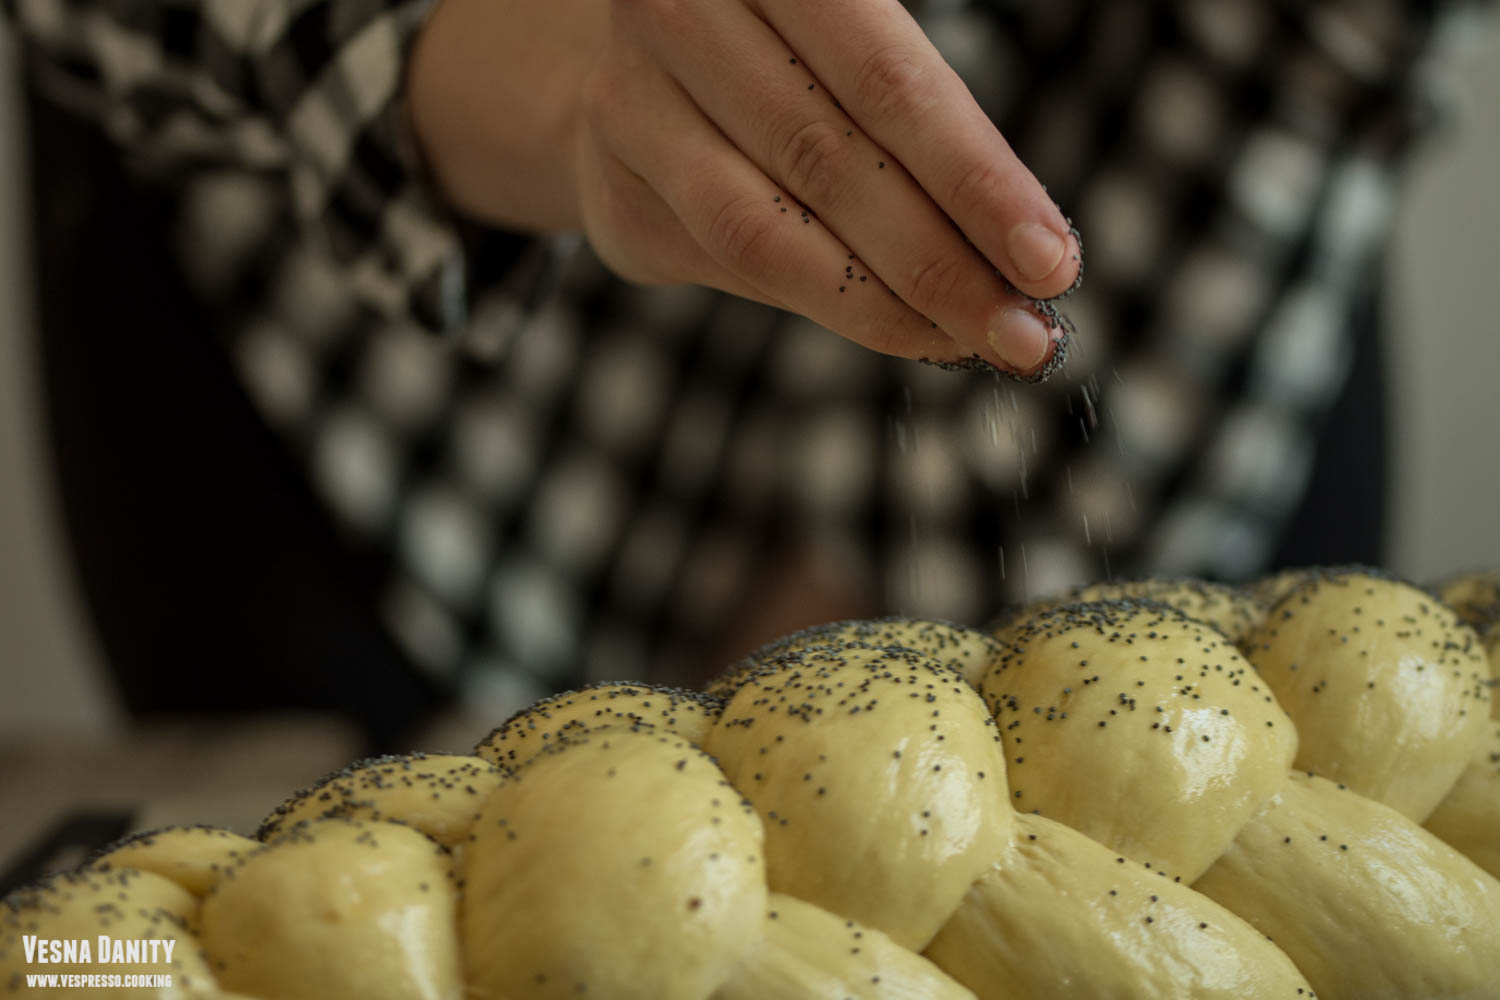
  10. After about 1 hour give the apply egg wash and sprinkle with poppy seeds.
  11. Bake it in the preheated oven for about 30 minutes or until golden brown.
  12. Place it on a wire rack and let it cool down for about 30 minutes before slicing.

Source: www.thekitchn.com

Lachha Paratha


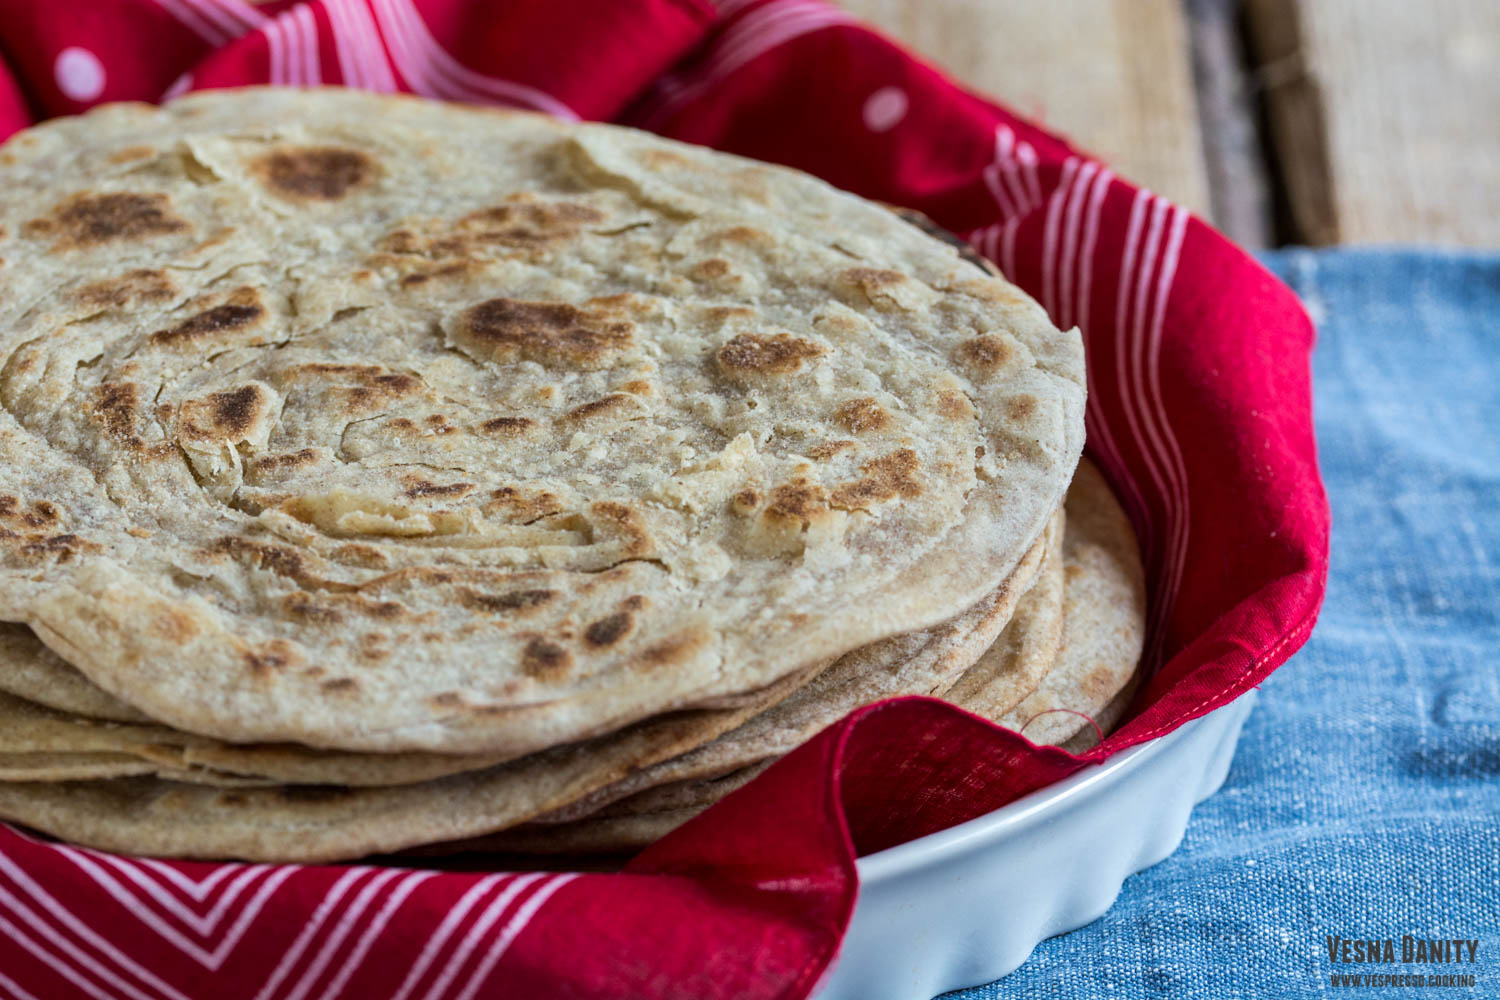
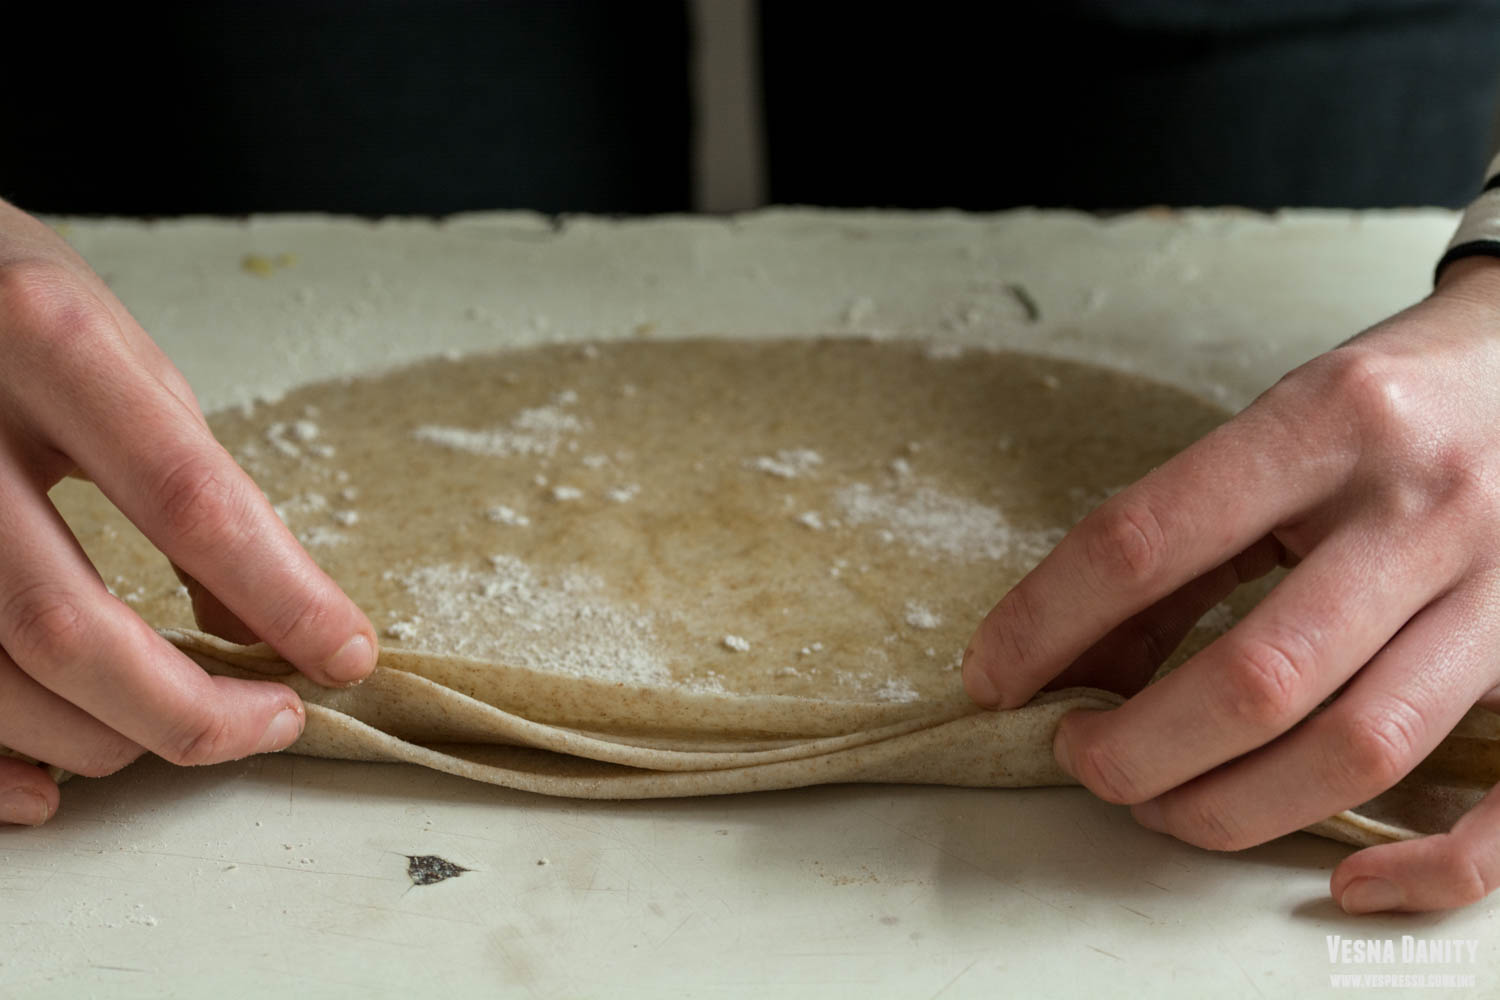
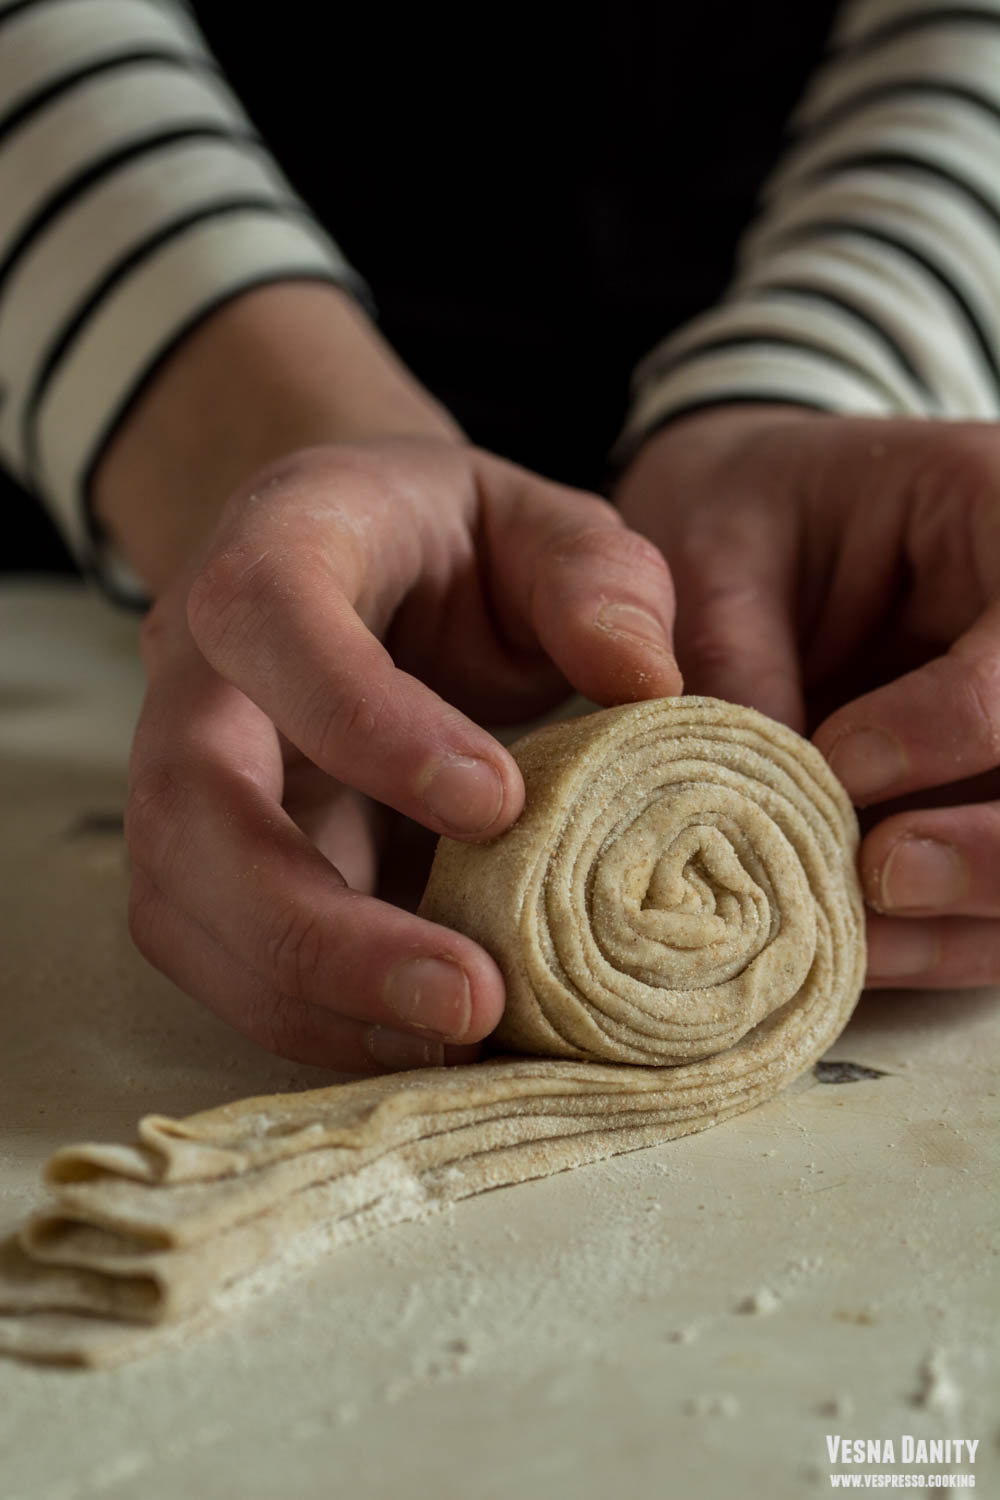
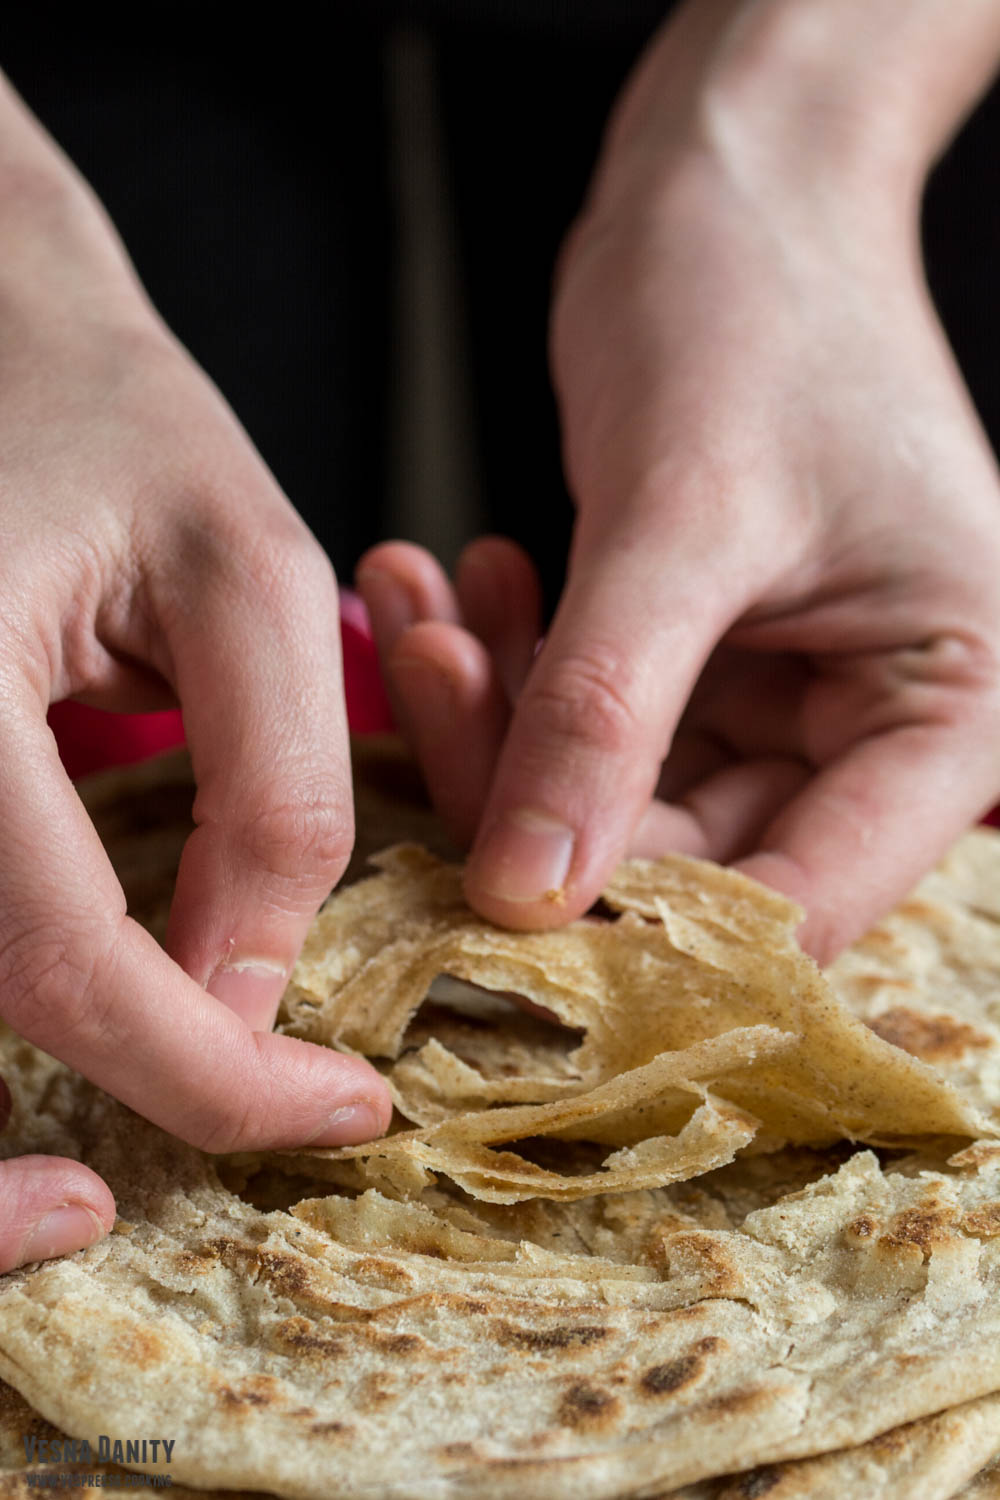
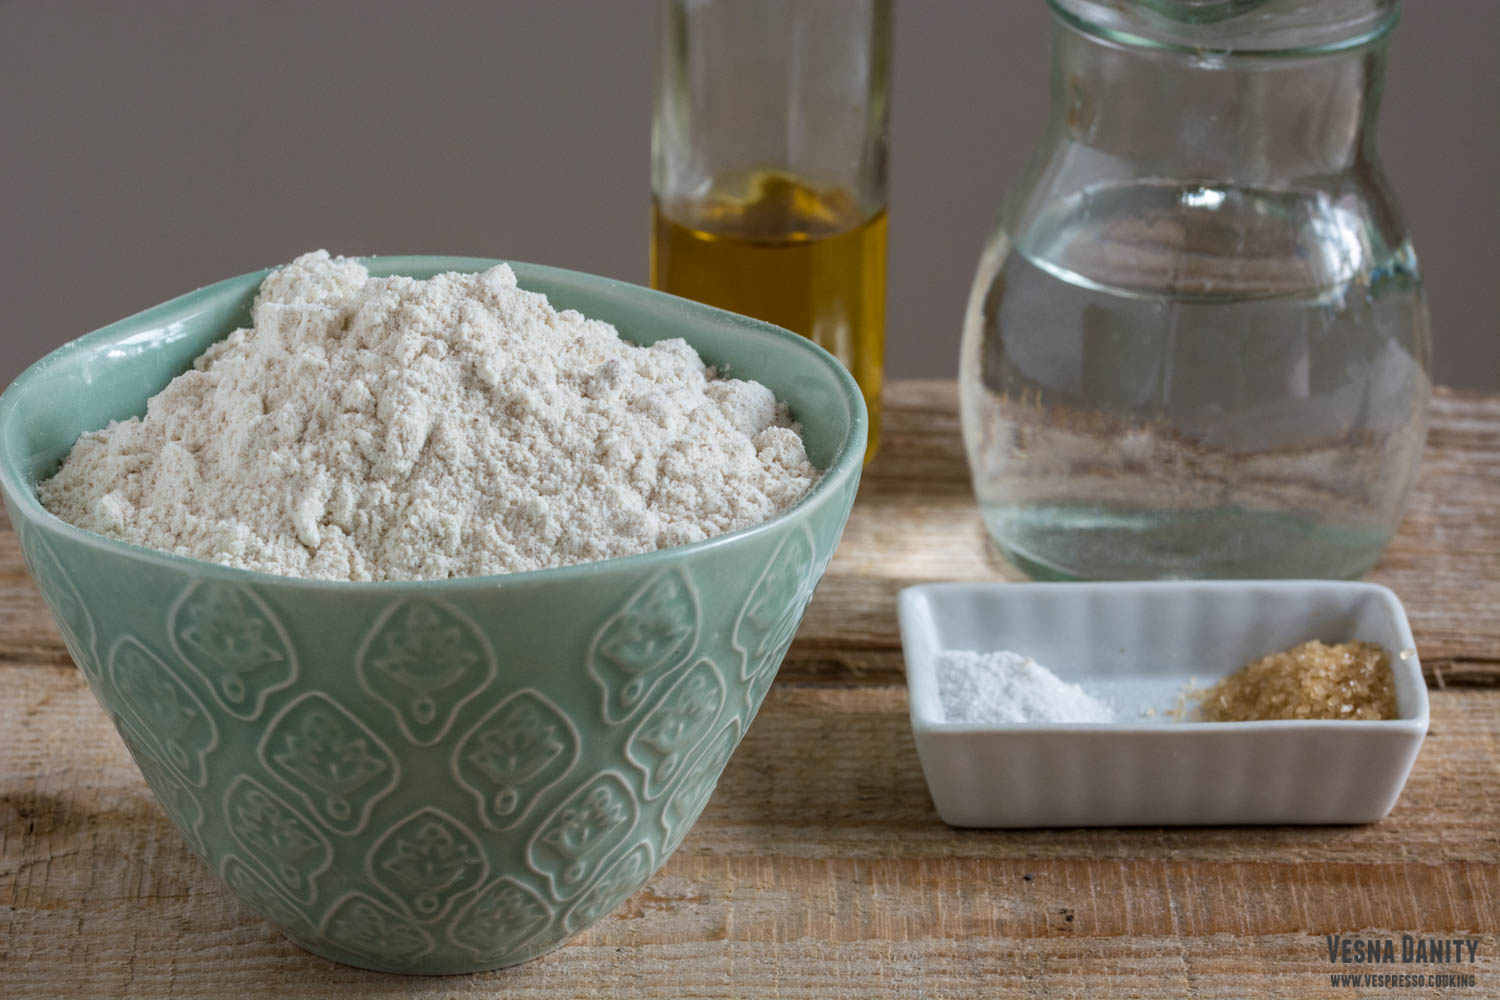
Lachha paratha is an Indian multi layered flatbread. For this simple recipe you’ll only need a handful of budget-friendly ingredients. The dough for lachha paratha is a mix of flour, water and oil, with a pinch of salt and sugar. After the dough has rested for a while, it is divided into 6 balls, and each ball is flatten into a disc with a rolling pin. And this is where the magic begins. Each disc, after being brushed with oil and powdered with flour, is folded into a fan and the fan is shaped as a pinwheel. Each pinwheel is flatten with a rolling pin into a flatbread. All the steps mentioned above are responsible for those lovely, flaky layers of goodness. Lachha paratha is more labor-intensive than a regular flatbread, but the result is absolutely spectacular; these multi layered flatbreads are not only a feast for the taste buds, but also for the eyes (and even for the ears).

Ingredients (for 6 – 8 flatbreads):

  • 280g whole wheat flour (2 cups) * + extra 70g for rolling (1/2 cups)
  • 75ml olive oil (5 Tbsp)**
  • aprox 140ml lukewarm water (38 – 40°C)***
  • 5g salt (1 tsp)
  • 5g  granulated sugar (1 tsp)

* I used whole wheat flour. This recipe can be made with all-purpose white flour or with a mixture of all-purpose and whole wheat flour.

** One Tbsp of olive oil is added to the dough and 4 Tbsp are used for brushing the rolled flatbread.

*** The quantity of water depends on the type of flour. The water is added 2 Tbsp at a time until you form a soft ball of dough, a ball that doesn’t stick to the bowl. For 280g whole wheat flour I use about 140ml water.

Method:

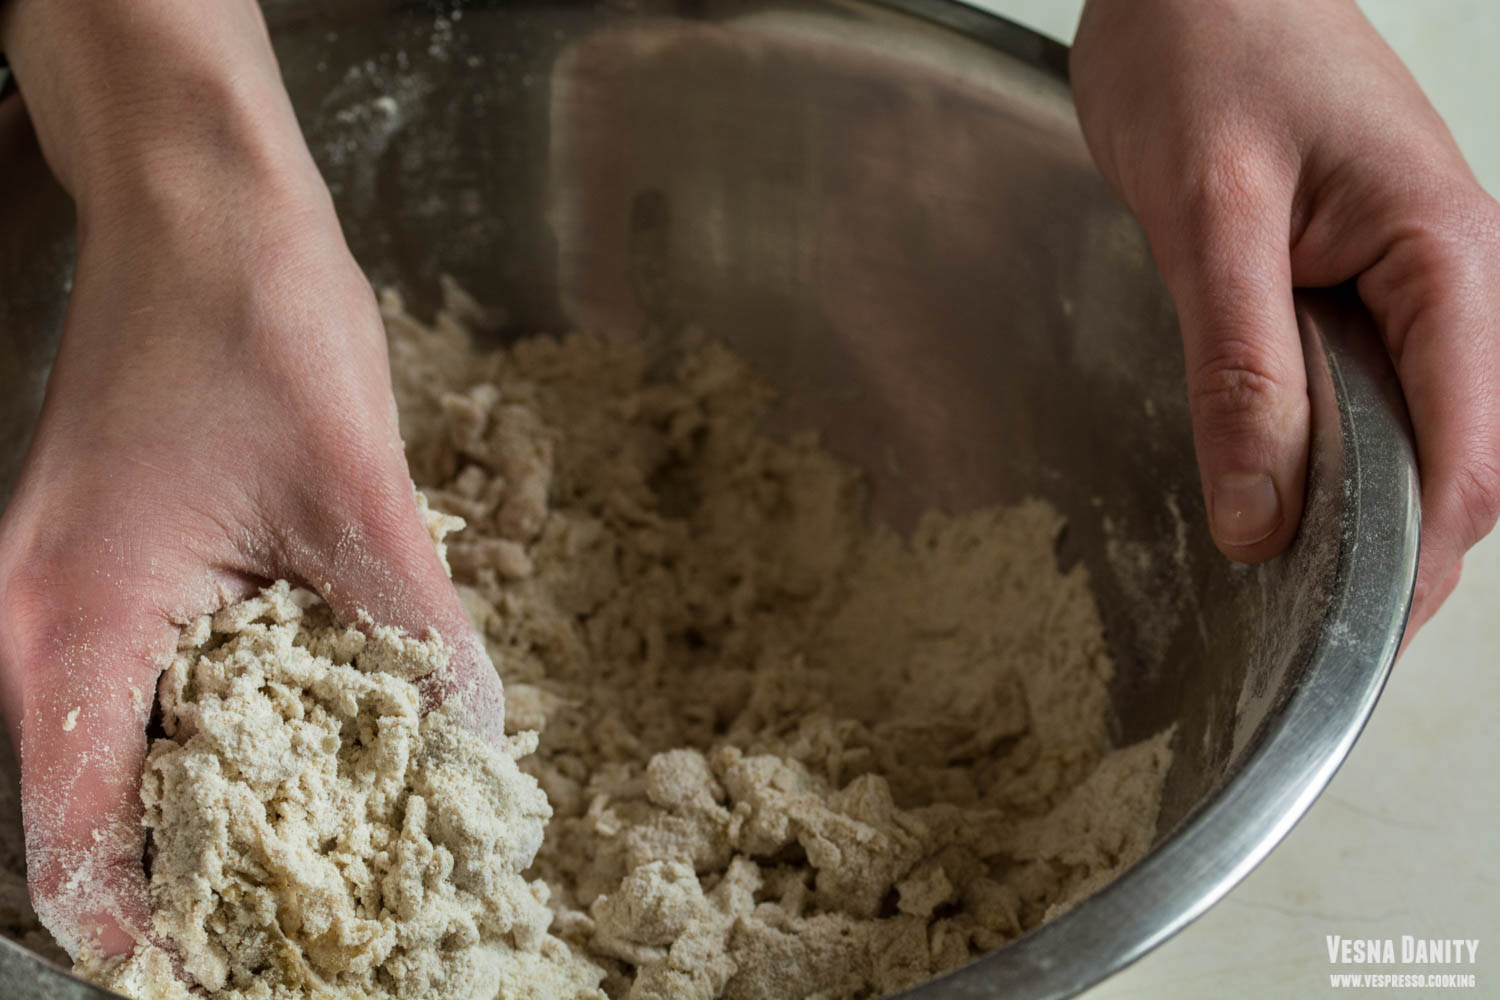
  1. Prepare the dough. In a large bowl combine white flour (sifted), sugar, salt and oil and make a well in the center. Add about 2 Tbsp of water at a time and mix with your fingers until you form a ball. The ball should be soft but it shouldn’t stick to the bowl.
  2. Knead the dough. Bring the dough to a floured working surface and knead it for 2 minutes. Place the dough in the bowl, cover it with a damp towel and let it rest for 30 minutes.
  3. Cut the dough into triangles. After 30 minutes, place the dough back on the working surface, knead it and cut it into 6 triangles. Shape each triangle into a small ball.
  4. Roll the first piece of dough. Place one ball on the floured working surface and cover the other 5 with the same damp towel. Roll the first ball with a rolling pin until it gets 2mm thick.
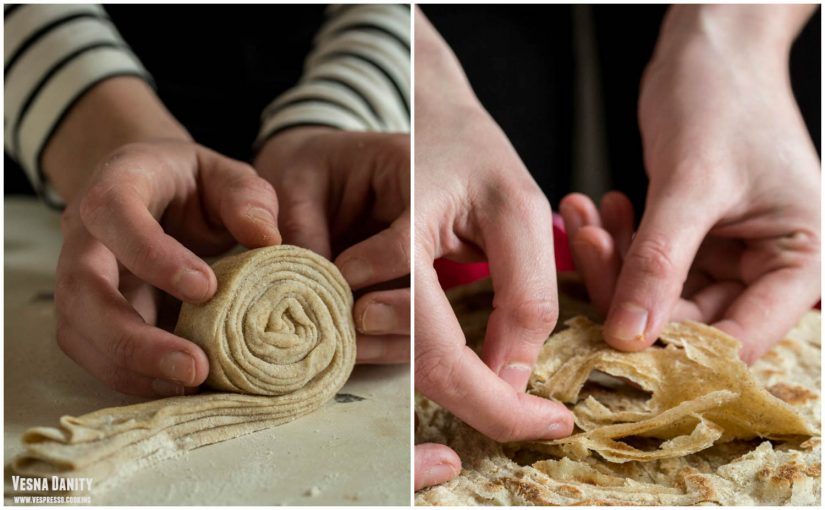
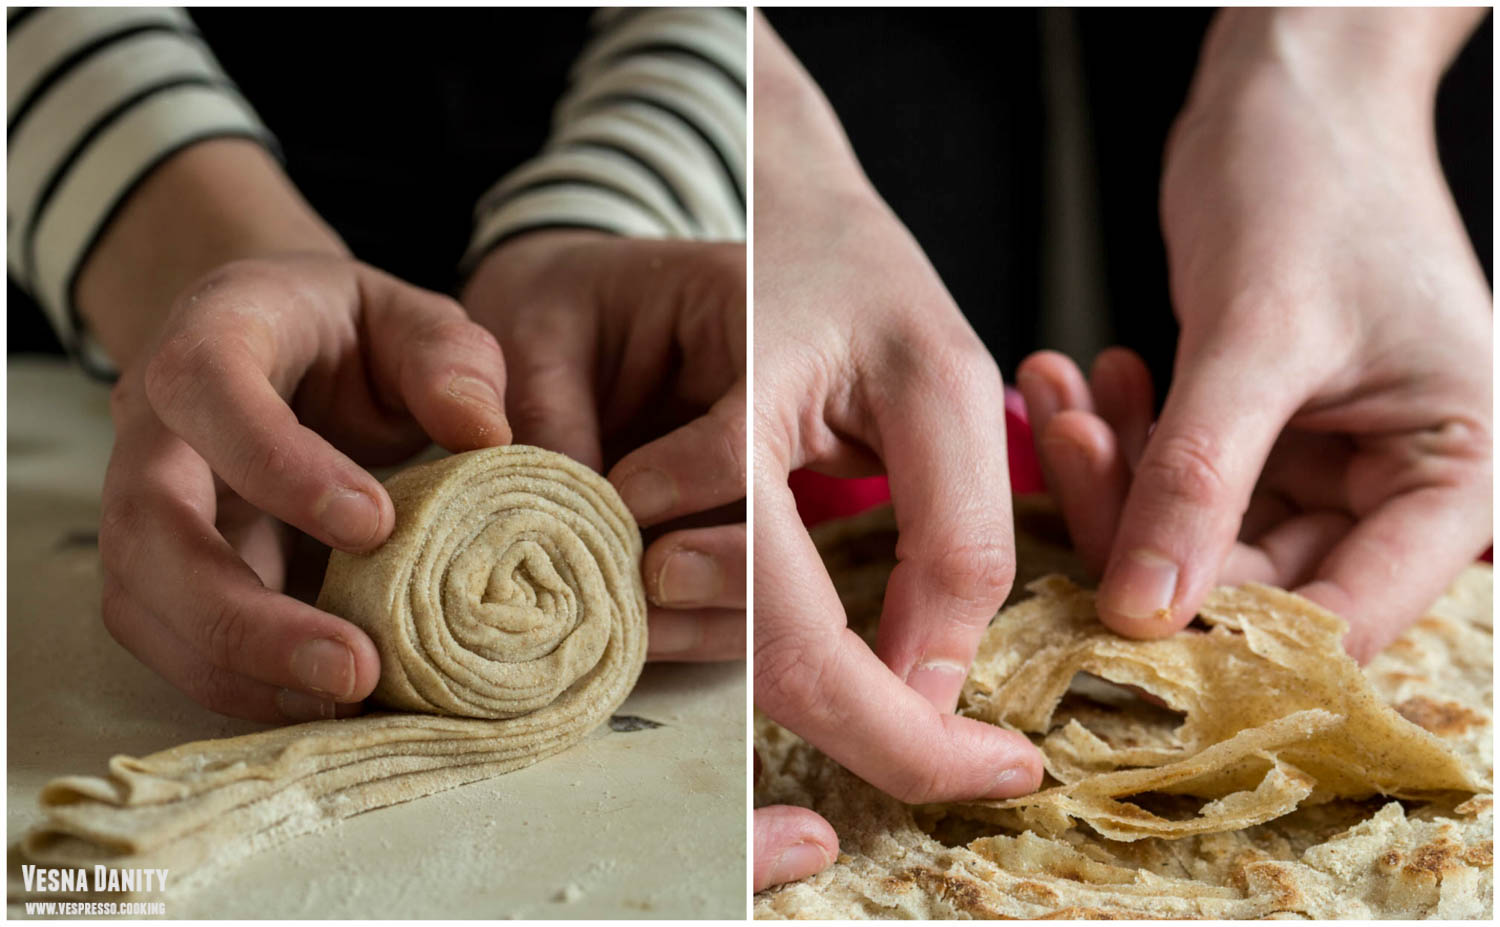
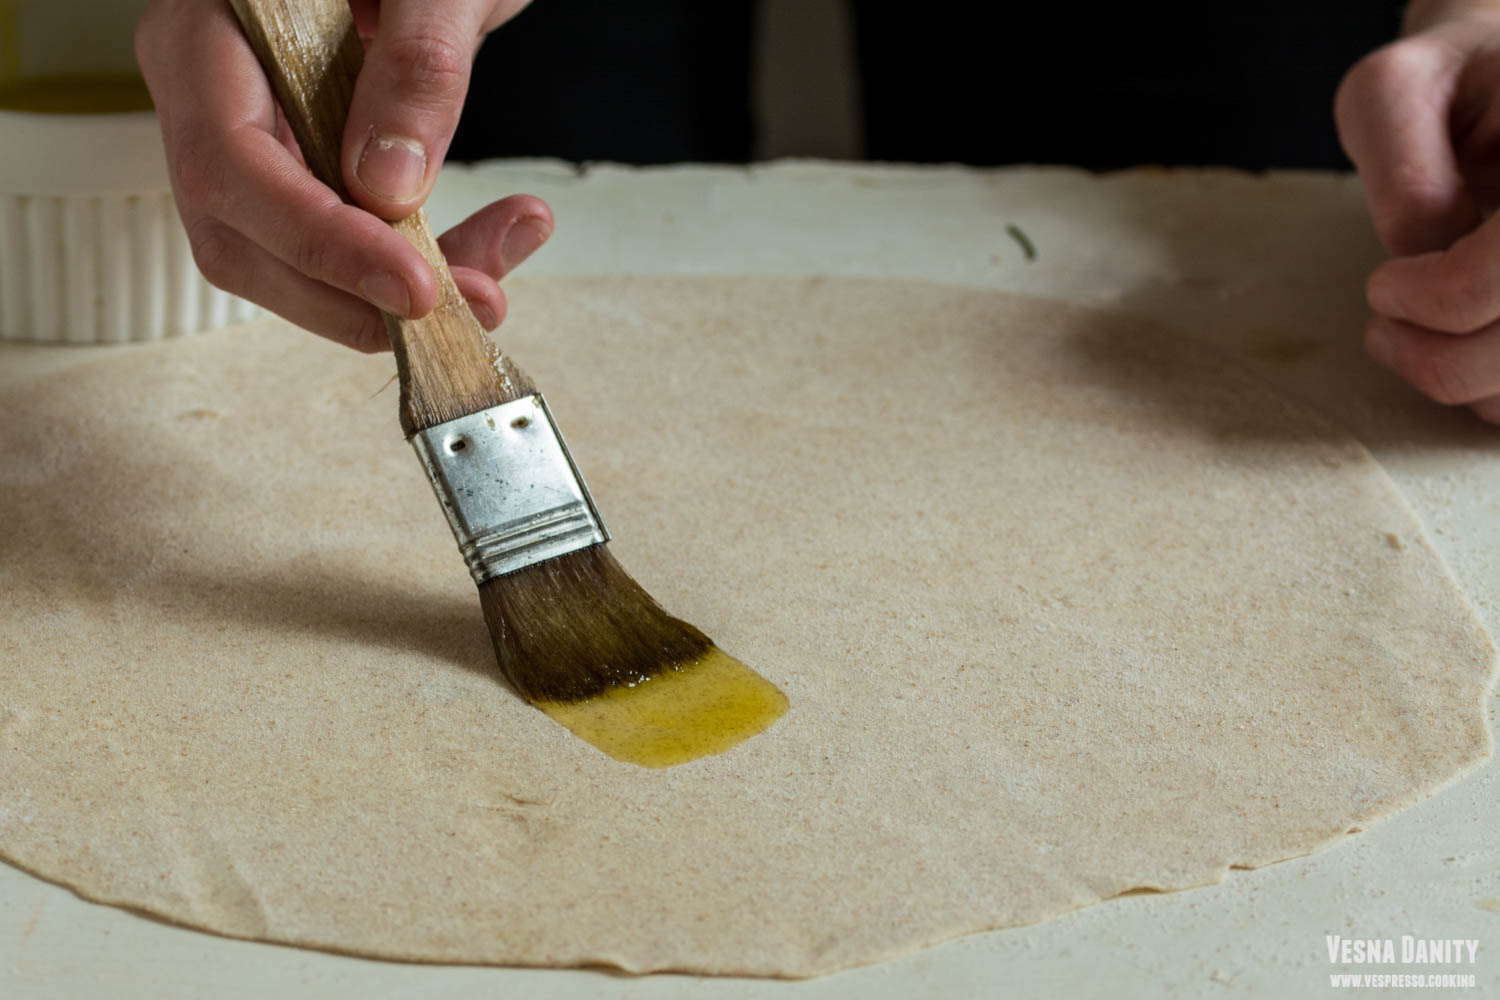
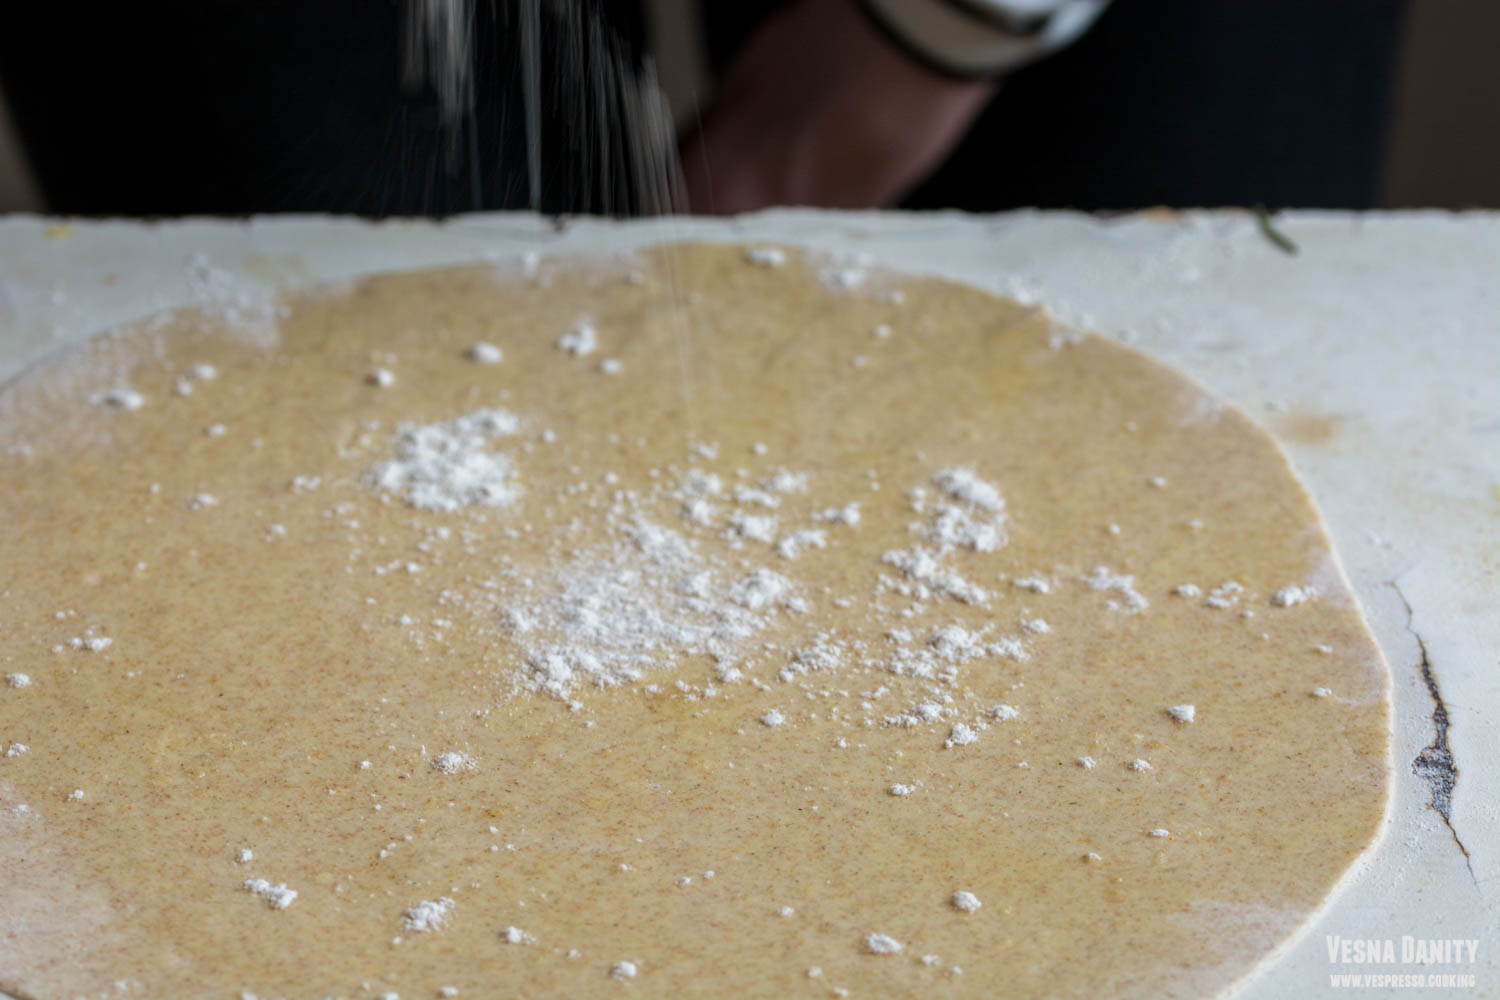
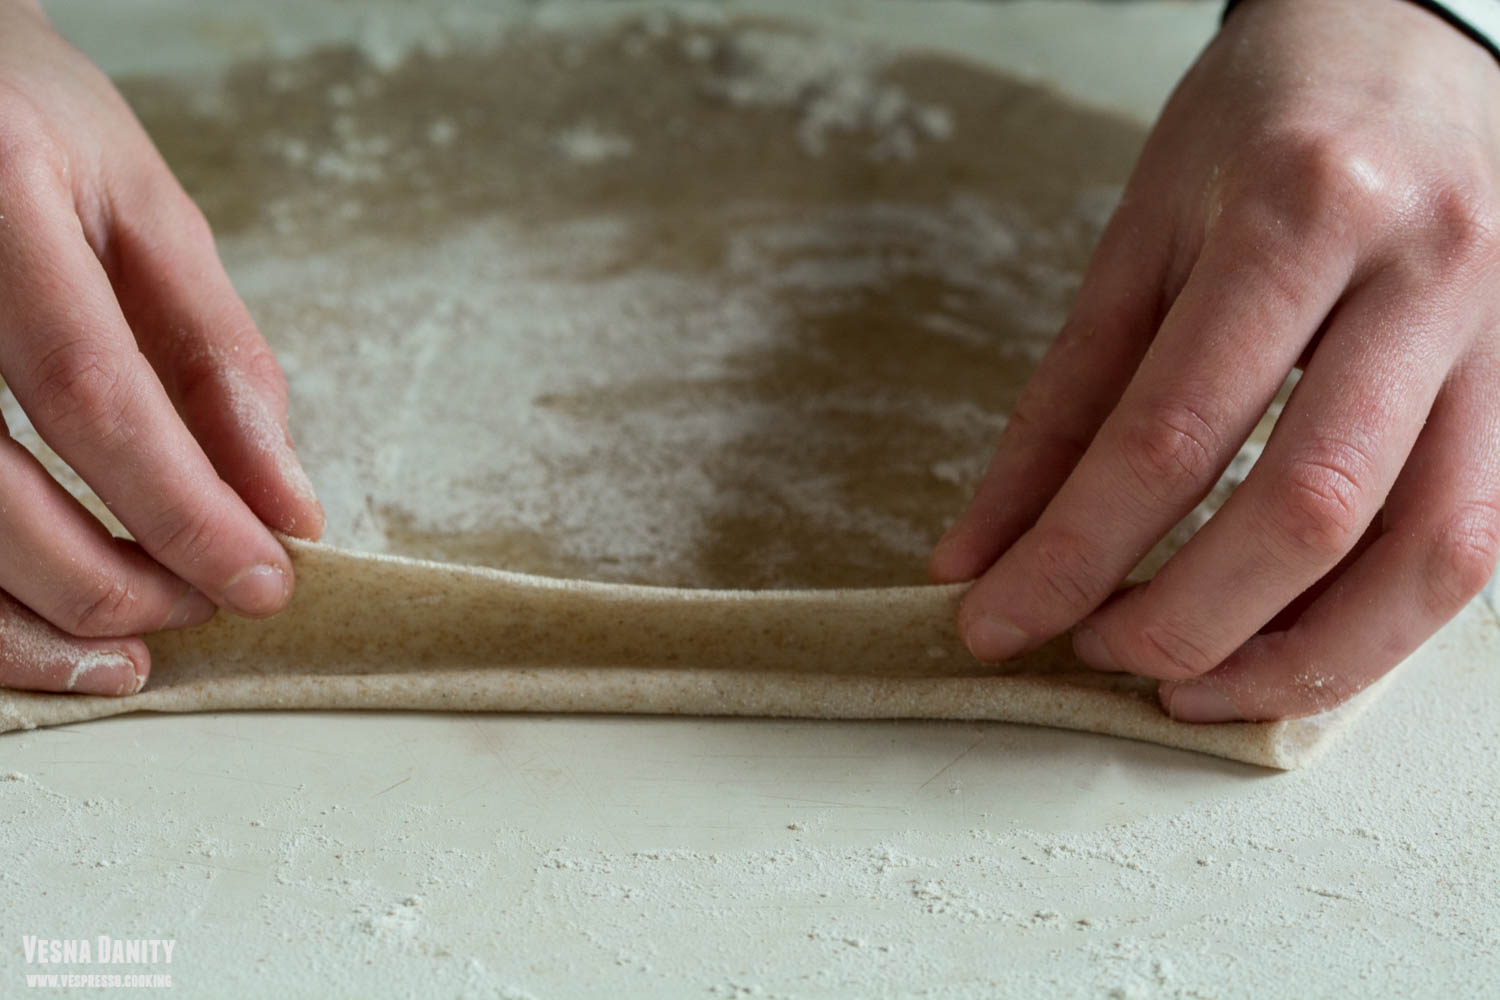
  5. Olive oil & flour.  Brush the first flatbread with olive oil and sprinkle with flour. Beginning with one end, fold it to form pleats.
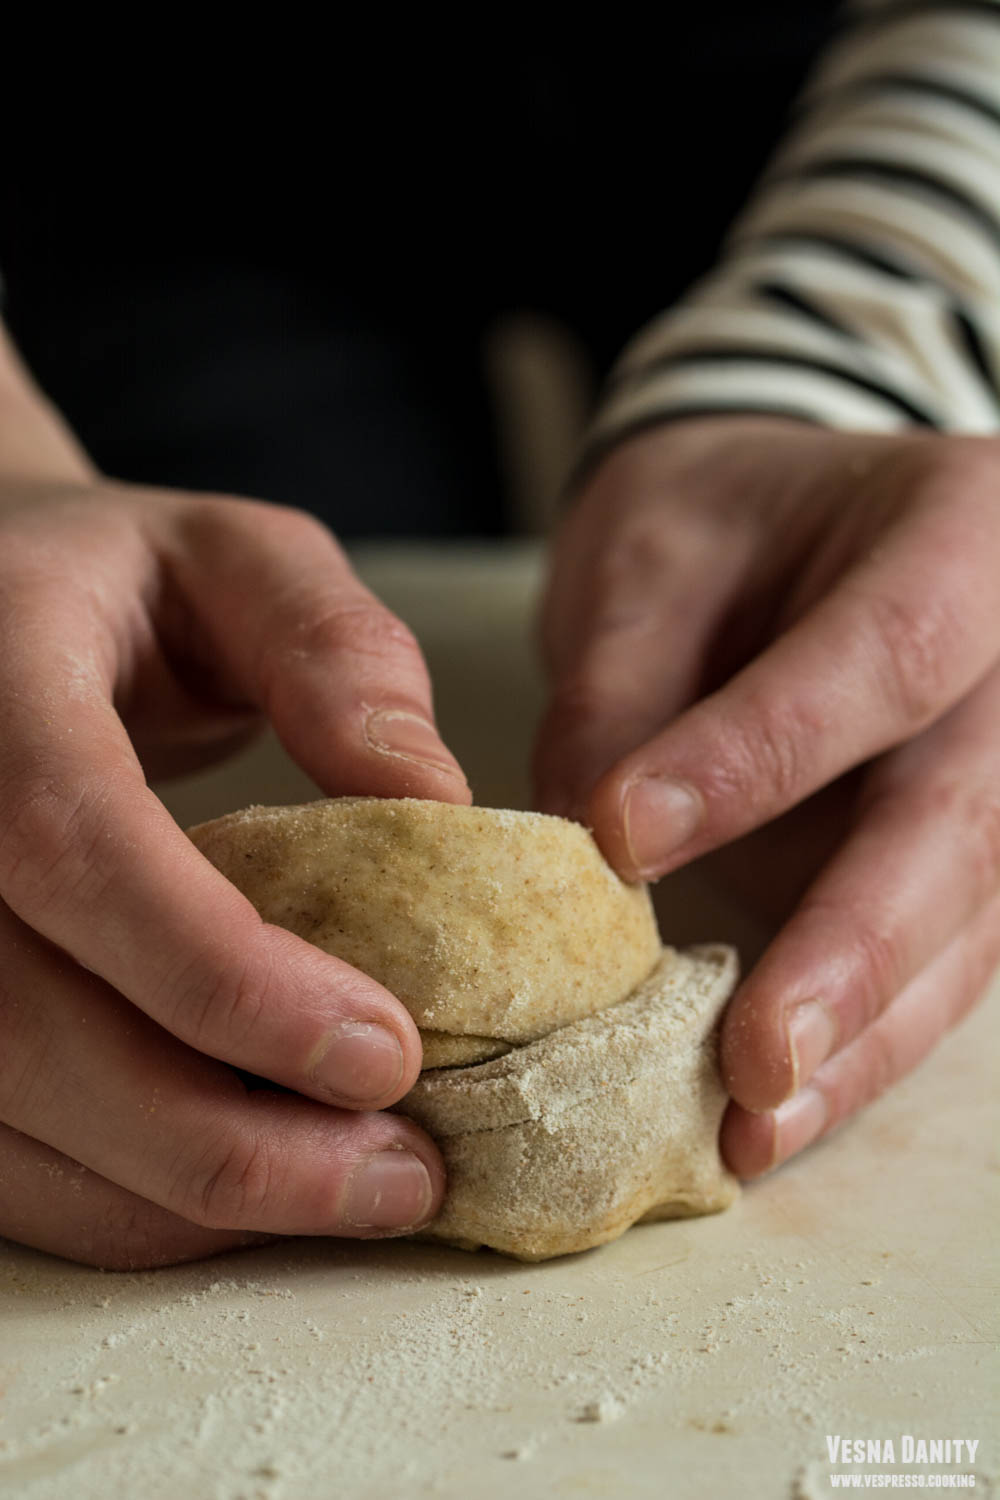
  6. Make a pinwheel. Take one end of the fan and roll it like a pinwheel.
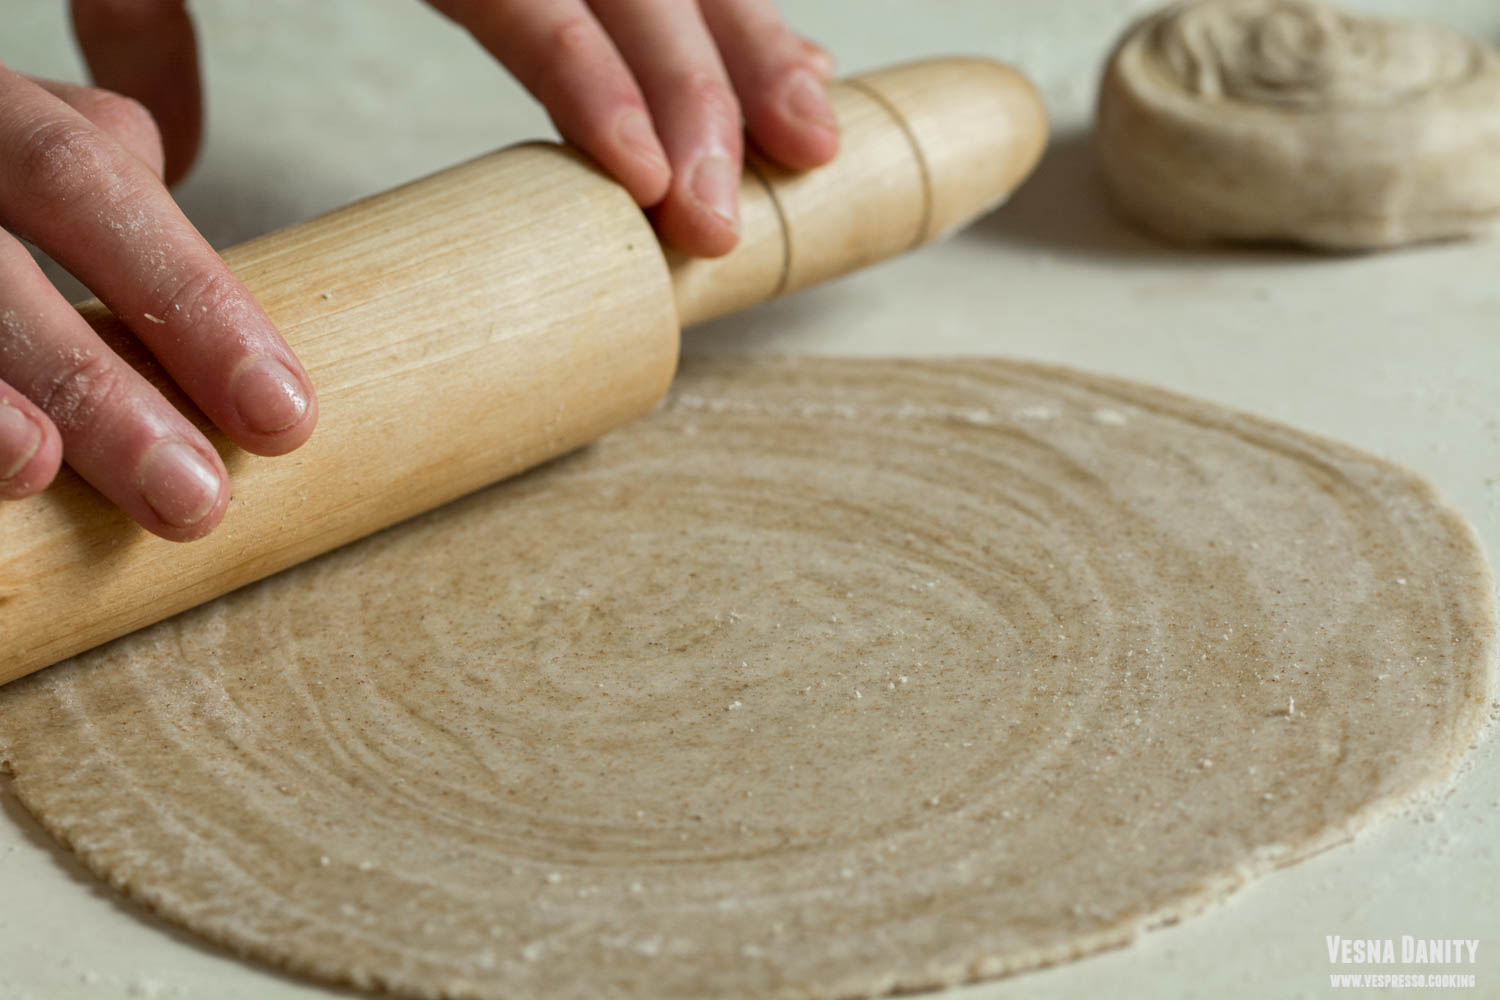
  7. Roll the flatbread. Flatten the pinwheel with a rolling pin until 3 – 4mm thick.
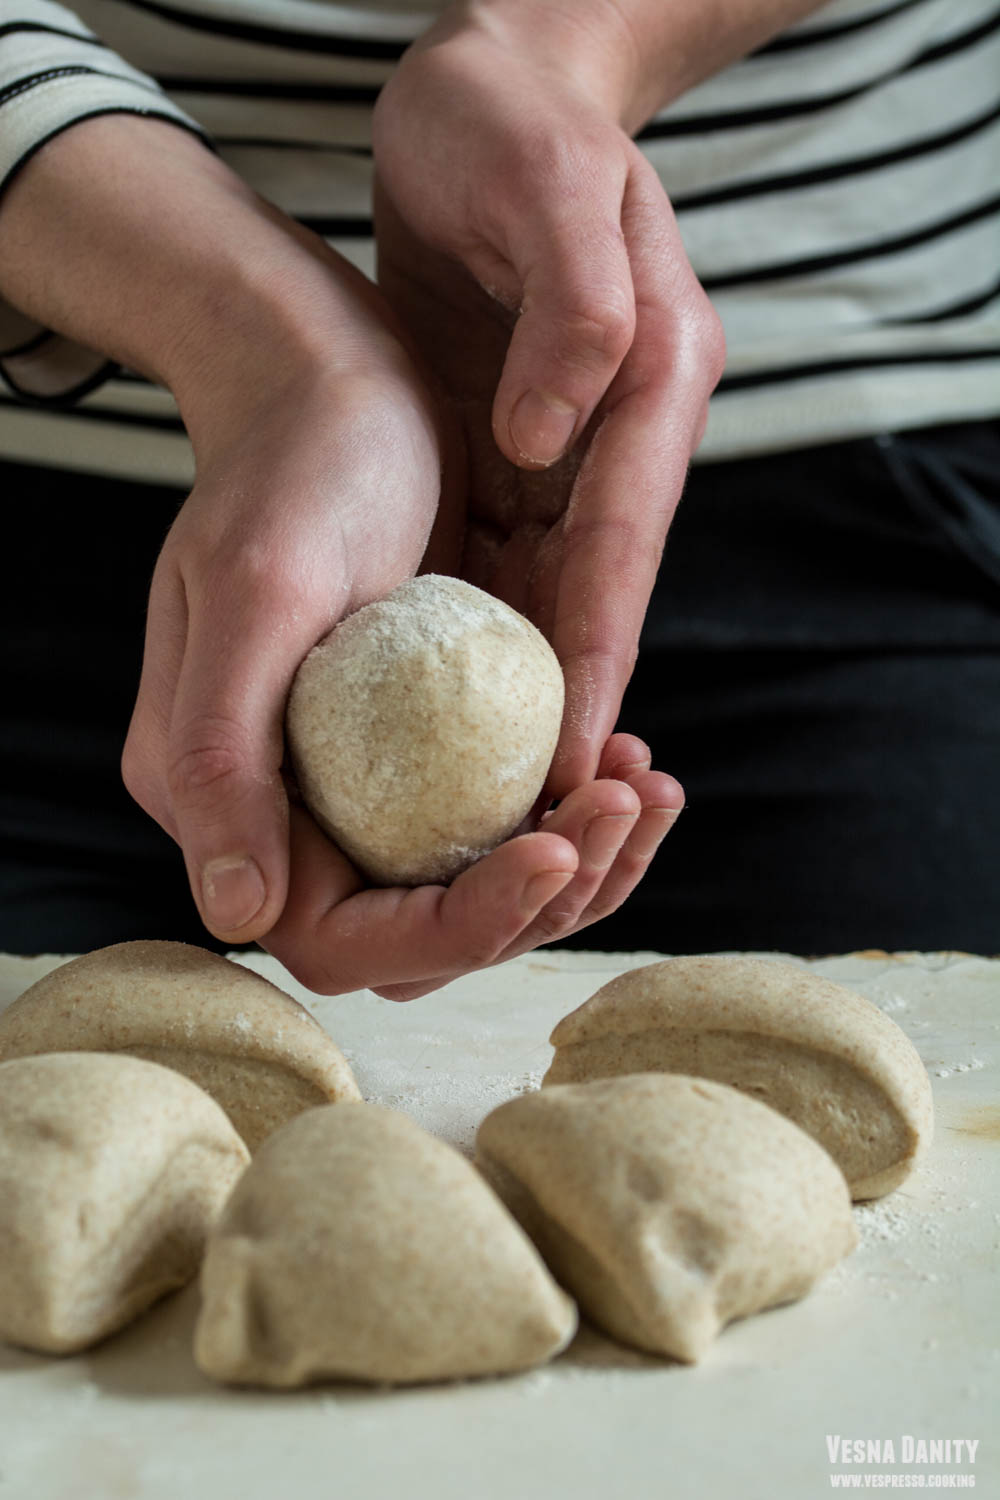
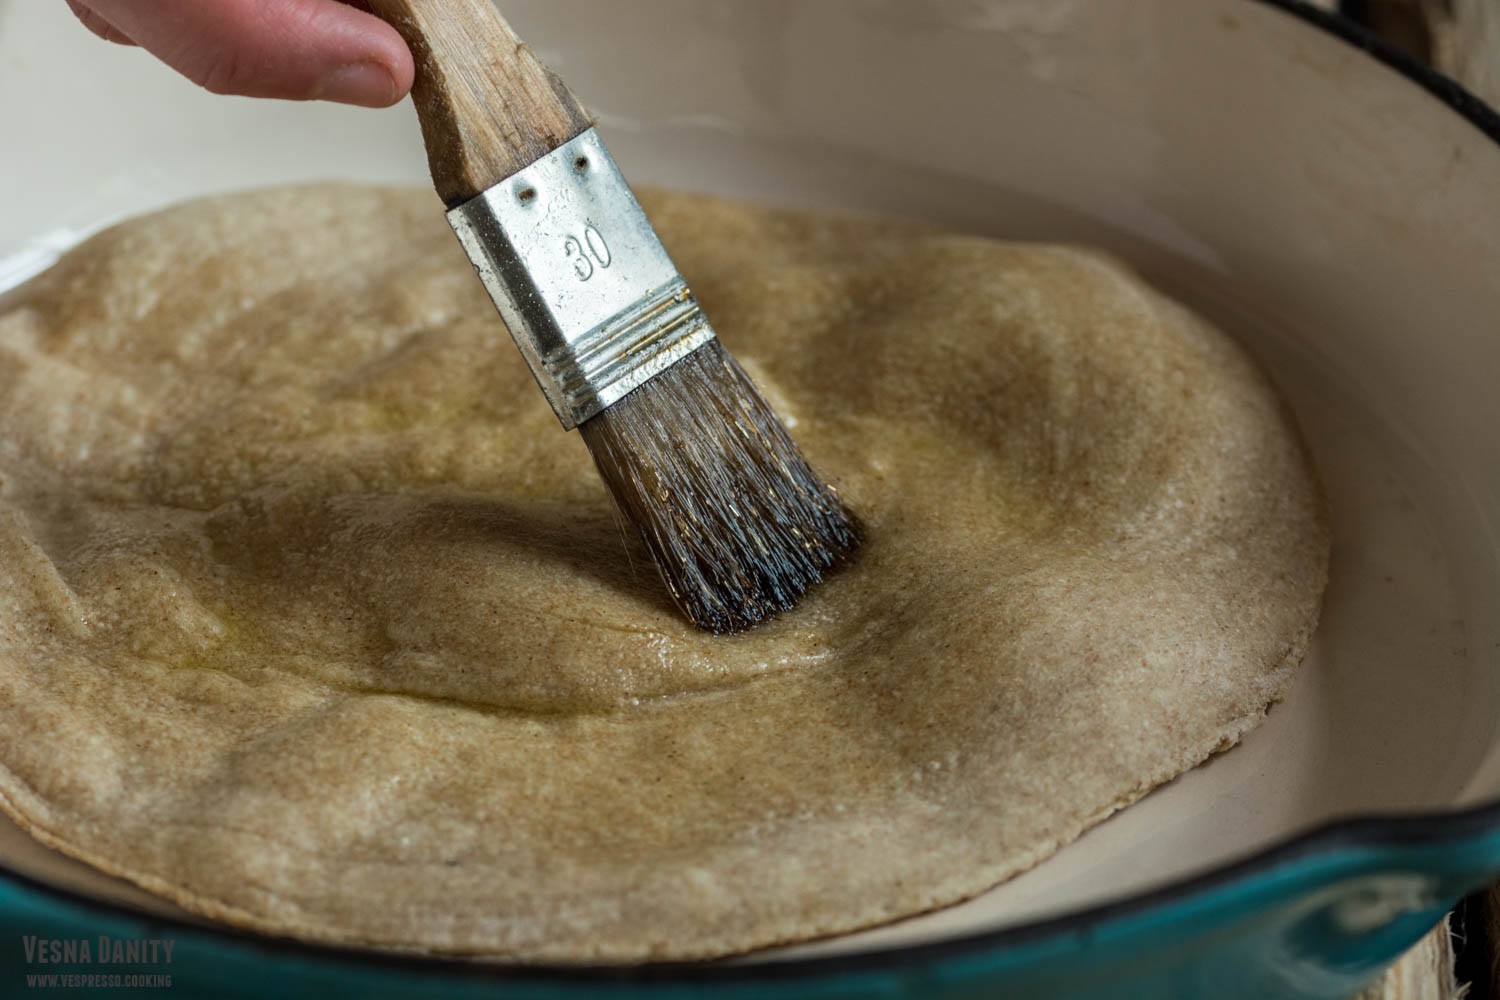
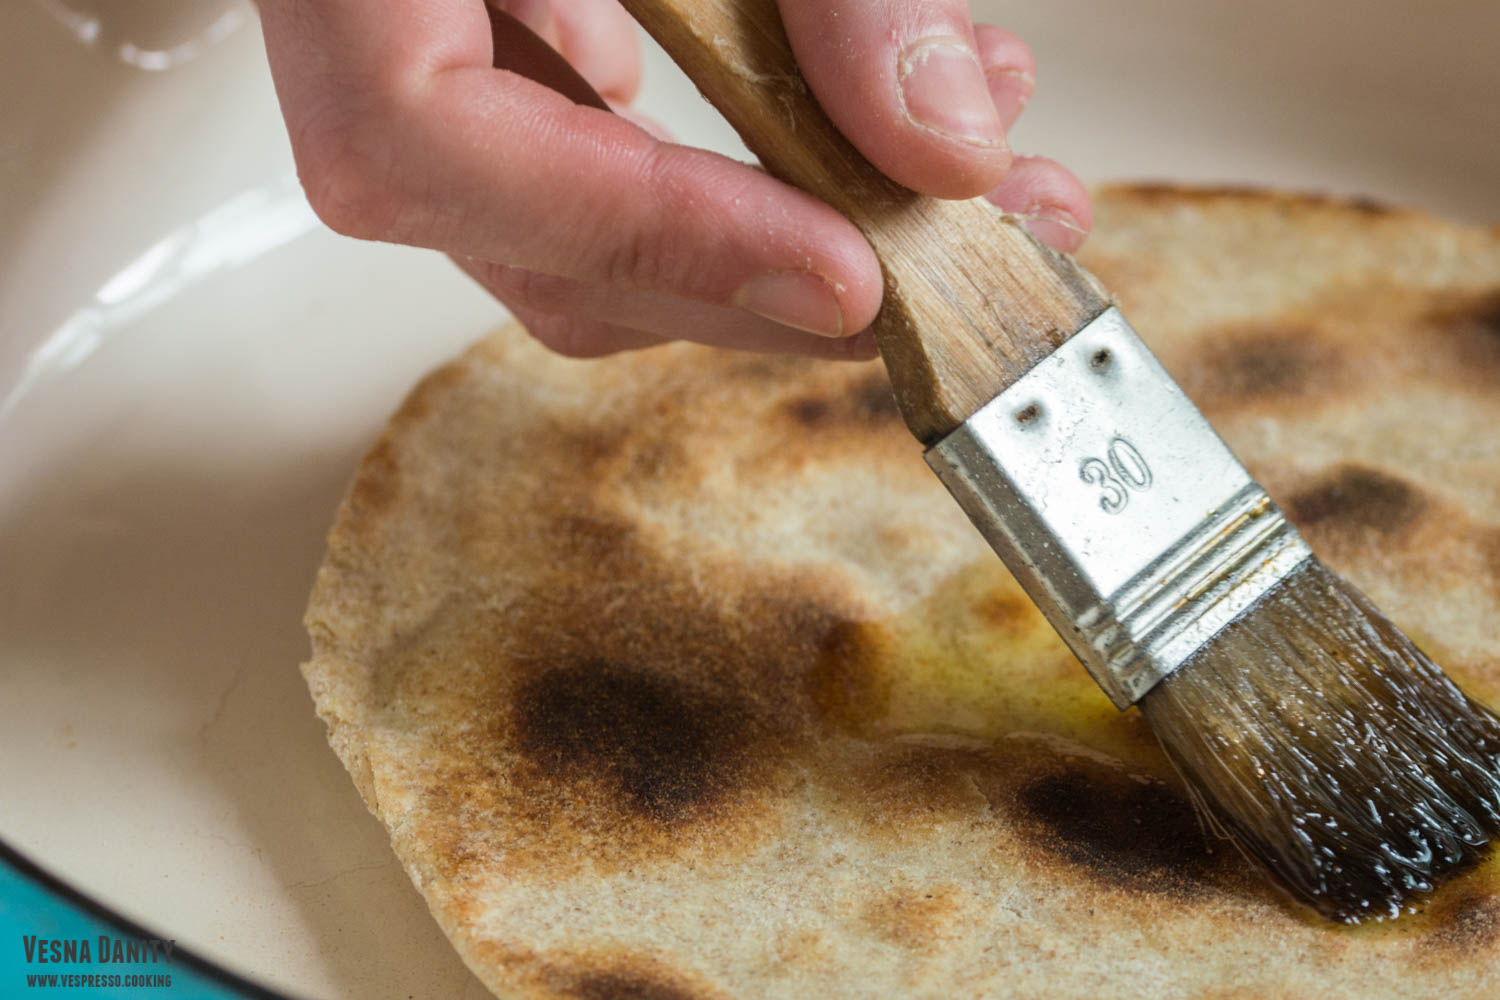
  8. Cook. Heat a cast iron skillet over medium heat. When you see pockets of air forming at the surface brush the raw surface with oil and flip it. Brush the cooked surface with olive oil too. Flip it again and cook until golden brown.
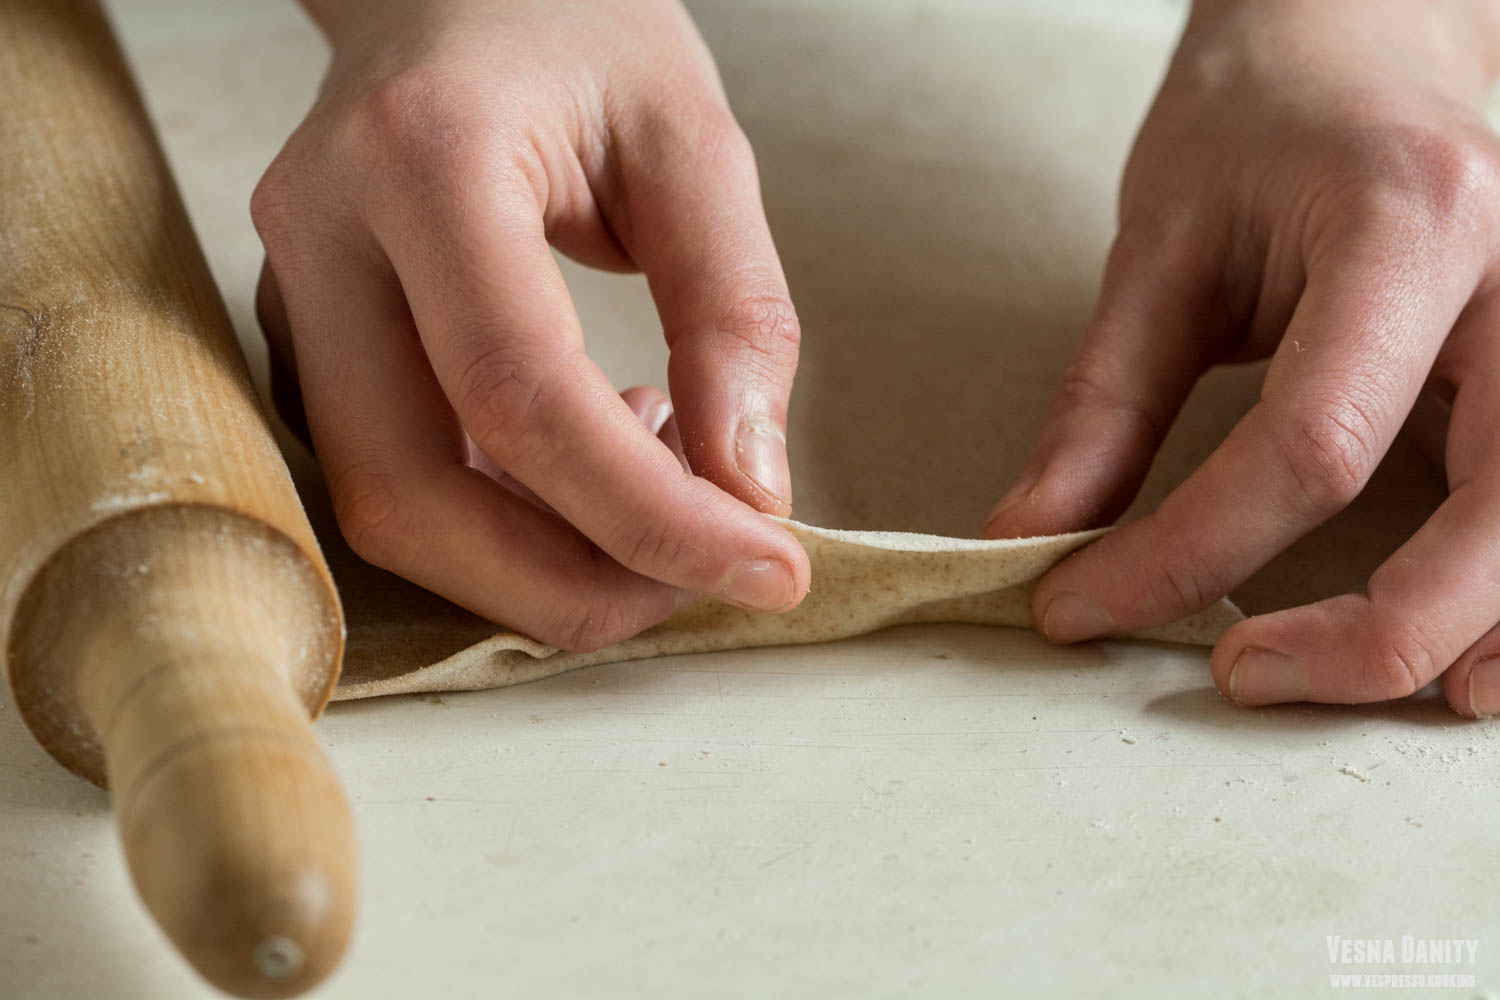
  9. Repeat with the other pieces of dough. Proceed the same with the remaining flatbreads. I prefer to roll the second one while the first one is cooking. It saves times.
  10. Serve. Serve warm with curry, chutney or different vegetable spreads.


Česnica with Homemade Phyllo Dough – Traditional Serbian Christmas Pie

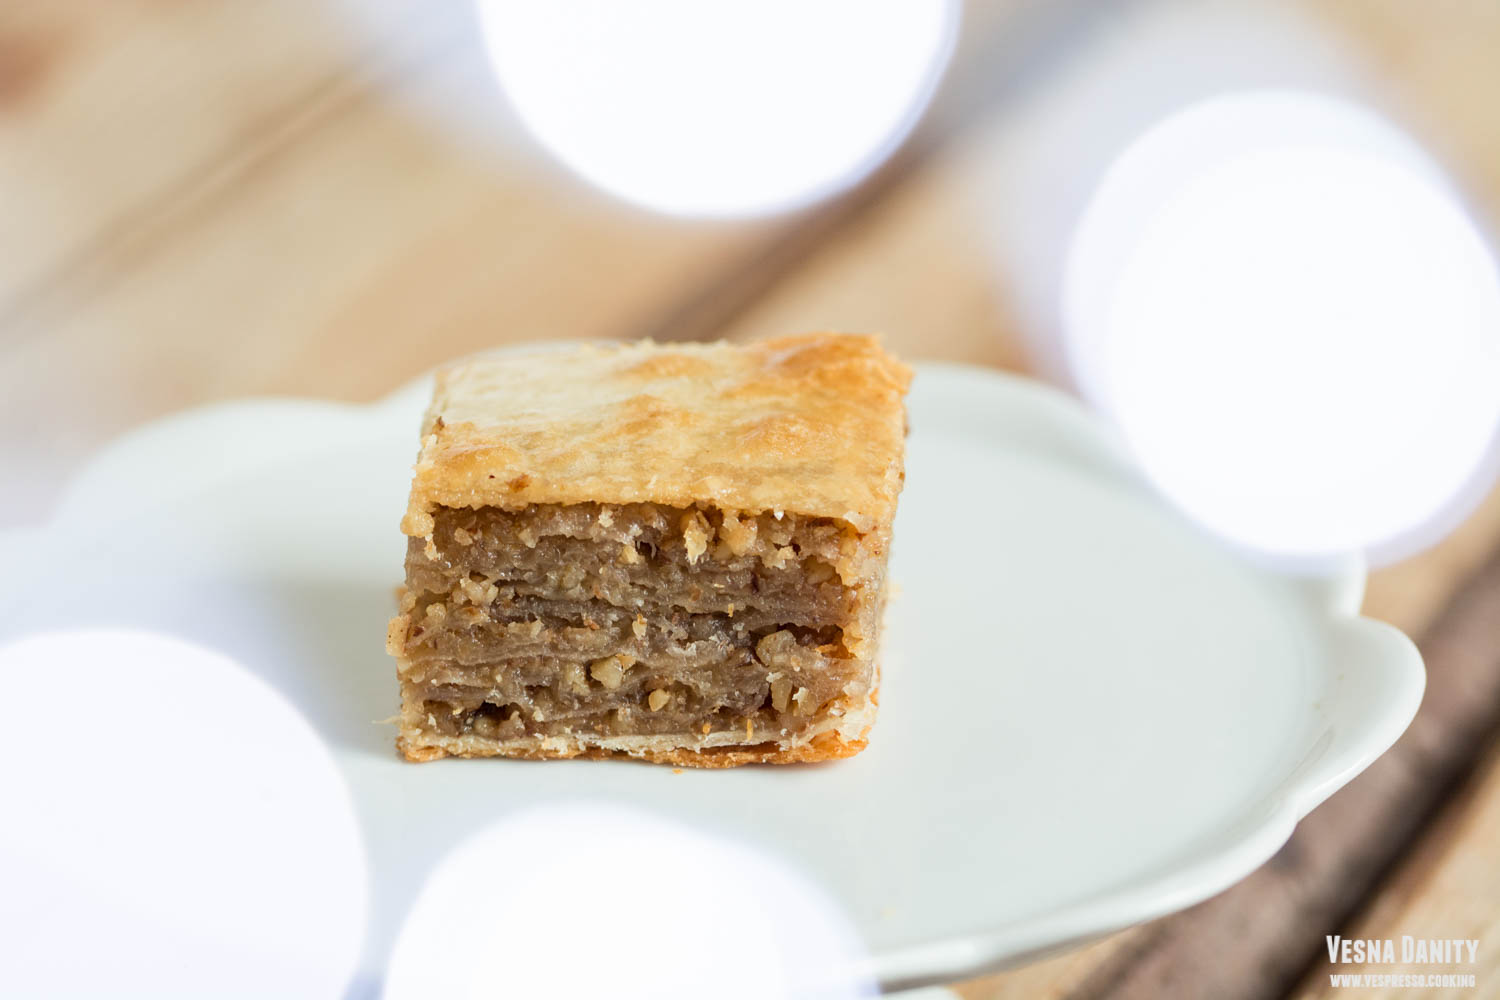
Cesnica is a wonderful dessert made in the Serbian households on Christmas Eve. Two years ago I prepared it using store bough phyllo pastry, showing you an easy, no fuss way to make it. This year I decided to step up my game and make it old school, from scratch, just like my beloved grandmother used to. The person who prepares this delicious dessert always hides a coin inside it. The coin brings luck to whomever finds it.

I couldn’t have been more than seven when I saw my grandmother make the dough from scratch for the last time (it is quite labor intensive). But those images are still alive in my memory like an old black and while movie that goes on and on in my mind. This charming old movie marked my childhood more than anything else. I still remember vividly all the steps, sifting the flour, melting the lard, kneading the dough, leaving it to rest, grinding the walnuts, placing the tablecloth, pulling the dough, making the walnut filling, placing that shiny coin, cutting the pie, baking it to perfection…

Since it’s been quite a while since I last saw my grandmother making it from scratch, there was a solid chance that my memory could play some tricks on me, so I interviewed several women from the Serbian community, so this recipe is a fusion between my personal knowledge and their wonderful tricks learnt from a lifetime experience.


Ingredients (for a 30x22cm tray, which means 20 servings):

for the pastry:

  • 500g strong bread flour
  • 255ml lukewarm water (beetween 36 – 38°C)
  • 75ml any neutral vegetable oil / melted pork lard
  • 10ml vinegar
  • 1/8 tsp salt


for greasing the pastry sheets:

  • 45ml any neutral vegetable oil / melted pork lard – 3 Tbsp
  • 45ml milk 3 – Tbsp
  • 3 Tbsp honey (optional)


for the filling

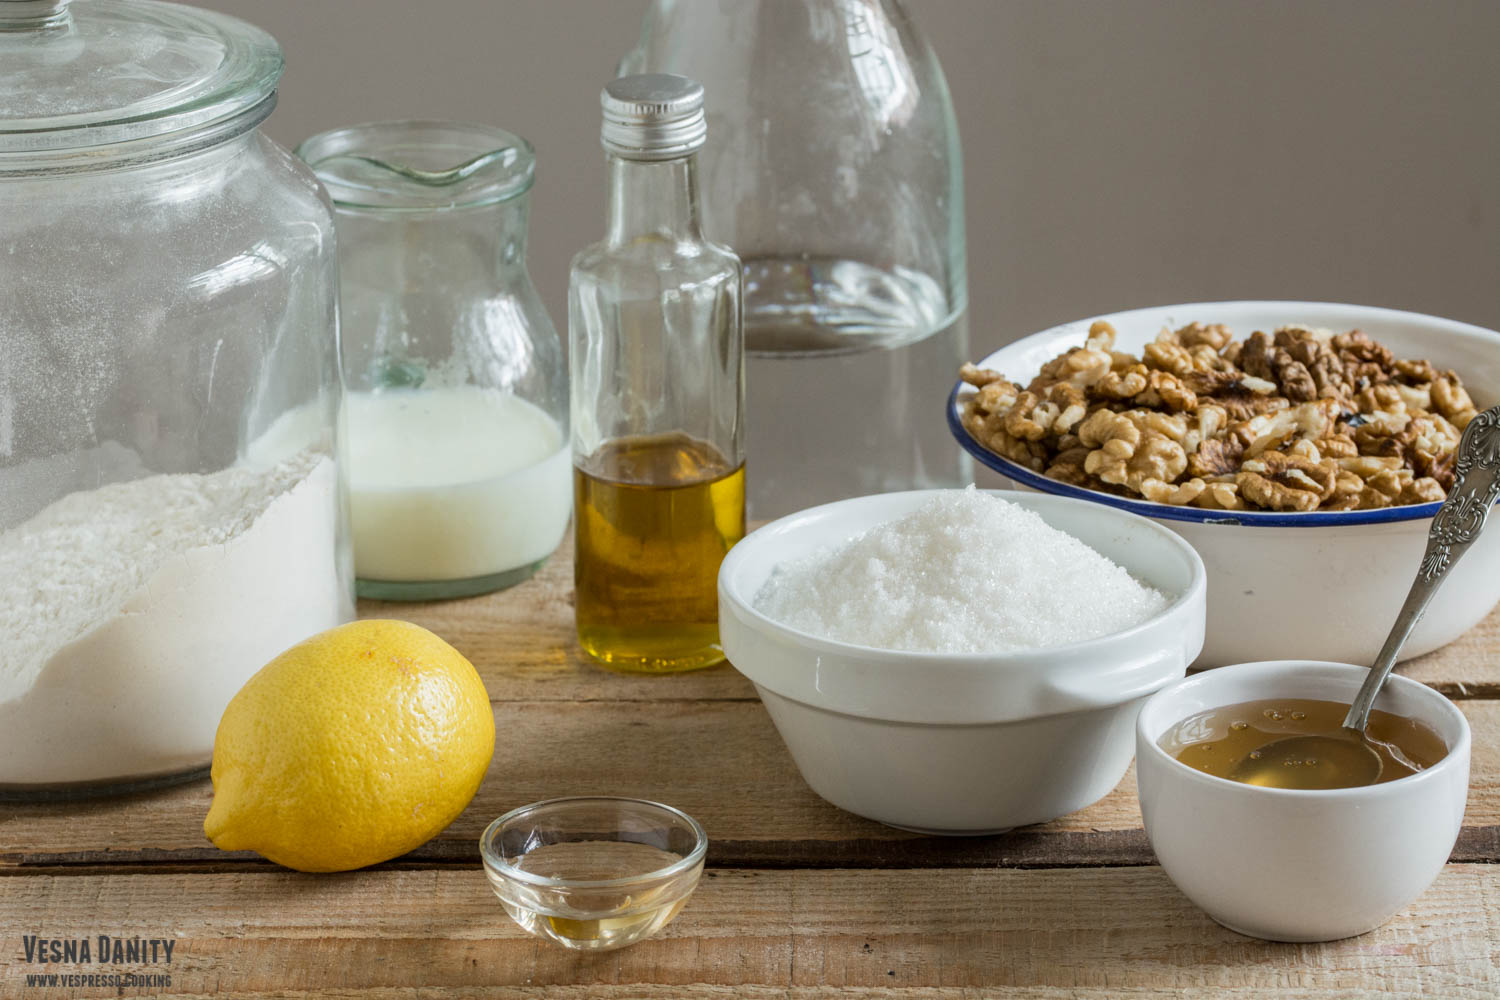
  • 300g walnuts
  • 225 white granulated sugar
  • 1 lemon, zested
  • 3 coins (washed with water and soap and sterilized by boiling)

Method:

  1. In a large bowl sift the flour and salt and make a well in the center.
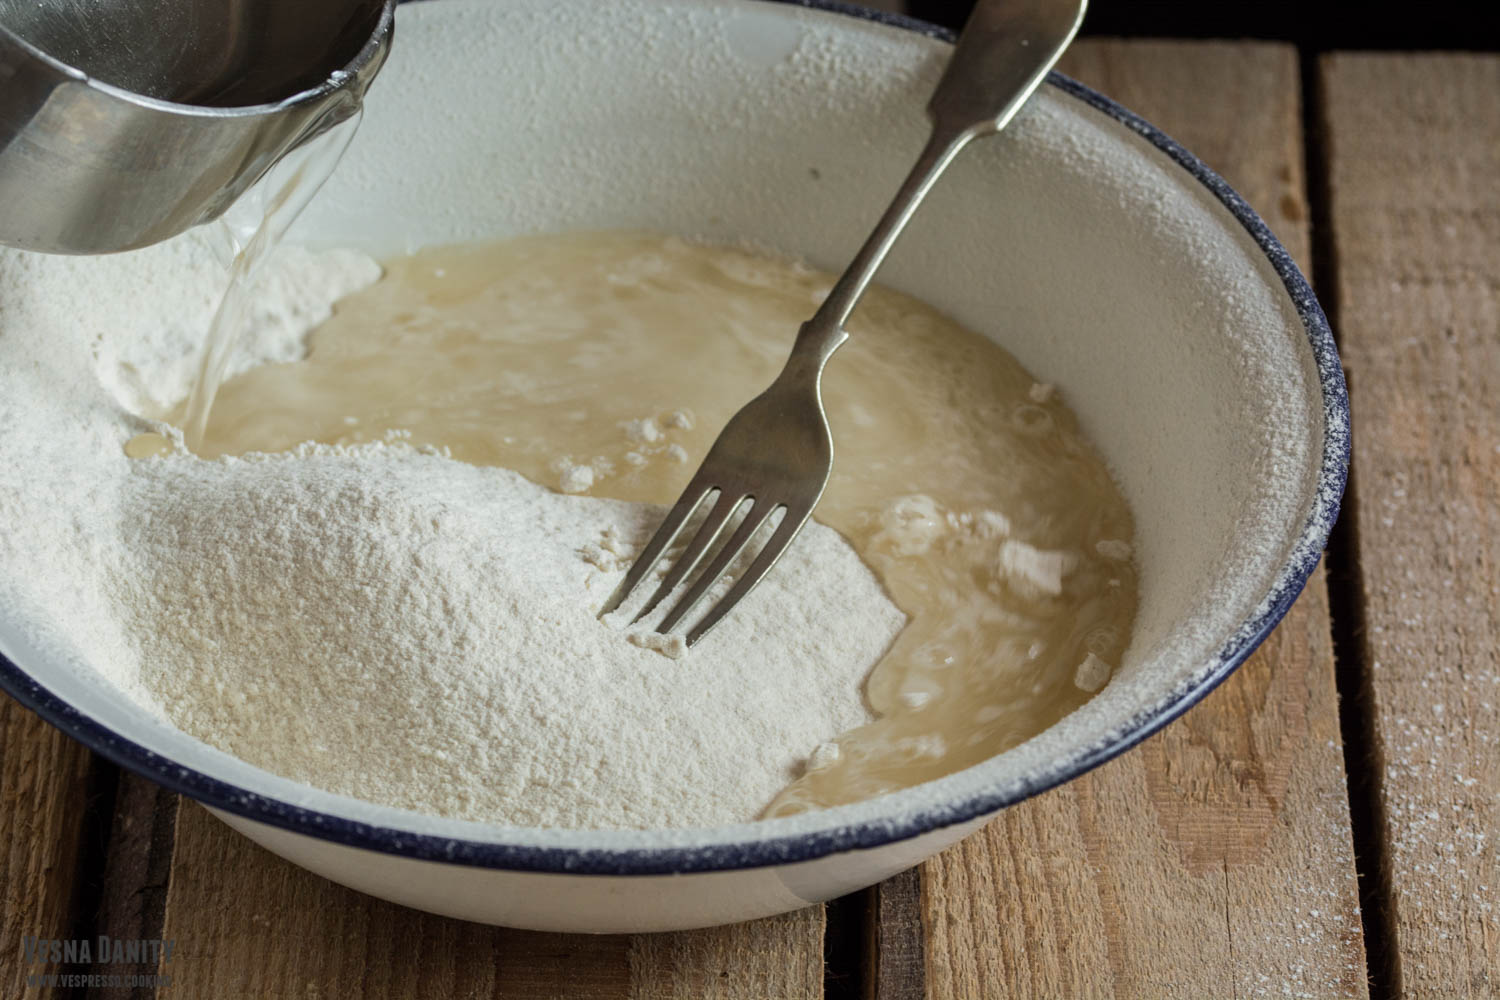
  2. Add the oil, water vinegar and mix with a fork until you form a ball. Knead the bowl of dough in the bowl for 3 minutes, or until the surface is smooth.
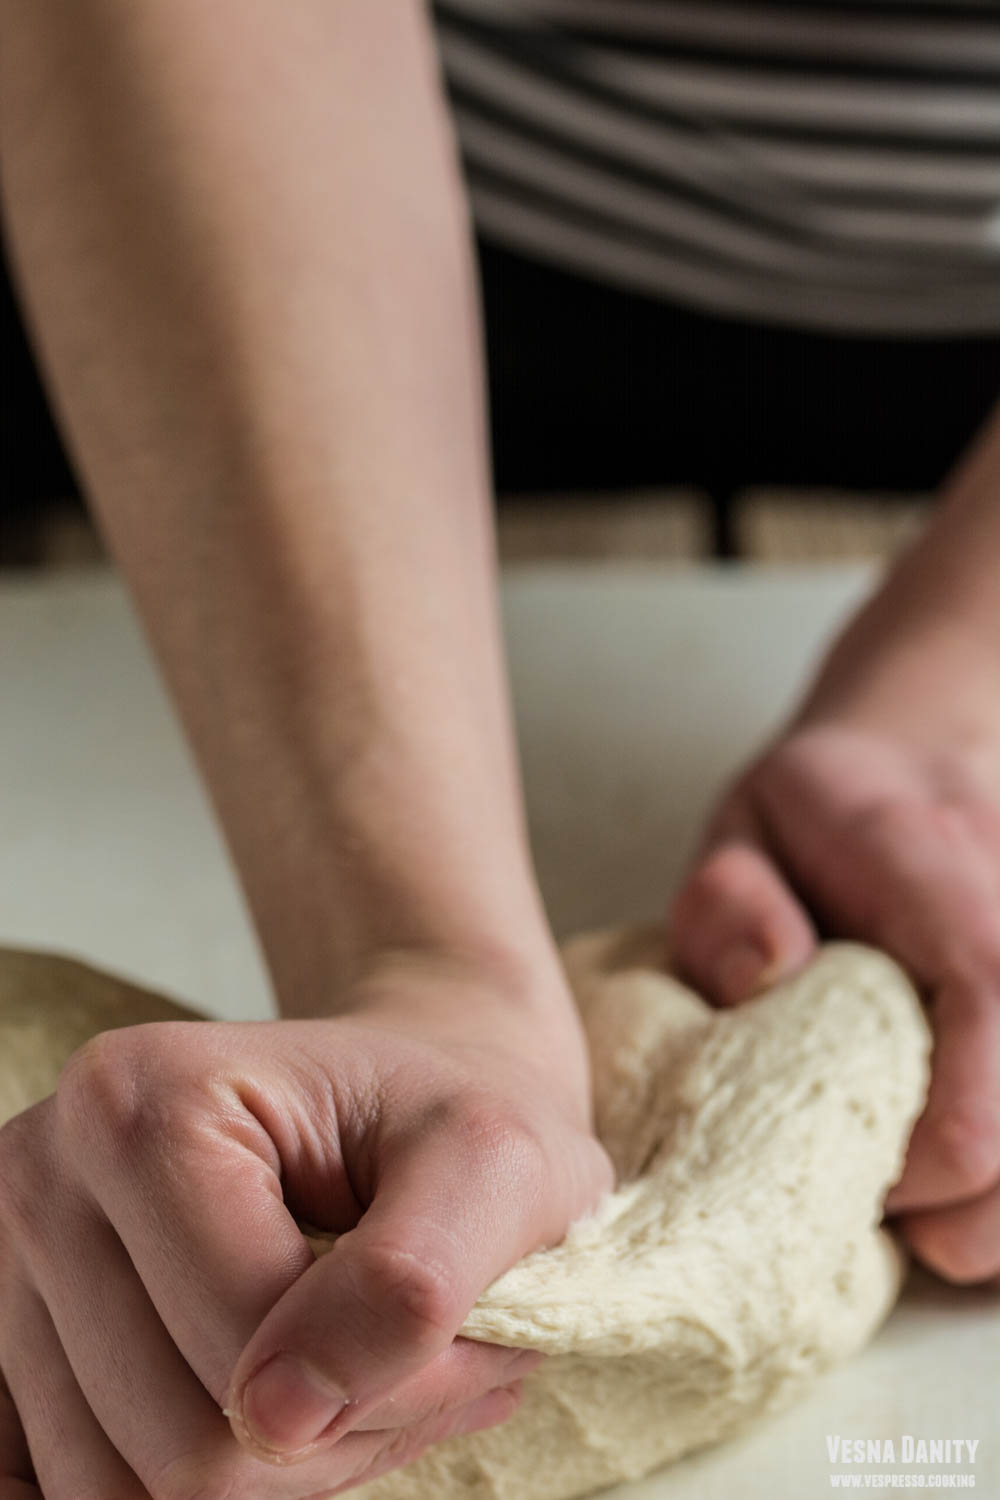
  3. Place the dough on a working surface and knead it vigorously with your hands. Slap the dough down to the working surface for 50 times.Wrap the dough in a plastic bag, cover it with a clean towel and and let it rest for 1 – 2 hours (resting the dough is vital for relaxing the gluten).
  4. Sterilize the coins by boiling them in hot water for 30 minutes.
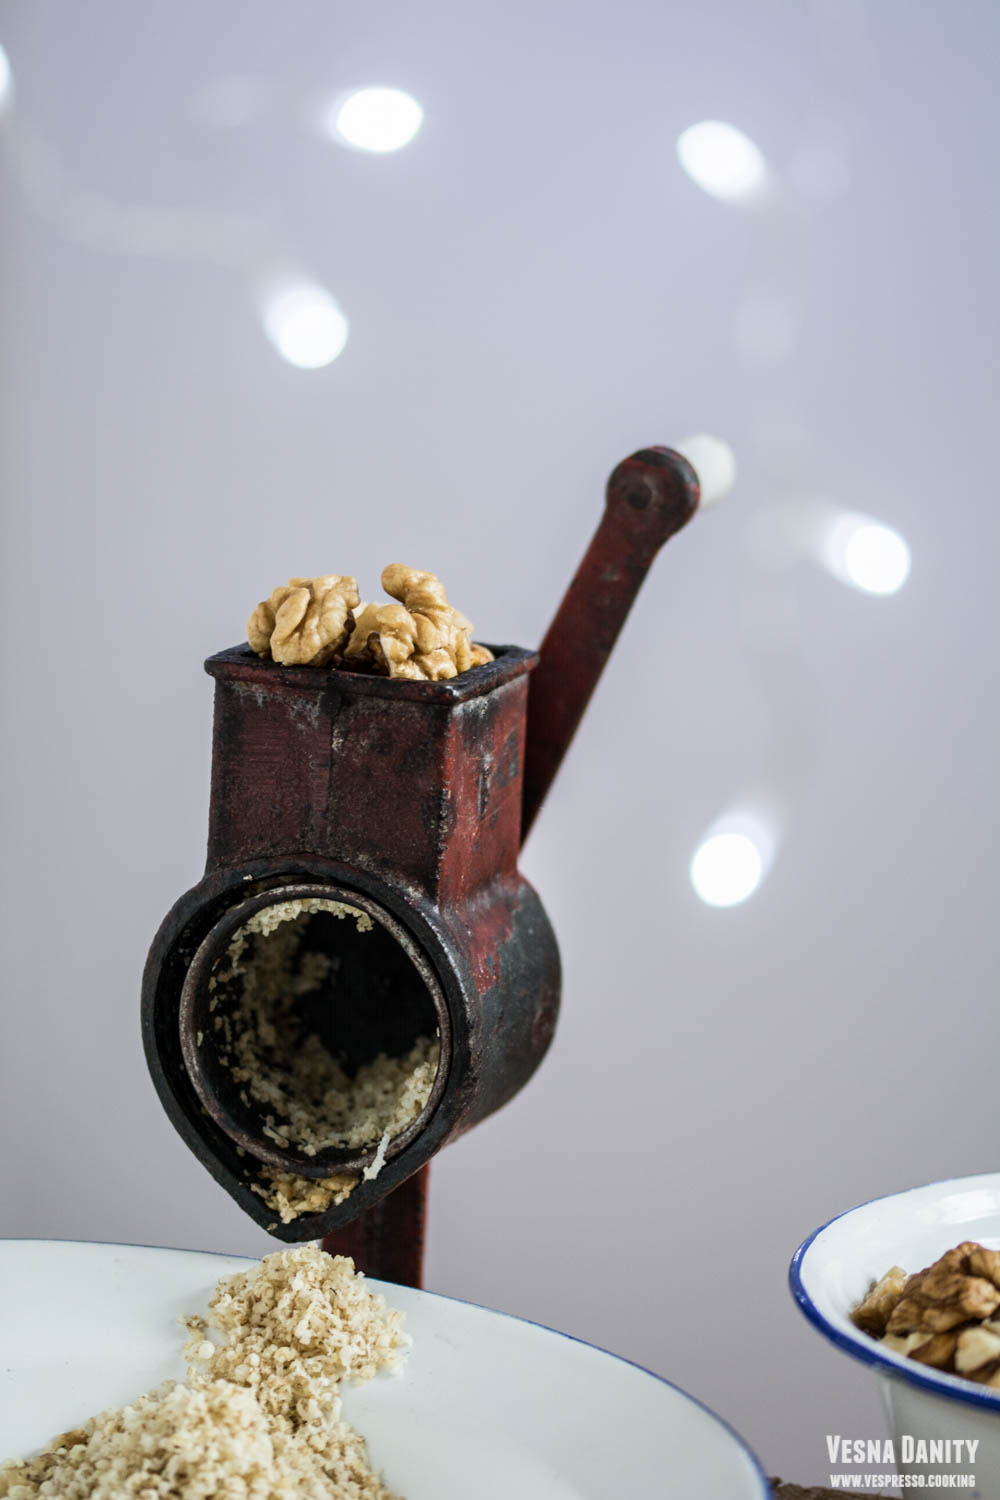
  5. Grind the walnuts and zest the lemon. Take two bowls. Mix walnuts, sugar and lemon zest in a large bowl. In another bowl mix the oil with the milk.
  6. Take a large tray and line it with parchment paper.
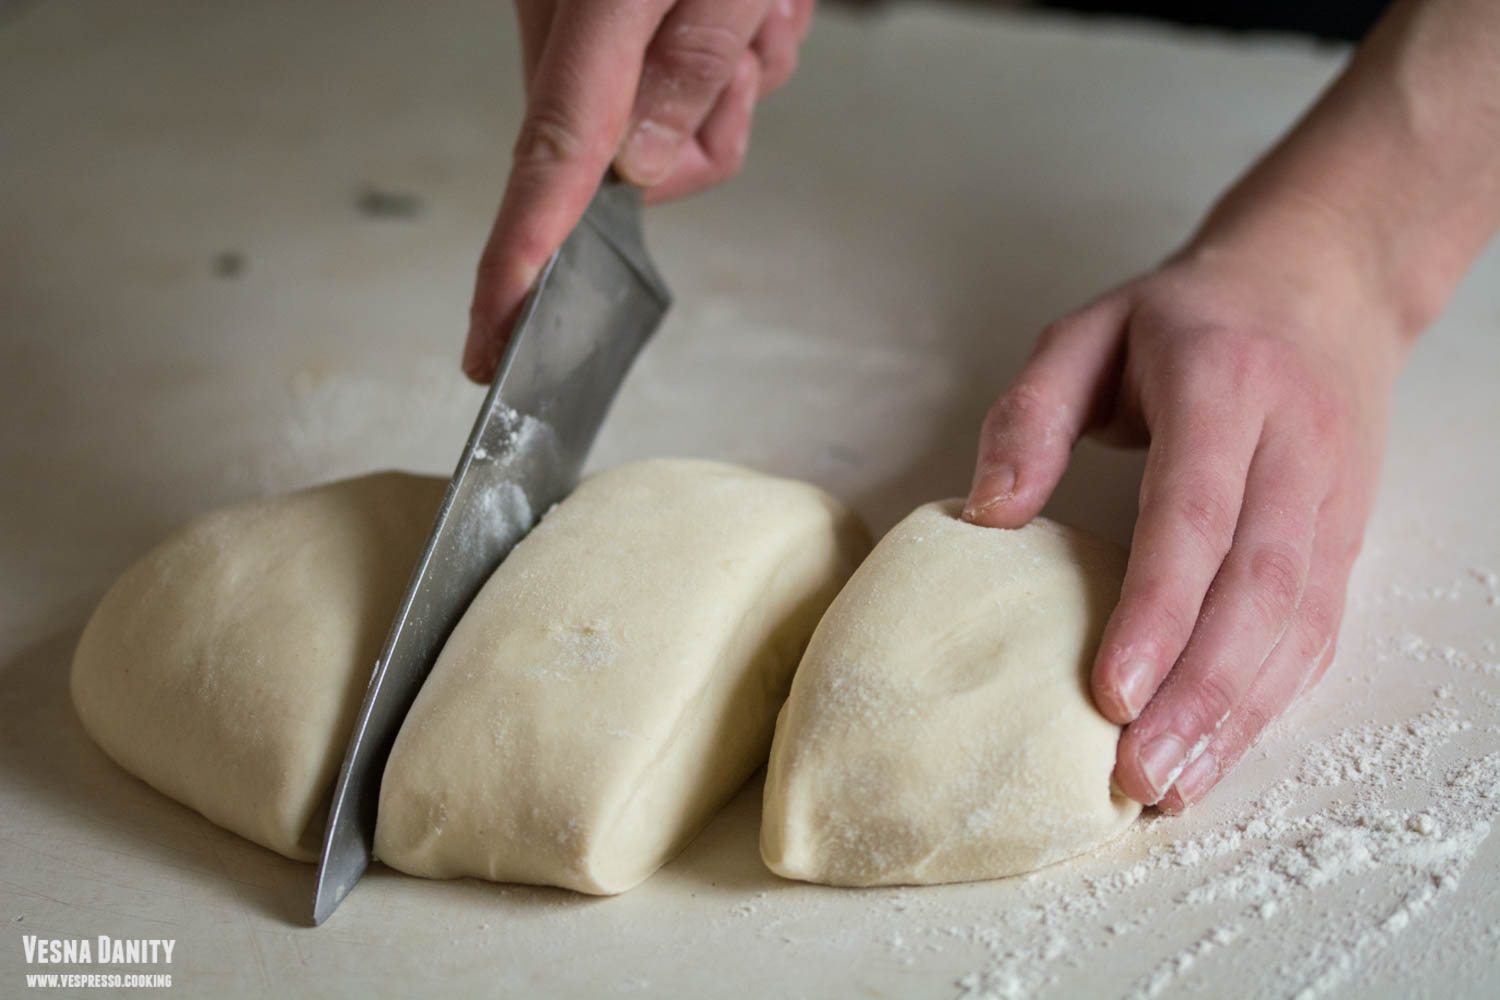
  7. After the dough has rested I divide it into 3 relatively equal pieces. Leave one piece of dough on the working surface and place the other two in the same plastic bag.
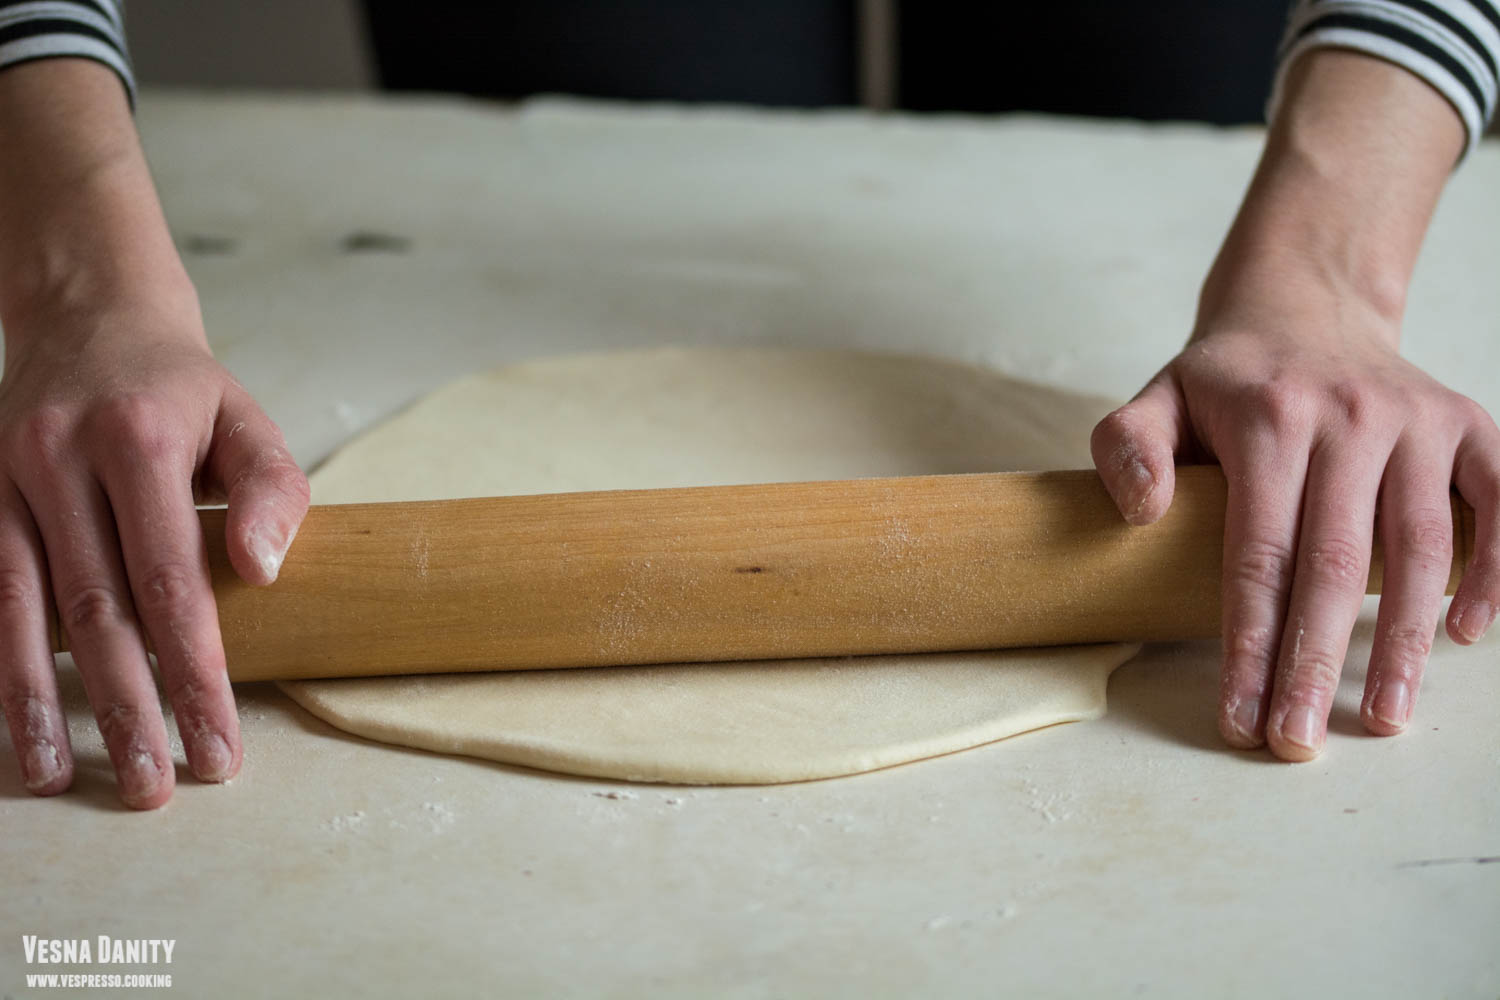
  8. Place the first piece of dough on the floured working surface and roll it with the rolling pin until it gets about 1/2 cm thick.
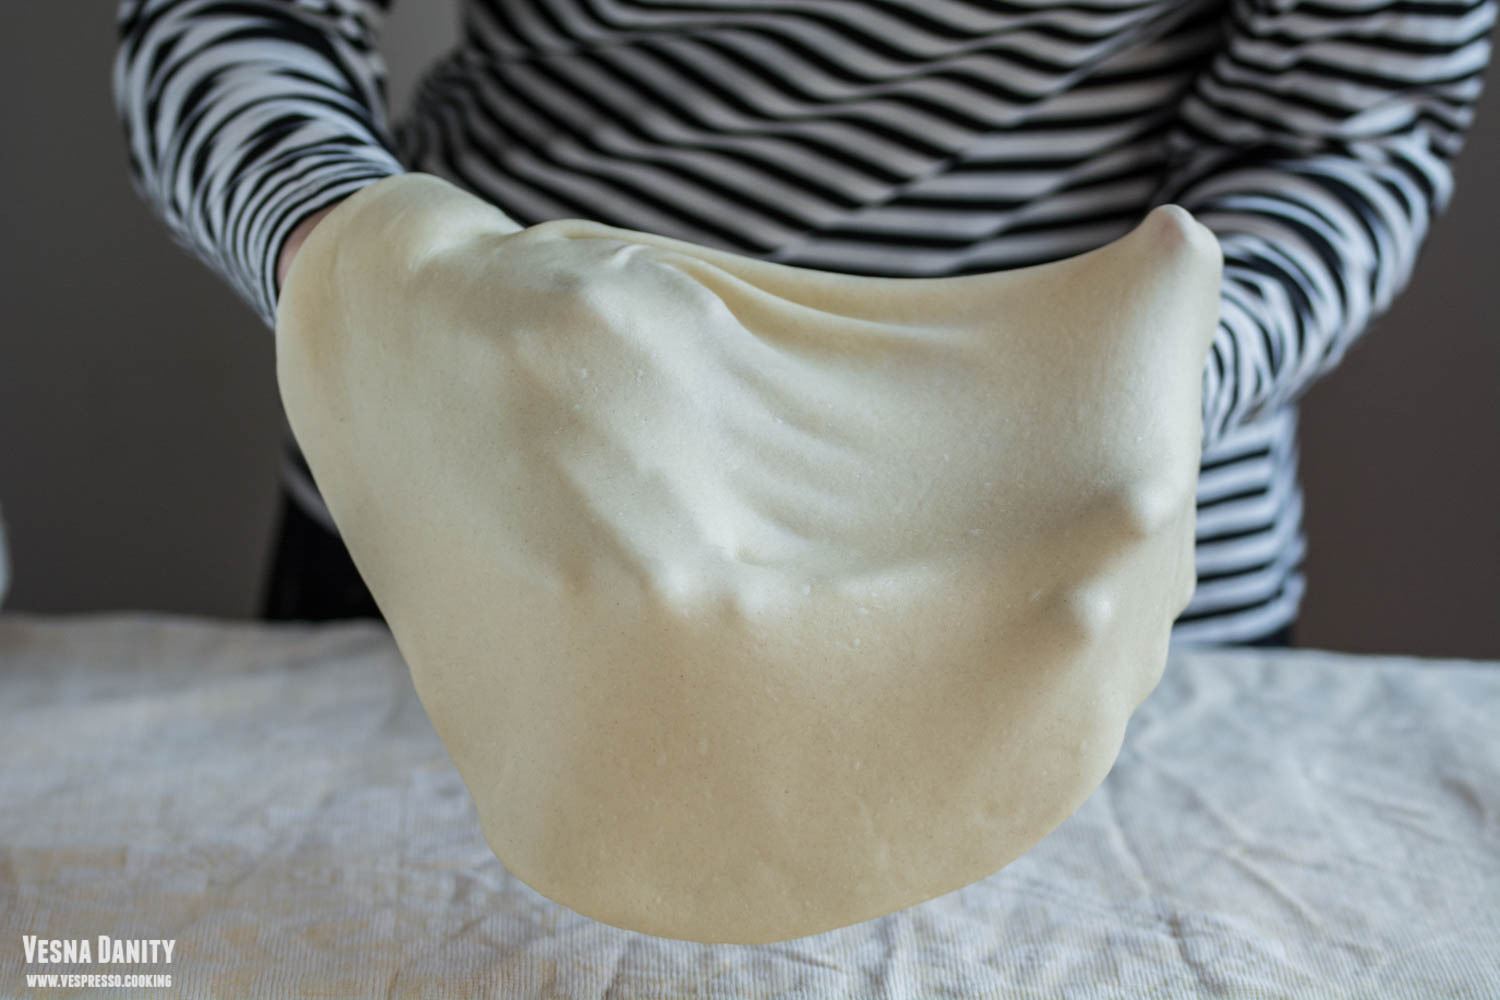
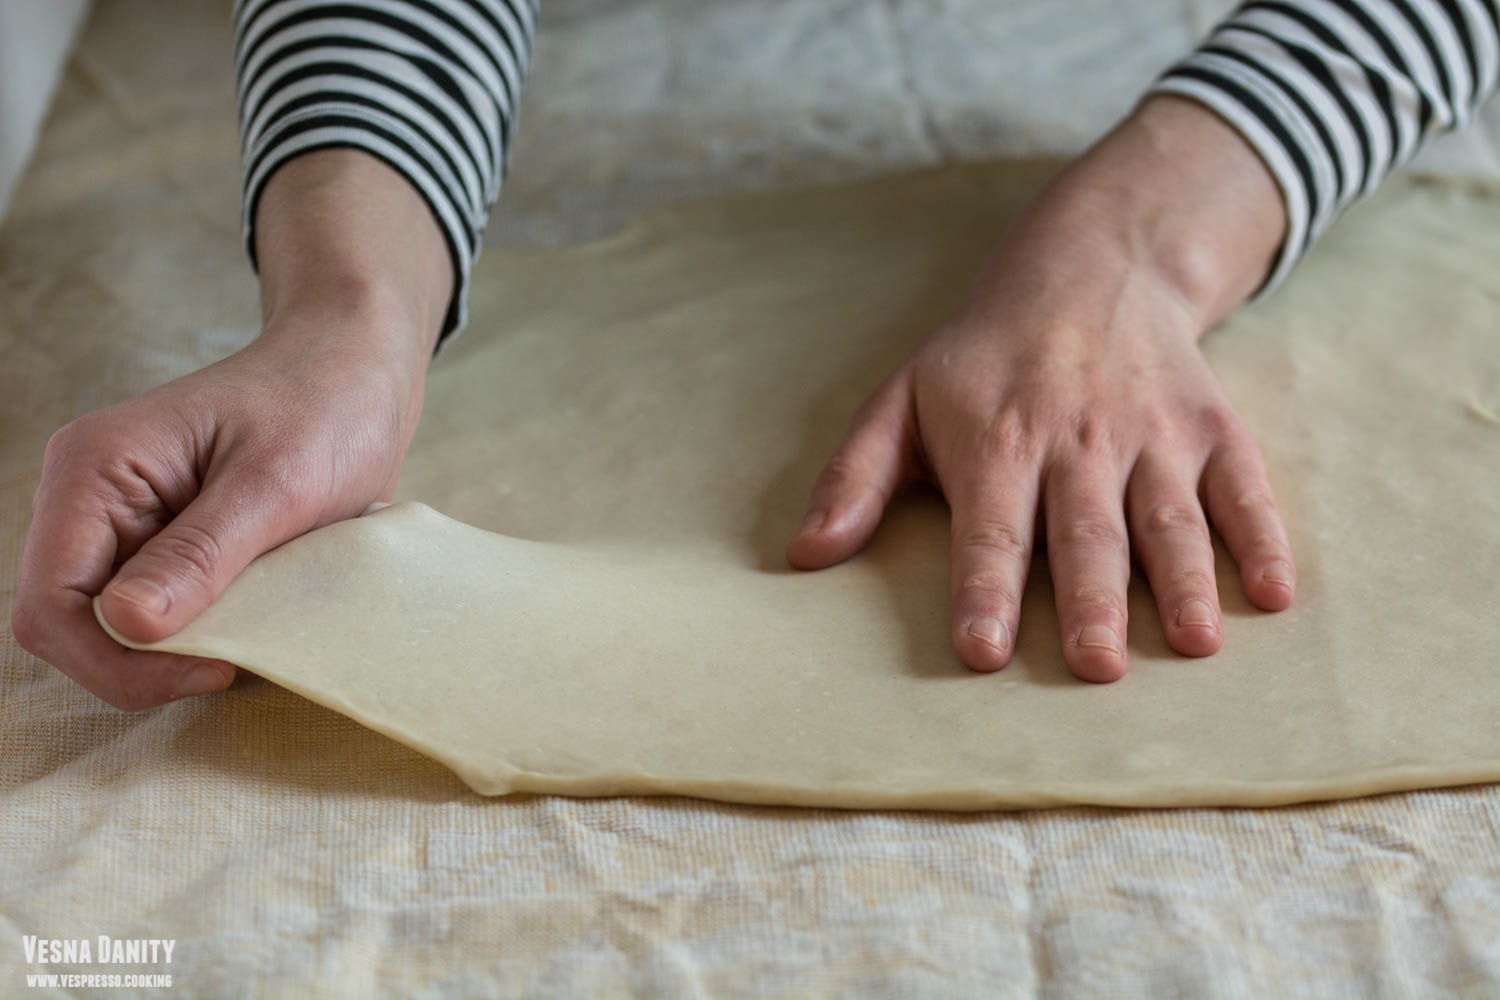
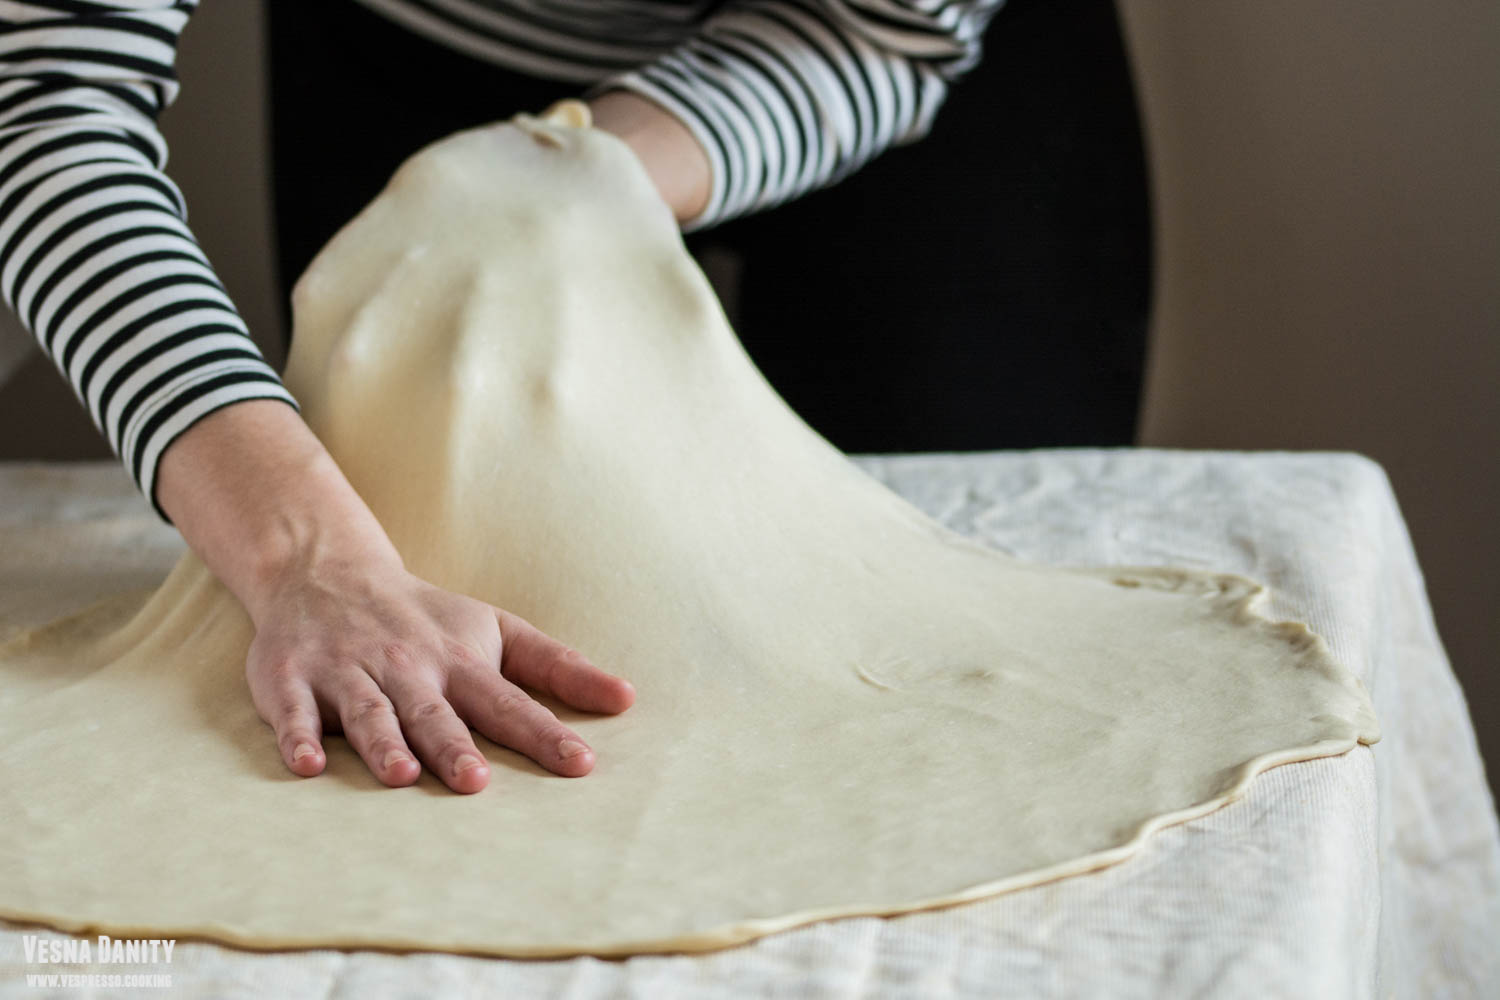
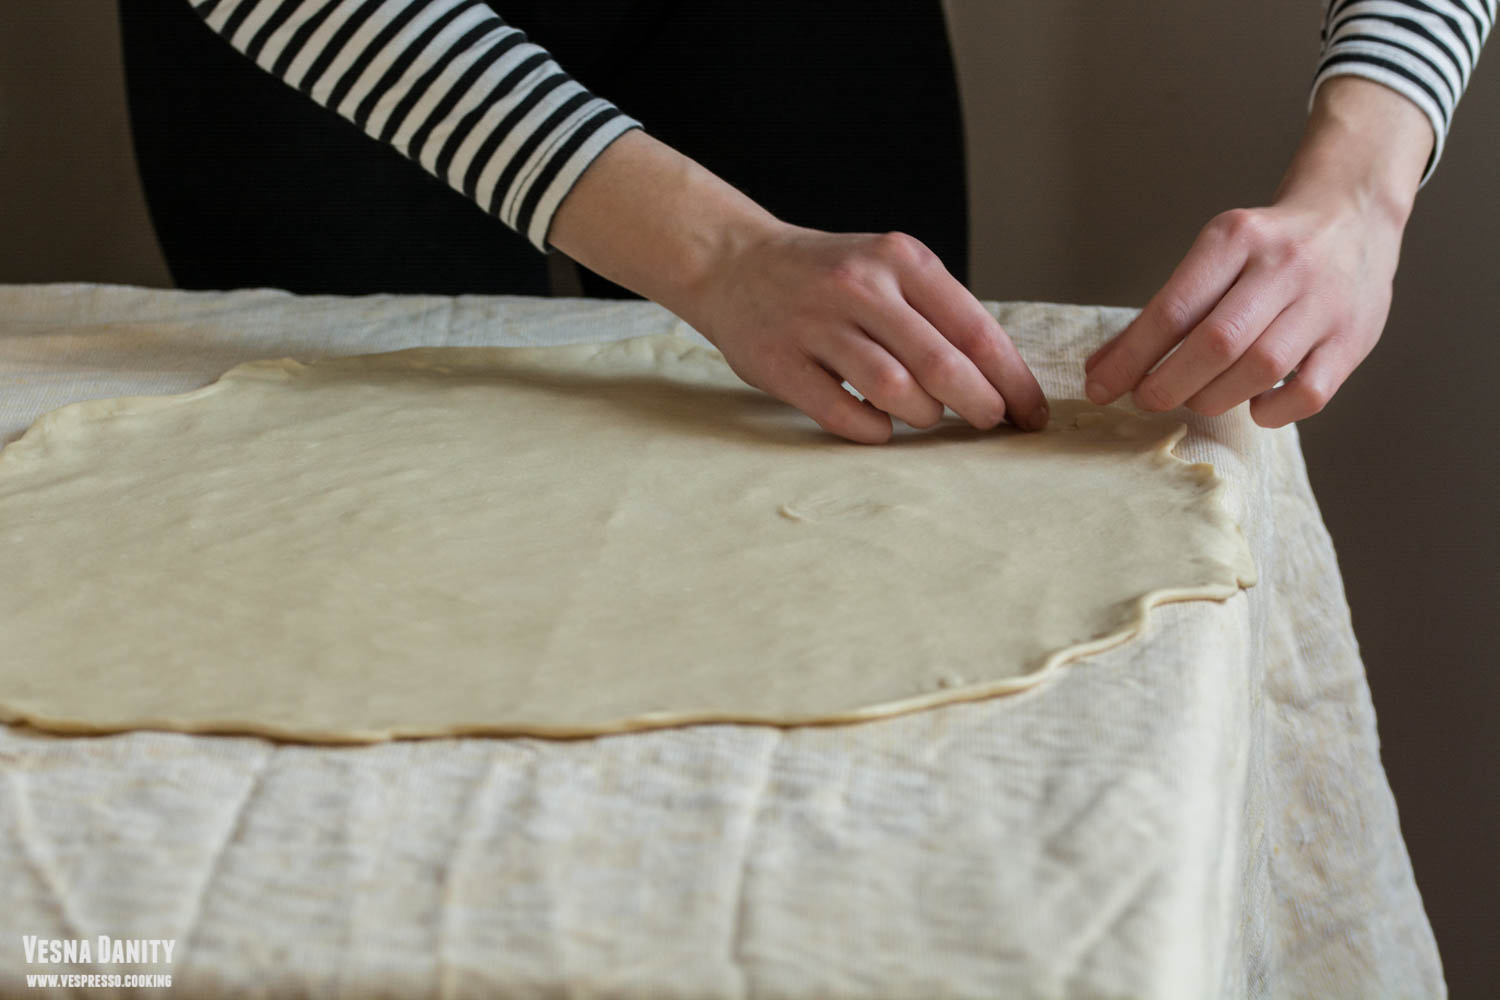
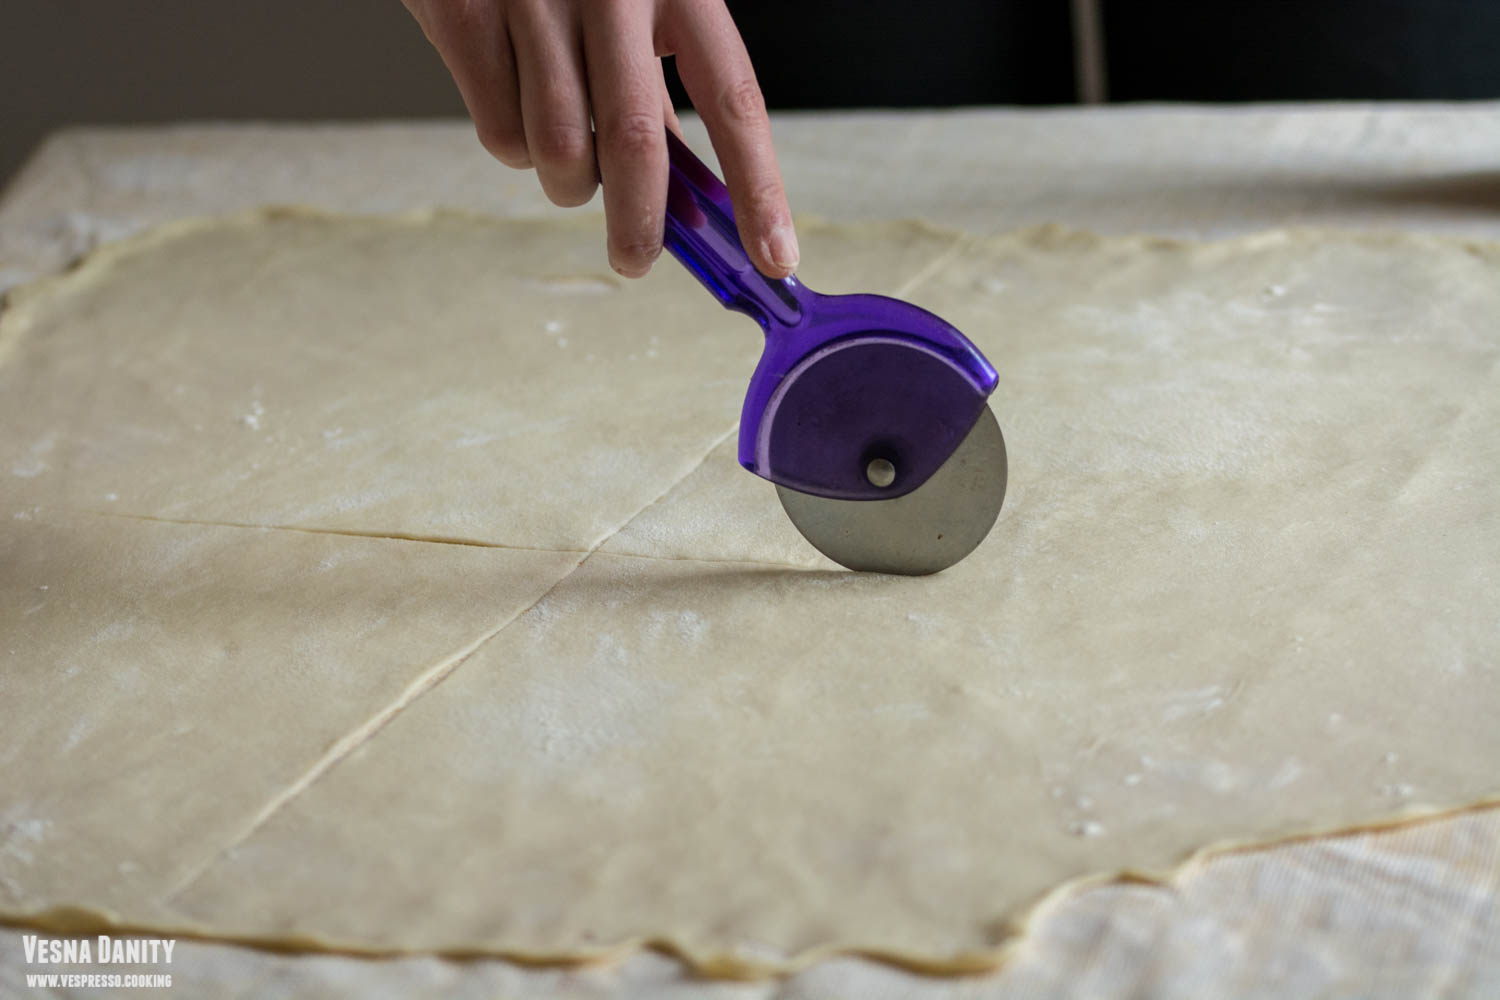
  9. Cover the table with a clean table cloth (a clean sheet does the trick as well). Place the back of your hand under the sheet of dough and I begin stretching it from the center to the outer edges, working your way around the sheet of dough. If you don’t feel the sheet moving, let it relax for a few moments. It is ready when it’s so thin that you can read the newspaper under it. Take a knife or a pizza cutter and cut it into 4 equal pieces.
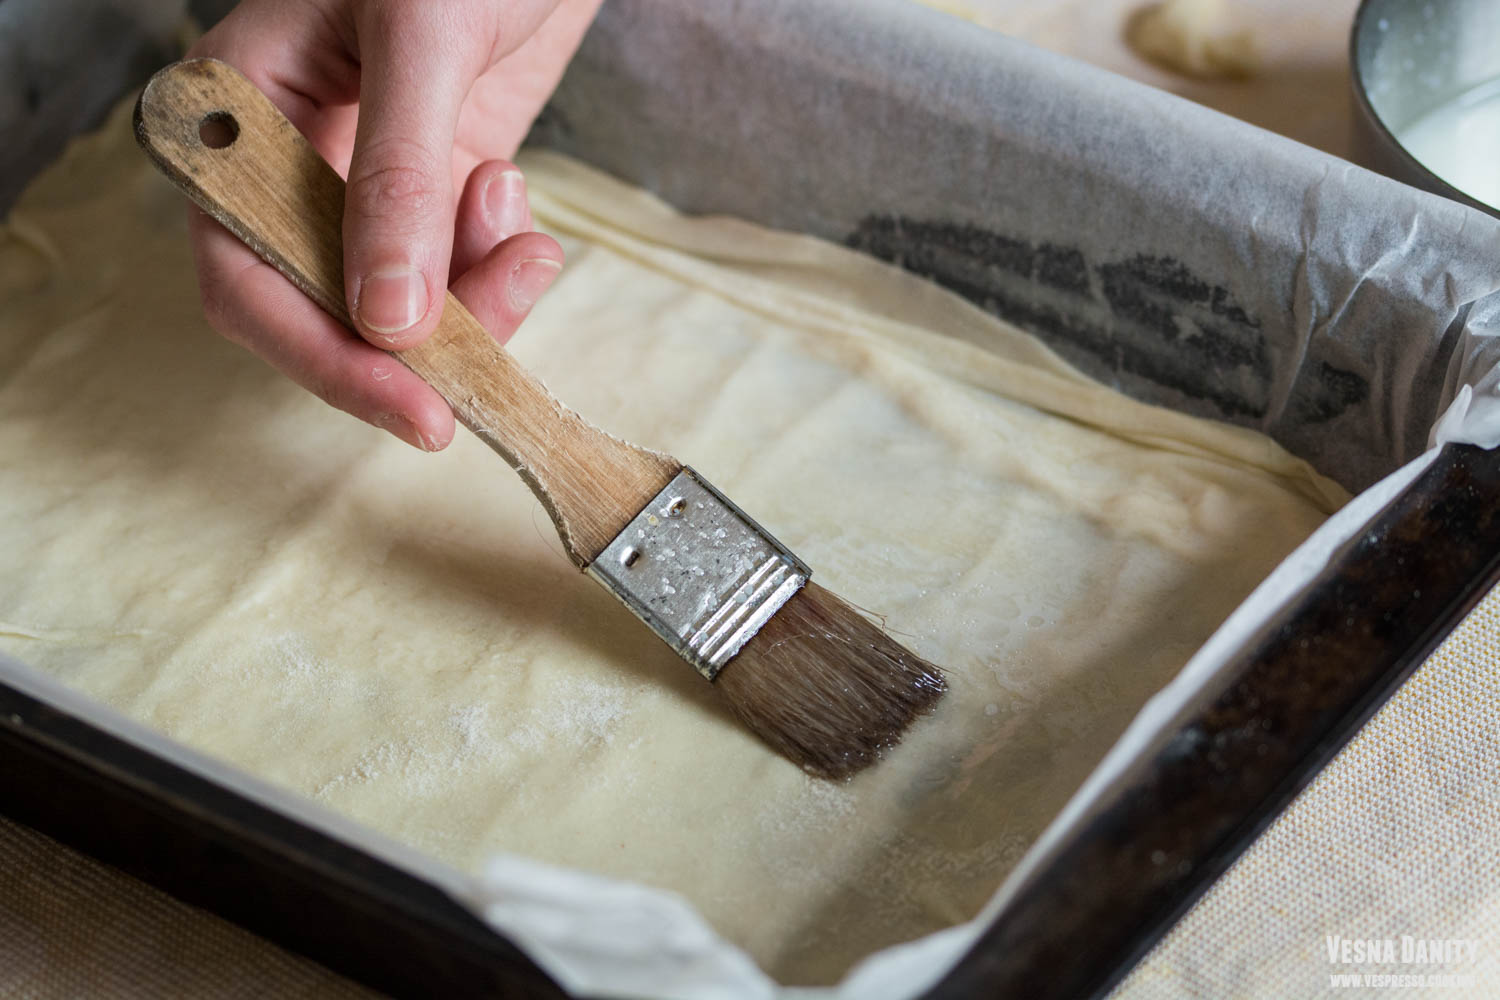
  10. Take one sheet, place it in a tray, remove the thicker outer edges with a knife and grease it with the milk mixture. Place the second sheet on top and grease it as well.
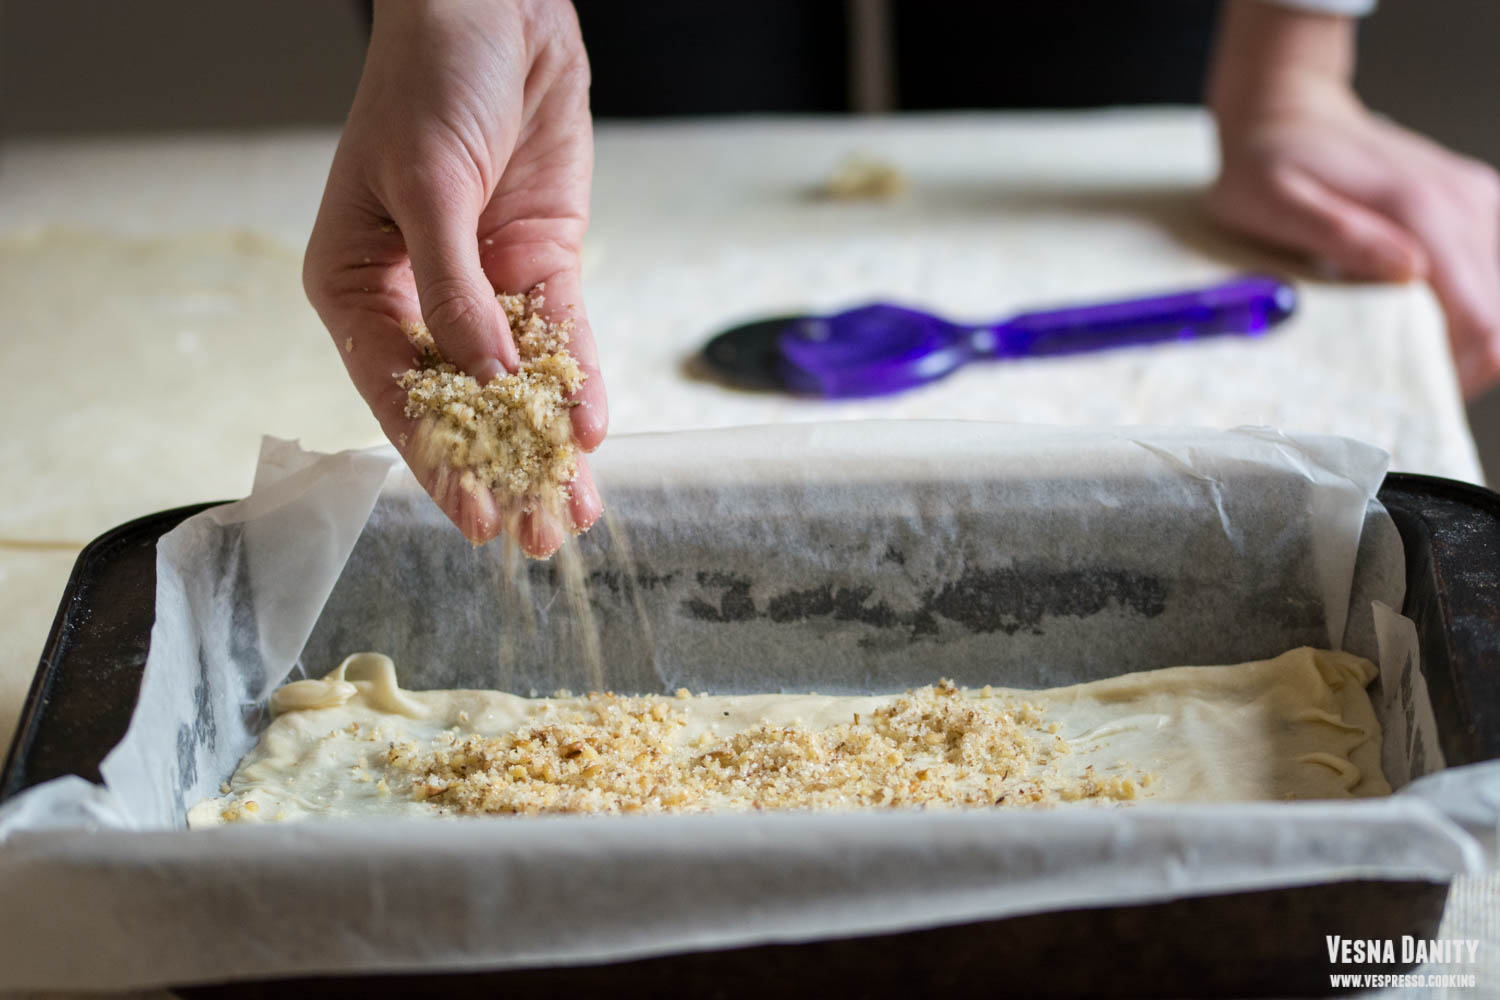
  11. Over the second sheet sprinkle about two handfulls of walnut mixture.
  12. Cover the walnut mixture with the third sheet, grease it as well and sprinkle a handful of walnuts.
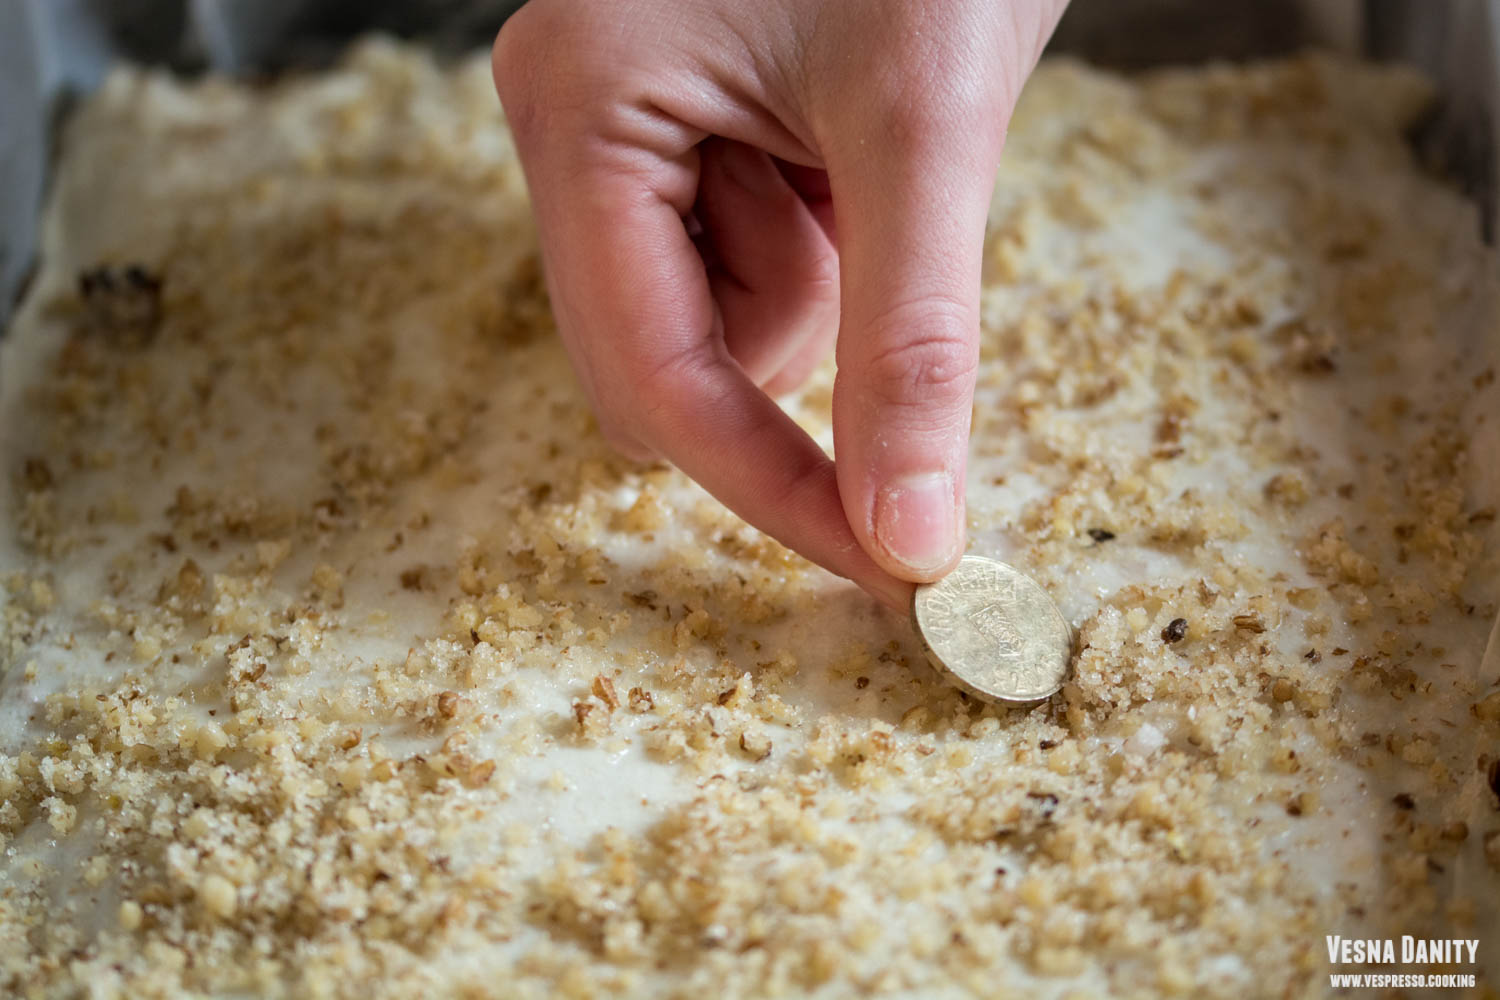
  13. Continue with the layers until you place the sixth sheet. Grease it, sprinkle a handfull of walnuts and place the coins.
  14. Proceed the same until you reached the 10th sheet, grease it and sprinkle it with the remaining walnut mixture.
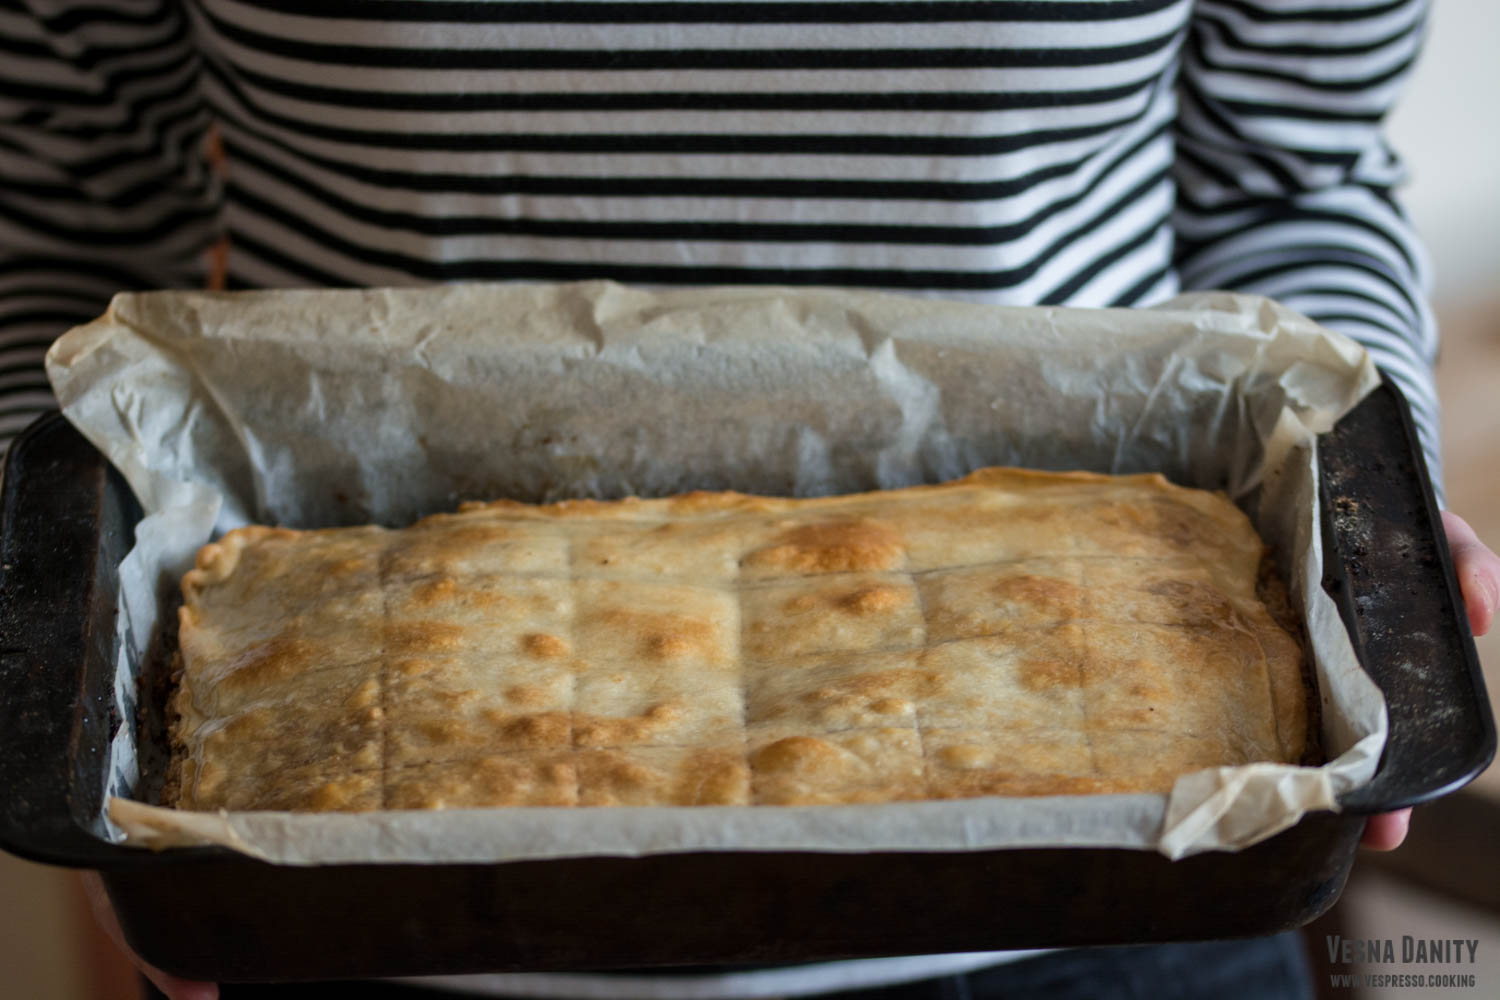
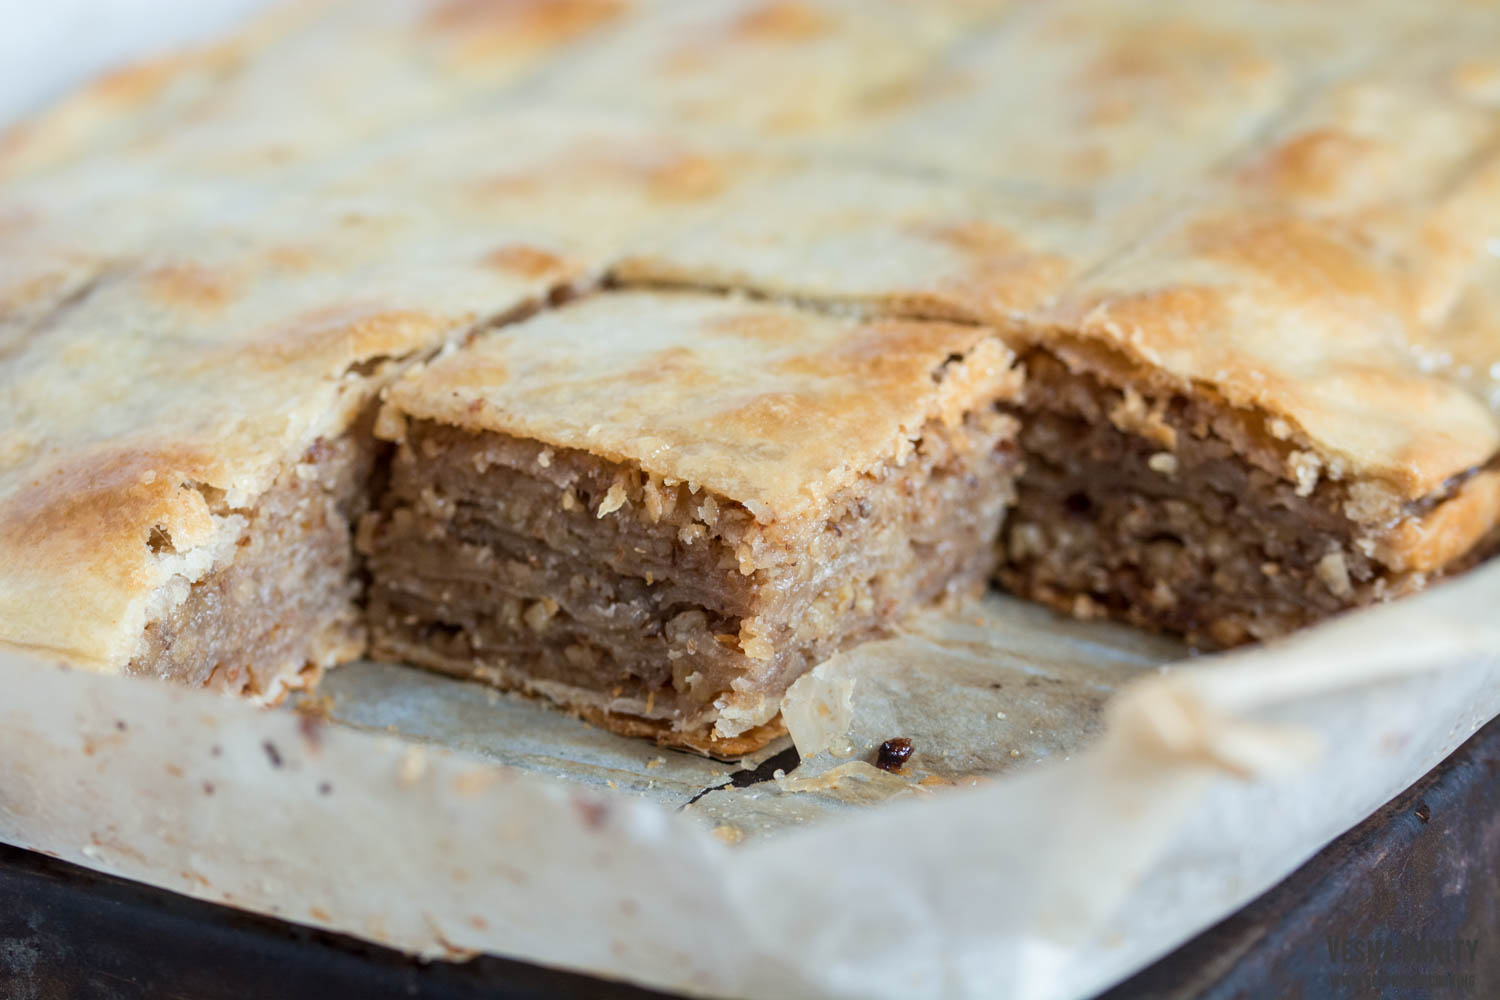
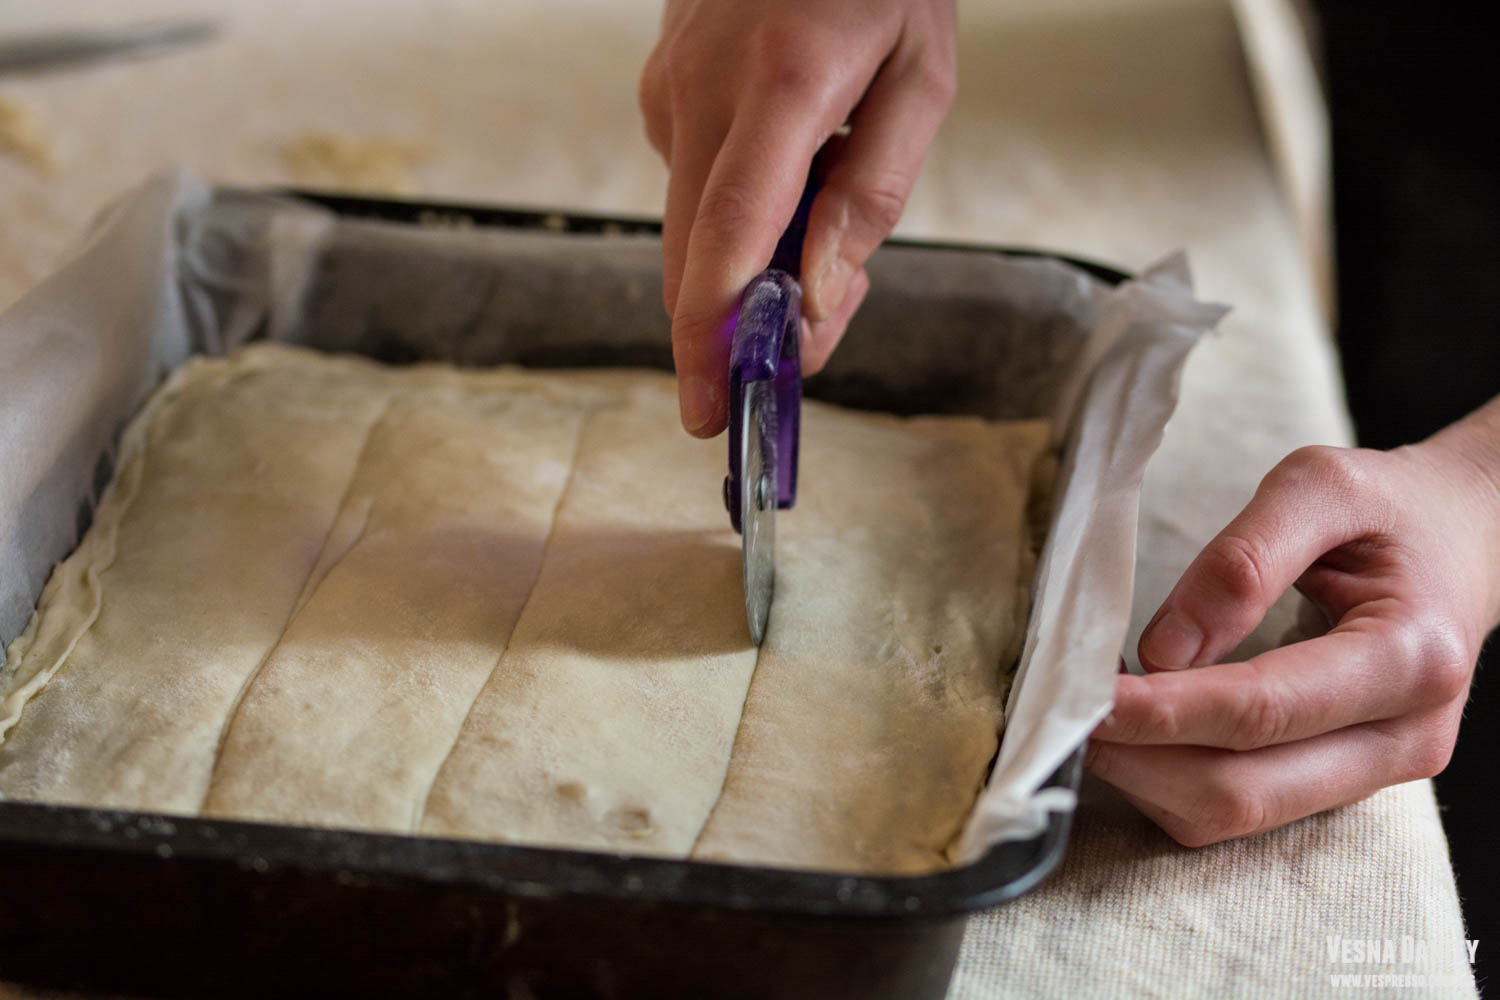
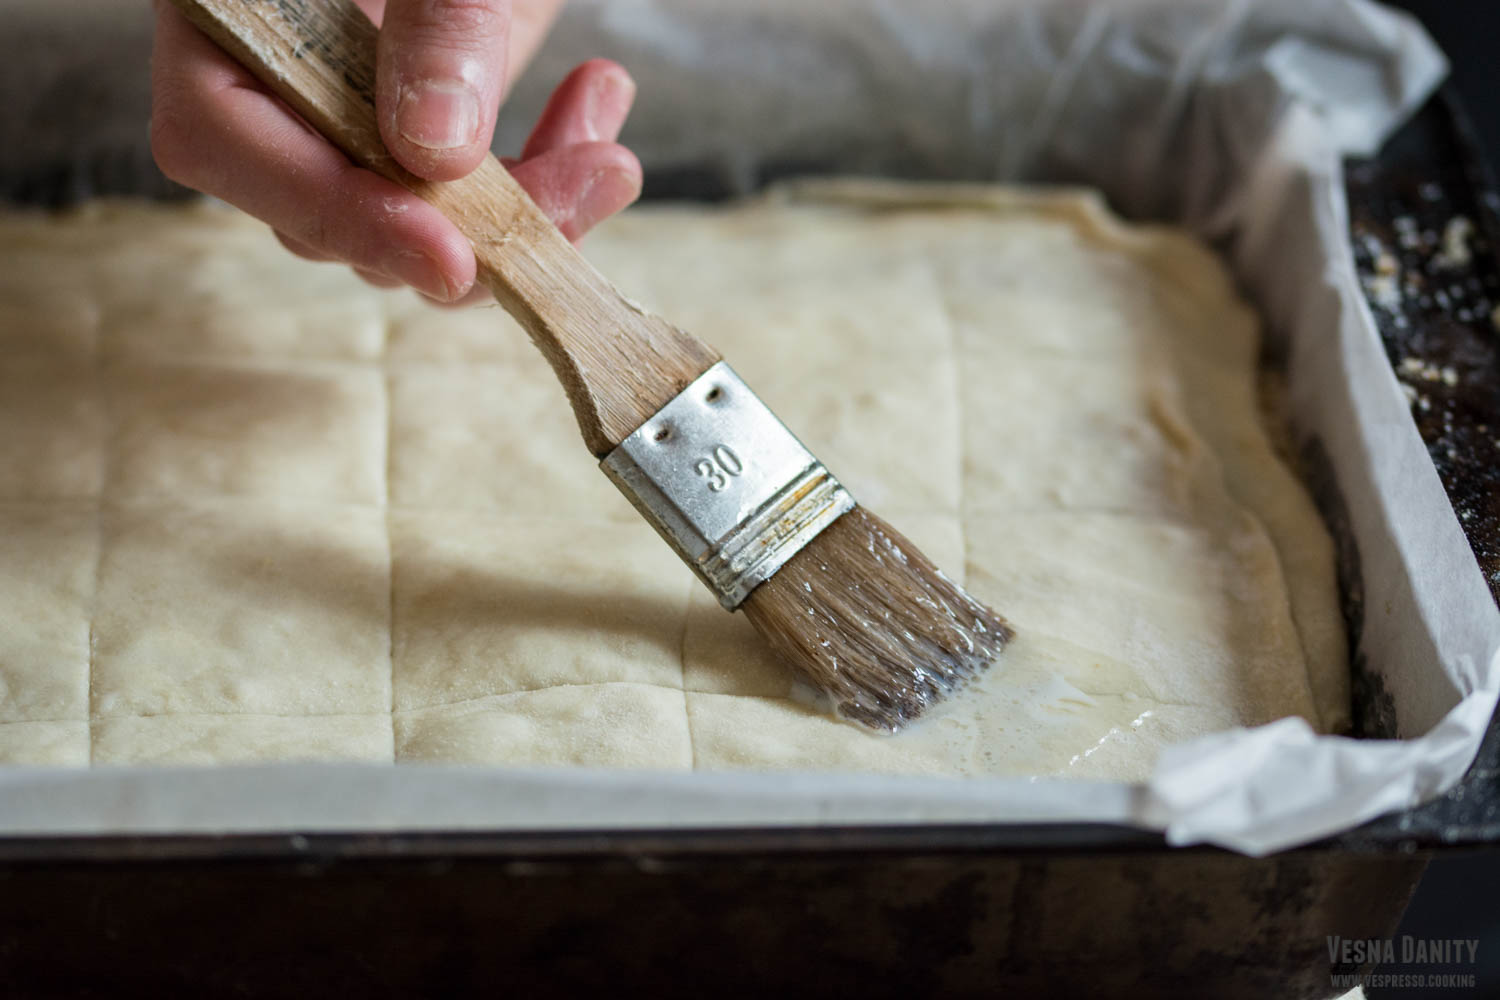
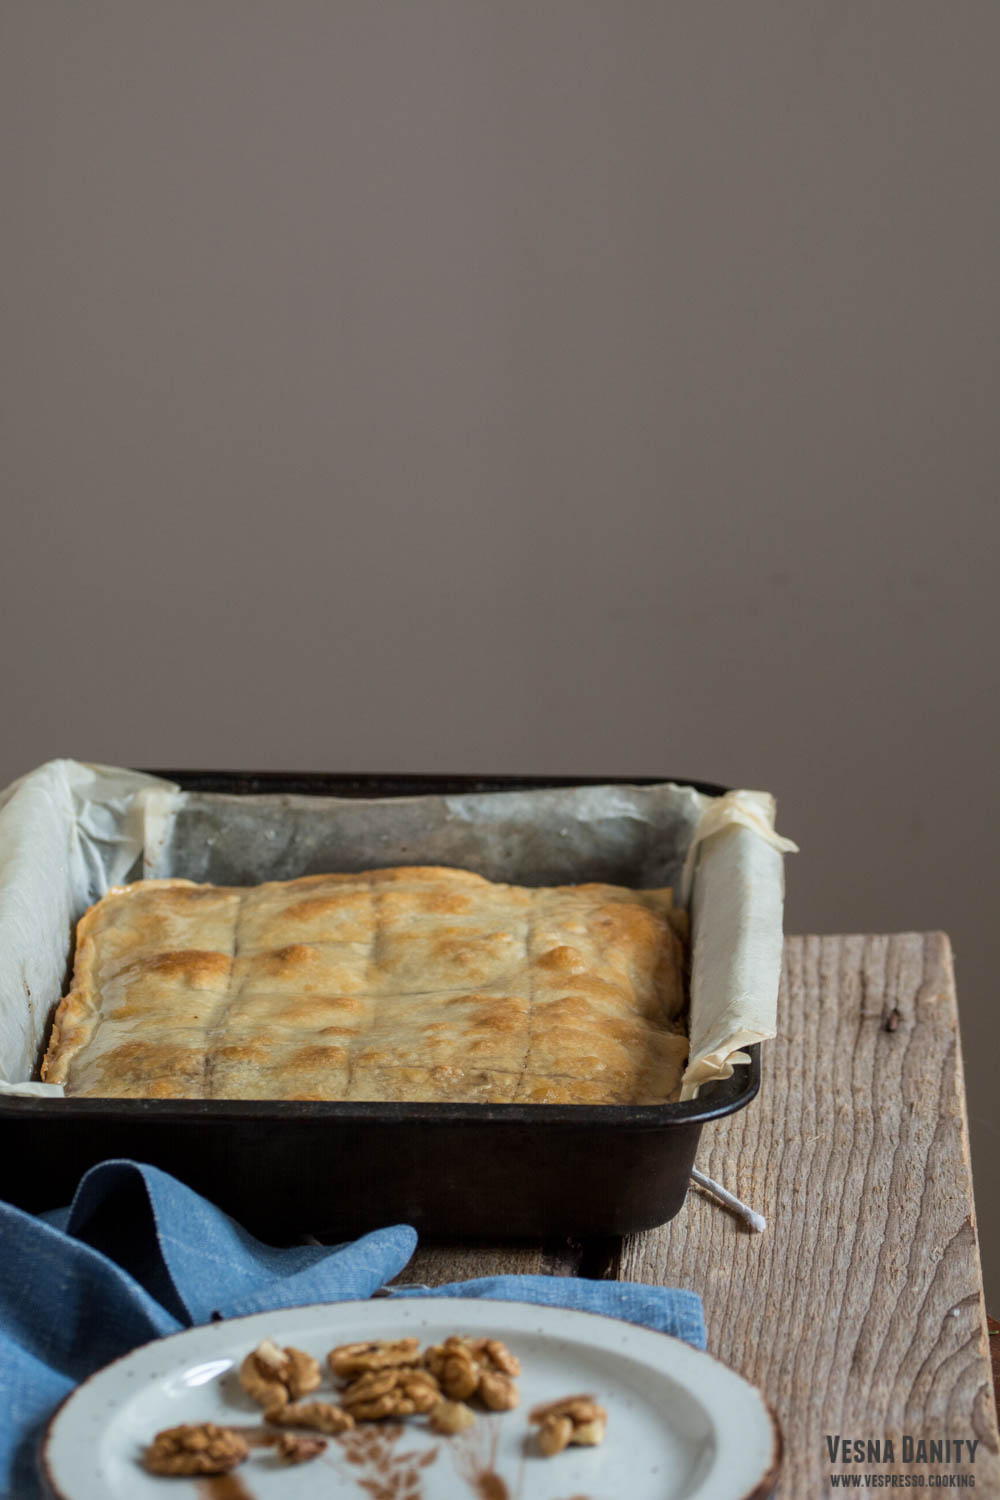
  15. Cover it with the eleventh sheet, grease it  cover with the last one. Using a sharp knife or a pizza cutter, cut the surface of the pie into 20 squares. Grease it with the milk mixture and bake in the preheated oven at 375°F/190°C (gas mark 5) for 30 minutes or until golden.
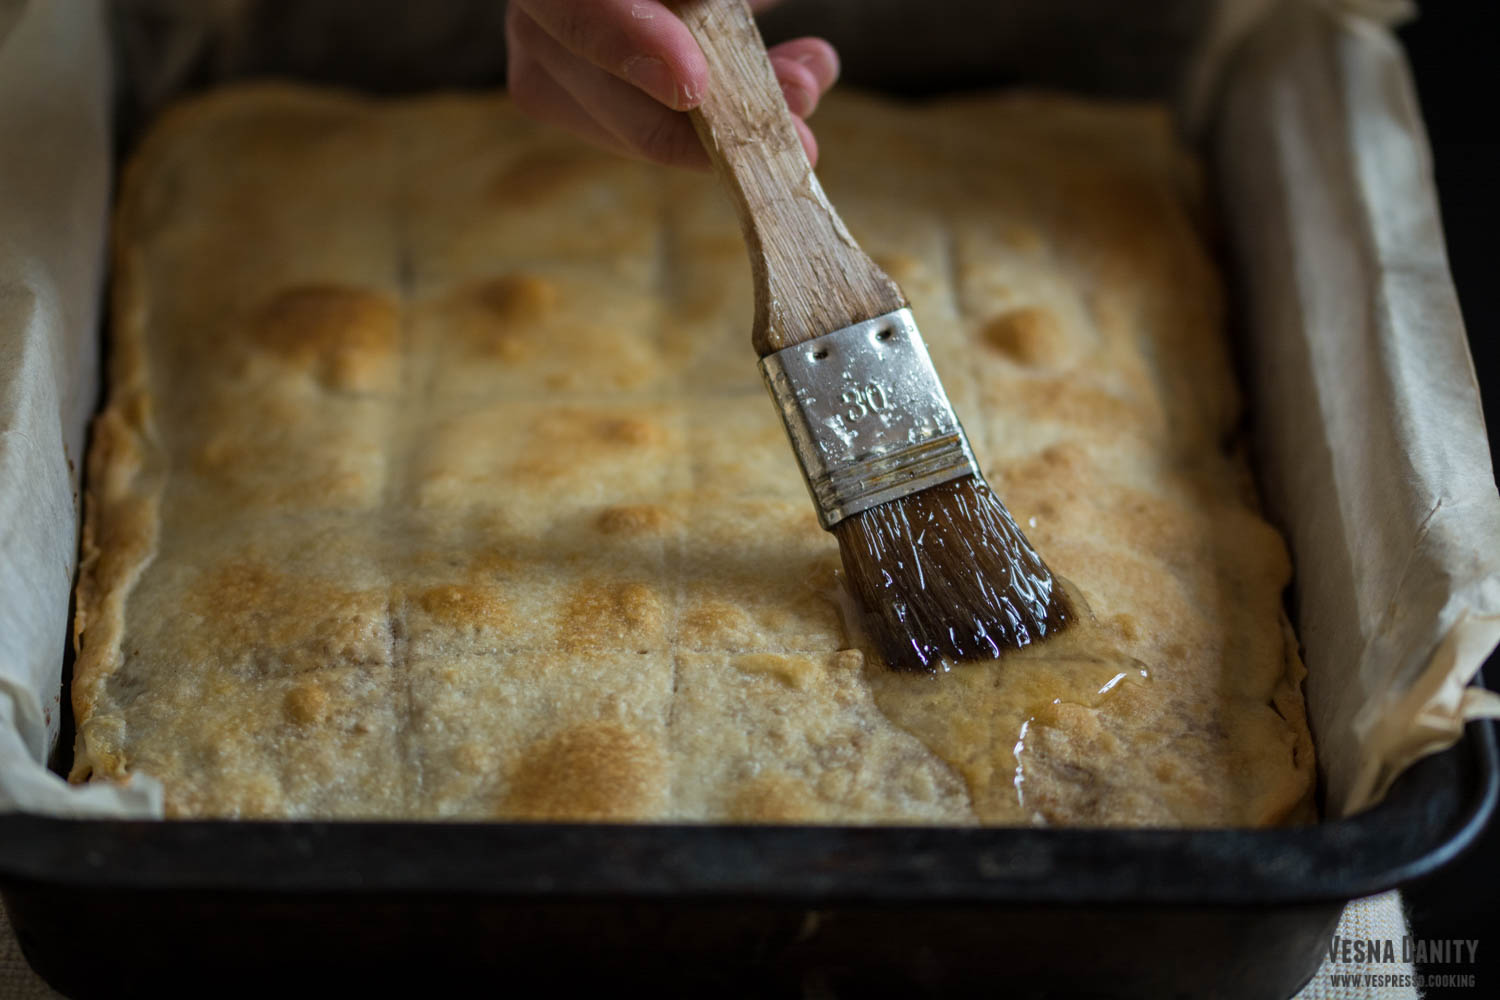
  16. Remove it from the oven and pour on top of it a mixture made form 3 Tbsp honey and 1 Tbsp water. Cover it with a towel and let it cool. This step is totally optional, some households prefer it moist, while other households love it dry.


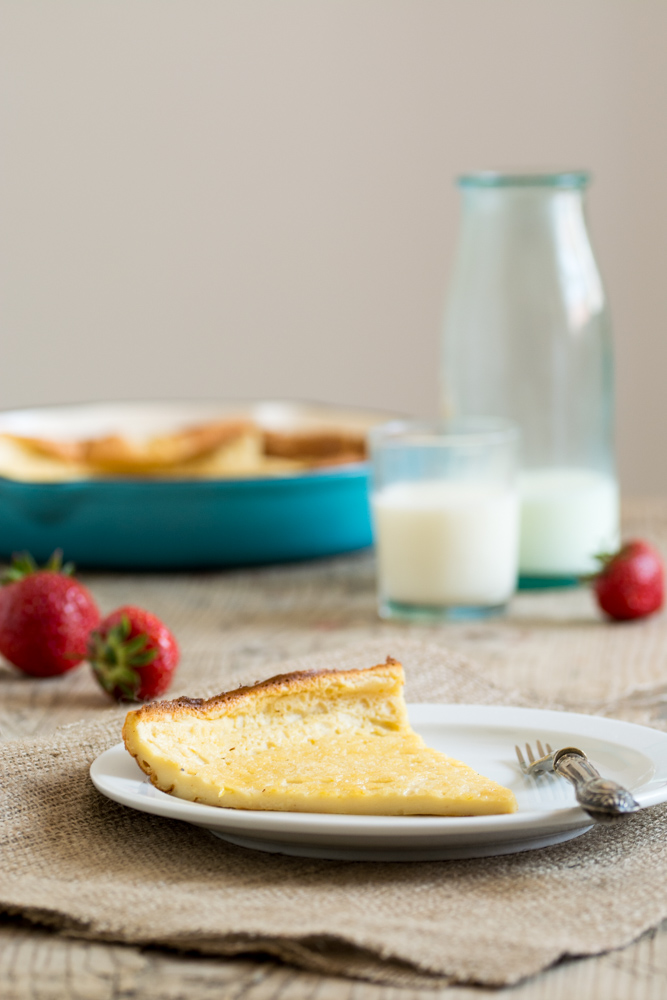
Dutch Baby with Strawberries and Mascarpone Cheese

Puffed Dutch BabySlice

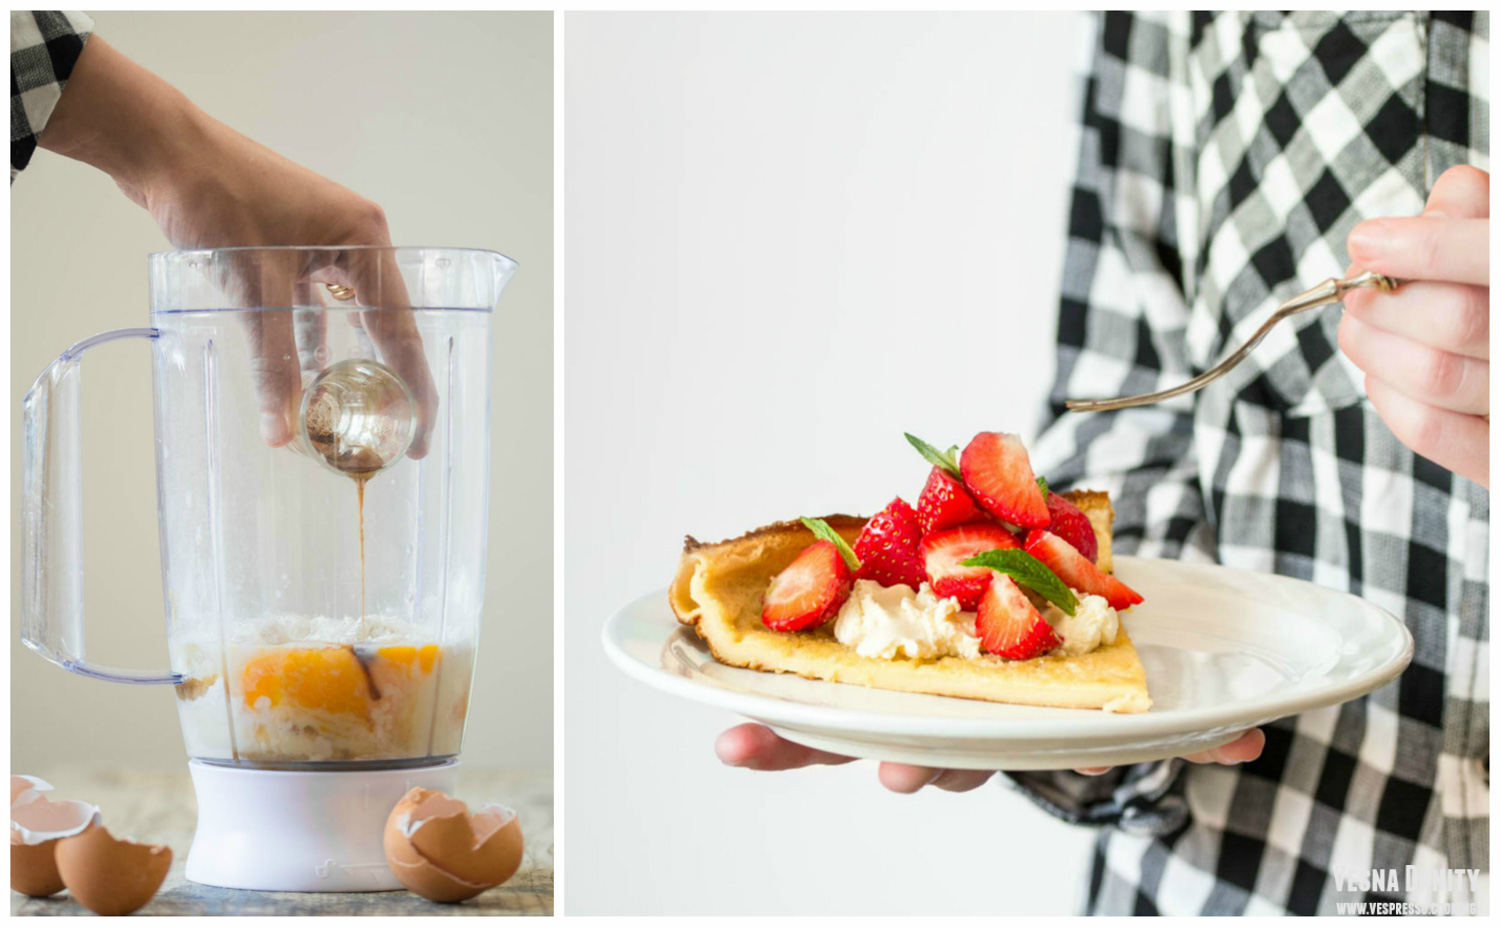
Every time I crave pancakes and I’m not in the mood for staring at them while they cook, I bake a Dutch Baby. Dutch Baby is a huge and puffy German pancake served generally for breakfast. The batter made from eggs, milk, flour and sugar is baked in a buttered cast iron skillet and after baking, this lovely pancake is served with butter, lemon juice and powdered sugar. This is certainly the easiest dessert I’ve ever made. You blend a few ingredients and you pour the batter in a skillet. It’s that simple!

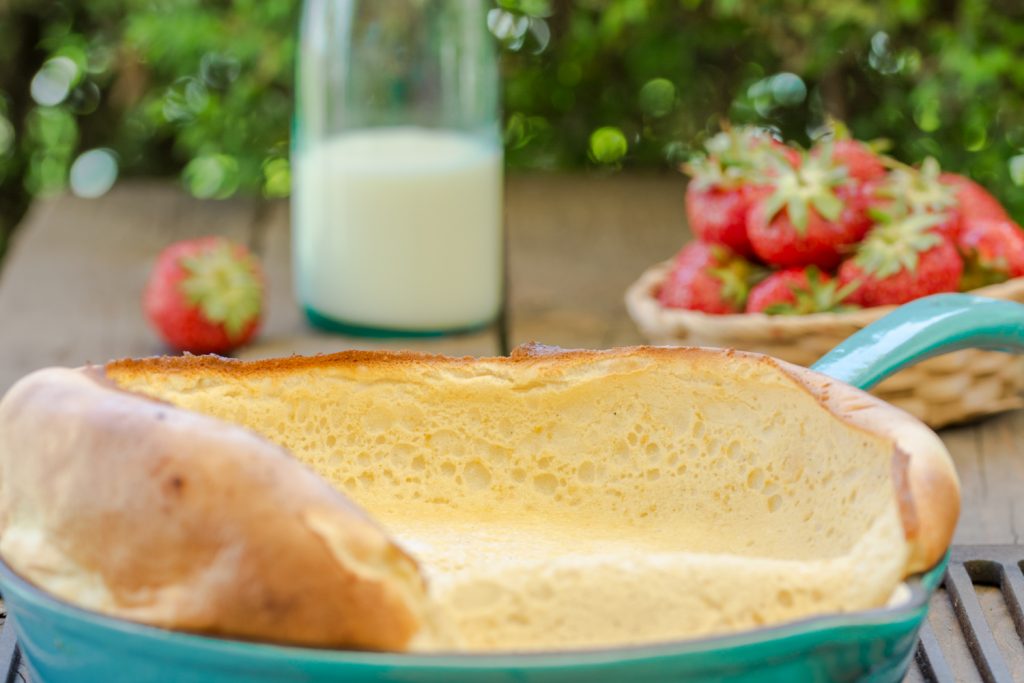
Being an egg-based baked dessert you’d certainly expect a fluffy, soufflé-like final product. Trust me, the volume and the shape of this pancake is quite stunning. Regarding the fact that you pour about 2 cups of batter in a hot skillet, you’d expect to get an adorable little pancake and not a baby hippo. Let me tell you something, this is a dramatic dessert with a unique kind of beauty. Continue reading Dutch Baby with Strawberries and Mascarpone Cheese