Fried Zucchini Blossoms (Vegan)

With a crispy crust and a creamy center, these fried zucchini flowers are a stunning Italian appetizer. A budget-friendly, delicious and simple yet elegant treat. I first tried this recipe about 5 years ago and I remember it was love at first sight. Since that particular moment, I’ve been preparing this recipe at lest once a month. When I’m in my veggie garden, admiring my zucchini bush, it fills my heart with joy the fact that I’m able to create something extraordinary from an ingredient that I’d otherwise throw away. Regarding the batter, I’ve trying a lot of recipes that required whether baking powder, sparkling water or cold beer. Hands down, my favorite version was this simple three-ingredient one. It requires only flour, water and yeast, a pinch of sugar and a pinch of salt. These ingredients create a incredibly crunchy crust which hides a delicate and creamy filling.

Ingredients (for 6 servings):

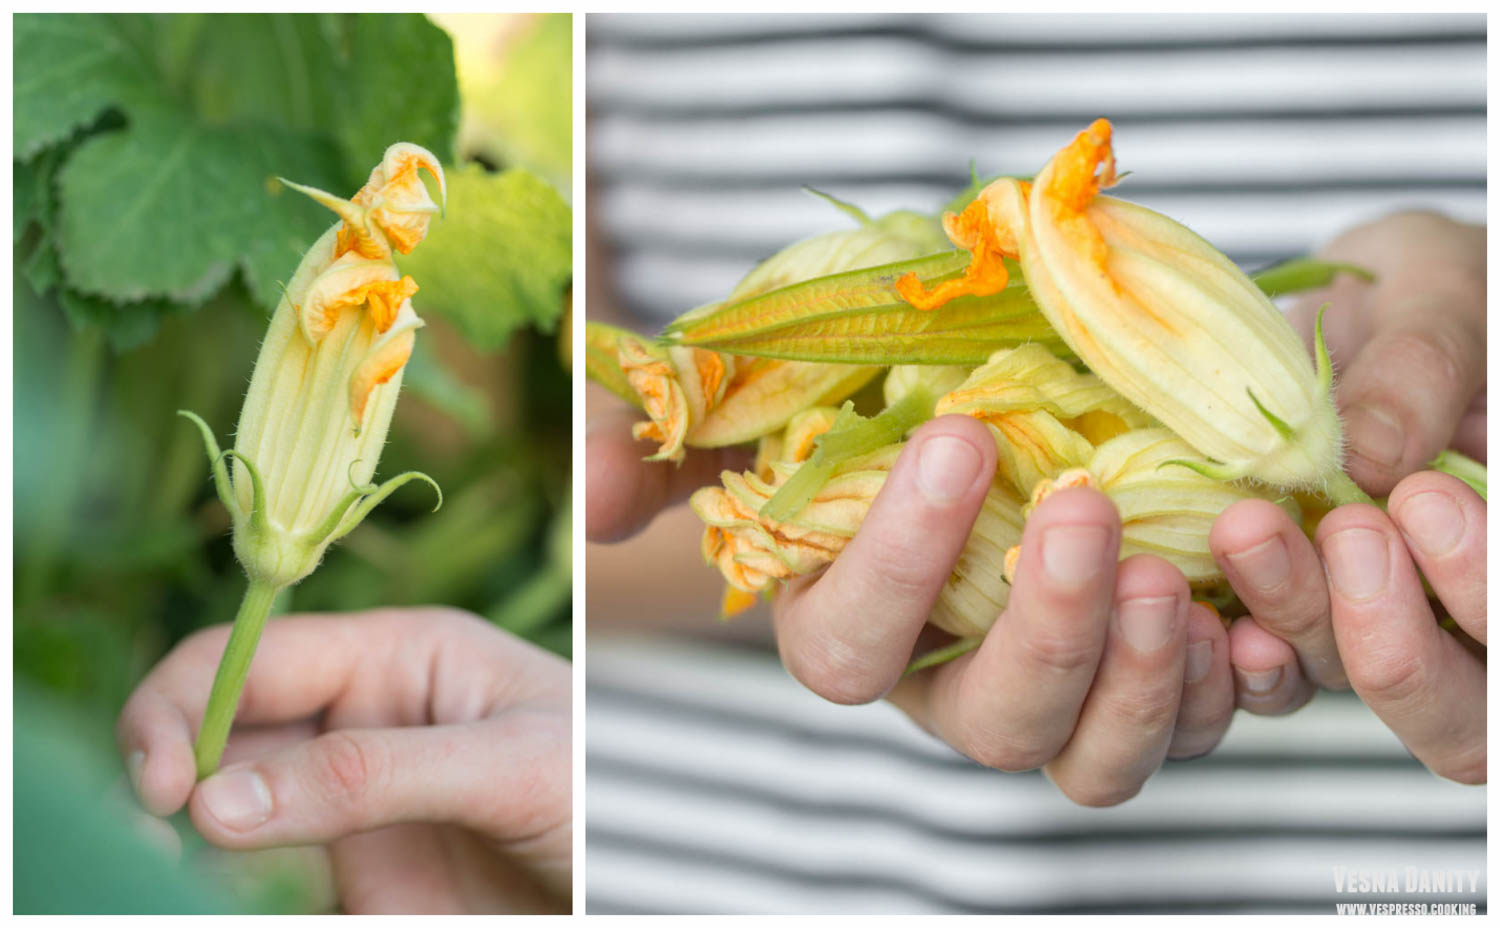
15 zuchhini blossoms

150g all-purpose flour

220ml lukewarm water (38-40C)
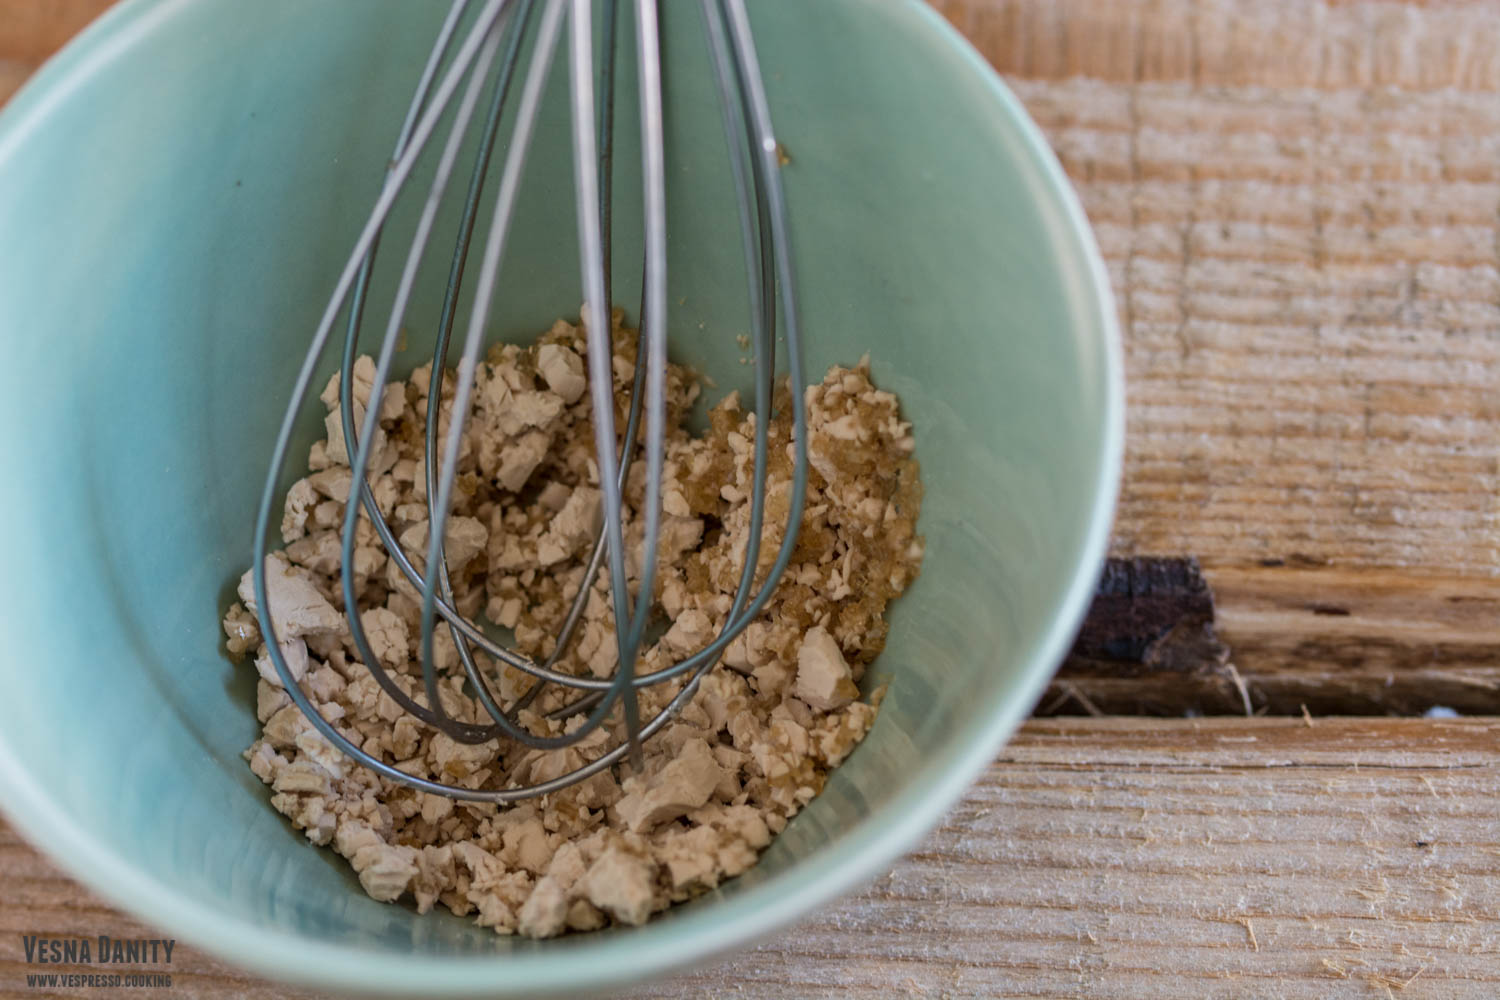
15g fresh yeast

1 sugar

1 salt


Method:

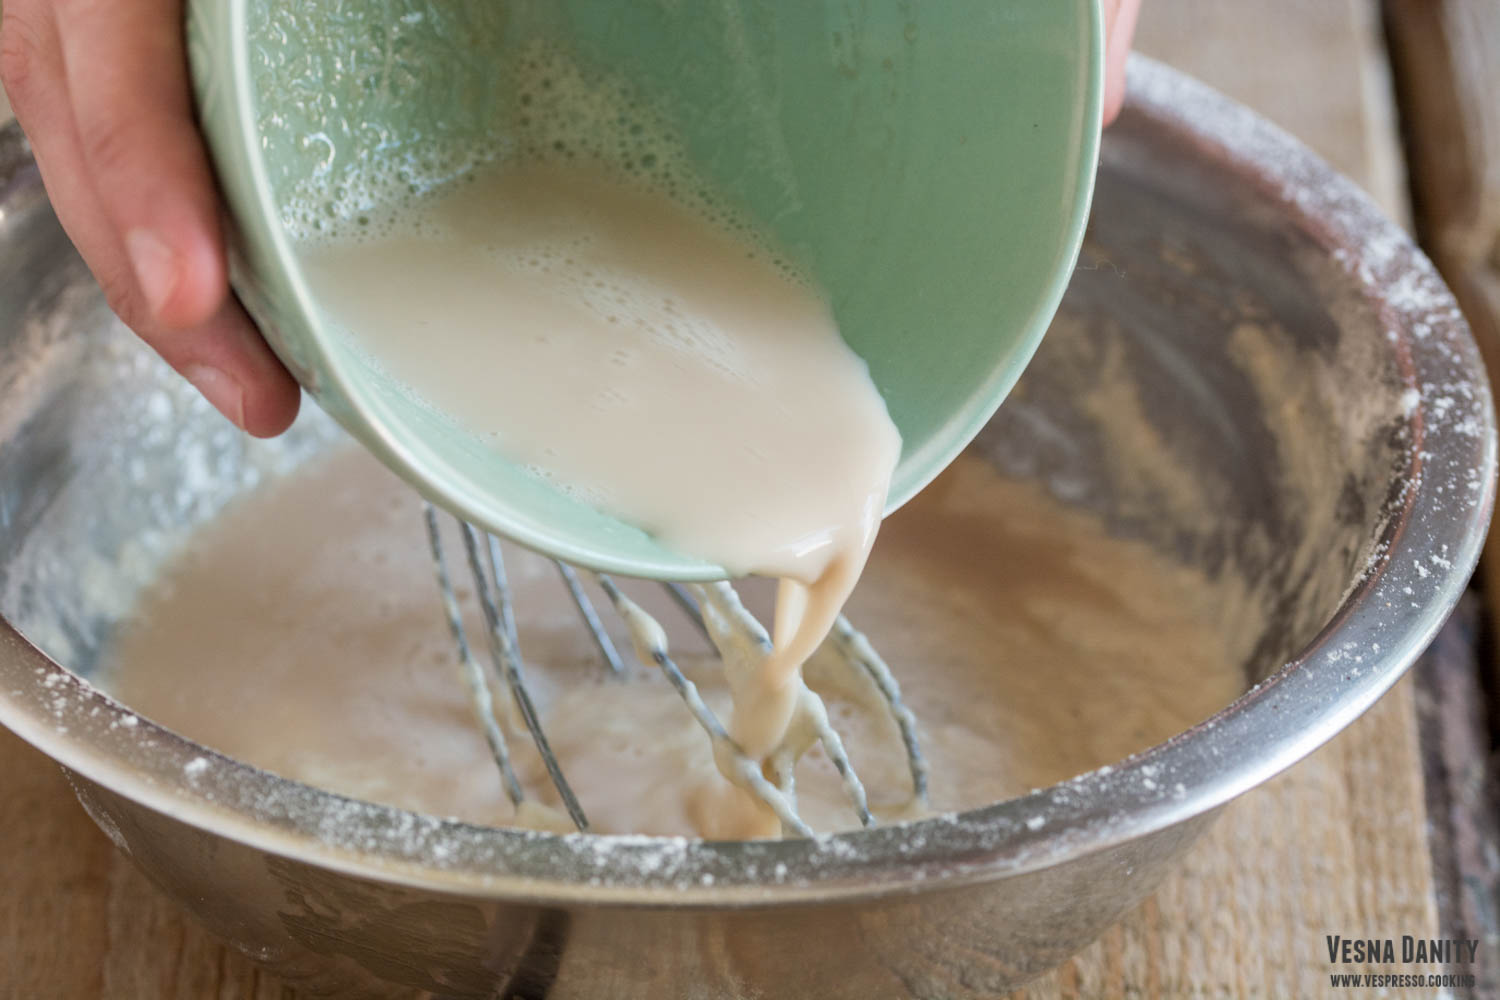
  1. Activate the yeast. In a small bowl combine 1/3 of the water, sugar and yeast and whisk until well combined. Let aside for 5 minutes.
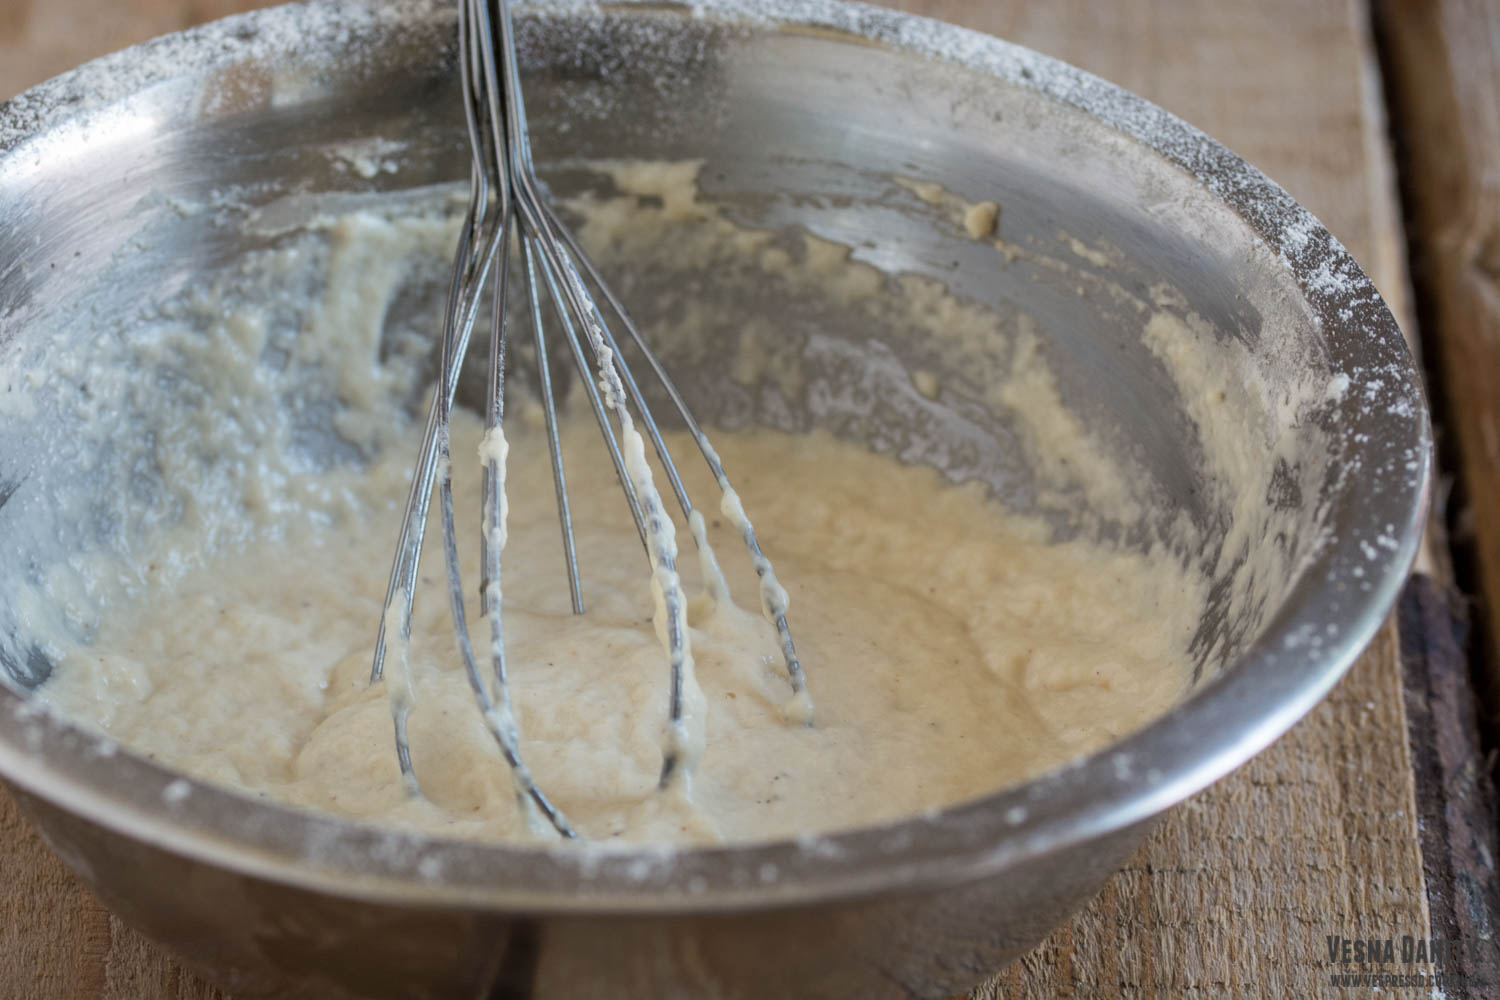
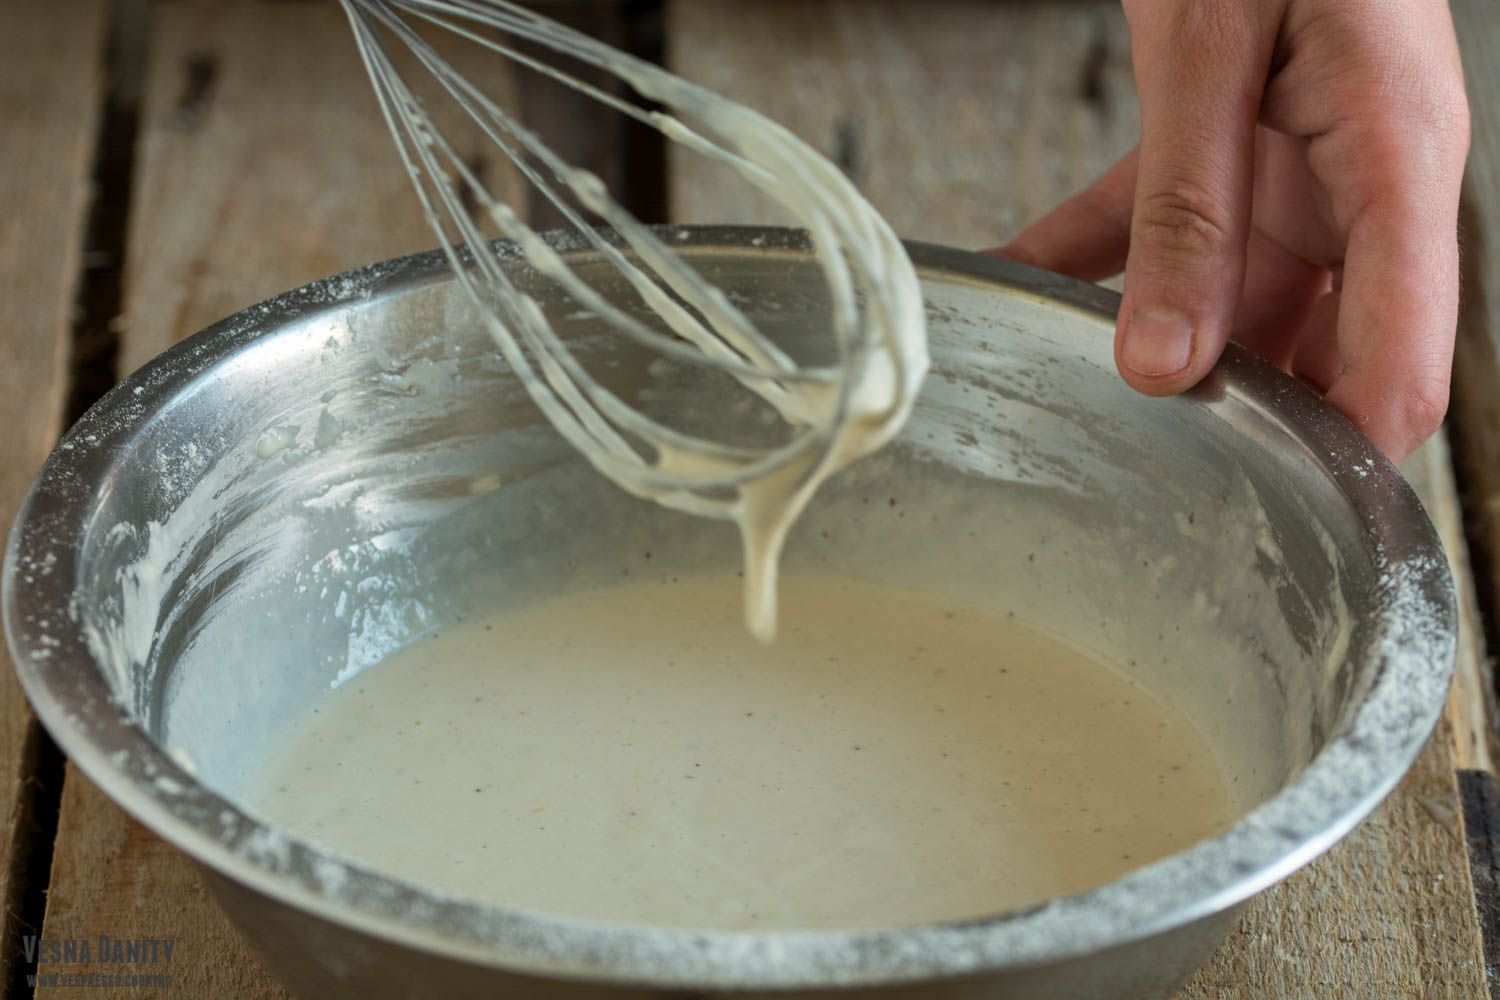
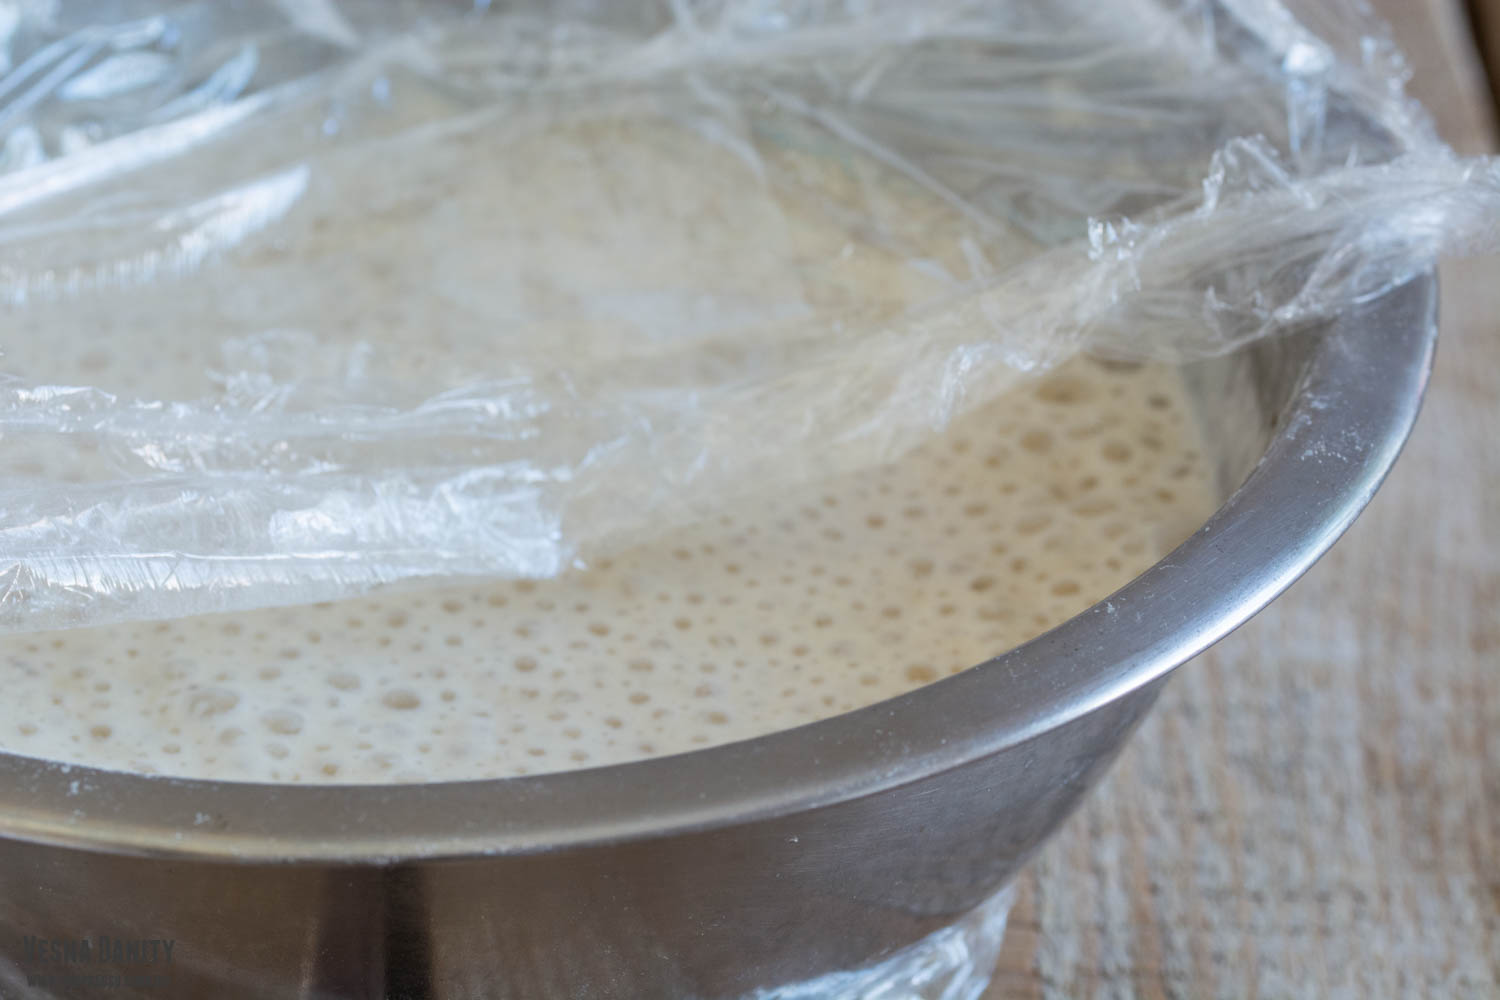
  2. Form the batter. In a large bowl sift the flour. Add the salt and a pinch of nutmeg and make a well in the center. Add the remaining water (2/3 of the quantity) and whisk until smooth. Add the yeast mixture and whisk until well combined. Cover with cling film and let it proof in a warm place for about 30 minutes.
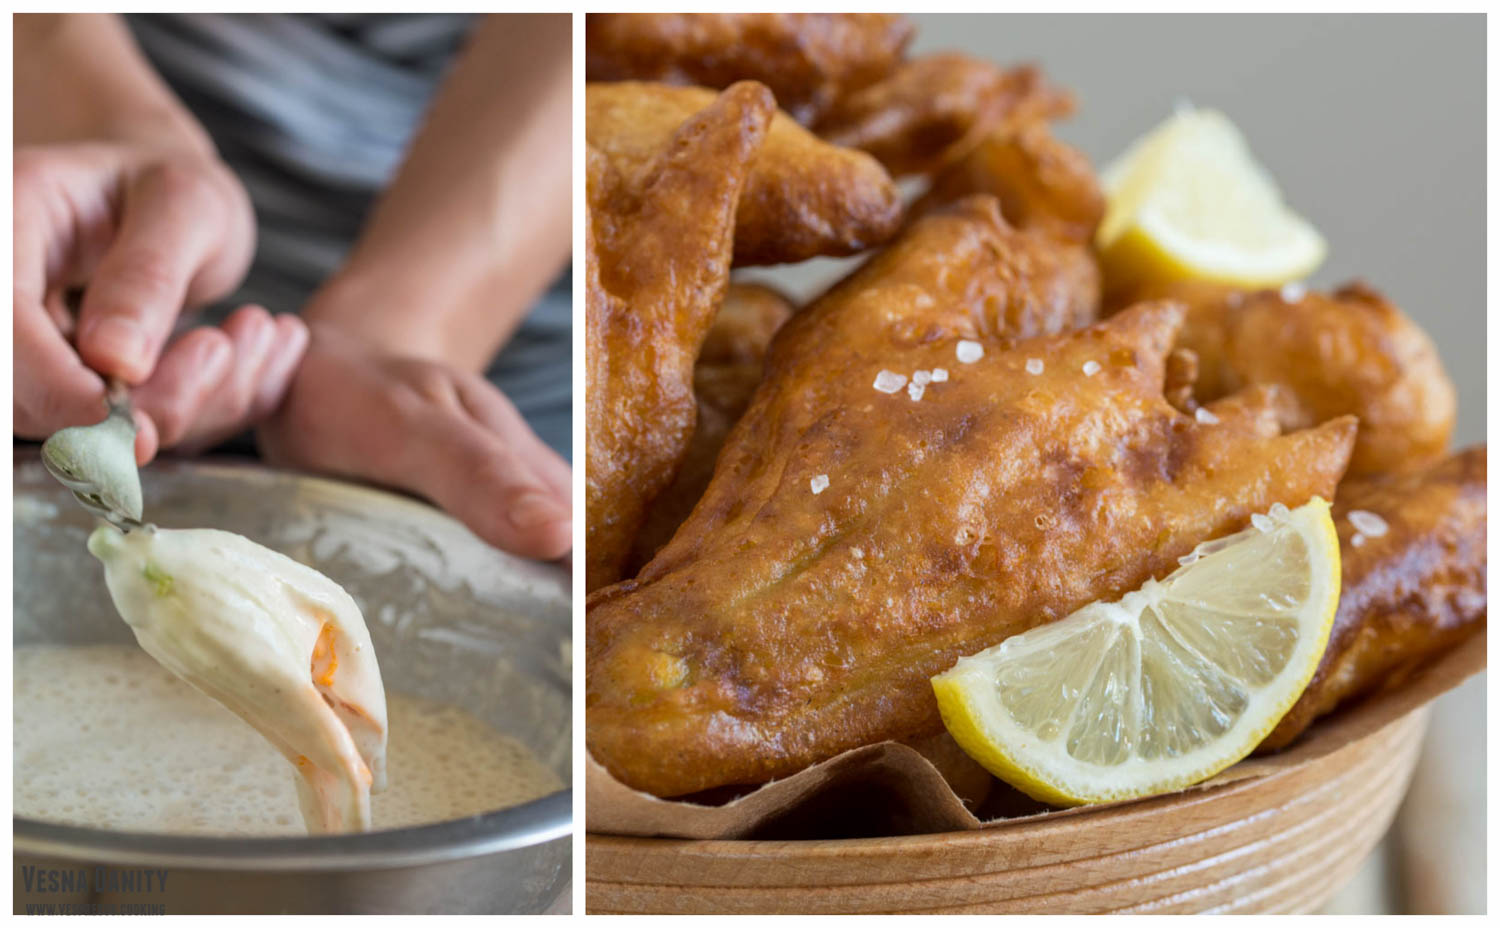
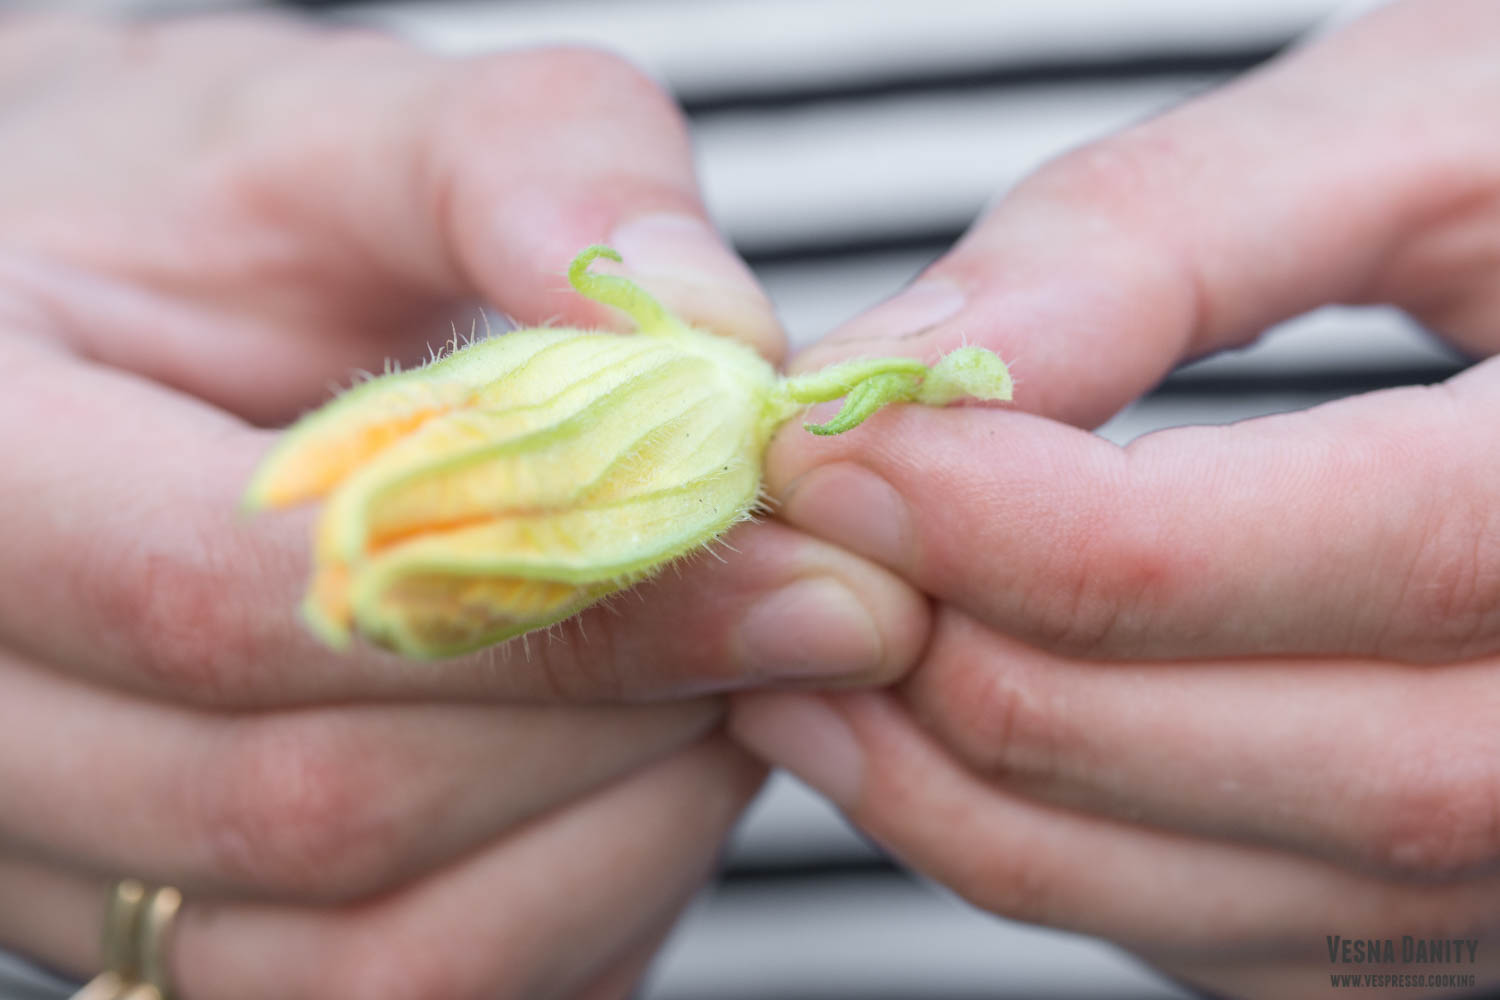
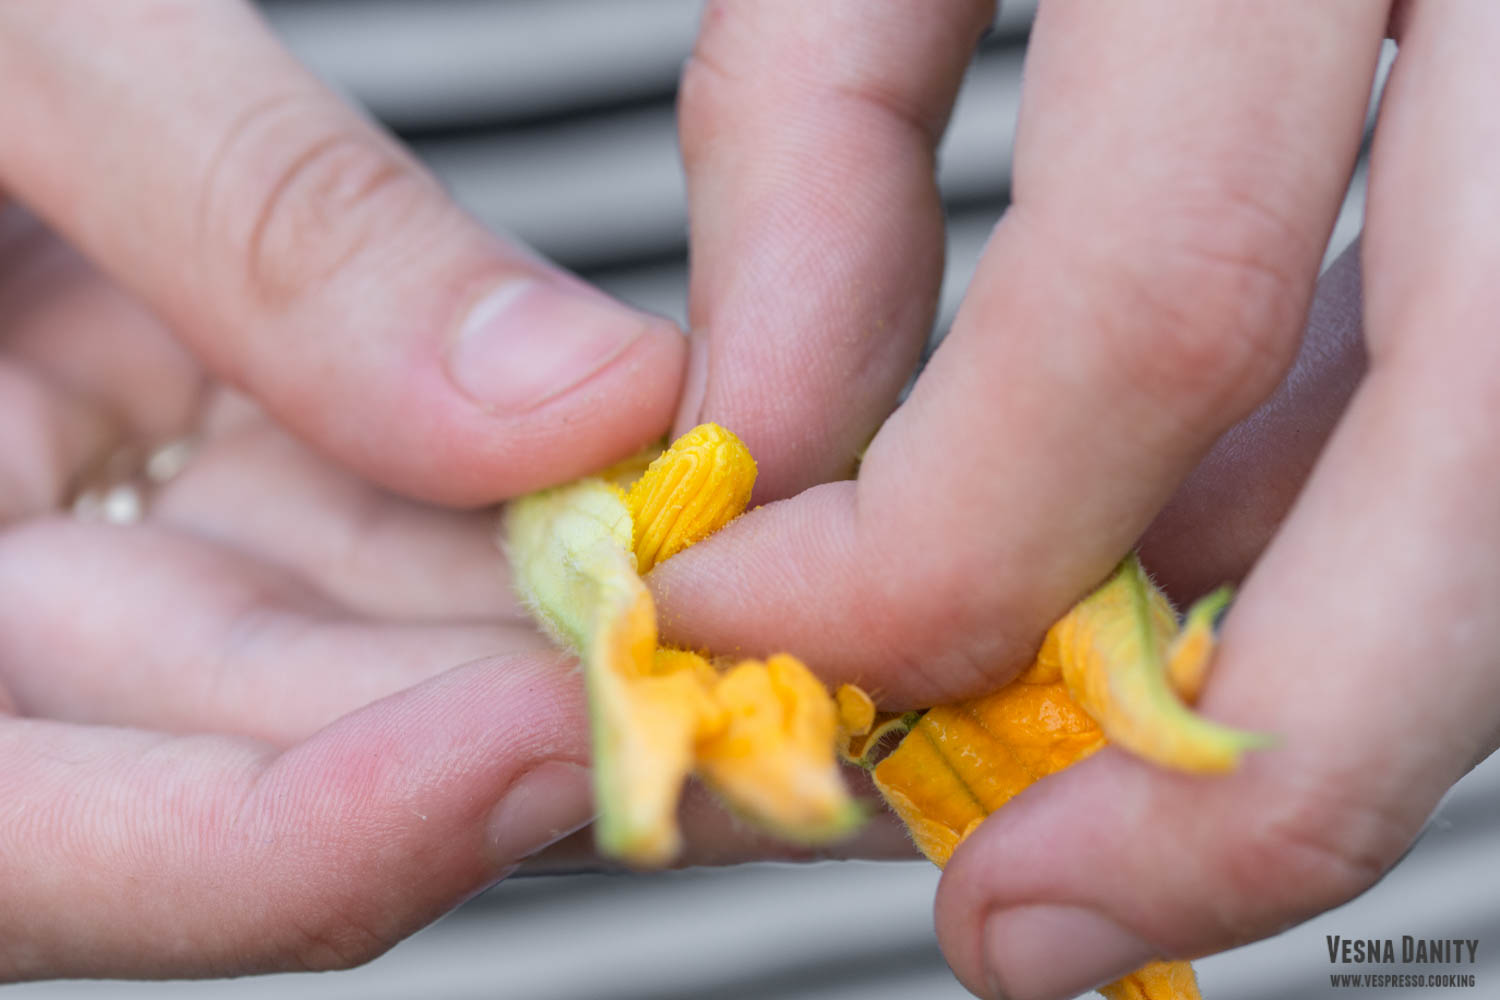
  3. Clean the flowers. Meanwhile take each flower and remove it’s center, as well as those tiny outer leaves. Clean under cold water and place them in a colander to drain.
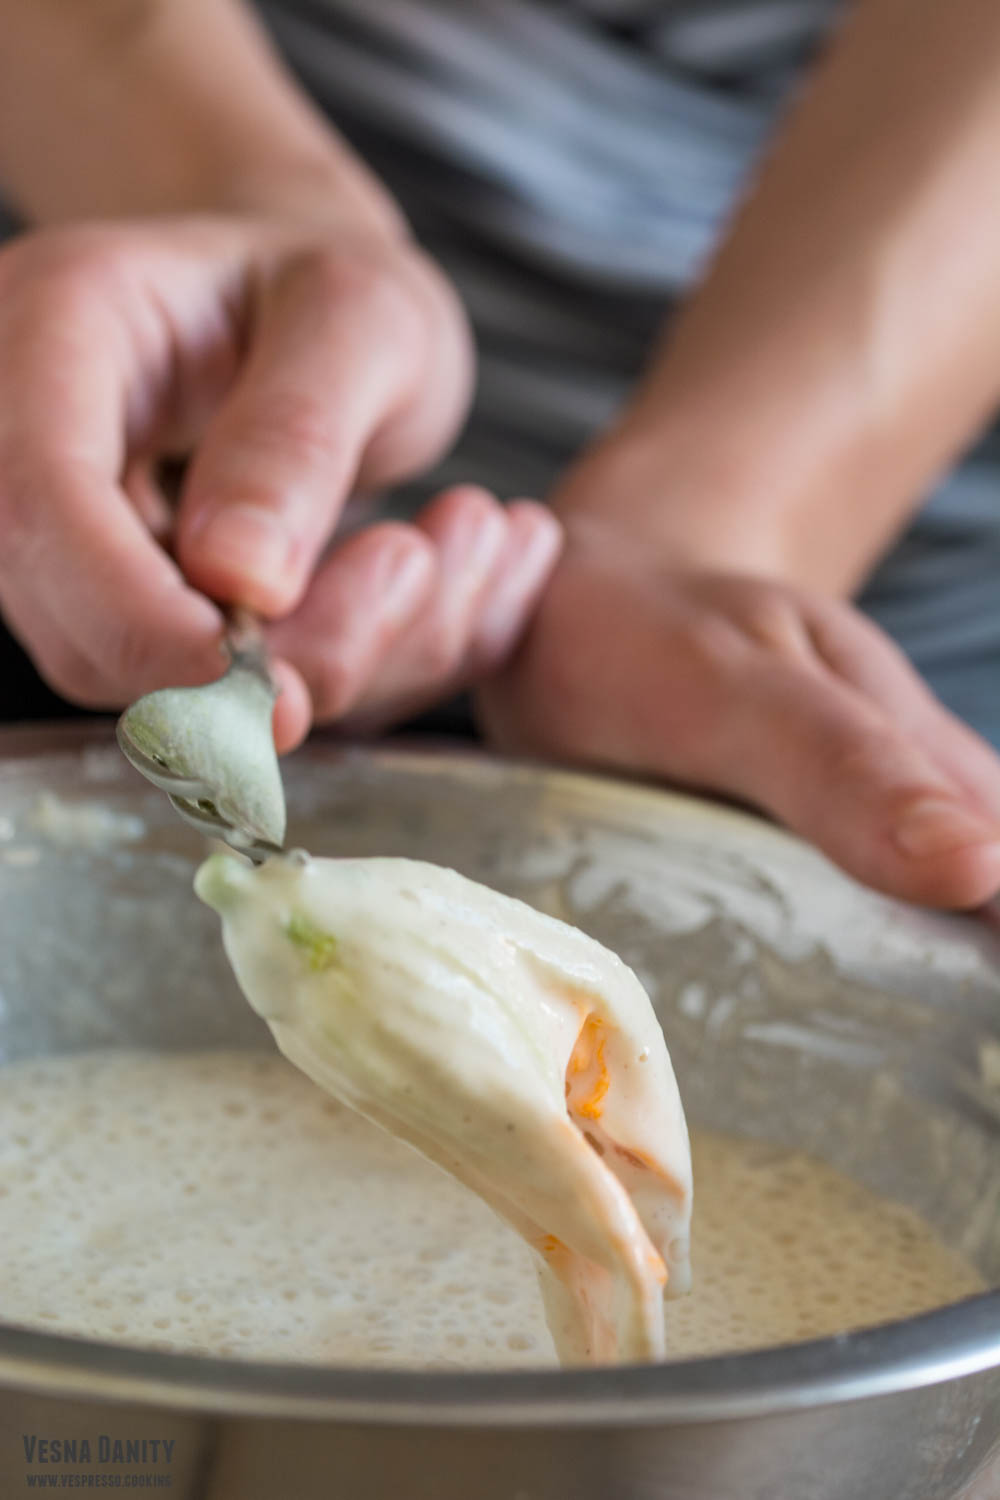
  4. Cook the blossoms. After 30 minutes heat the oil in a medium saucepan over high heat. One by one, dredge the blossoms in batter, shaking off the excess. Gently lay them in the oil, without crowding the pan. Cook, flipping once with a slotted spoon, until golden brown, 2-3 minutes total.
  5. Serve. Transfer to paper towels to drain and serve warm.

  1. Source: www.giallozafferano.it

Challah Bread

Challah is a braided bread made traditionally in the Jewish cuisine. This spectacular bread has a golden-brown, shiny crust and a airy and pilowy slightly sweet interior. It’s more than possible I’ve made challah more than two dozen times, in fact I bake it each and every time I want to surprise my guests. Beside the wow factor, this bread surprizes with its amazing taste as well.

Besides the usual ingredients, such as flour, water, salt, yeast and sugar, this bread is usually enriched with vegetable oil or melted butter and eggs,  which give challah a golden color and an unmistakable richness. These ingredients also allow this bread to remain soft for several days. If you’ve never tried to make challah before, I encourage you with all my heart to give it a try!

Ingredients (for a 45x15cm loaf):

  • 630g all-purpose flour (22 oz)
  • 225ml lukewarm water (8 oz)
  • 1 satchel active dry yeast (7g)
  • 2 Tbsp granulated sugar (30g)
  • 1 1/2 tsp salt (8g)
  • 55ml vegetable oil (2 oz)
  • 4 egg (2 egg + 1 yolk for the dough and 1 egg for the wash)
  • 2 – 3 Tbsp poppy seeds

Method:

  1. Activate the yeast. In a small bowl combine water, sugar and yeast and let aside for 10 minutes. After 10 minutes, the mixture should be frothy.
  2. Form the dough. In a large bowl sift the flour and make a well in the center. Add the yeast mixture (point 1) and the oil, 2 eggs and 1 yolk and mix with a wooden spatula. Add the salt and continue mixing until you form a ball.
  3. Knead the dough. Bring the dough on a floured working surface and knead it for 5 minutes. After 5 minutes, the dough should be smooth.
  4. Let the dough rise. Place dough in the bowl, cover with a clean towel and let it rise in a warm place for about 90 minutes (or until doubled in size).
  5. After 90 minutes, place the dough back on the working surface and knead vigorously to knock out the air bubbles.
  6. Form the ropes. Divide the dough into 6 pieces. Shape each piece into a ball. Elongate each ball of dough with your hands until you form a 45cm rope. Proceed the same with the rest of the dough.
  7. Braid the loaf. For a six-rope braid, I’ll leave you below the step by step pictures, as well as a gif.
  8. Preheat the the oven at 180°C / 350°F (gas mark 4).
  9. Place the loaf on a parchment paper-lined tray. Cover with a clean towel and let it rise for about 45 – 60 minutes.
  10. After about 1 hour give the apply egg wash and sprinkle with poppy seeds.
  11. Bake it in the preheated oven for about 30 minutes or until golden brown.
  12. Place it on a wire rack and let it cool down for about 30 minutes before slicing.

Source: www.thekitchn.com

Pull-Apart Garlic & Herb Bread


This flavorful pull-apart bread is by far my favorite kind of bread. It is so soft and airy and I can’t even begin to describe how wonderful it tastes. Although it may look fancy, it is in fact very easy to make. If you have a bit of extra time on your hands, you can make this beauty from scratch, using just a few budget-friendly ingredients. Not to mention the fact that you don’t need a knife to slice it, you just tear it apart.

This loaf is the piece de resistence that you proudly place in the middle of the table during a dinner among friends. You just have to sit and enjoy how everyone tears it apart, piece by piece. This loaf obviously has the wow factor, but it is also extremely delicious. It’s something inexplicably satisfactory about tearing it into pieces, pieces that simply melt in your mouth and delight you with a buttery roasted garlic aroma. This bread is simply madness!

Continue reading Pull-Apart Garlic & Herb Bread

Homemade Naan

Naan is an oven baked flatbread made with yeast. These flatbreads are by far my favorite kind of flatbread. They are so easy to make, the ingredients are always in my pantry, they look so adorable, but also these beauties are extremely delicious. This flatbread is so elastic, soft and airy, with a lovely buttery and toasted sesame seed flavor. It is such a rustic bread and yet so sophisticated. The technique is quite simple and the active part takes no more than 20 minutes. The passive part, the part when the dough rests or rises is the most challenging part, if you will. It takes about 2 hours to rise, so this recipe isn’t the most suitable if you are in a hurry. But if you have some time to spare, trust me, the result is so rewarding and surely it is worth waiting every minute. Continue reading Homemade Naan