Maroccan Semolina Bread – Khobz dyal Smida (Vegan)

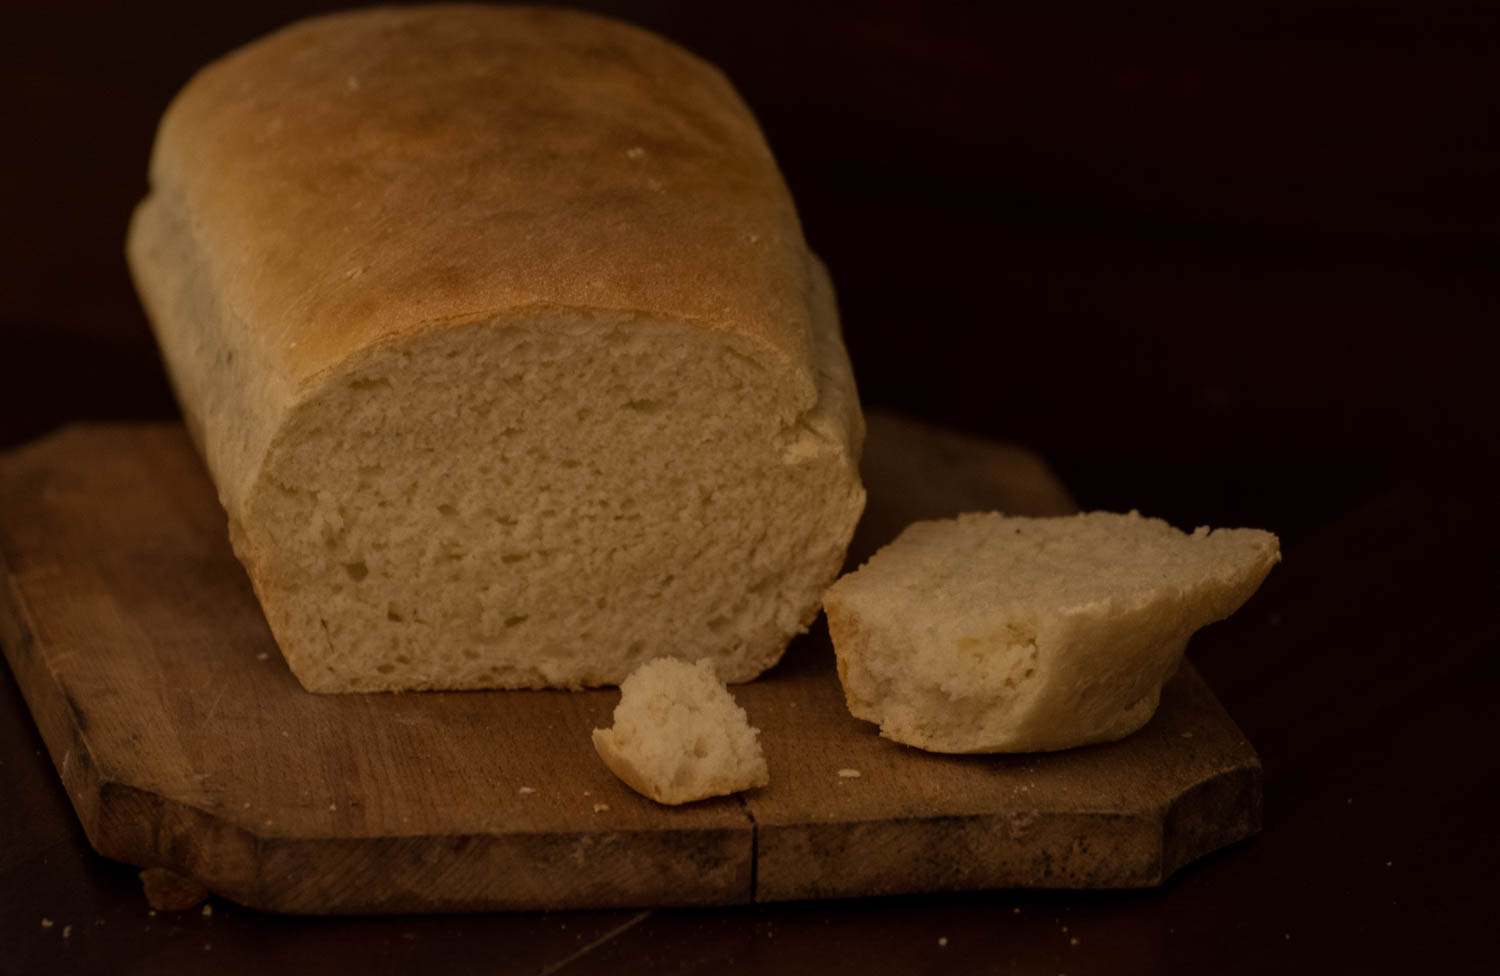
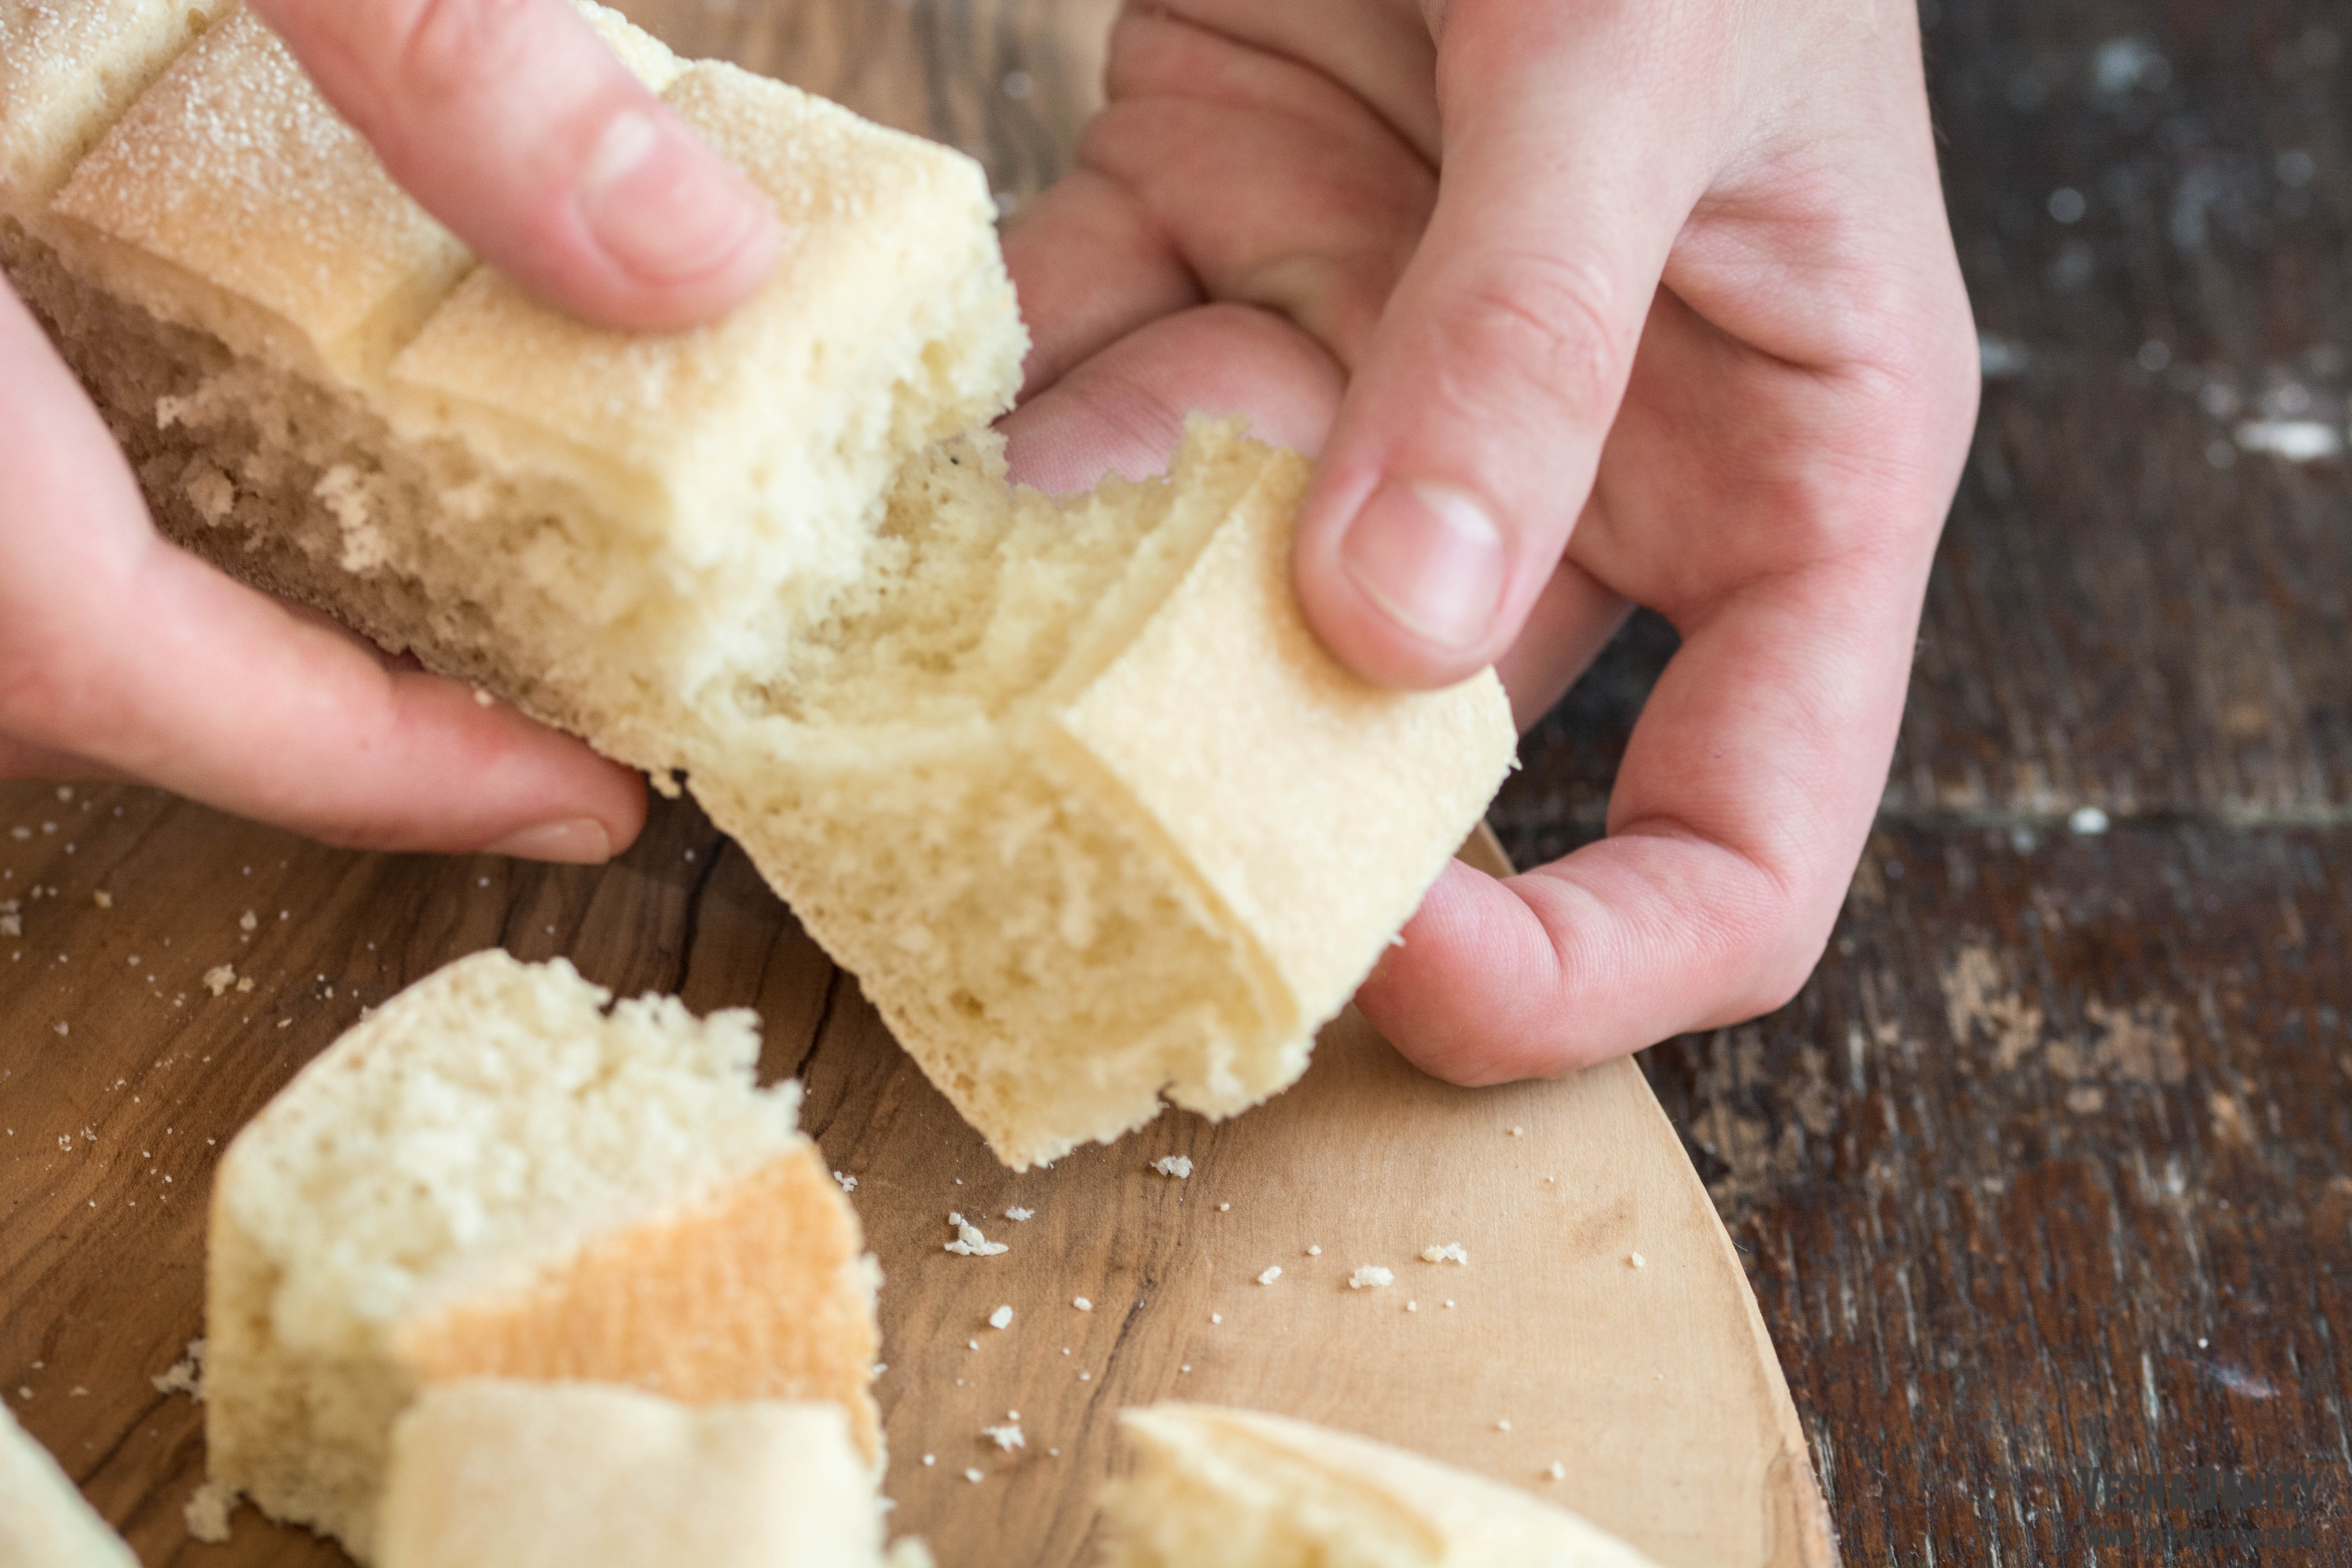
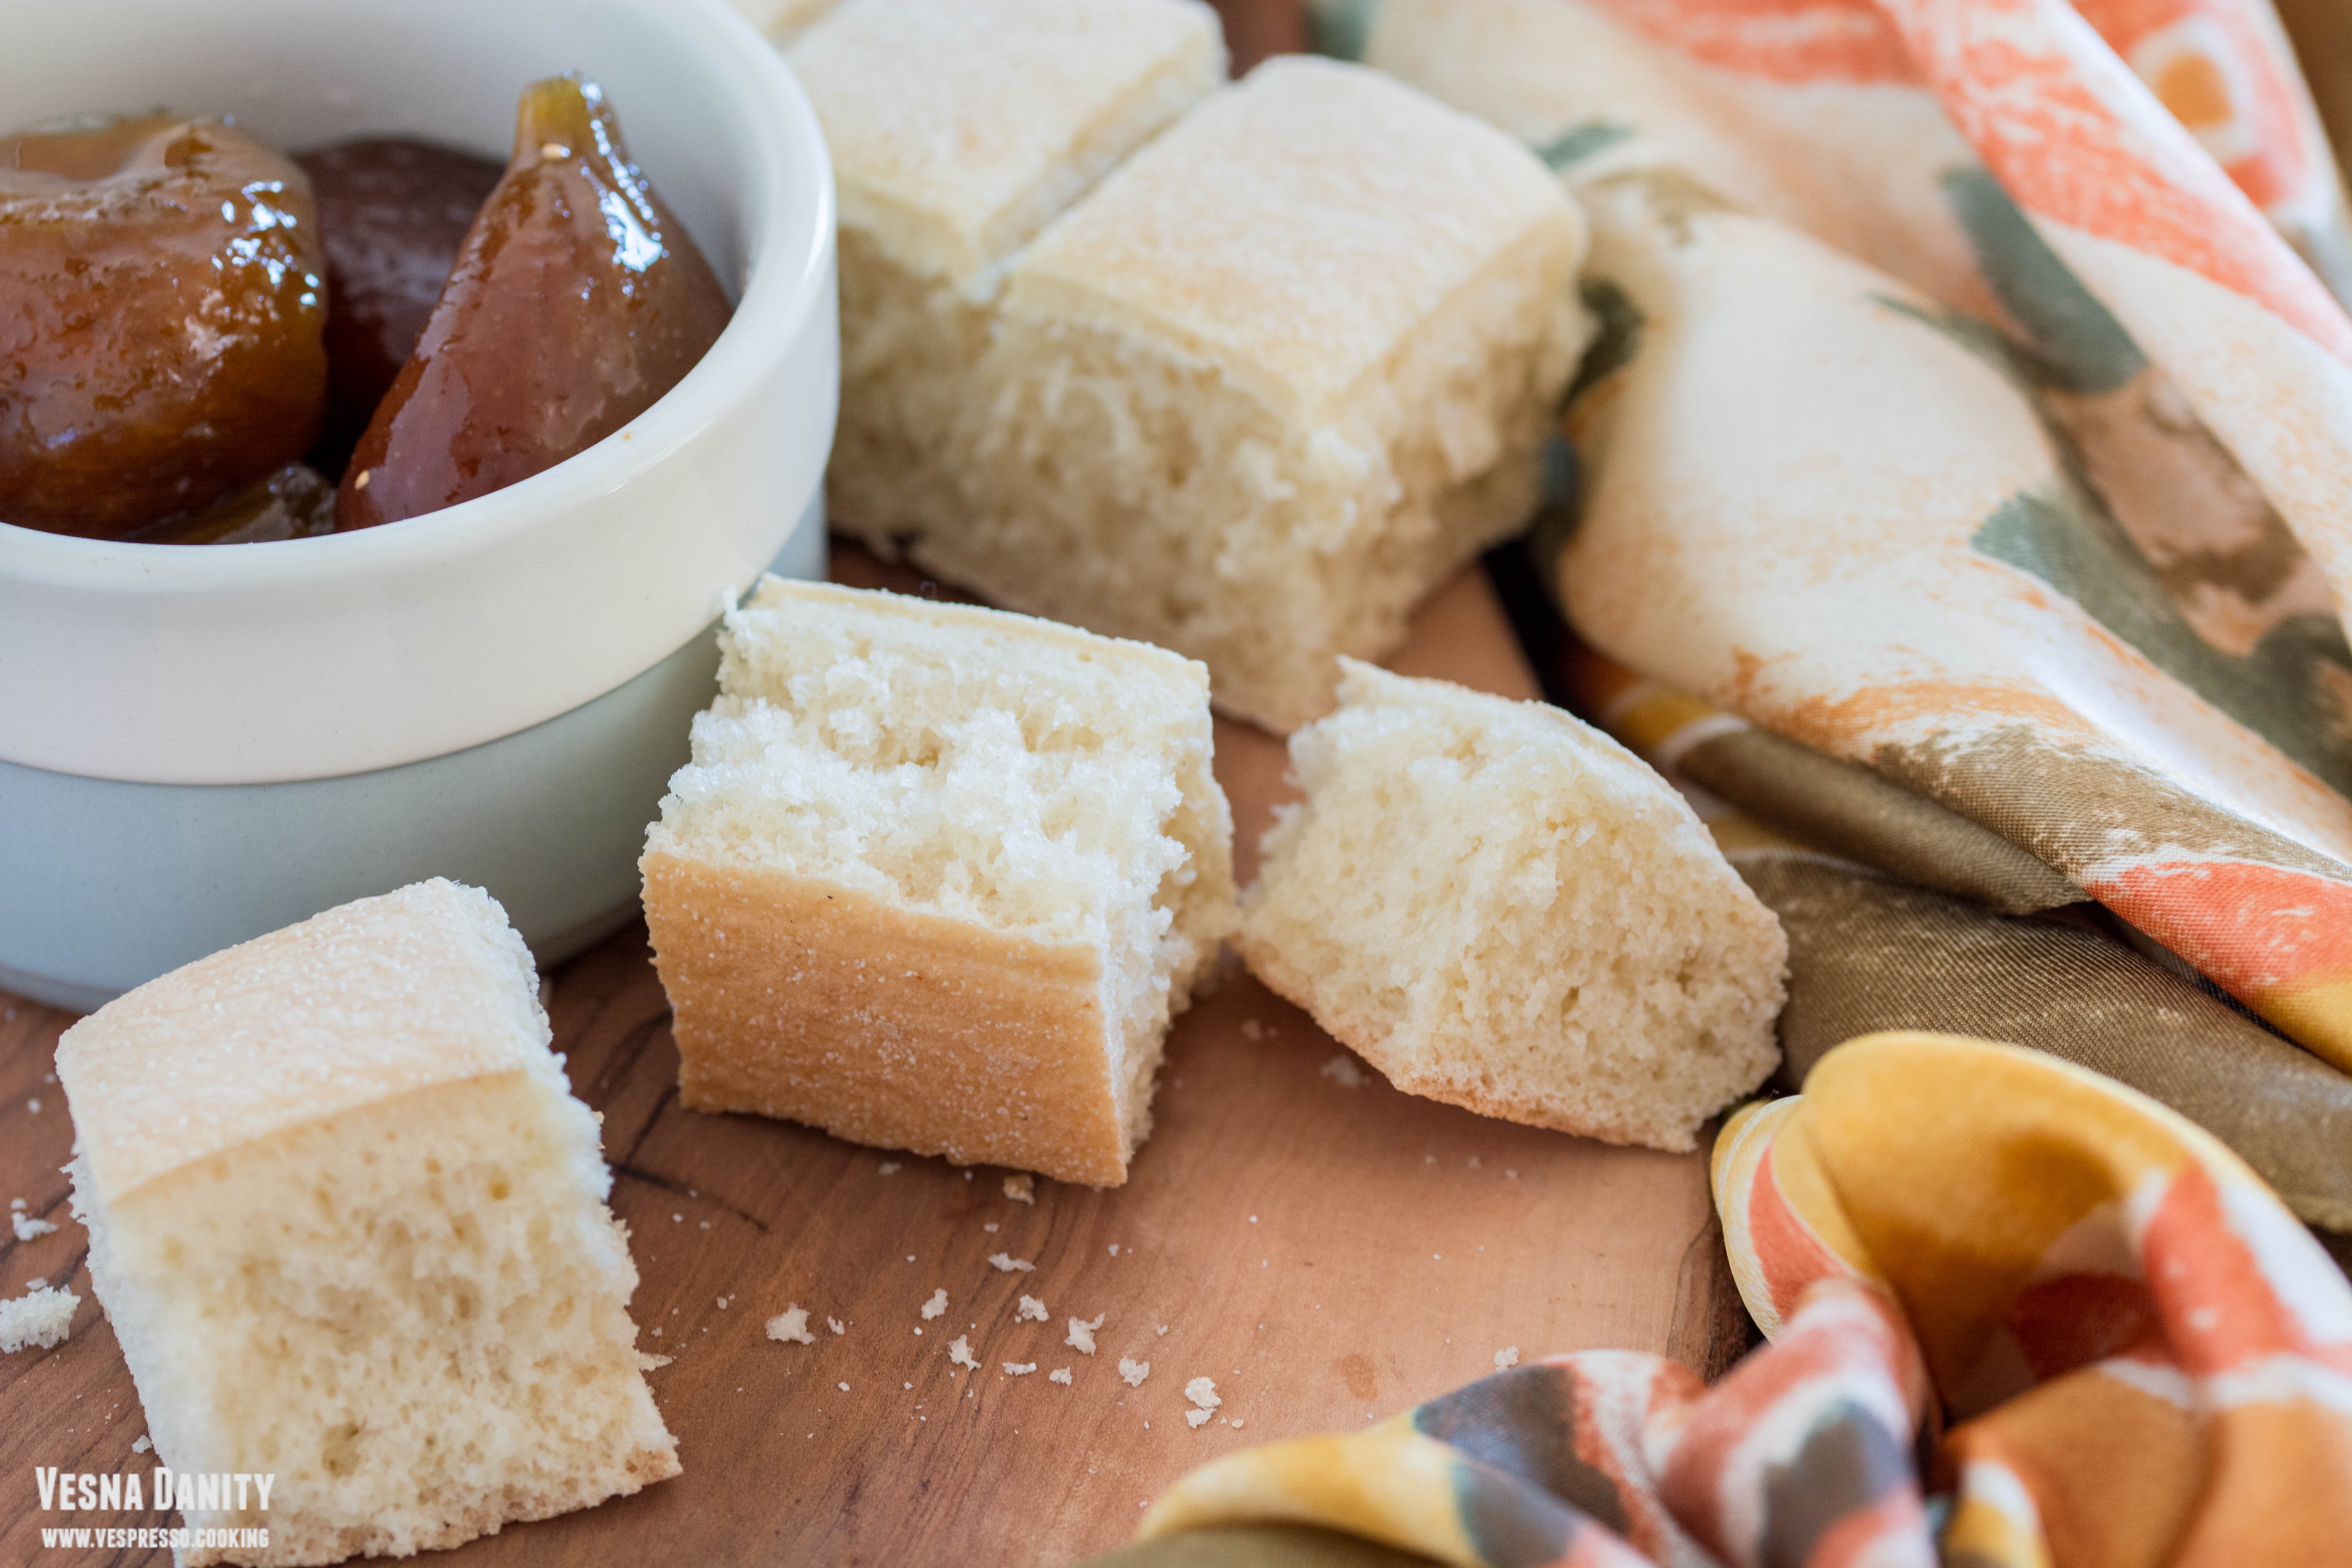
I simply love to make bread, I find the science behind it fascinating and I cannot think of a better therapy than kneading the dough with my bare hands. But my adventurous side keeps me from repeating the same old recipes over and over again, so every fortnight I came up with new and exciting recipes. Some of them leave me as soon as I rest my head on the pillow but others refuse to leave my side. It’s been more than three years since I discovered this delicious Maroccan semolina bread and I turn to it every month ever since. It’s one of the easiest bread recipe I’ve ever made and the taste is simply amazing. It has a lovely thin crust and a pillowy and chewy center. I must confess that although I’m deeply fond of all my bread recipes, this one has a special place in my heart.

Ingredients:
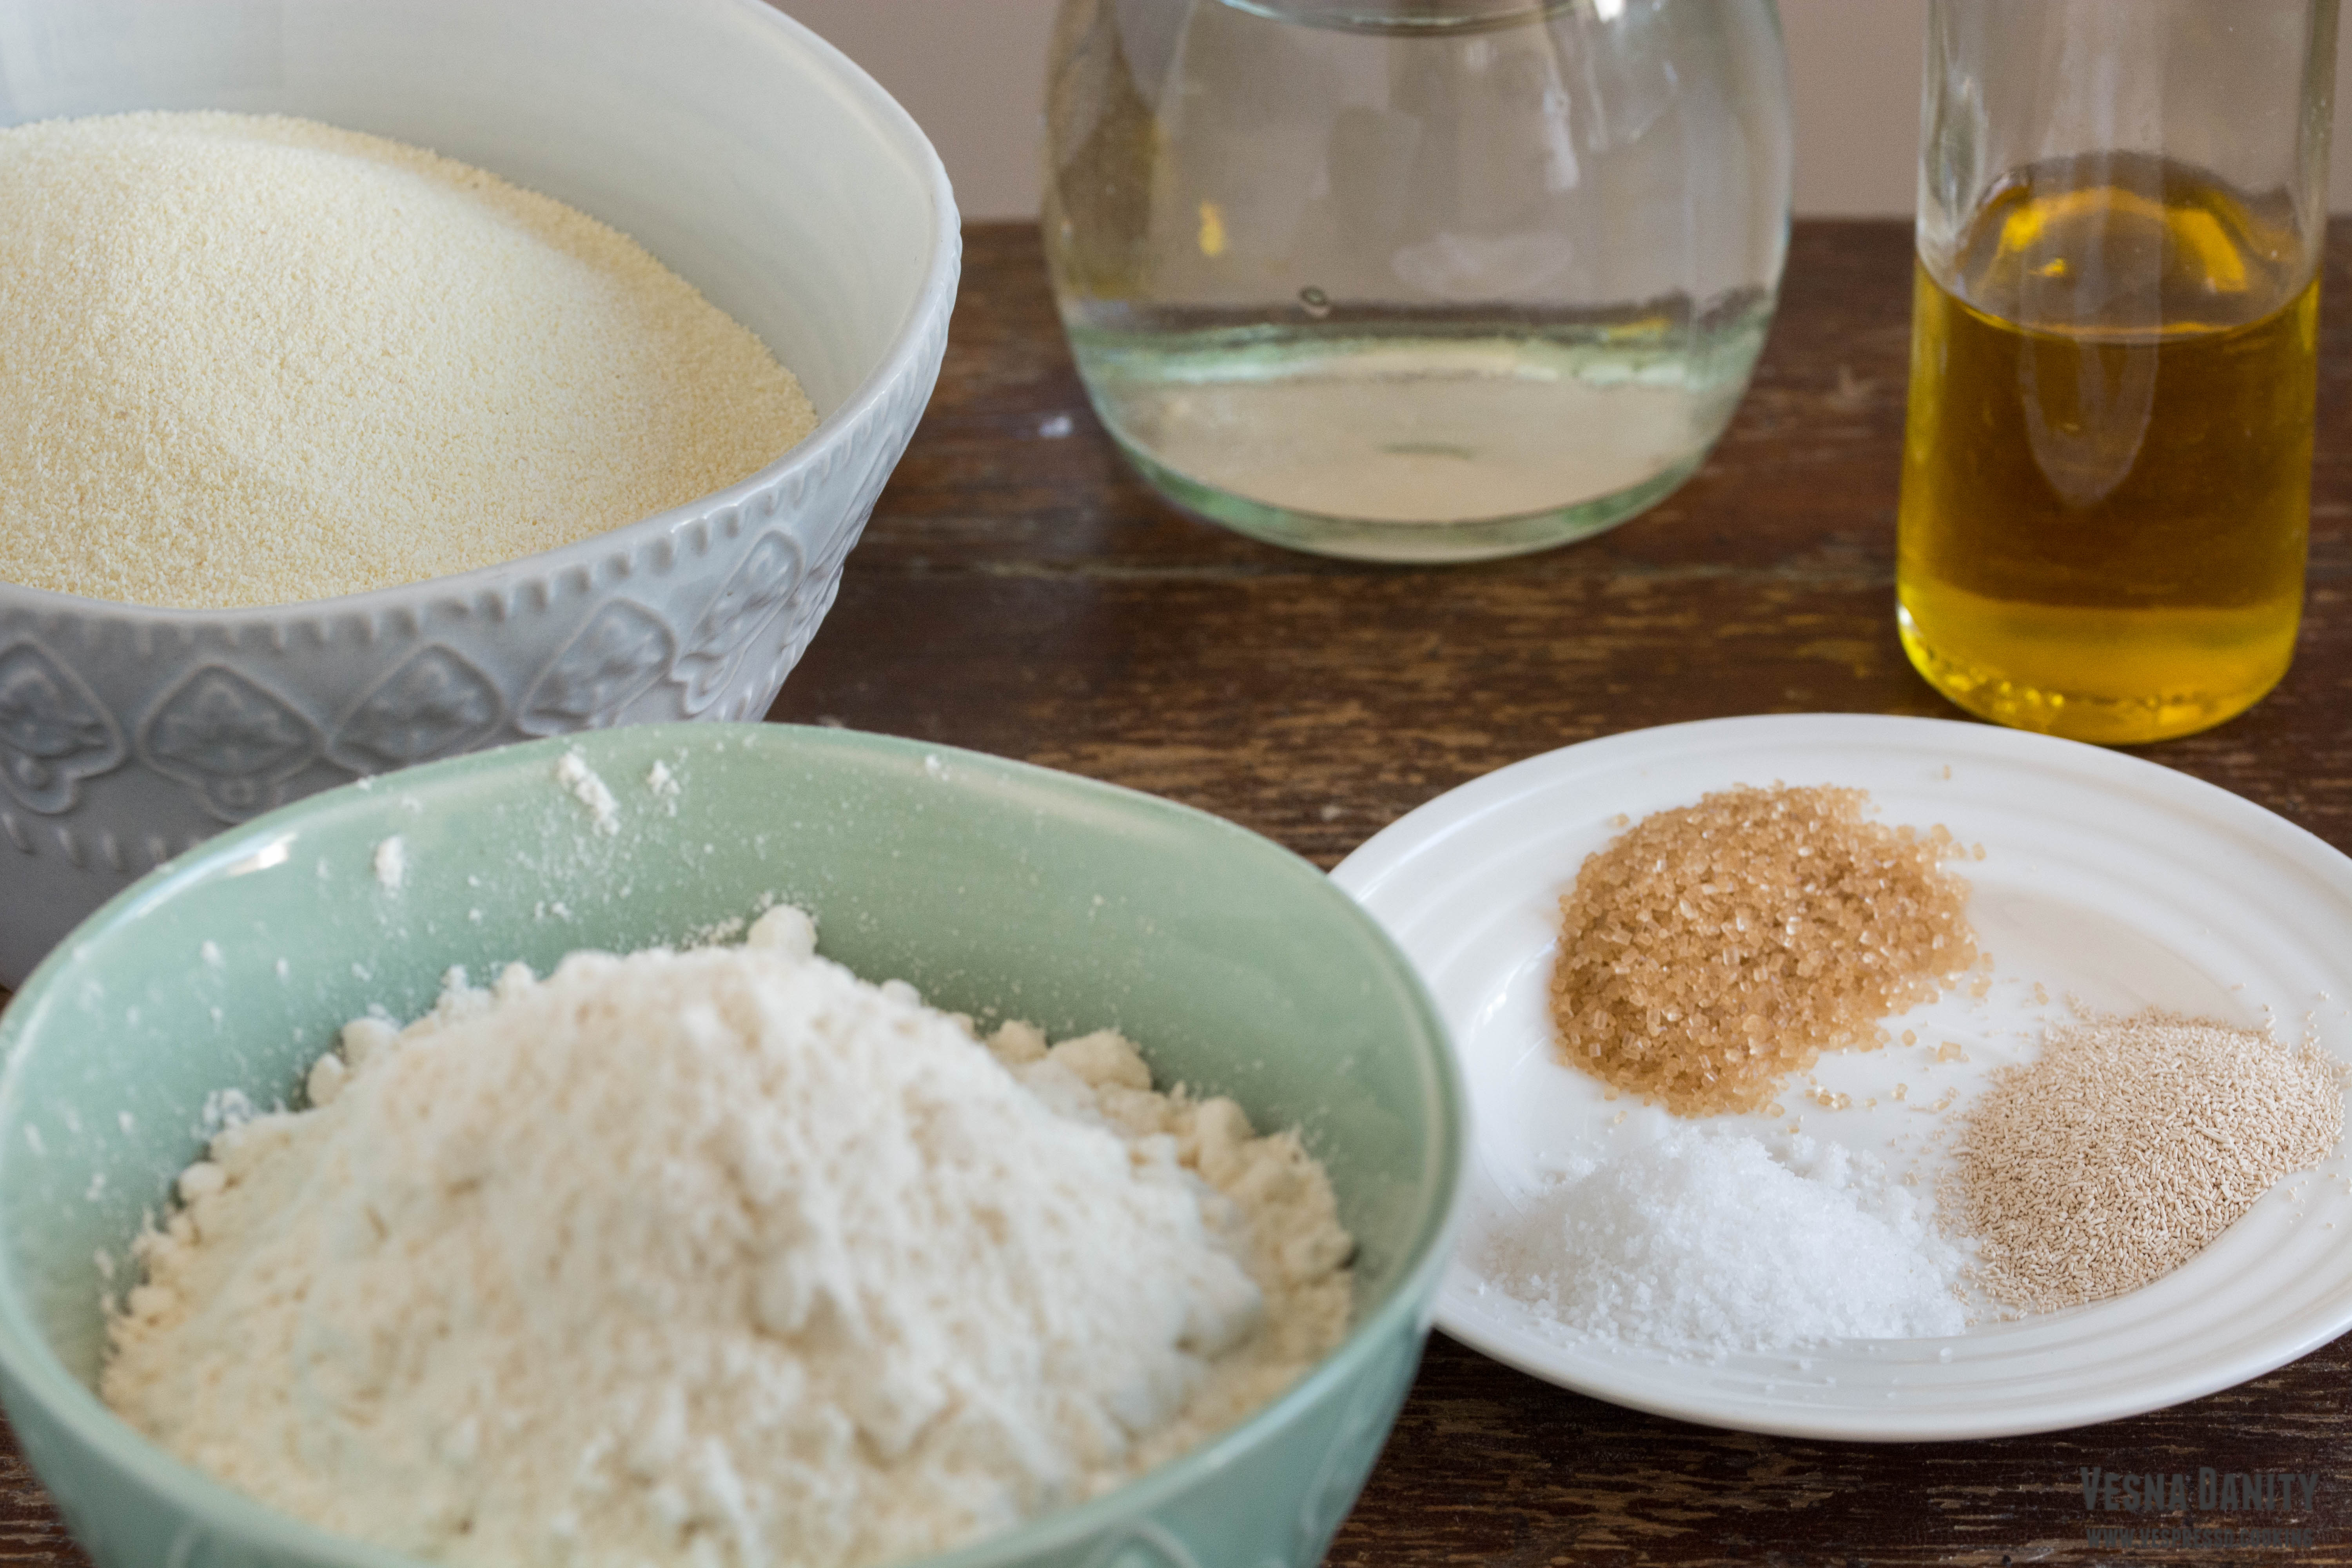
⦁ 180ml lukewarm water
⦁ 1 tsp sugar
⦁ 1 tsp active dry yeast
⦁ 200g semolina
⦁ 170g all-purpose white flour
⦁ 1 Tbsp olive oil (15ml)
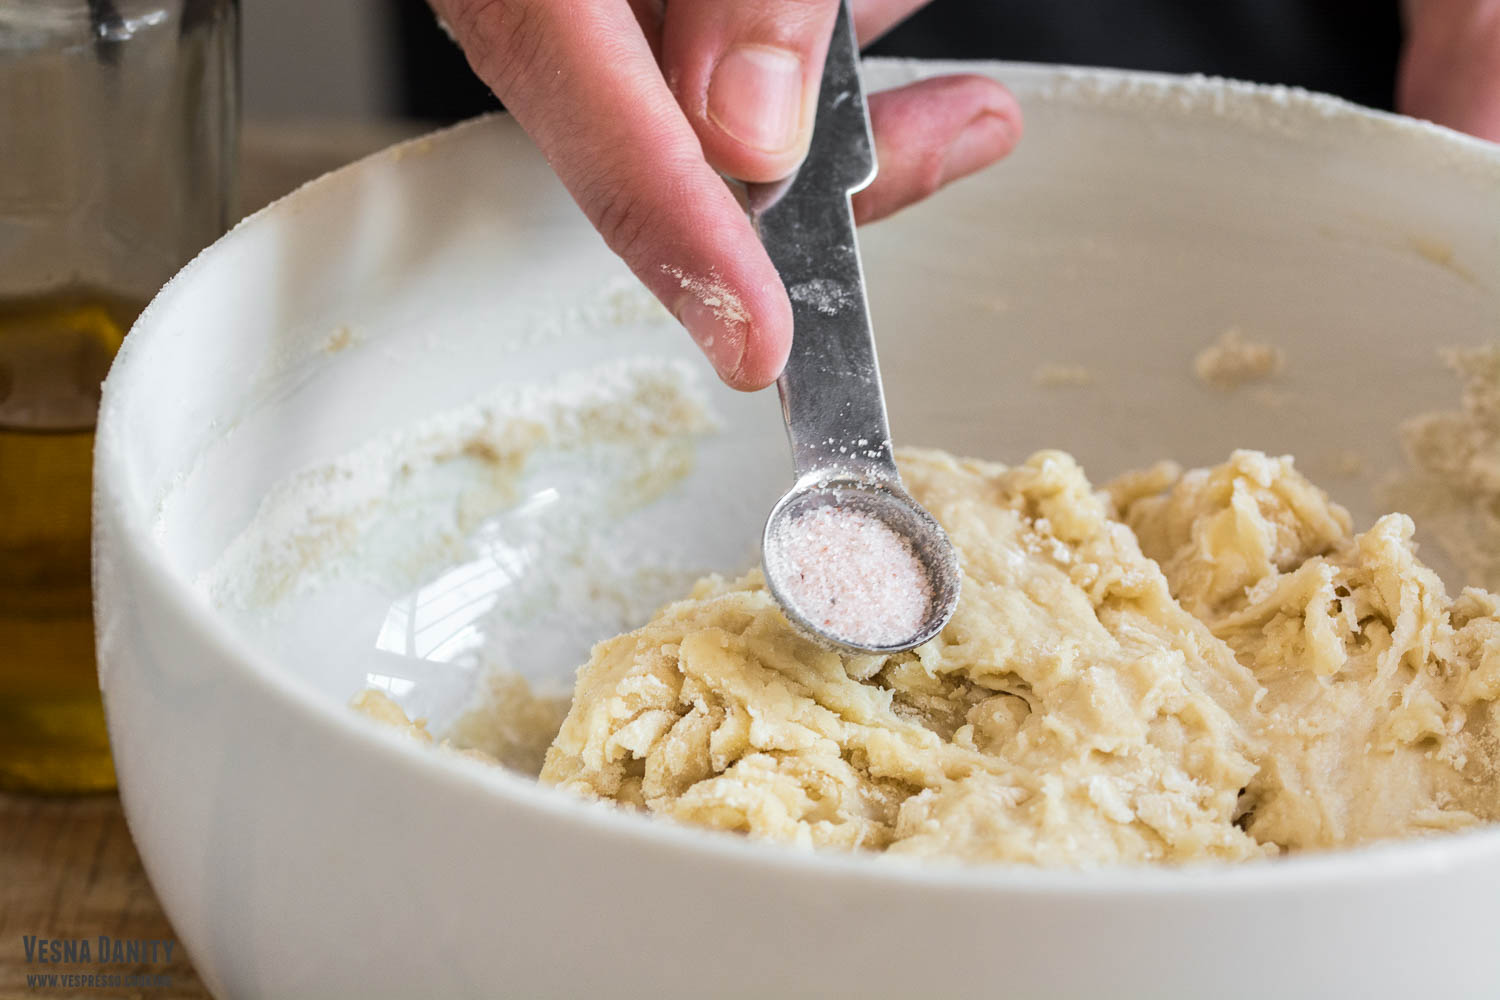
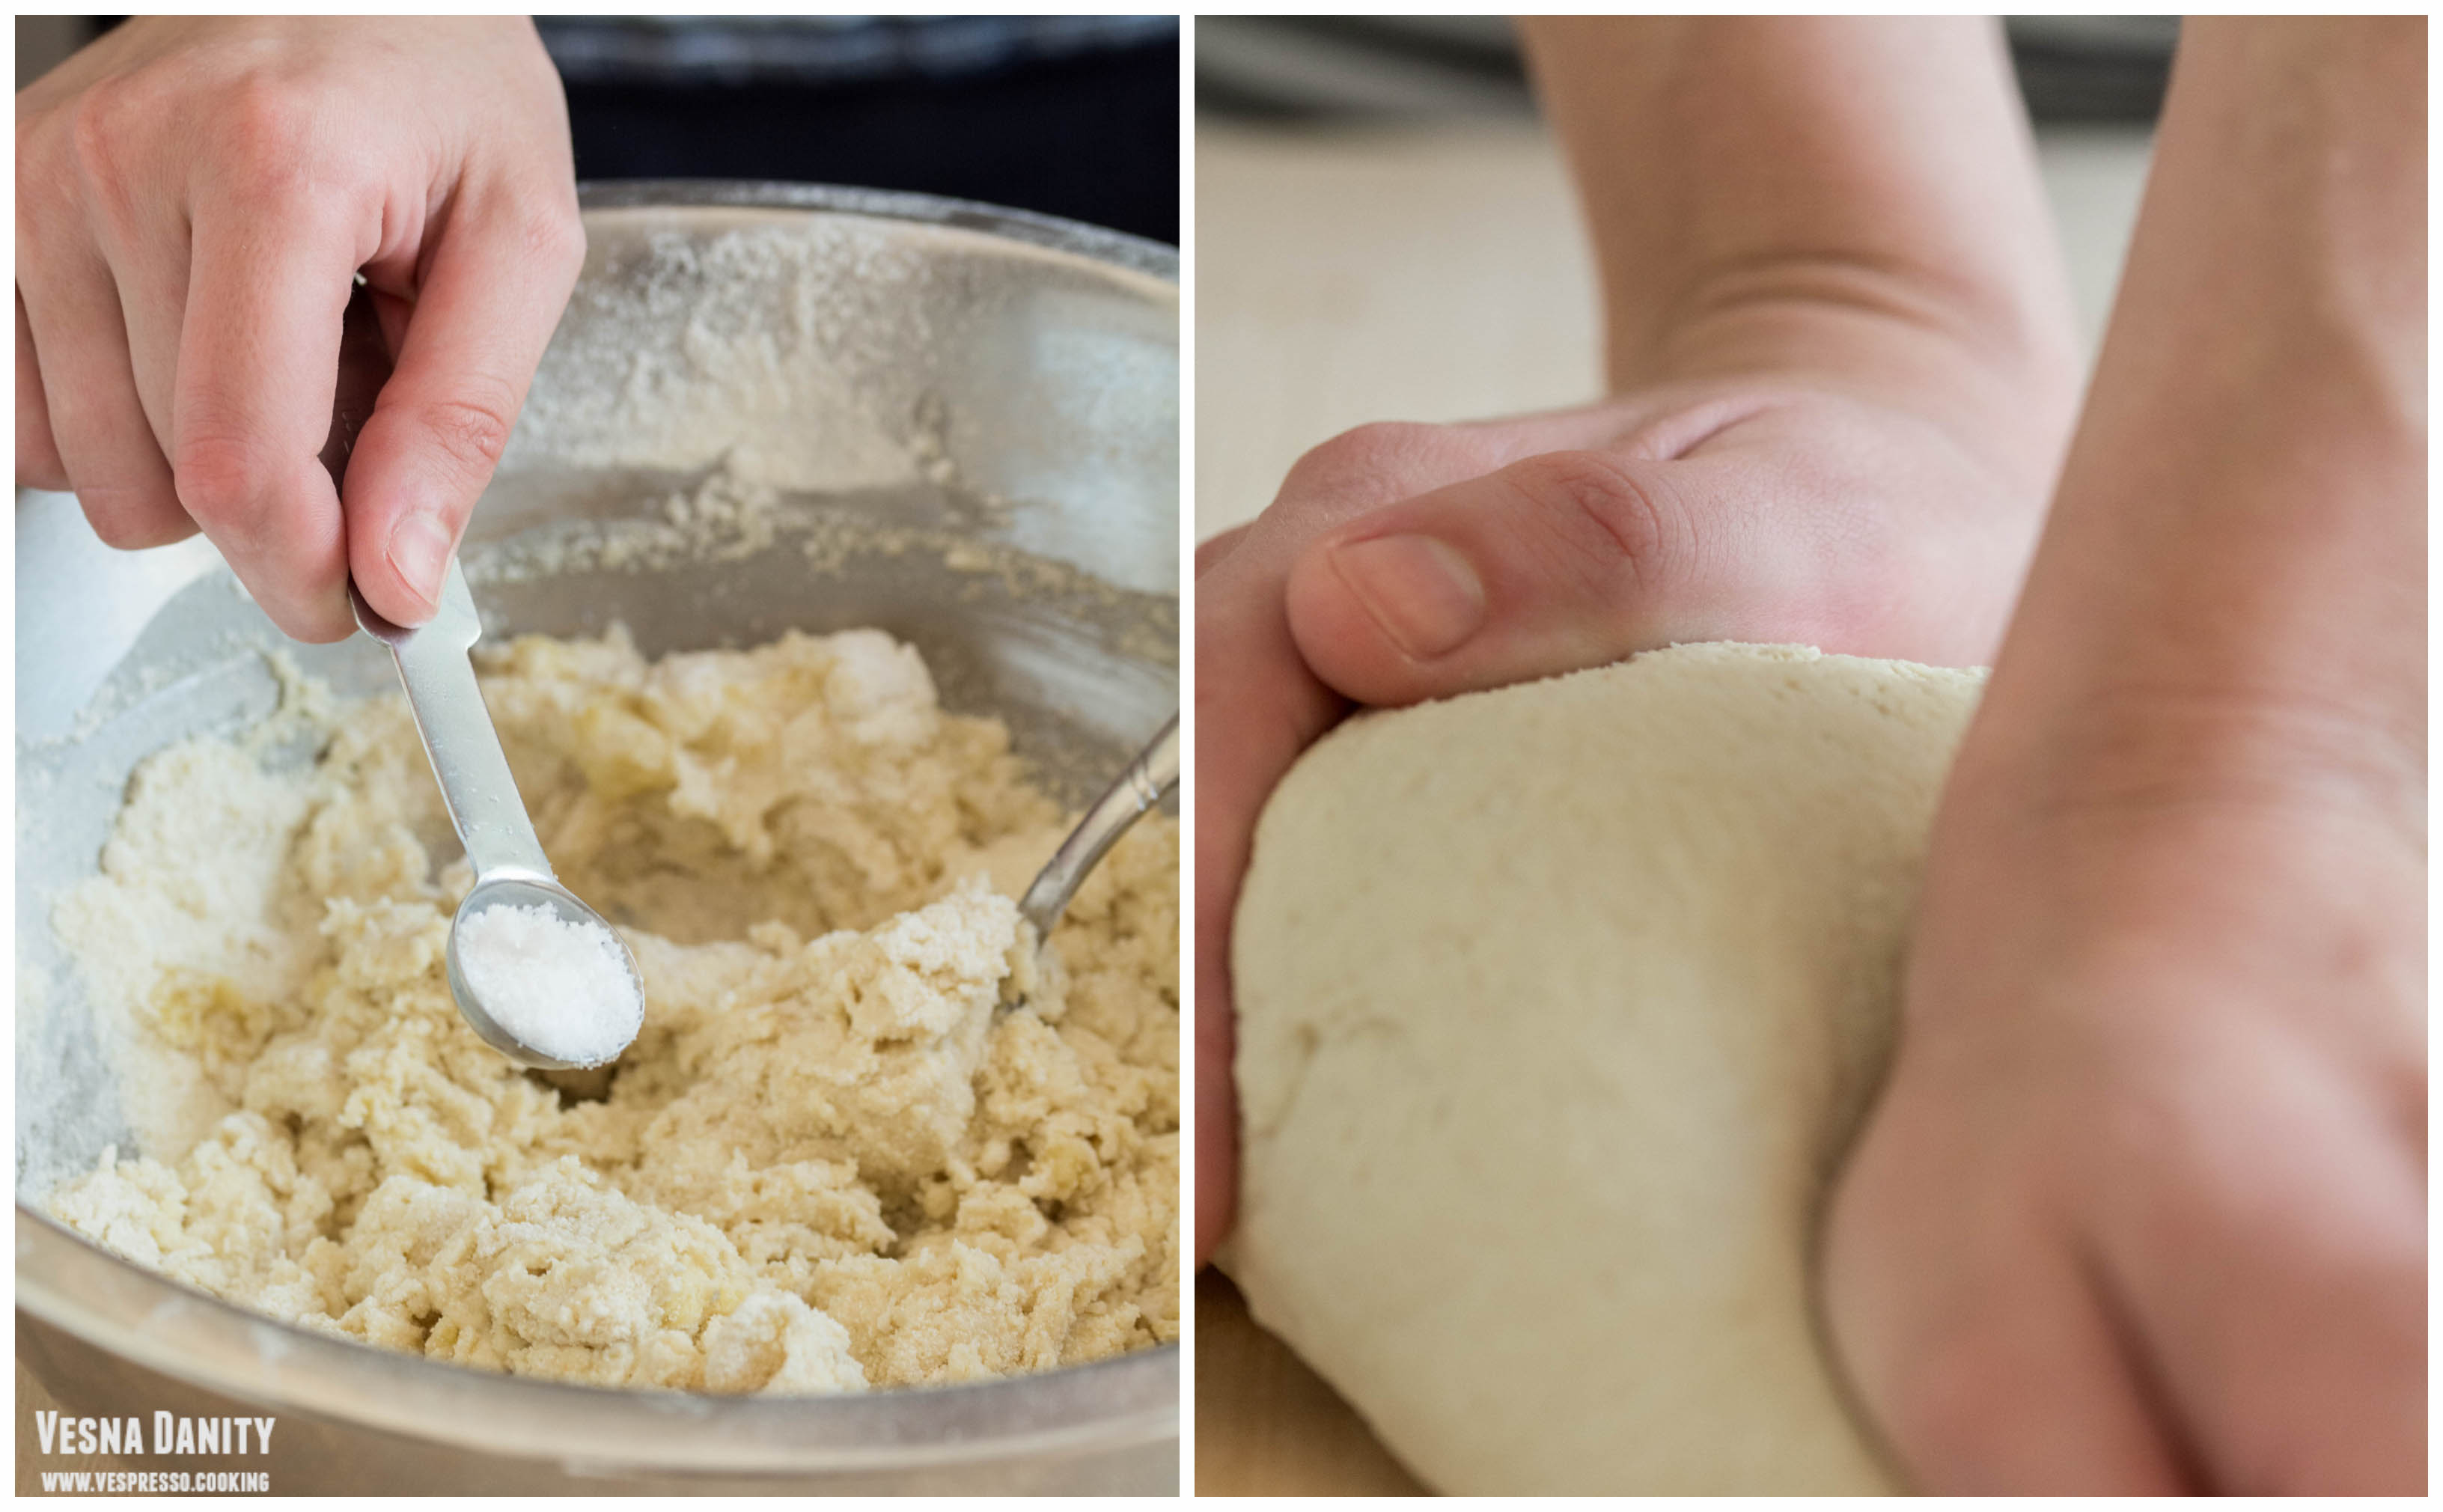
⦁ 1 tsp salt


Method:

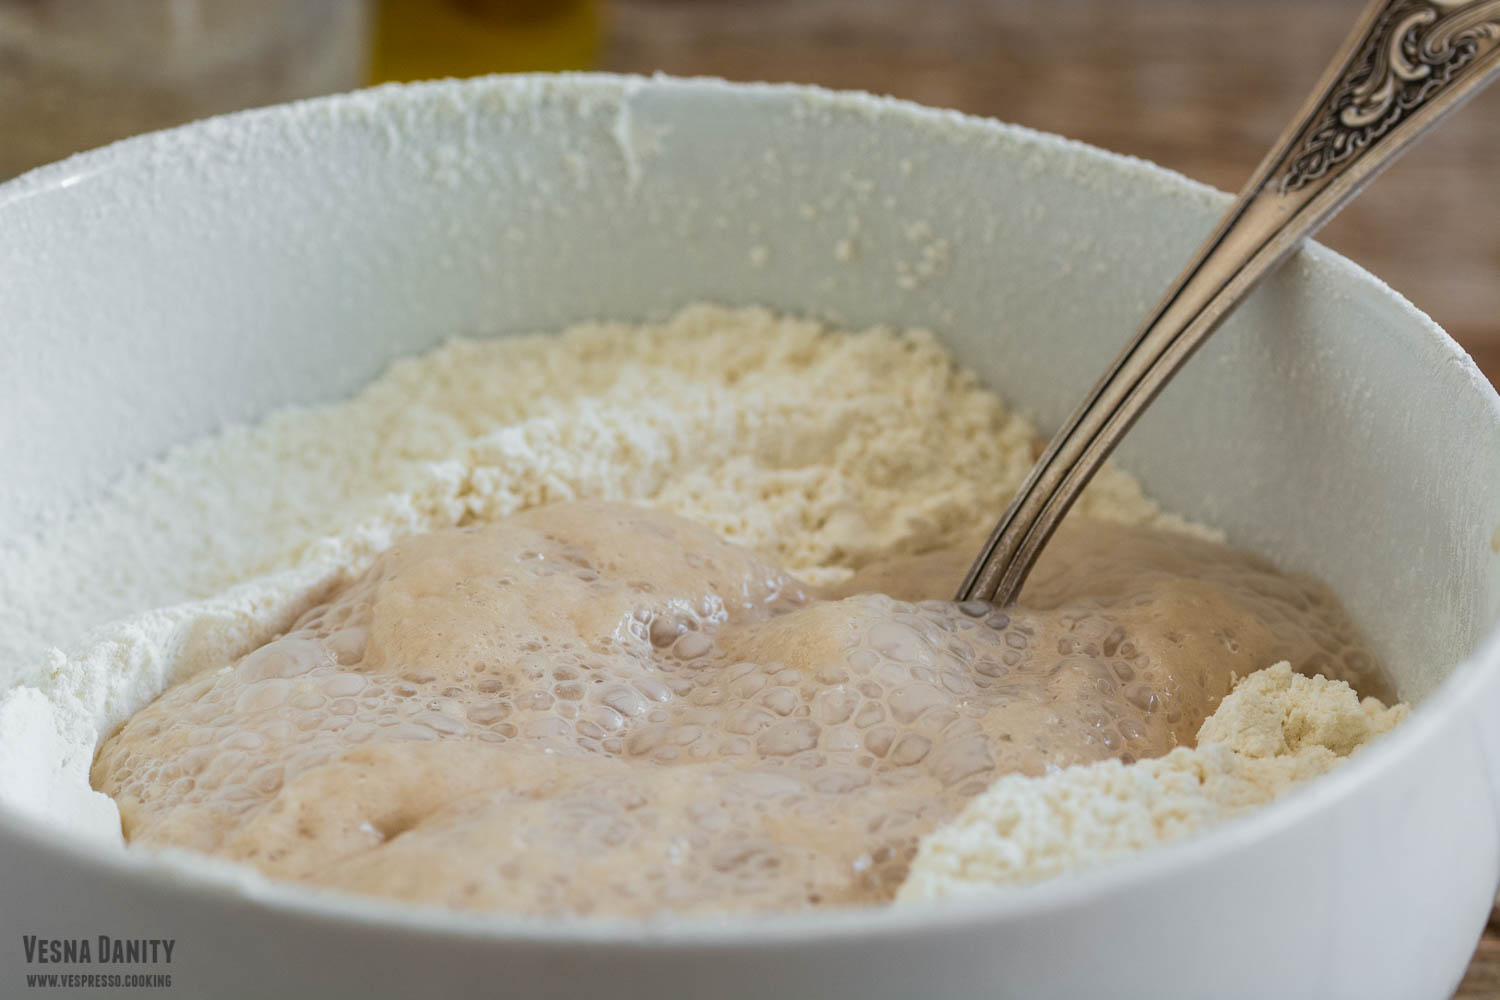
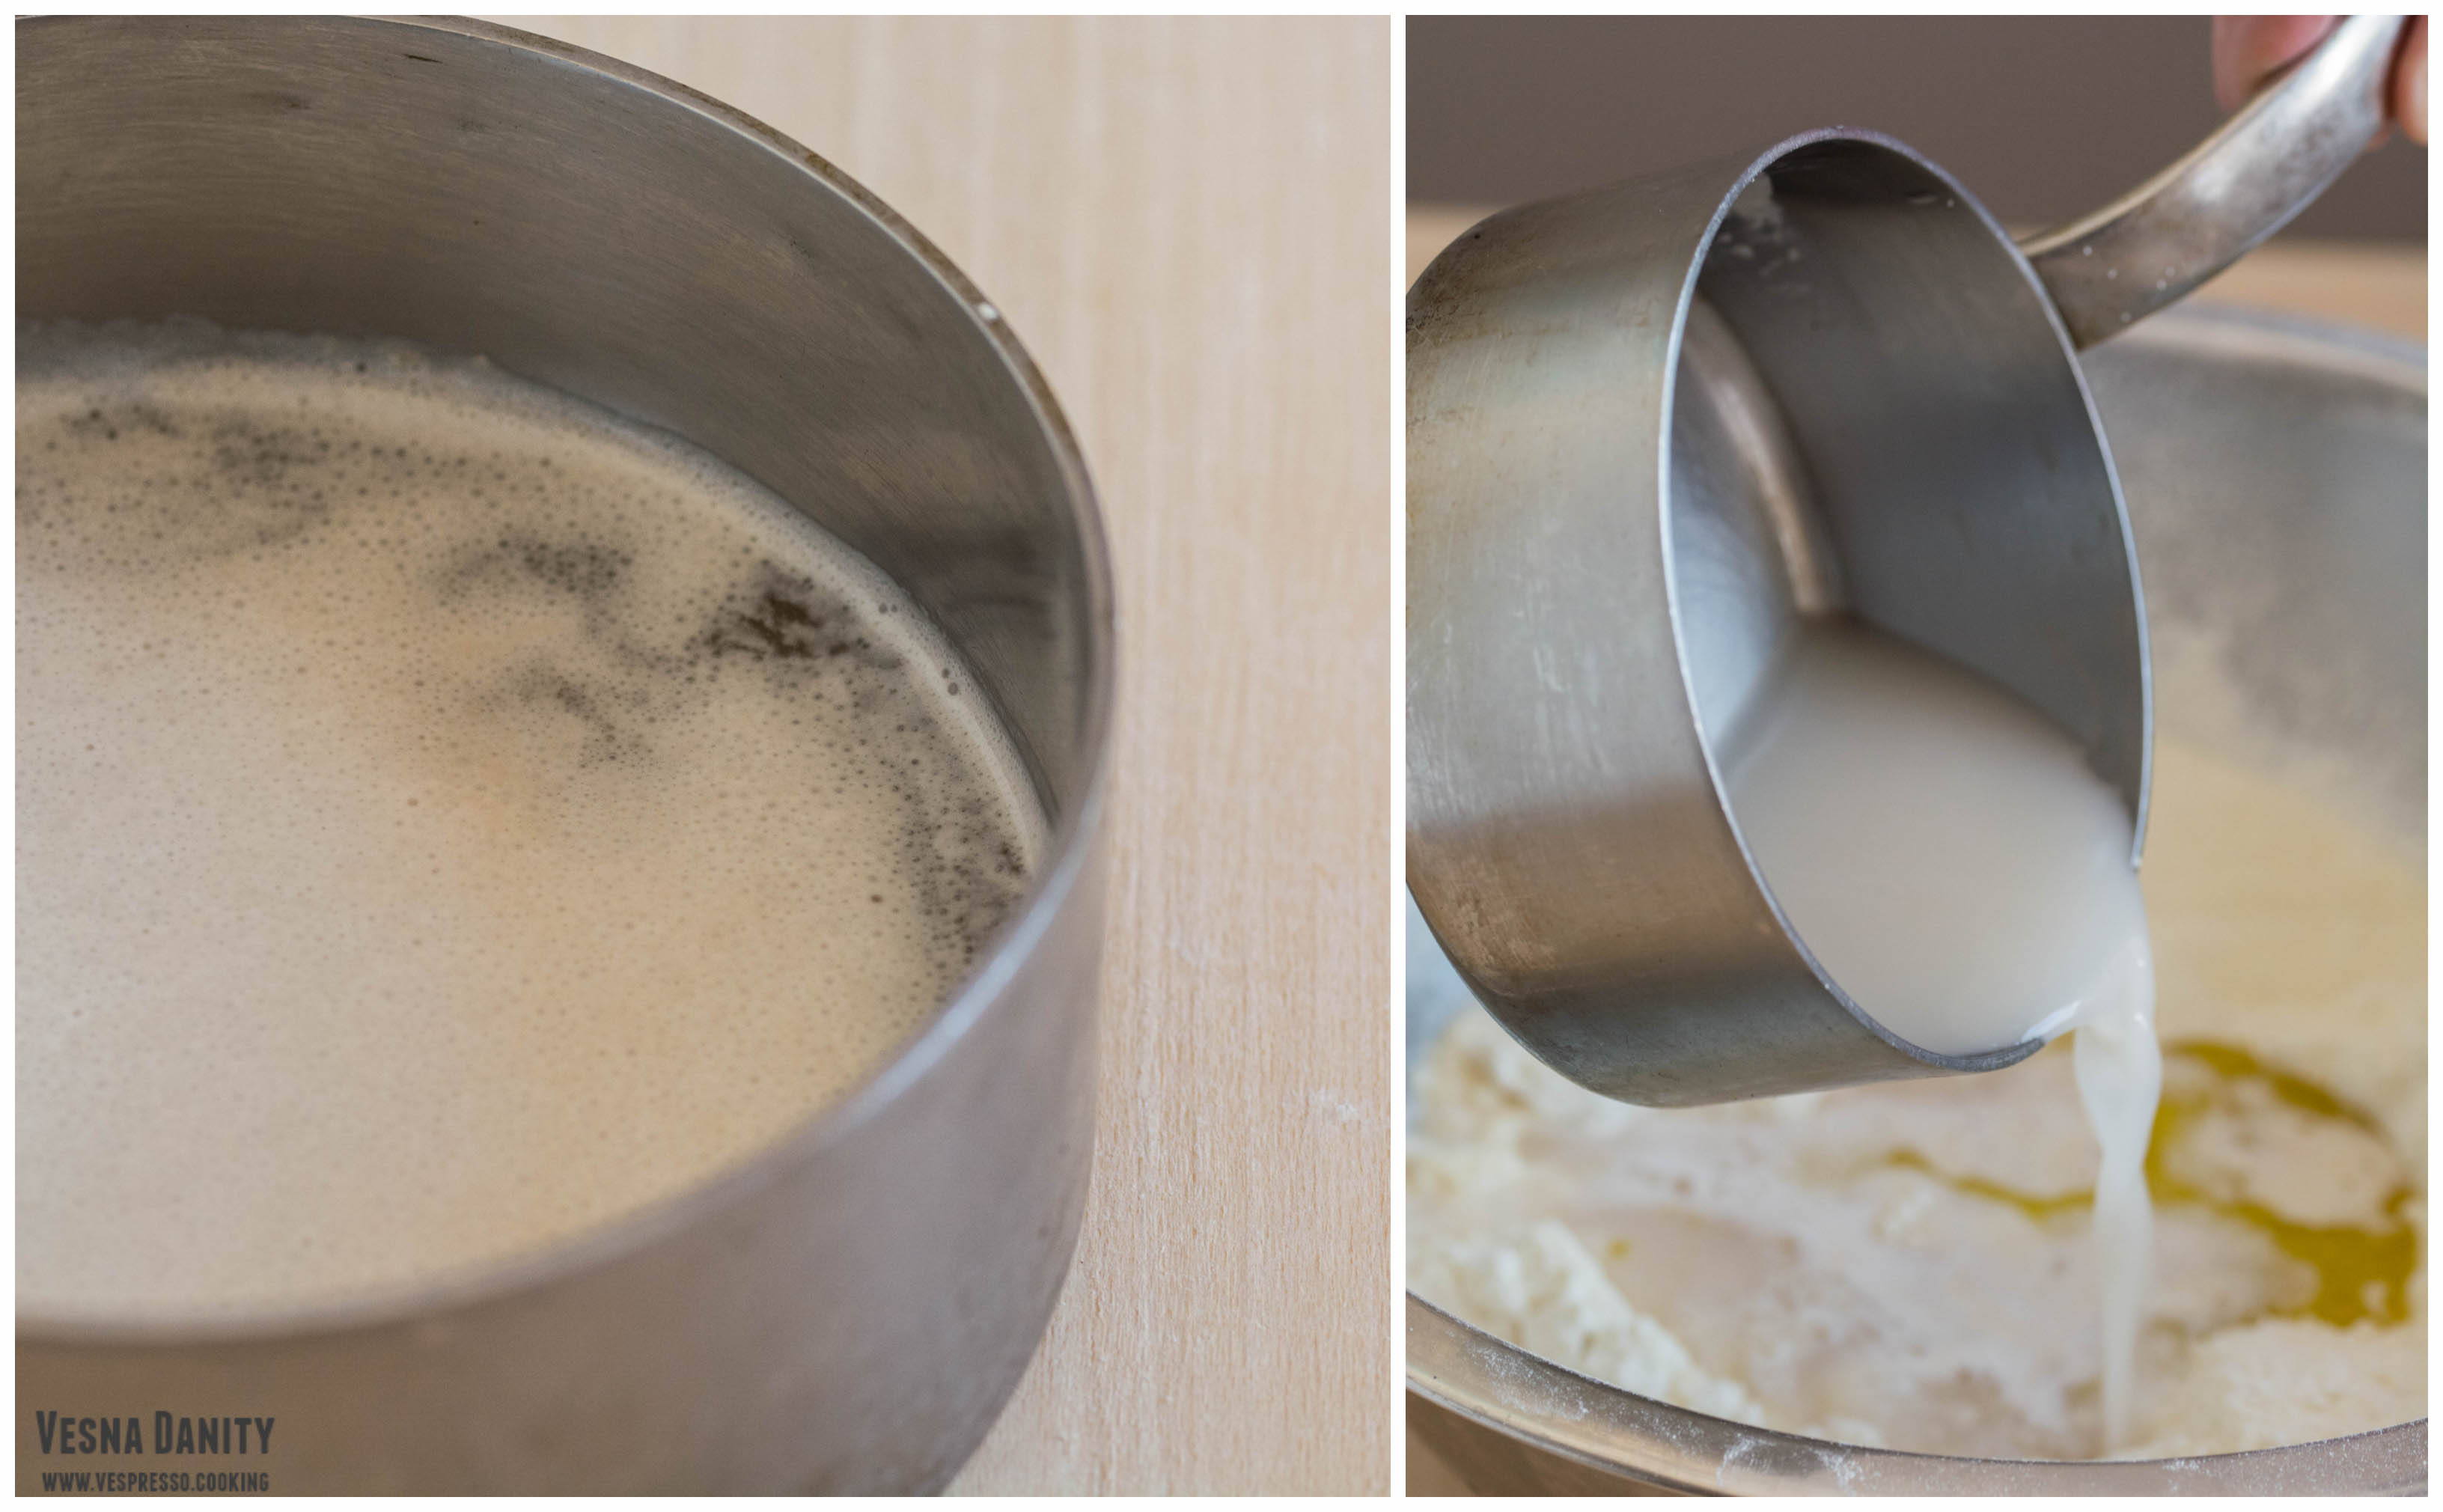
1. In a small bowl combine water, sugar and yeast and let aside for 10 minutes. After 10 minutes, the mixture should be foamy.
2. In a large bowl sift together the white flour, semolina and salt and make a well in the center. Add the yeast mixture and the olive oil and mix with a wooden spatula until you form a ball.
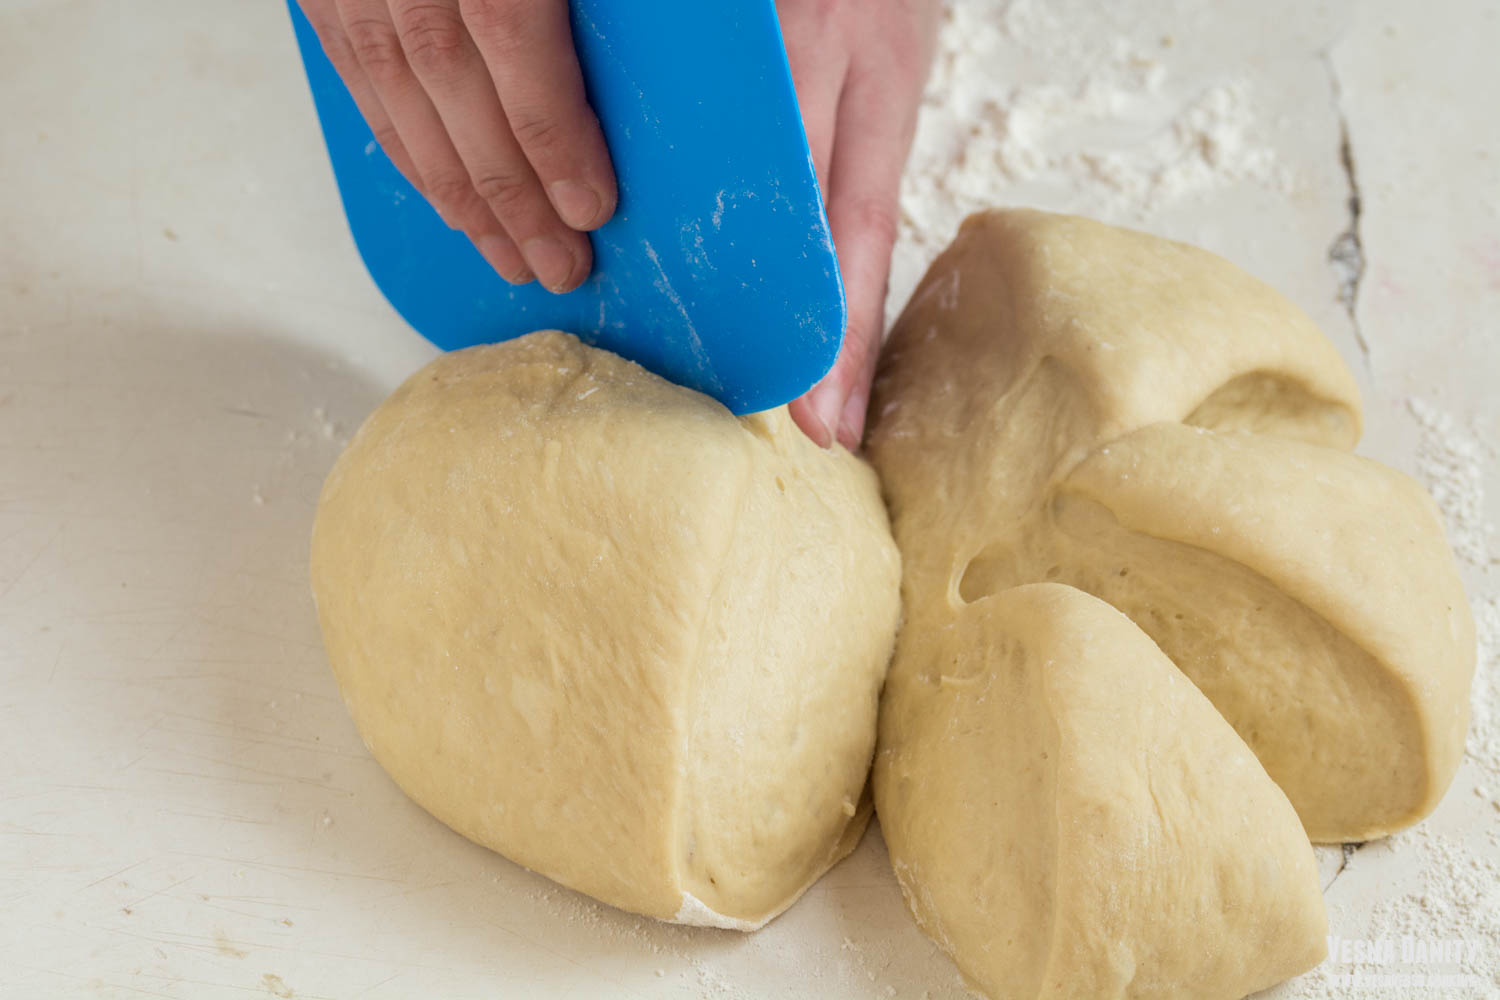
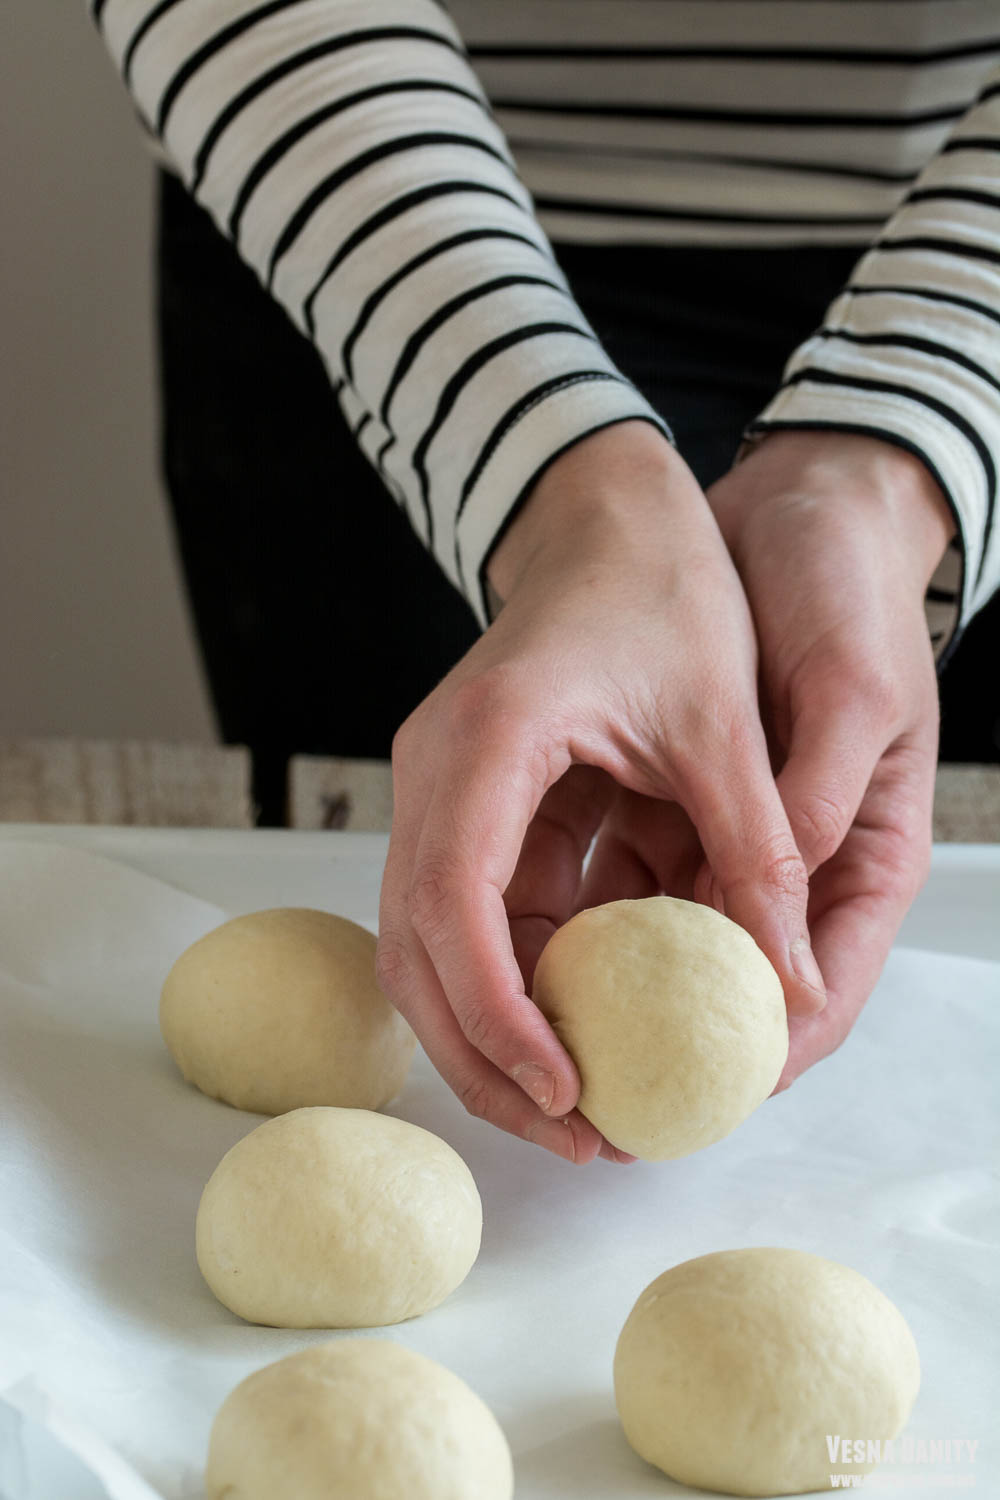
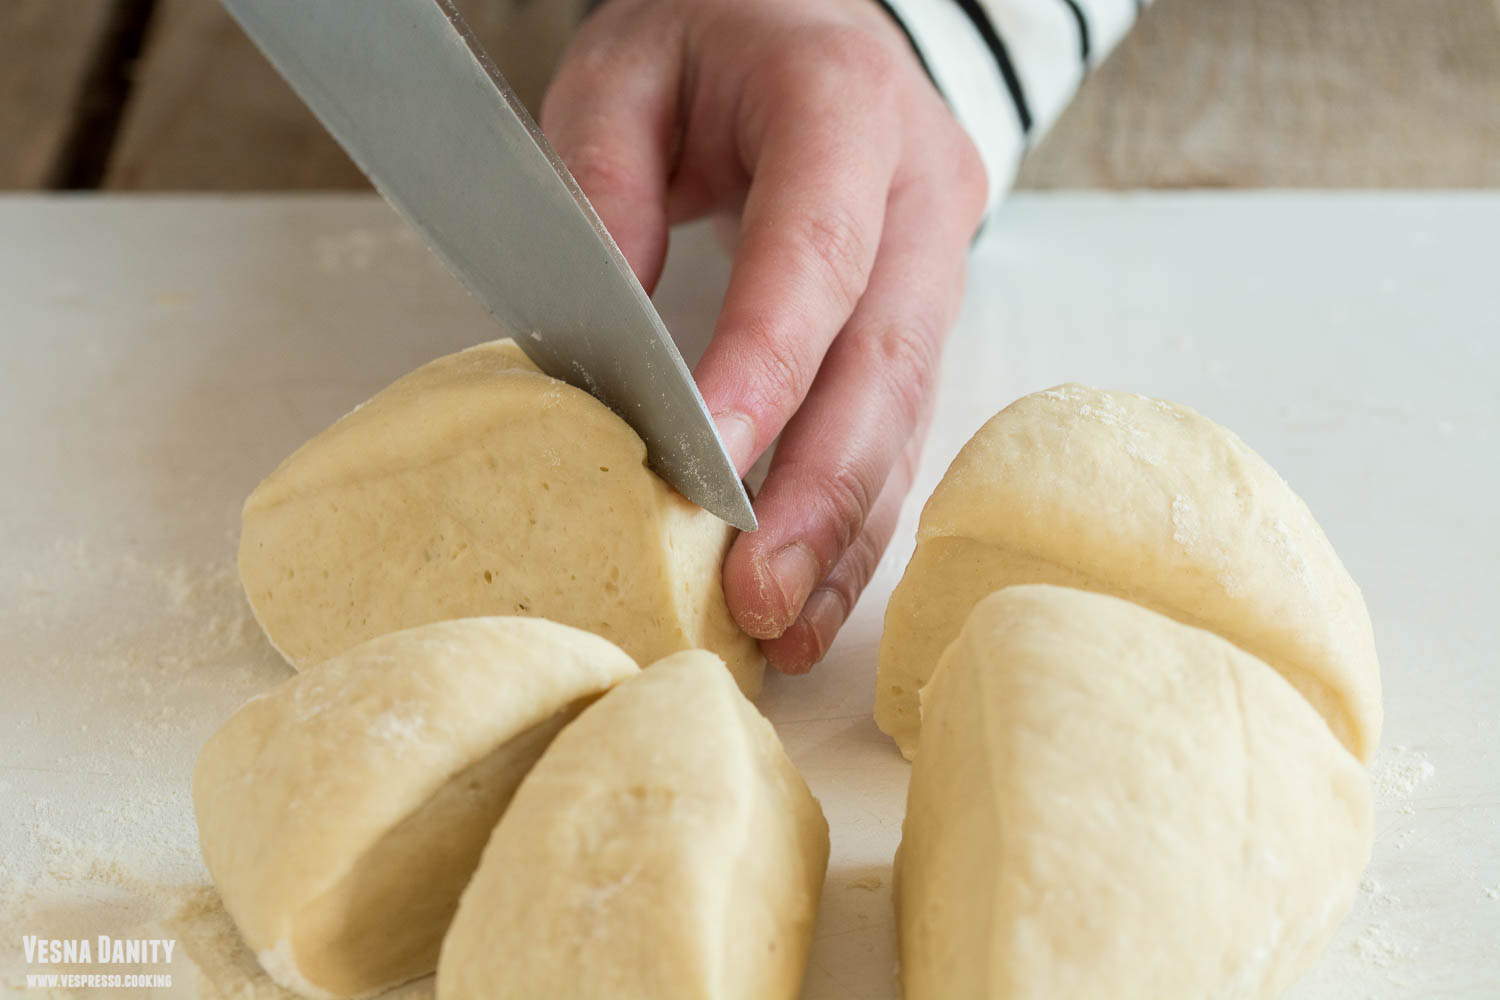
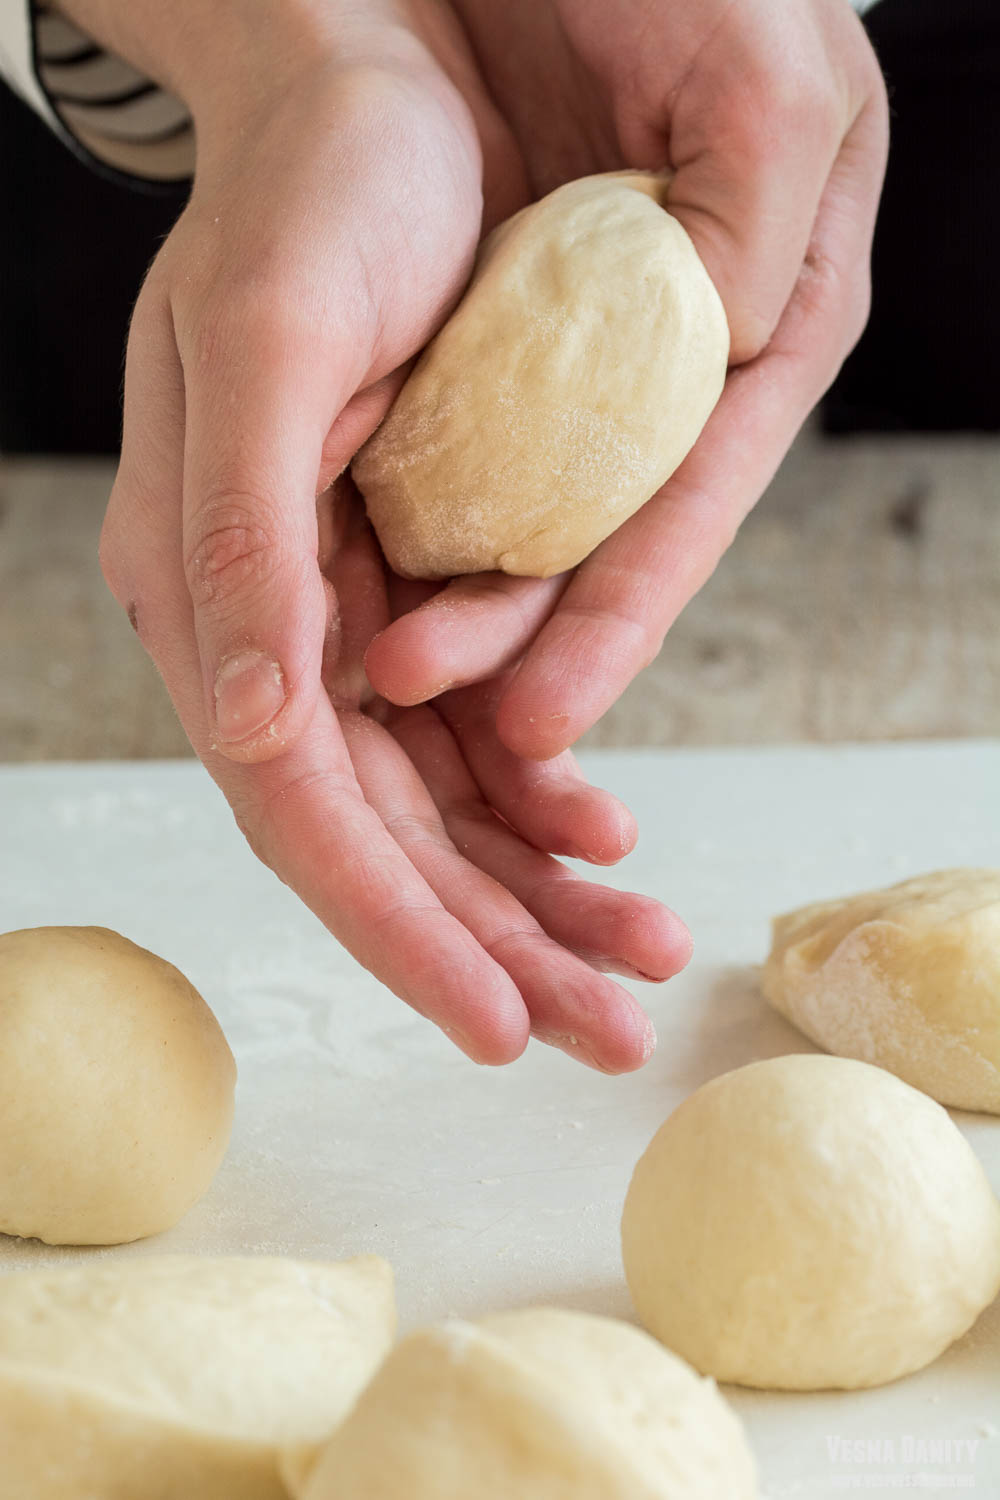
3. Bring the dough on a floured working surface and knead it for 5 minutes. After 5 minutes, the dough should be smooth.
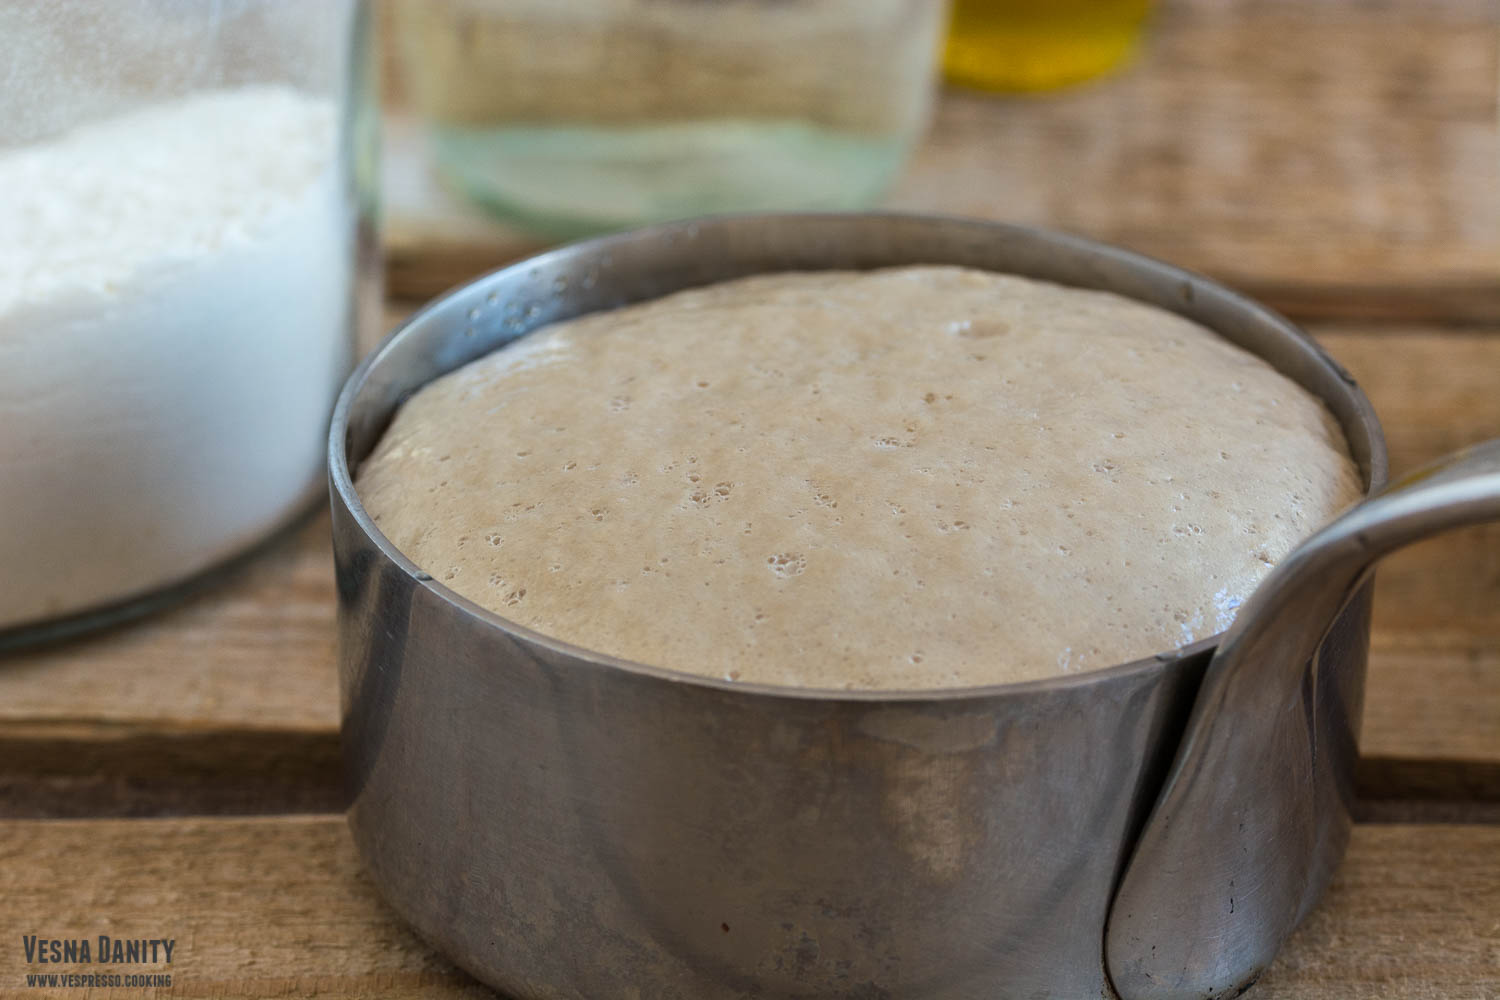
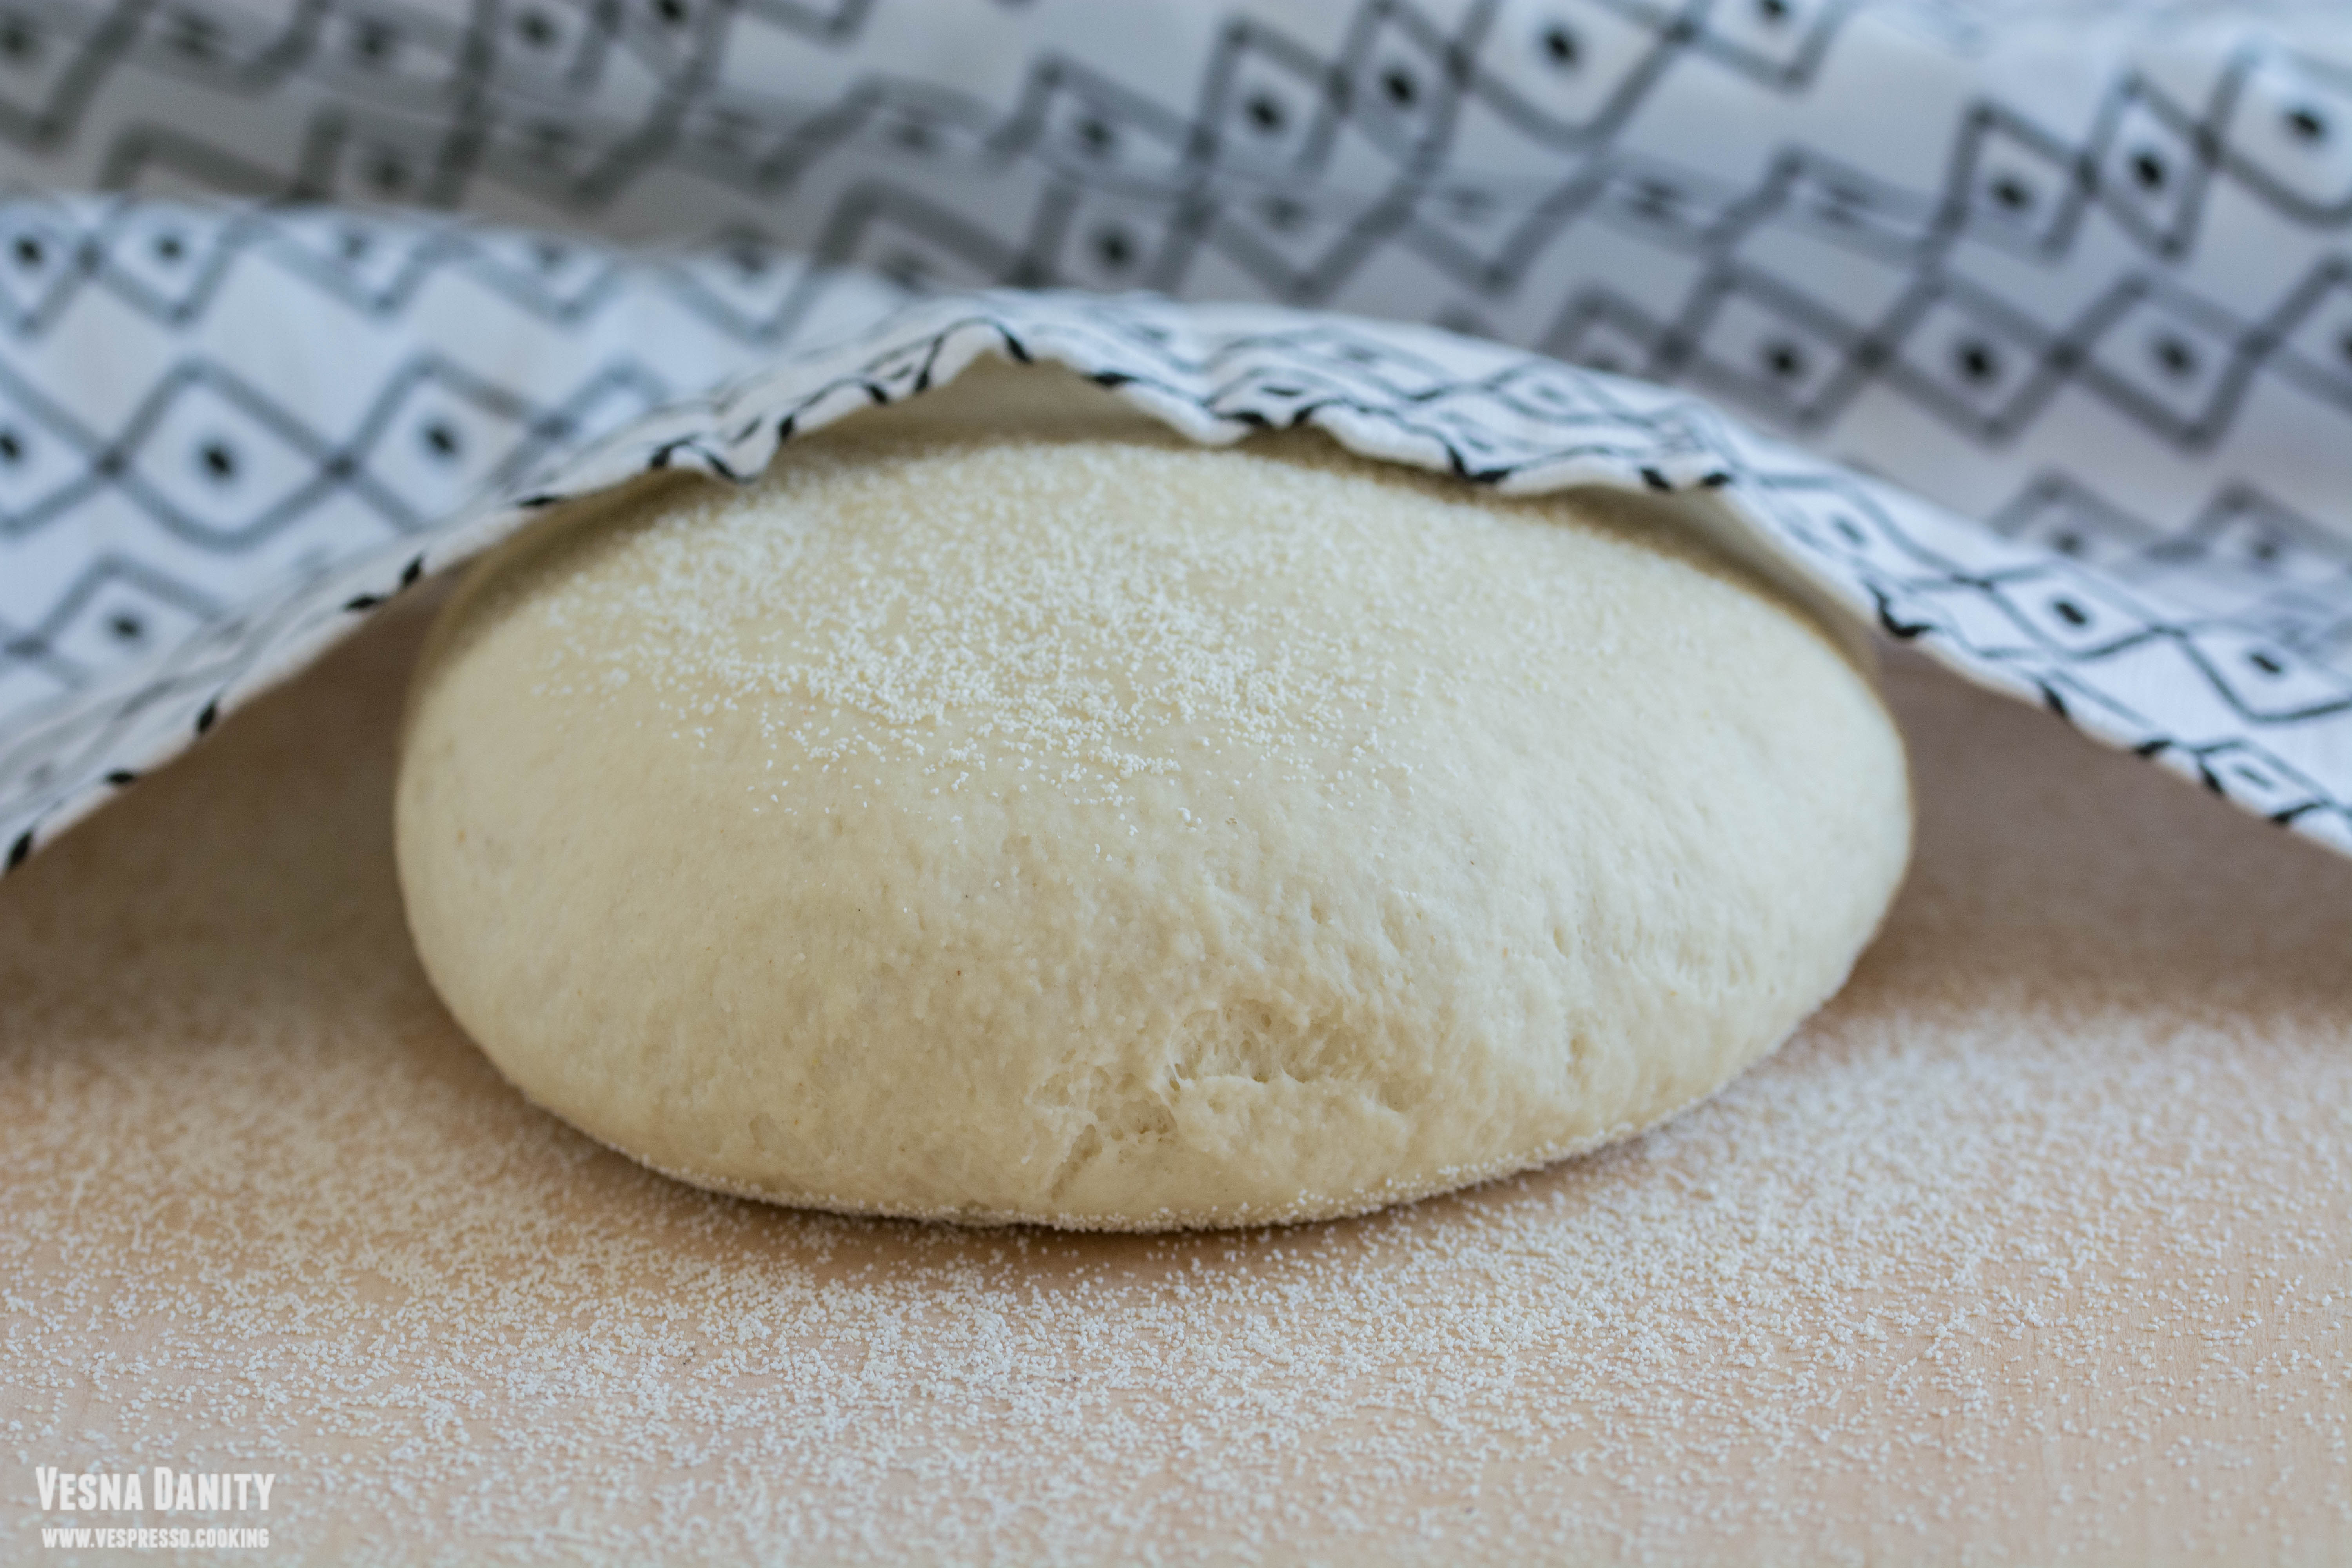
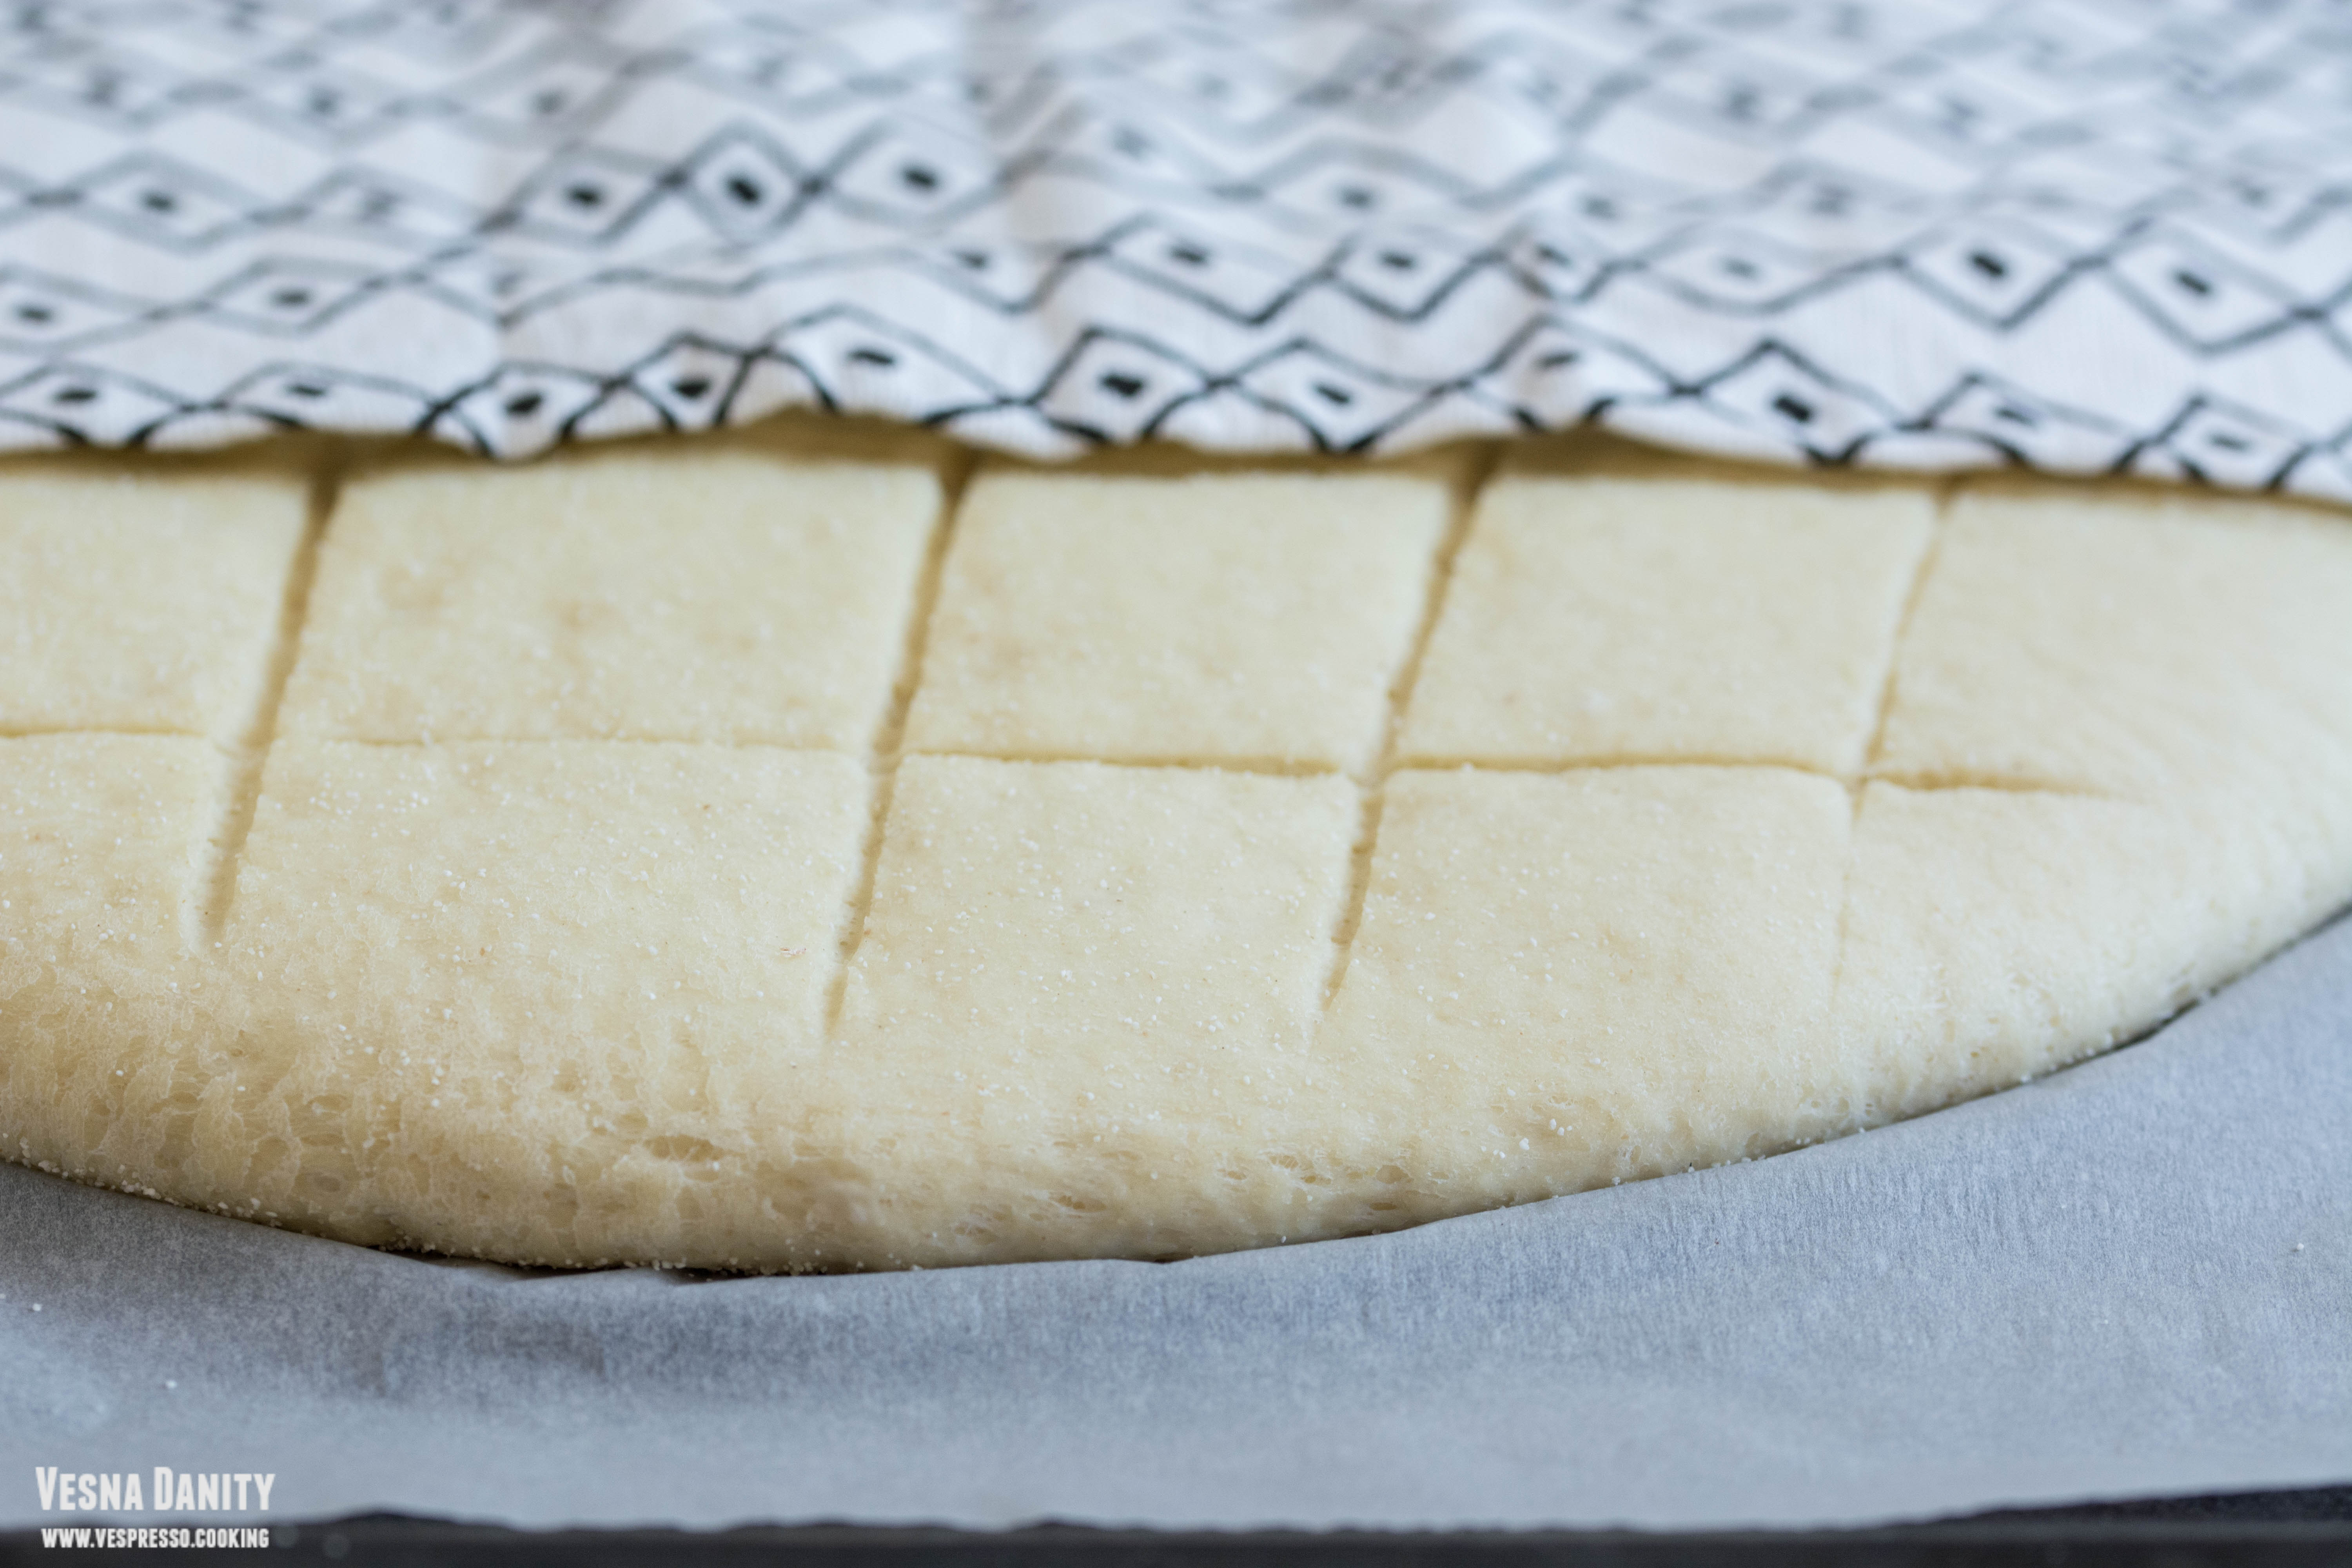
4. Place dough on the semolina-powdered working surface, cover with a clean towel and let it relax for 10 minutes.
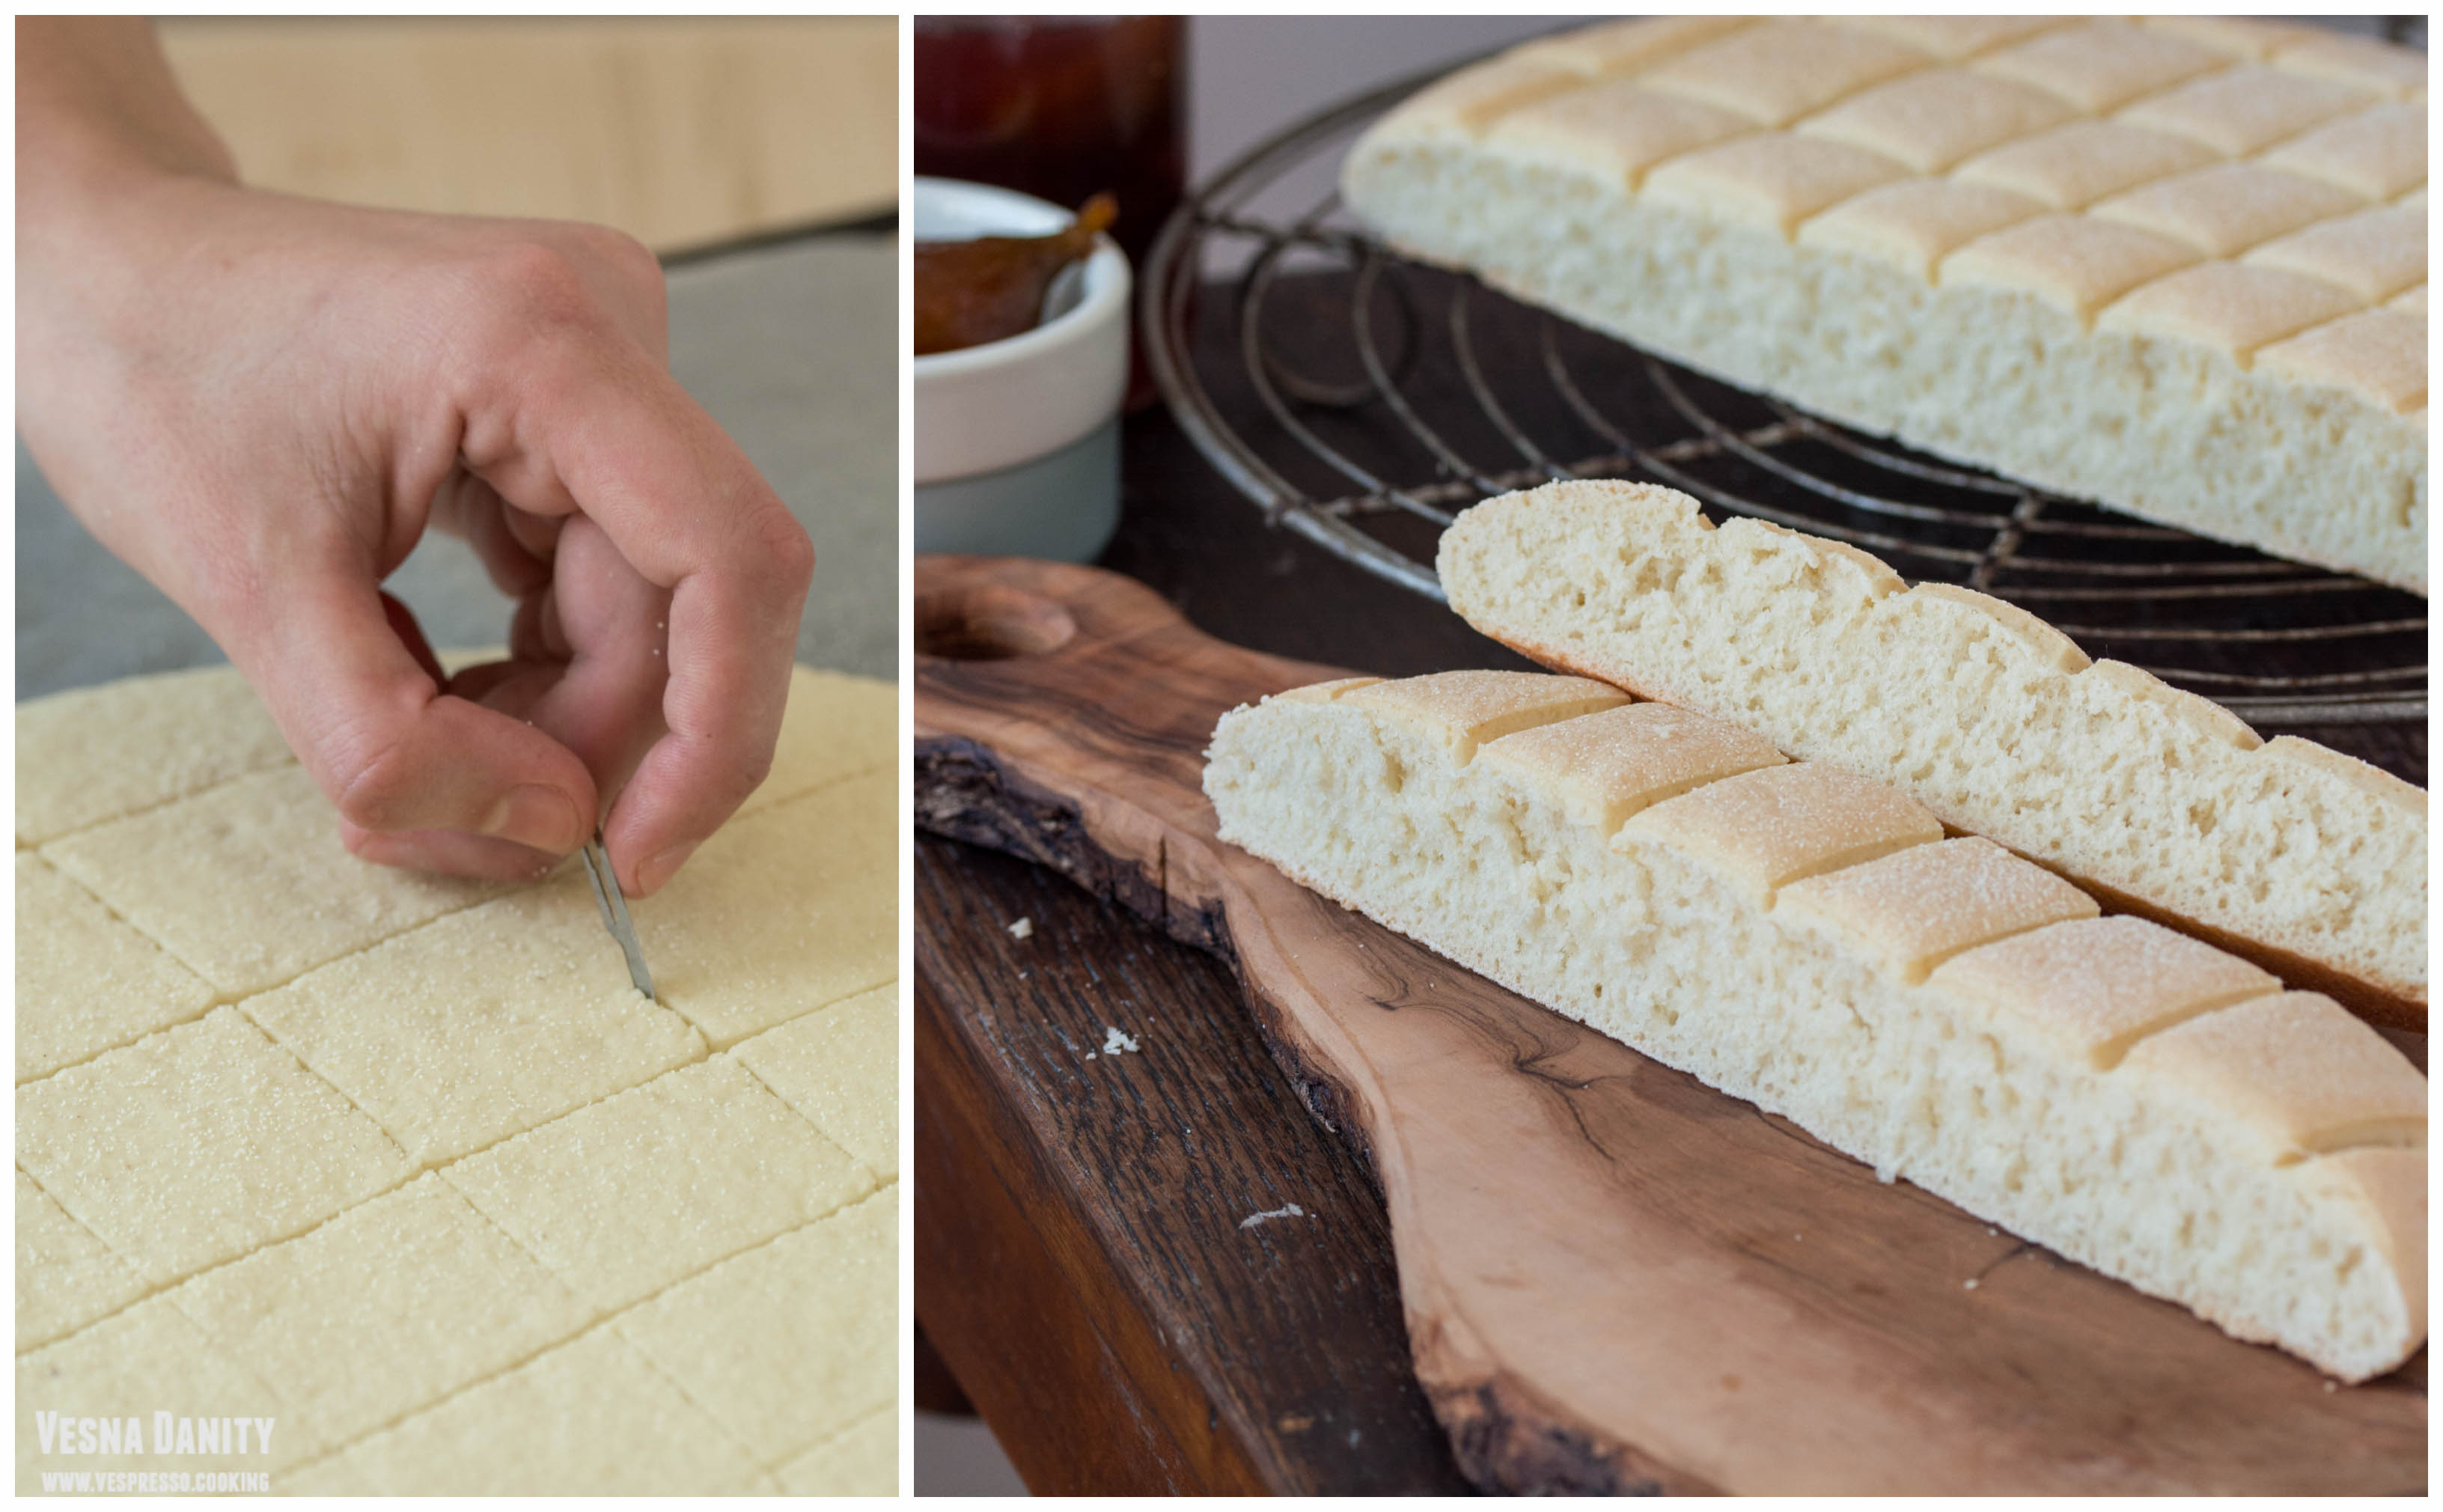
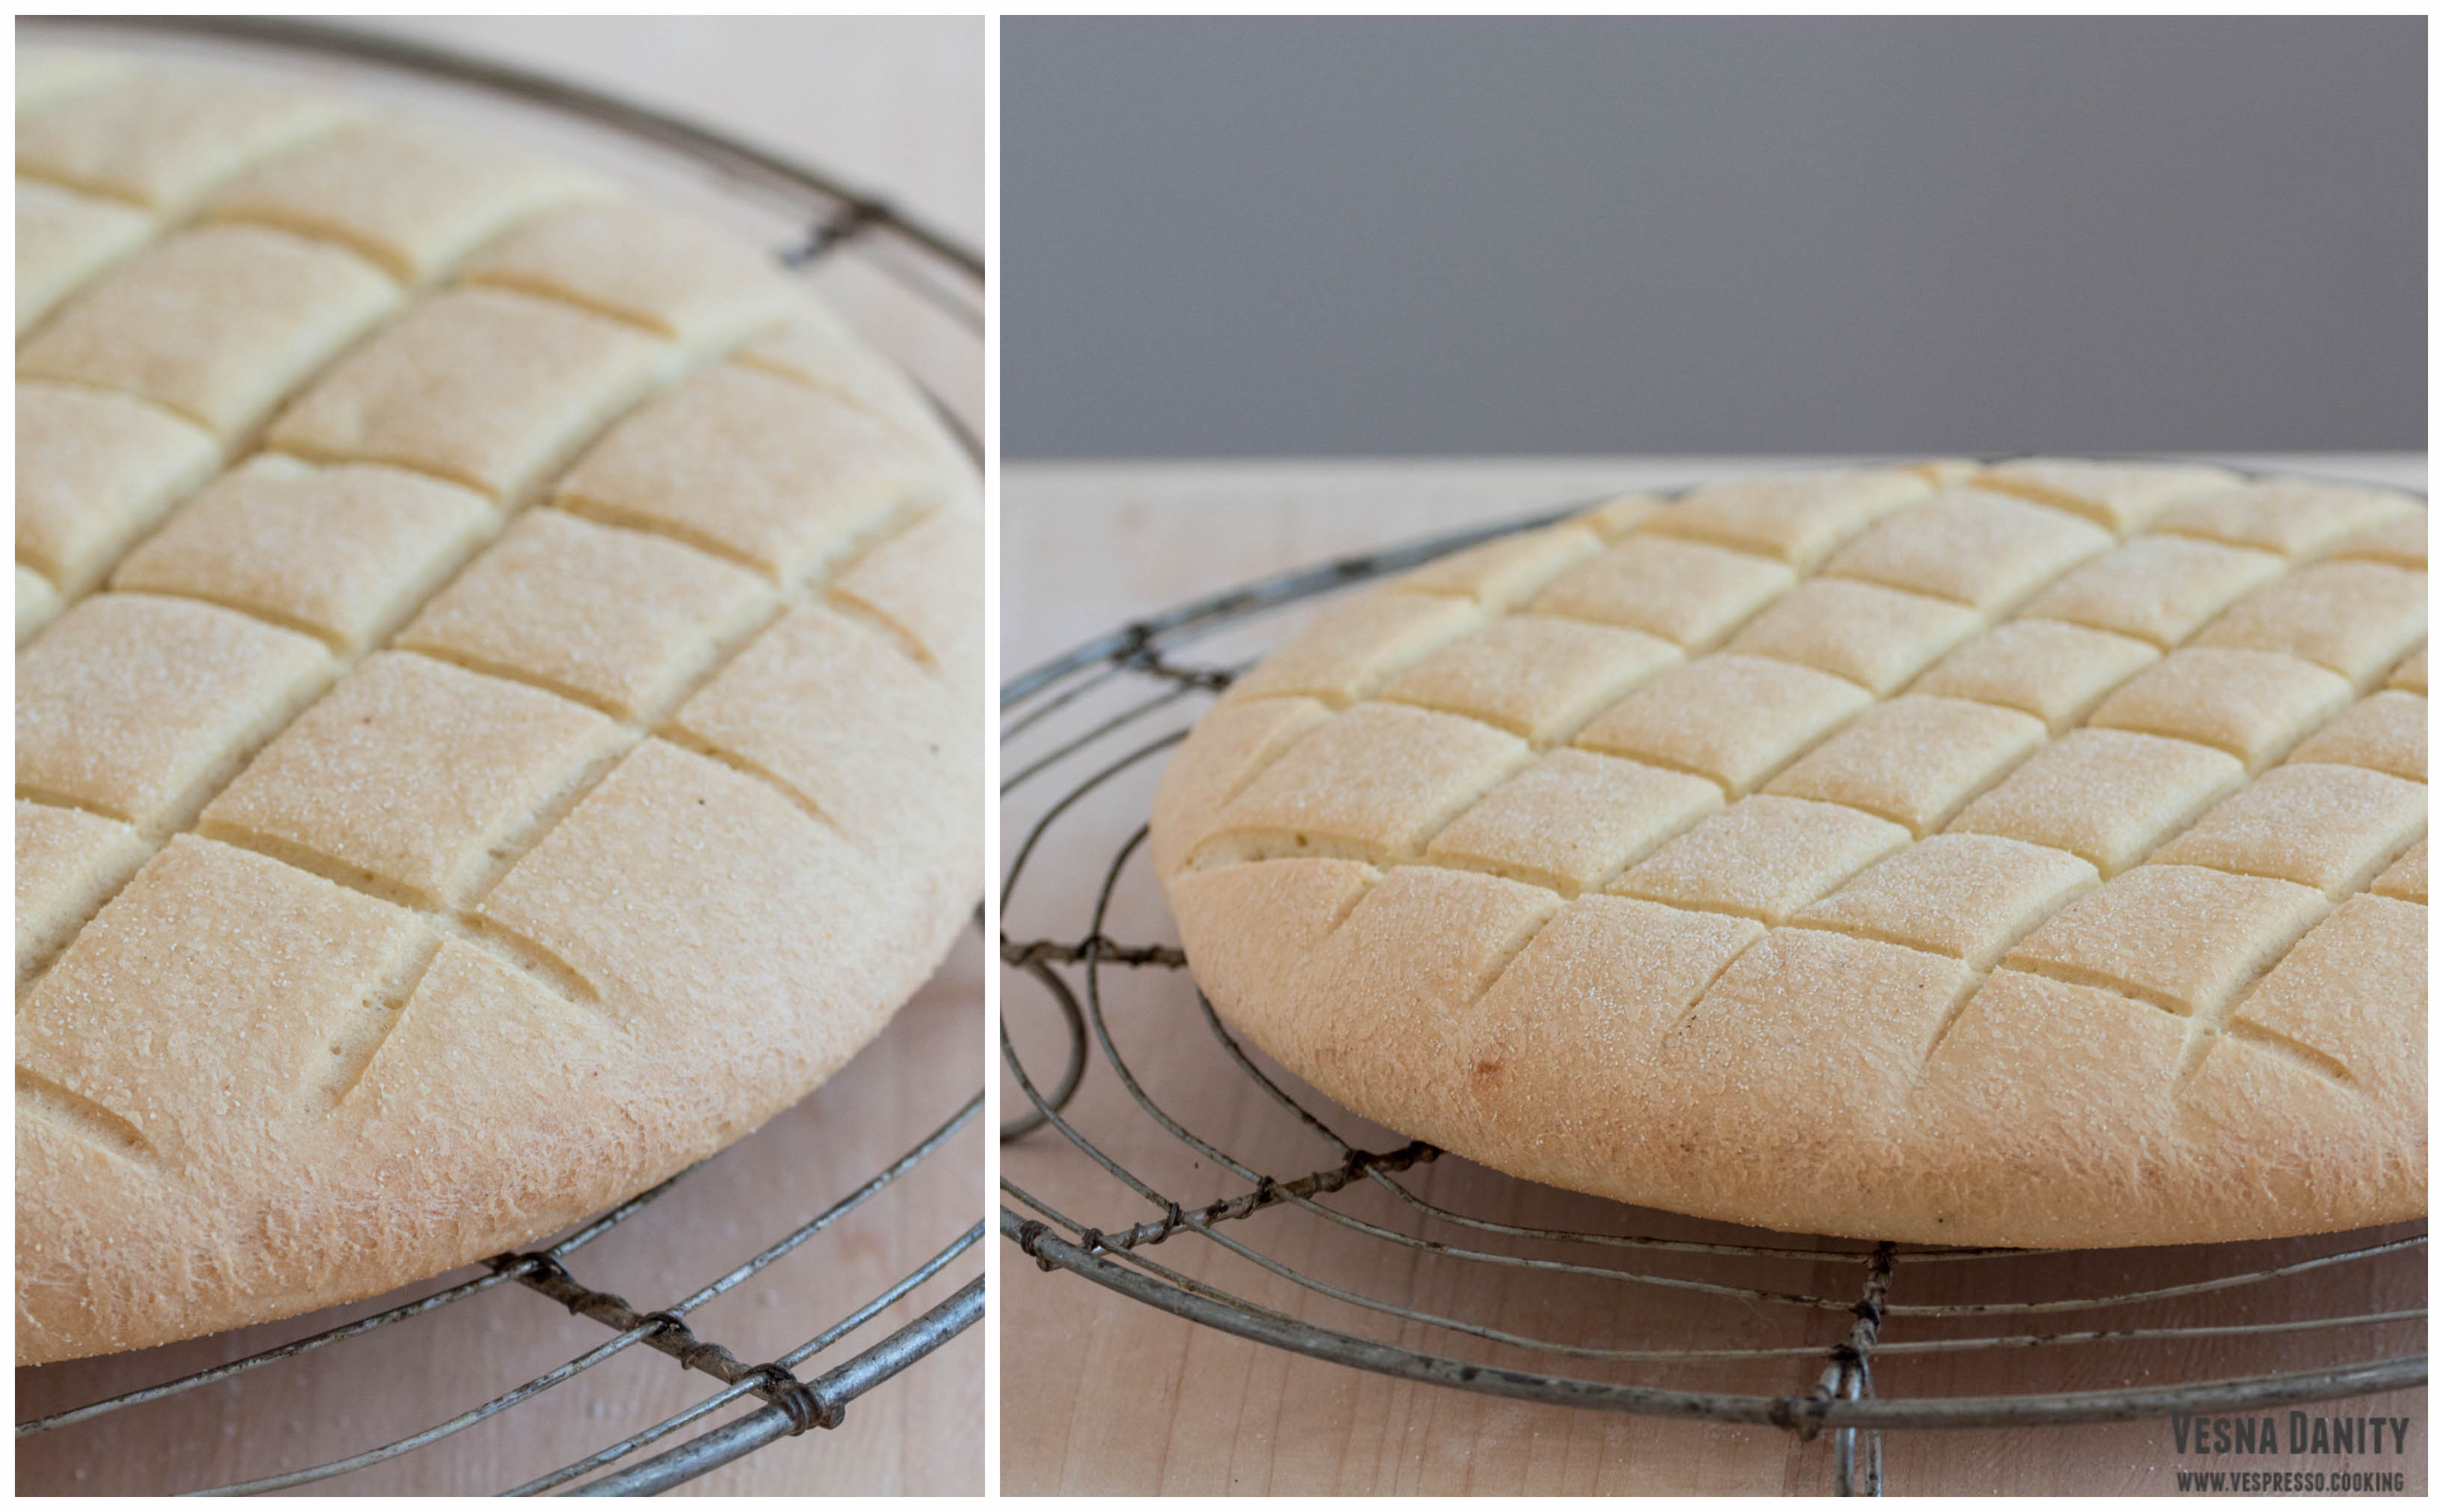
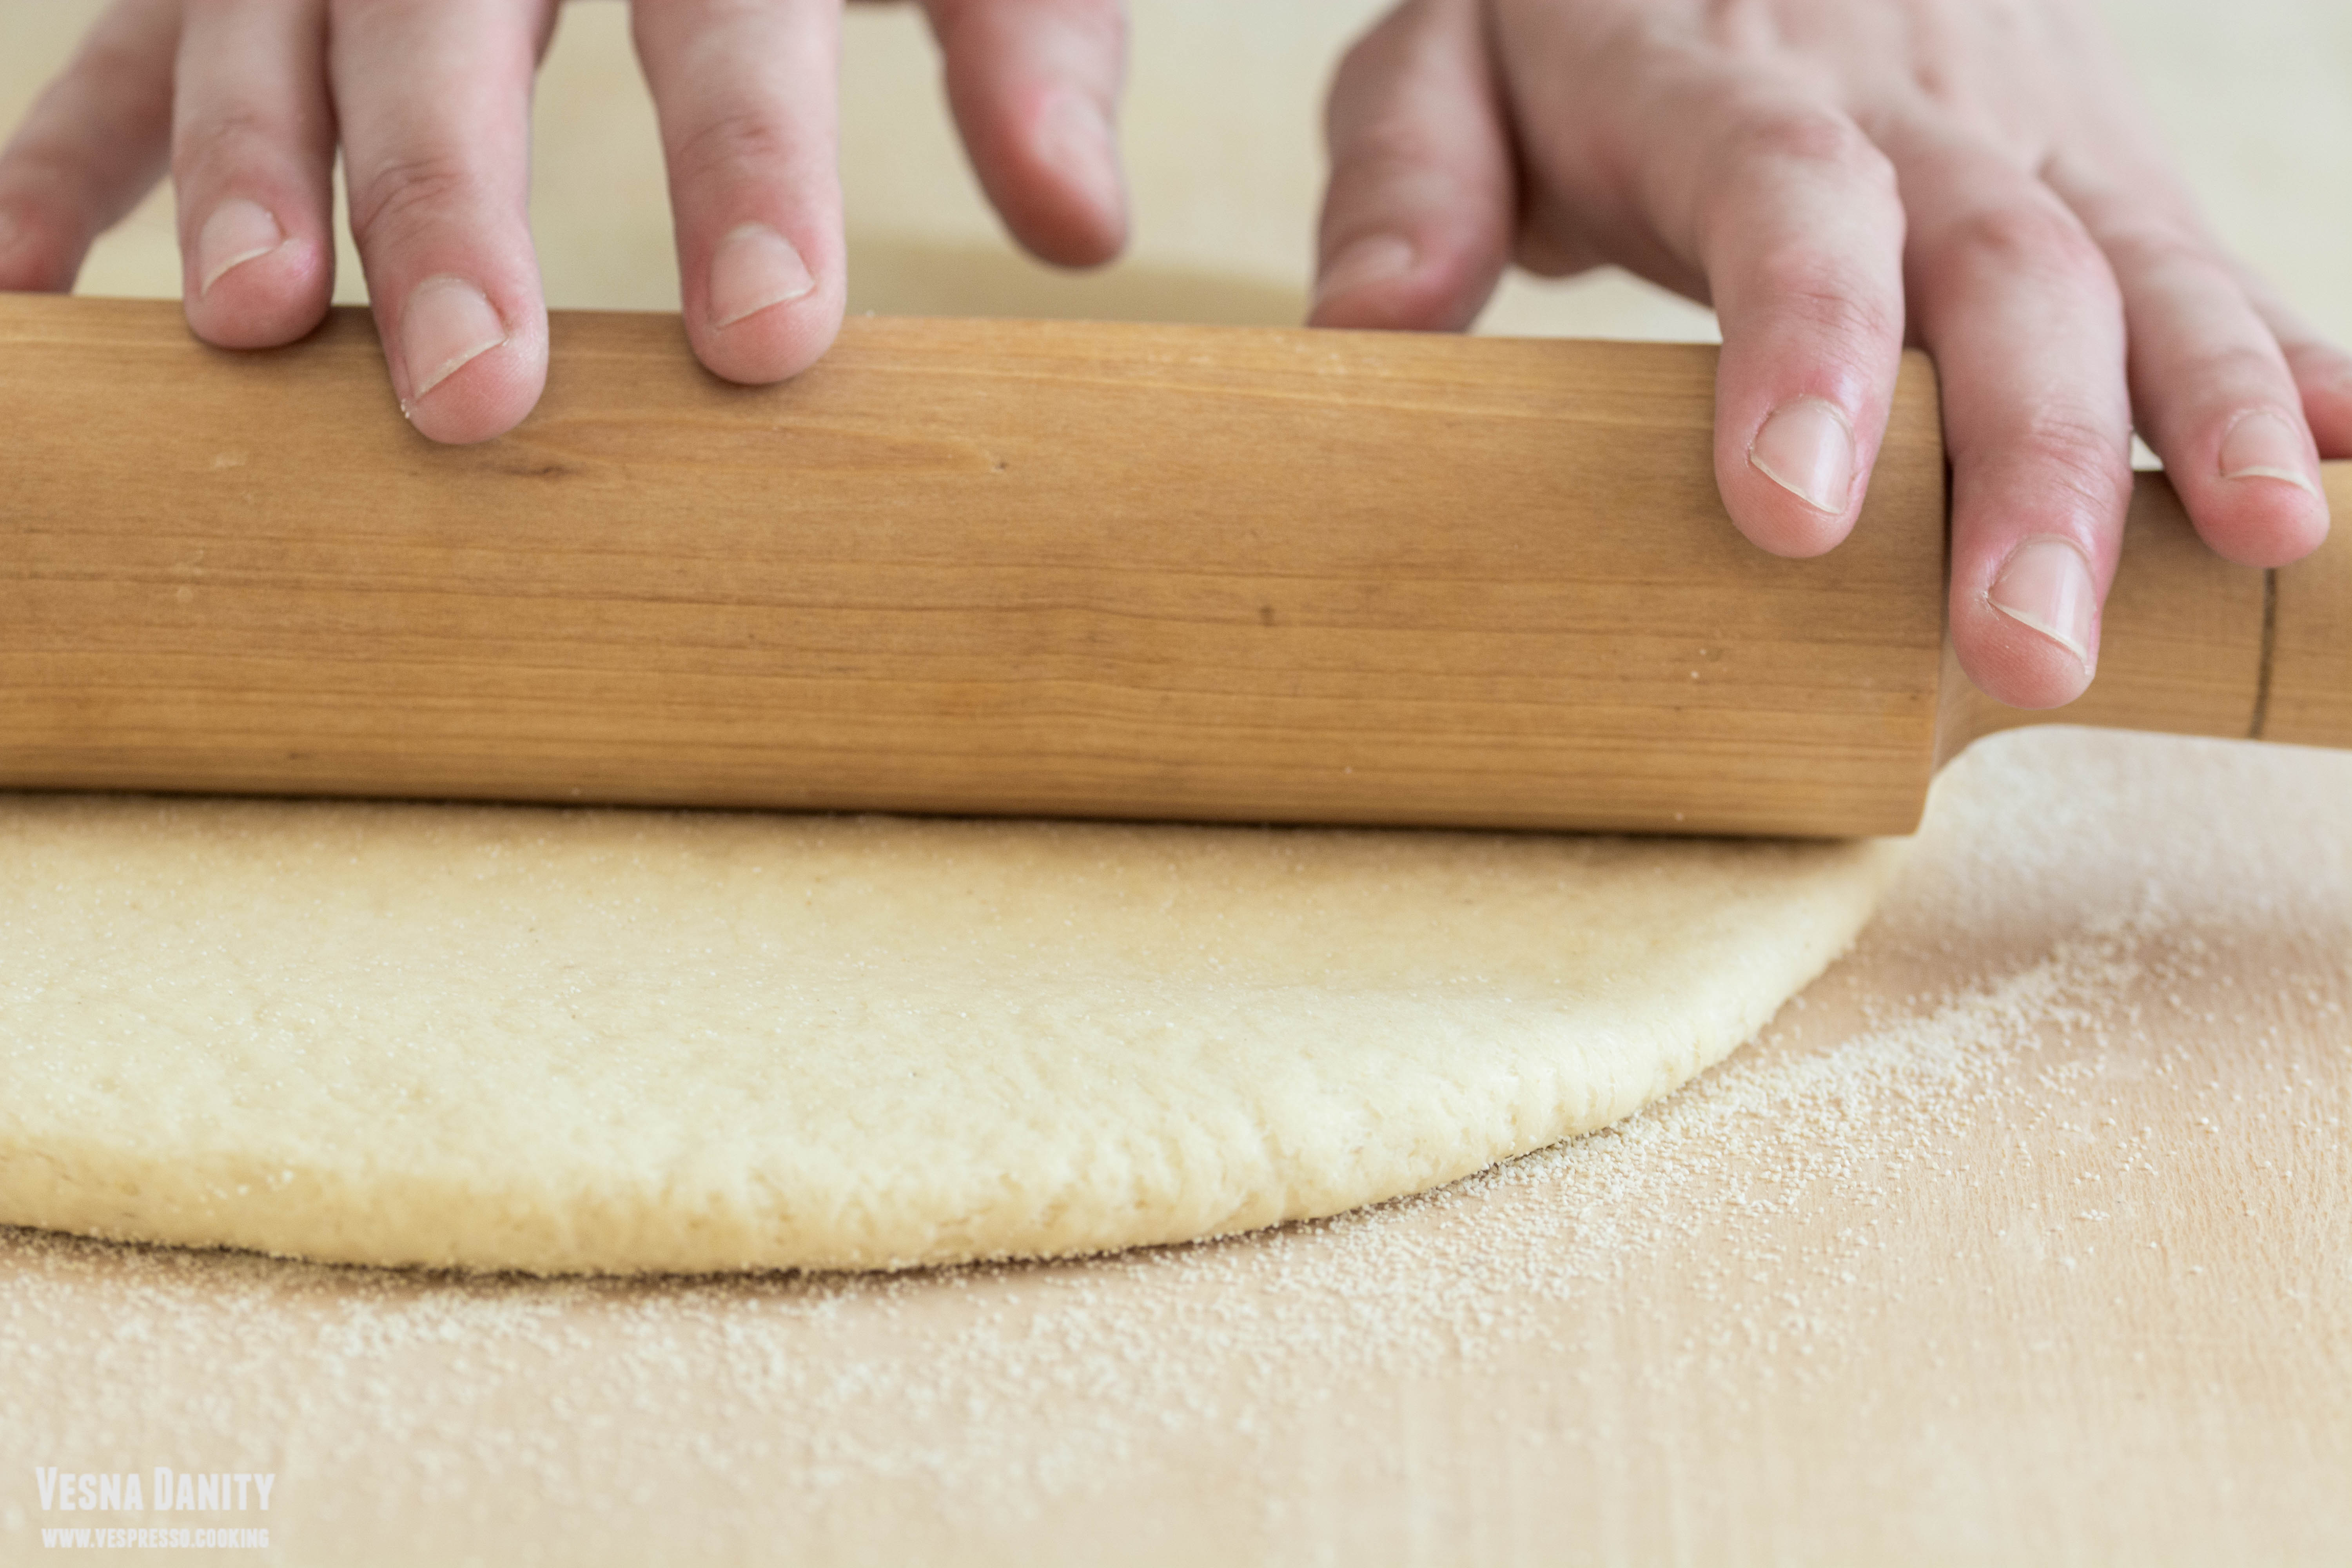
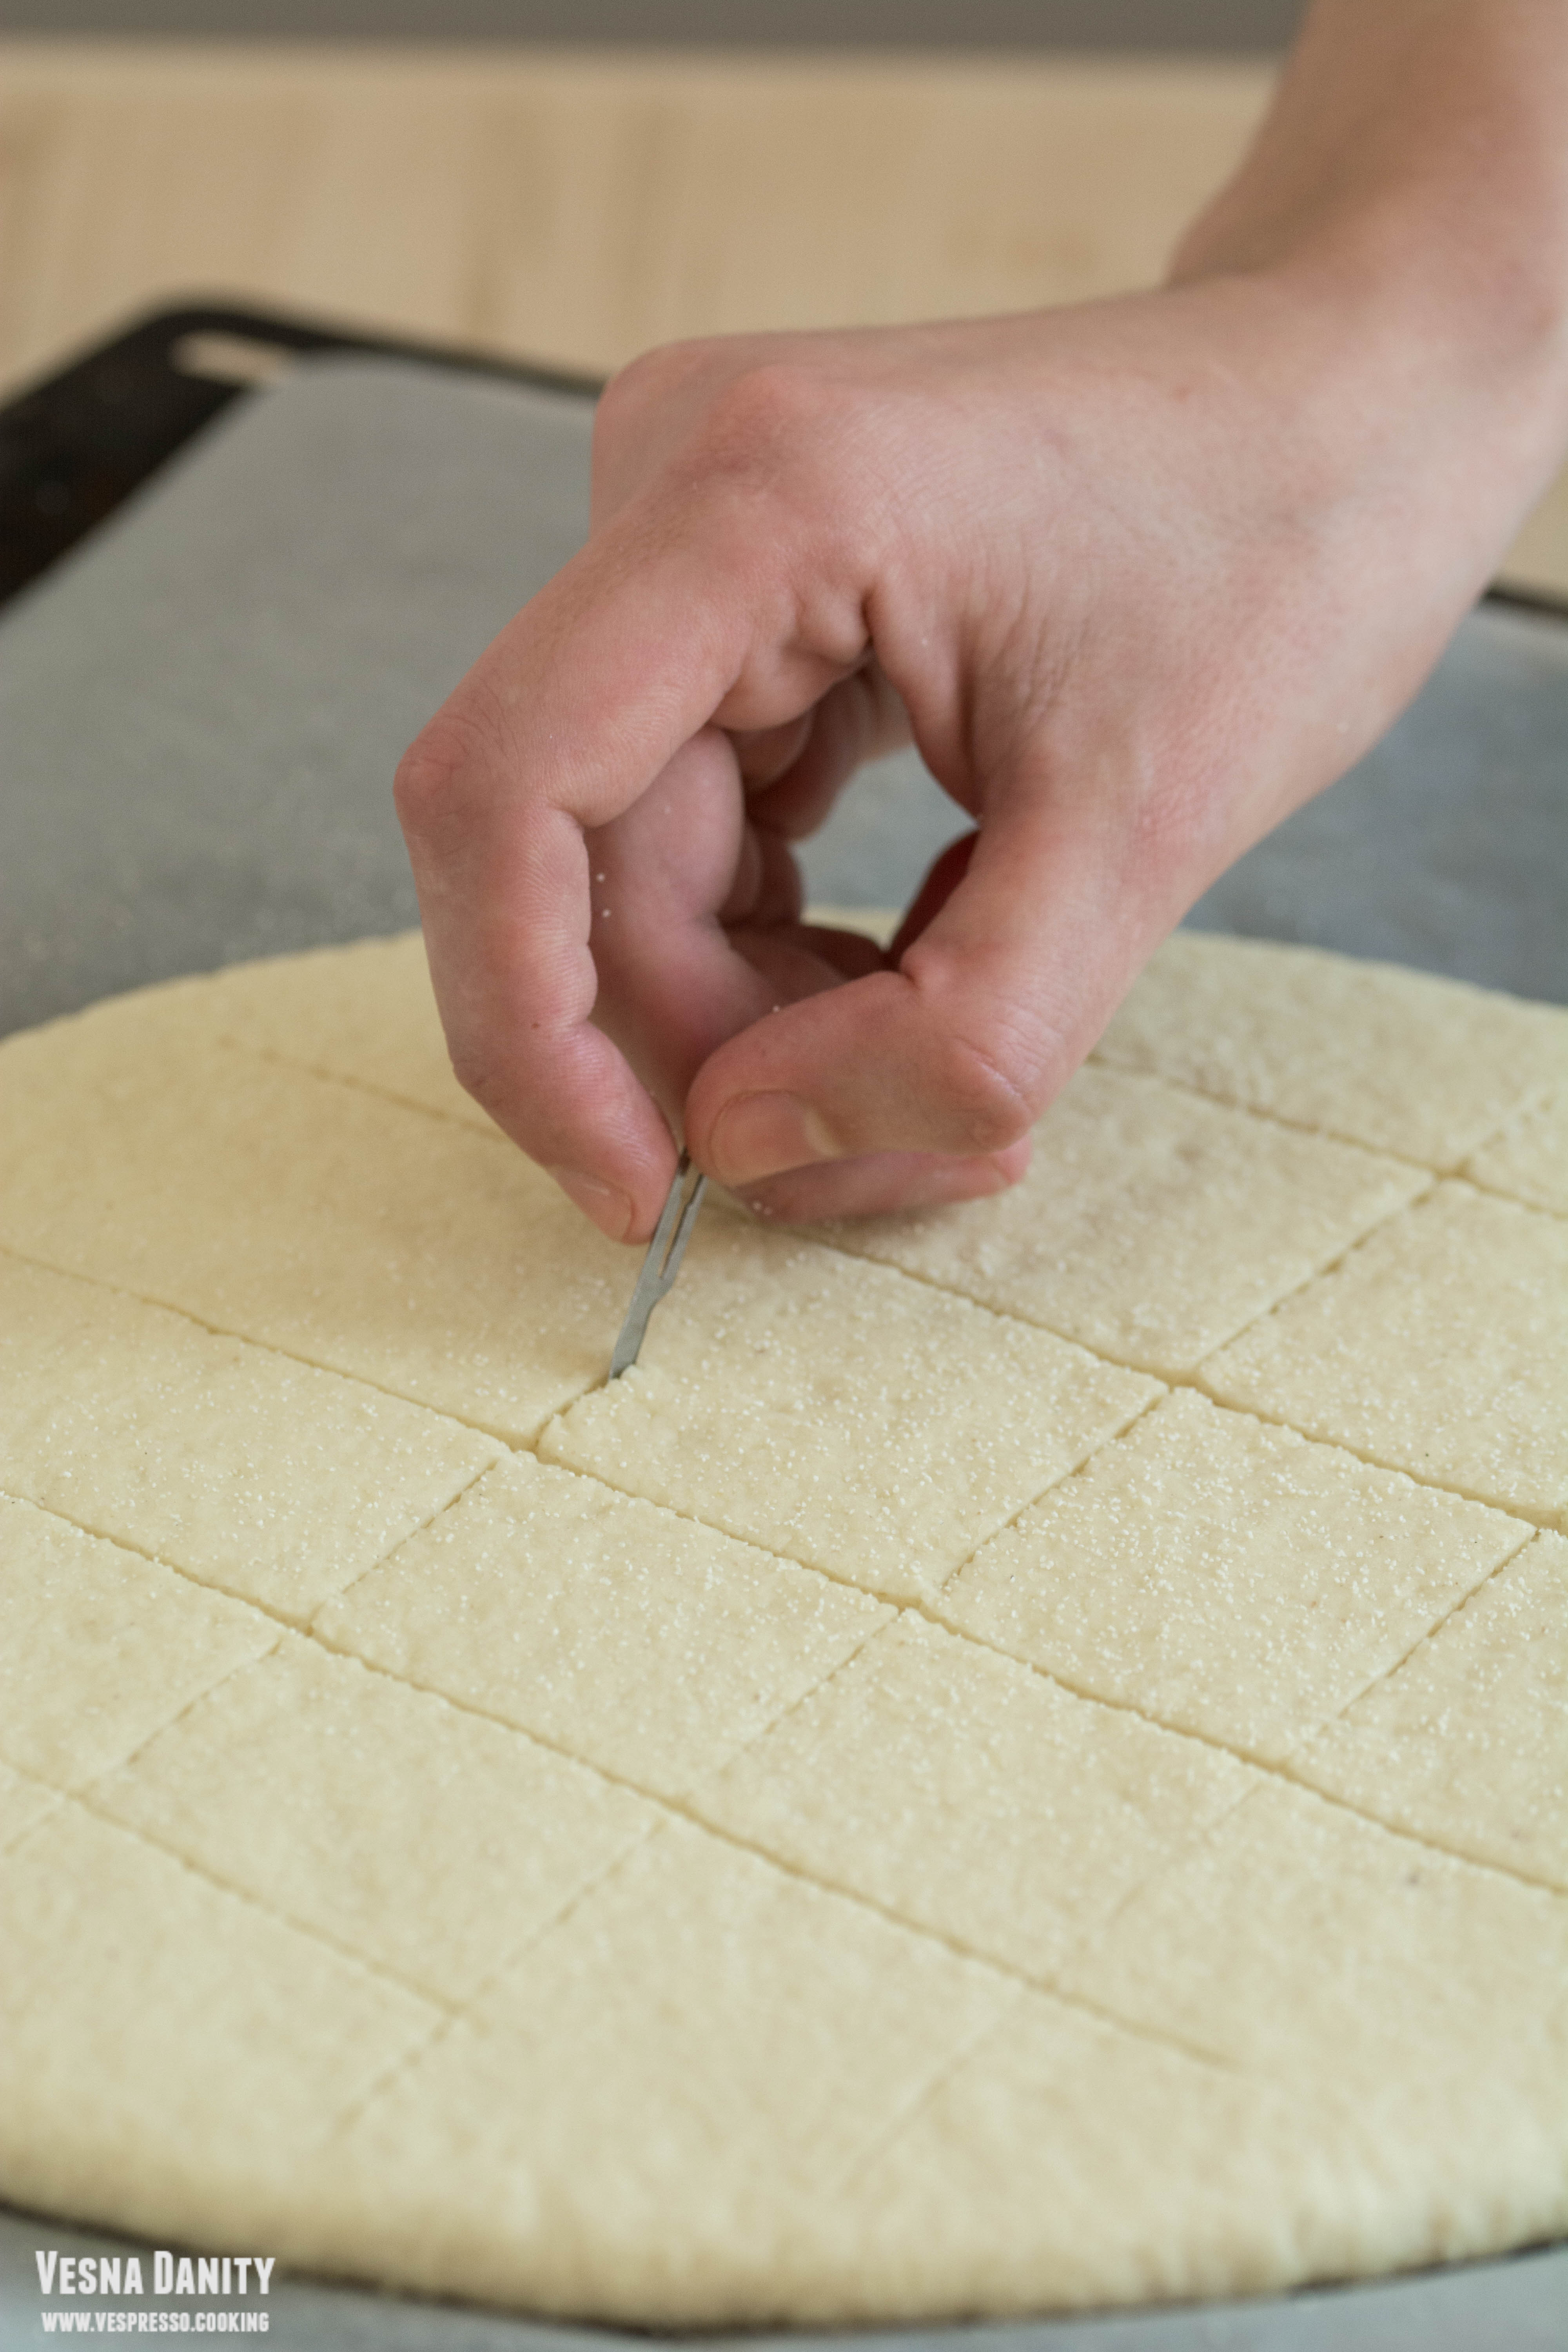
5. After 10 minutes using a rolling pin, roll the dough in a 1 cm thick disc and place it on a parchment paper – lined tray. With a sharp blade score the surface in a diamond pattern. Cover with the same towel and let it rise for 45 – 60 minutes. Preheat the oven at 400°F/204°C (gas mark 6).
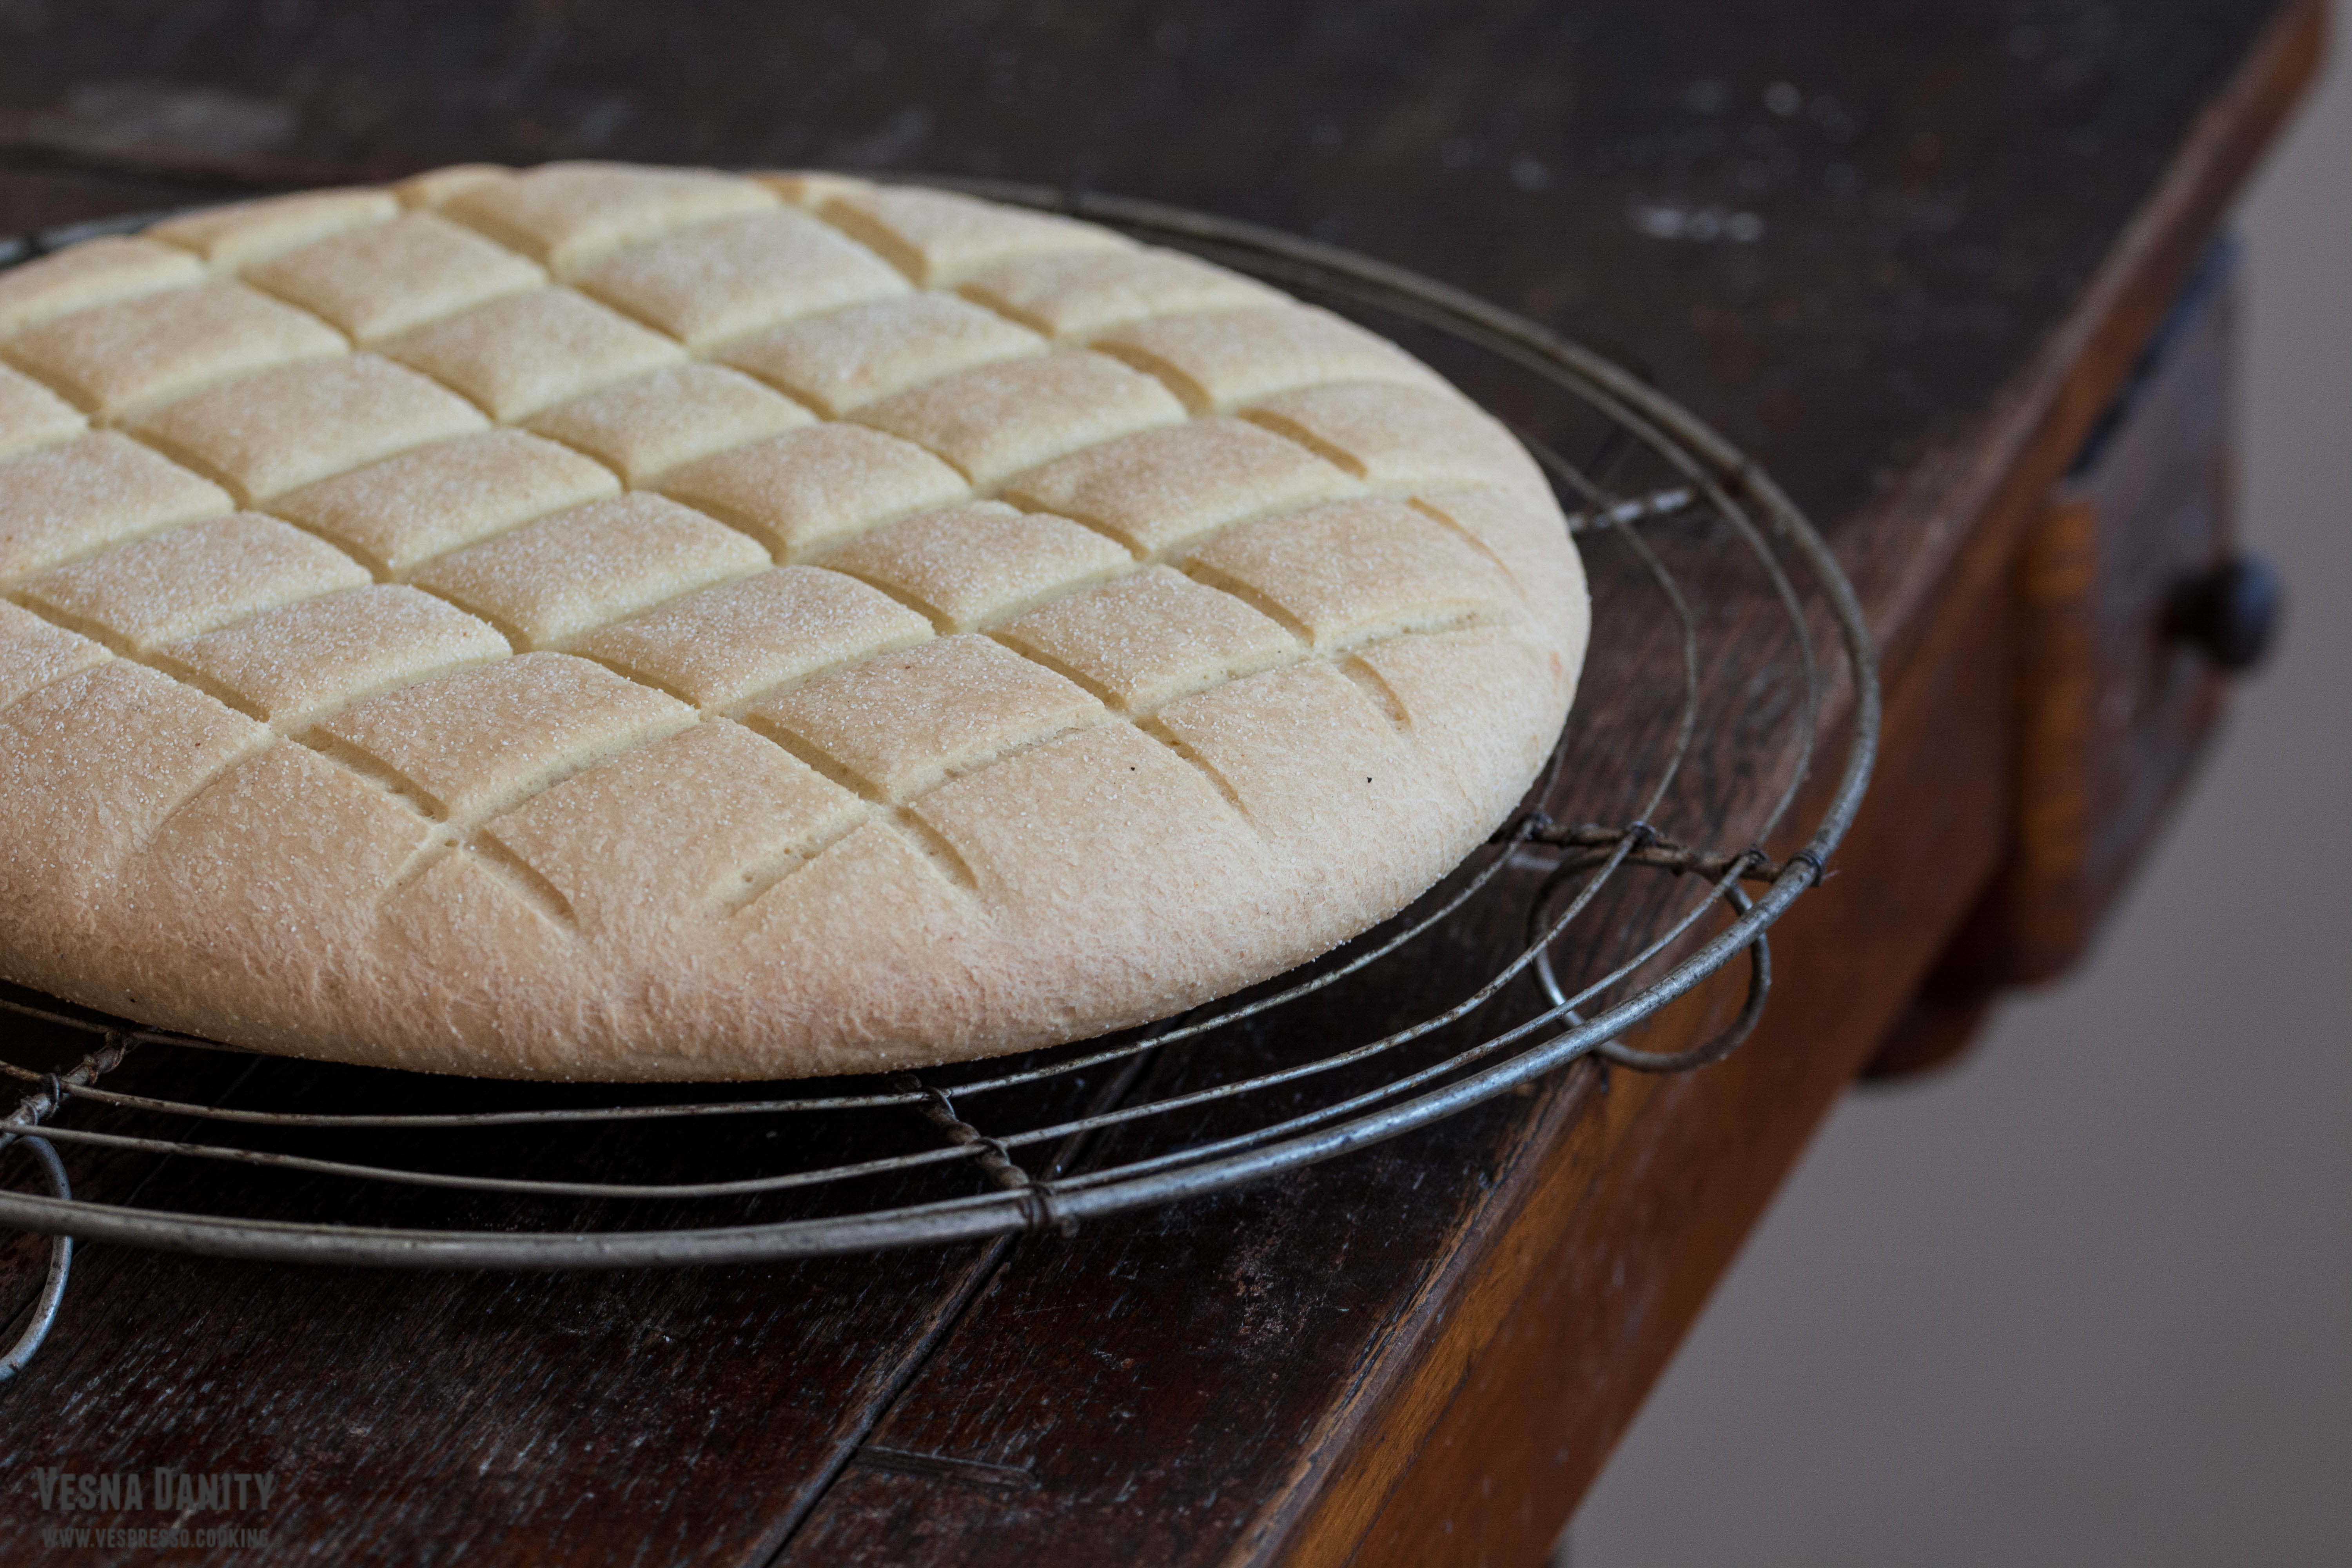
6. When the bread has doubled its thickness place the tray in the preheated oven and bake for 25 minutes or until golden brown.
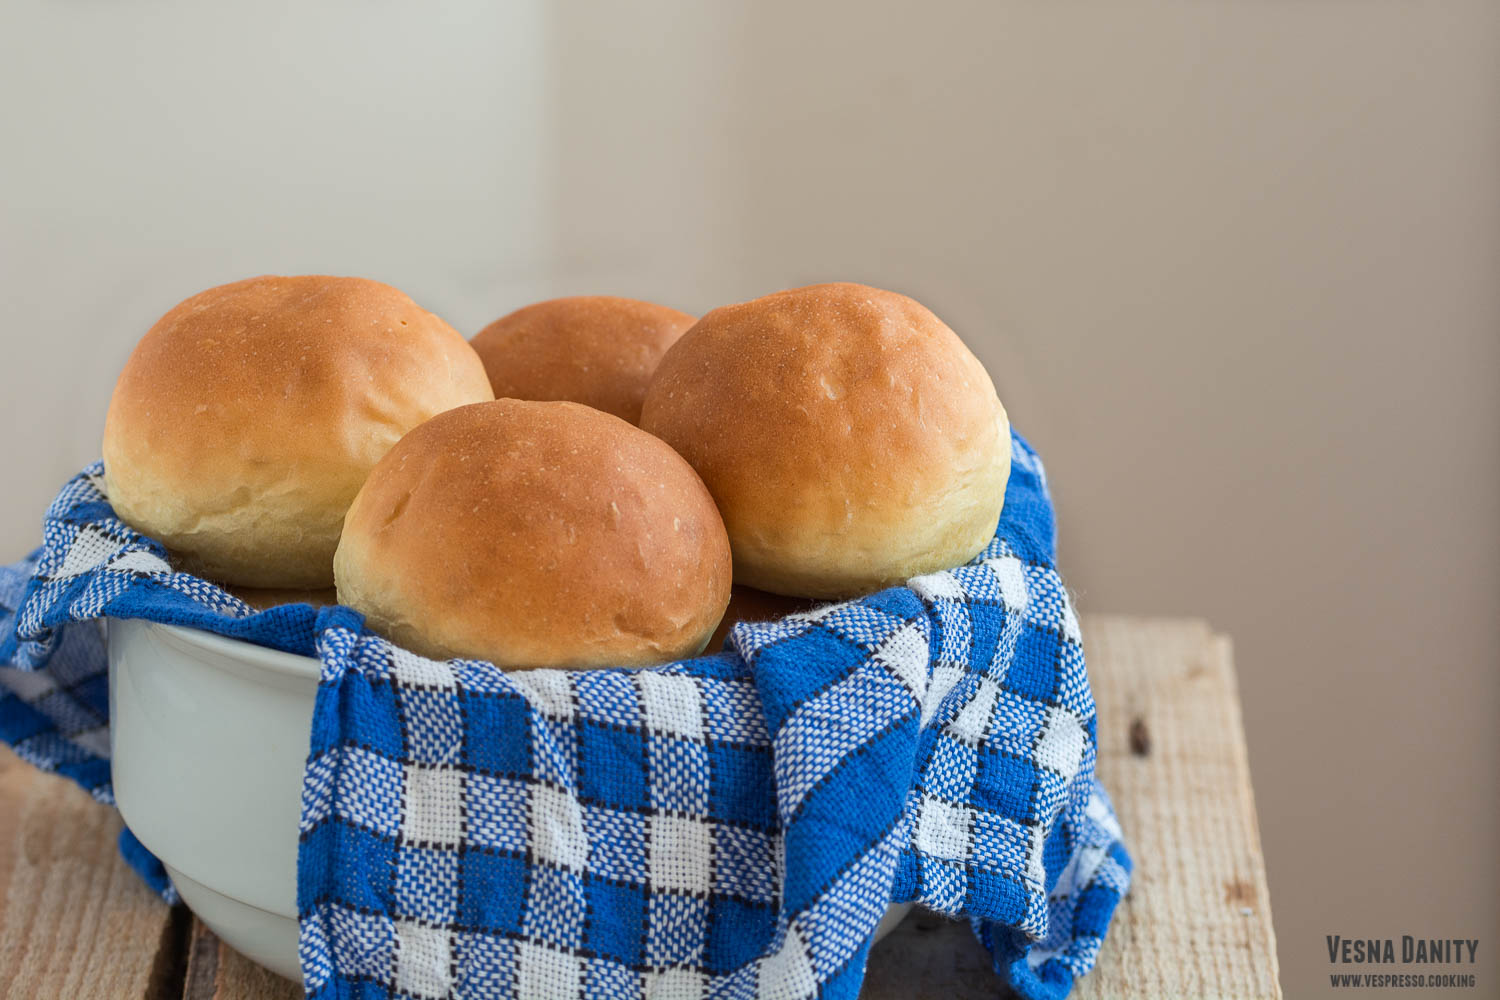
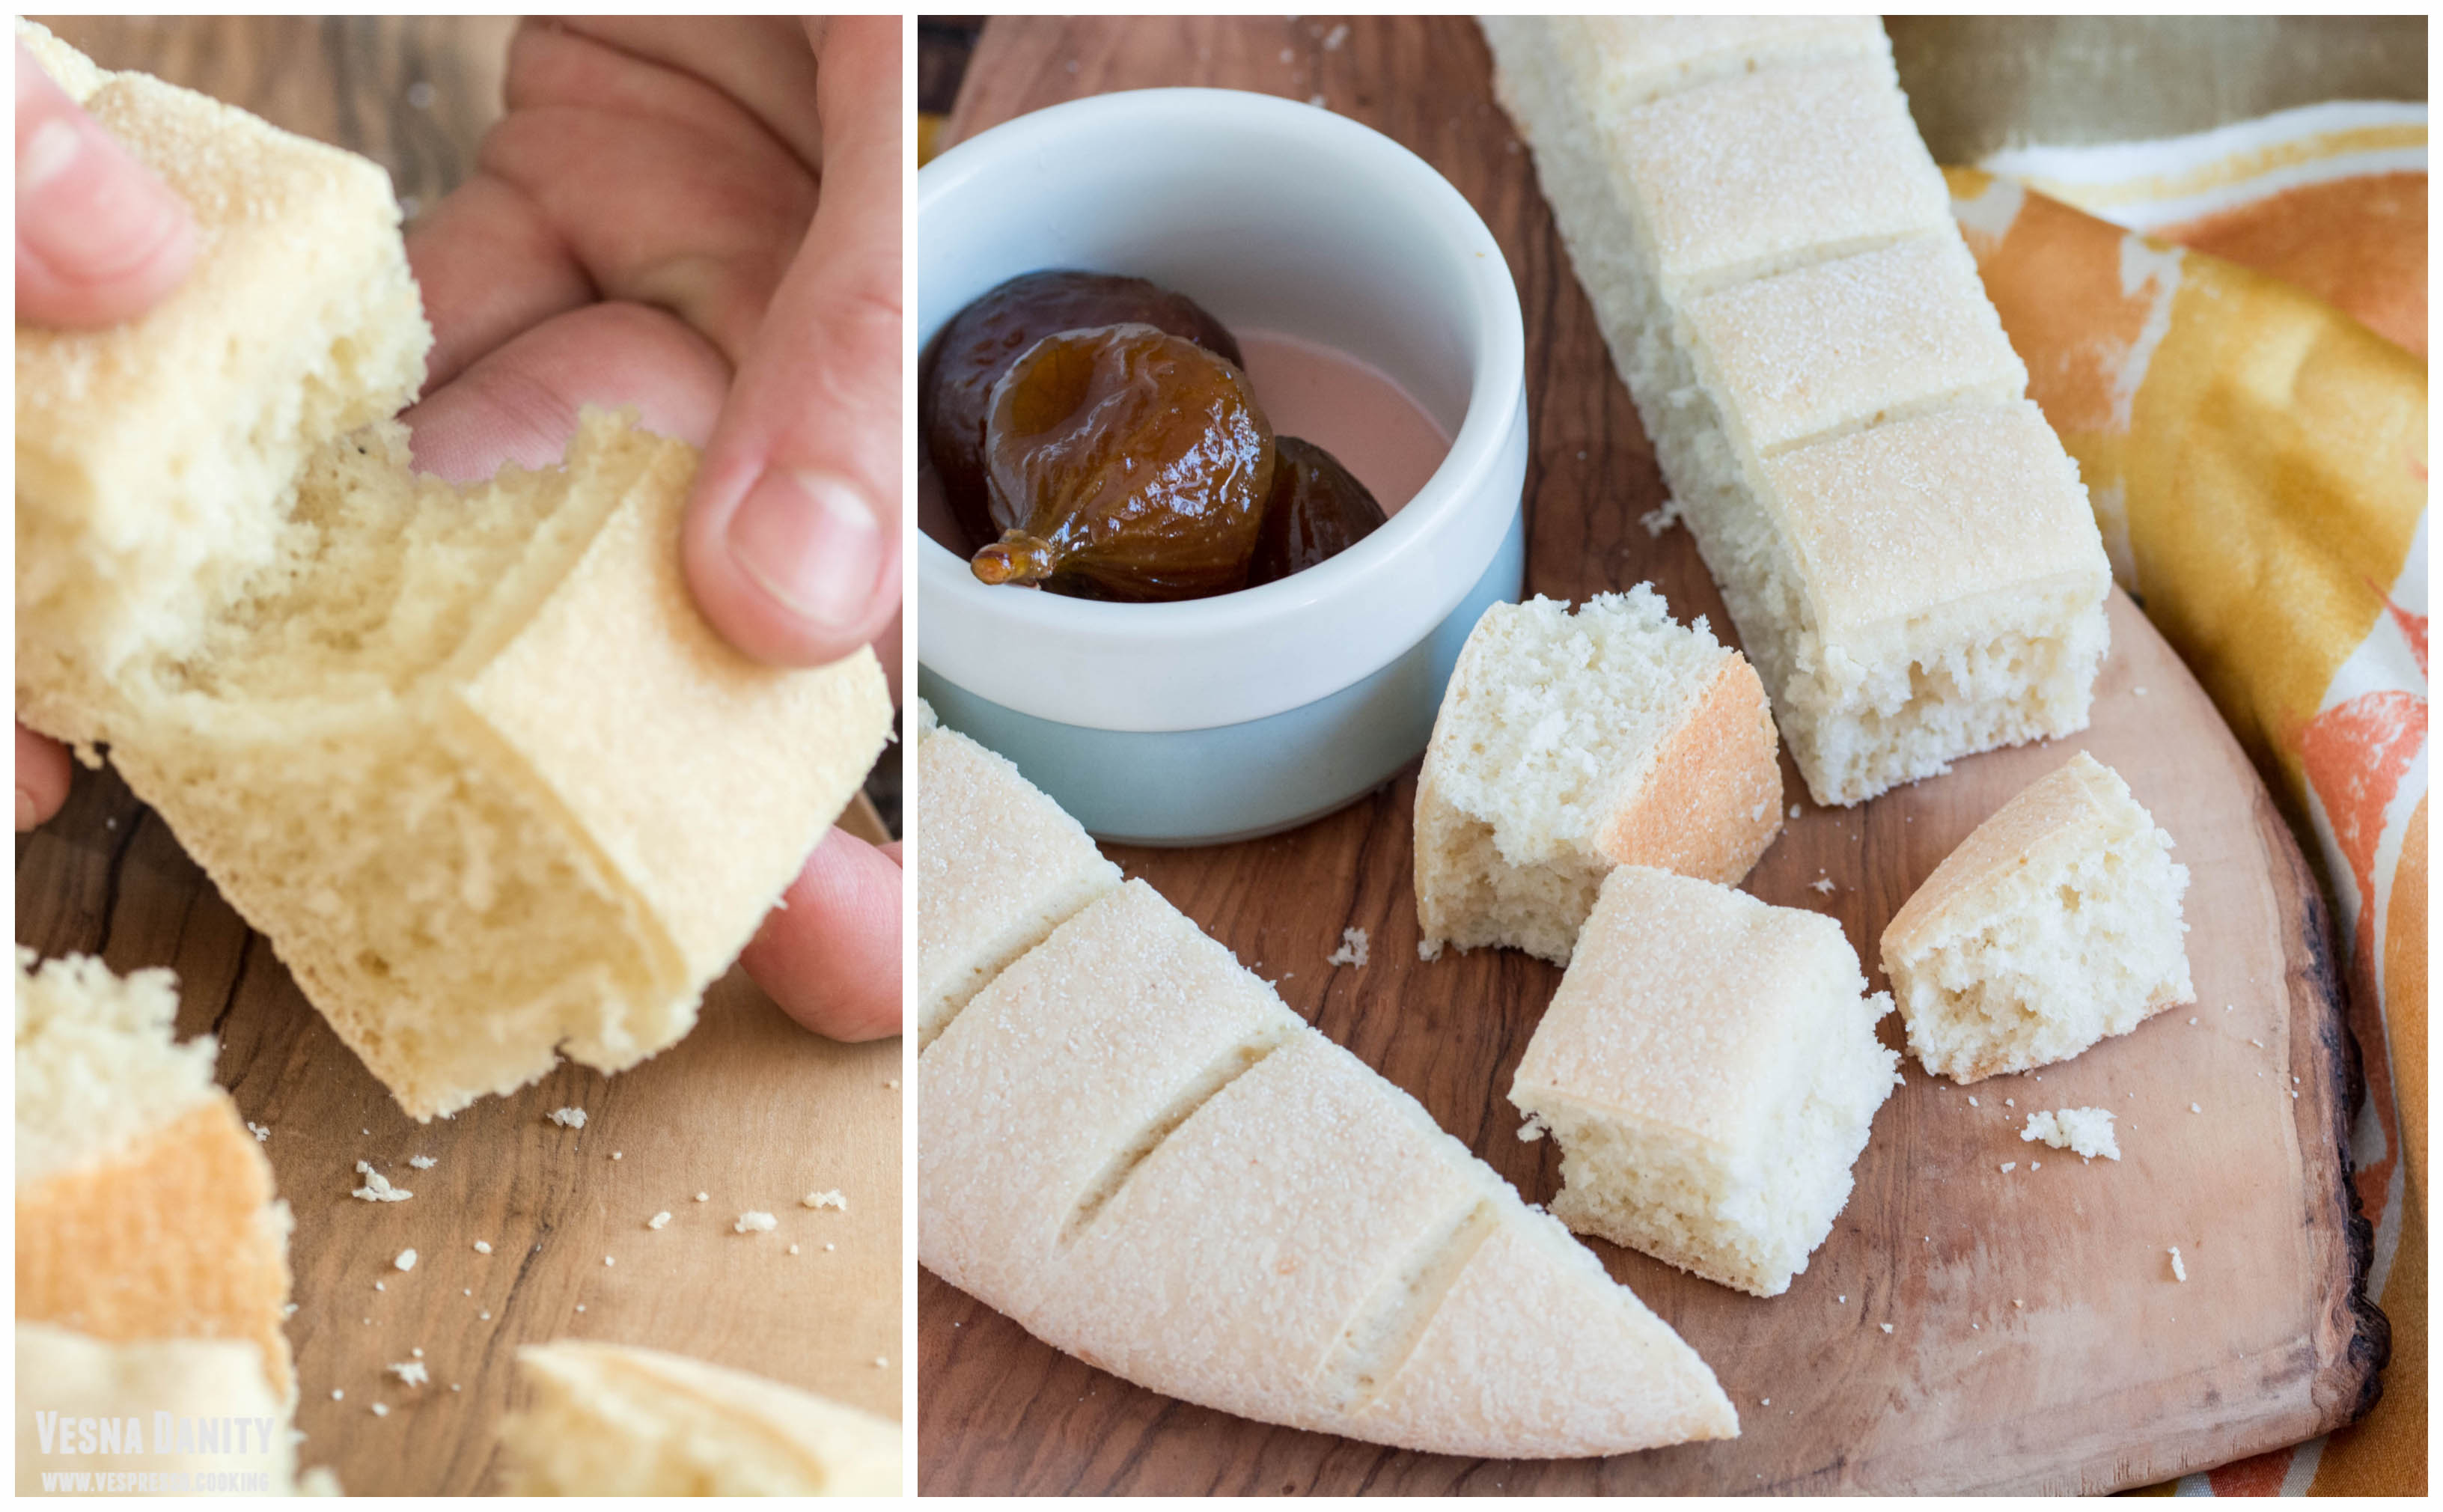
7. Let the bread cool down on a wire rack for about 1 hour before slicing it.

Source: www.landsandflavors.com

Challah Bread

Challah is a braided bread made traditionally in the Jewish cuisine. This spectacular bread has a golden-brown, shiny crust and a airy and pilowy slightly sweet interior. It’s more than possible I’ve made challah more than two dozen times, in fact I bake it each and every time I want to surprise my guests. Beside the wow factor, this bread surprizes with its amazing taste as well.

Besides the usual ingredients, such as flour, water, salt, yeast and sugar, this bread is usually enriched with vegetable oil or melted butter and eggs,  which give challah a golden color and an unmistakable richness. These ingredients also allow this bread to remain soft for several days. If you’ve never tried to make challah before, I encourage you with all my heart to give it a try!

Ingredients (for a 45x15cm loaf):

  • 630g all-purpose flour (22 oz)
  • 225ml lukewarm water (8 oz)
  • 1 satchel active dry yeast (7g)
  • 2 Tbsp granulated sugar (30g)
  • 1 1/2 tsp salt (8g)
  • 55ml vegetable oil (2 oz)
  • 4 egg (2 egg + 1 yolk for the dough and 1 egg for the wash)
  • 2 – 3 Tbsp poppy seeds

Method:

  1. Activate the yeast. In a small bowl combine water, sugar and yeast and let aside for 10 minutes. After 10 minutes, the mixture should be frothy.
  2. Form the dough. In a large bowl sift the flour and make a well in the center. Add the yeast mixture (point 1) and the oil, 2 eggs and 1 yolk and mix with a wooden spatula. Add the salt and continue mixing until you form a ball.
  3. Knead the dough. Bring the dough on a floured working surface and knead it for 5 minutes. After 5 minutes, the dough should be smooth.
  4. Let the dough rise. Place dough in the bowl, cover with a clean towel and let it rise in a warm place for about 90 minutes (or until doubled in size).
  5. After 90 minutes, place the dough back on the working surface and knead vigorously to knock out the air bubbles.
  6. Form the ropes. Divide the dough into 6 pieces. Shape each piece into a ball. Elongate each ball of dough with your hands until you form a 45cm rope. Proceed the same with the rest of the dough.
  7. Braid the loaf. For a six-rope braid, I’ll leave you below the step by step pictures, as well as a gif.
  8. Preheat the the oven at 180°C / 350°F (gas mark 4).
  9. Place the loaf on a parchment paper-lined tray. Cover with a clean towel and let it rise for about 45 – 60 minutes.
  10. After about 1 hour give the apply egg wash and sprinkle with poppy seeds.
  11. Bake it in the preheated oven for about 30 minutes or until golden brown.
  12. Place it on a wire rack and let it cool down for about 30 minutes before slicing.

Source: www.thekitchn.com

3-Ingredient Cloud Bread


Cloud bread is basically an airy, soft and pillowy bread replacement, characteristics suggested by its own name. This dietetic bread is gluten-free and it’s also high in protein and low in carbohydrates. This bread is so delicious and extremely easy to make. As I mentioned in the title, cloud bread is made from only three ingredients: eggs, cream cheese and cream of tartar. The eggs are separated and the egg whites and the cream of tartar are beaten until stiff peaks form, while the egg yolks and the cream cheese are combined in another bowl. The meringue is carefully incorporated in the yolk mixture with gentle movements. The batter is divided into 9 small portions which are going to be baked in the oven until golden. Simple as that!

Ingredients (for 9 servings):

  • 4 large eggs *
  • 4 Tbsp cream cheese (60g) **
  • 1/2 tsp cream of tartar (or lemon juice) ***Note:

    * I use 1 Tbsp cream cheese for each large egg.
    ** This recipe is also delicious with mascarpone cheese, Greek yogurt and cottage cheese.
    *** If you don’t have cream of tartar, you can use the same amount of lemon juice. Don’t skip the acid, it stabilizes the egg whites and allows them to keep their form.


Method:

  1. Preheat the oven at 150°C / 300°F (gas mark 2). Line a tray with parchment paper.
  2. Take 2 bowls, a large one and a medium one. Place the cream cheese in the large bowl. Beat the cream cheese with a spatula or a whisk to soften.
  3. Separate the eggs. Add the yolk to the large bowl. Add the egg whites to the medium ball. Mix the yolk with the cream cheese using the whisk.
  4. Add the cream of tartar to the egg whites and beat on high speed until stiff peaks form (about 3 minutes).
  5. With gentle circular movements, fold one third of the stiff egg whites into the yolk and cream cheese mixture, incorporating them thoroughly. Add another half of the remaining stiff egg whites and fold them in as well. Try to deflate the fluffy egg whites as little as possible. Fold in the remaining stiff egg whites.
  6. Divide the composition into 9 portions, using about 2 tablespoons of mixture / portion. With the same spoon, gently level the top of the breads, giving them a circular shape.
  7. Bake in the preheated oven for about 25 – 30 minutes, or until lightly brown.
  8. Move to a wire rack and cool completely. Once completely cool, store them in an airtight container or a zip-lock bag. Overnight they will change their consistency, becoming more breadlike. They will last in the refrigerator for several days.

Source: www.geniouskitchen.com


Fast One-Hour Buns


I love everything that remotely resembles to bread, but if I’d have to choose between a slice of bread and a bun I’d choose the latter. And I have 2 main reasons:

  1. I’m the “crust” type of person, the crunchier, the better.
  2. I’m incapable of evenly slicing a bread. And I’ve tried. A lot. And don’t get me started on the cake-slicing topic.

These being said, I think I found the perfect buns. They are dense without being tough and they have a wonderful crunchy crust. Oh, I almost forgot the best part. These buns are made in 40 minutes.

Ingredients (for 10 Buns):

  • 250g strong white flour (+ extra 10g for kneading)
  • 25g beaten egg (1/2 egg)
  • ¼ tsp salt
  • 120ml lukewarm water (36-38°C)
  • 35ml Tbsp olive oil
  • 15g granulated sugar (I used packed brown sugar)
  • 1 envelope active dry yeast (7g)
  • Method:

    1. Preheat the oven at 400°F/204°C (gas mark 6).
    2. In a small bowl combine water, oil, sugar and yeast and let aside for 10 minutes. After 10 minutes, the mixture should be really foamy (picture).
    3. In a large bowl combine white flour, oat flour and salt and make a well in the center.
    4. Add the yeast mixture and ½ an egg and mix with a wooden spatula until you form a ball.
    5. Bring the sticky dough on a floured working surface and knead it for 2 minutes.
    6. Place dough in the bowl, cover and let it rise in a warm place for 10 minutes.
    7. After 10 minutes, place the dough back on the working surface and knead vigorously to knock out the air bubbles.
    8. Divide dough into 10 pieces and shape them into 10 balls (I had 10 balls x 53g).
    9. Place them on a tray lined with parchment paper, give them a quick egg wash, sprinkle some cumin seeds and bake them for 12 minutes or until golden.


    Source: www.kitchemeetsgirl.com

Pull-Apart Garlic & Herb Bread


This flavorful pull-apart bread is by far my favorite kind of bread. It is so soft and airy and I can’t even begin to describe how wonderful it tastes. Although it may look fancy, it is in fact very easy to make. If you have a bit of extra time on your hands, you can make this beauty from scratch, using just a few budget-friendly ingredients. Not to mention the fact that you don’t need a knife to slice it, you just tear it apart.

This loaf is the piece de resistence that you proudly place in the middle of the table during a dinner among friends. You just have to sit and enjoy how everyone tears it apart, piece by piece. This loaf obviously has the wow factor, but it is also extremely delicious. It’s something inexplicably satisfactory about tearing it into pieces, pieces that simply melt in your mouth and delight you with a buttery roasted garlic aroma. This bread is simply madness!

Continue reading Pull-Apart Garlic & Herb Bread

Poached Egg Whites

Herb egg whites, avocado & homemade bread

Breakfast

Poached herb egg whites

Whenever I engage myself in over-ambitious bakery projects, I end up by throwing away the egg whites. Of course I plan on using them the following days, but I almost never do. And I strongly dislike wasting and throwing things away. Lately, to avoid any waste (and all the bad energy that comes with it), I take 2 egg whites at a time, I wrap them in cling film square, I season them with sea salt, olive oil and fresh herbs and I poach them in hot water. This way, you get some flavorful egg white balls, perfect for a weekend brunch.

When you prepare a classic egg white omelette, the dish tends to be a bit blend, but using this technique, the egg whites are full of flavor. Another great advantage is the fact that you can prepare 3 or 4 packages at a time so in 15 minutes, you can prepare a very satisfying breakfast for the whole family. I usually serve my poached egg whites on a slice of homemade bread covered with a generous amount of avocado spread. Simple and so delicious! Continue reading Poached Egg Whites

Chocolate Olive Oil Zucchini Bread

BreadLoafZucchini bread sliceIcing sugar

When it comes to baking, I’m the laziest person on the planet. I’m (almost) never eager to make a 100-step dessert or a cake that requires to separate eggs / to beat egg whites / to melt stuff / to jump on one foot / to dance samba. I simply don’t get those recipes! From my point of view, if a recipe involves a few ingredients, a single bowl, a spatula and a tray, that recipe has my name on it. You’d never guess, but this particular zucchini bread is one of those recipes!

To make this recipe a little bit healthier instead of using butter I used olive oil and buttermilk and the result is an incredibly moist, almost fudgy, decadent, chocolaty zucchini bread. I tell you, this might be my all time favorite dessert! Continue reading Chocolate Olive Oil Zucchini Bread

Homemade Bread

Pâine de casă

I love the smell of freshly baked bread. It reminds me of my childhood. This bread was baked by my grandmother at least once a week. Over time the process of making this bread got so boring that I just  had to leave the kitchen. But that wonderful smell made me return to the kitchen each and every single time. Now I’m the baker. I use both my grandmother recipe and her tin.
Continue reading Homemade Bread