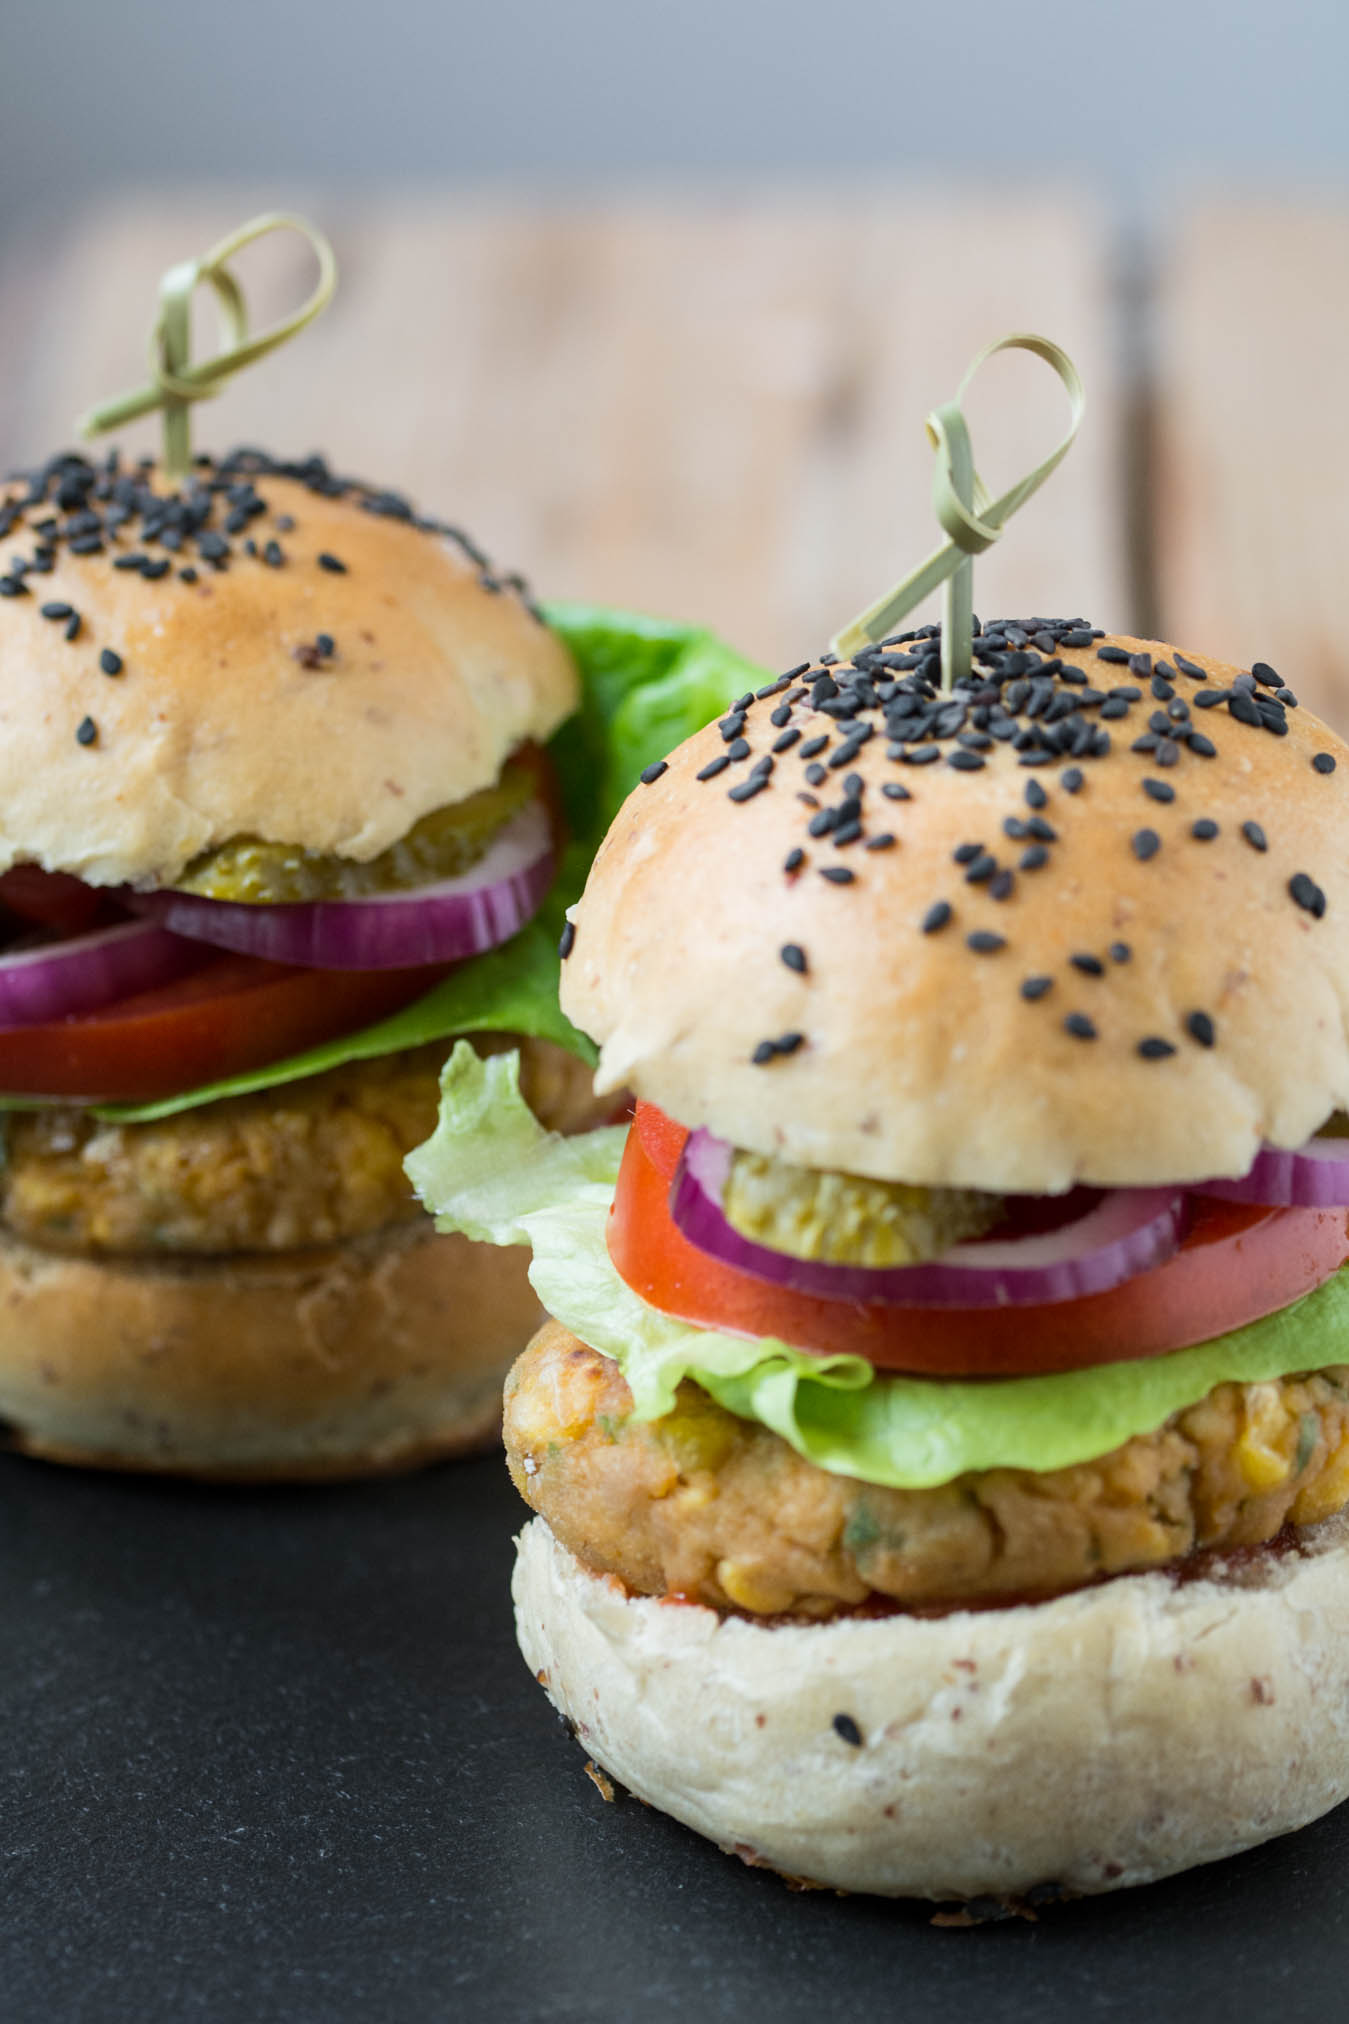
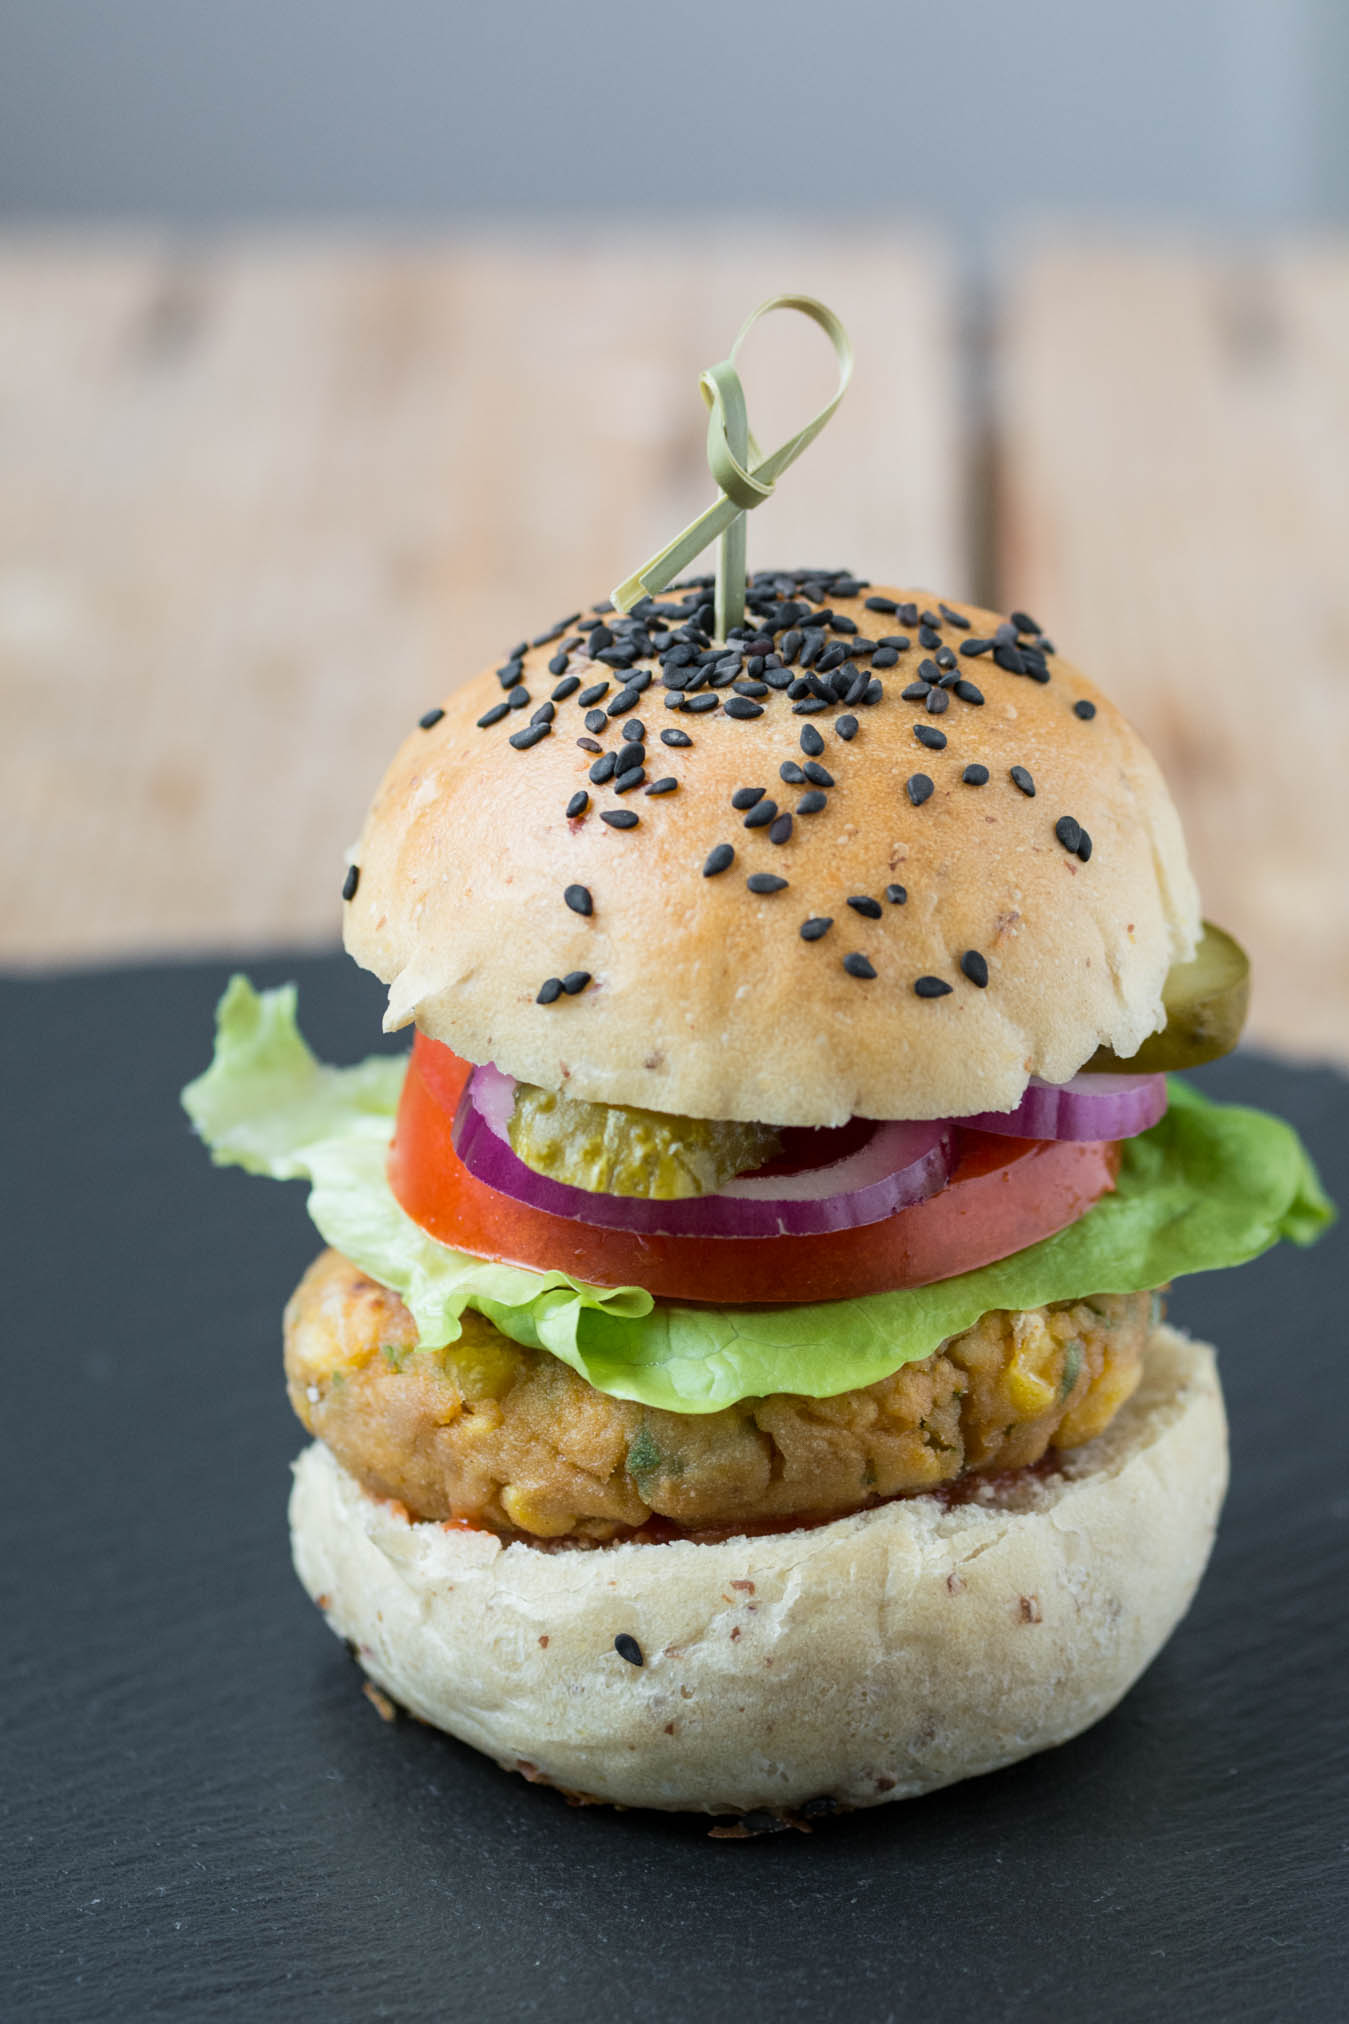
Being a real burger afficinado, there’s no way I couldn’t
have fallen in love with this amazing began burger. This version of the popular
comfort-food dish is simply divine – a crispy veggie patty with a smooth and
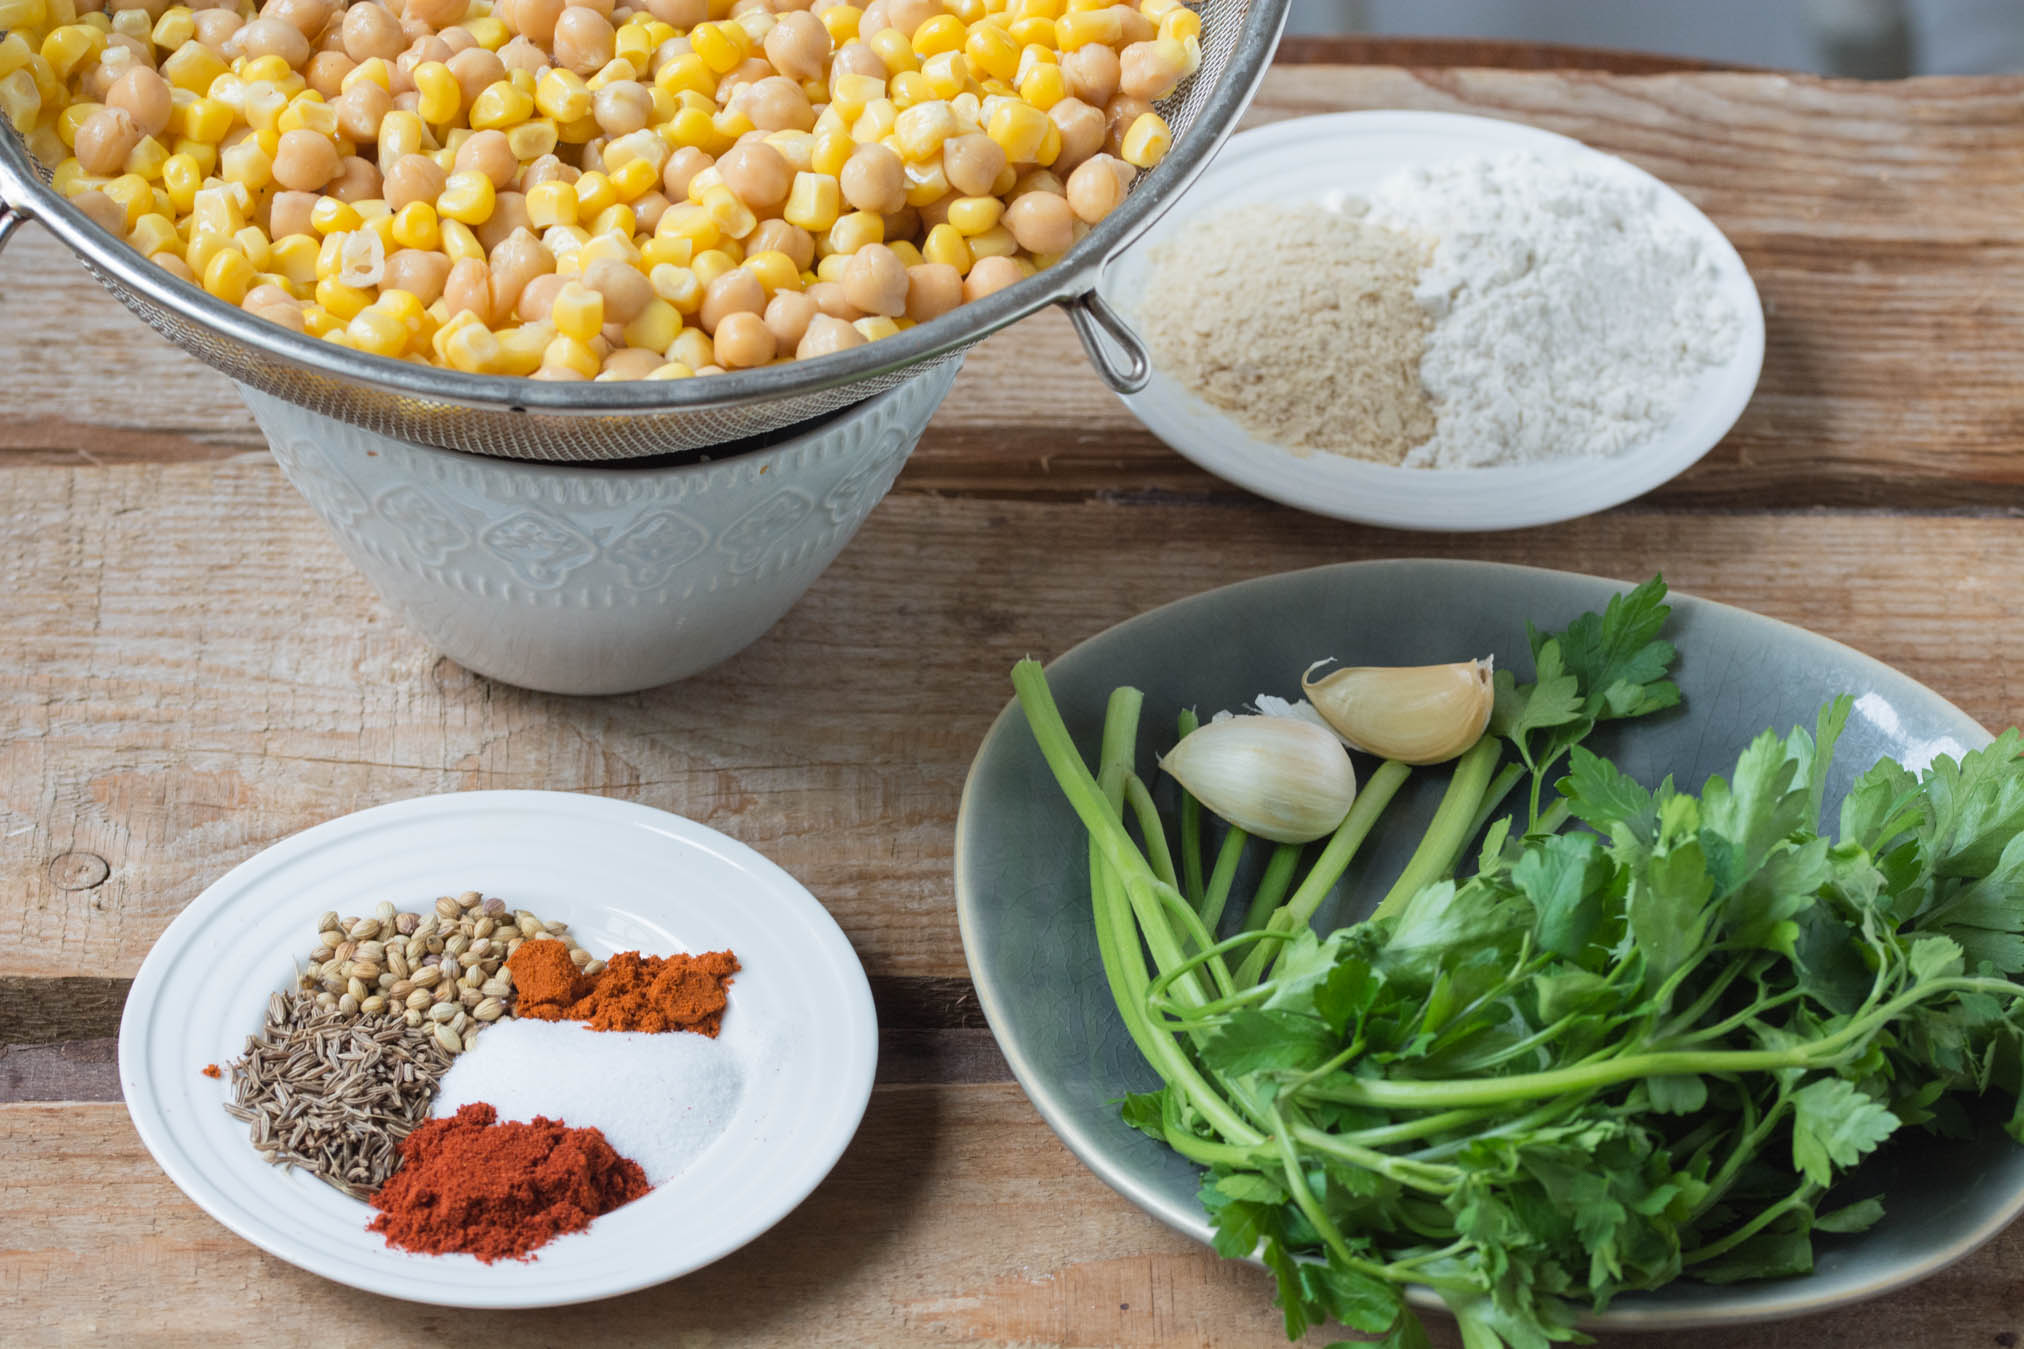
almost creamy center that almost melts in your mouth. Chickpeas and corn make
the base of this patties, the flavor profile being completed by parsley, cumin
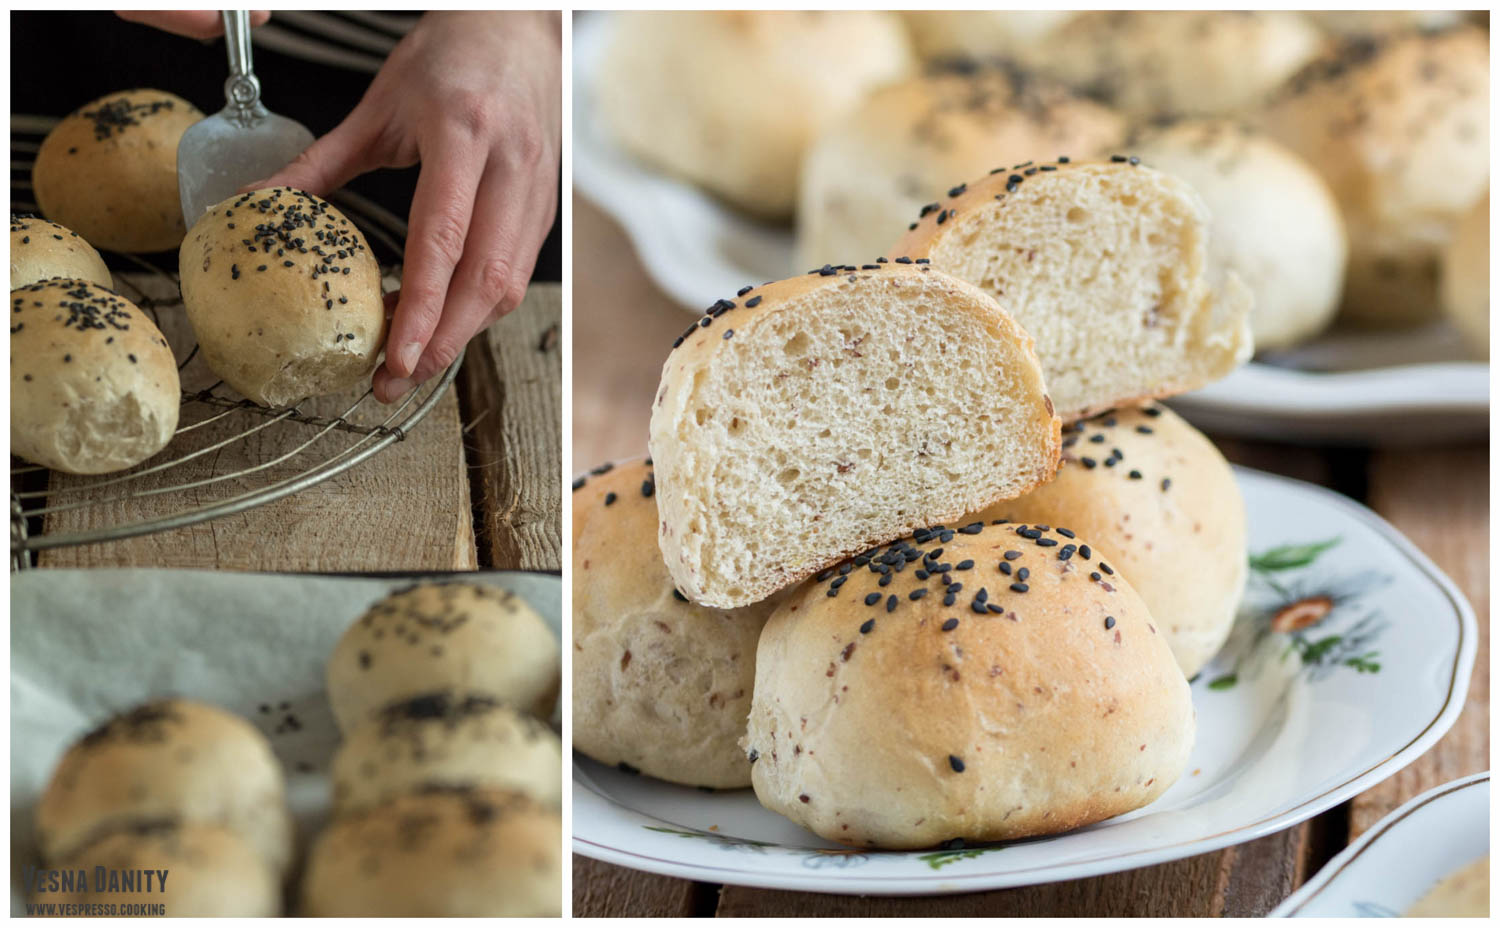
and coriander. To enjoy this patties at its best, I pared it with homemade
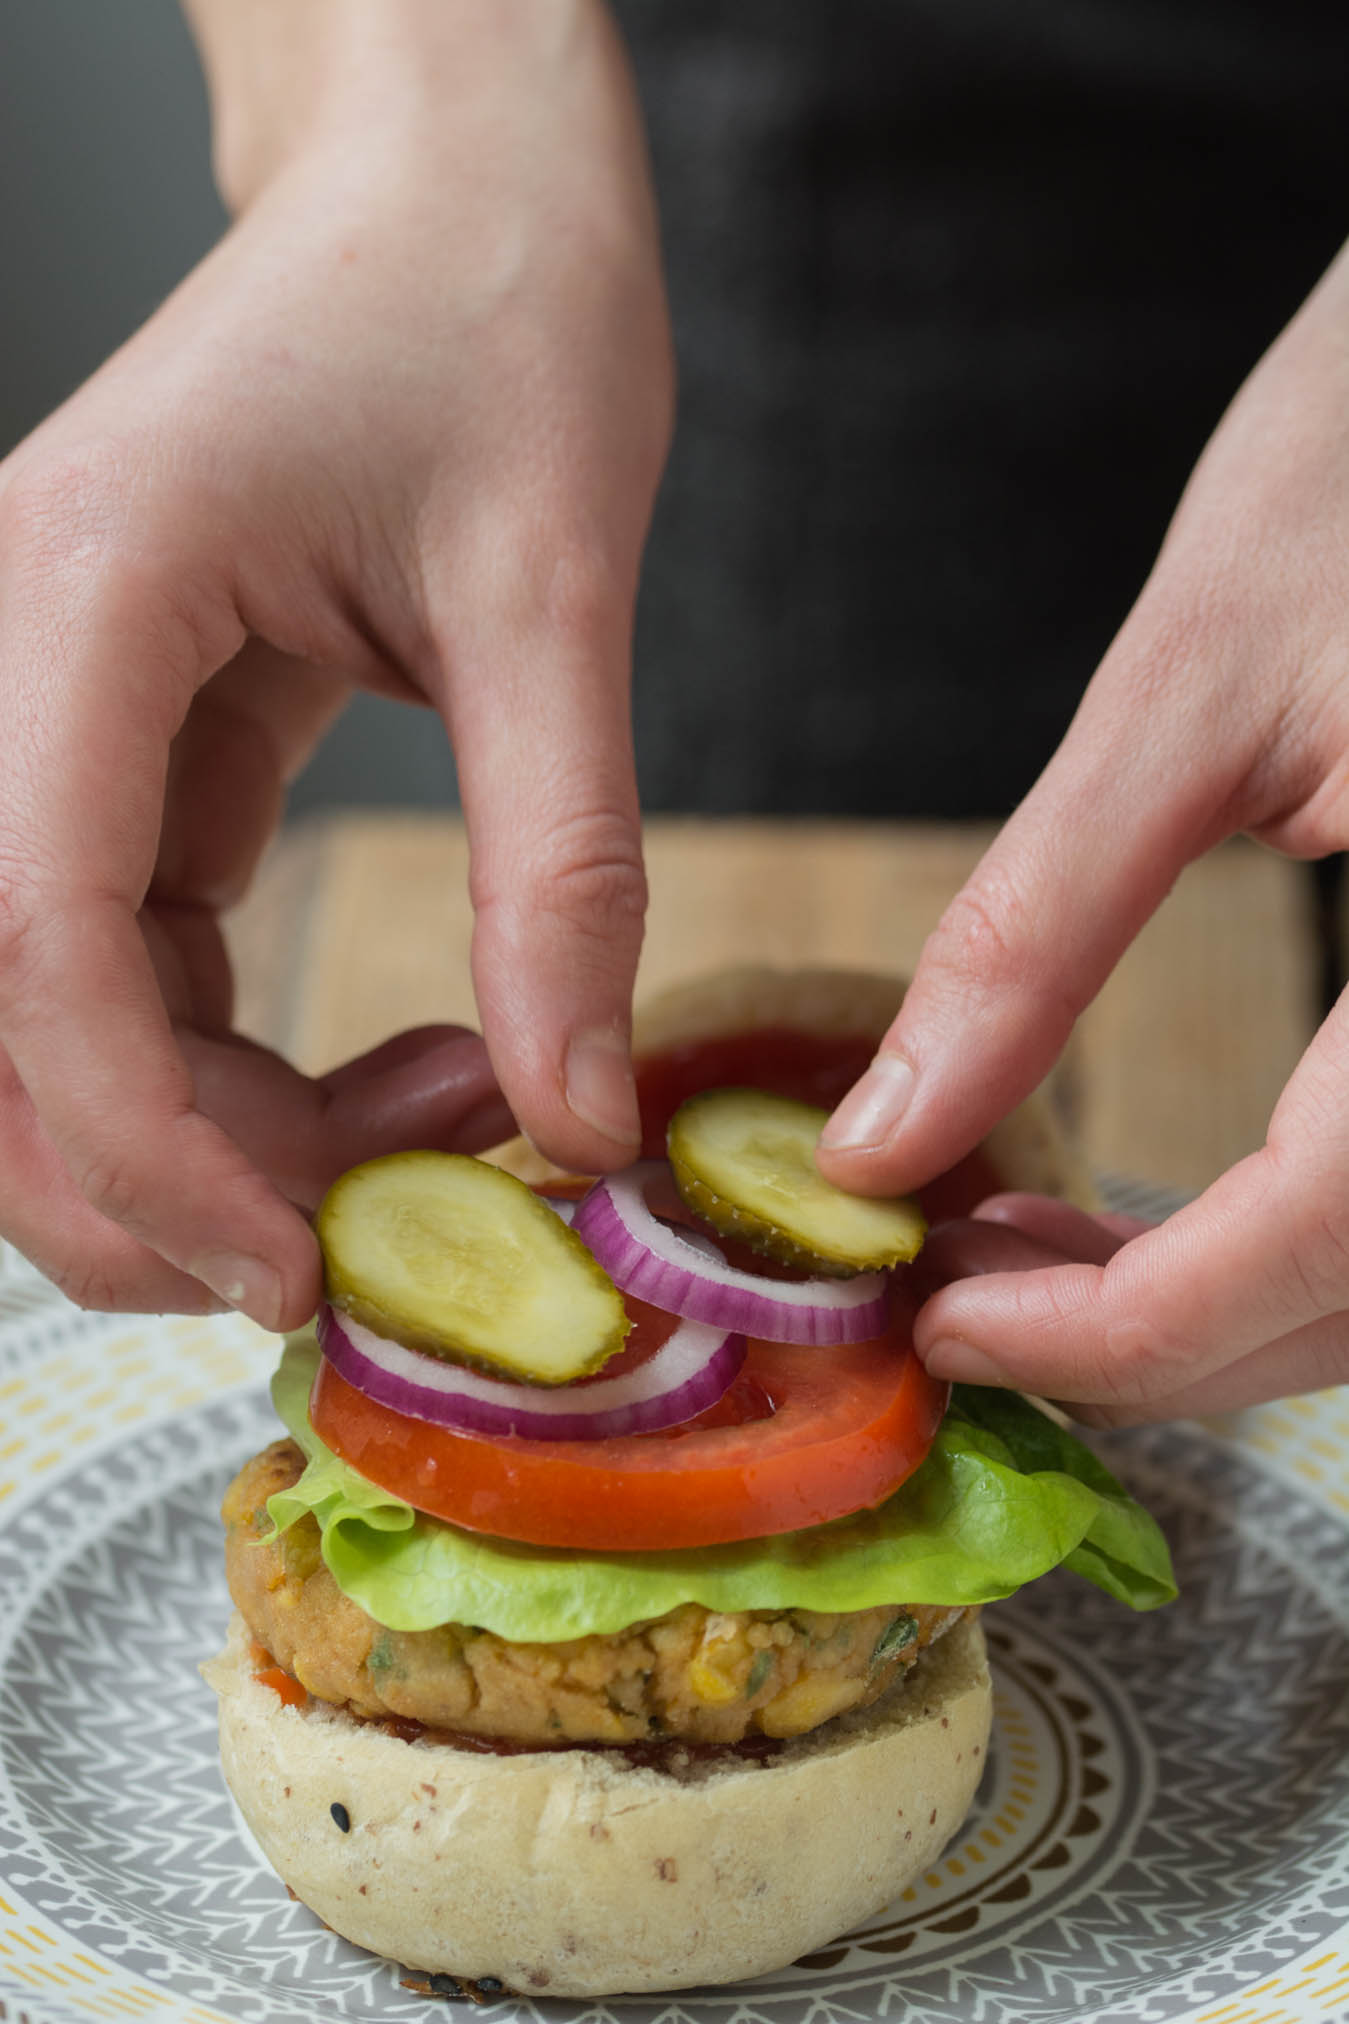
vegan buns, pickled cucumbers tomato and onion slices. What a treat!
Ingredients (for 6 burgers):
Patties:
- 1 can of chickpeas
- 1 large can of corn
- ½ tsp cumin
- ½ tsp coriander
- ½ tsp paprika
- ½ tsp salt
- ¼ tsp chili
- 2 garlic cloves
- ½ bunch of parsley
- 3 Tbsp all-purpose flour
- 2 Tbsp nutritional yeast
Burgers:
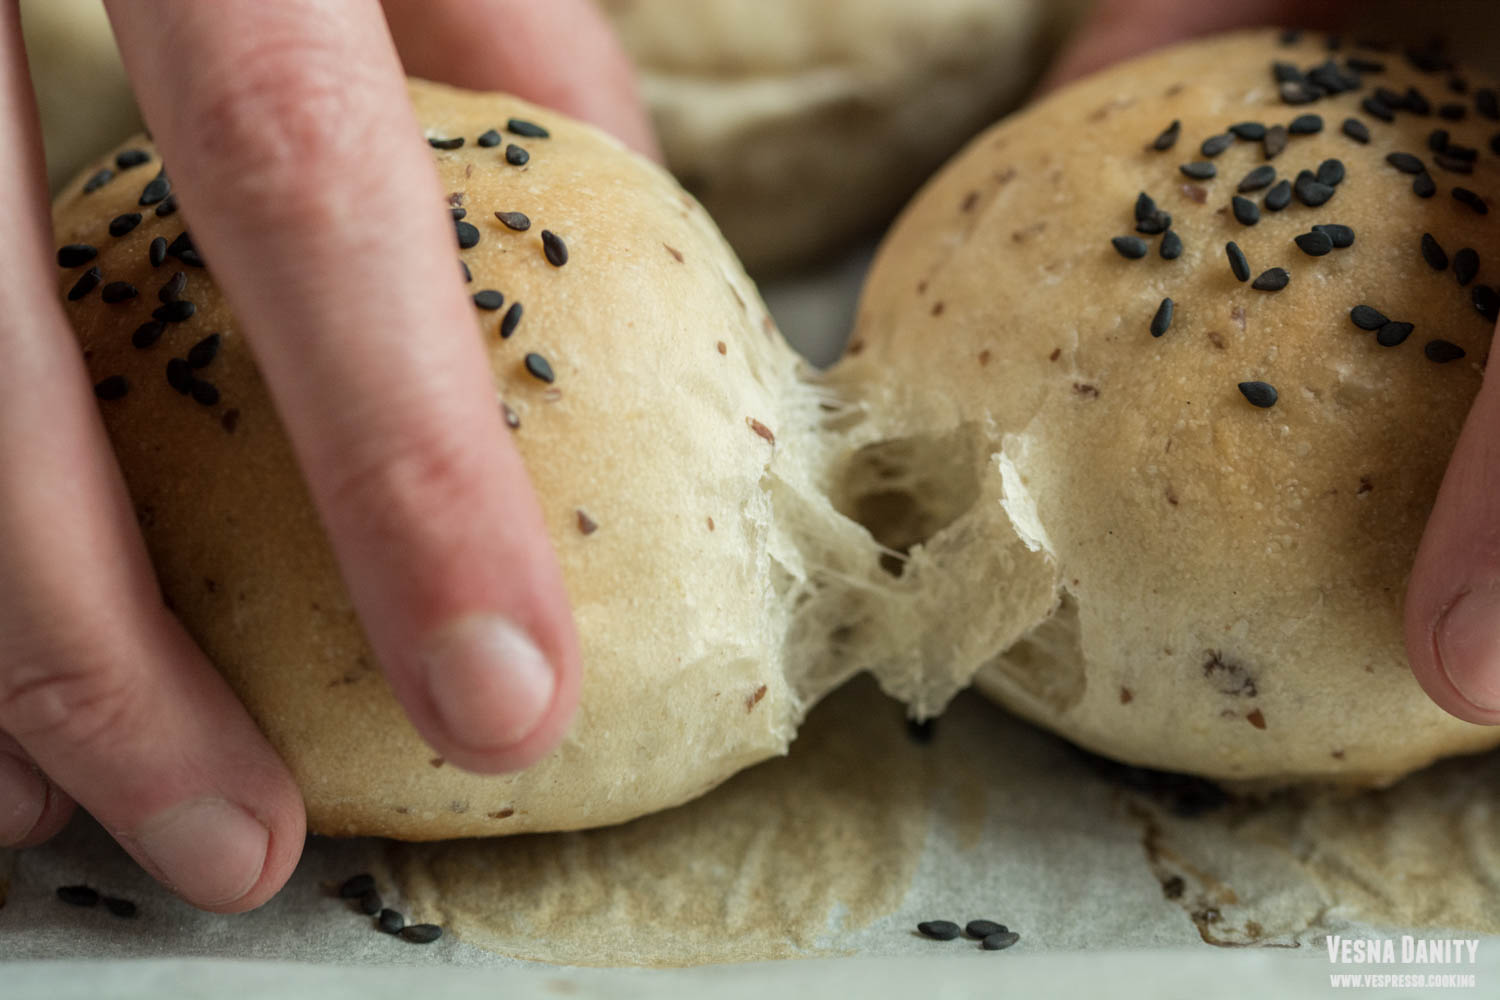
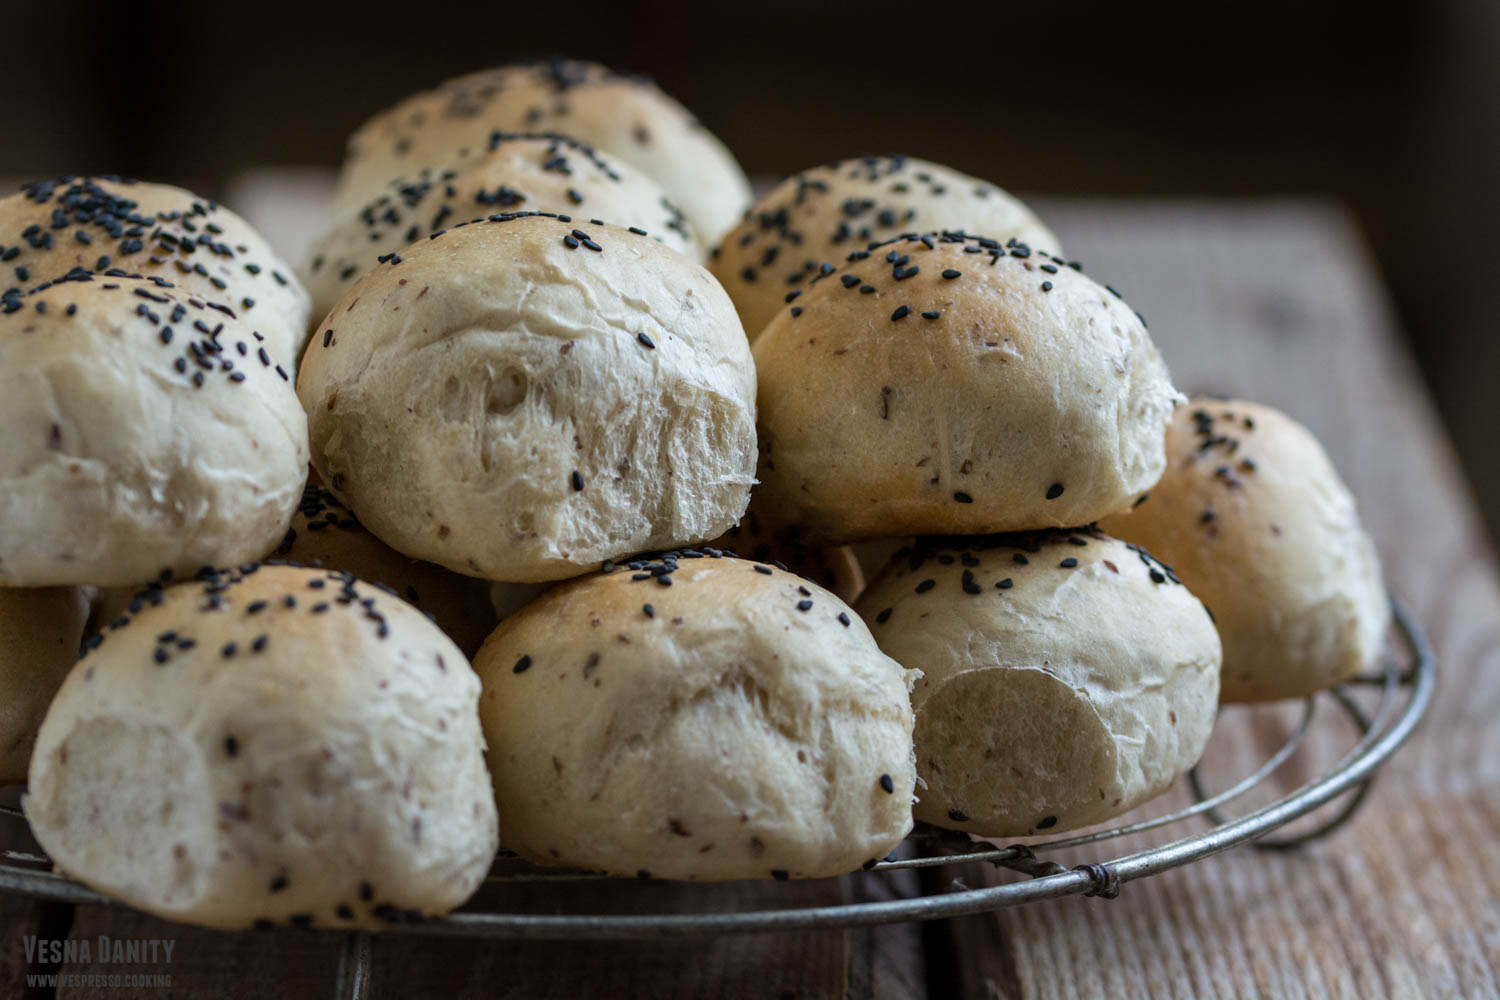
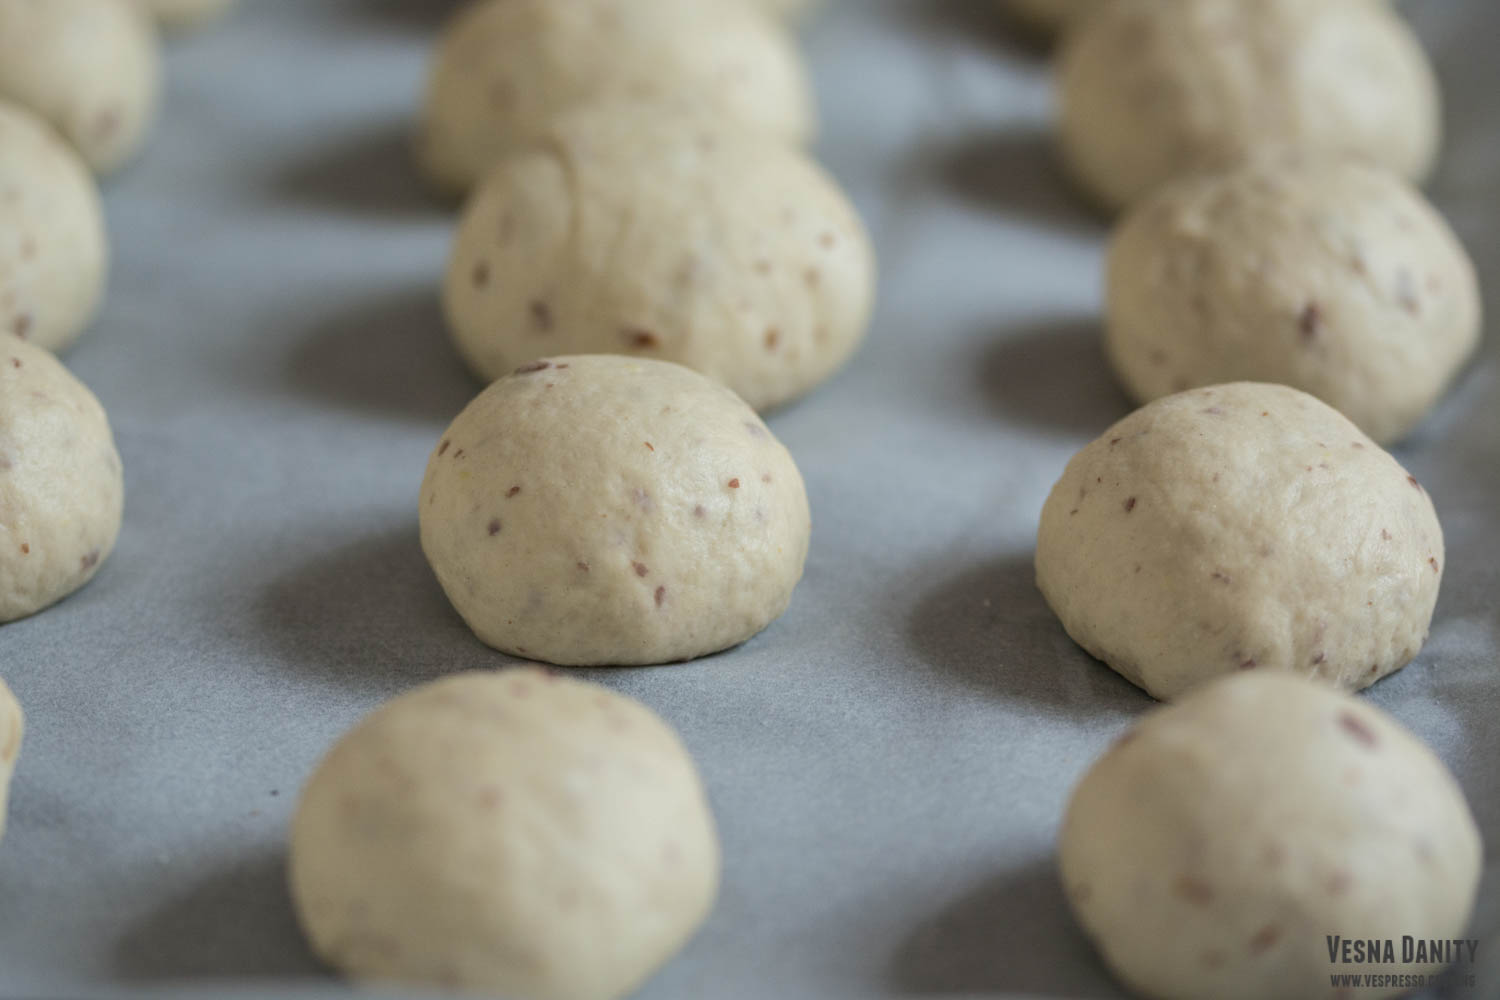
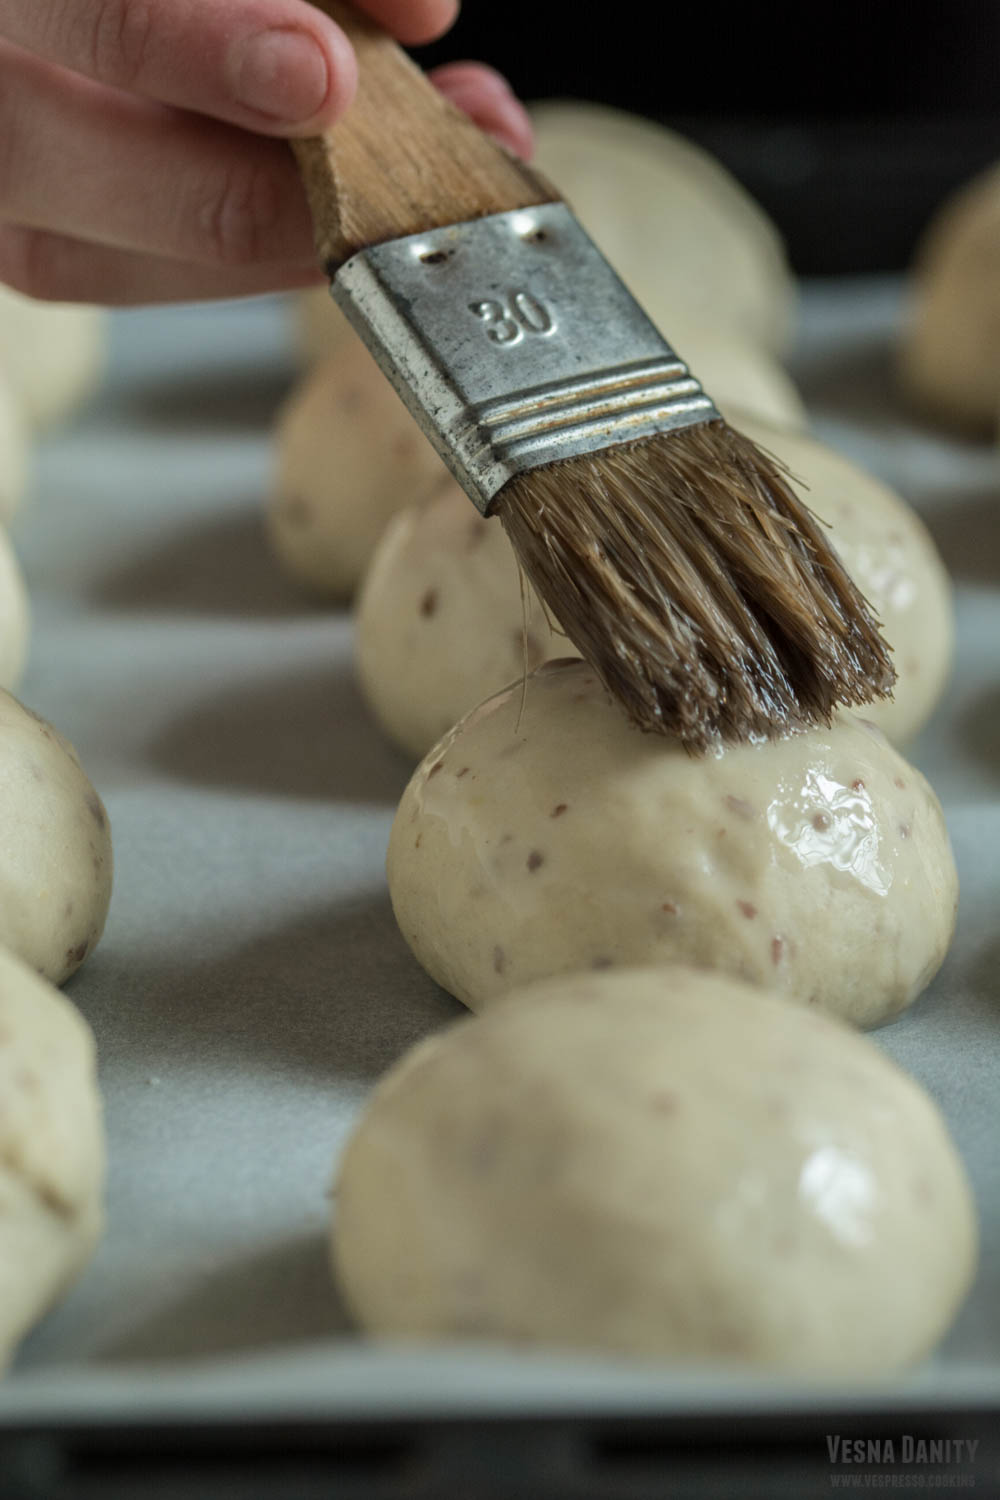
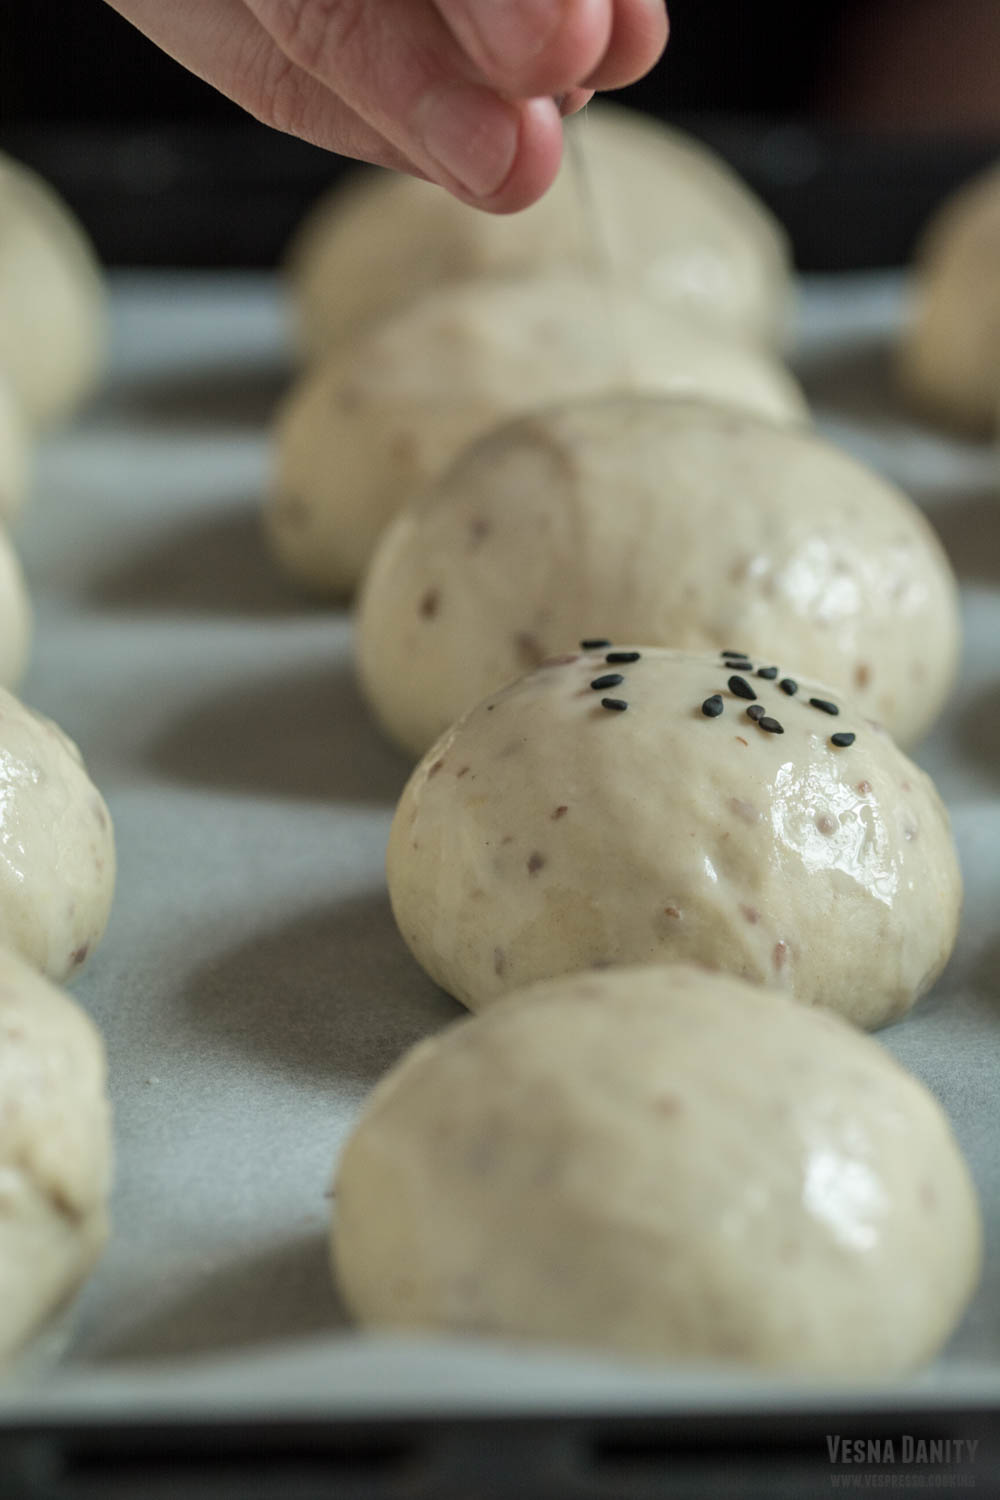
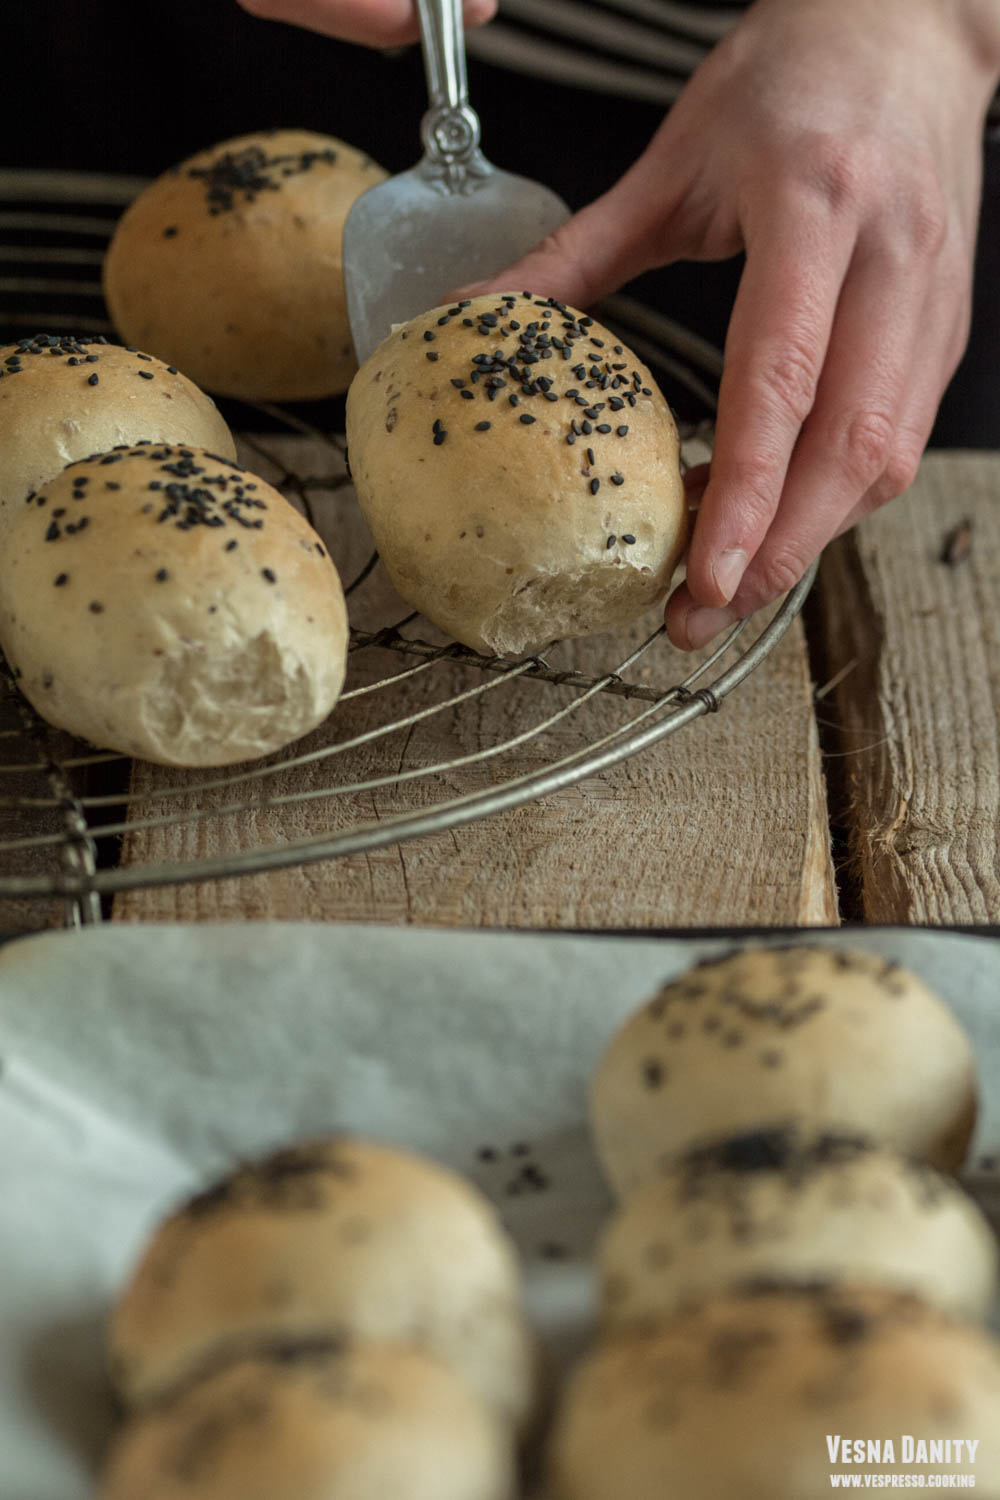
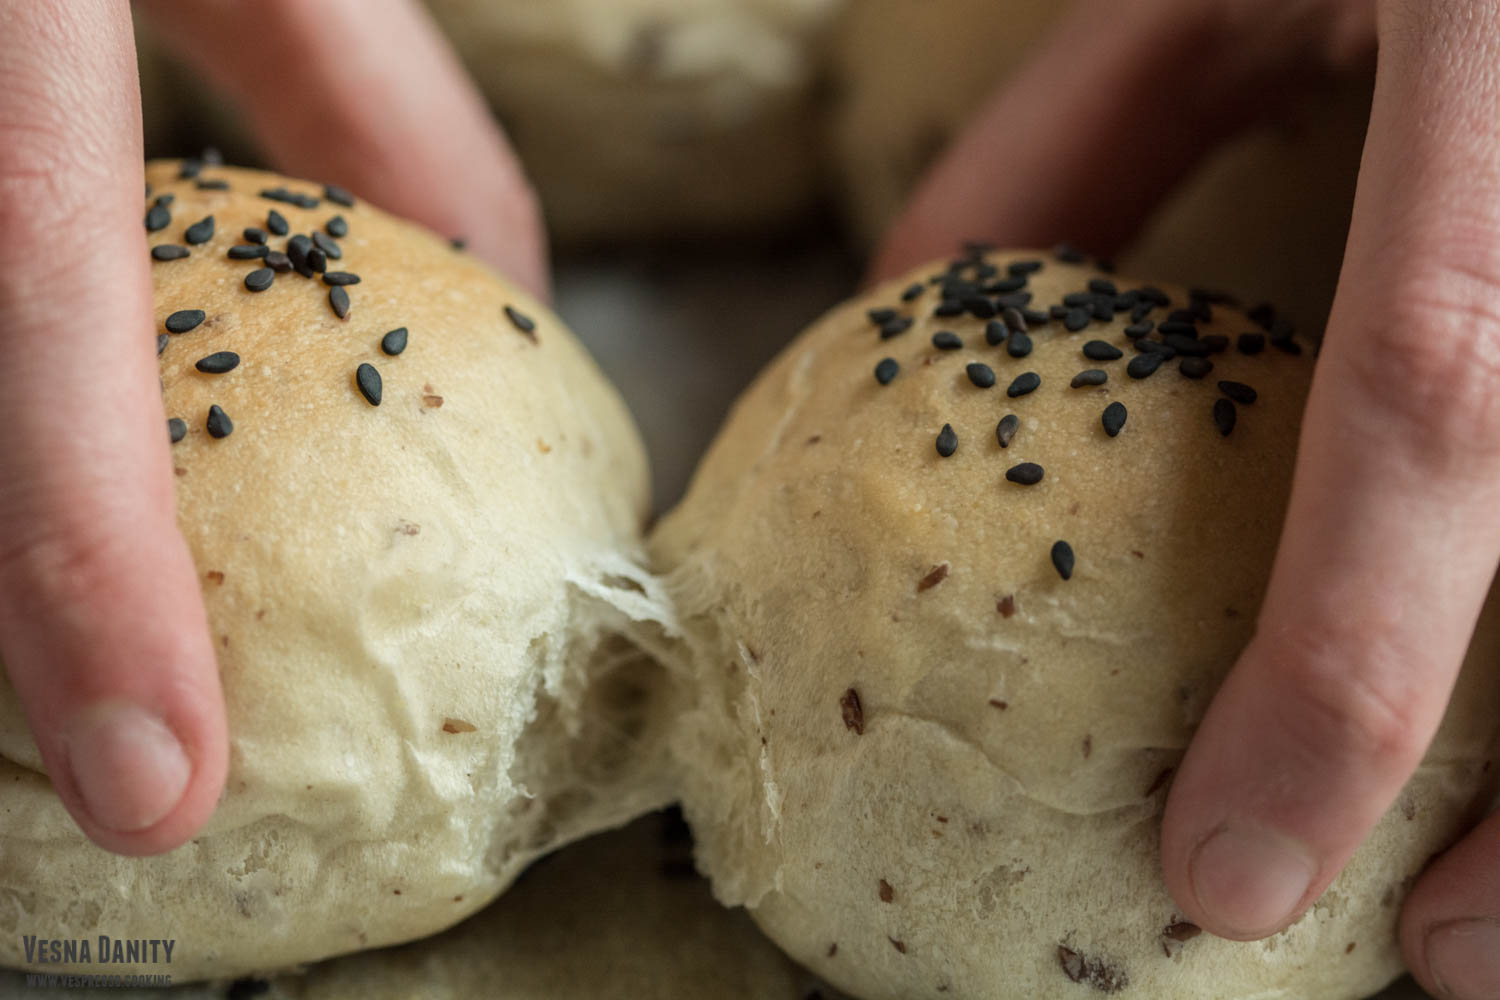
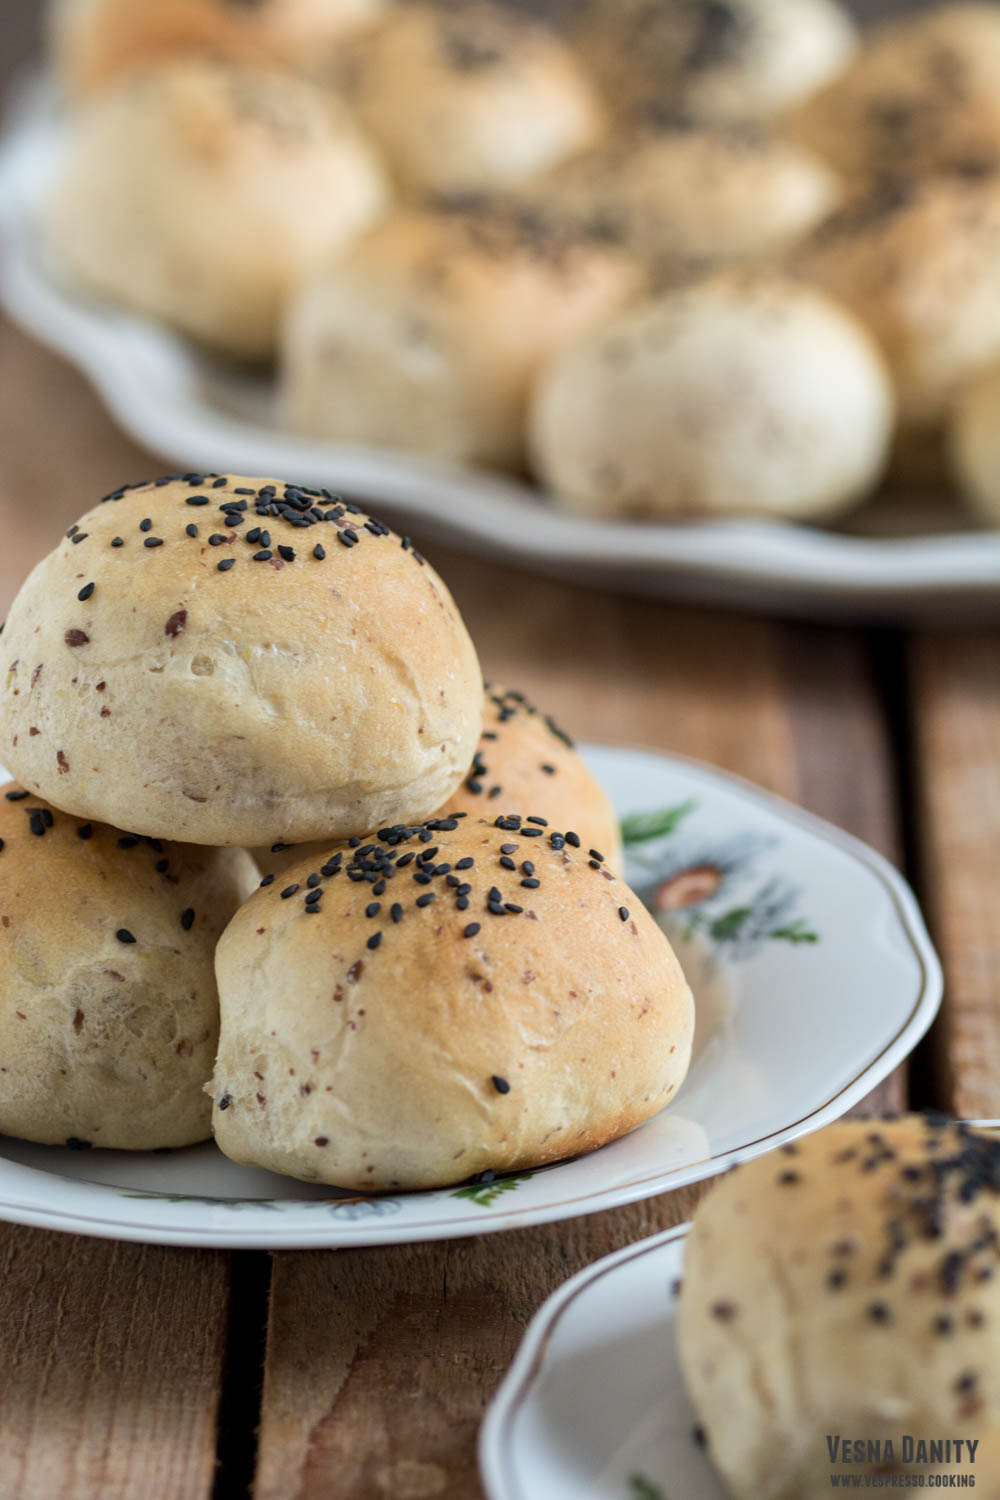
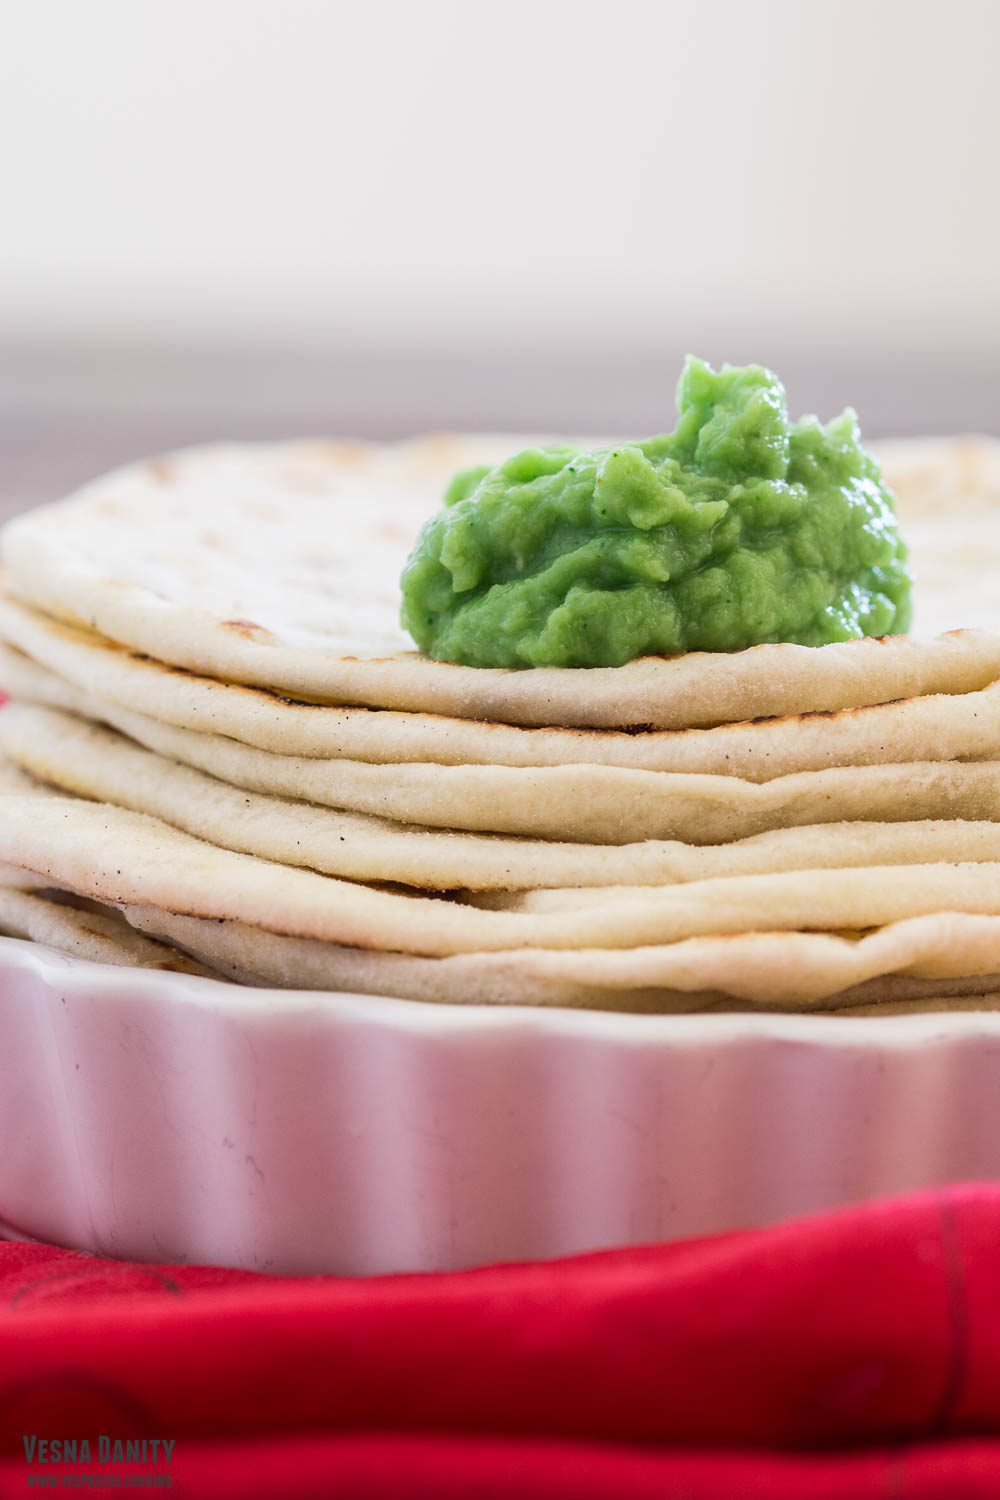
- 6 buns
- 6 patties
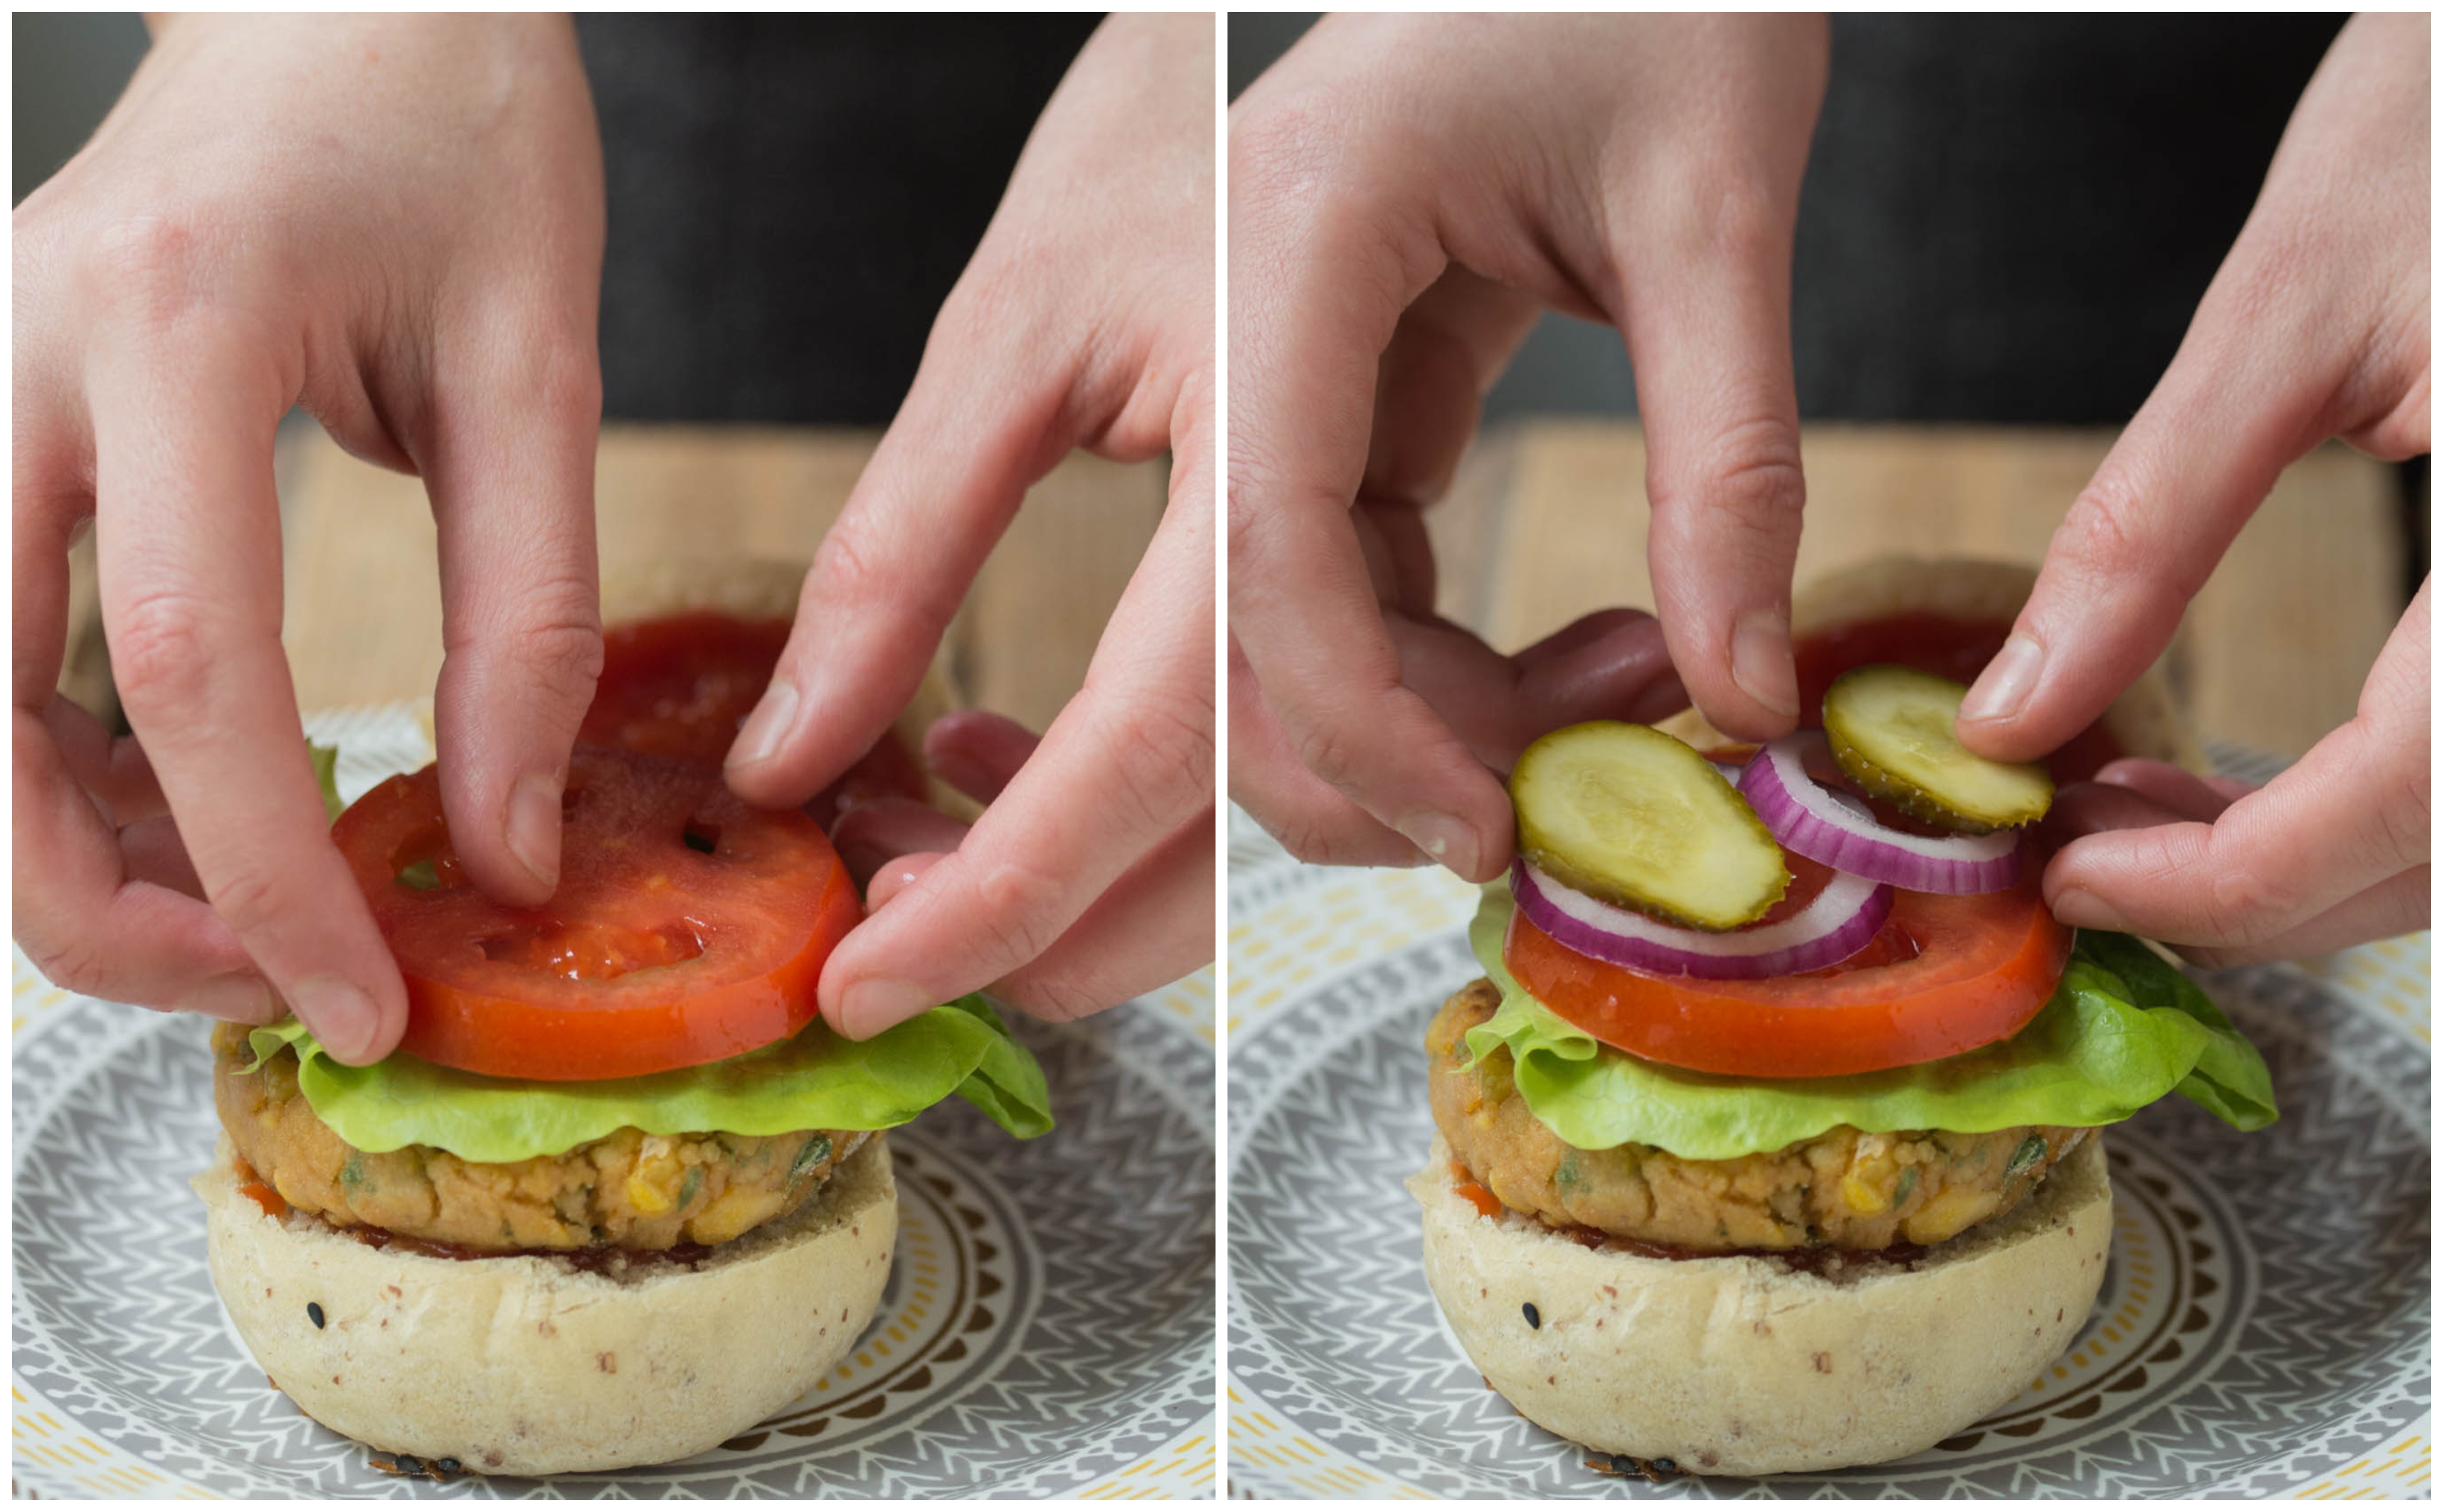
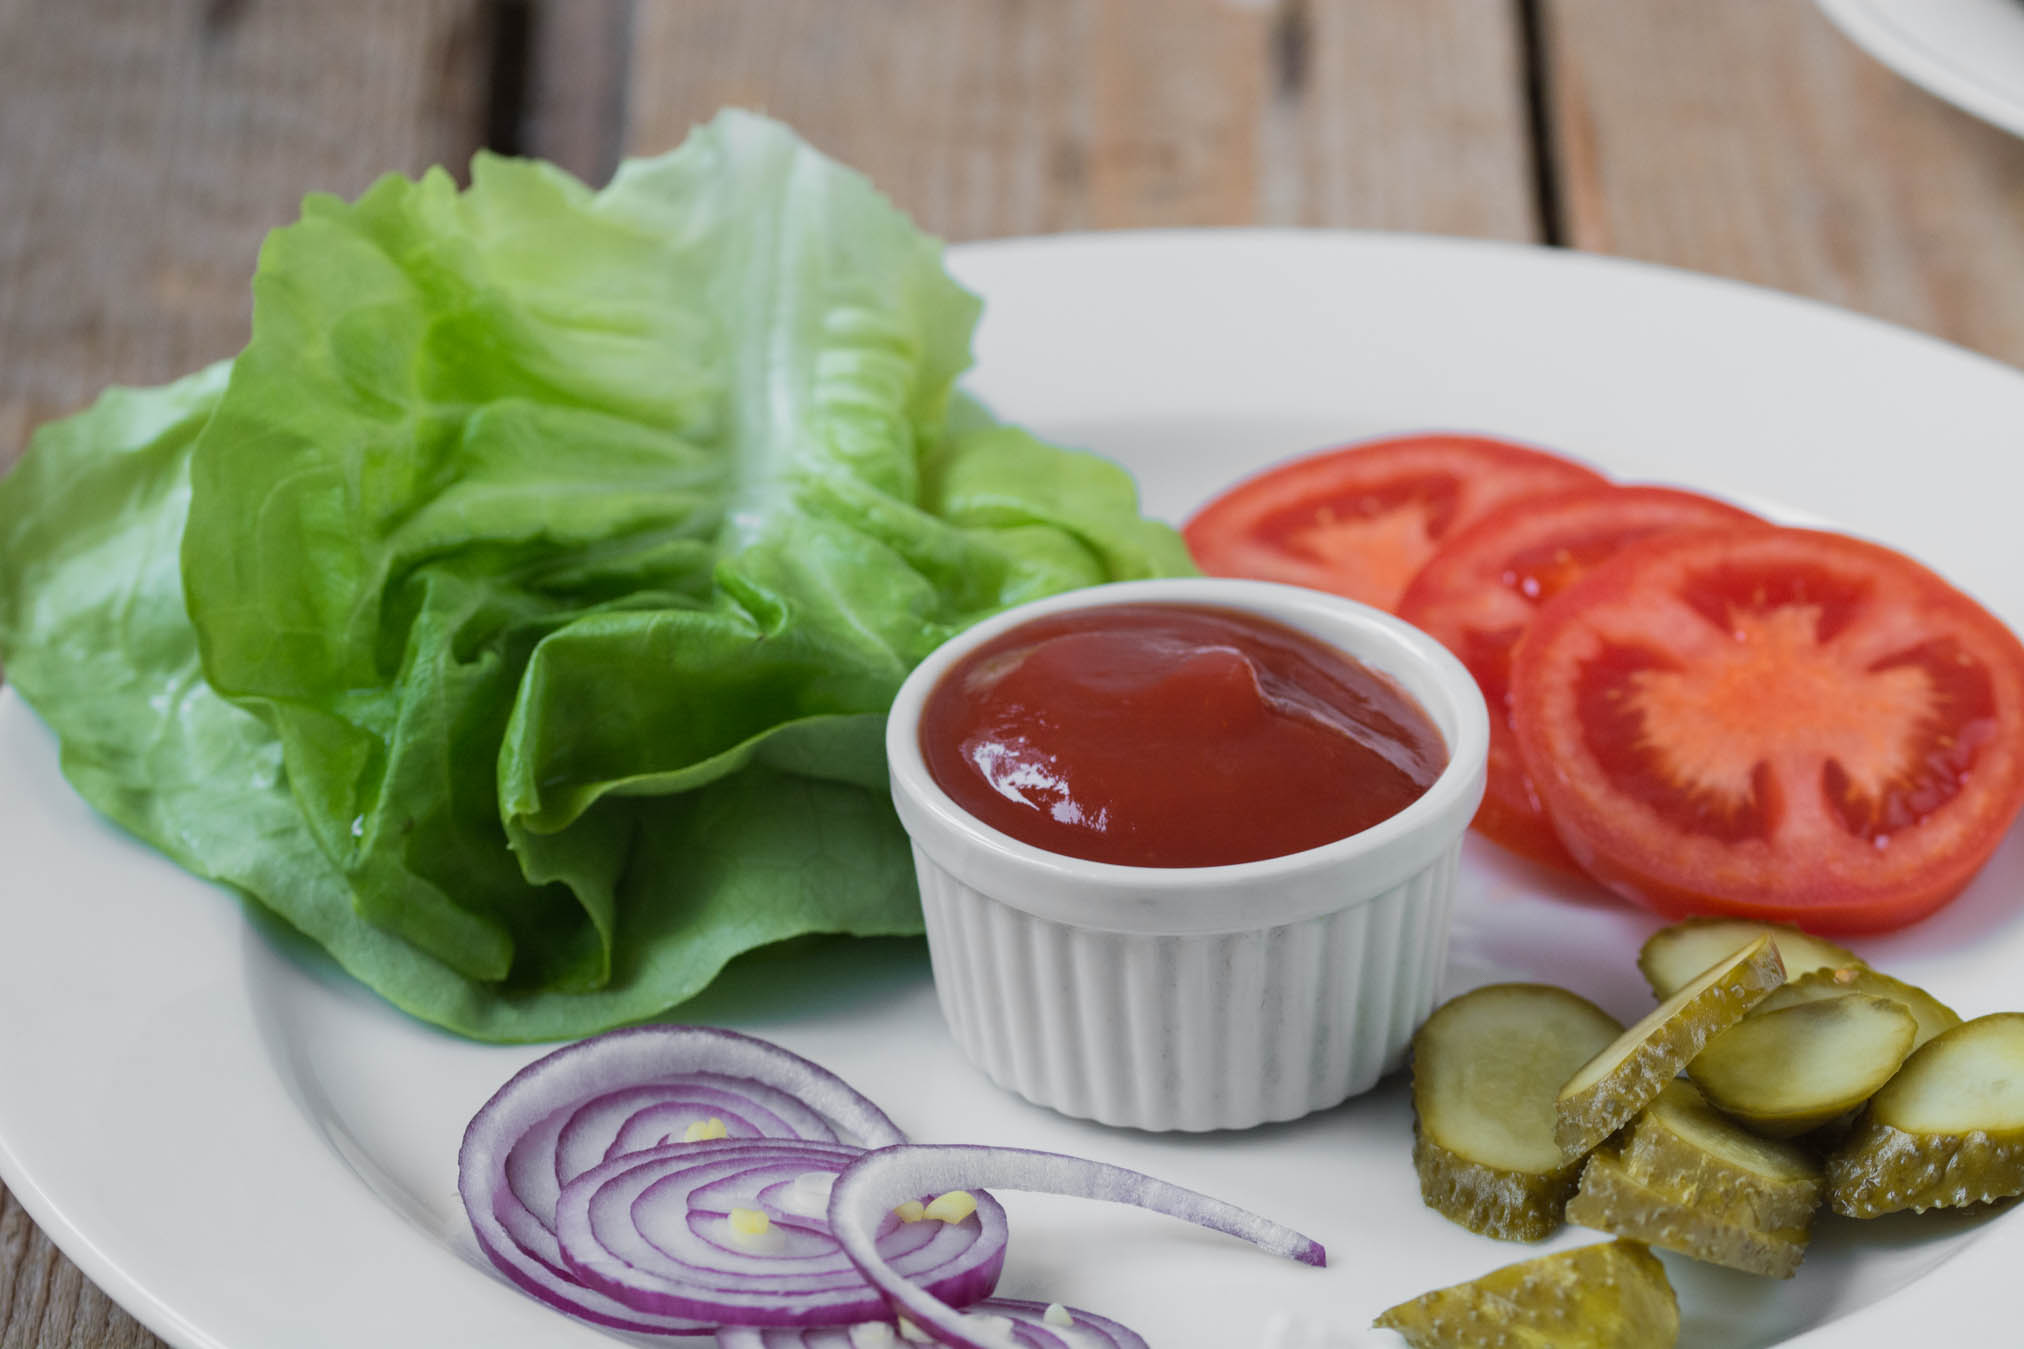
- 1 tomato
- ½ red onion
- lettuce leaves
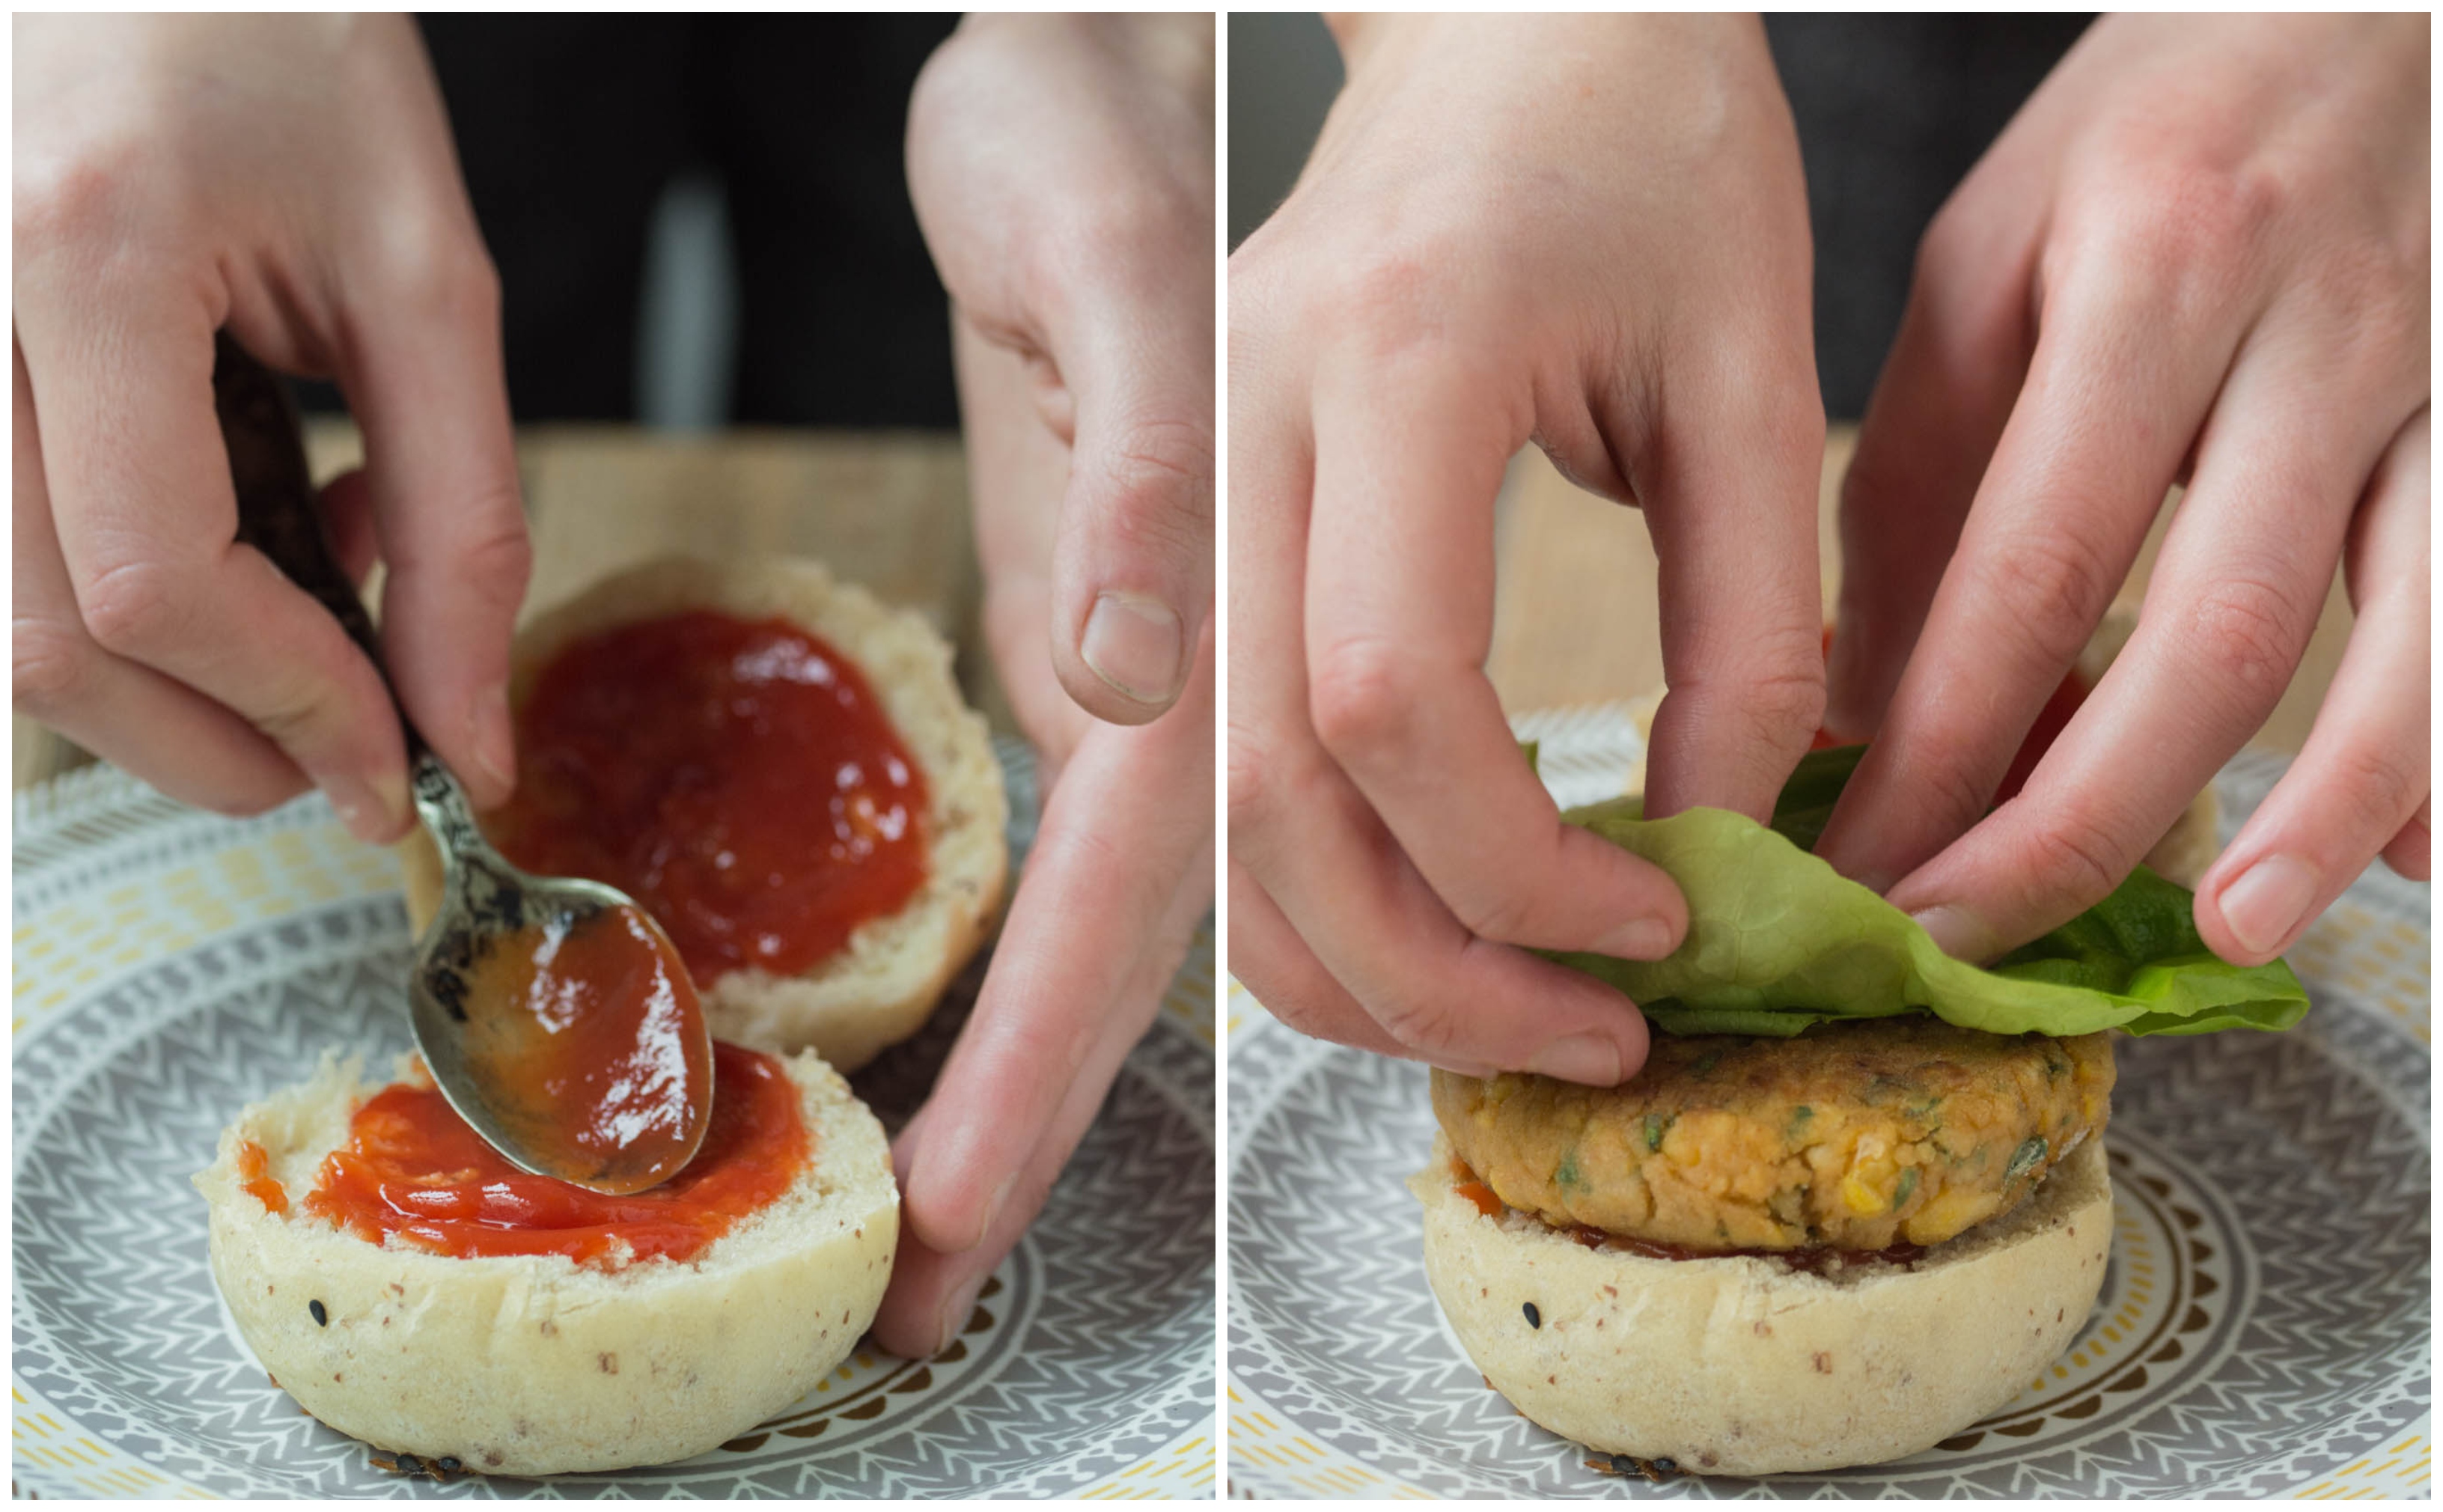
- ketchup


Method:
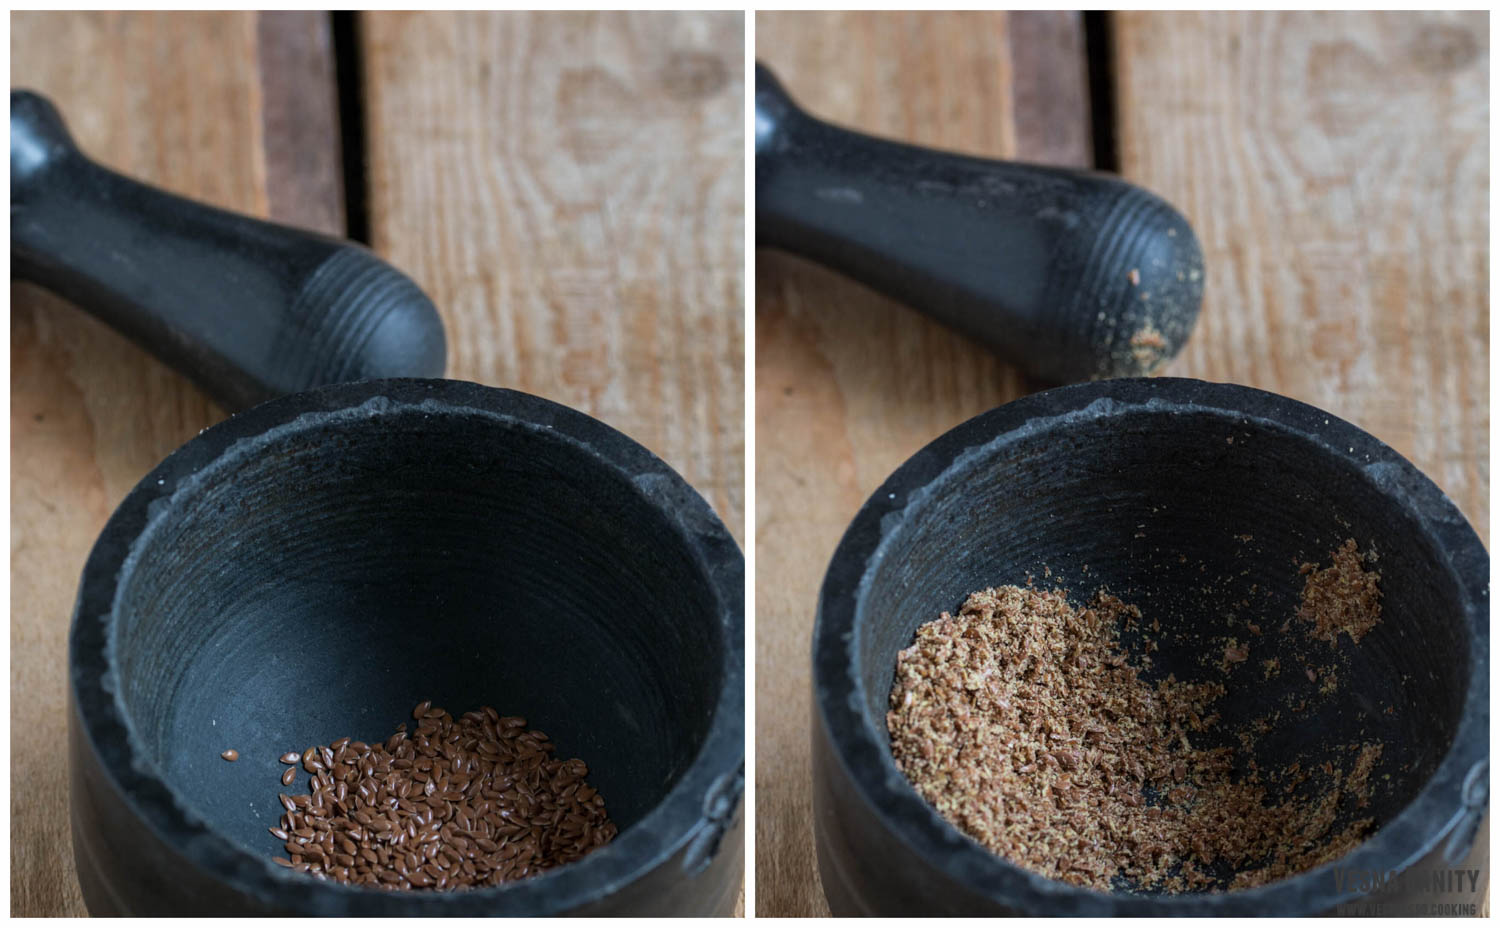
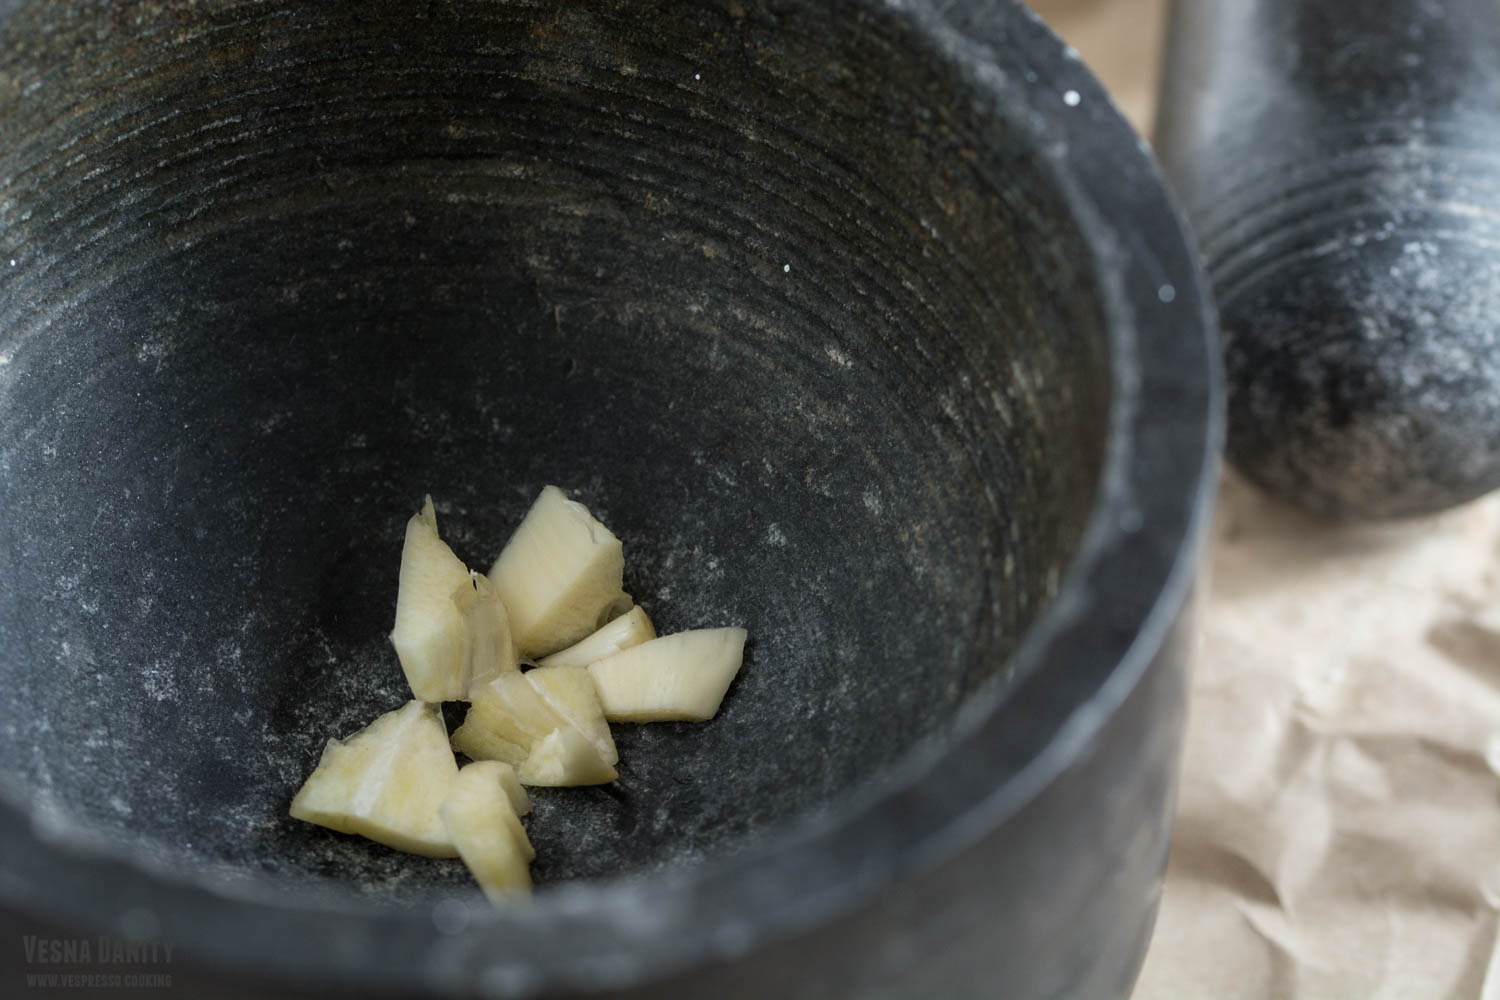
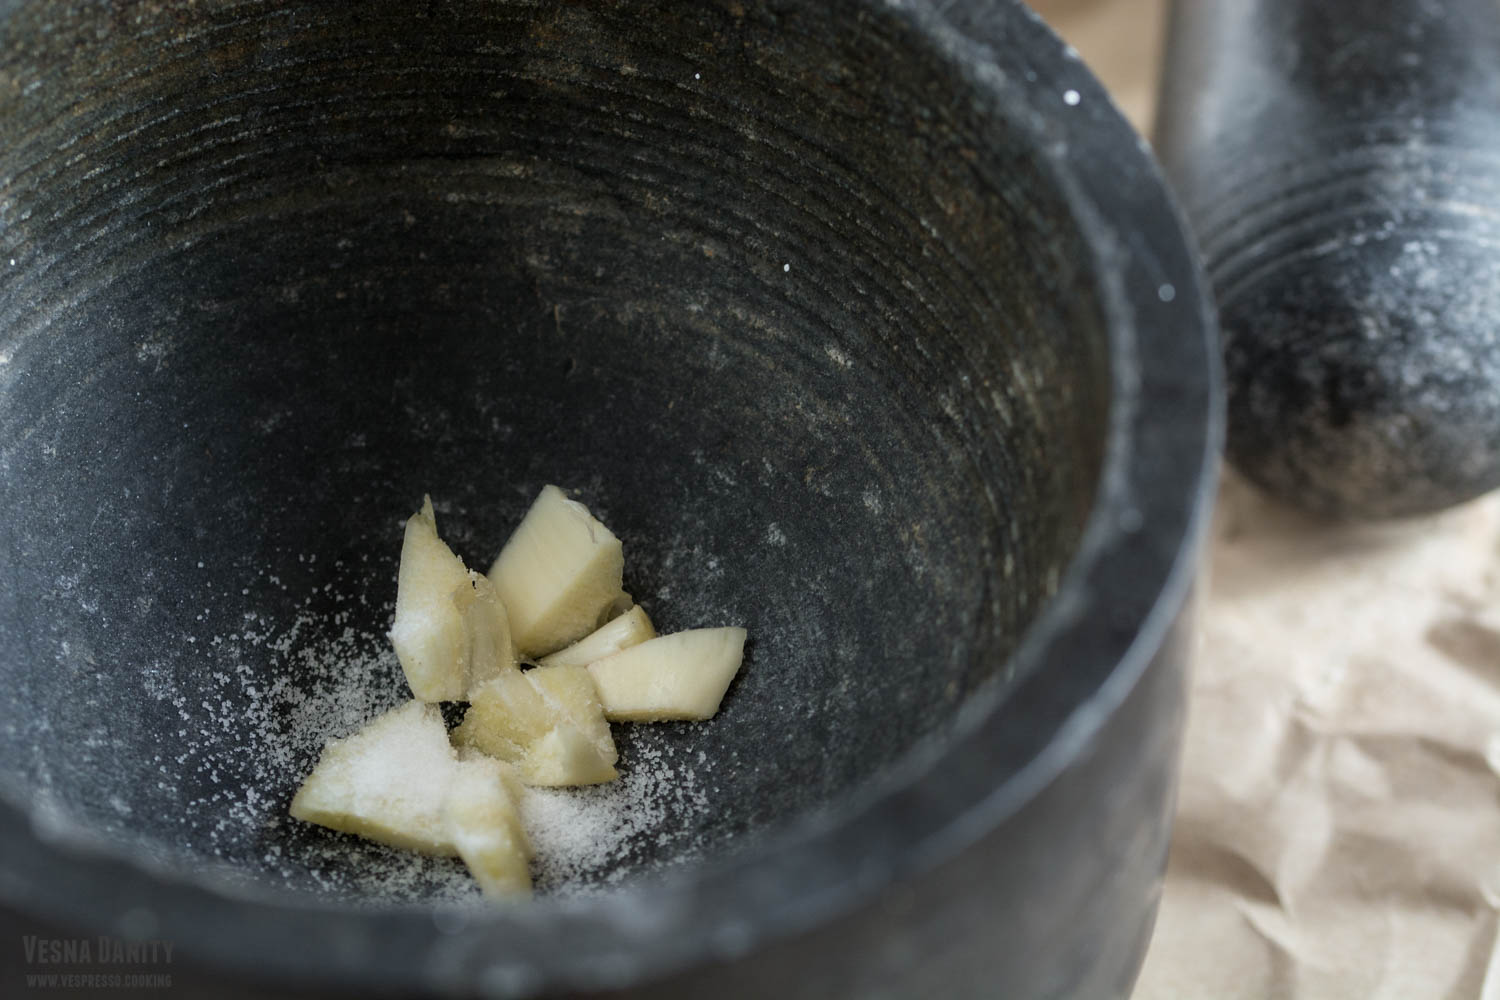
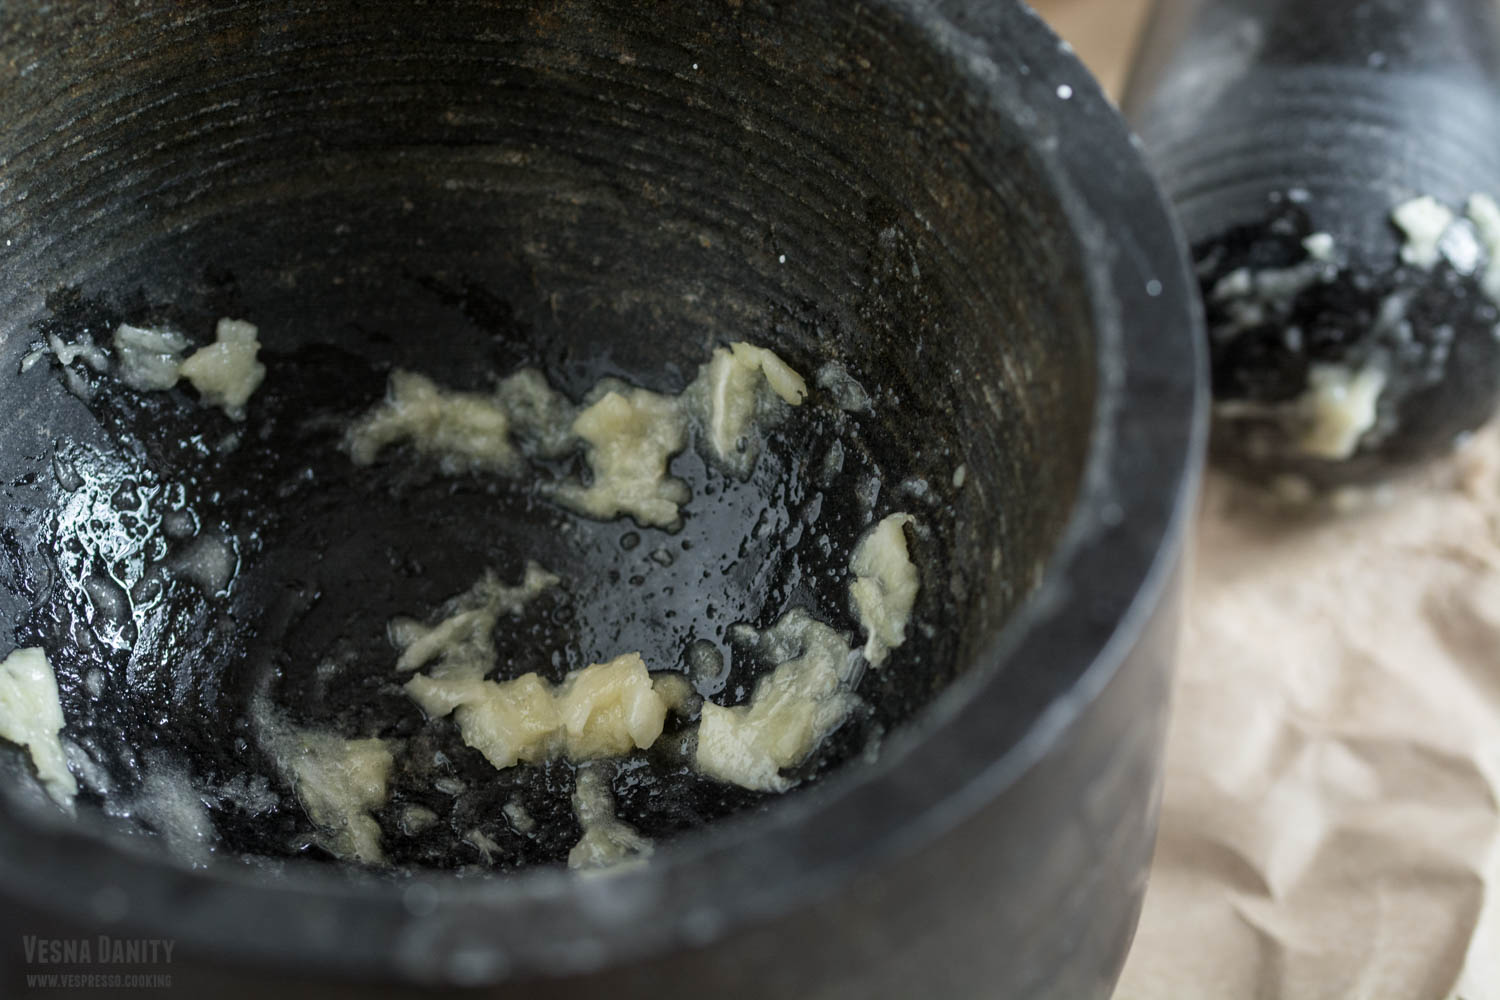
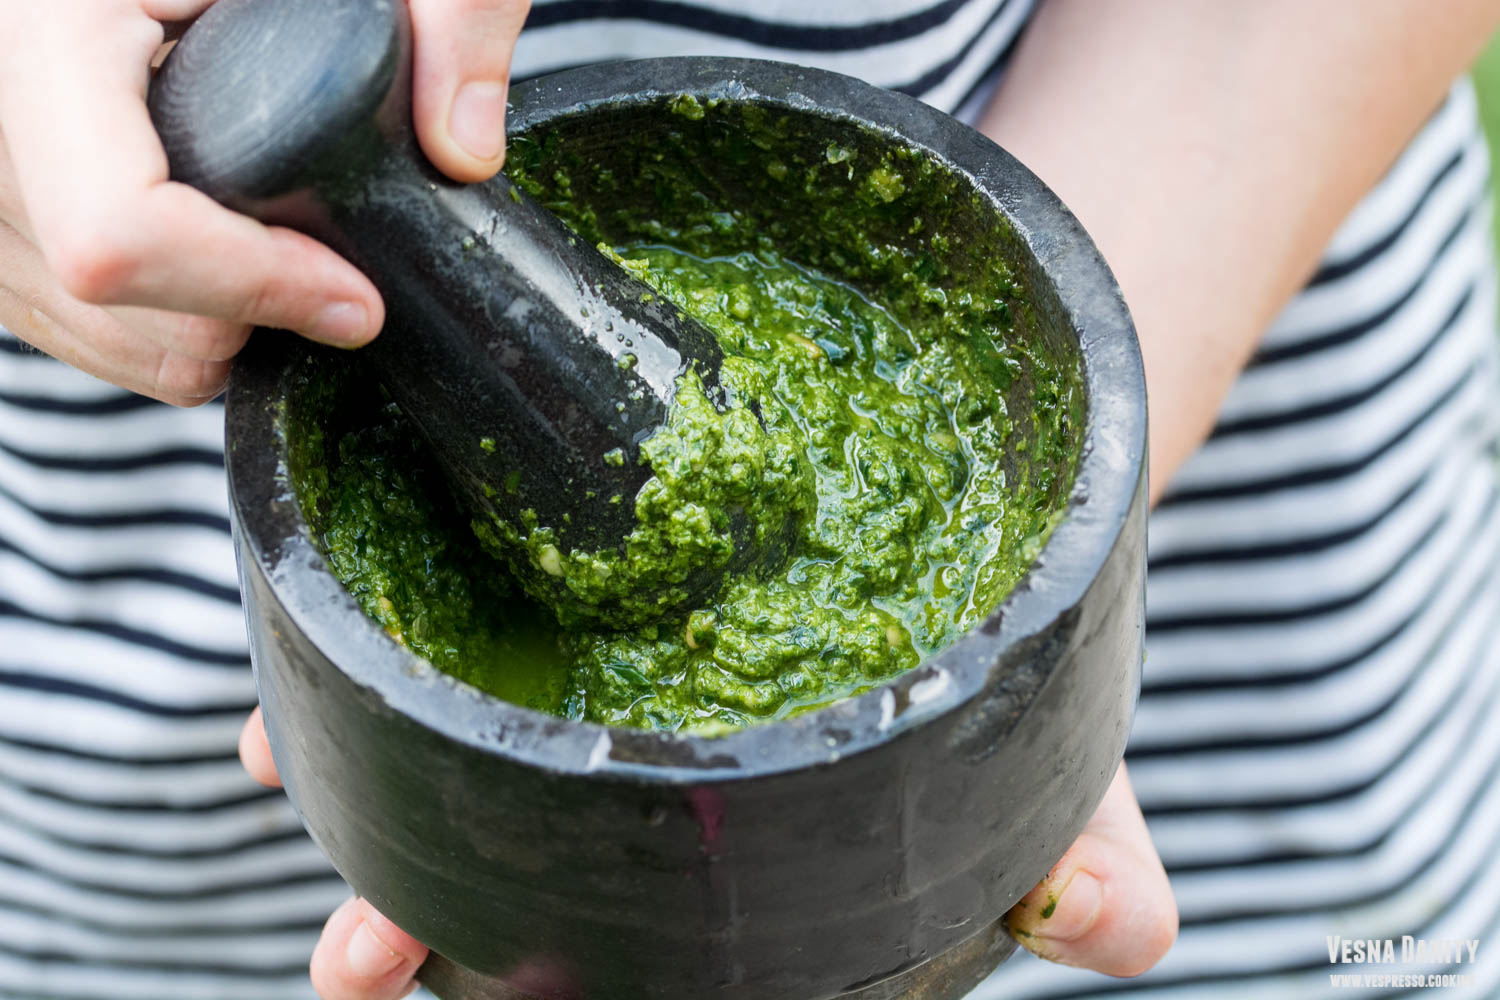
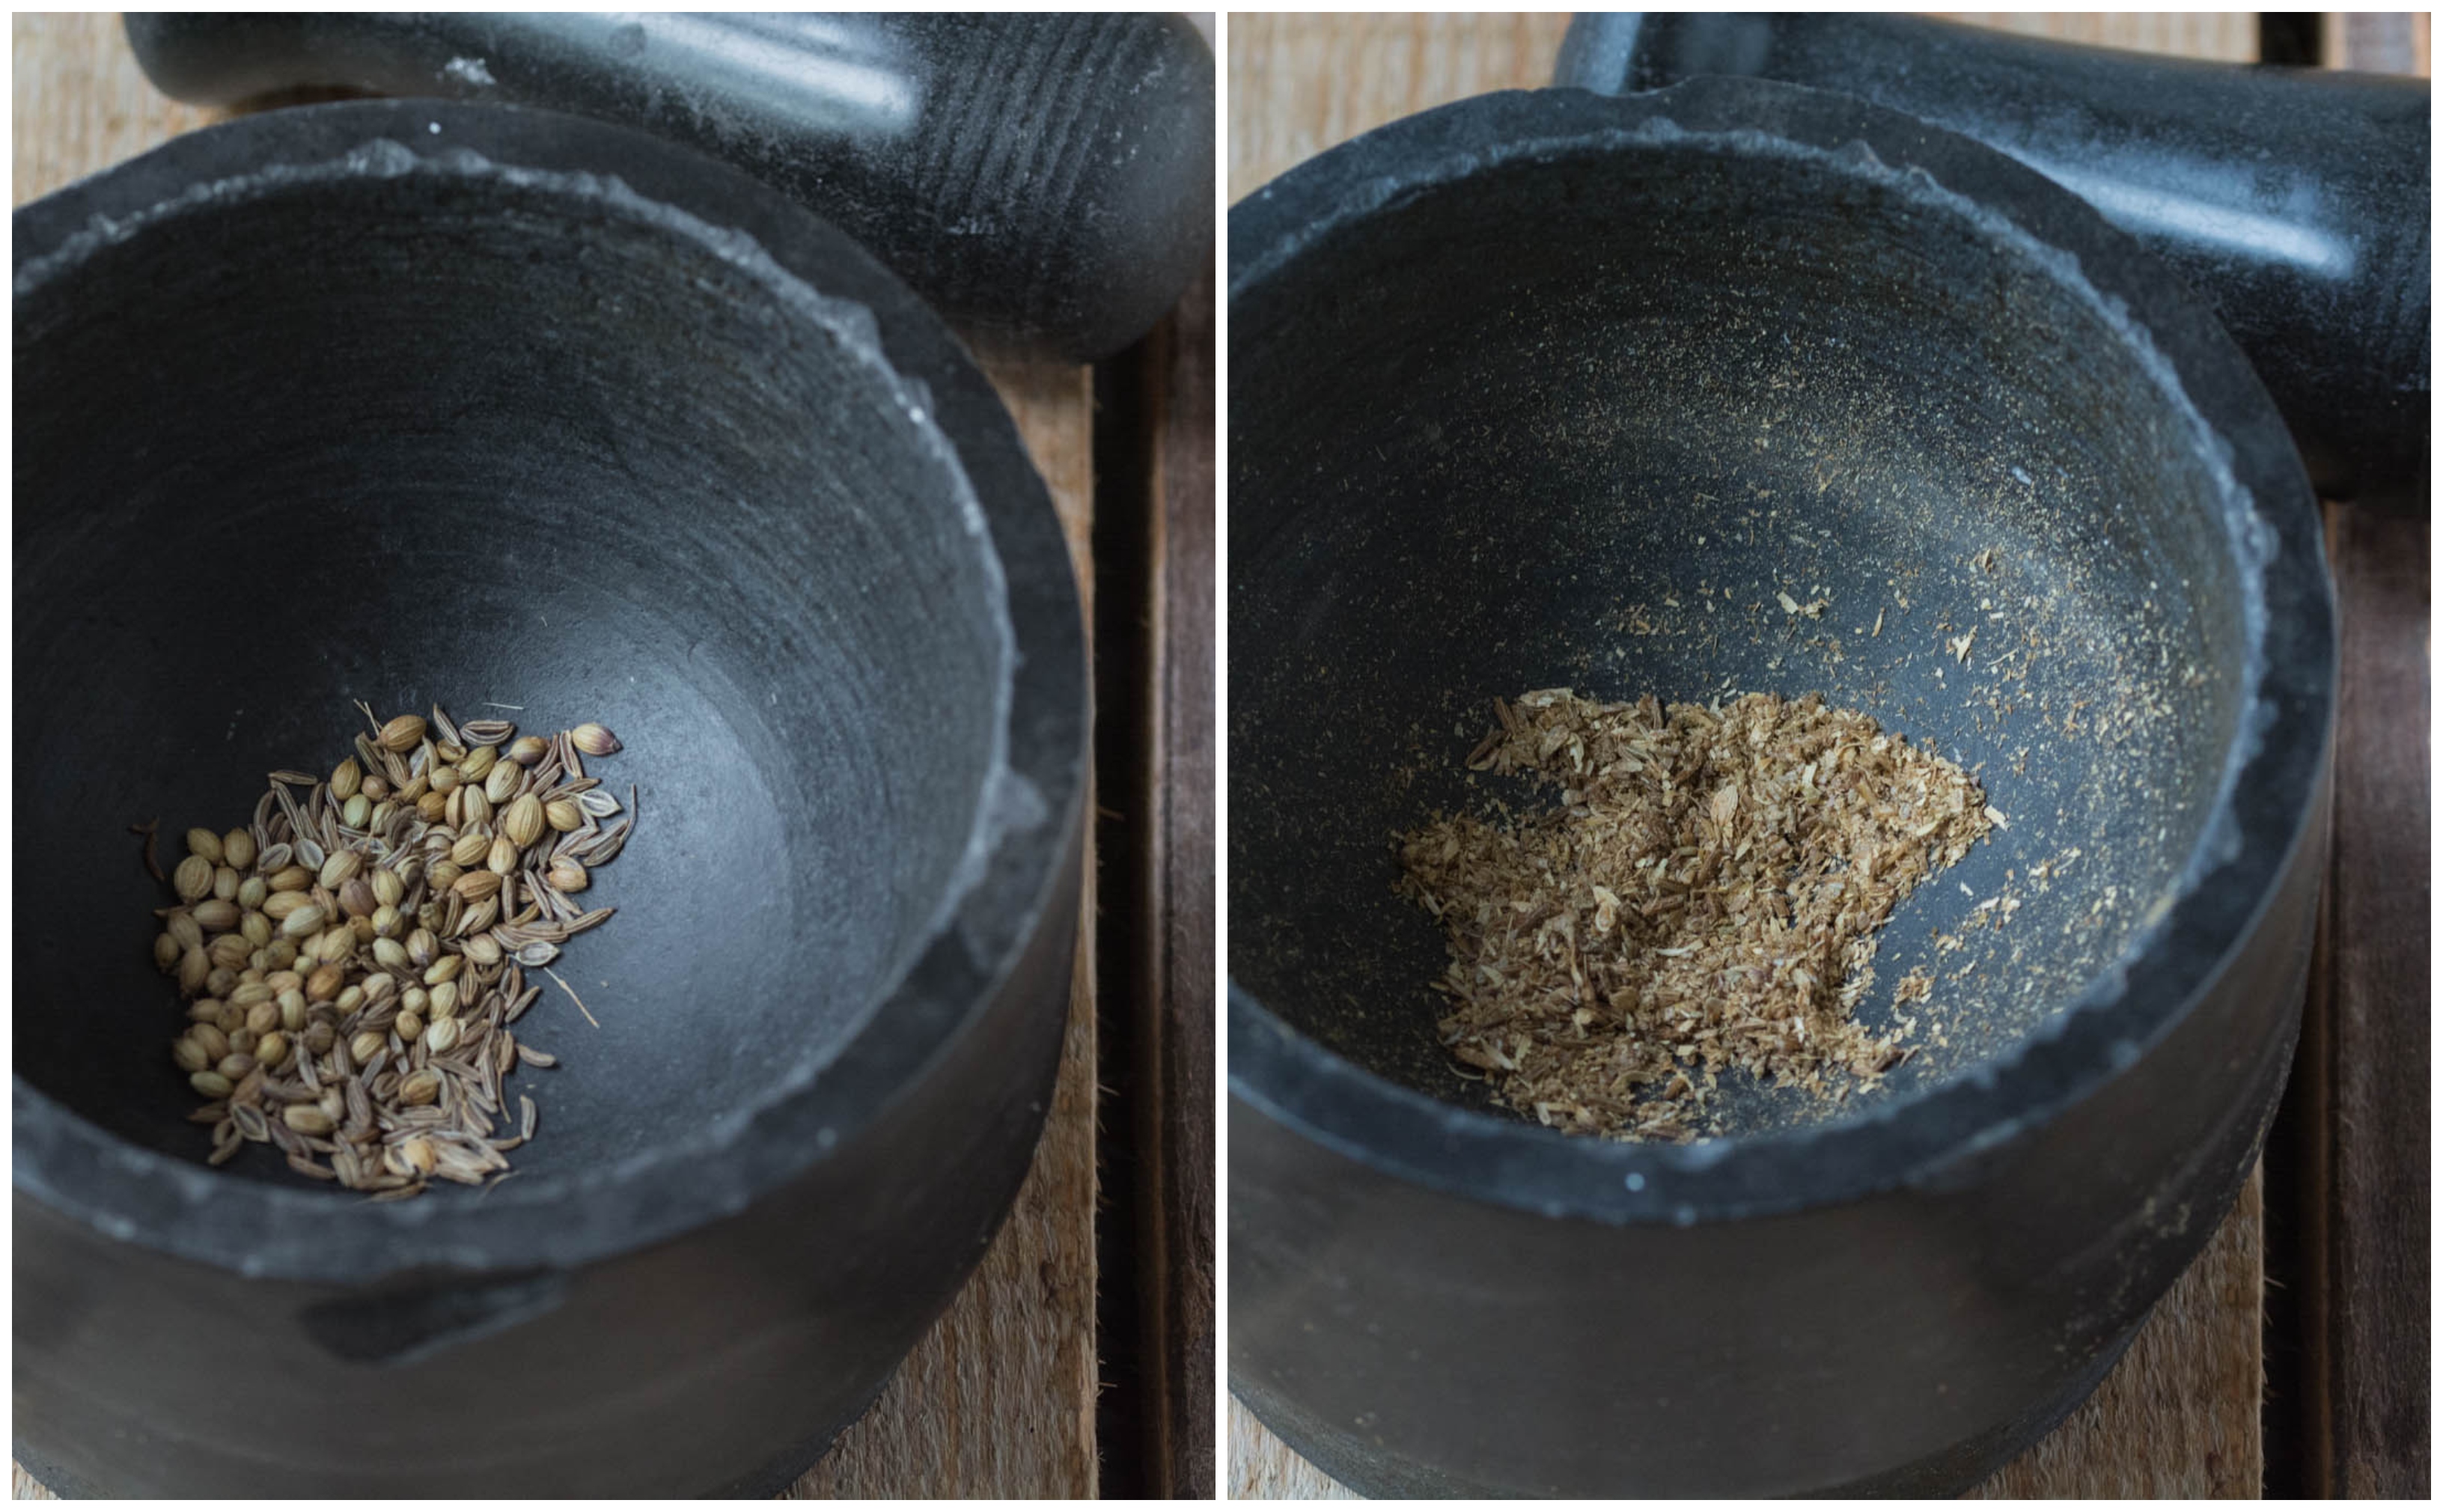
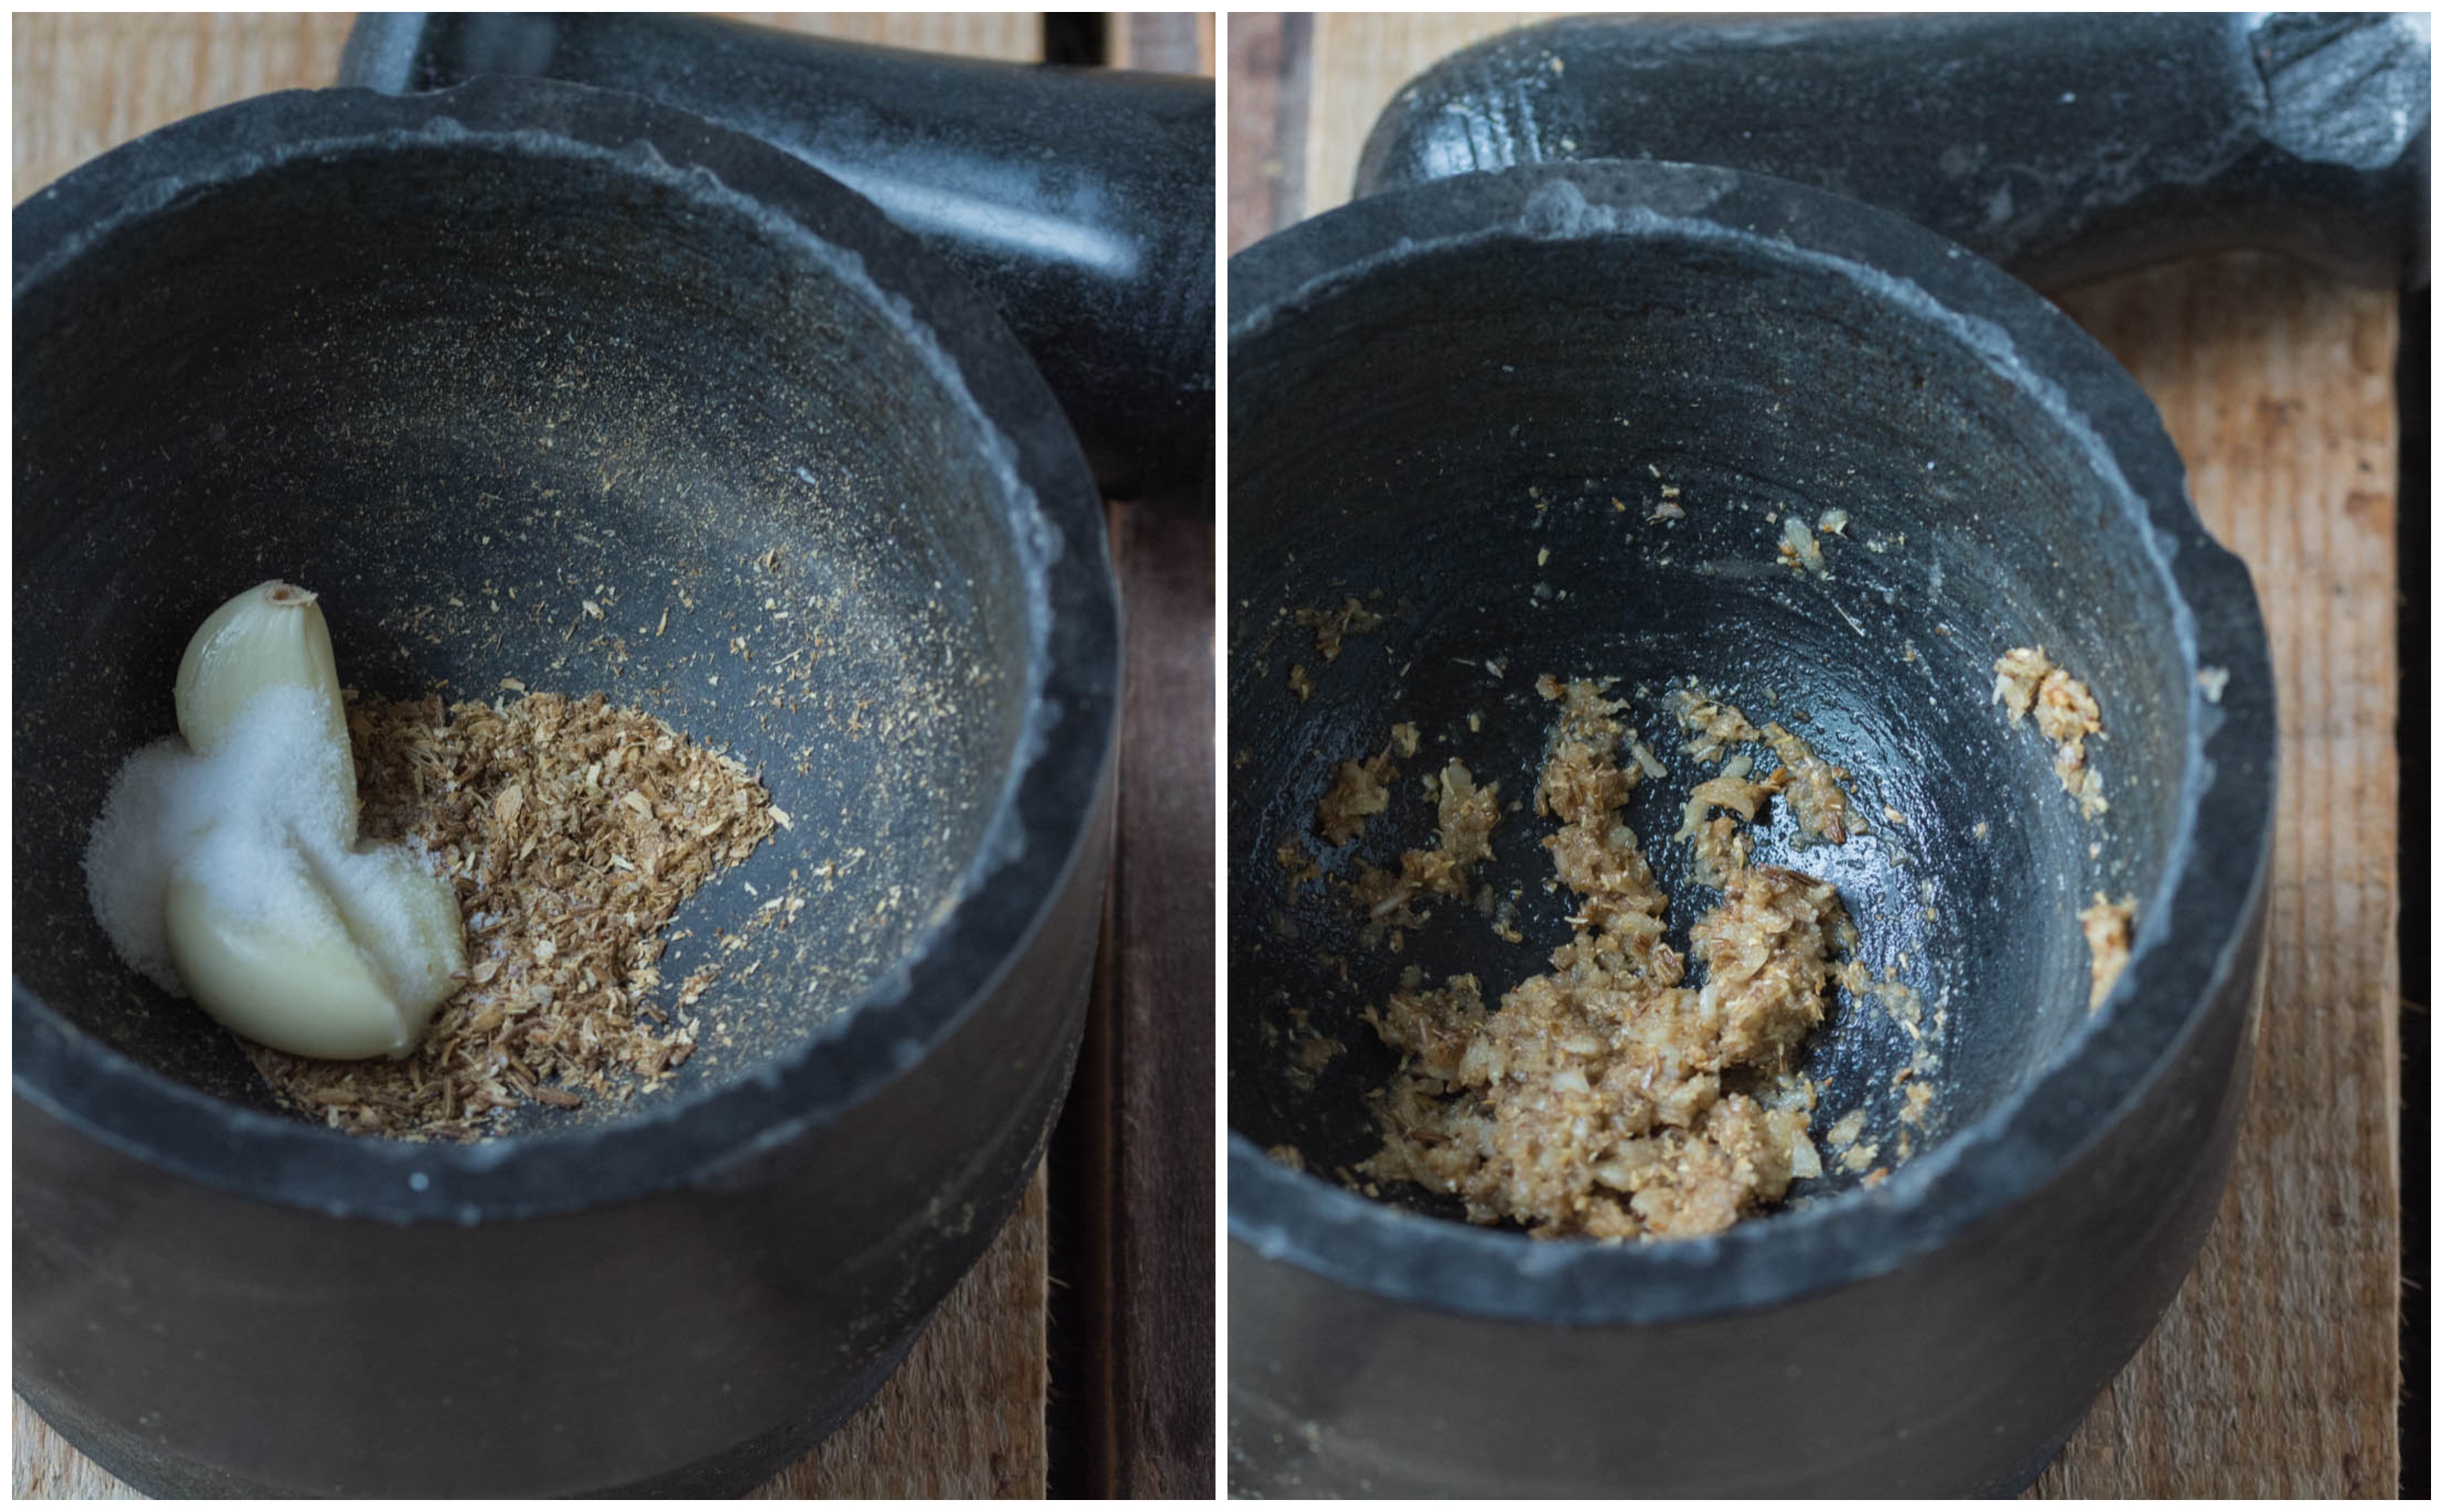
- Spices. Using a mortar and pestle crush together cumin and coriander seeds to fine powder. Add paprika, chili, salt and garlic cloves and continue crushing until you form a paste.
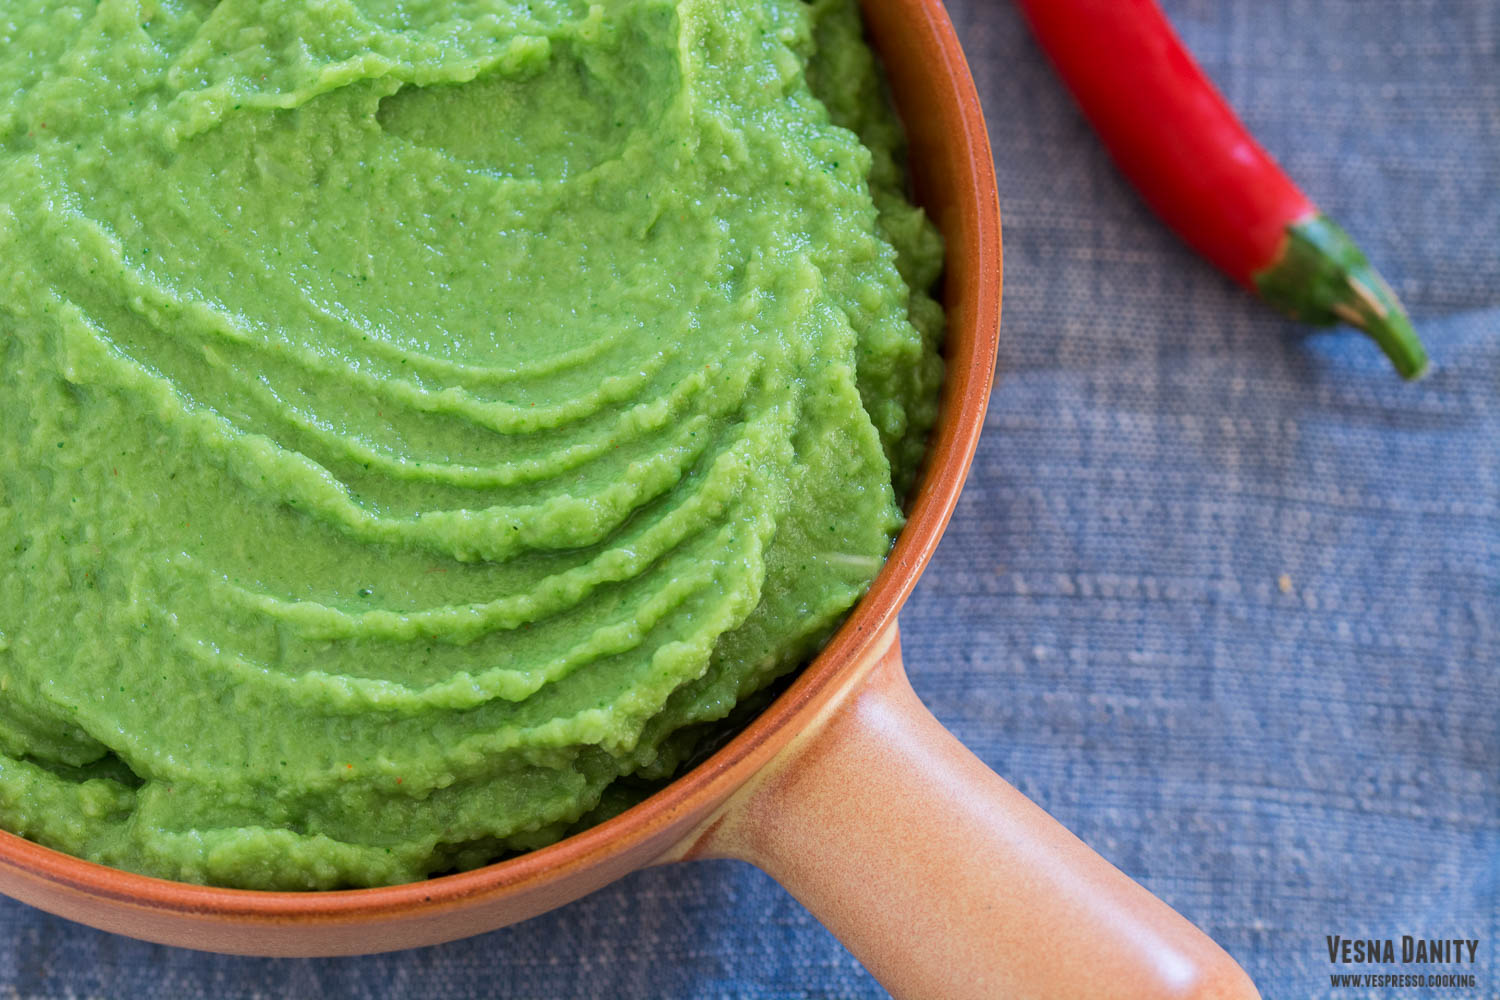
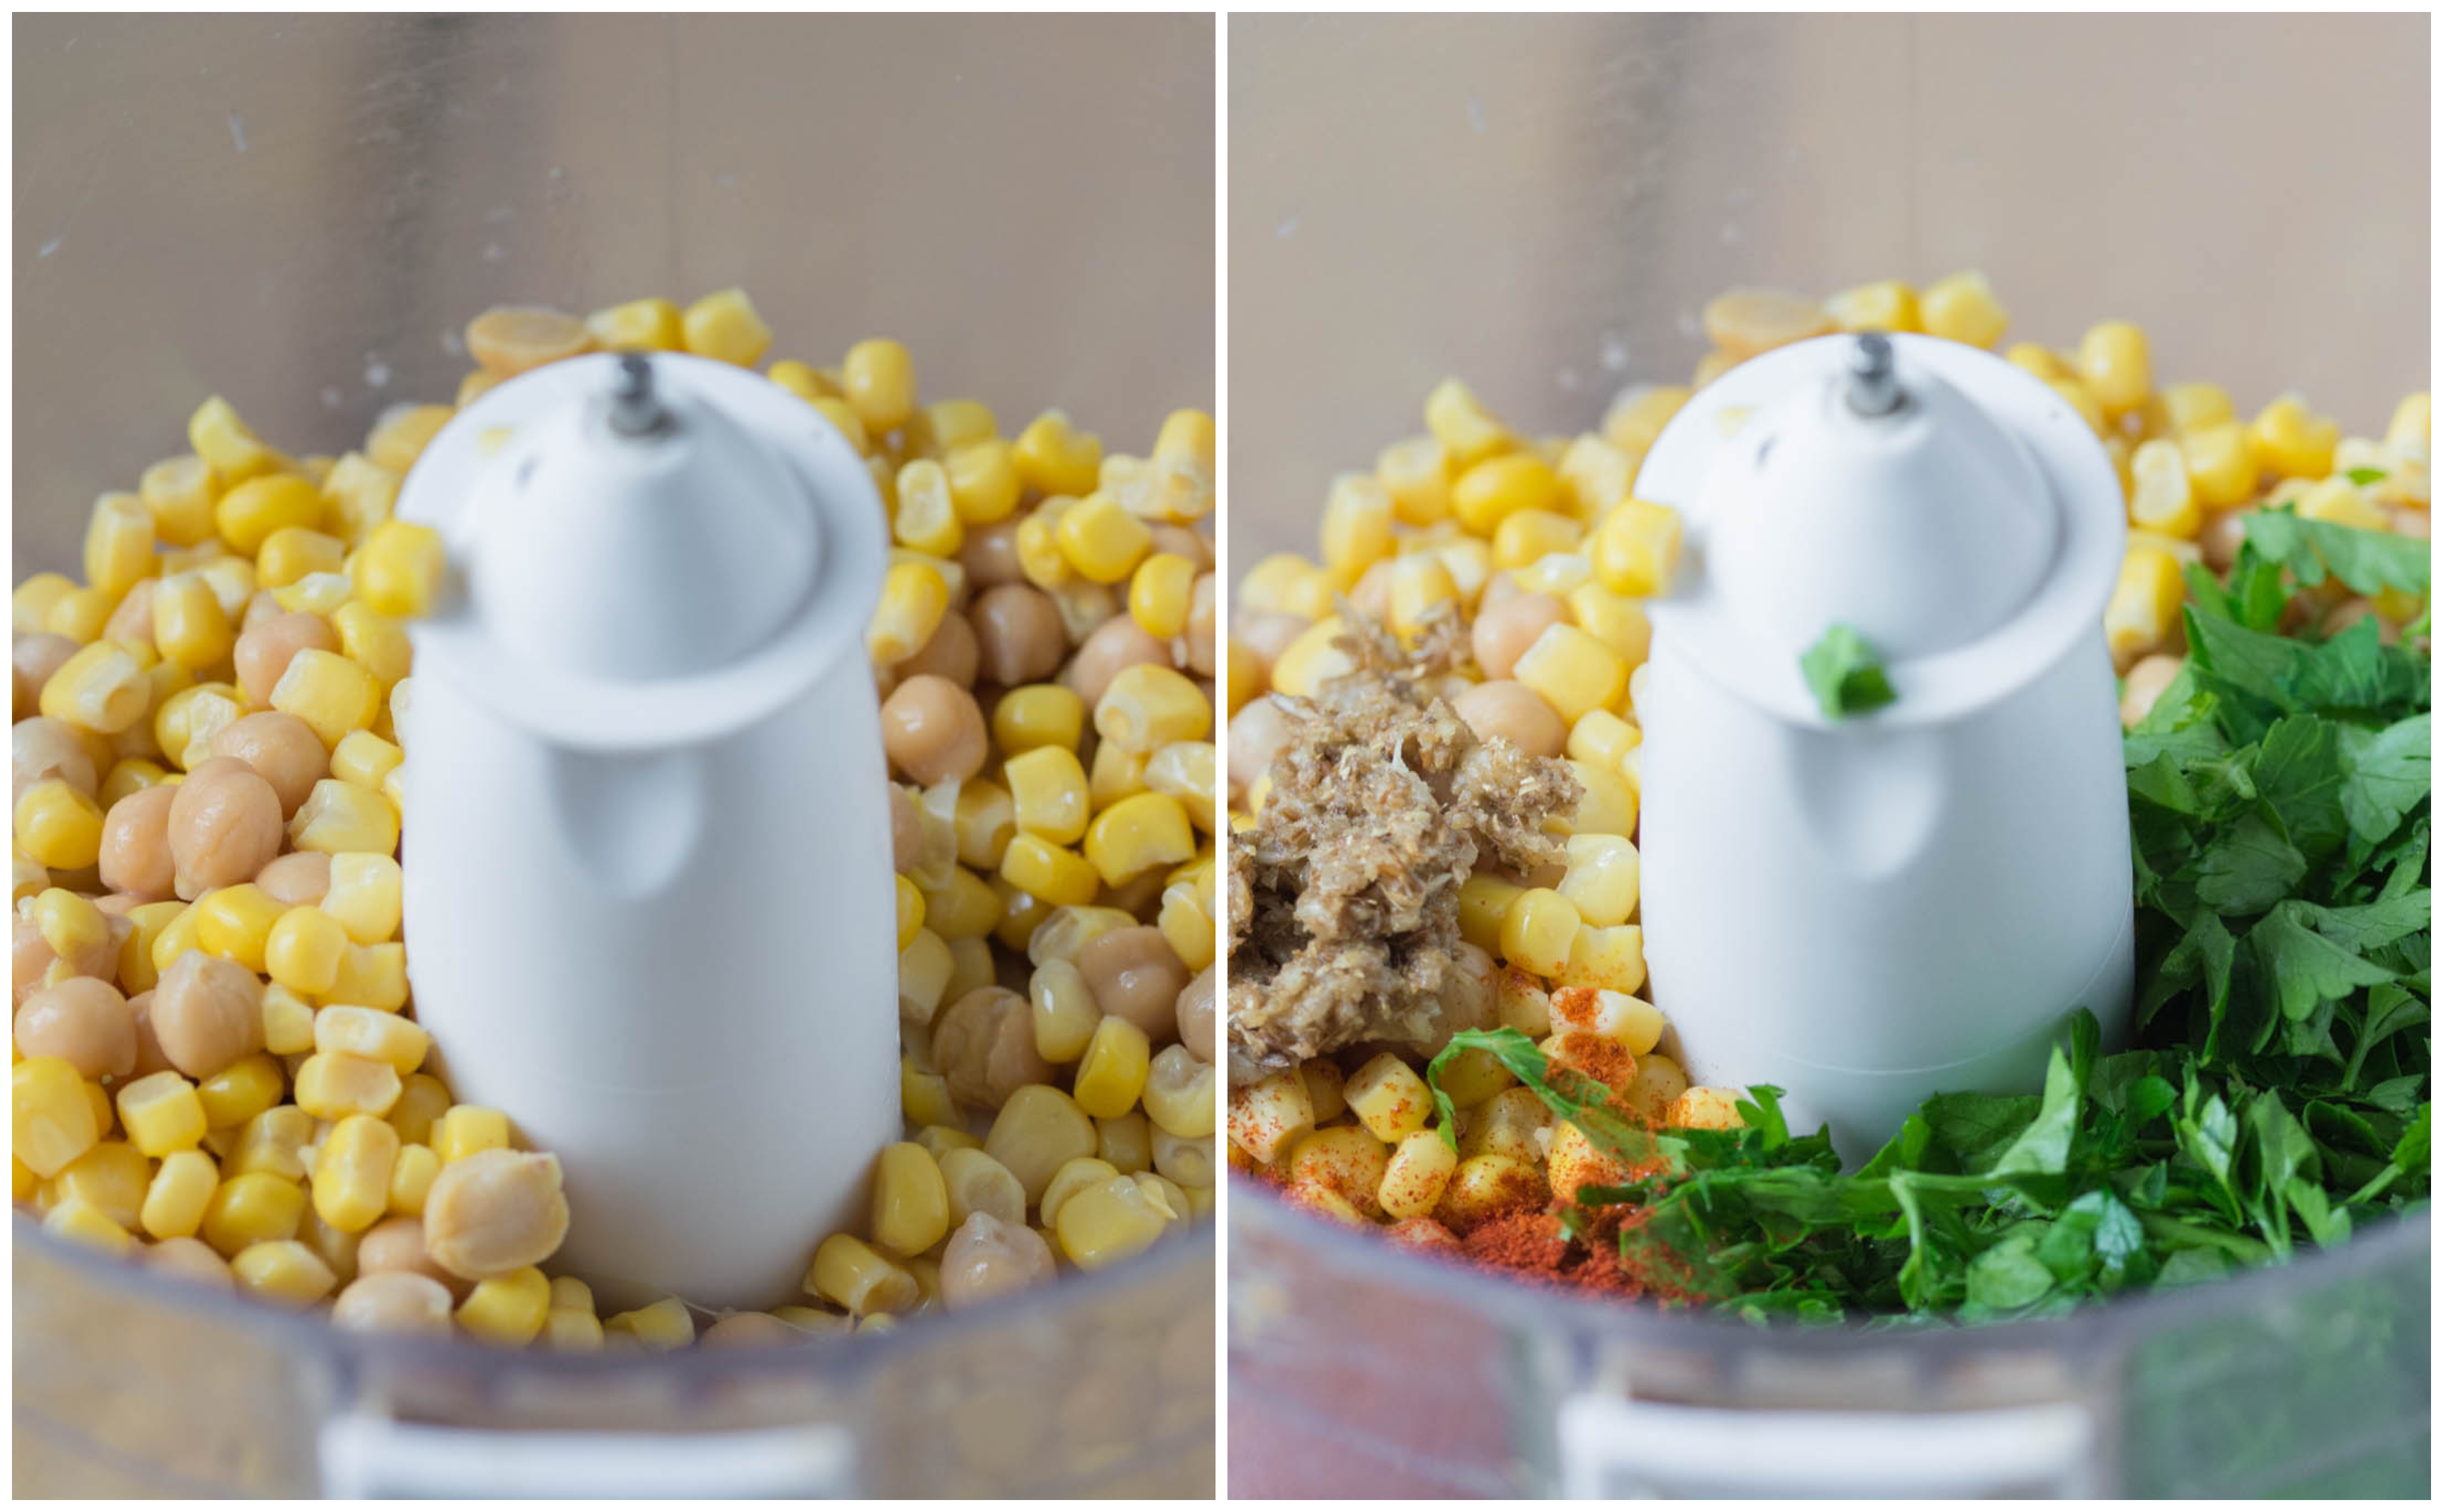
- Mix the base ingredients. Add the chickpeas and corn to the bowl of a blender and pulse a few times until you form a rough paste.
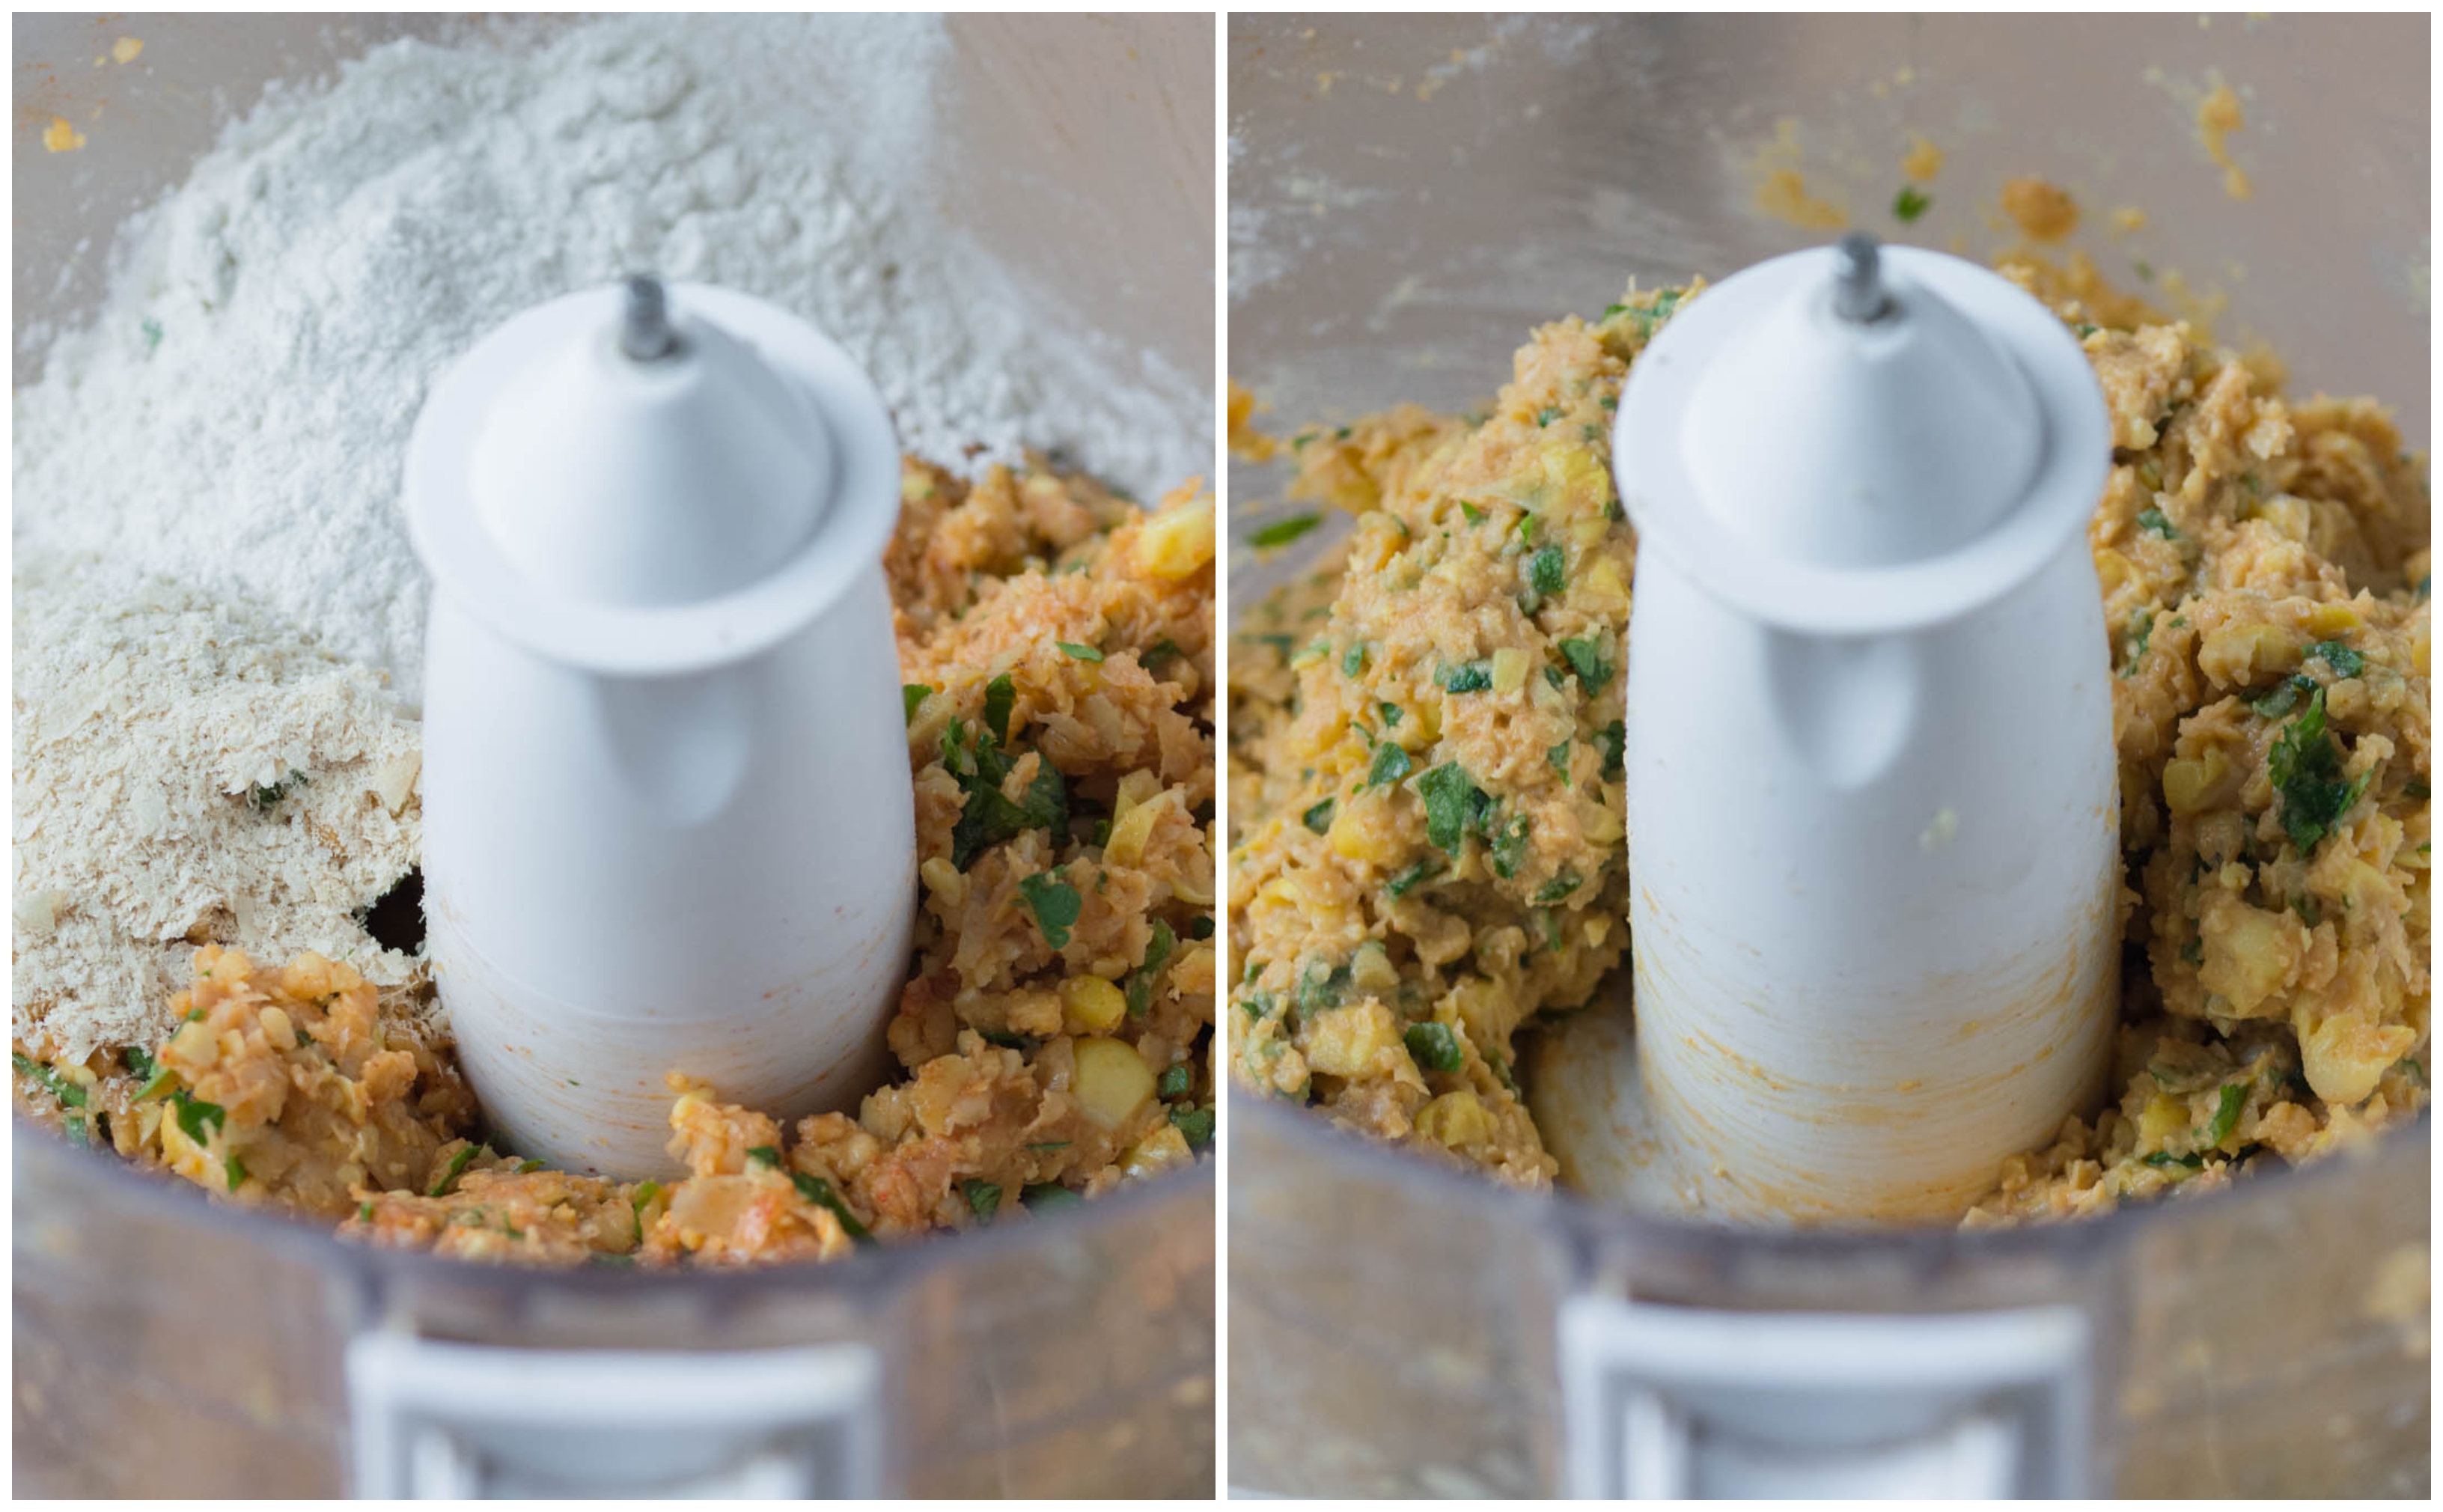
- Seasoning. Add the paste from the mortar, flour and nutritional yeast and pulse until blended.
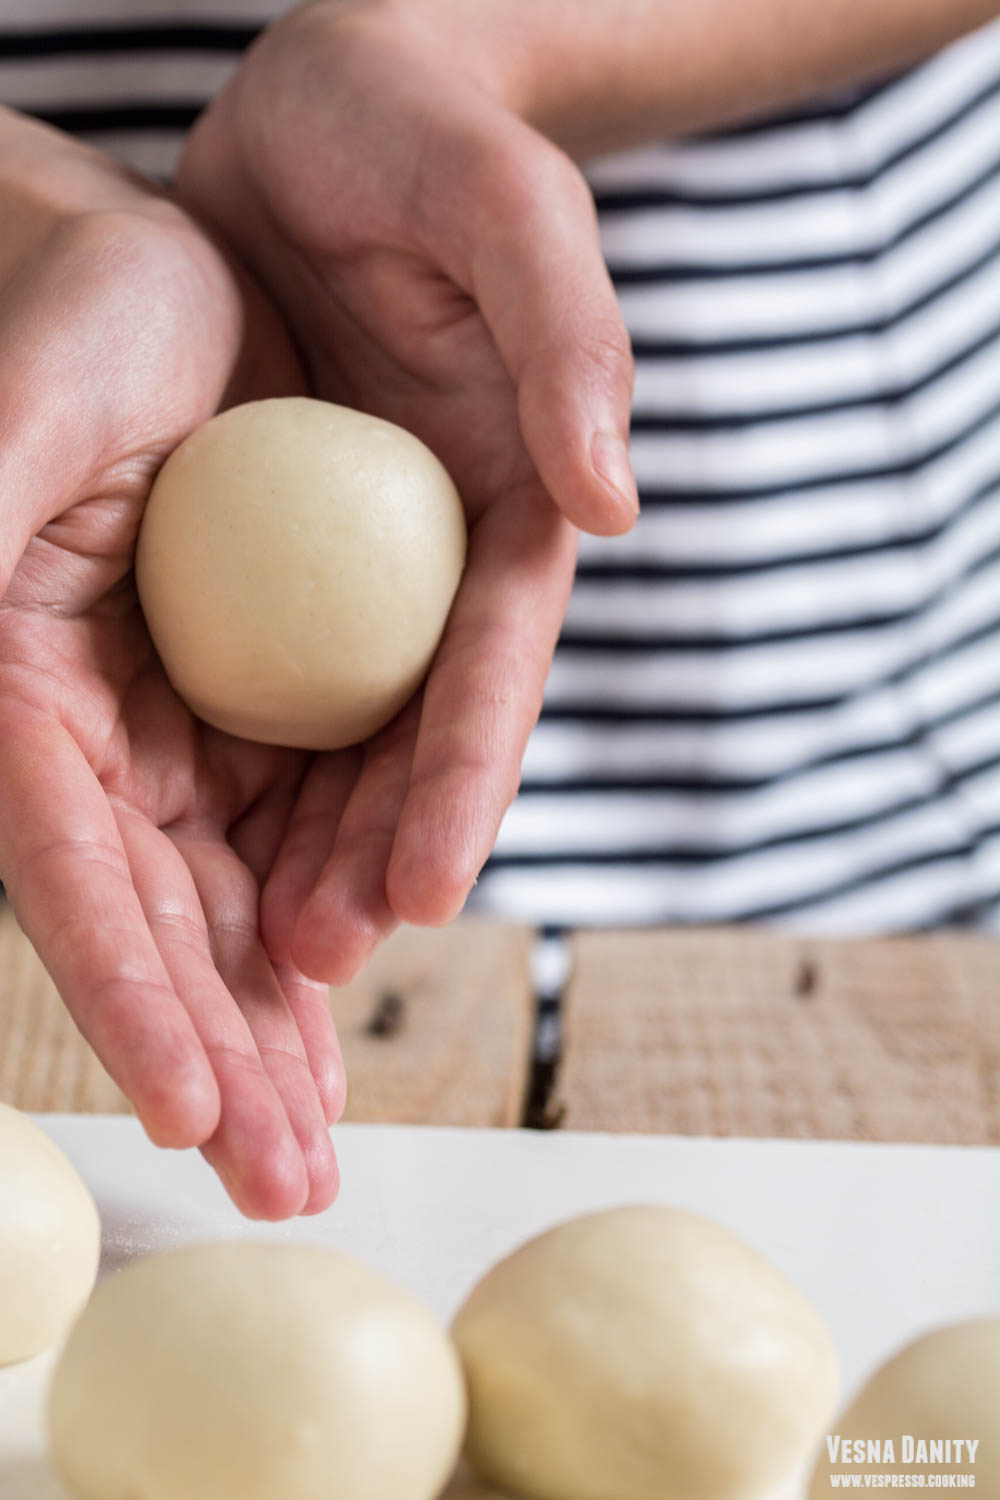
- Form the patties. Divide the composition into 6 balls. Refrigerate them for 30 minutes.
- Shape the patties. Dust each ball with flour and flatten them with your hands.
- Fry the patties. In a large skillet over medium heat heat about 4 Tbsp of oil. Carefully add the patties and cook them on each side until golden brown (for about 3 – 4 minutes). When cooked place them on a paper towel covered plate.
- Assemble the burgers. Cut each bun in half, drizzle some ketchup and garnich with picked cucumber slices, salad, tomato and red onion.