Quinoa Salad with Carrot, Almonds and Cranberries (Vegan)


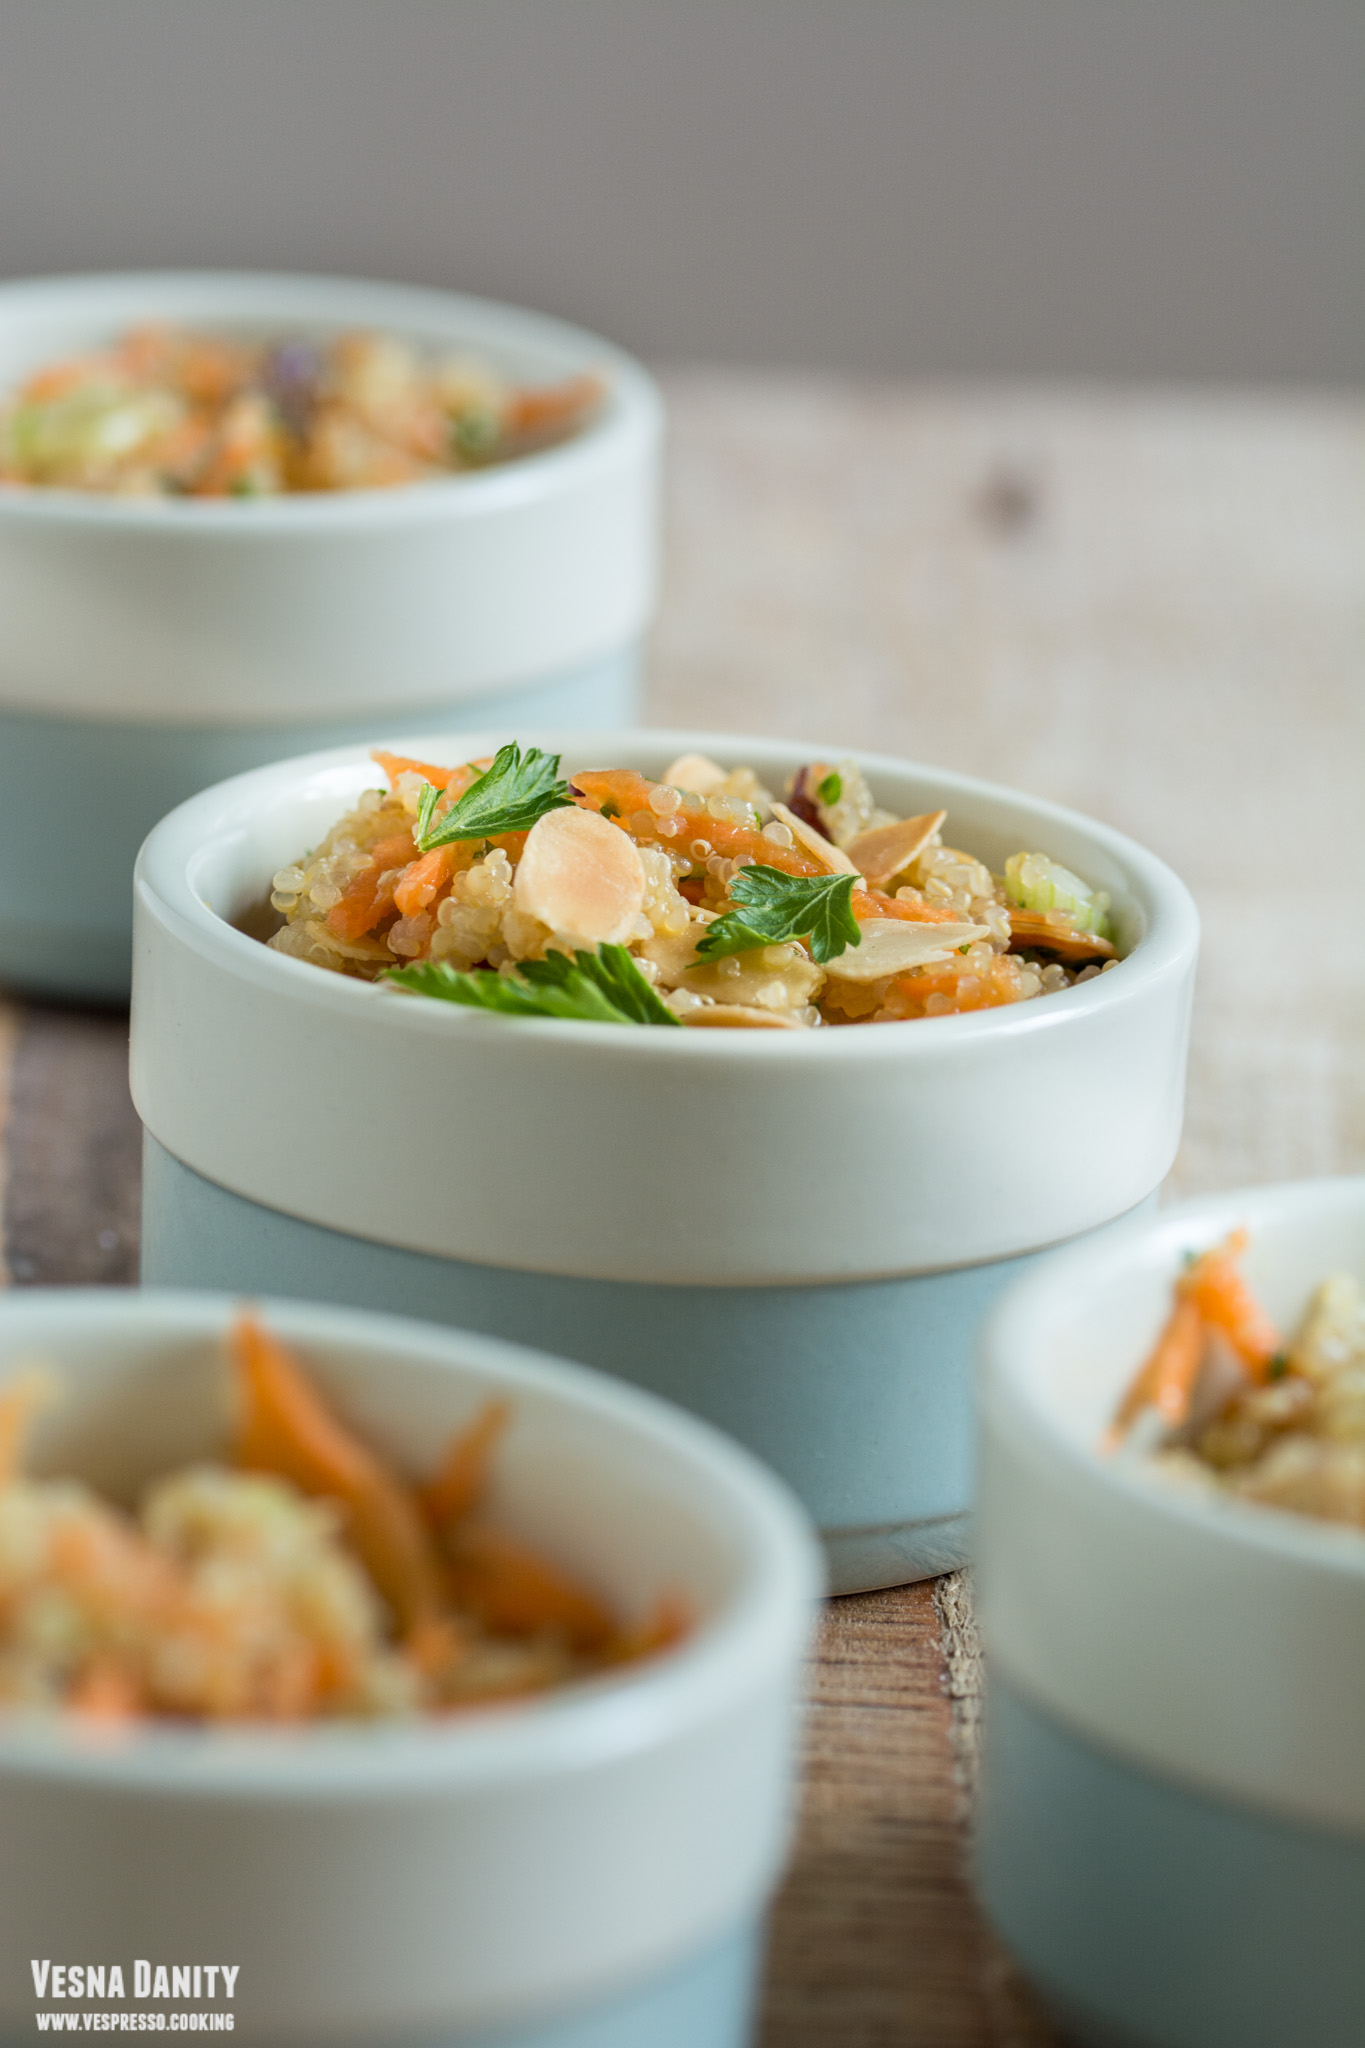
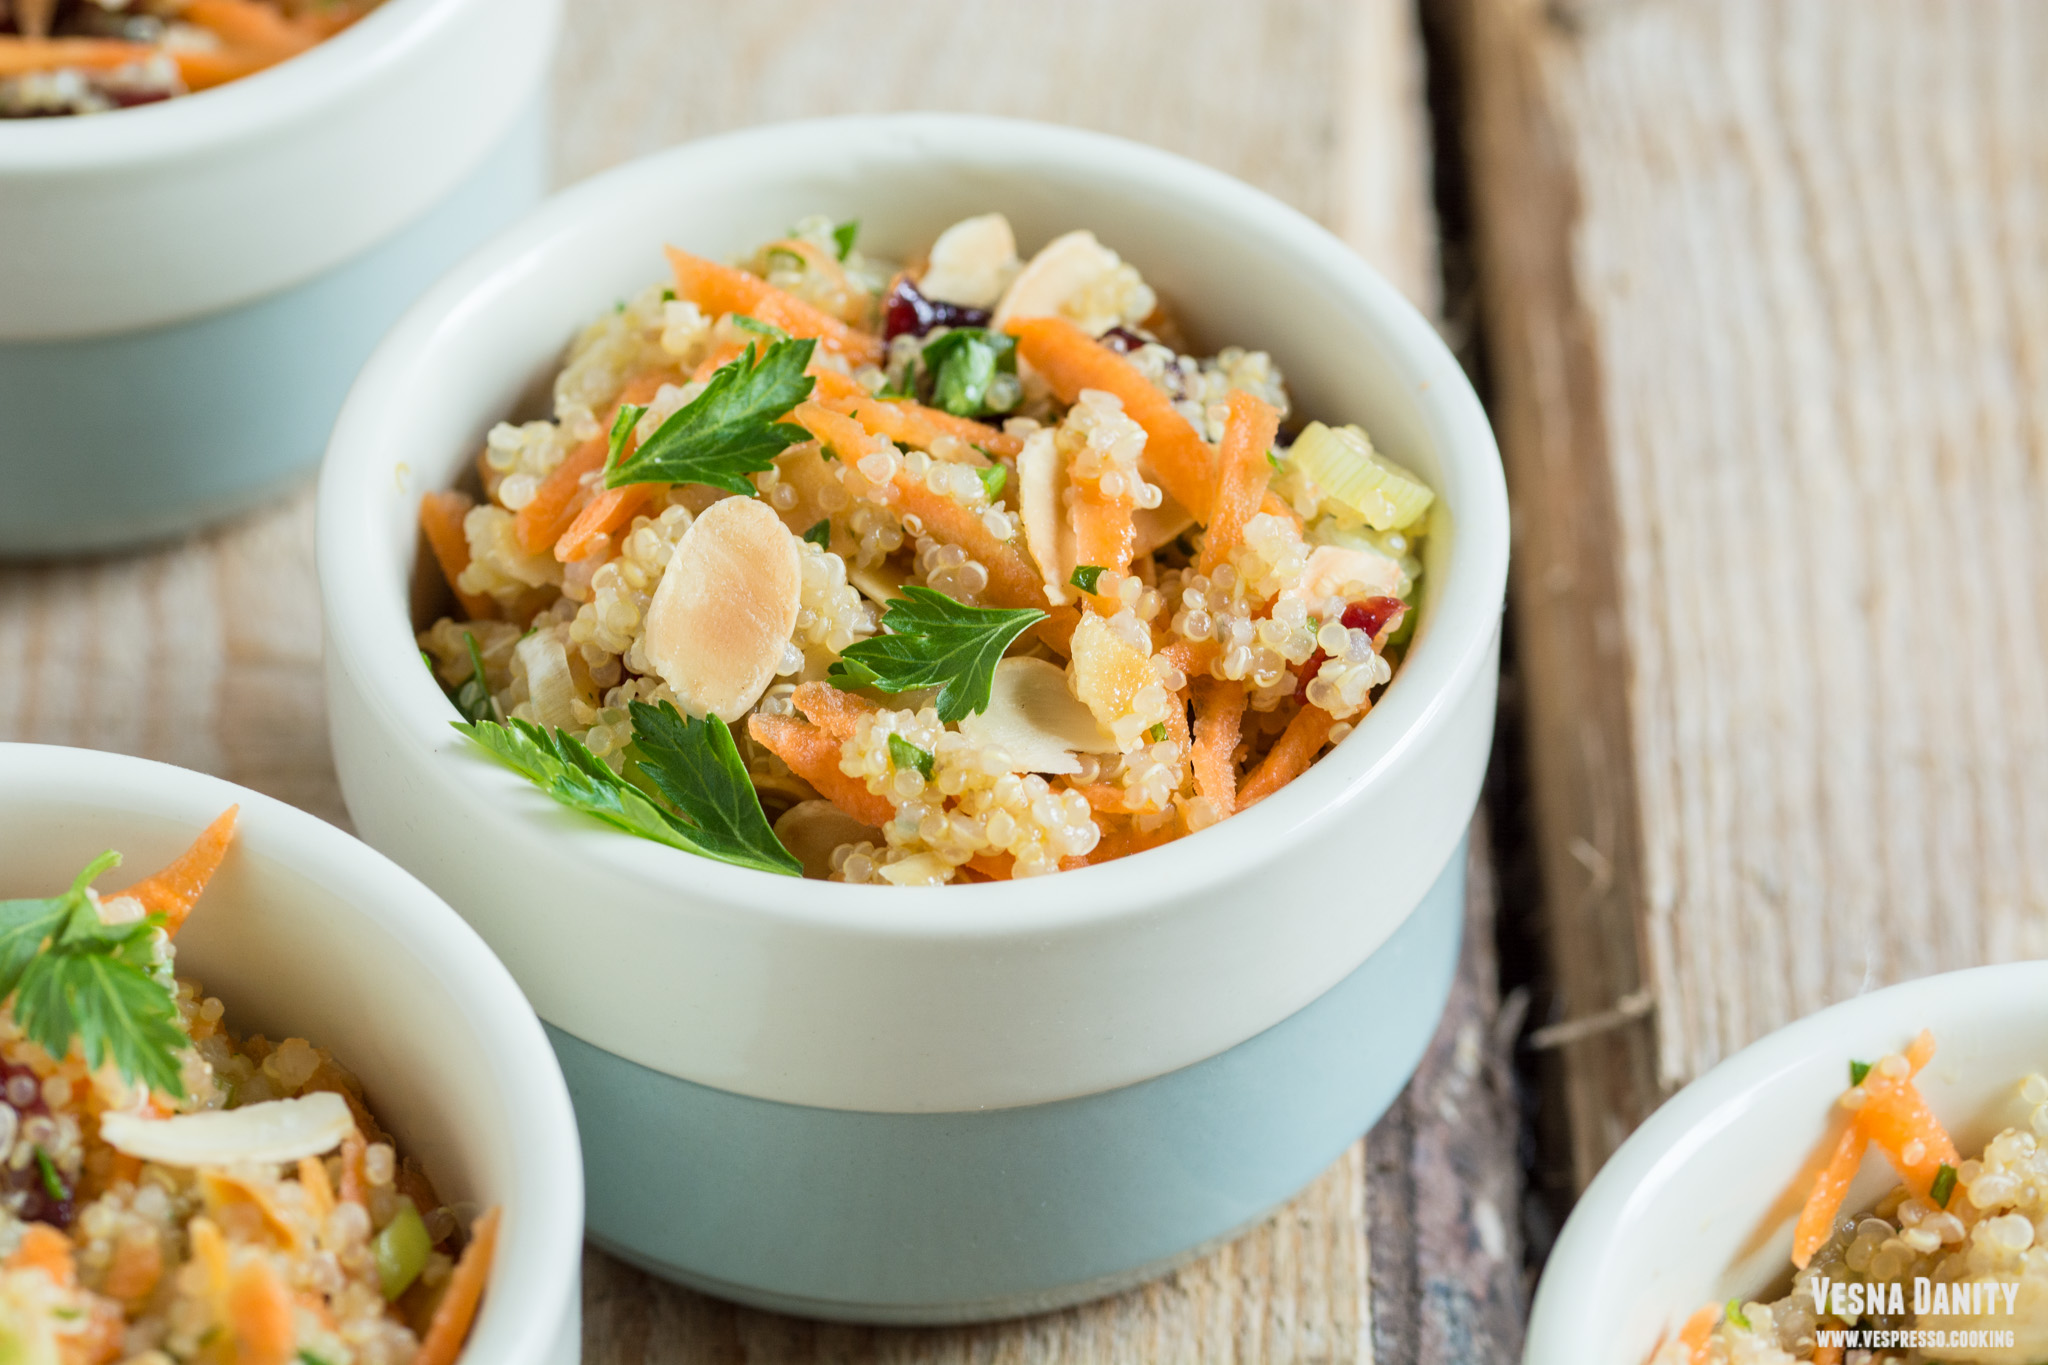
My heart fills with joy whenever I think of this mouth-watering salad, whenever I think of its amazing taste, its vibrant colors, its contrasting textures. Undoubtedly, this is my all-time favorite salad; this salad is not only aesthetically pleasing, but also absolutely delicious. There are some really interesting things going on in my plate, the discrete nutty aroma of the quinoa is being amplified by the roasted almond flakes, and the fresh taste of the carrot goes so well with the earthy sweetness of the cranberries. What a treat!

Ingredients (for 4 servings):

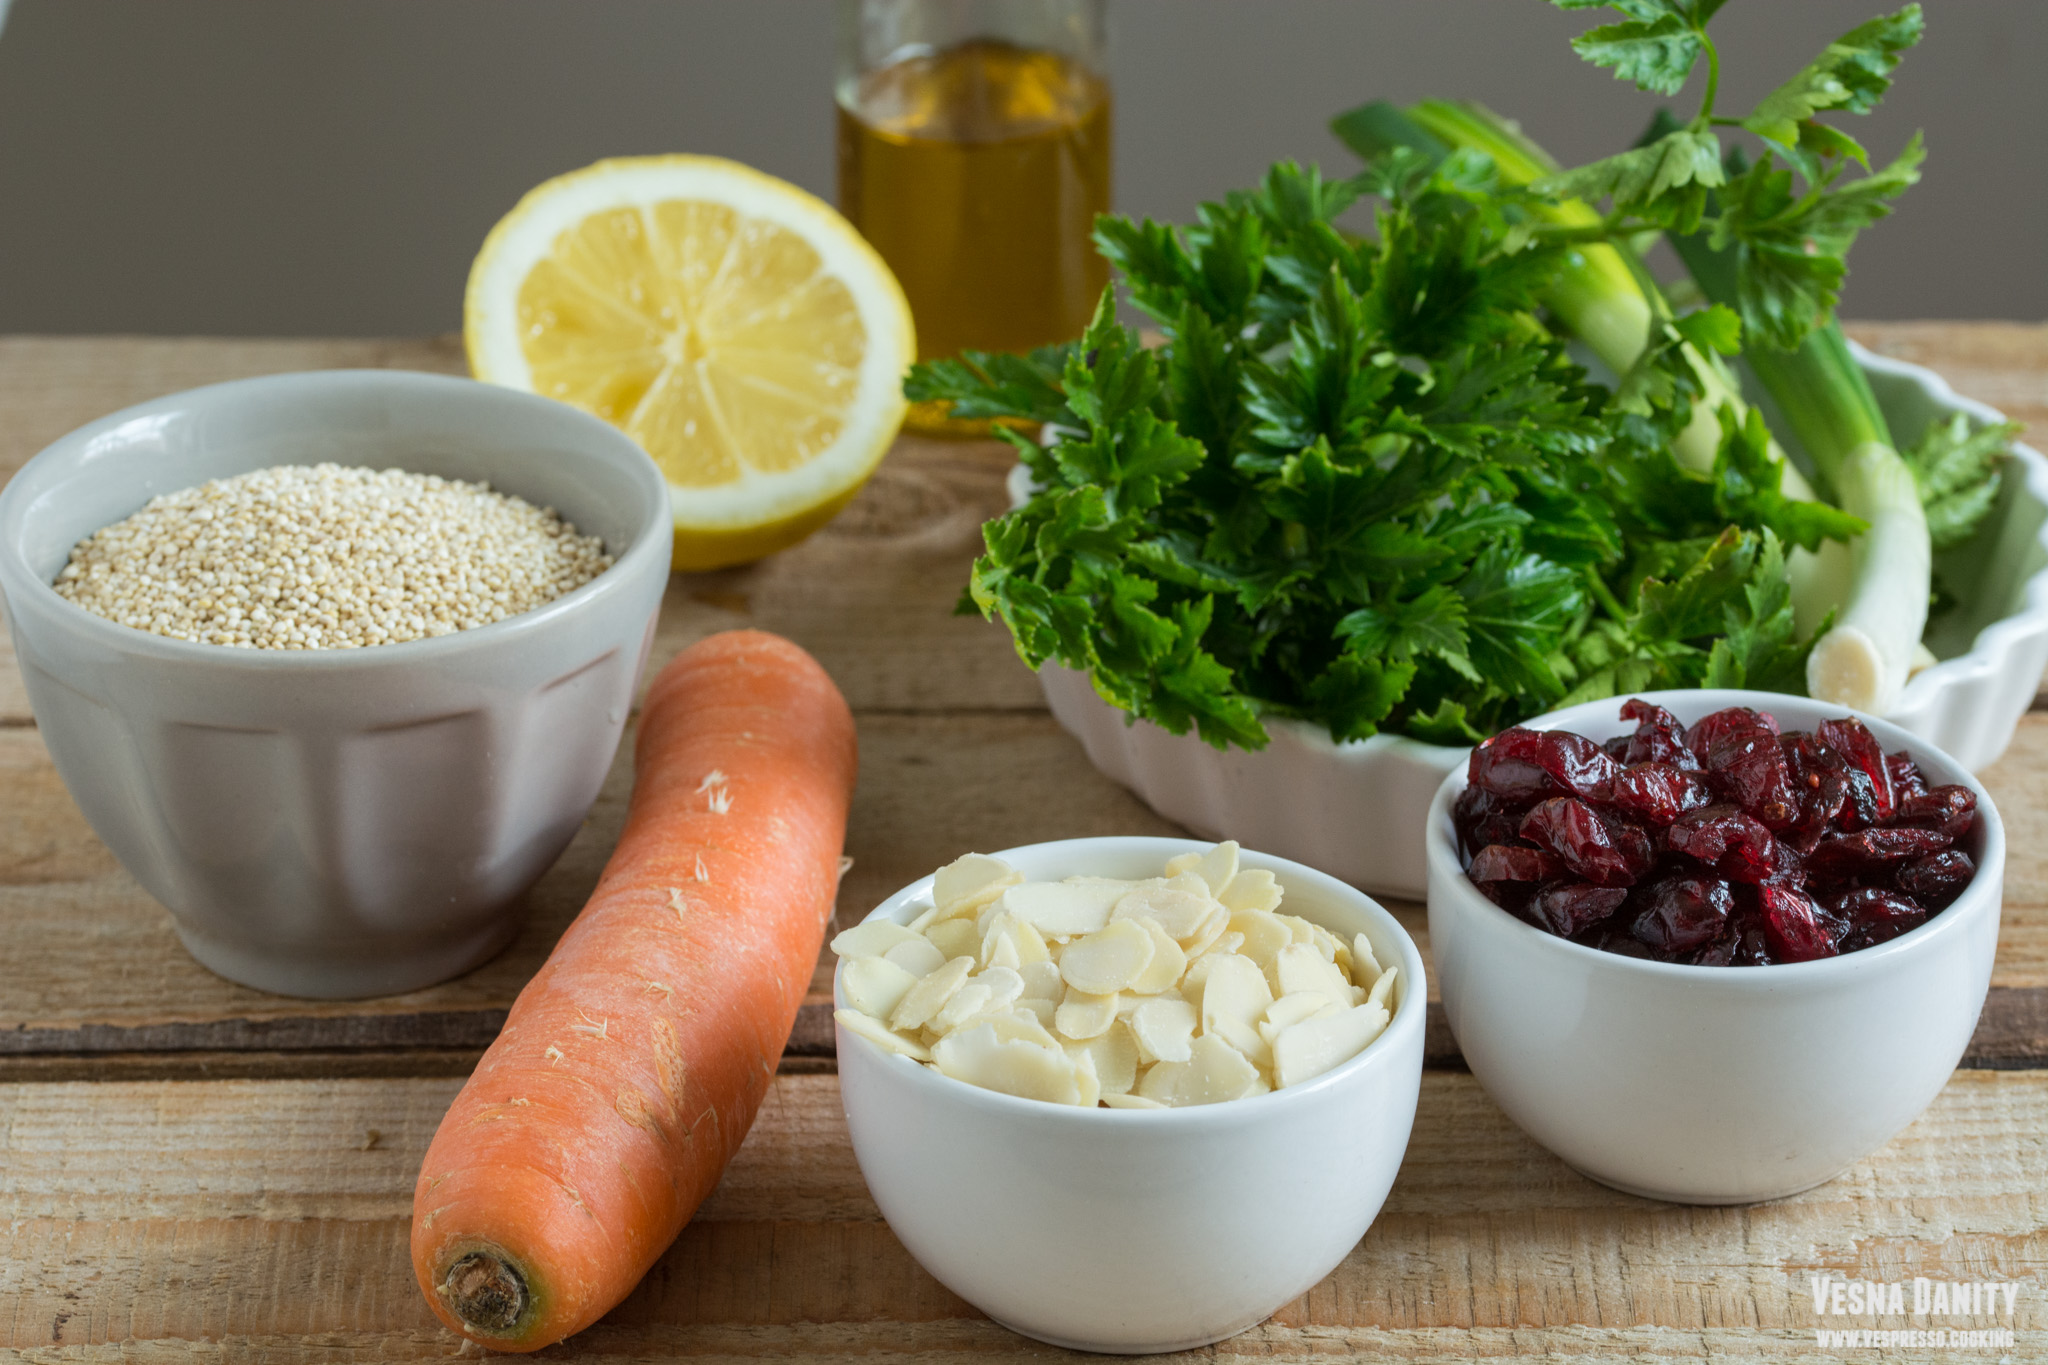
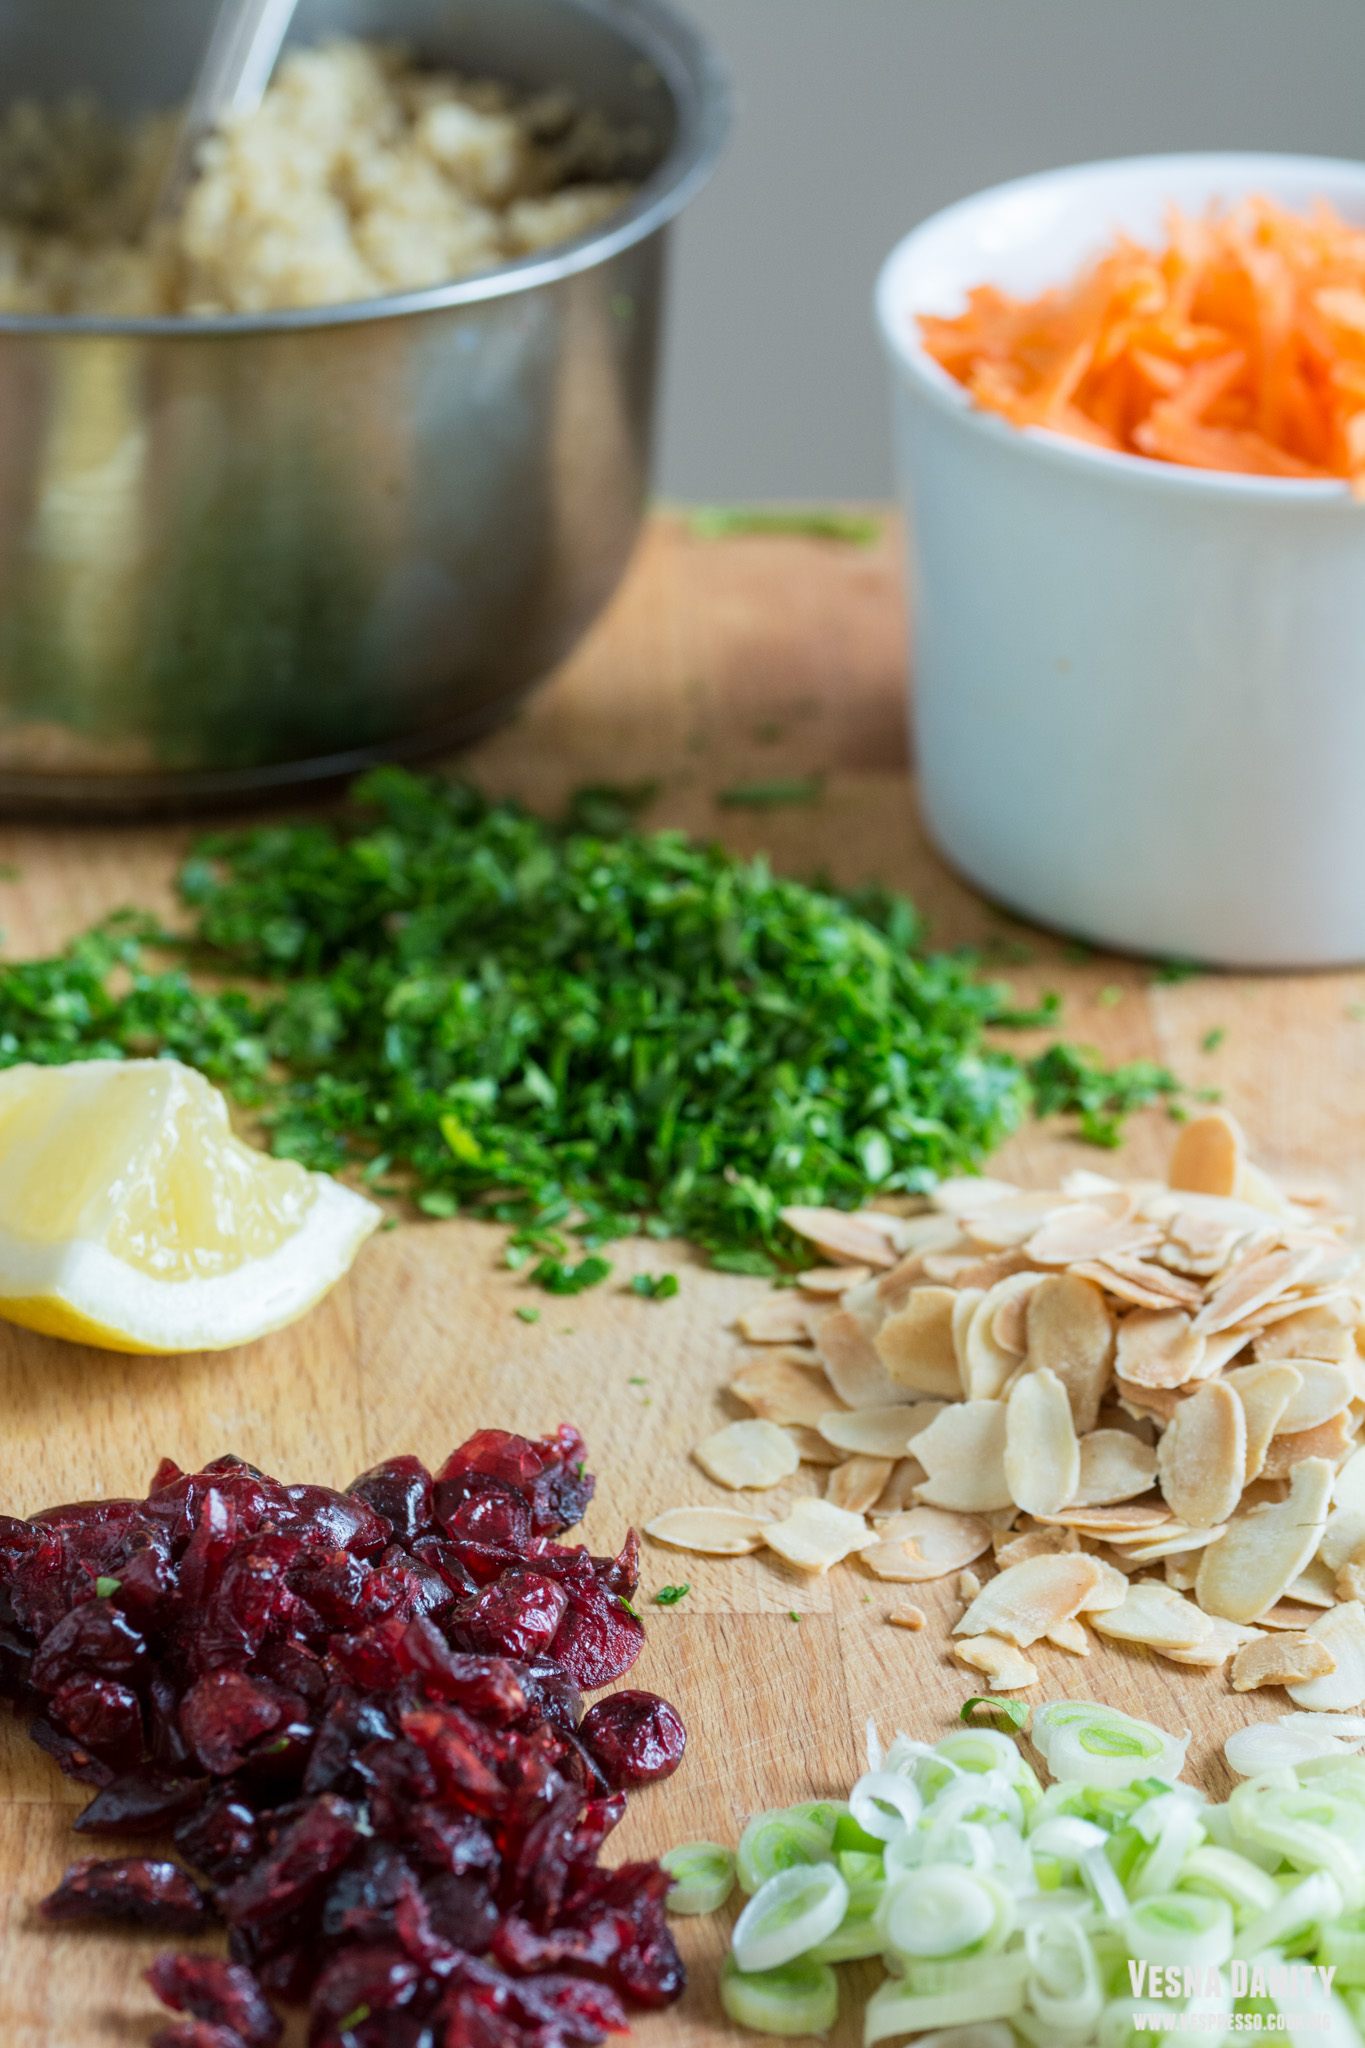
  • 100g dry quinoa (1/2 cup)
  • 120ml water (1 cup)
  • 1 medium carrot (50g)
  • 20g almond flakes
  • 40g dried cranberries
  • 2 spring onions
  • 1 Tbsp finely chopped parsley
  • 2 Tbsp lemon juice
  • 2 Tbsp of any neutral oil
  • salt and pepper to taste

Method:

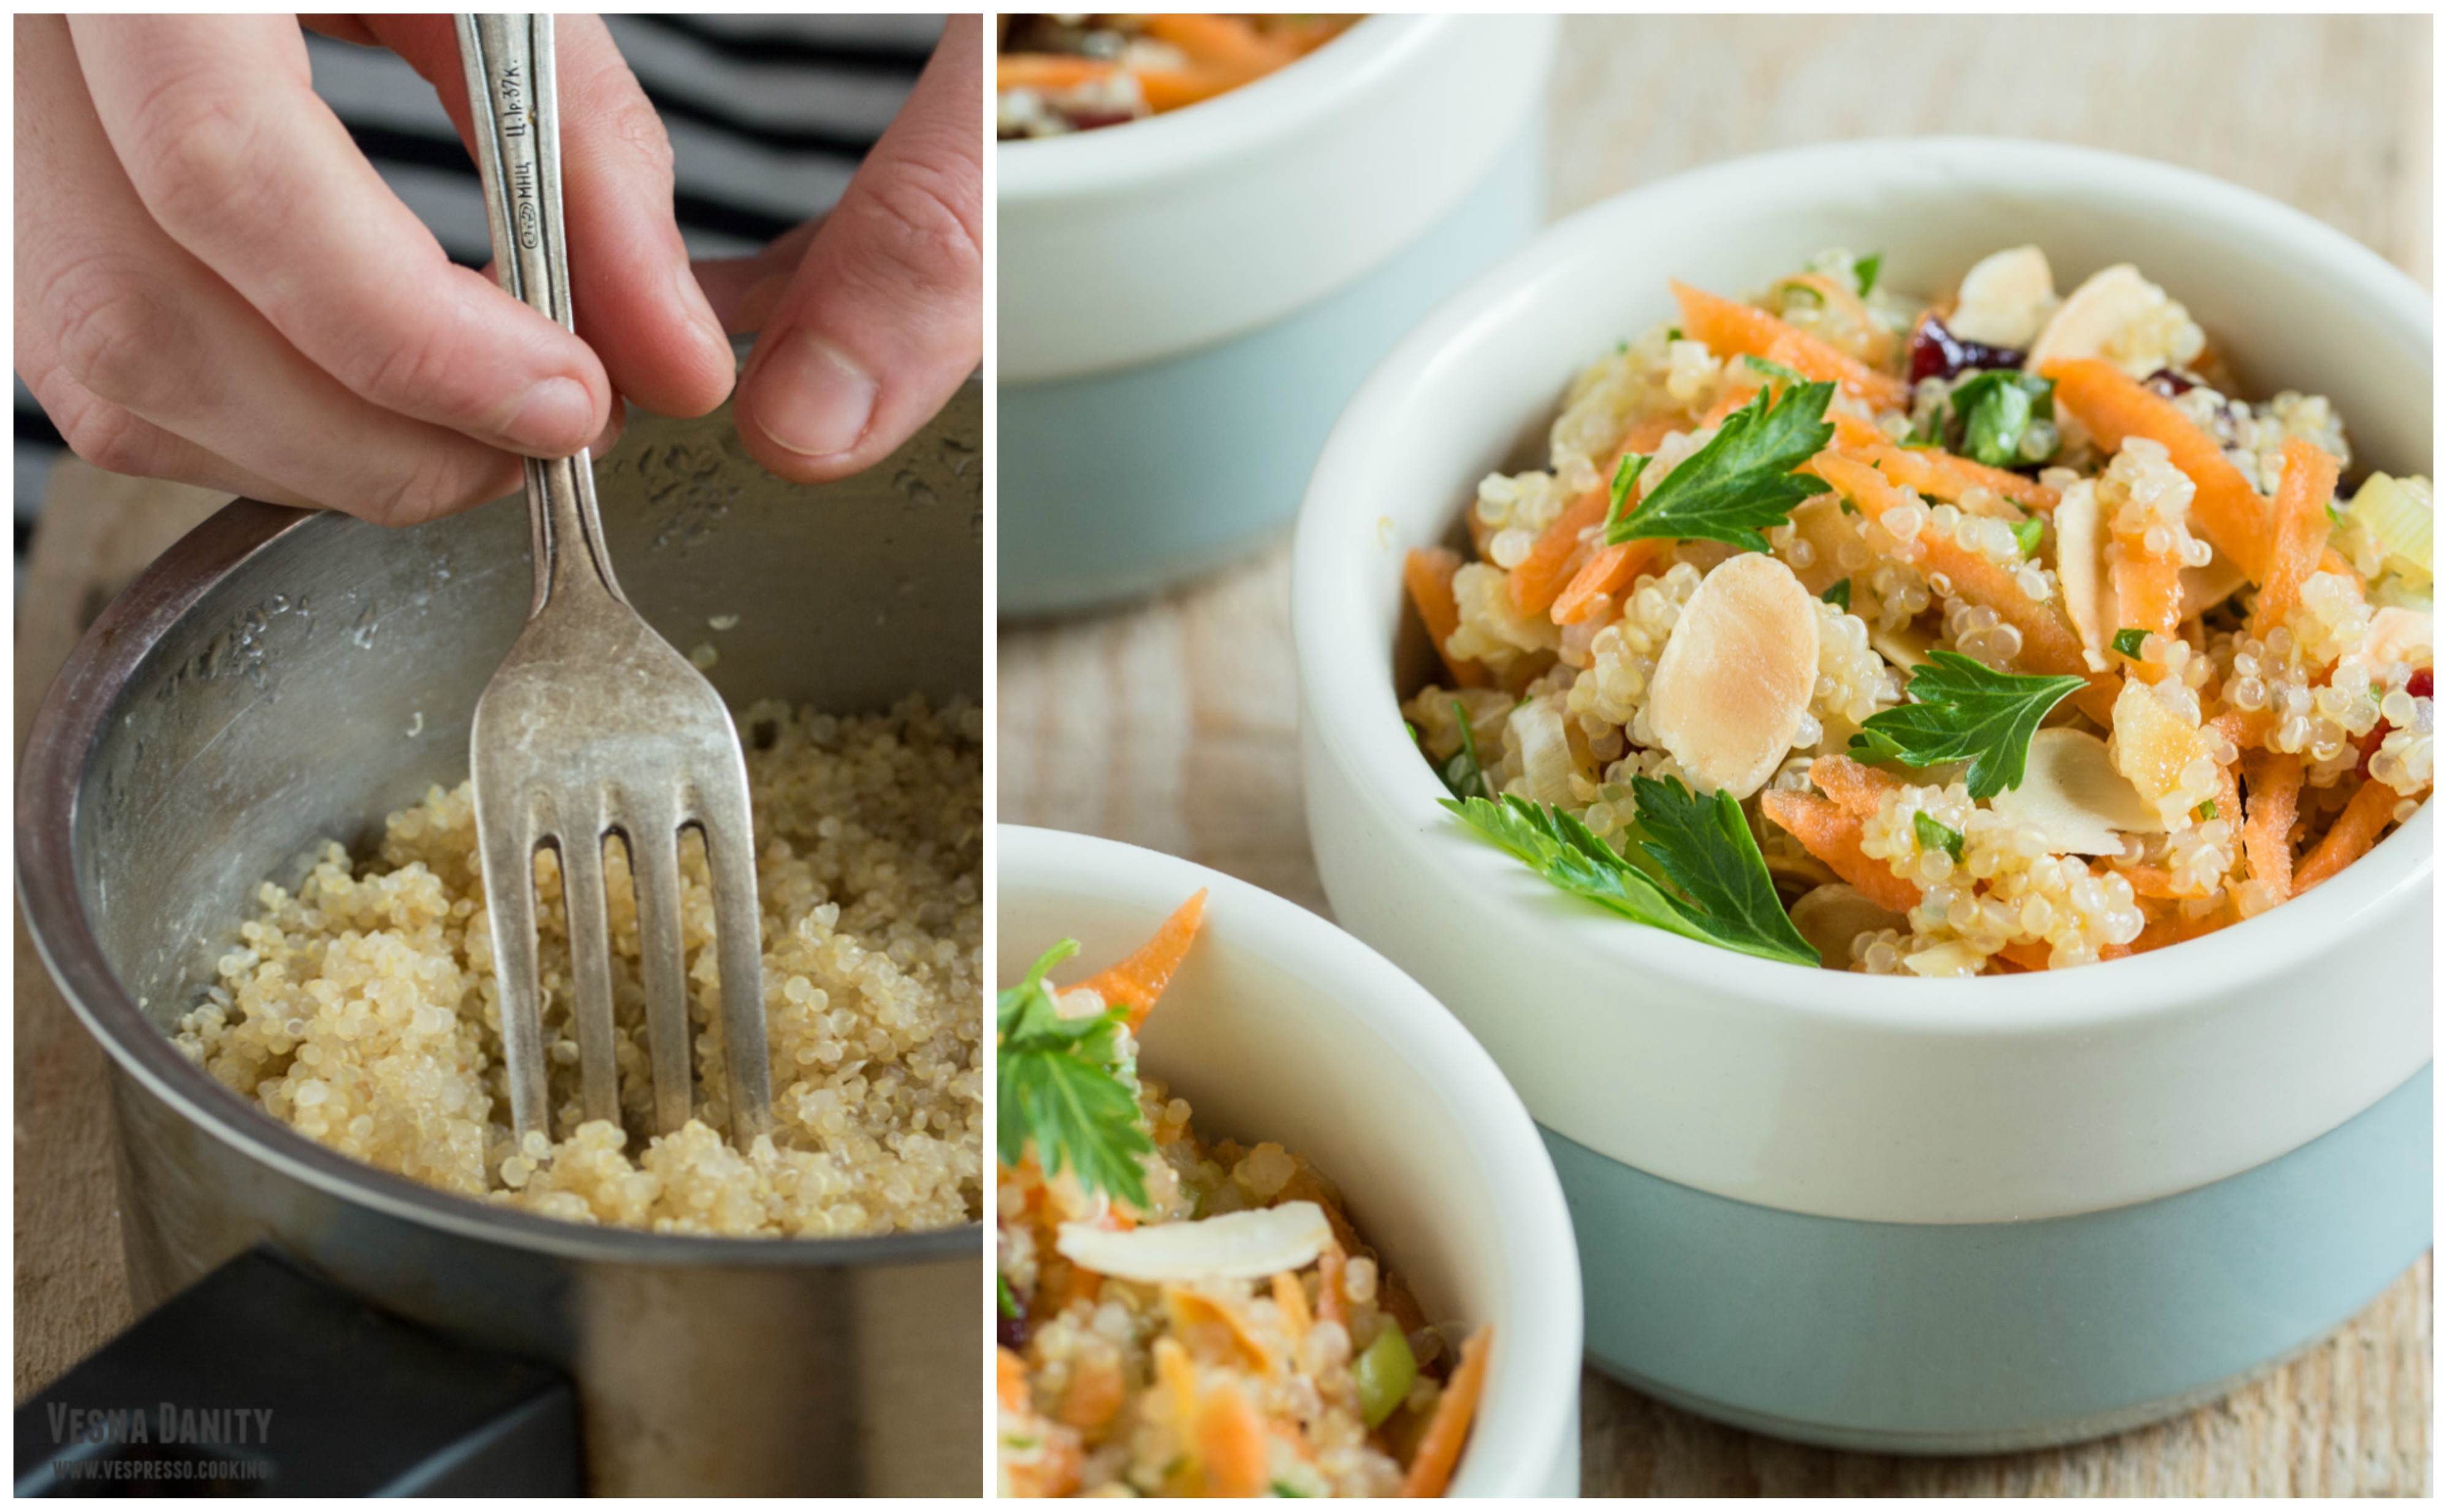
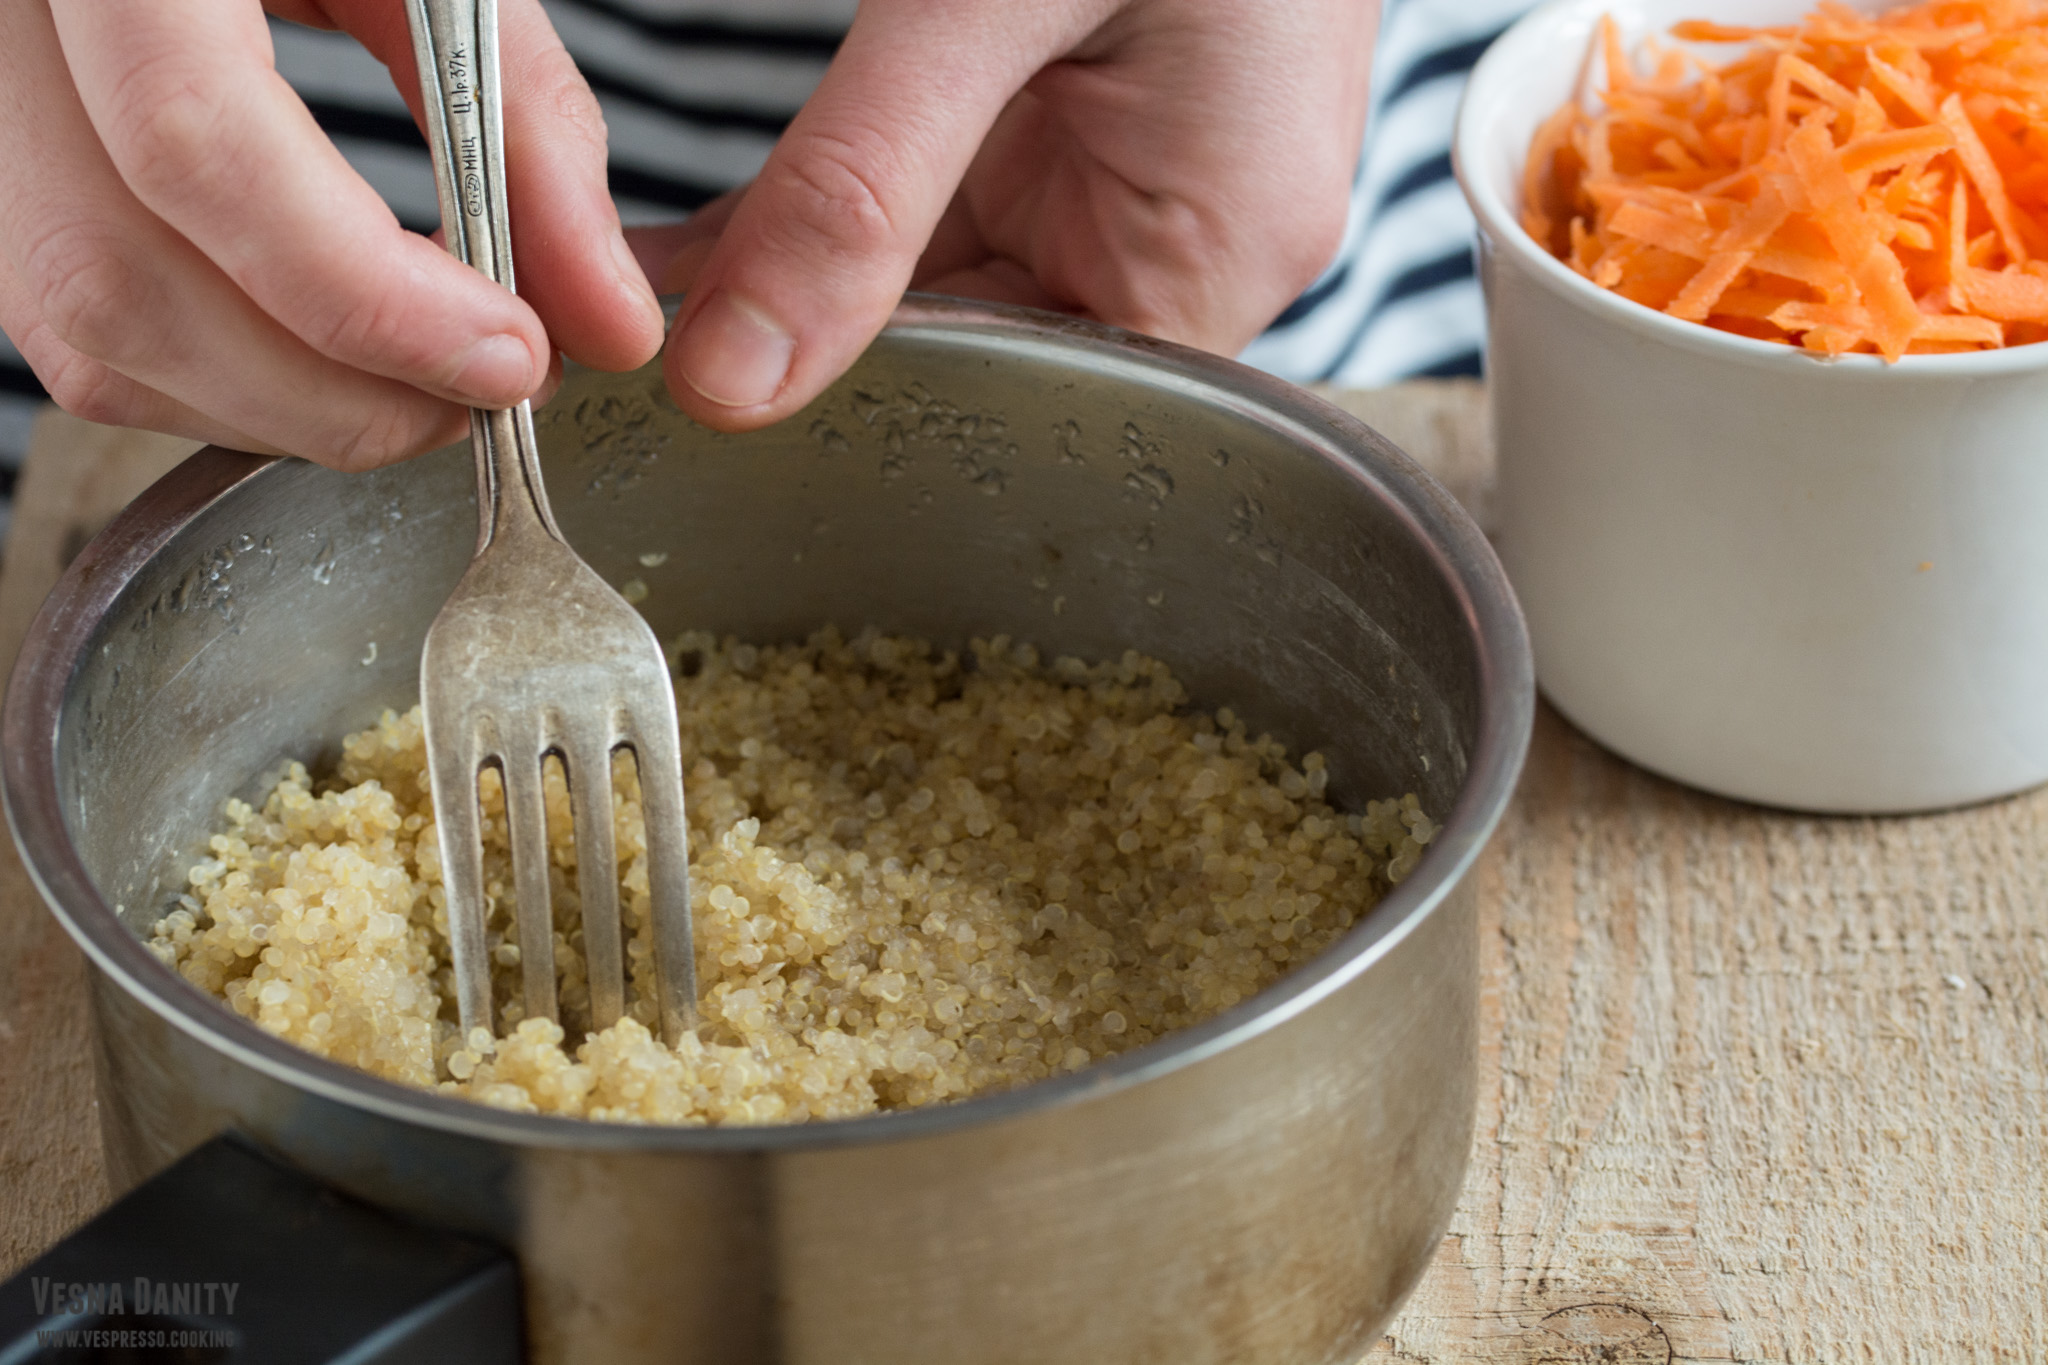
  1. Quinoa. Place the quinoa in a strainer and rinse it with cold water for about 1 minute. Drain it very well. Place quinoa in a sauce pan, add 1 cup water and 1/4 tsp sea salt and bring to a boil on high heat. When the water begins to boil, cover with a lid and reduce the heat to minimum. Simmer for 15 minutes. Remove from heat and let it stand covered for 5 minutes. After 5 minutes, fluff it with a fork.
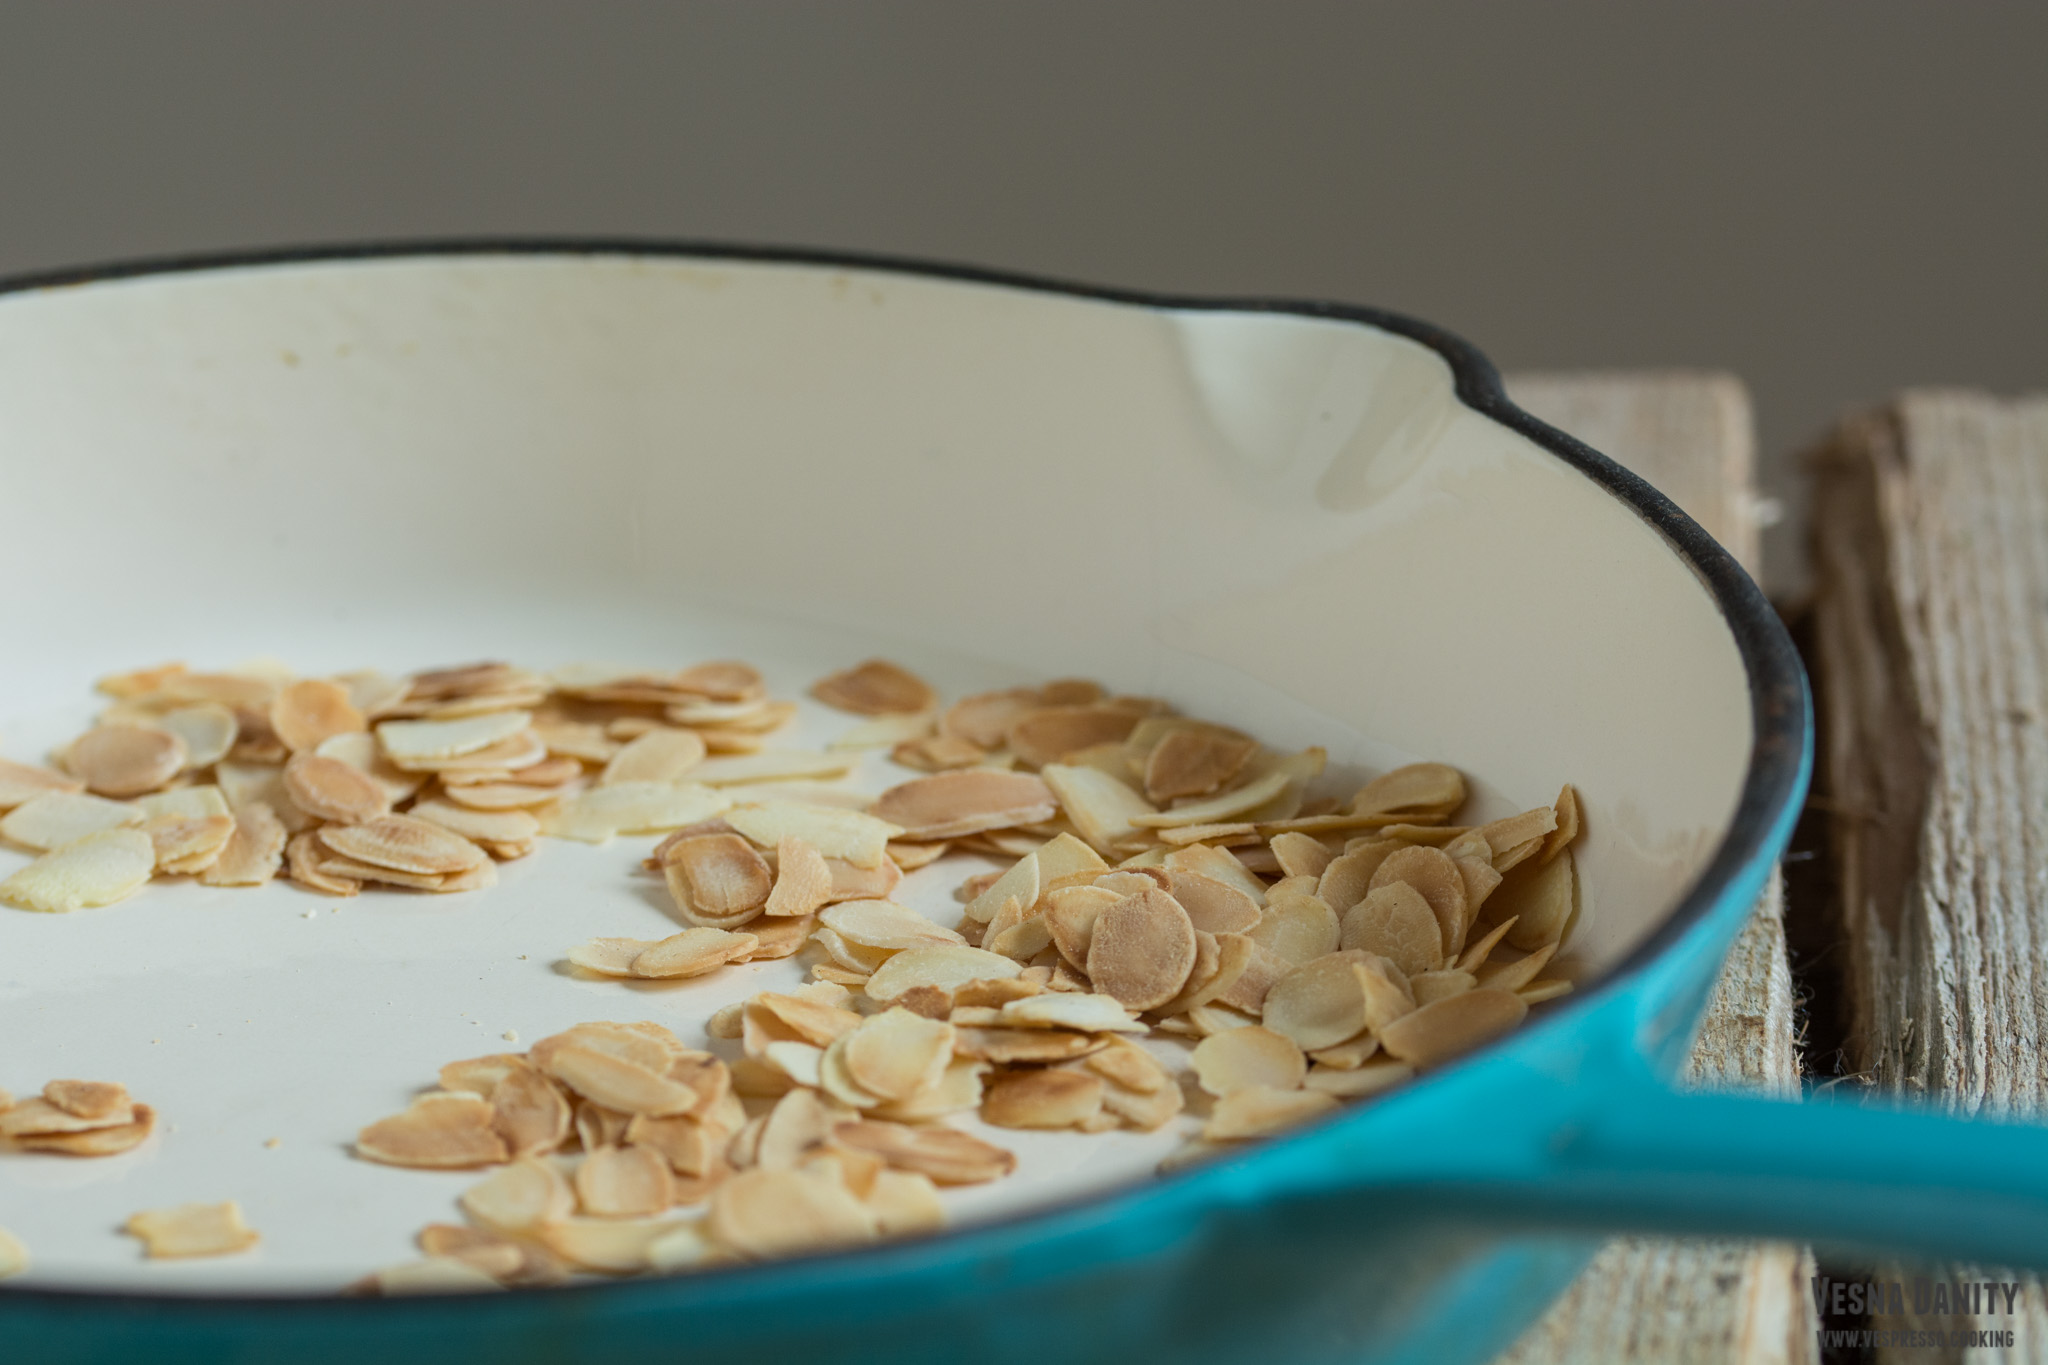
  2. Almonds. Brown the almonds in a skillet, on medium heat. Set aside.
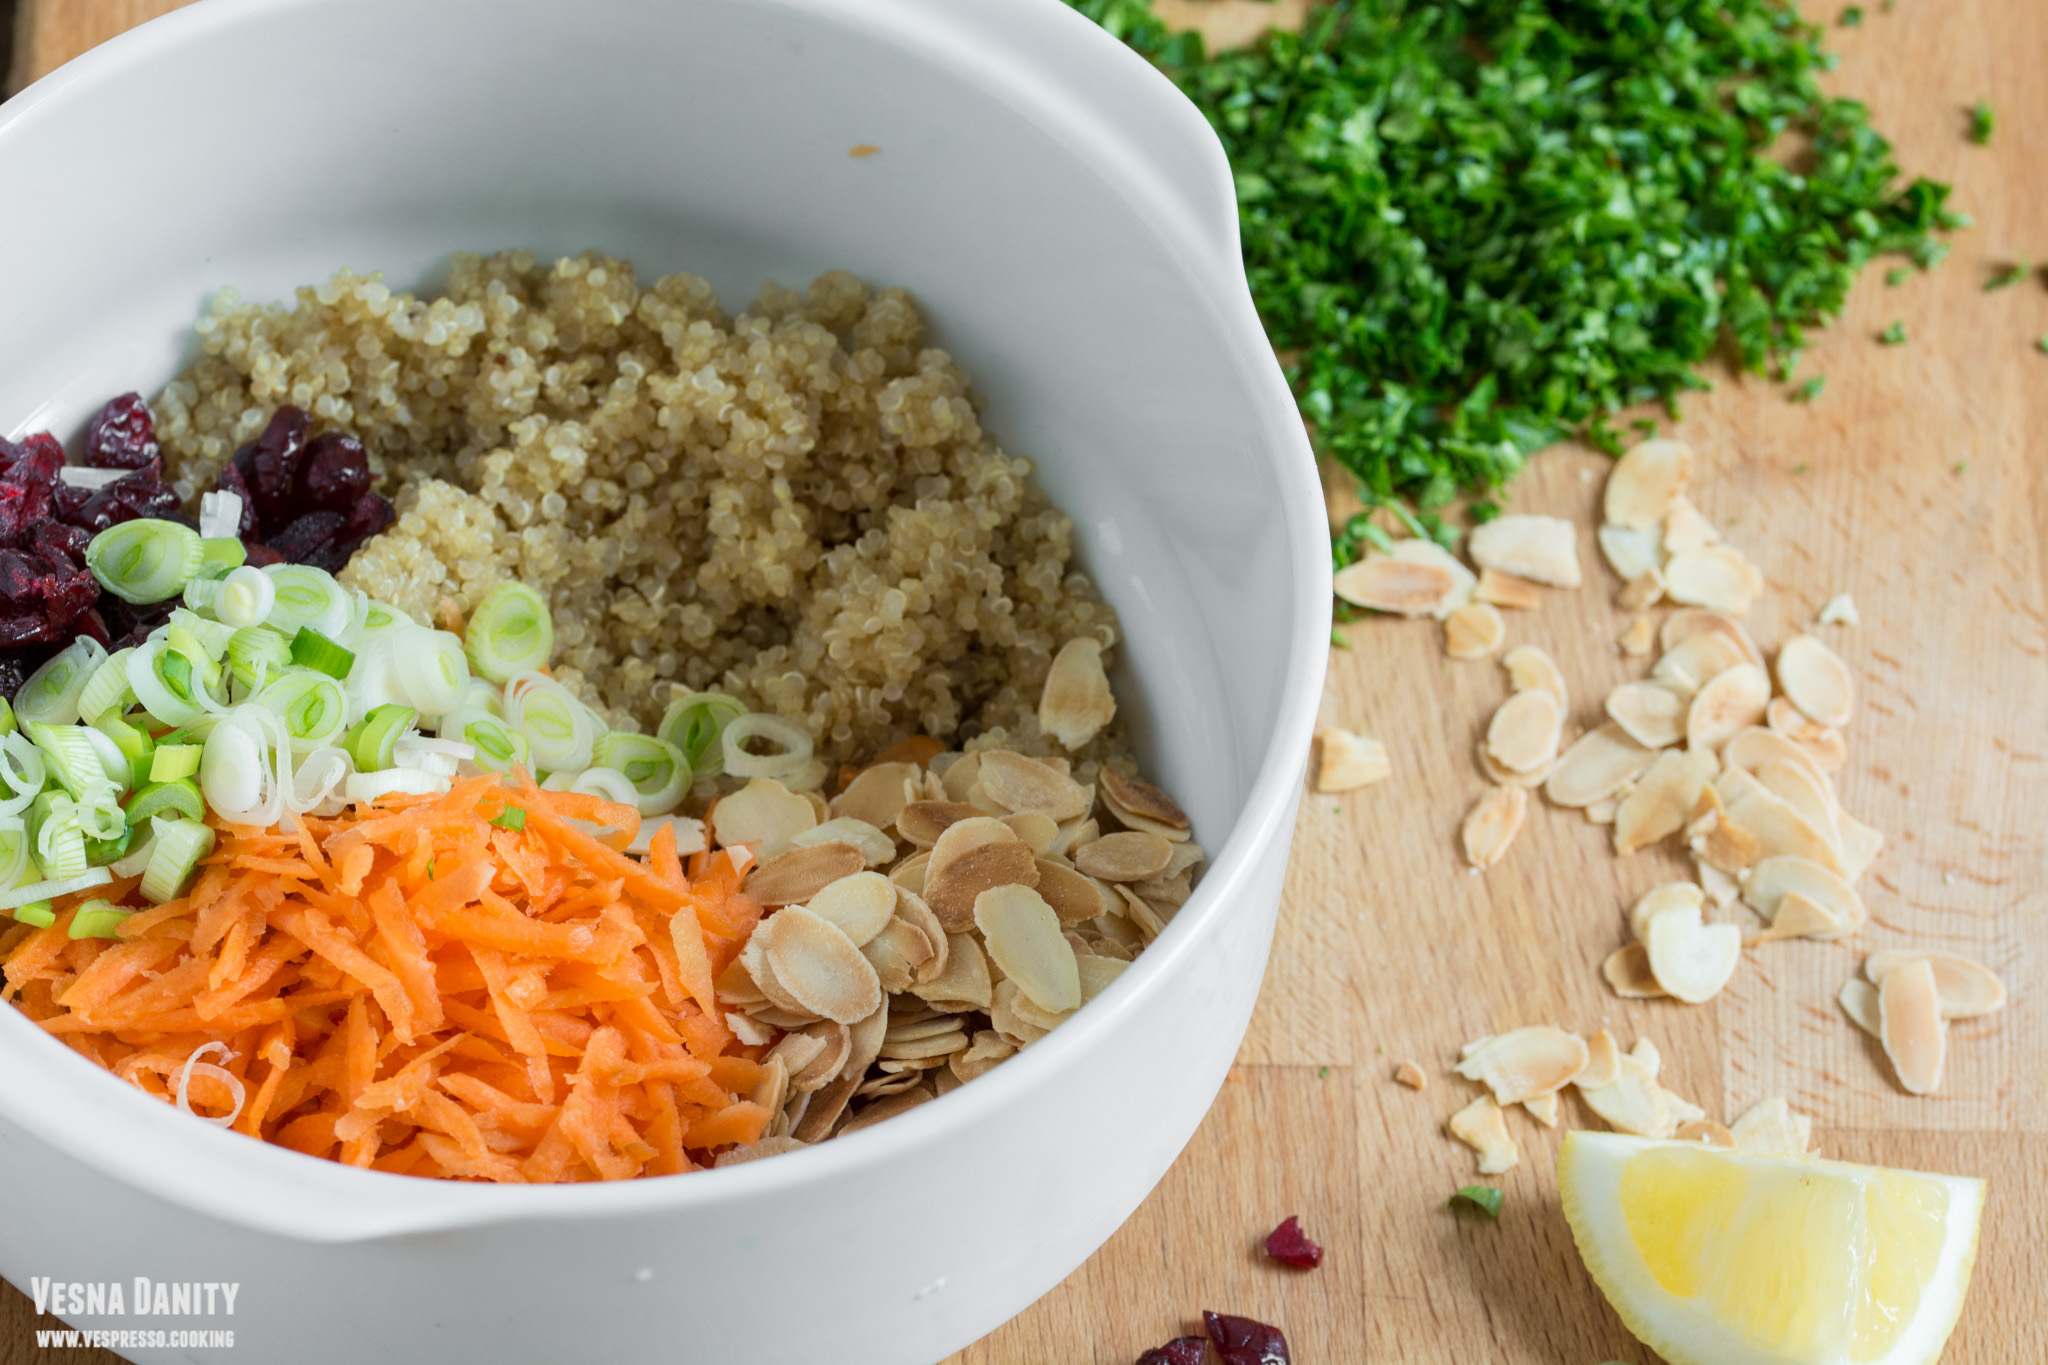
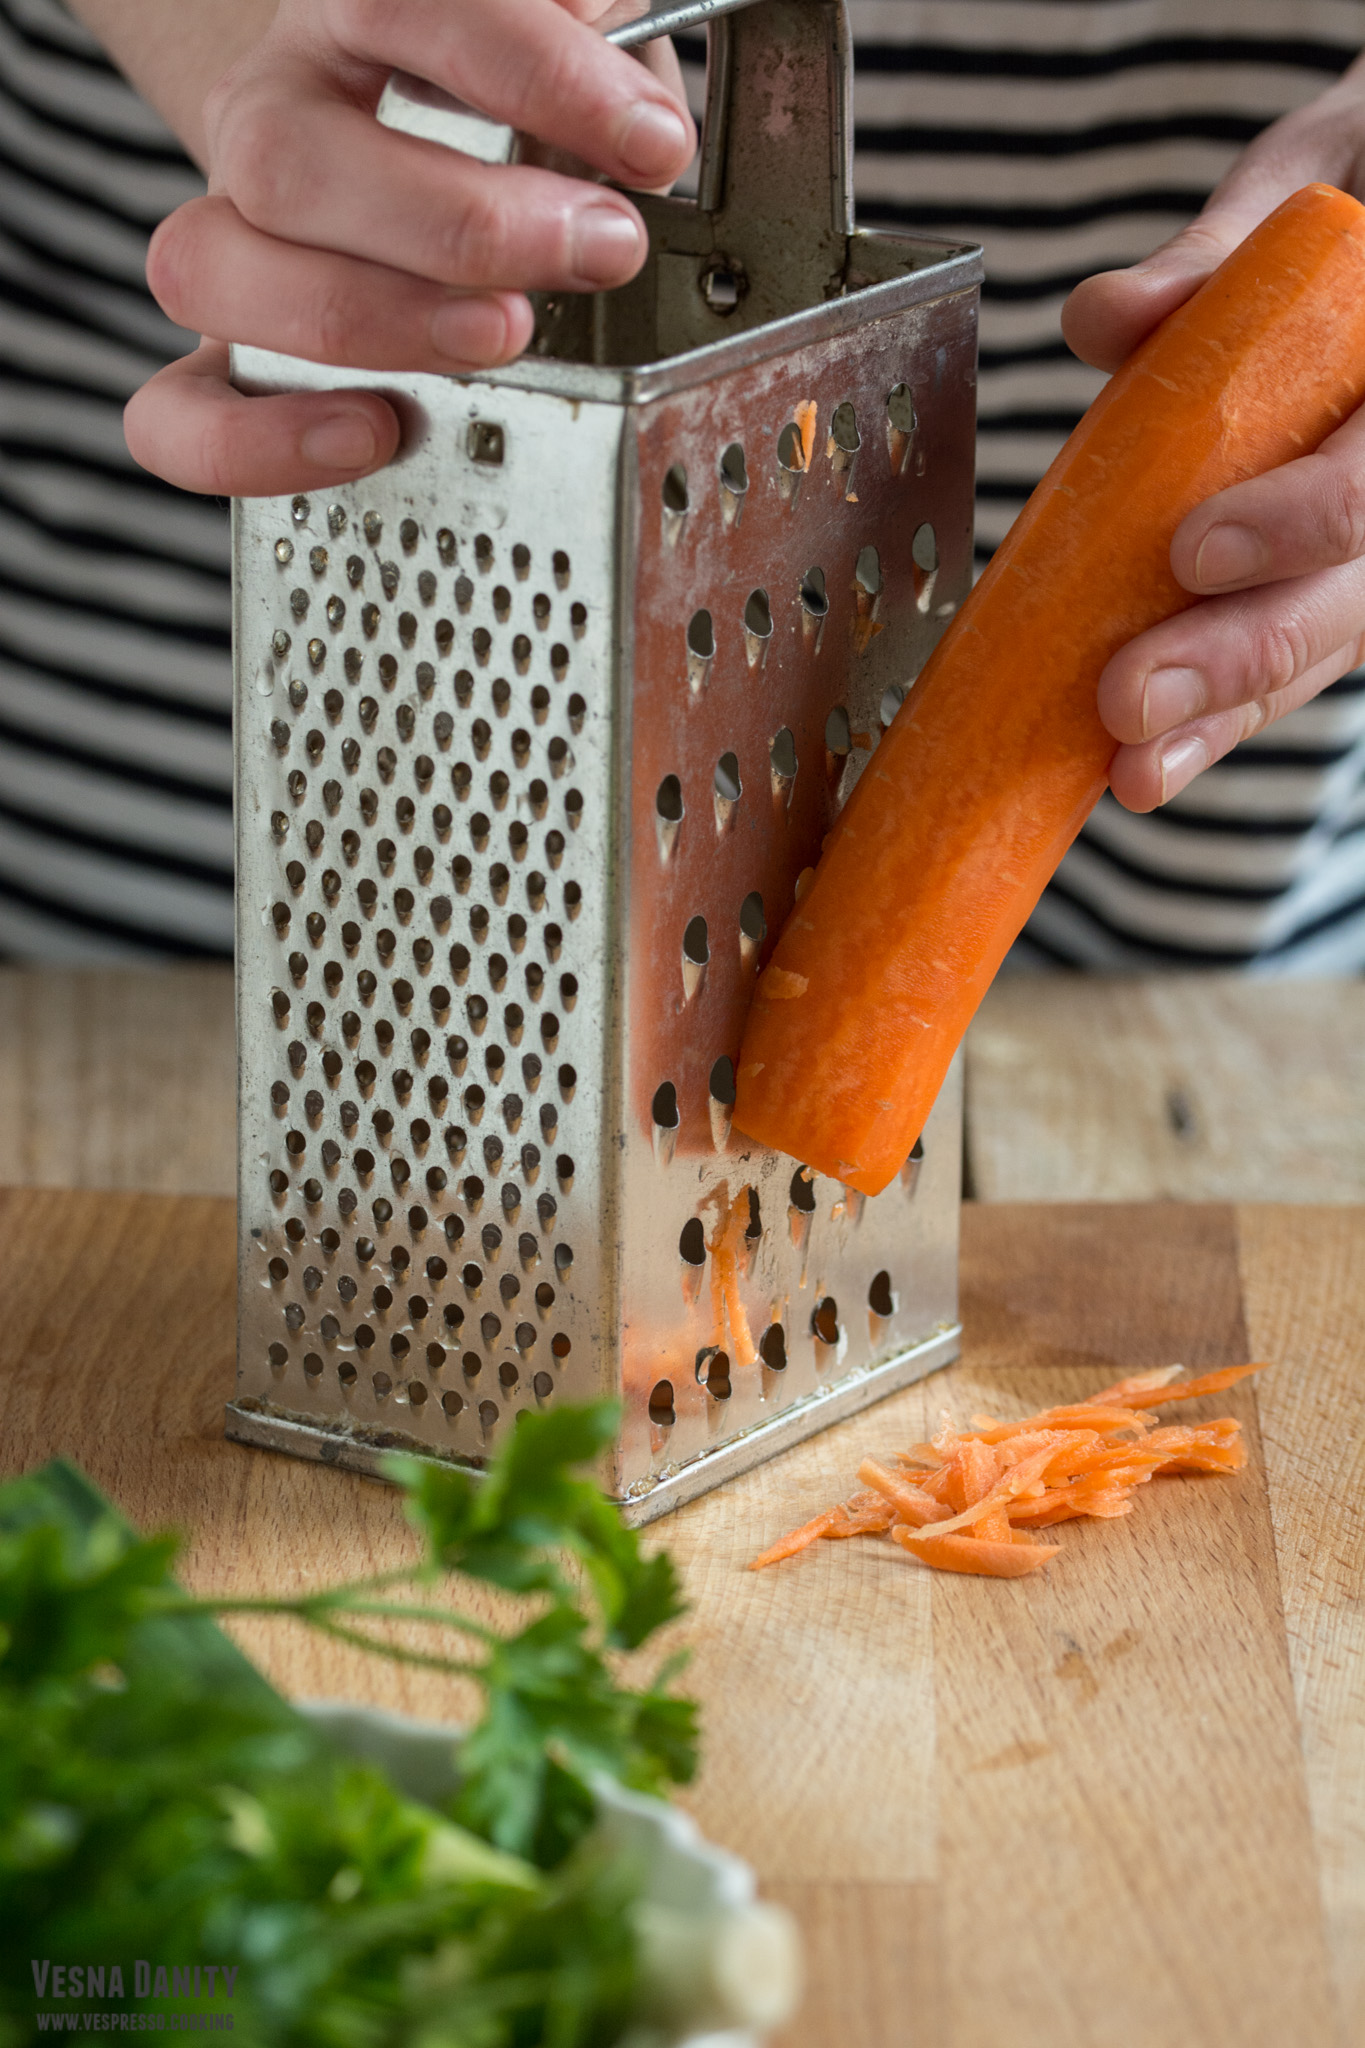
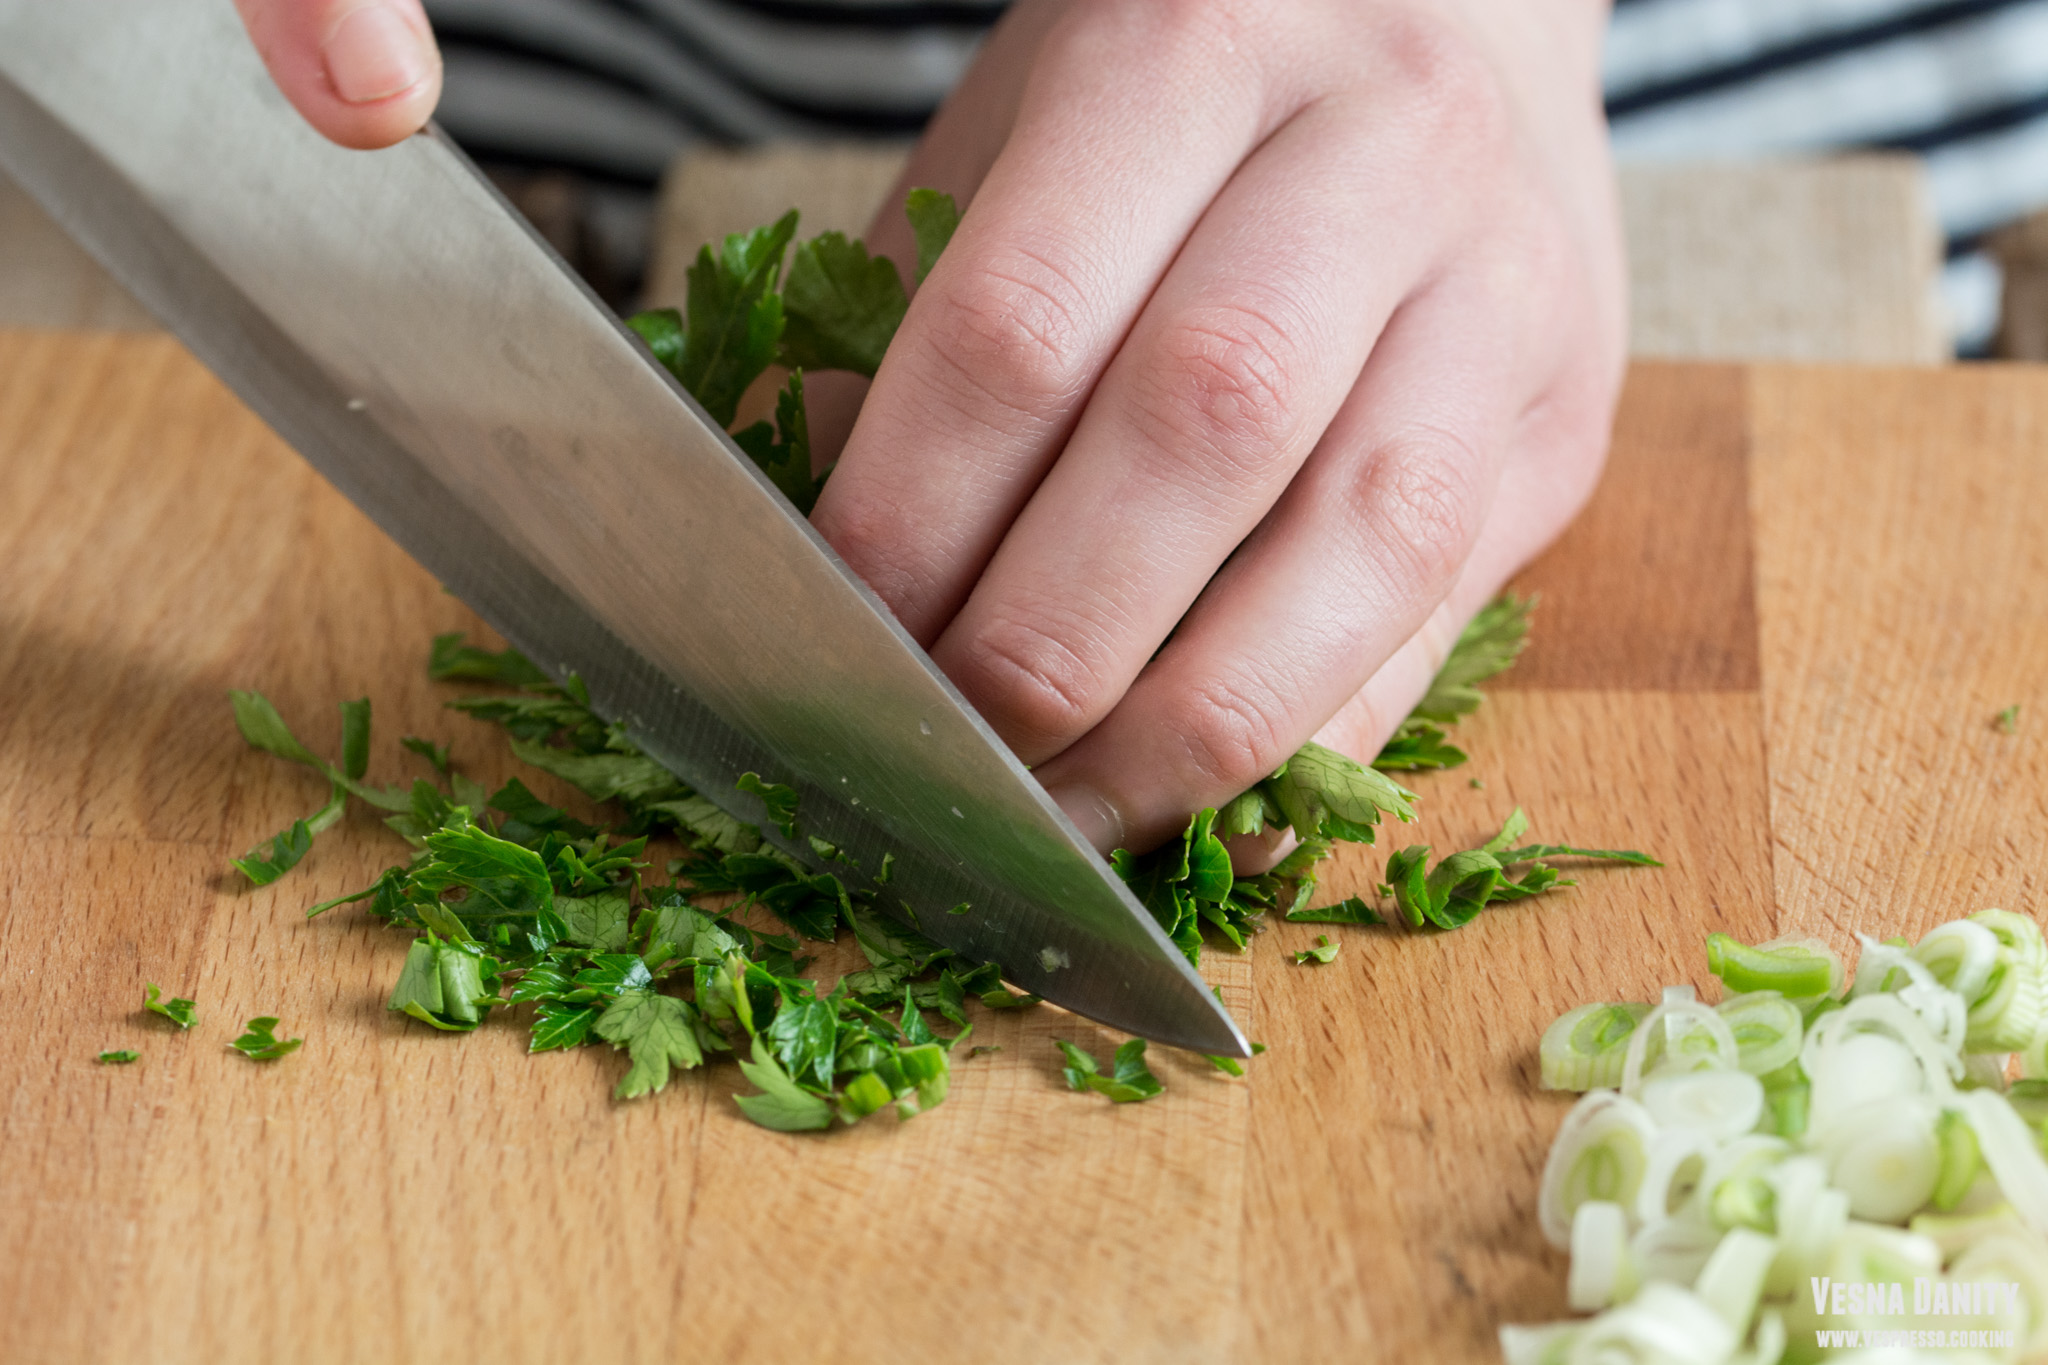
  3. Carrot, spring onions, cranberries, parsley. Peel the carrot using a vegetable peeler and grate it. Chop the spring onions finely. Halve the cranberries.Wash the parsley, pat it dry with a clean paper towel and chop it finely.
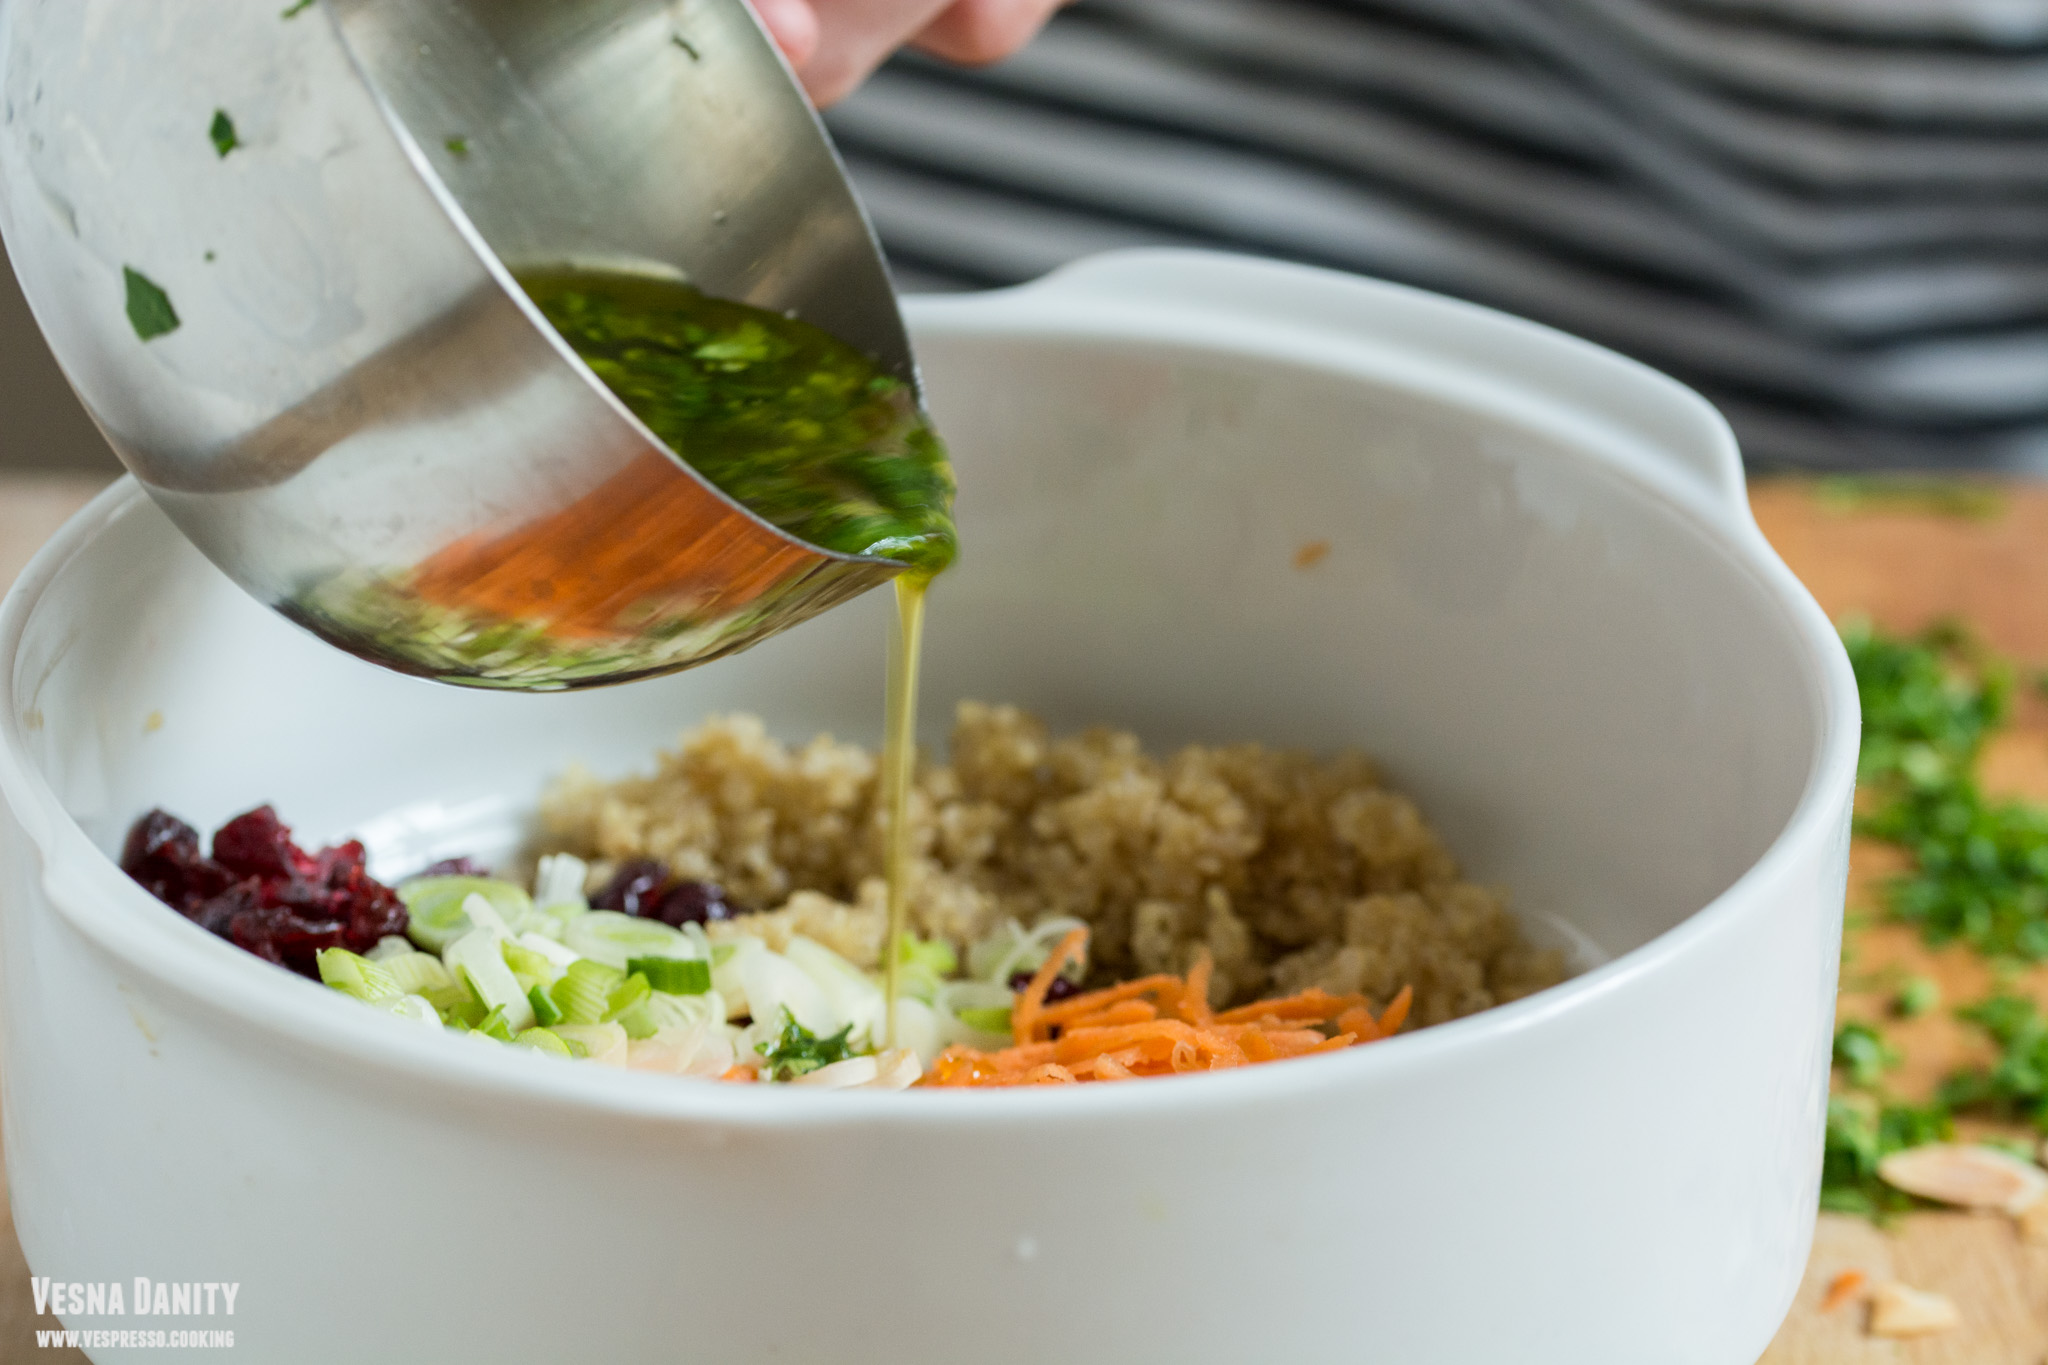
  4. Dressing and assembly. Prepare the dressing by mixing in a medium bowl the lemon juice with the oil and the parsley. Take a large bowl and place the quinoa in it. Add the carrot, spring onion, cranberries and almonds. Pour the dressing, give it a stir and season with salt and pepper.
  5. Leftovers. Place the leftovers (if any) in a bowl, cover with cling film and refrigerate for up to 2 days.

Source: www.bettycrocker.com


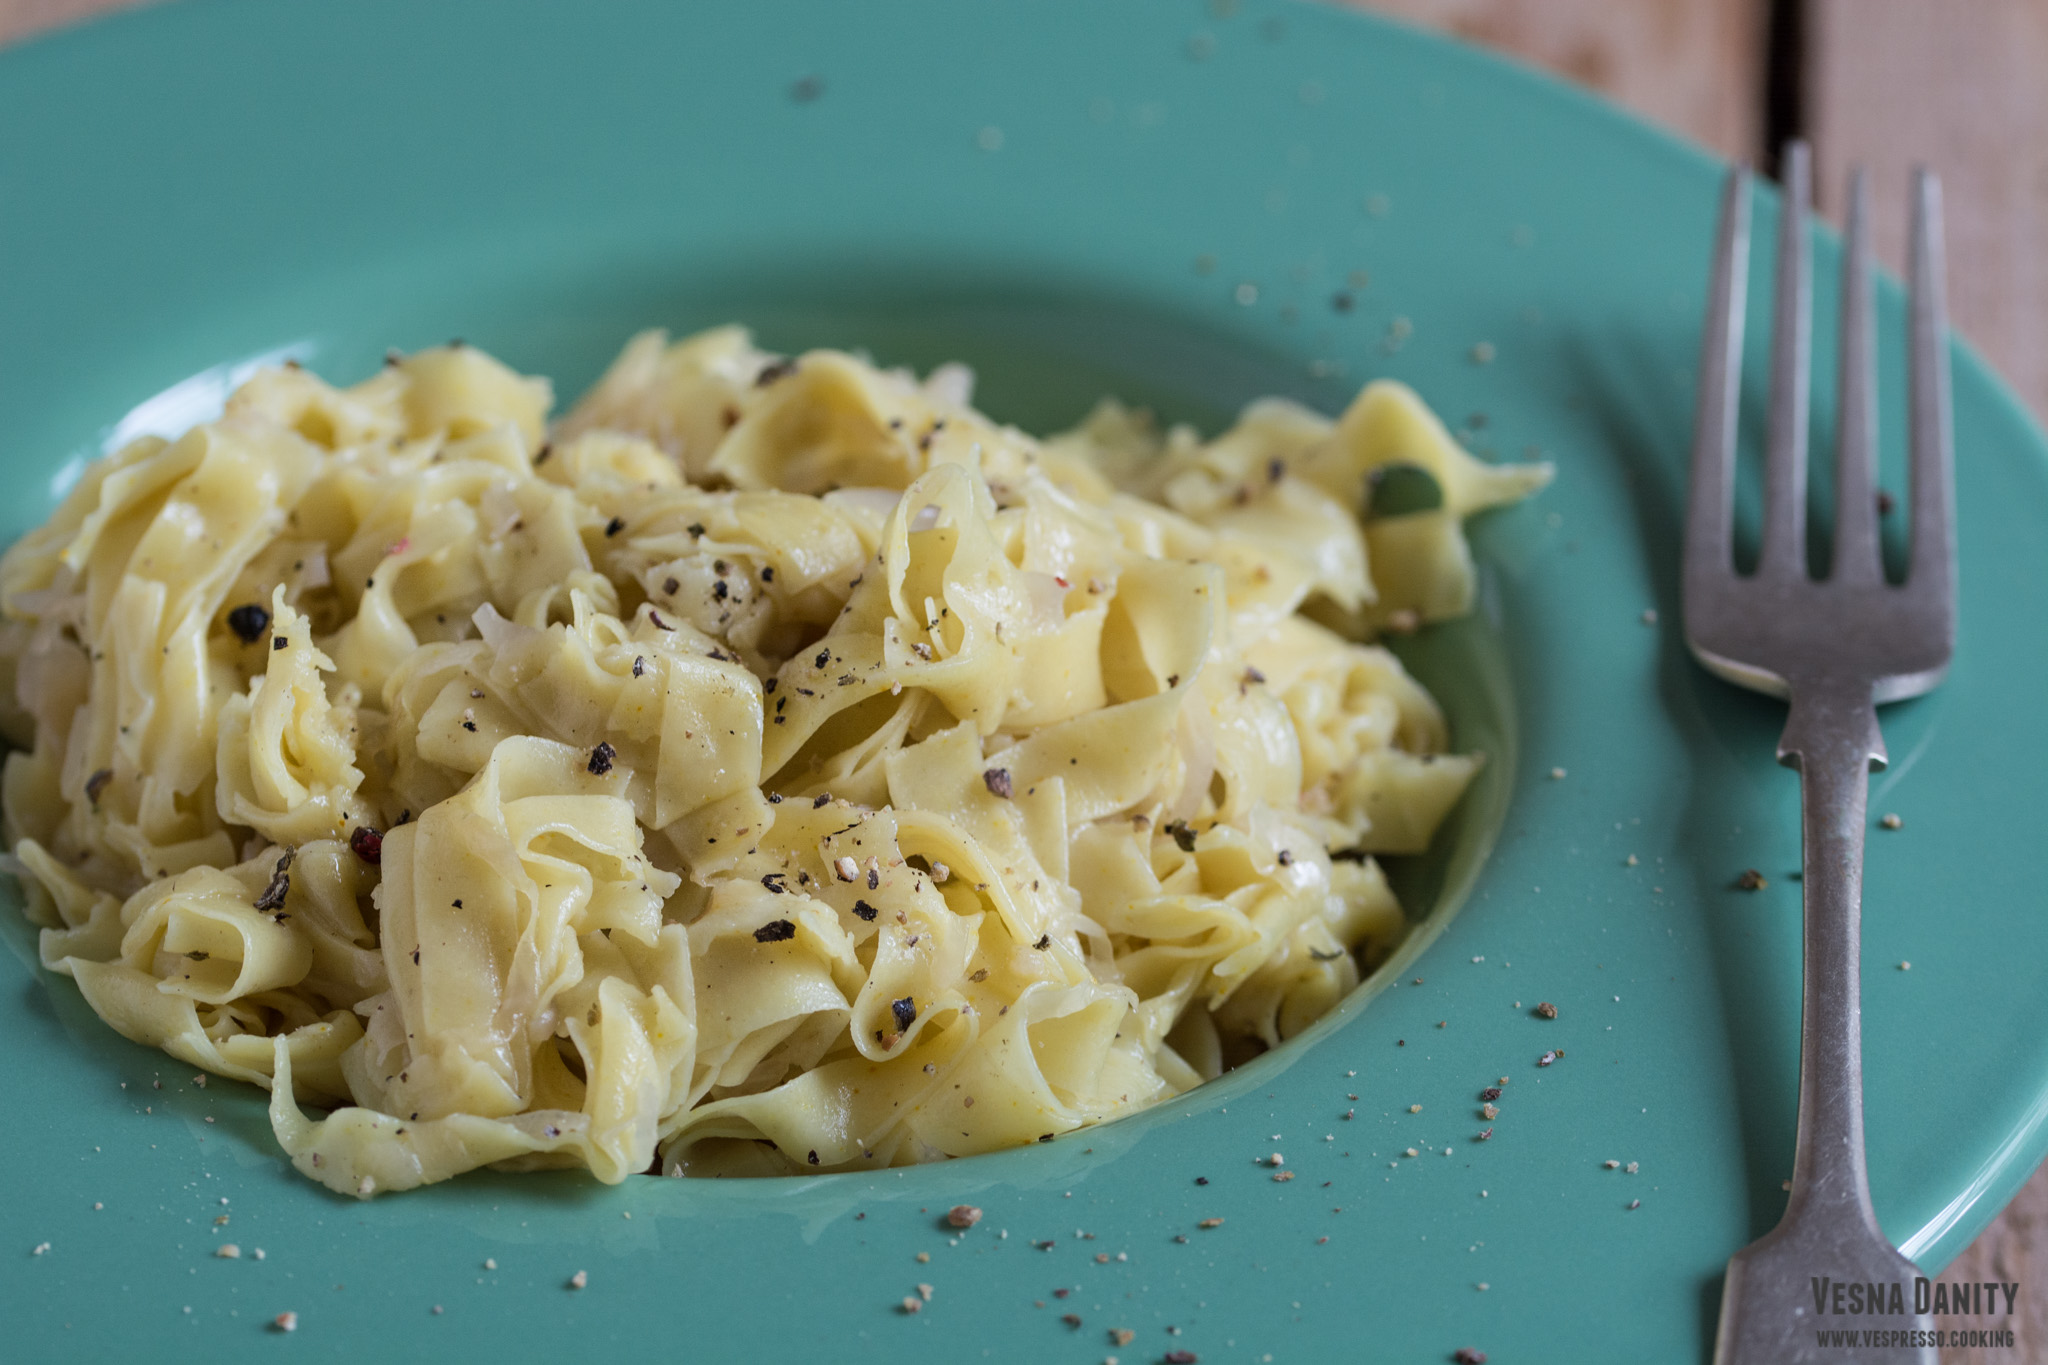
Homemade Noodles with Sauteed Cabbage (Vegan)

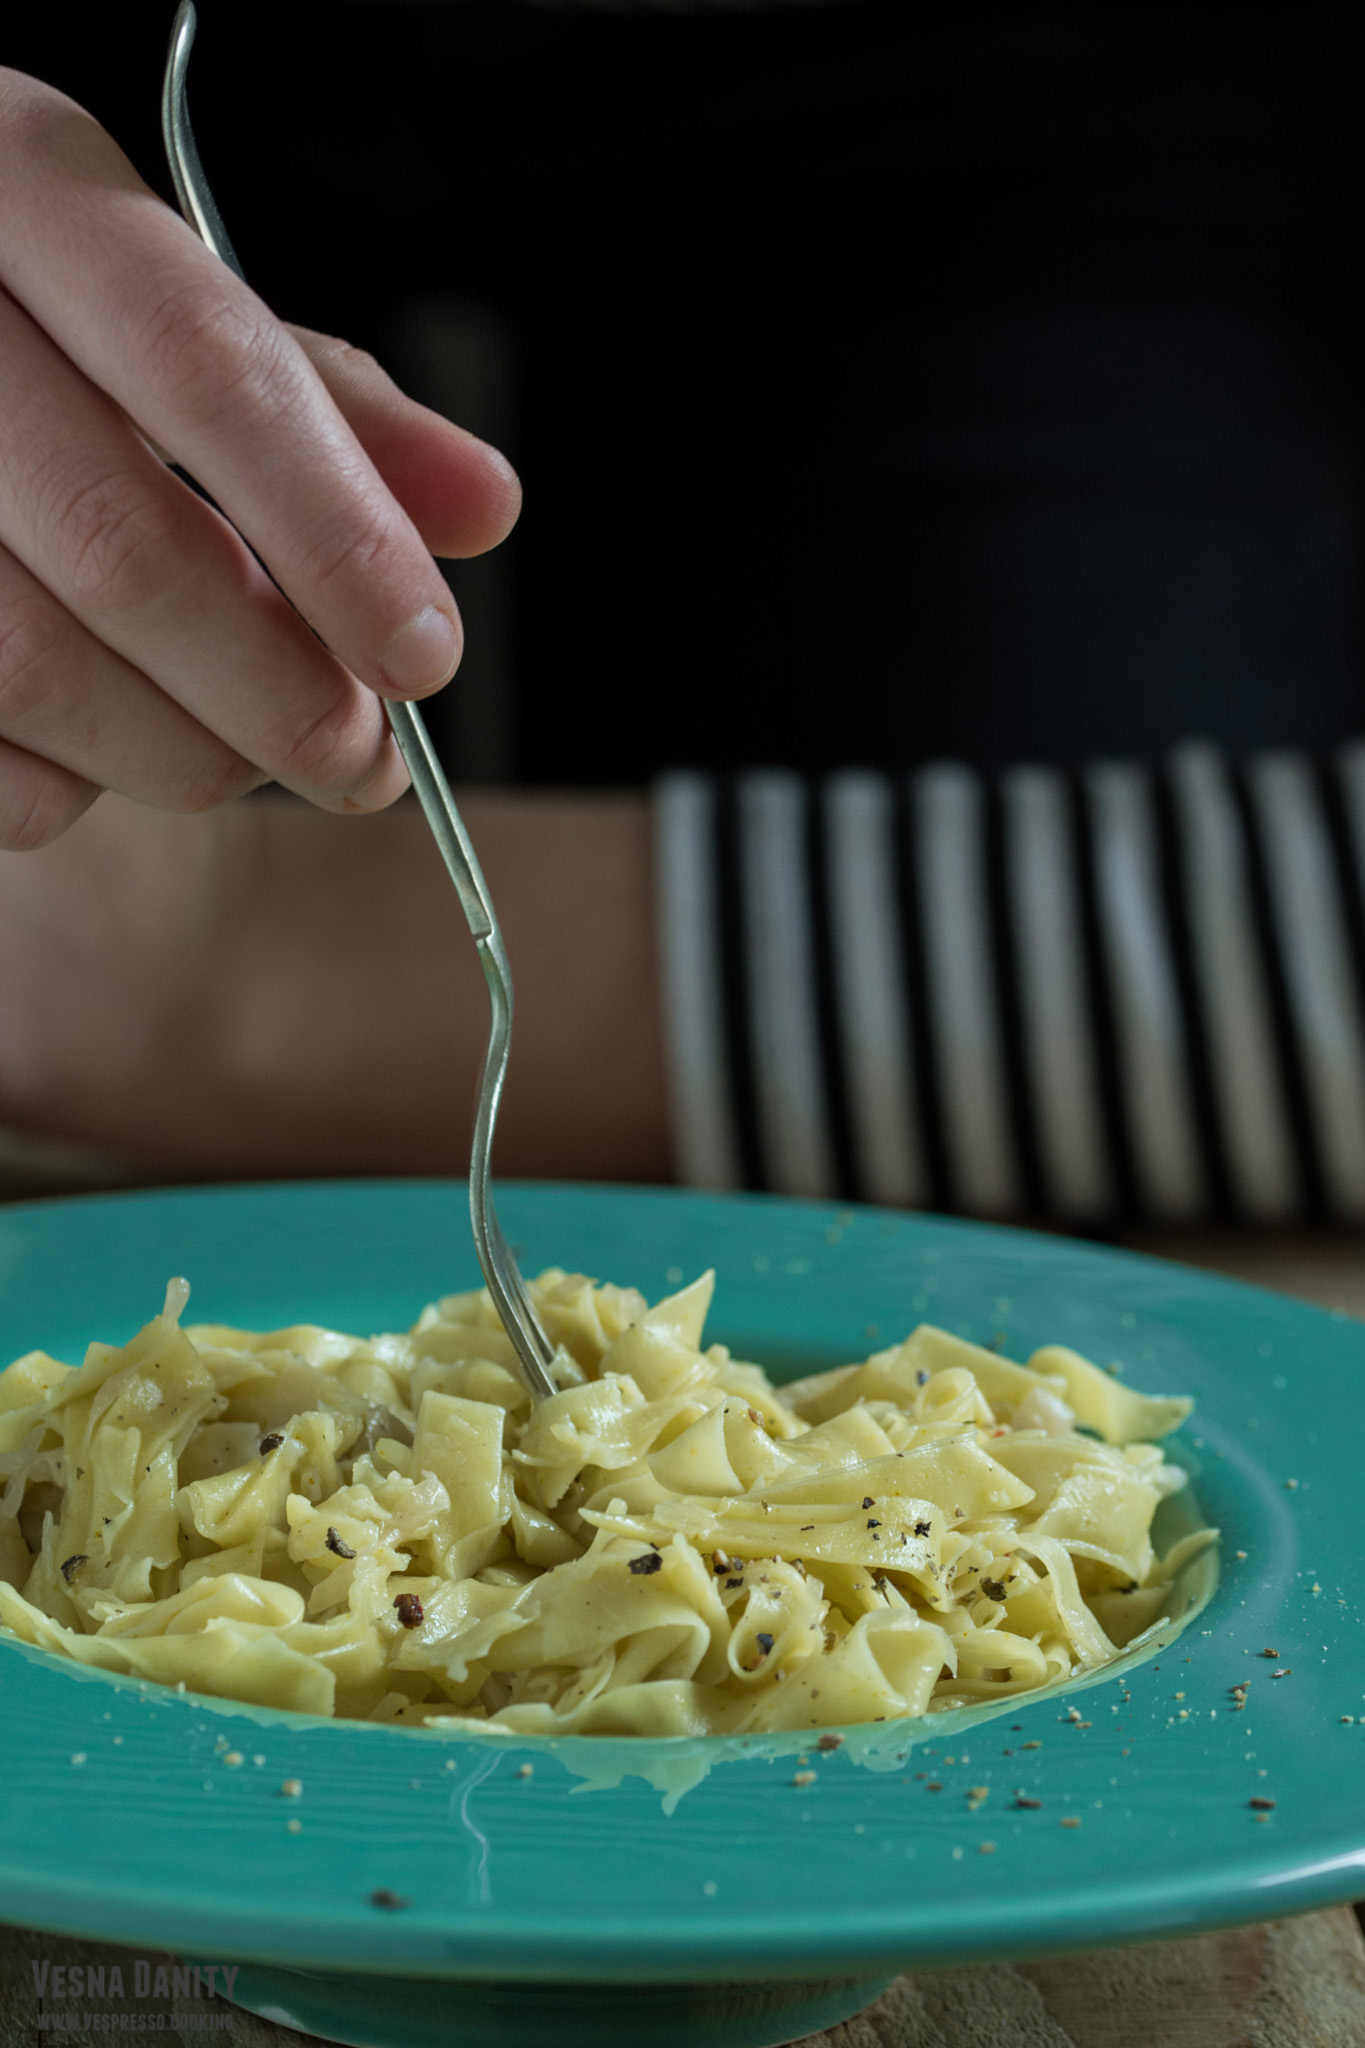
My heart fills with joy when I remember my grandmother’s recipe of cabbage noodles, those fragrant and peppery noddles she used to make for me every Friday afternoon. I used to barge into the kitchen, throwing my backpack on the old, wooden armchair and she used to greet me with a warm smile and a simple bowl of cabbage noodles. That’s all I’ve ever needed, for that matter!

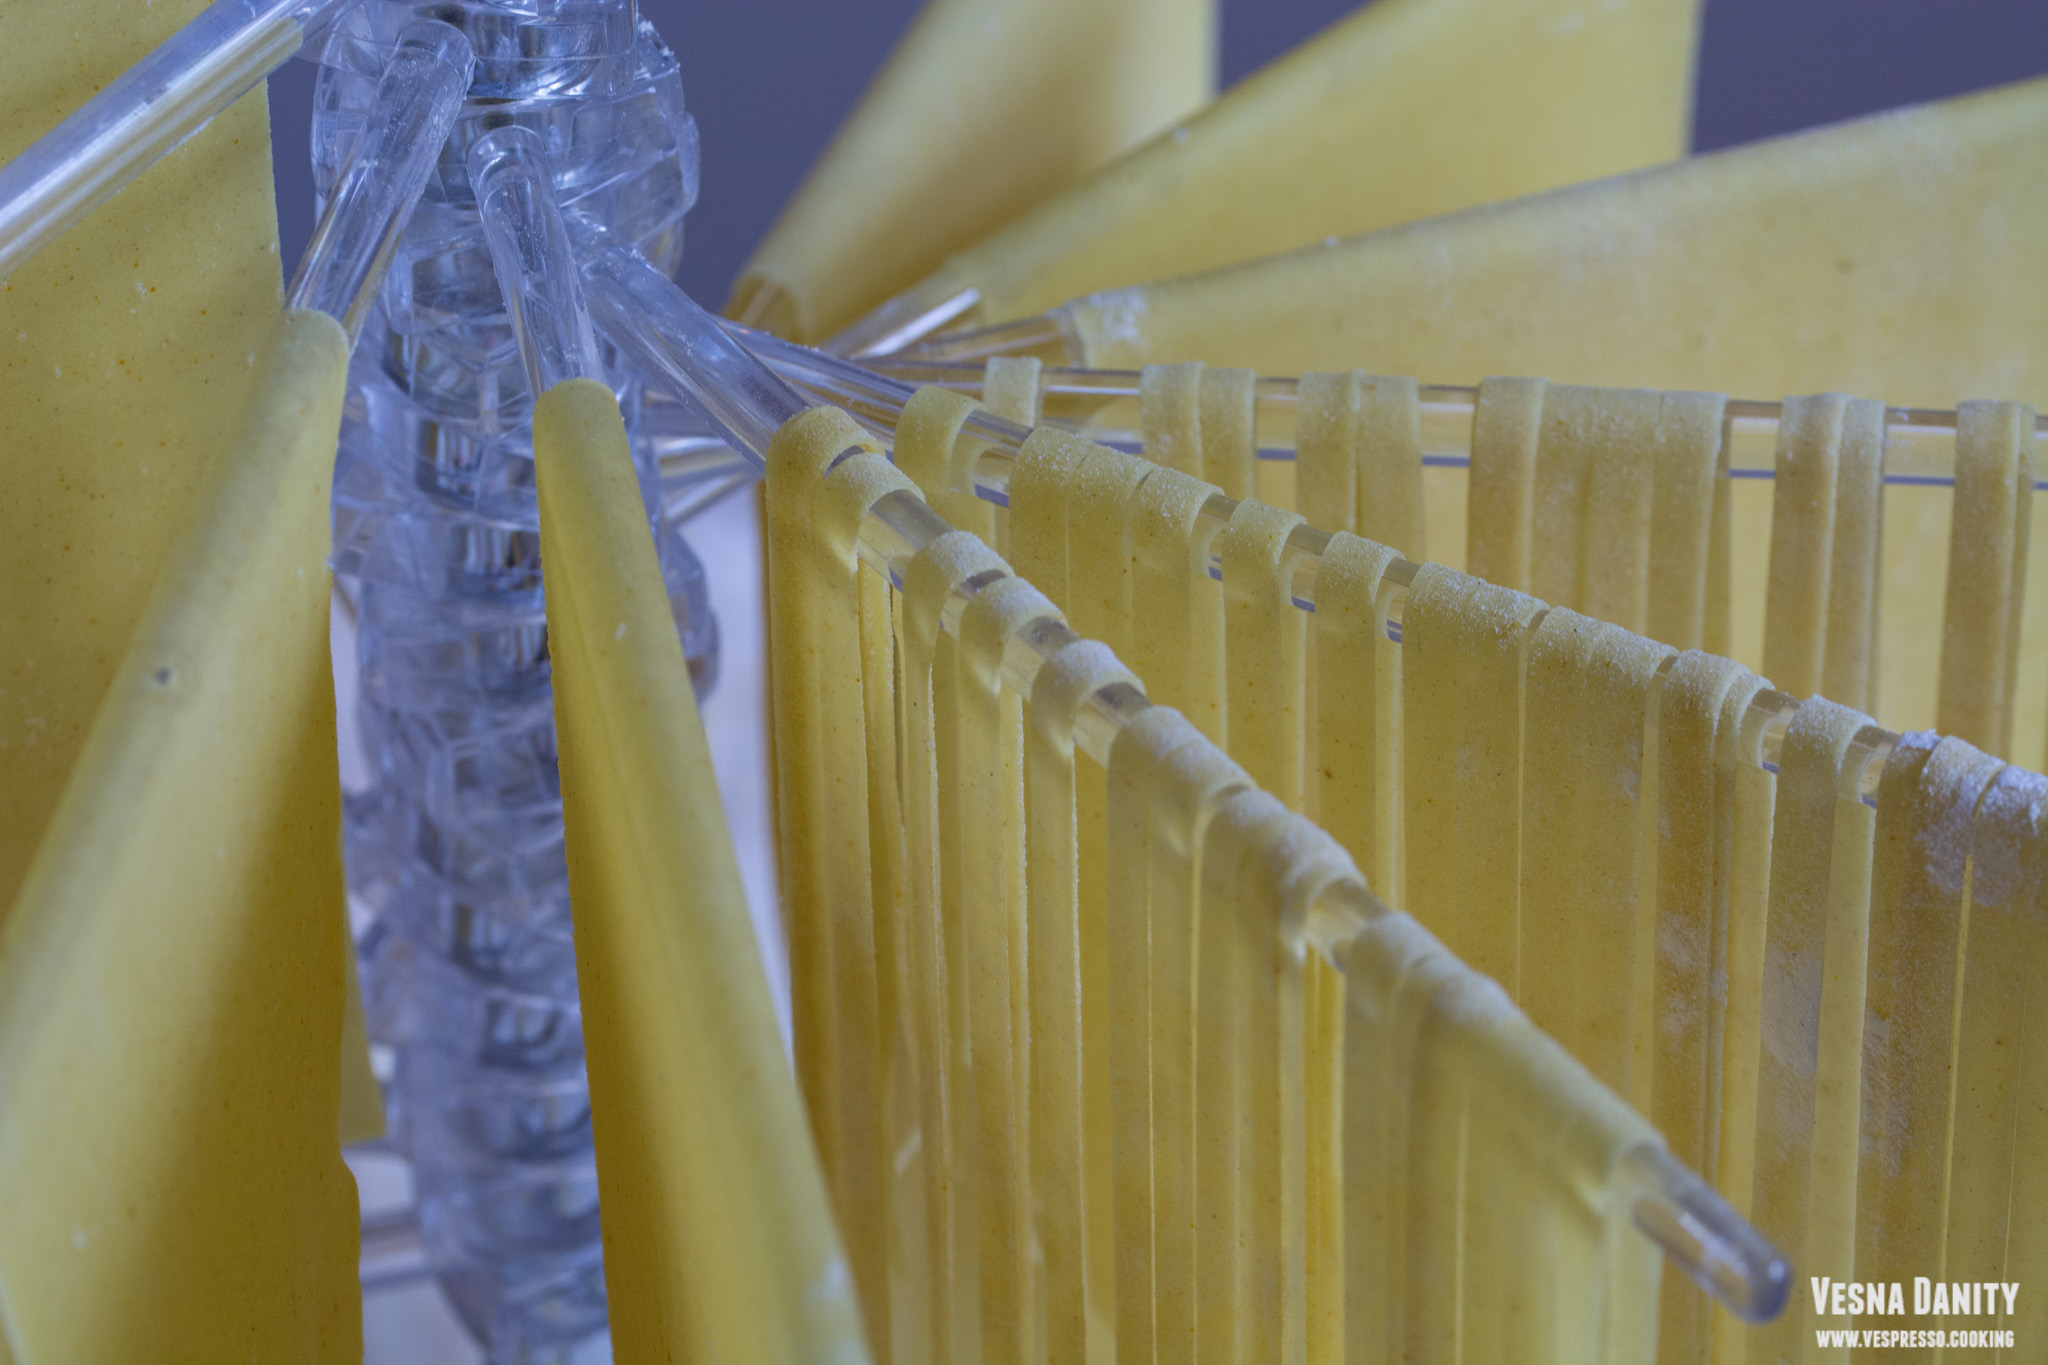
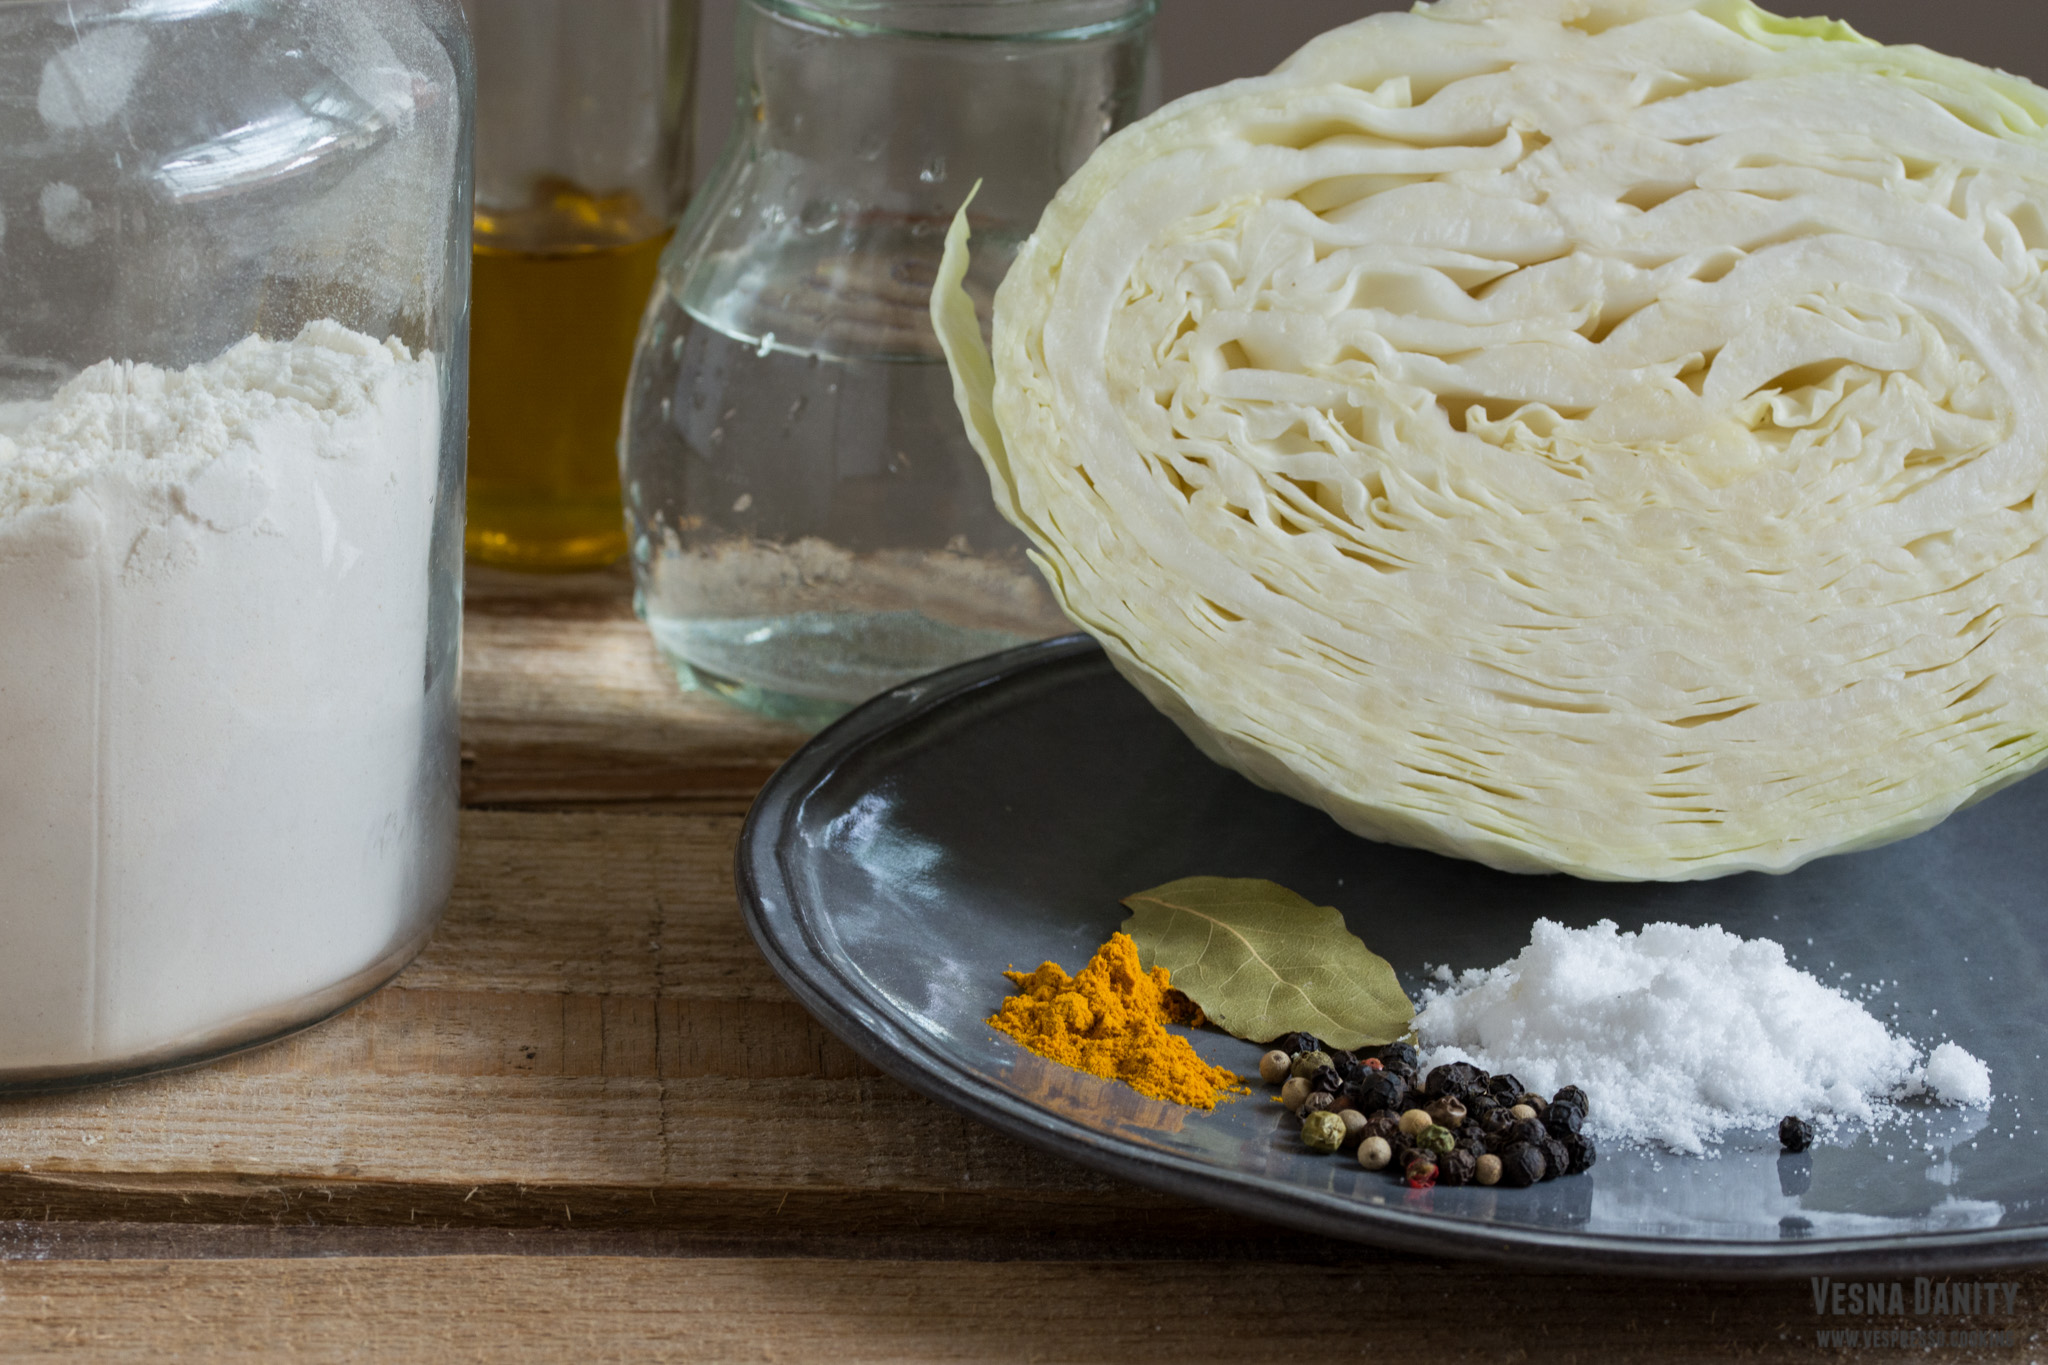
For these delicious noodles with sauteed cabbage you only need about a handful of budget-friendly ingredients and a spare 20 minutes. If you decide to make the noodles from scratch, it shouldn’t take more than 1 hour. For this recipe I used my pasta machine but a simple rolling pin and a sharp knife did the job brilliantly for years (and the proof lays here). Whenever I make them plant-based, I replace the eggs with olive oil and lukewarm water. Since I can’t say I find pale noodles appealing, I add a pinch of turmenic to the flour, which gives the noodles a lovely golden color. So let’s get to work!

Ingredients (for 4 servings):

for the pasta:

  • 300g all purpose flour
  • about 160ml liquid (115ml water + 45ml olive oil)
  • 1 + 1/2 tsp salt
  • 1/2 tsp turmenic


for the sauteed cabbage:

  • 1/2 kg white cabbage
  • 1/2 Tbsp salt
  • 3 Tbsp vegetable oil
  • 1 medium onion
  • 1 tsp pepper


Method:

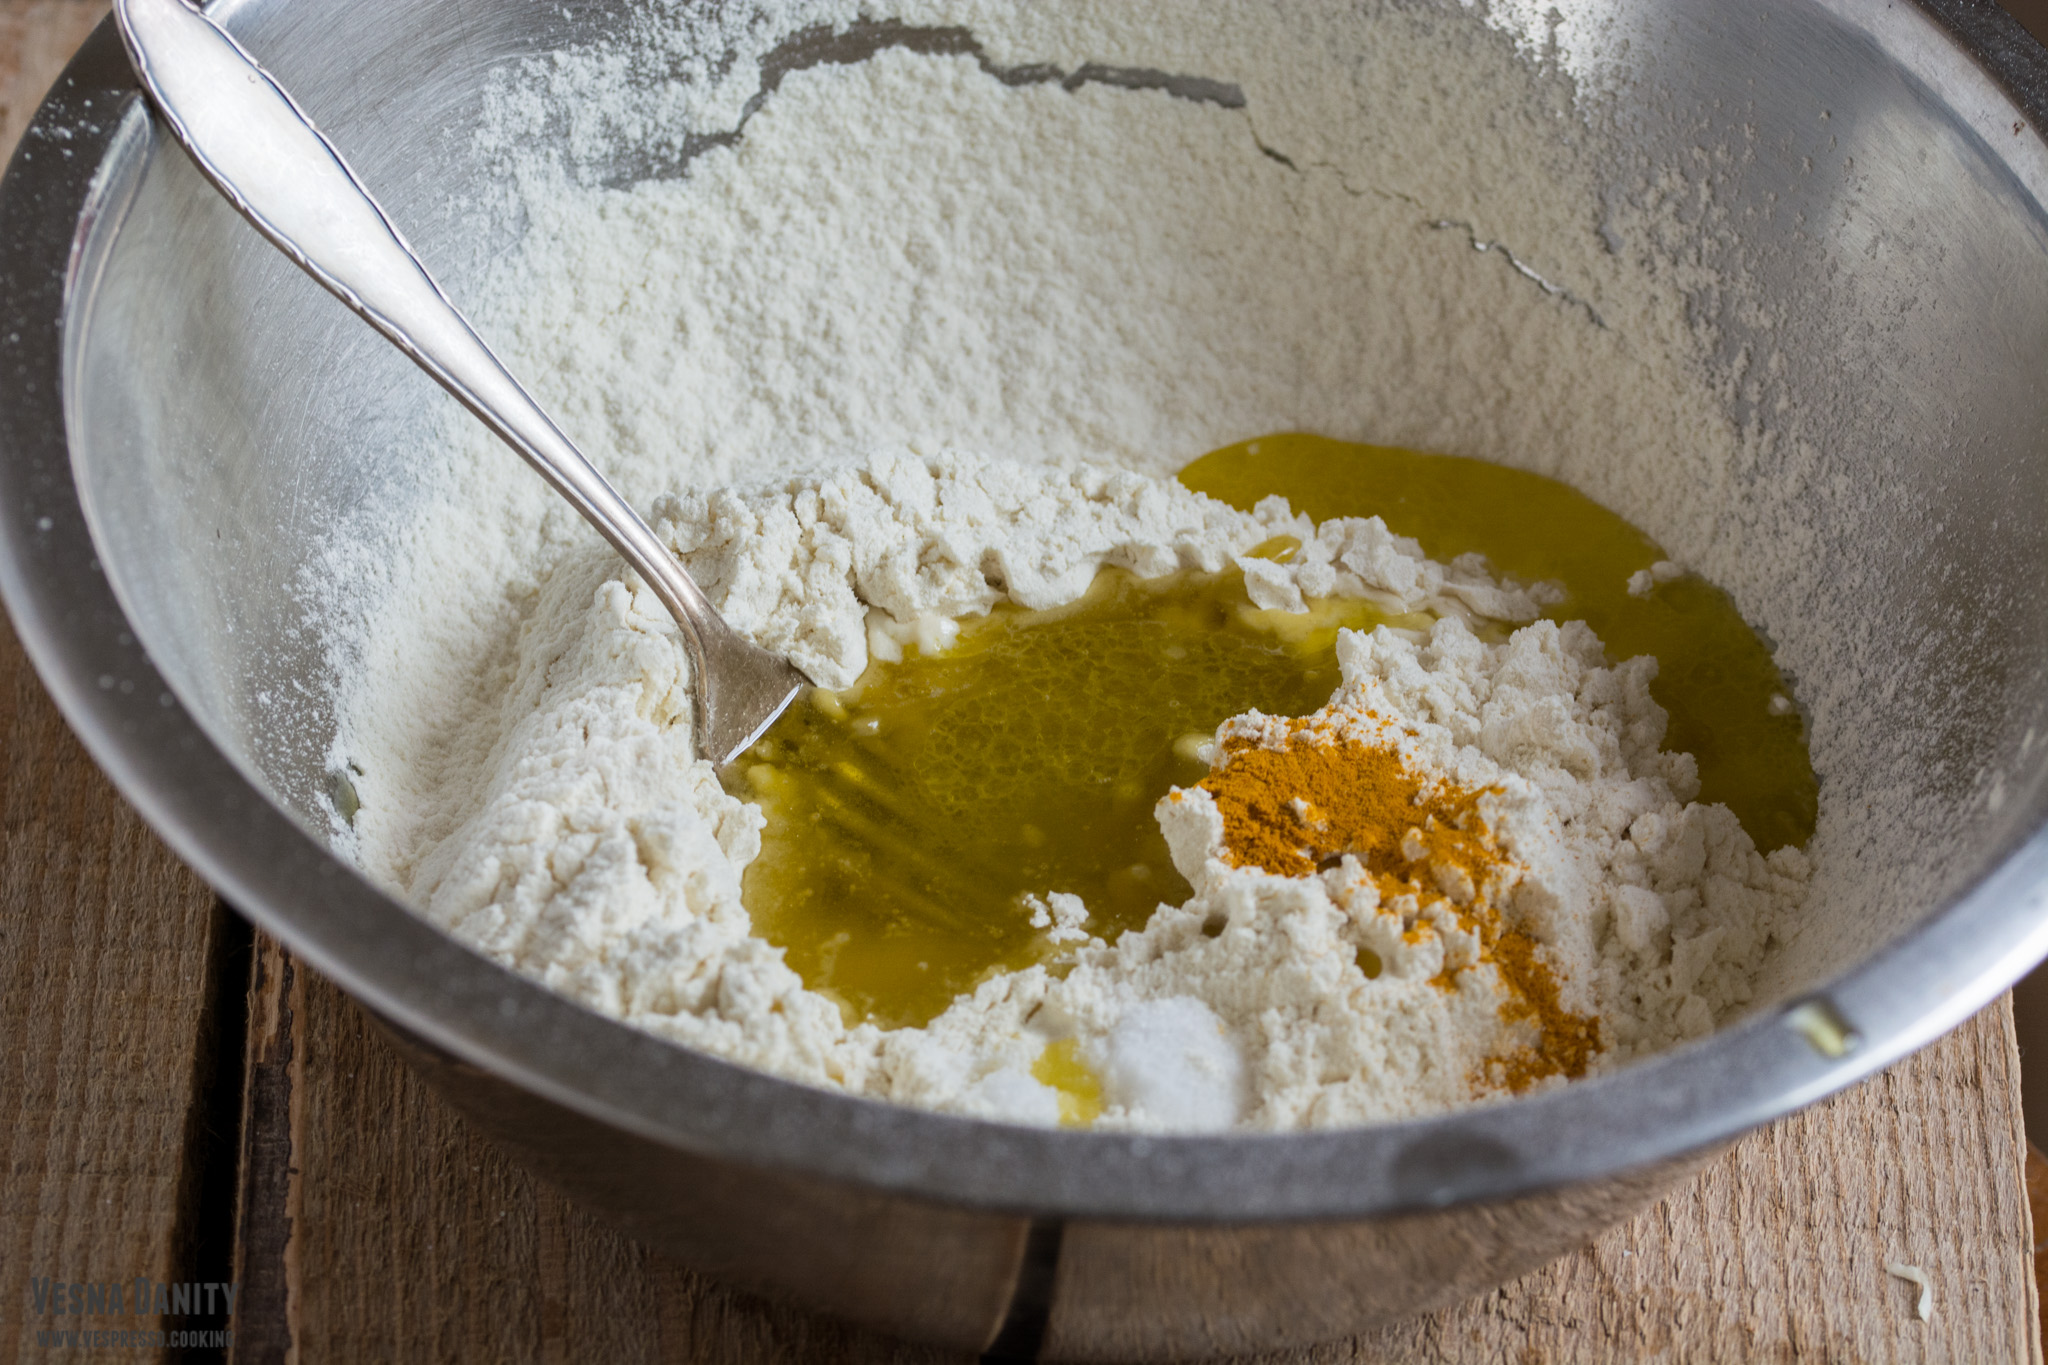
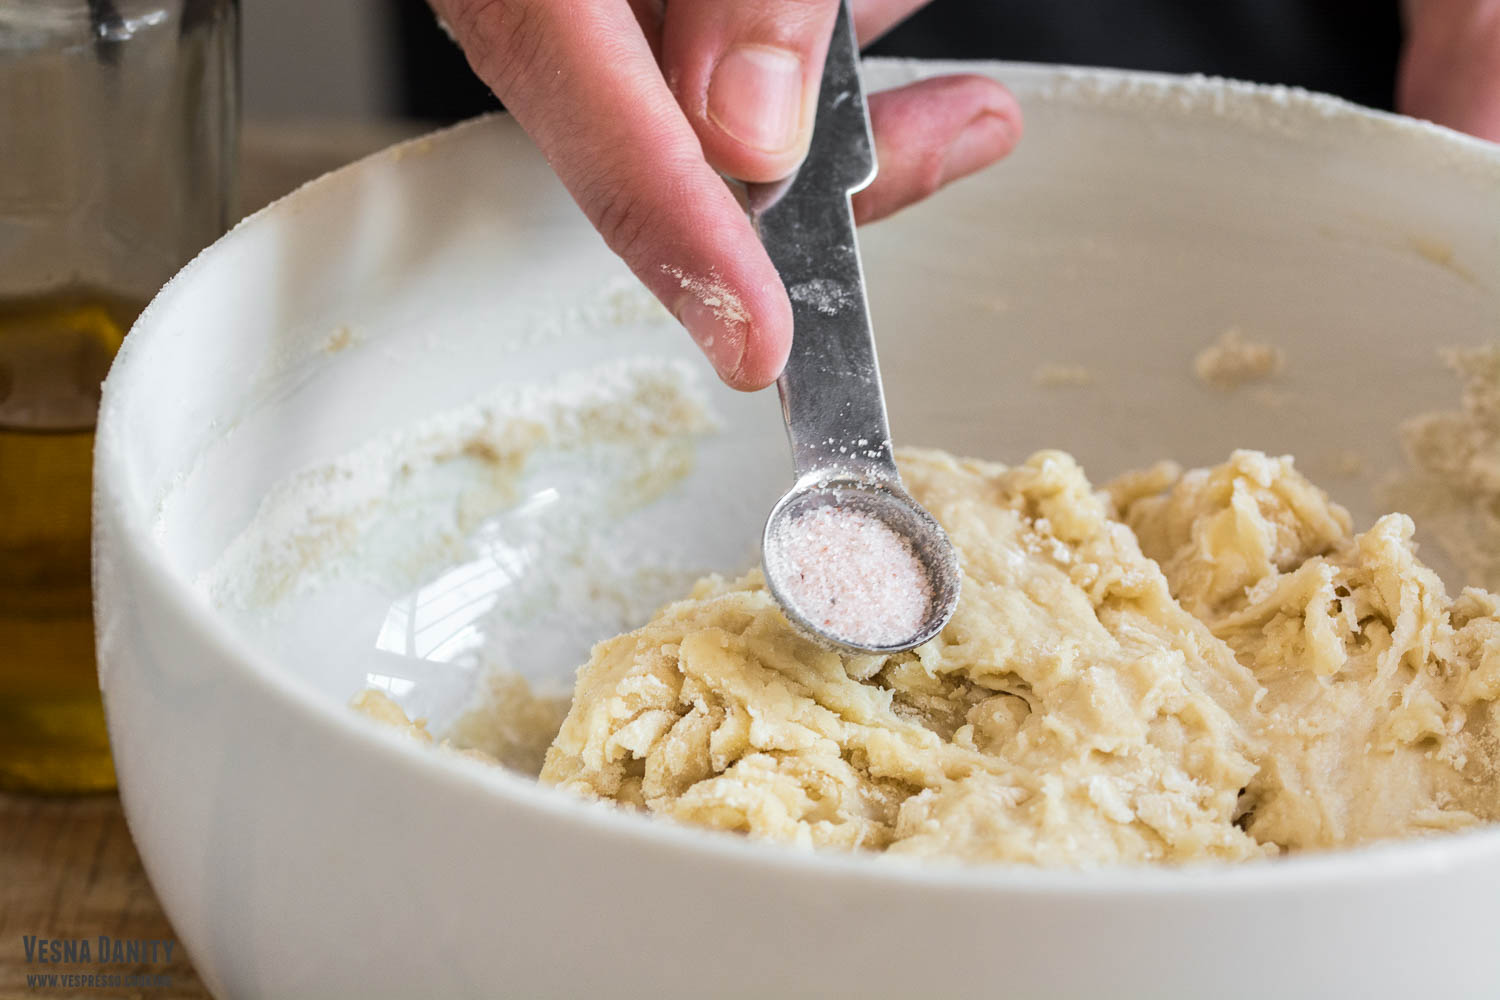
  1. Pasta dough. In a large bowl sift the flour. Add salt and turmenic and mix well.
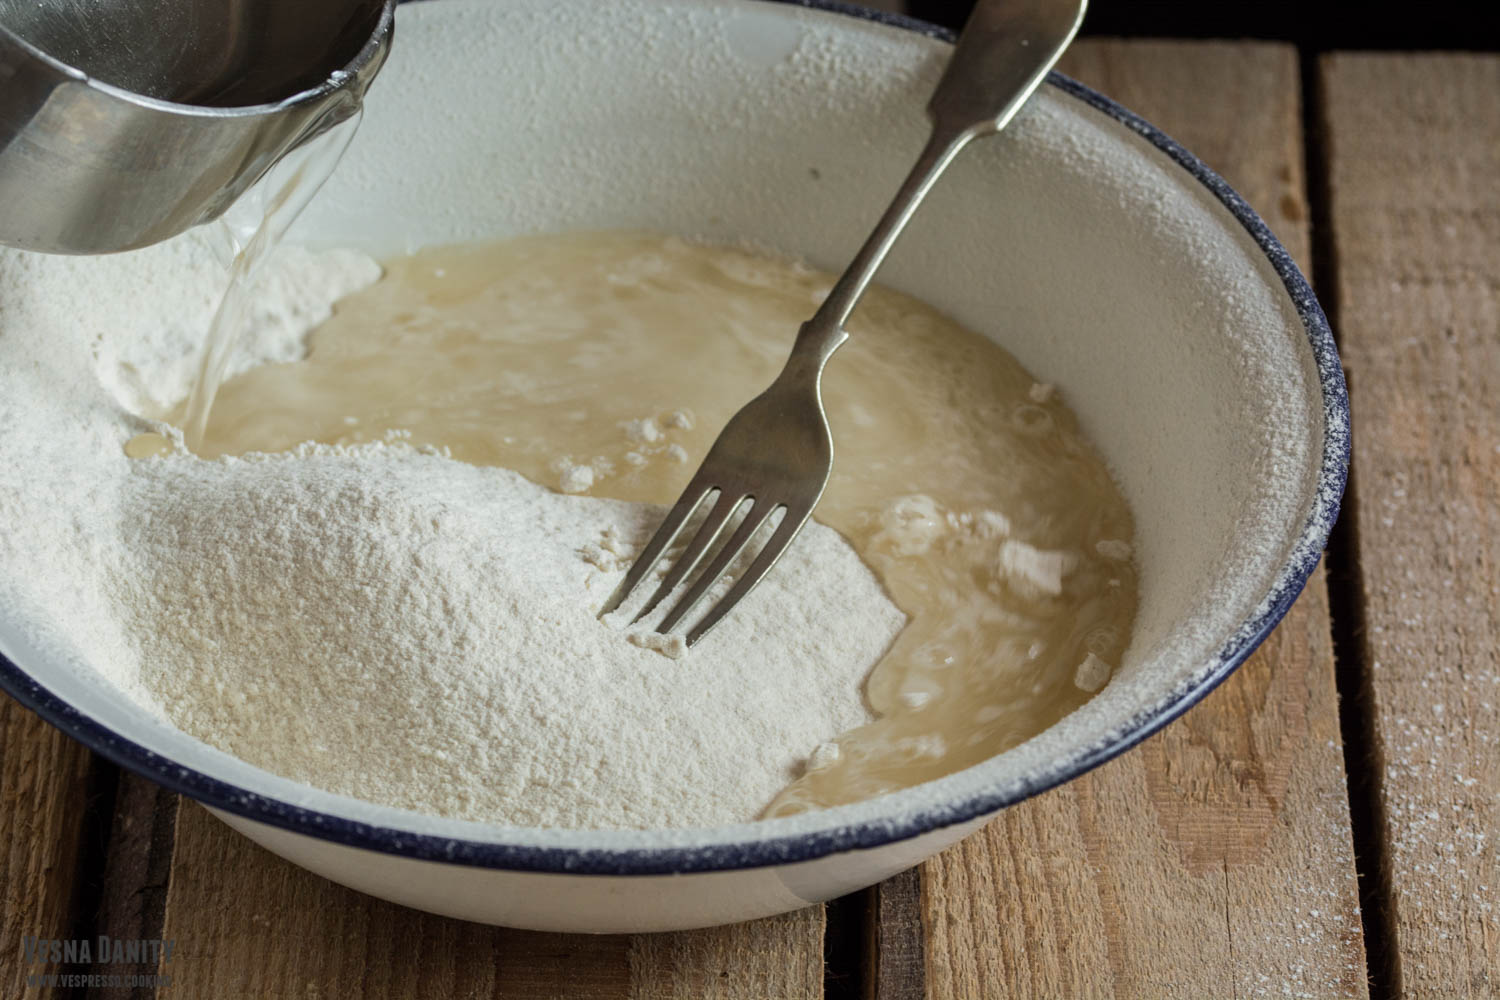
  2. Make a well in the center, add water and olive oil and mix with a fork, until you form a ball of dough.
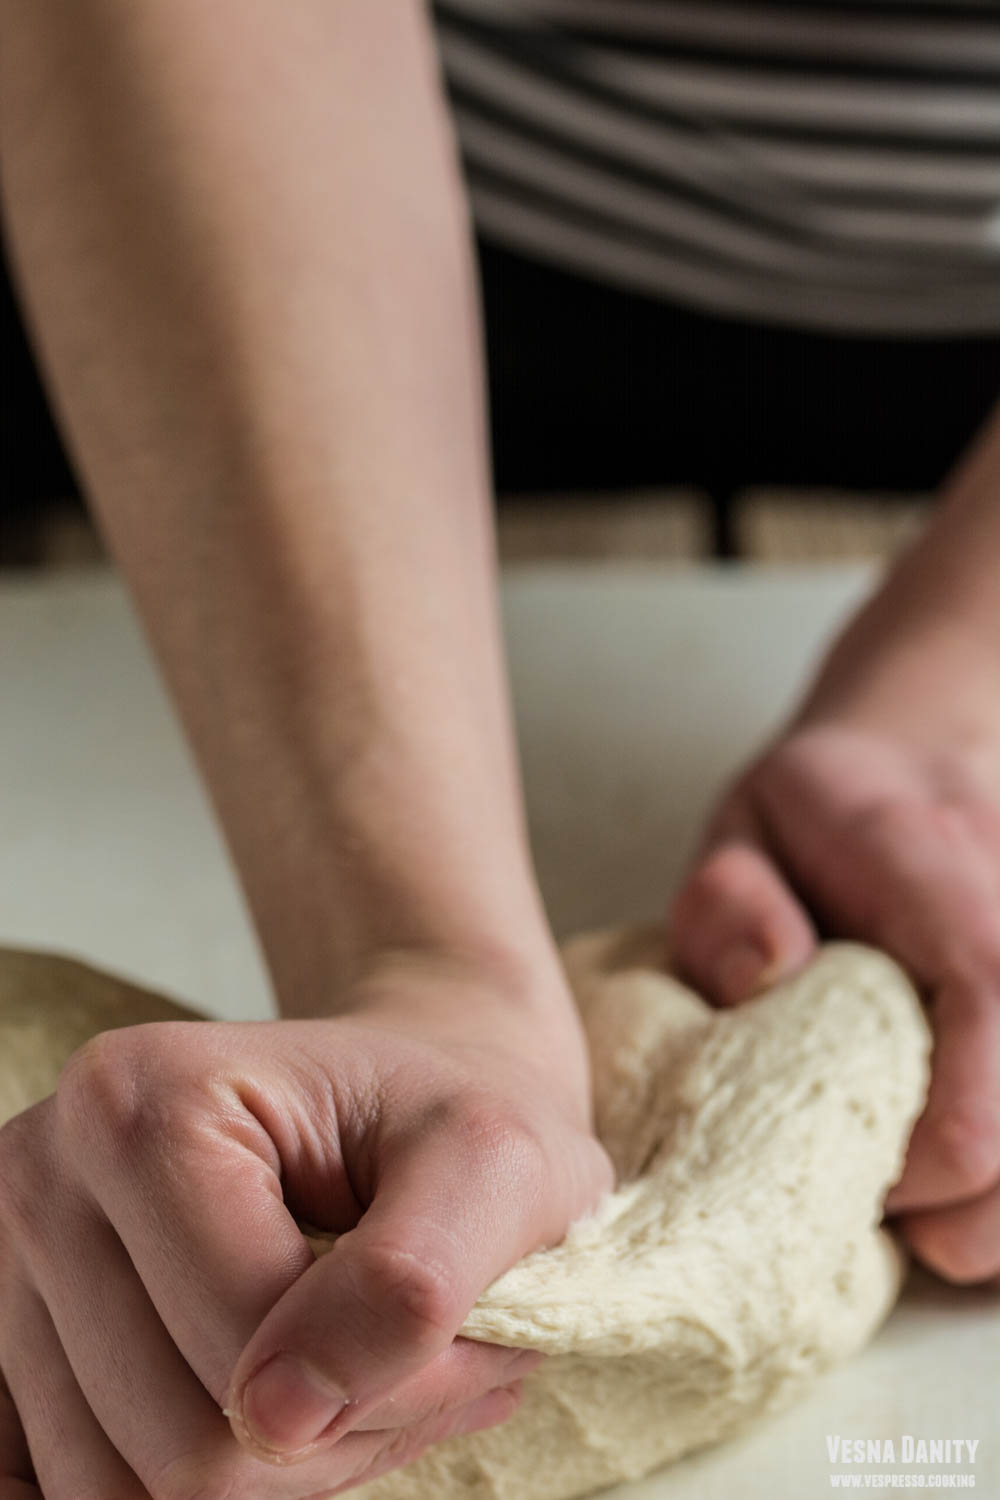
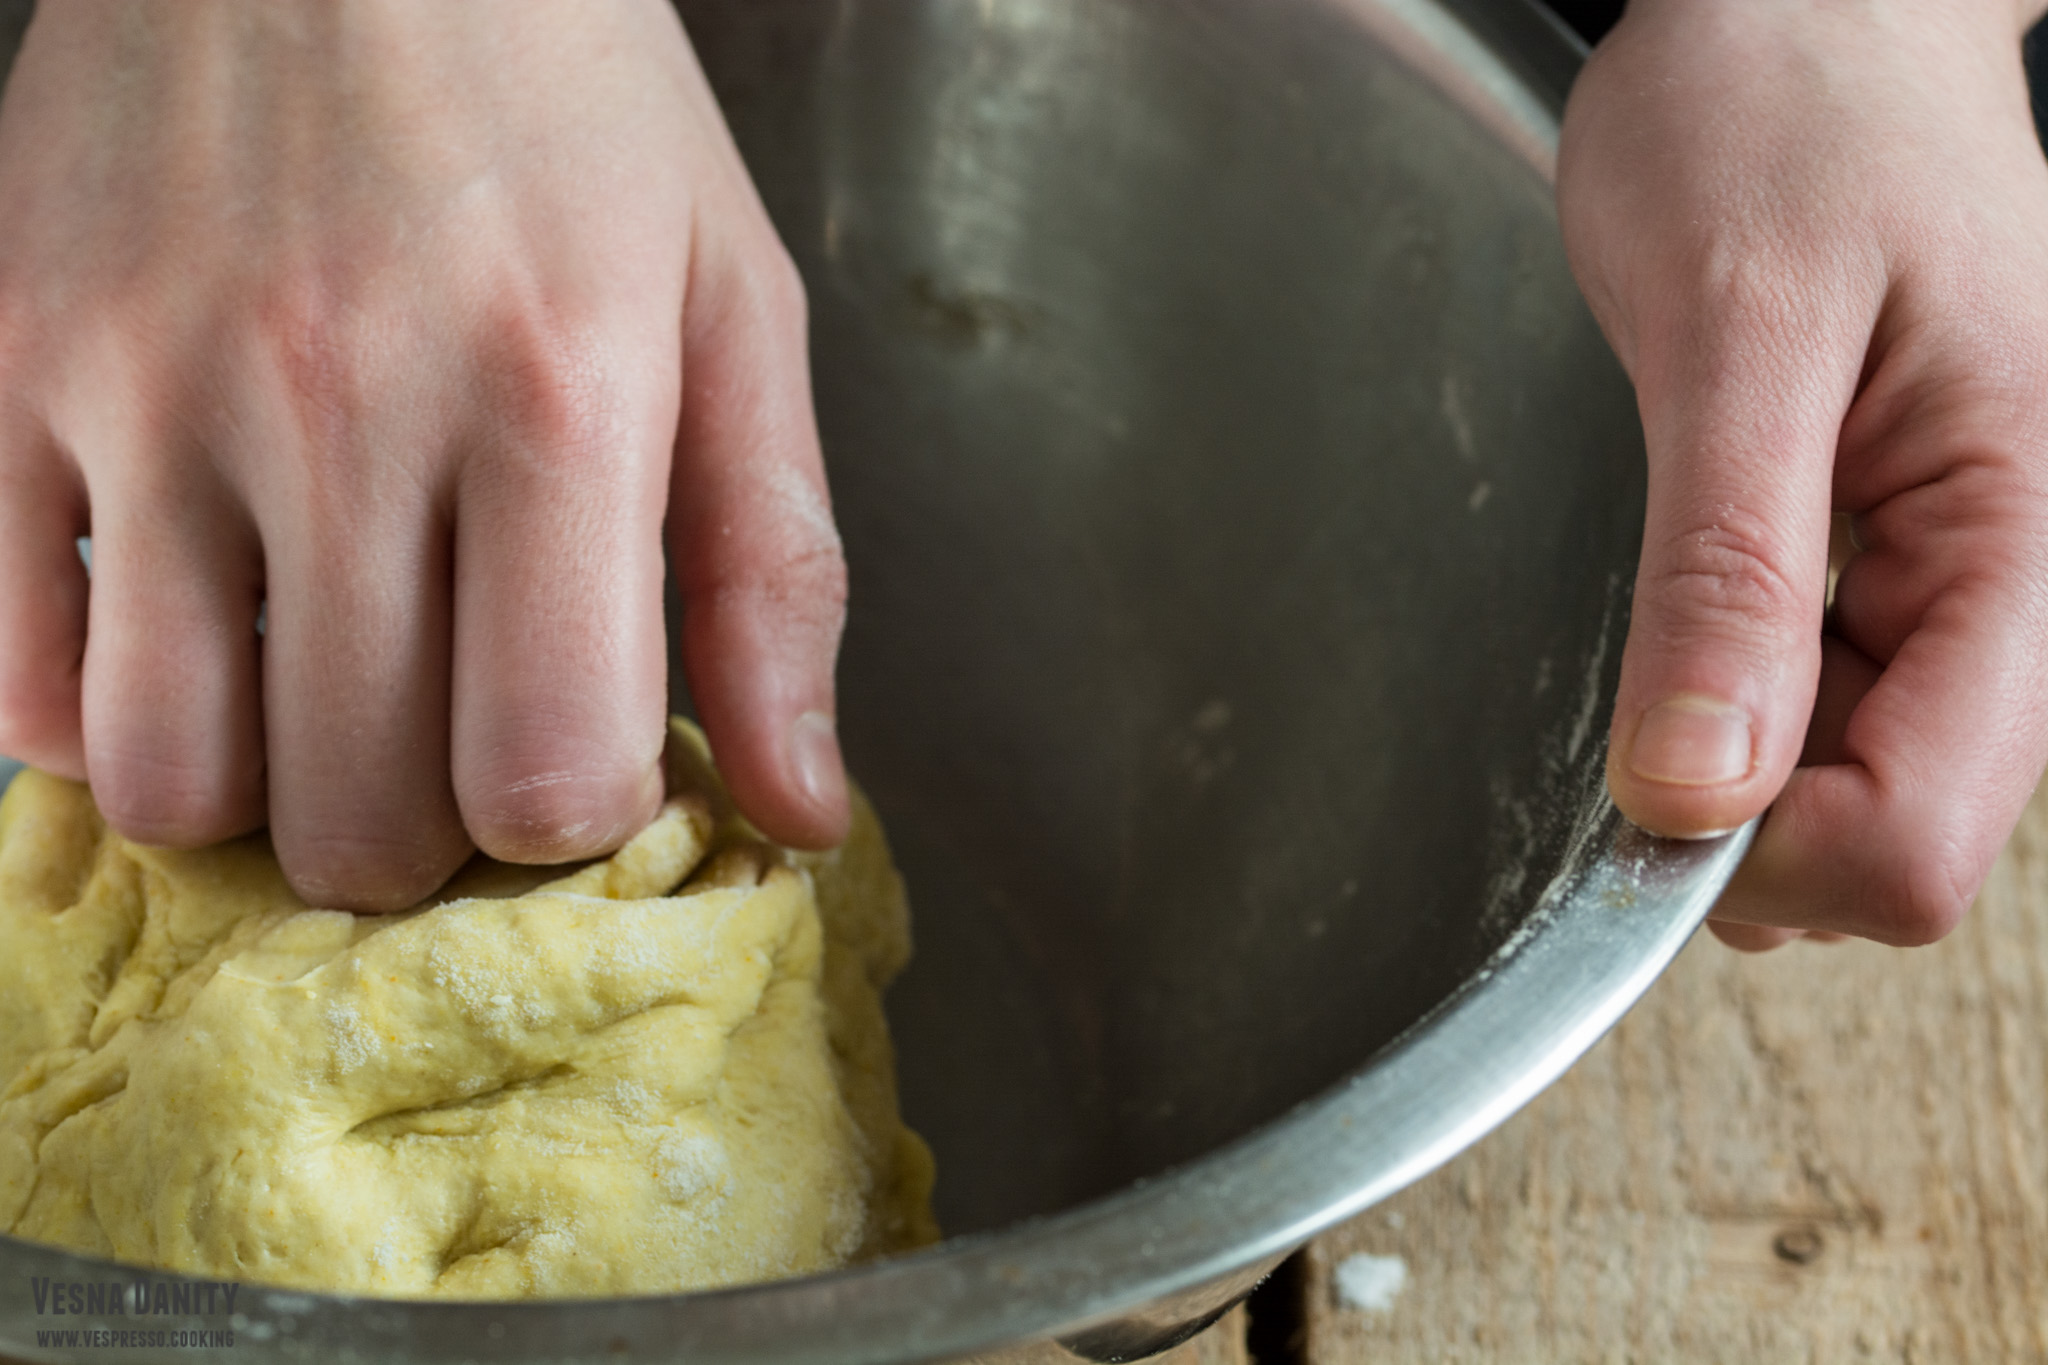
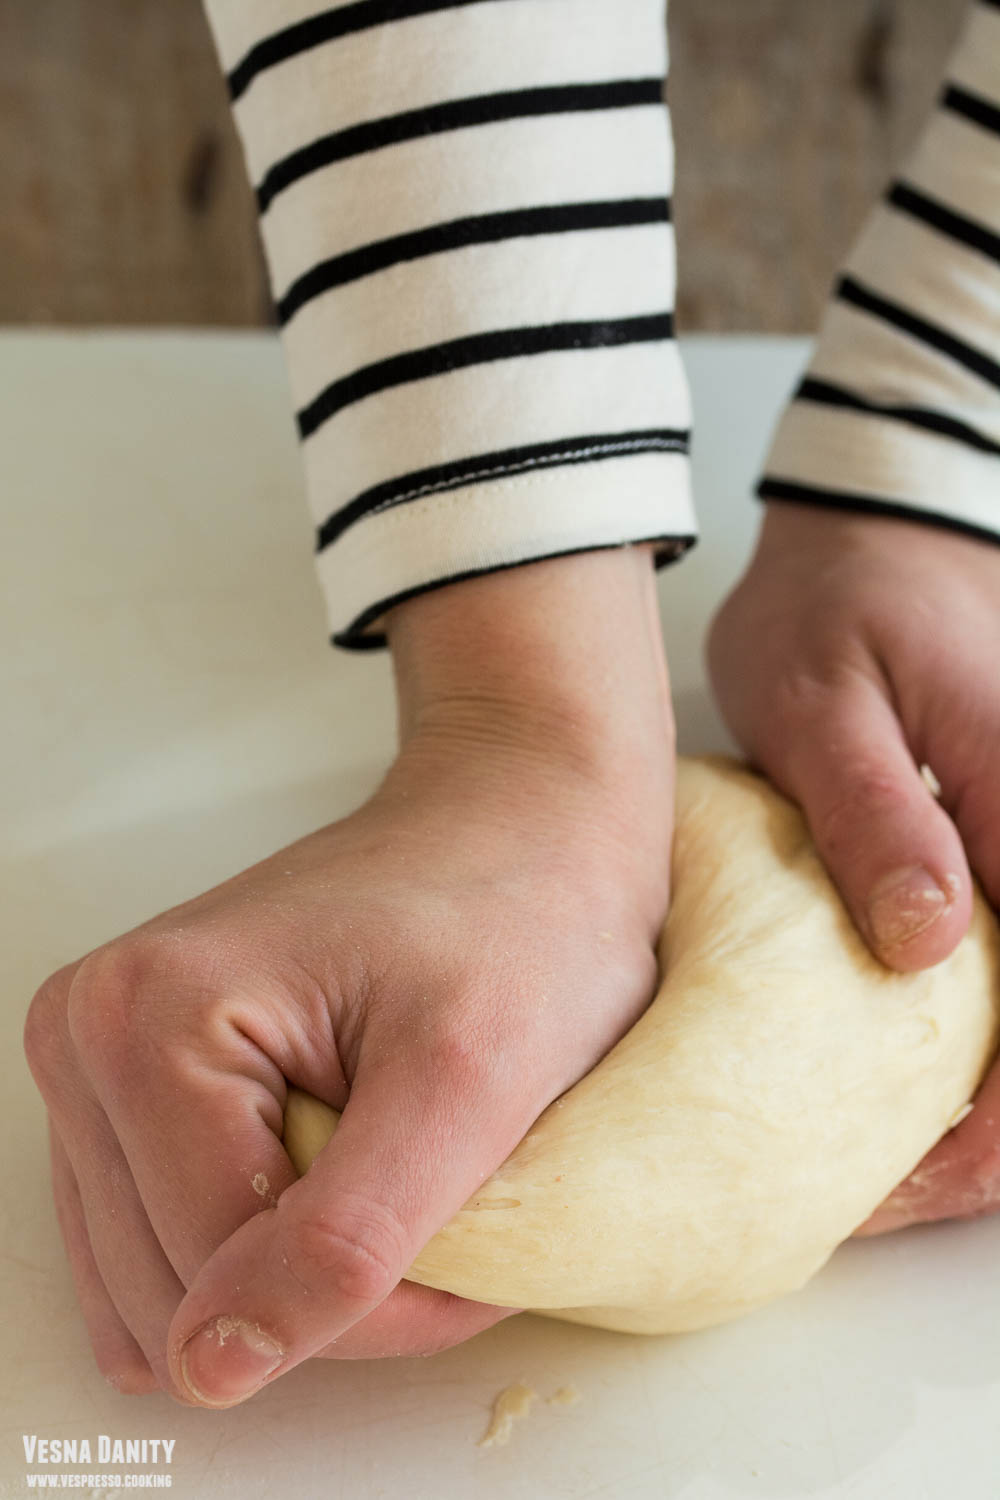
  3. Bring the dough on a floured working surface and knead it vigorously for 10 minutes, or until the surface becomes smooth and elastic.
  4. Wrap it in cling film and let it rest in the refrigerator for 30 minutes.
  5. Sauteed cabbage. Take the cabbage and discard its outer leaves. Give it a wash and pat it dry with a paper towel.
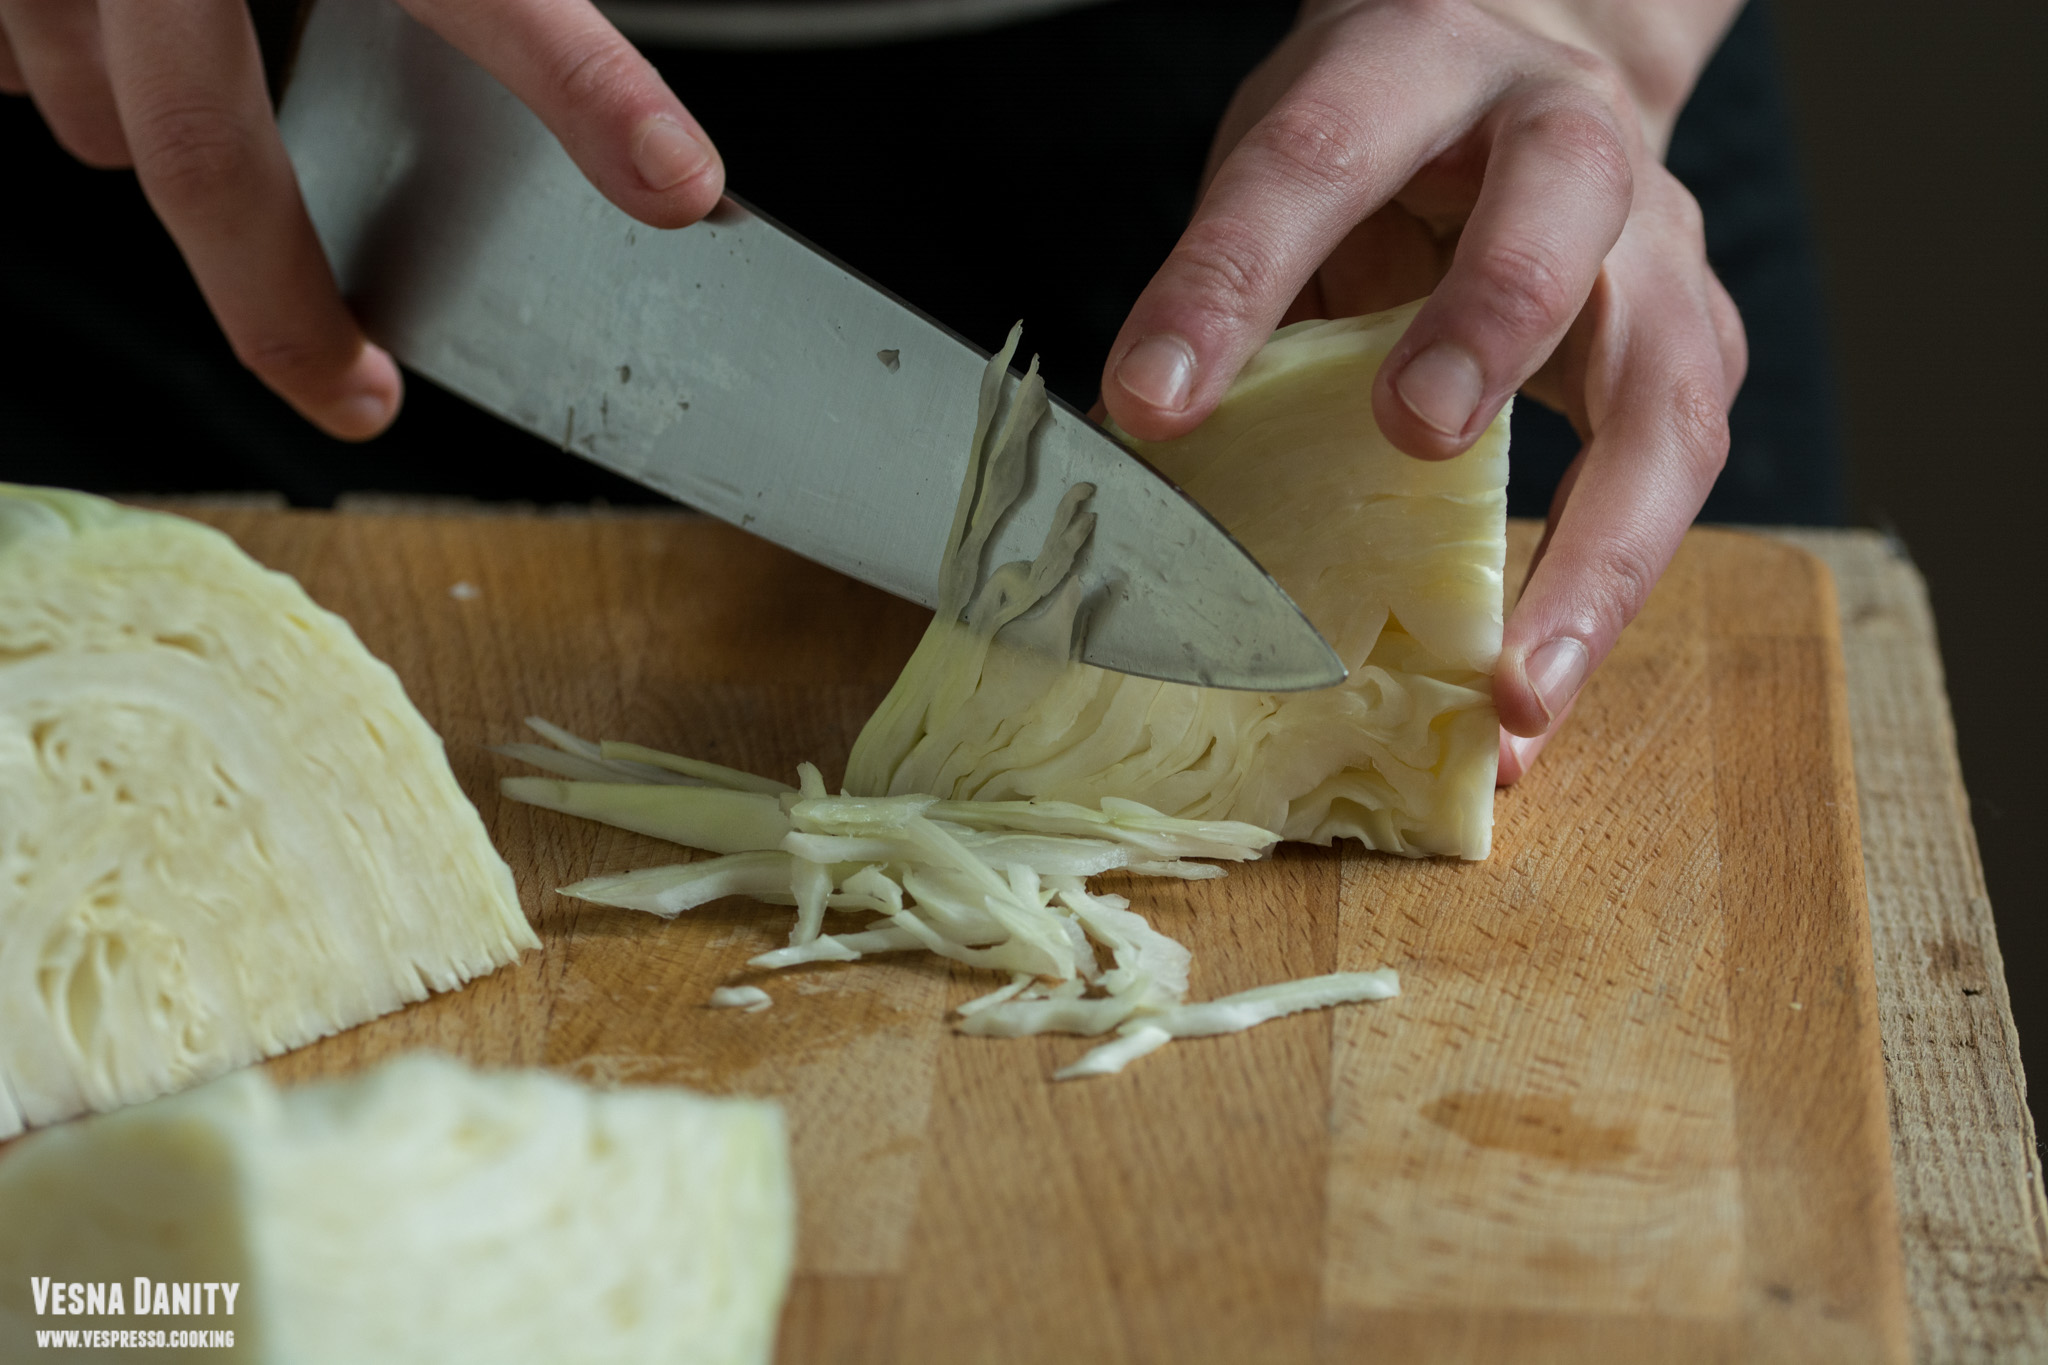
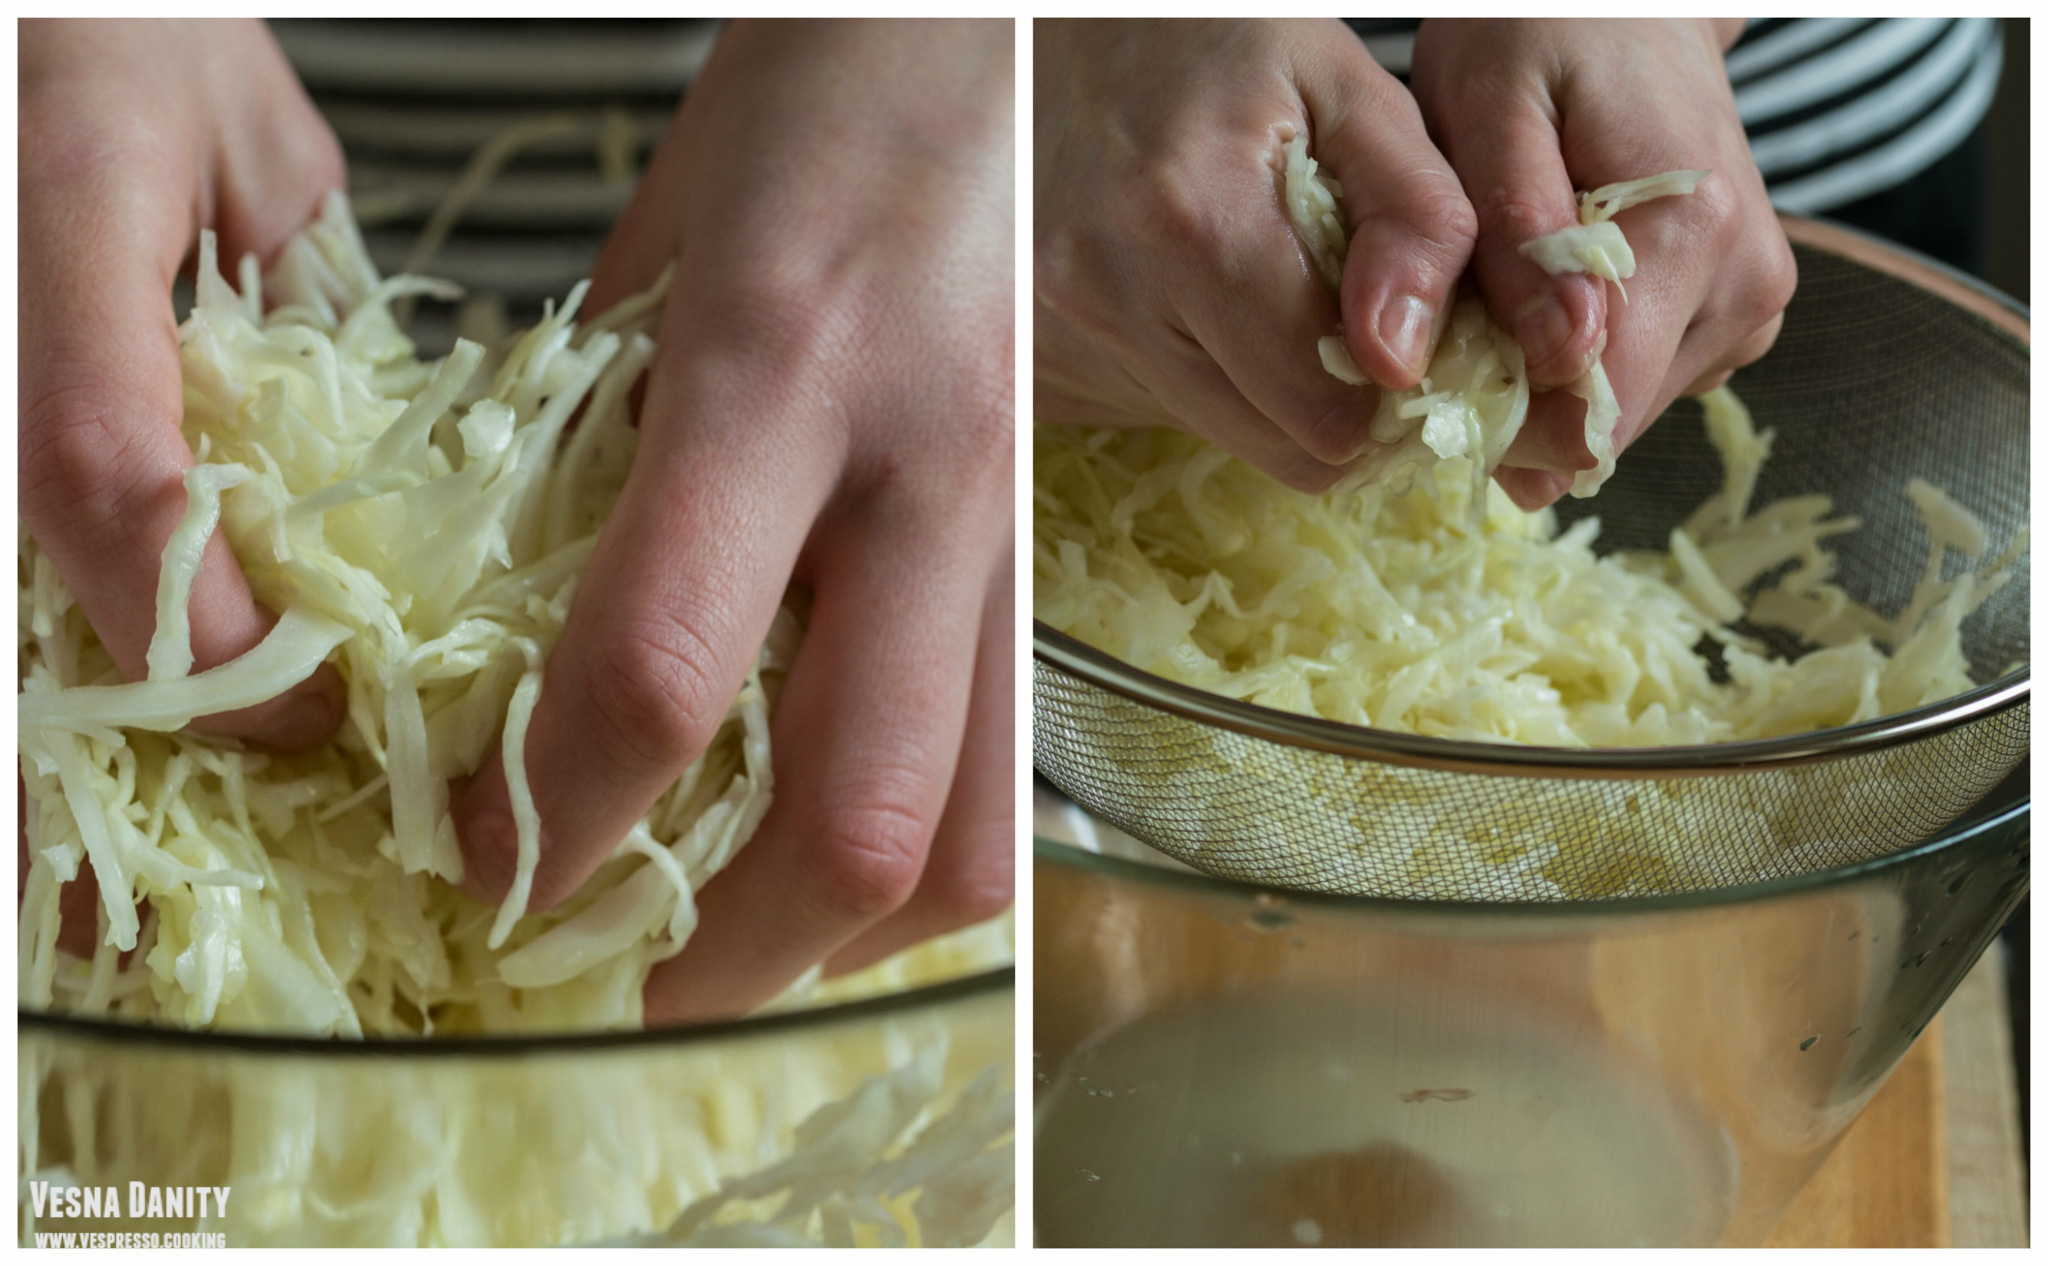
  6. Cut it in 4 and chop it finely. Place the cabage ribbons in a colander and place the colander in a large bowl. Sprinkle the salt over the cabage and masaage it for a minute.
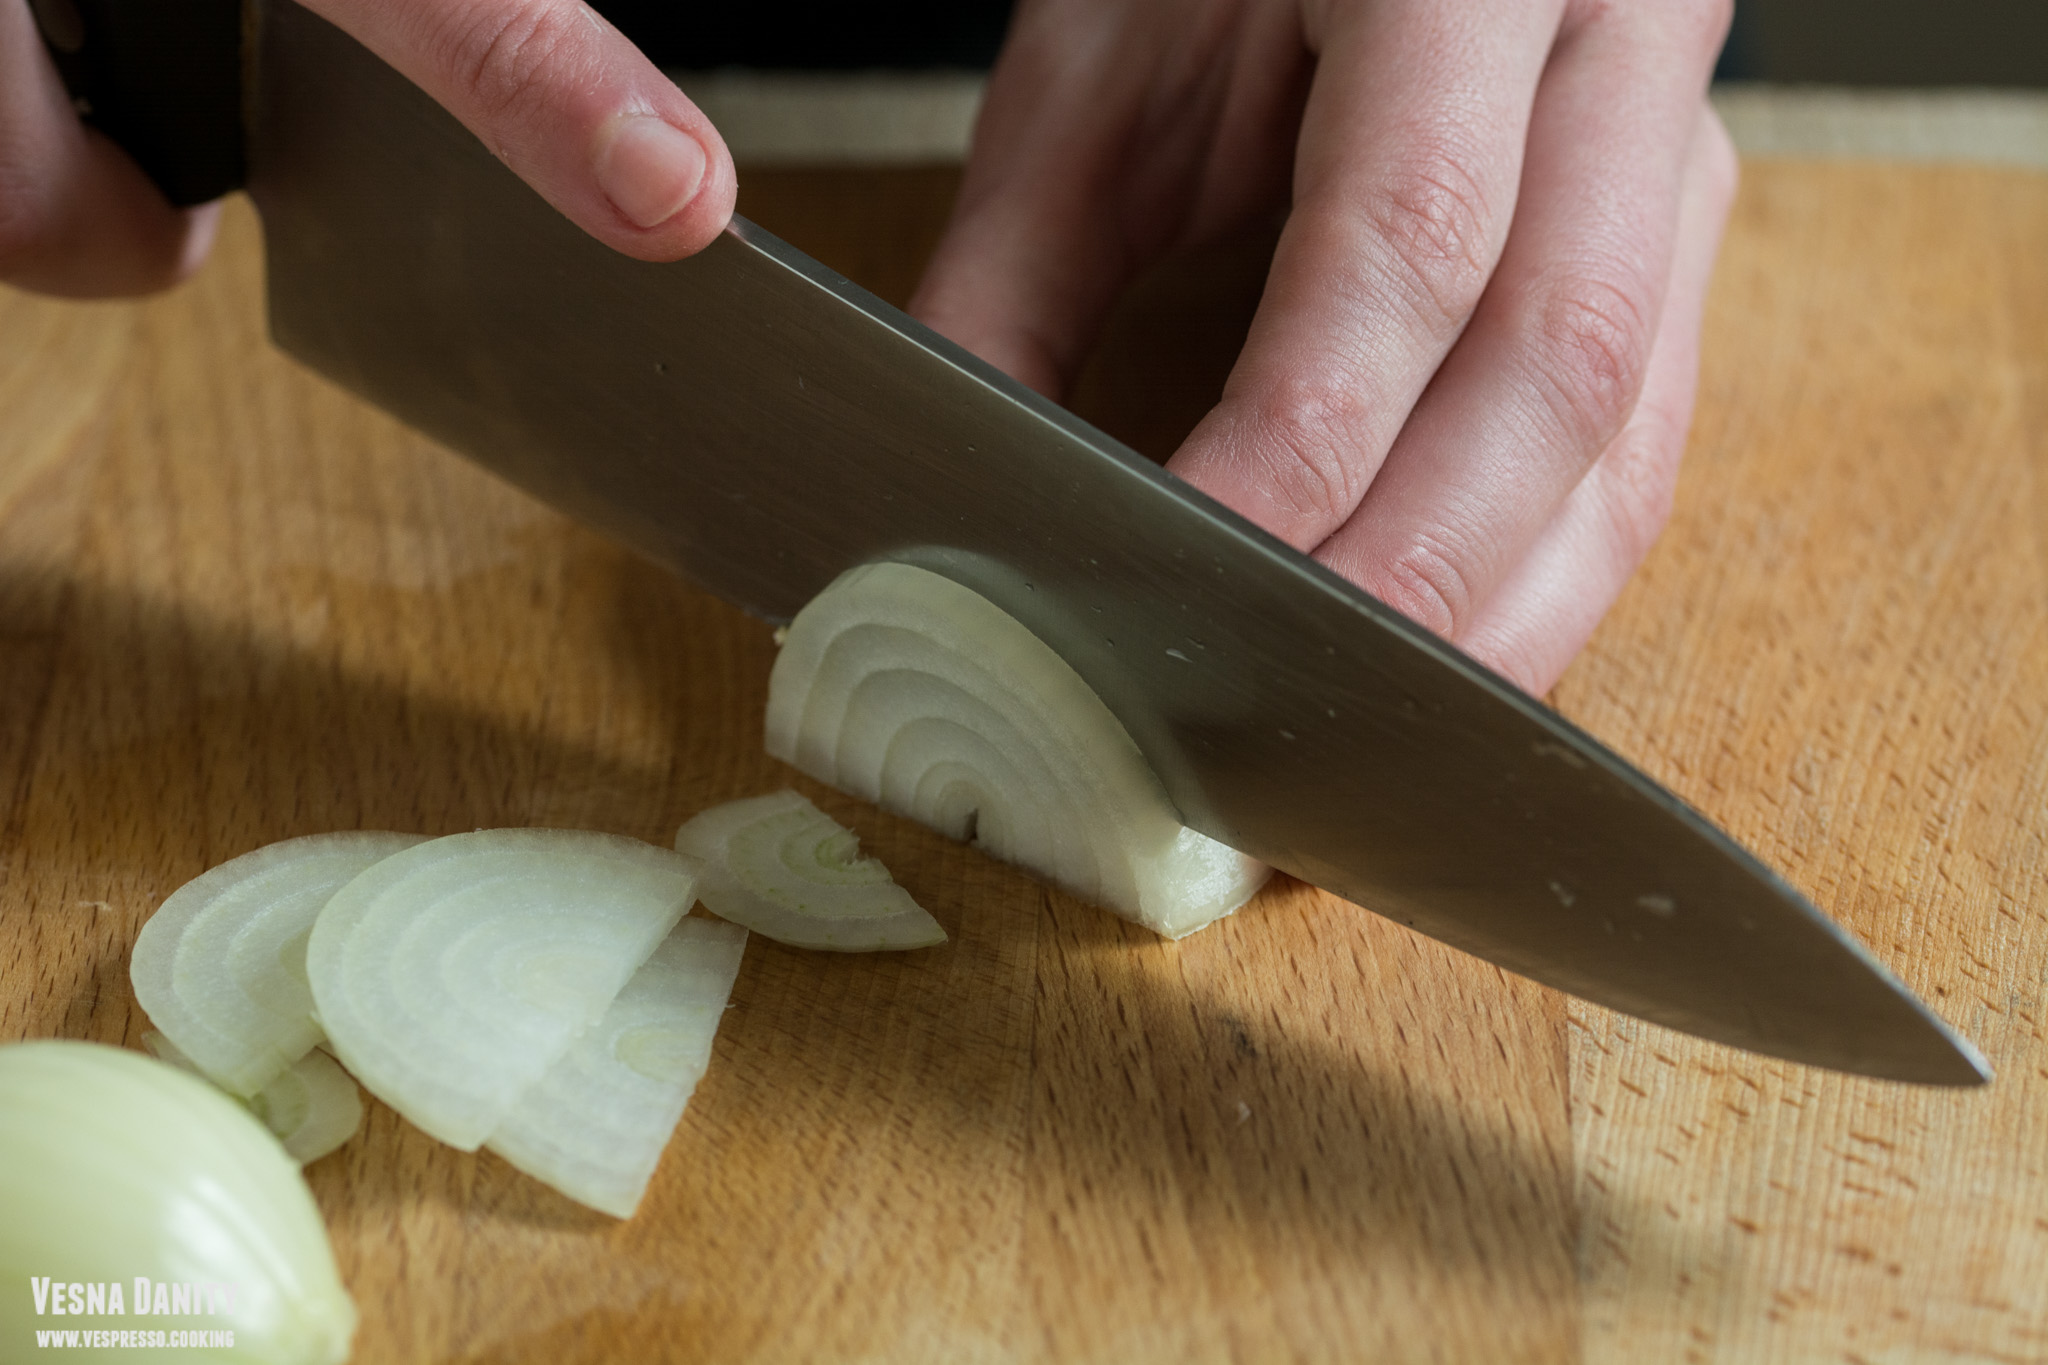
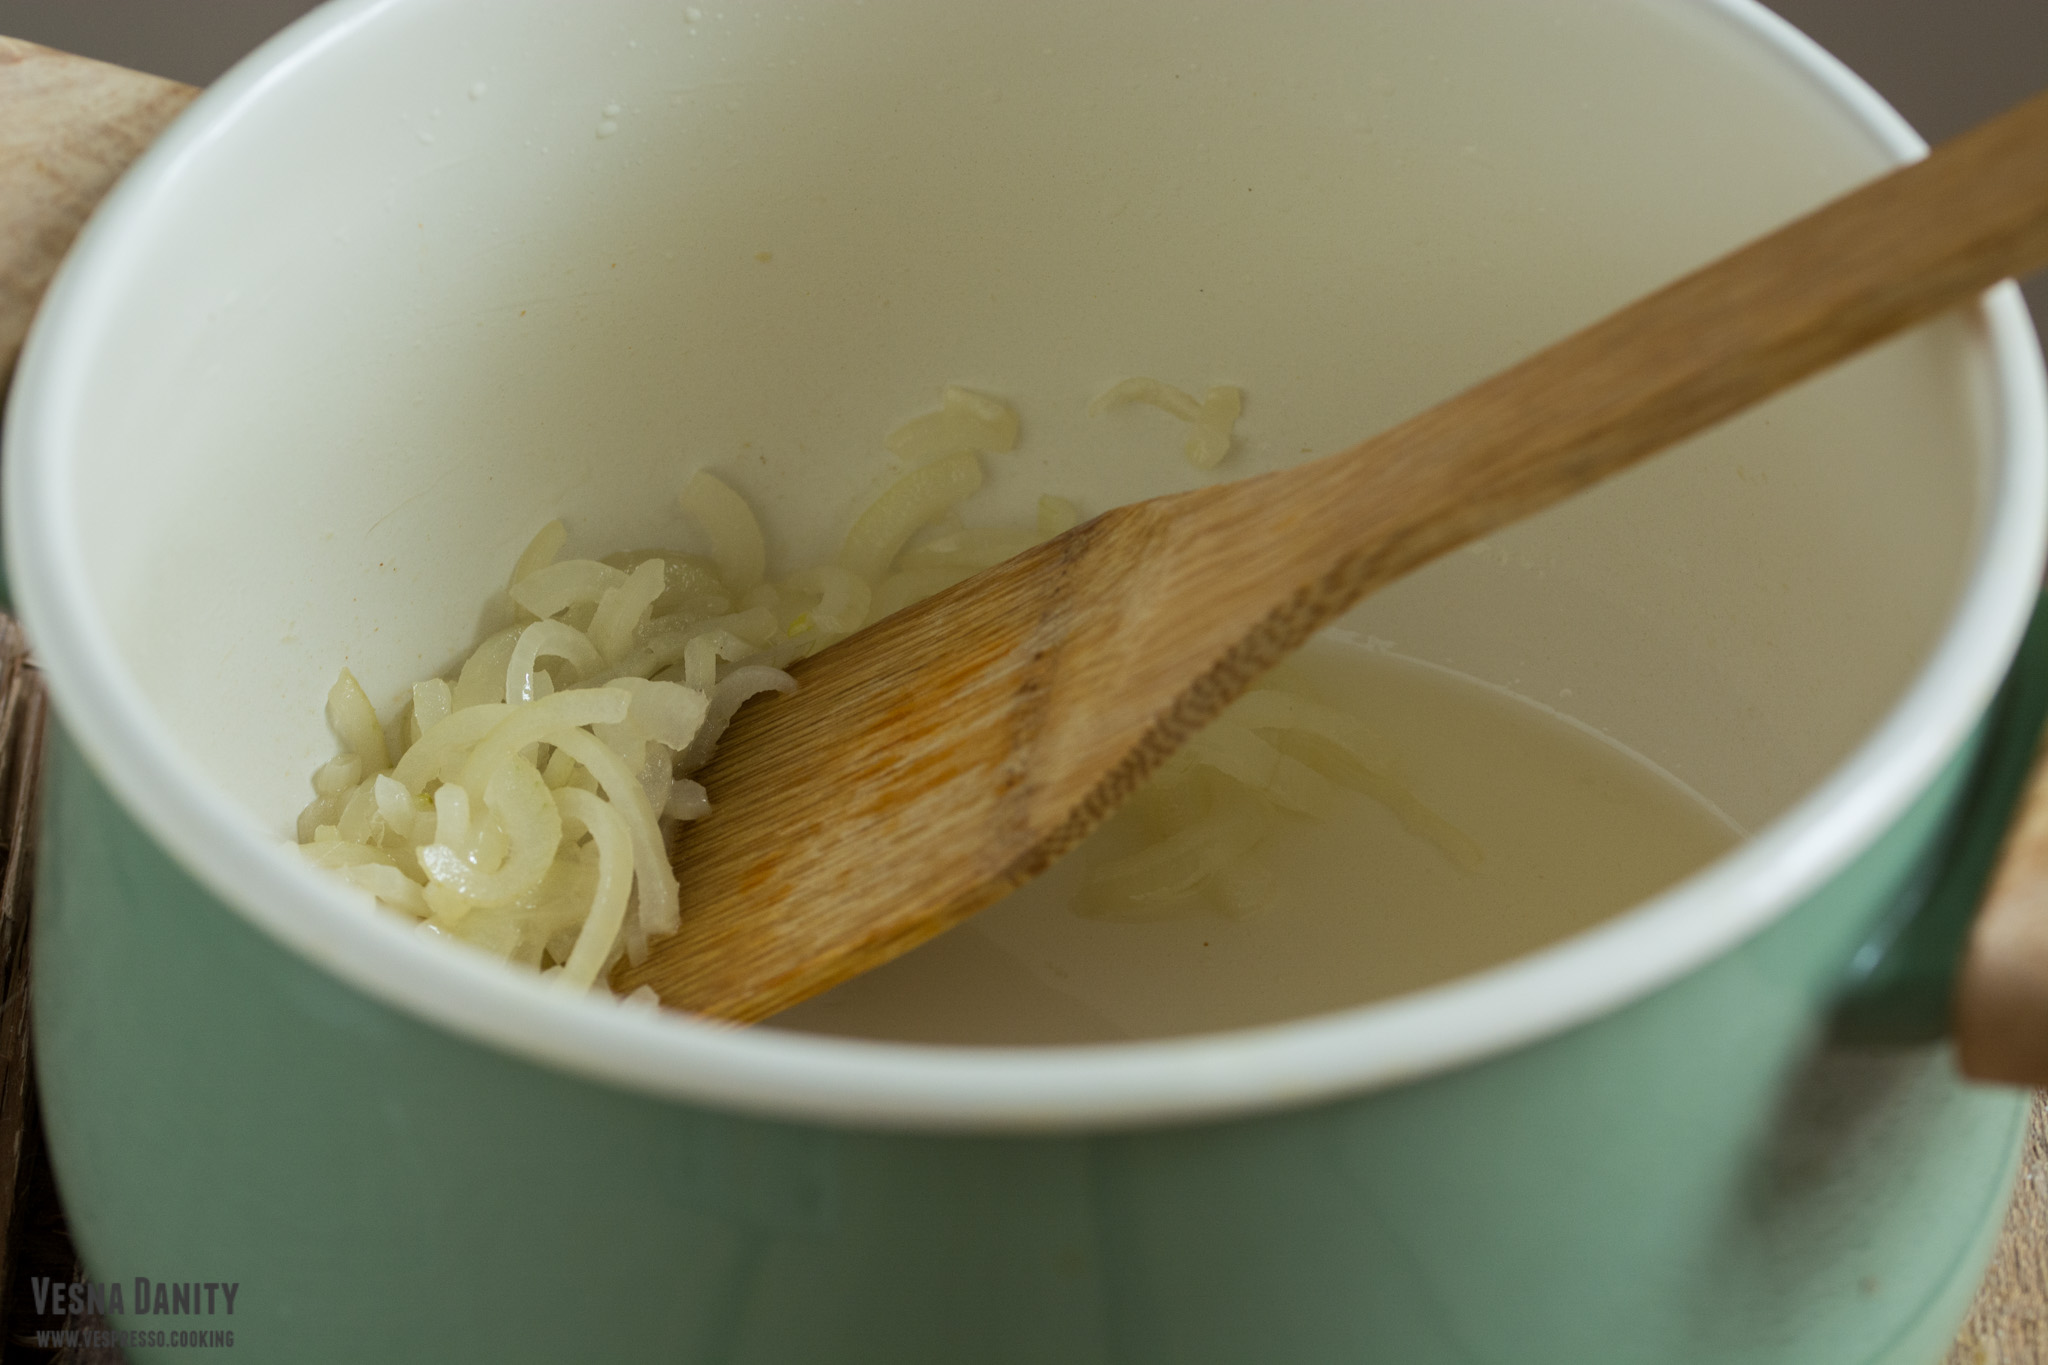
  7. Cut the onion in half and slice it finely. Heat 2 Tbsp of oil in a large saucepan over medium heat. Add the onion and saute it until translucent.
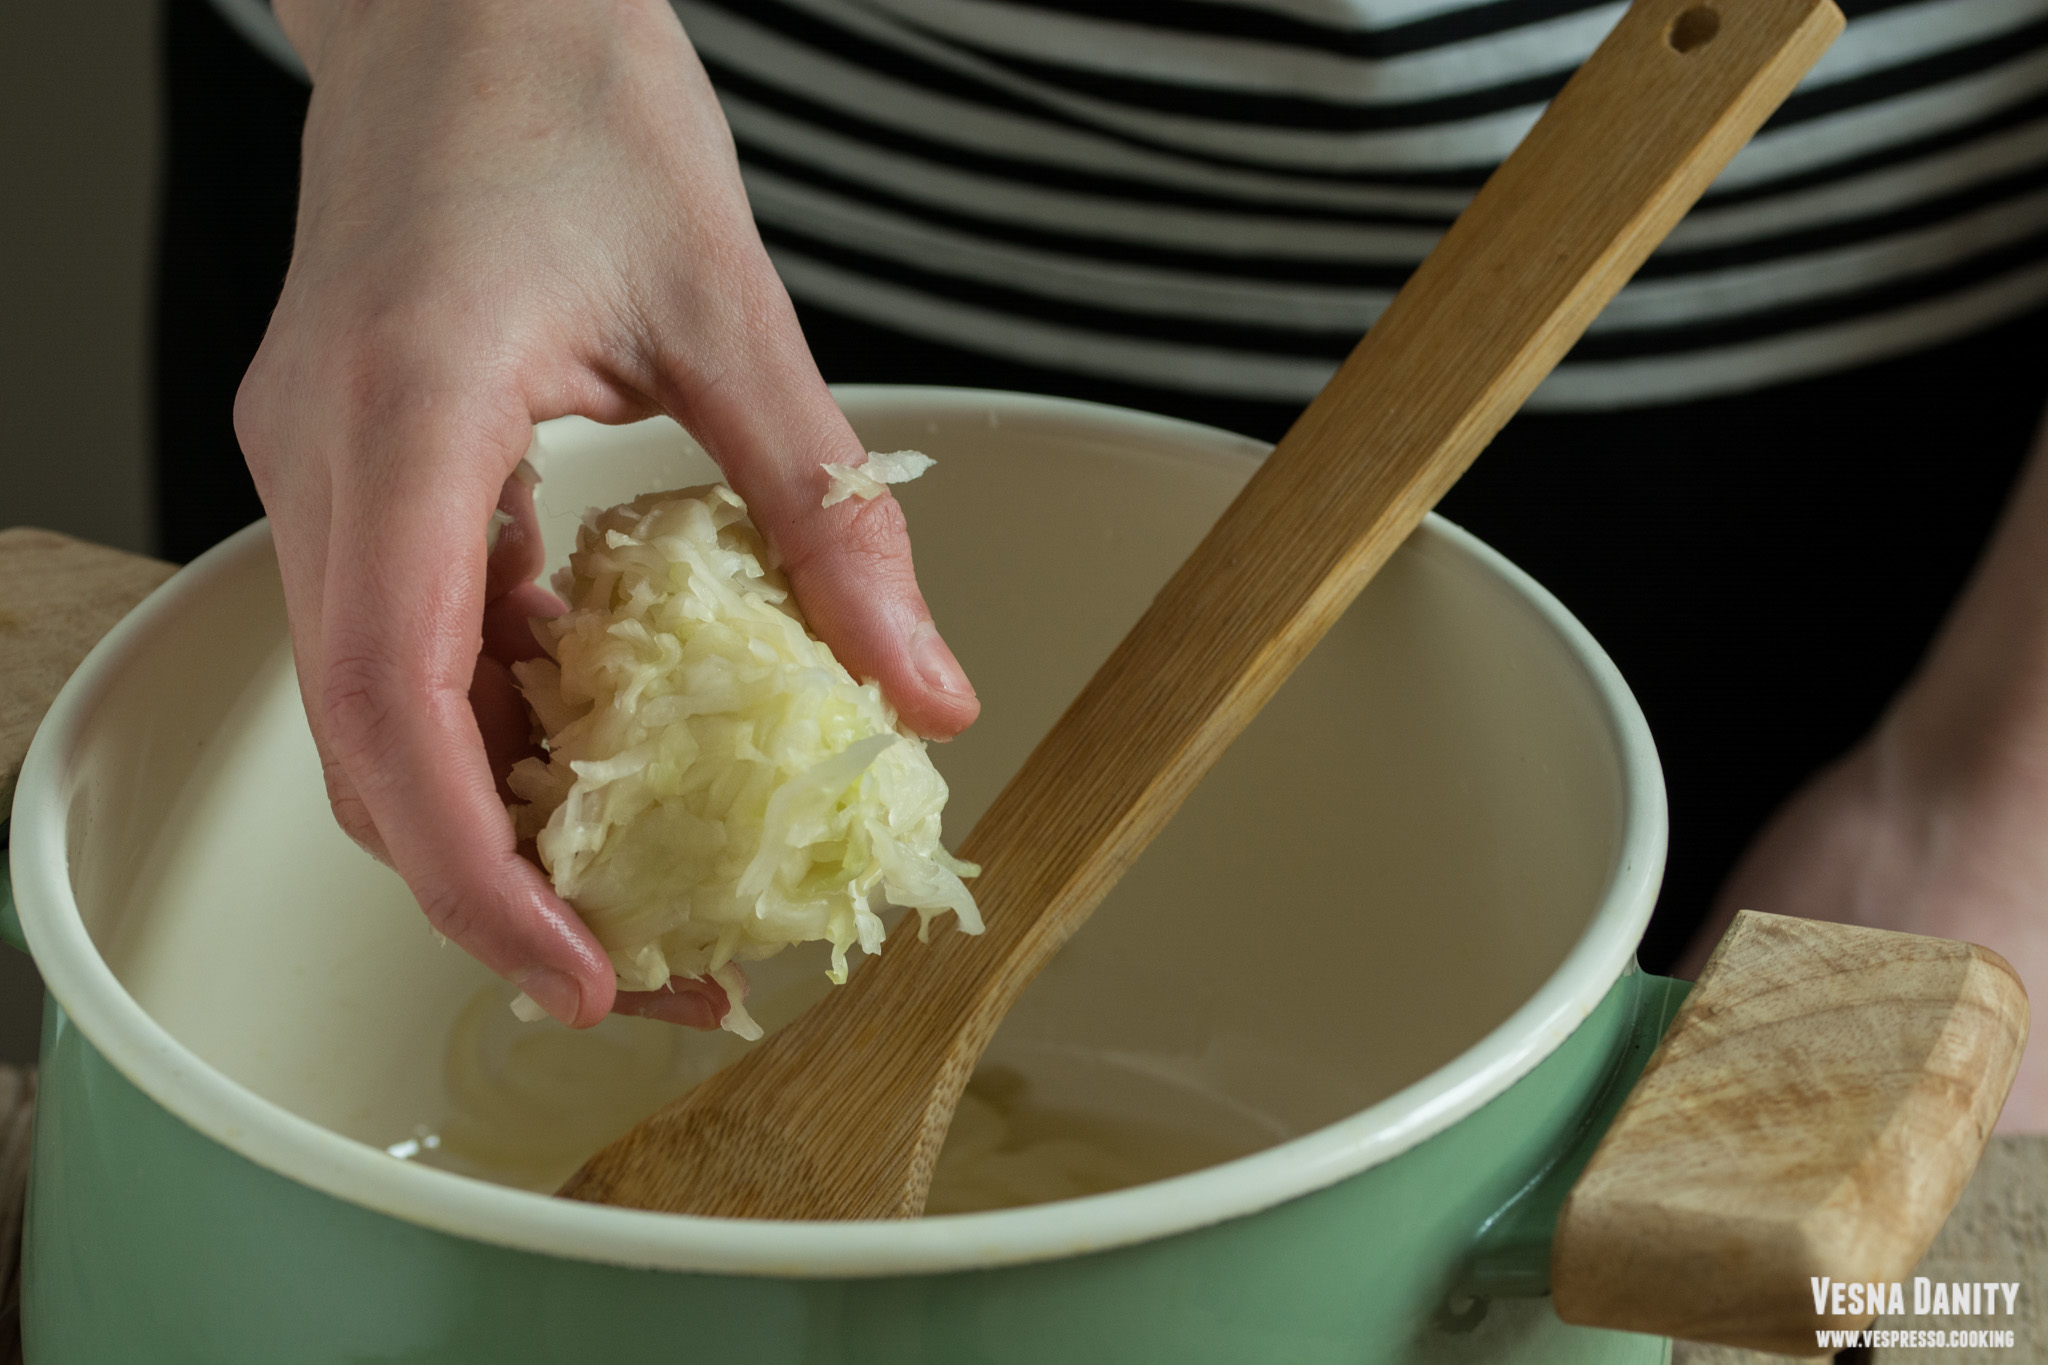
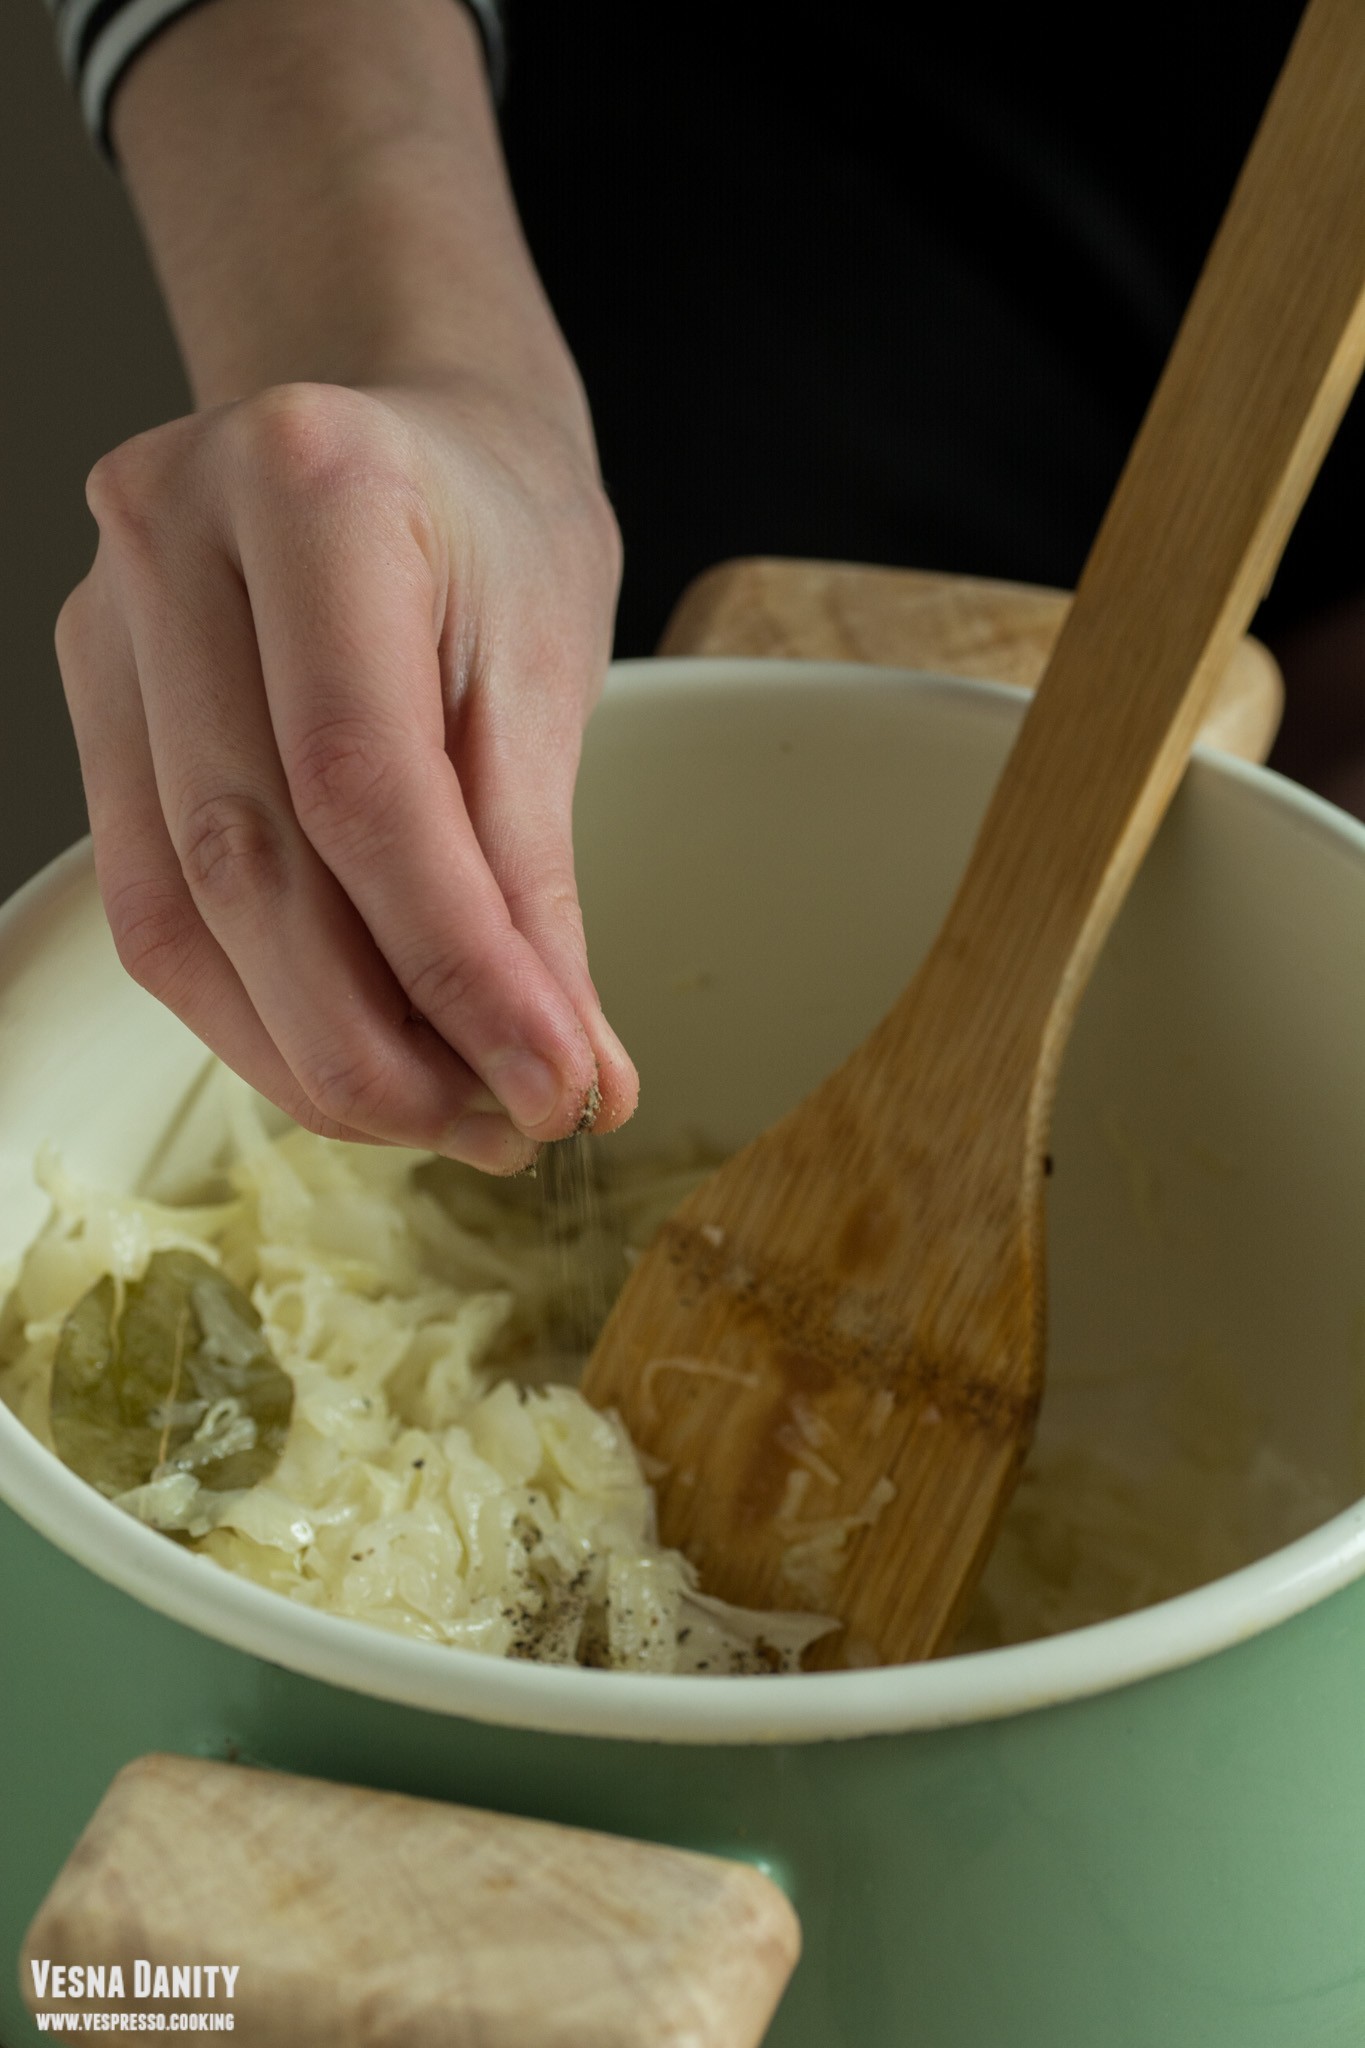
  8. Remove the liquid from the cabbage ribbons using your hands. Add the cabbage to the saucepan, give it a stir, cover with a lid and reduce the heat to minimum. Saute the cabbage until tender (for about 15 – 20 minutes). When it becomes tender, season with salt (only if necessary) and plenty of black pepper and leave aside.
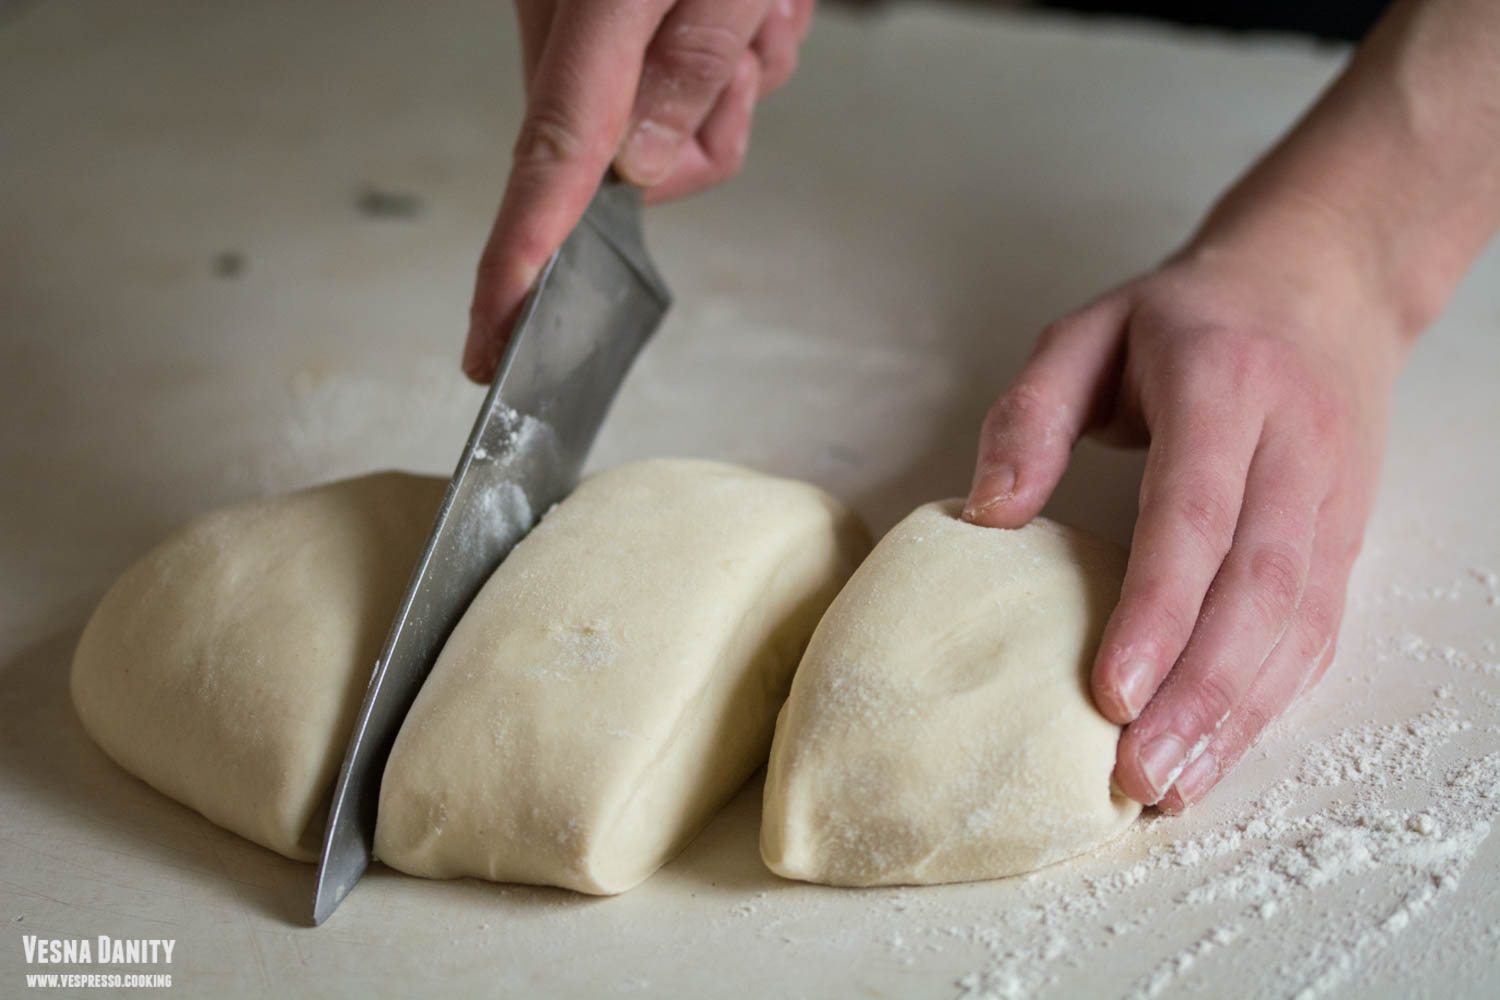
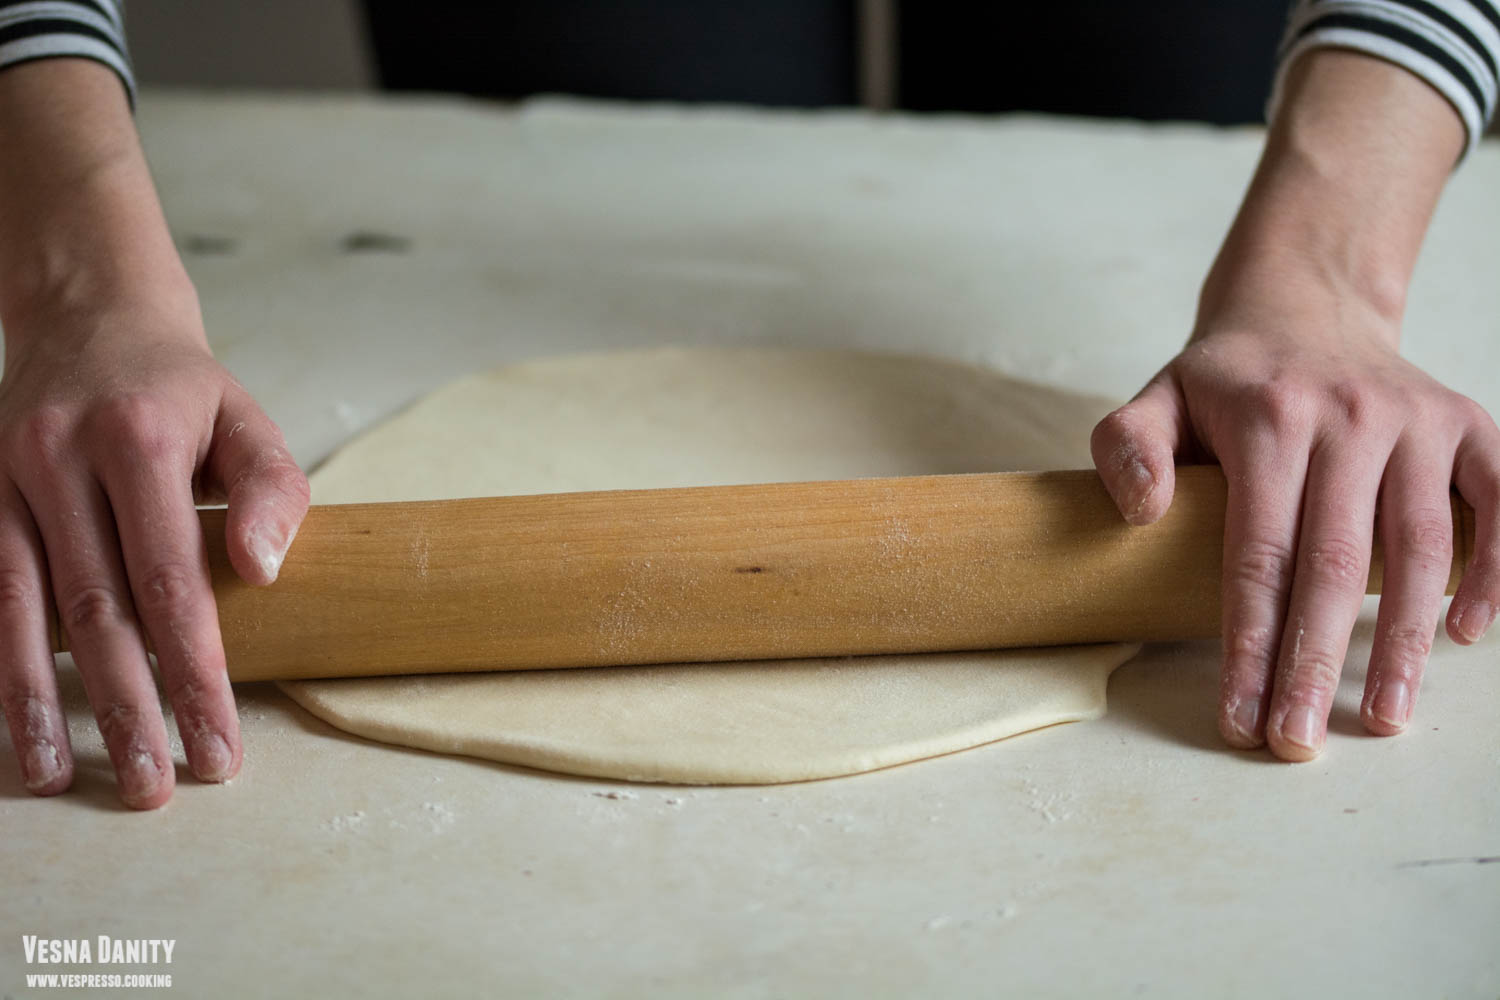
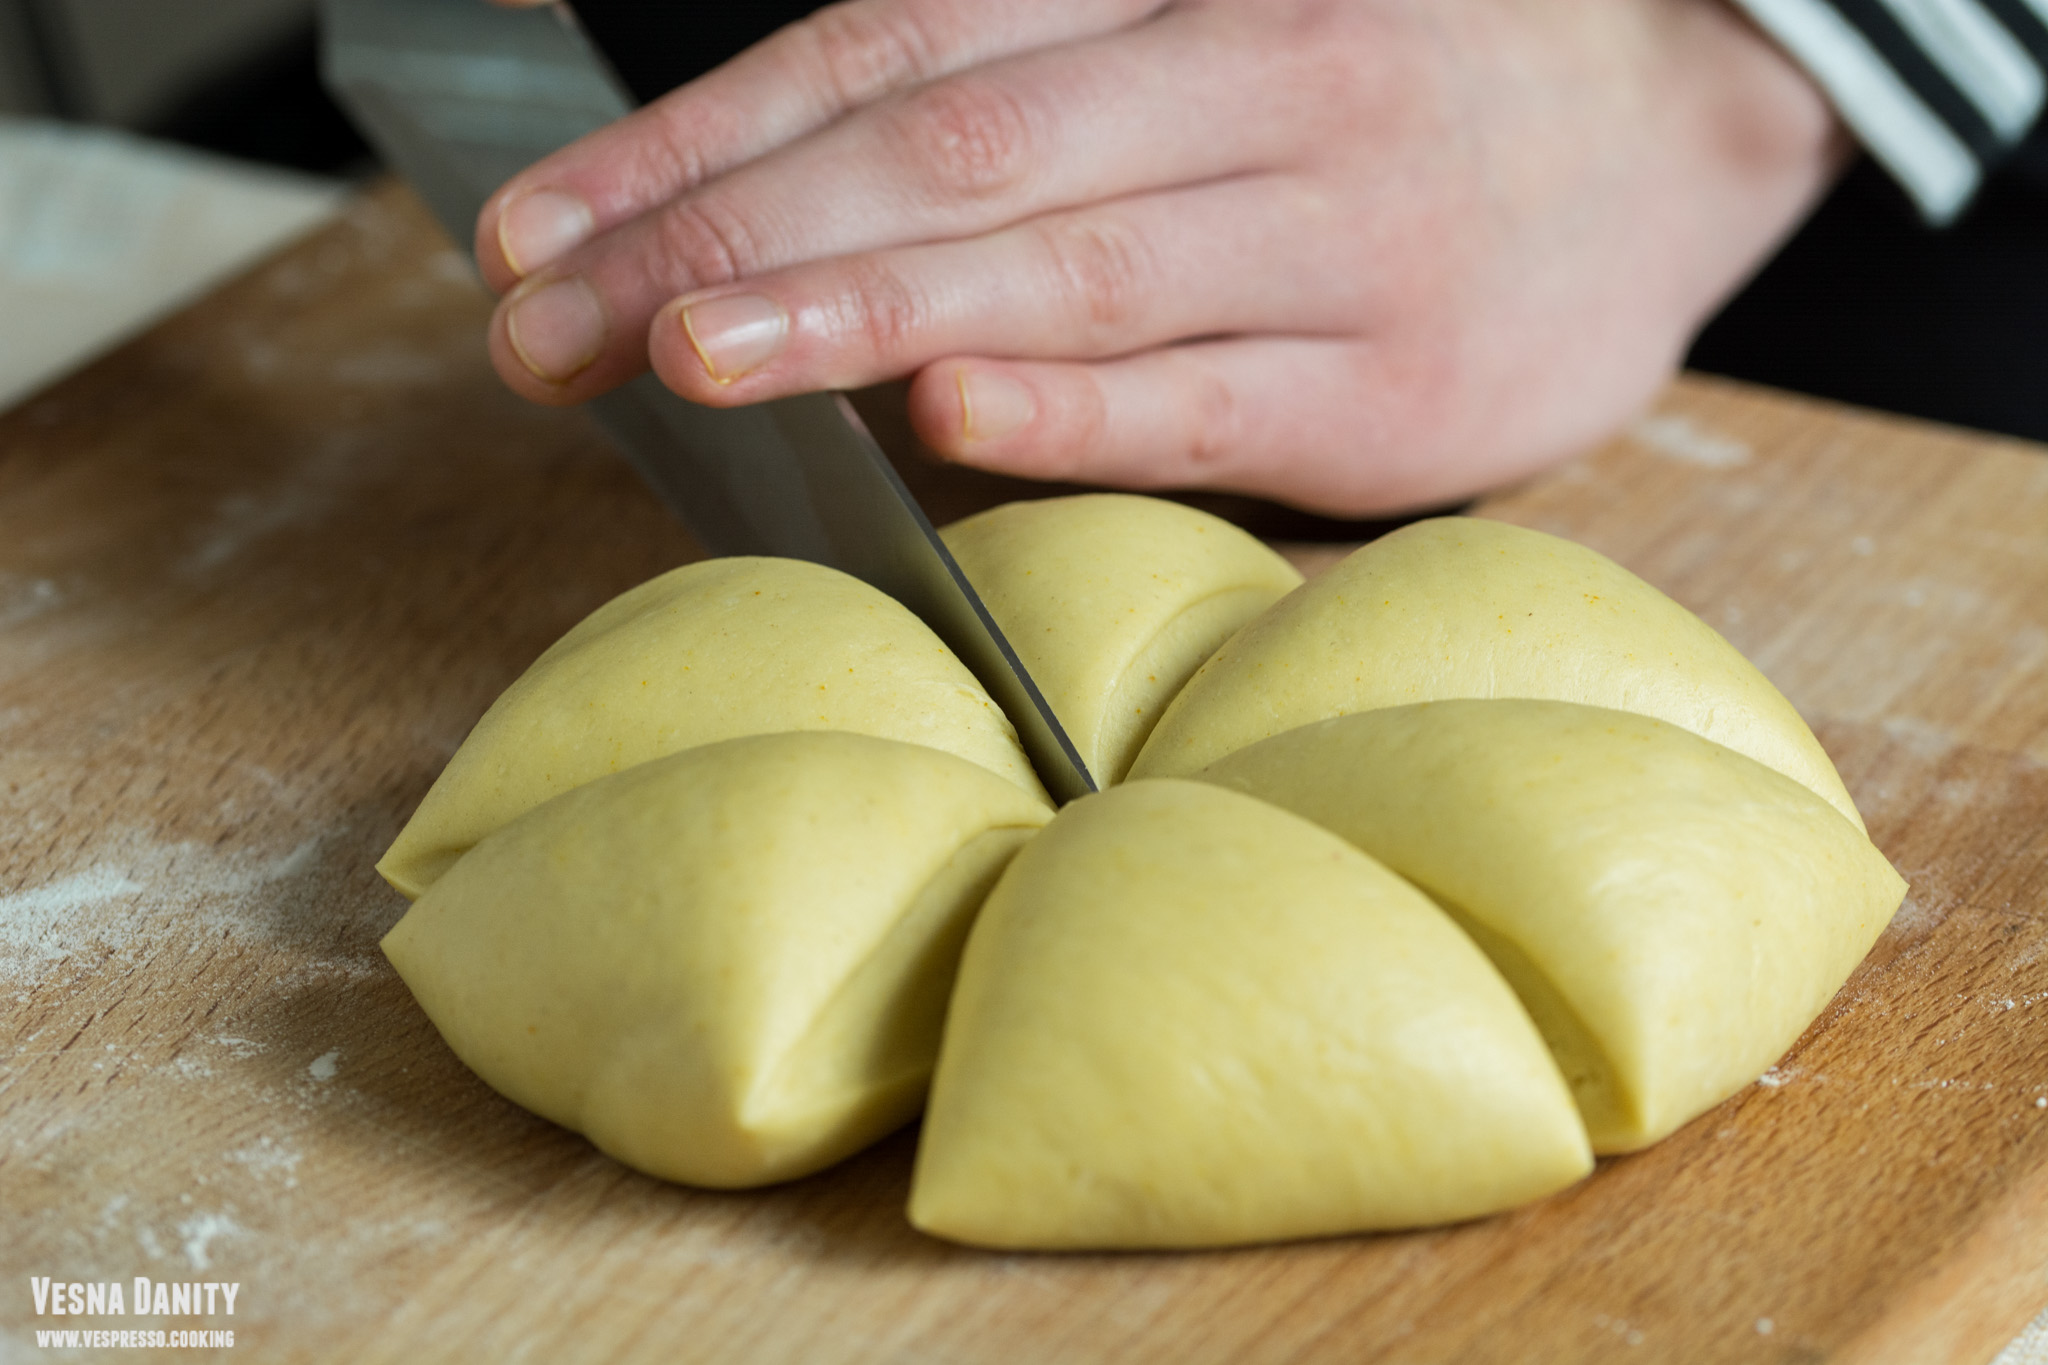
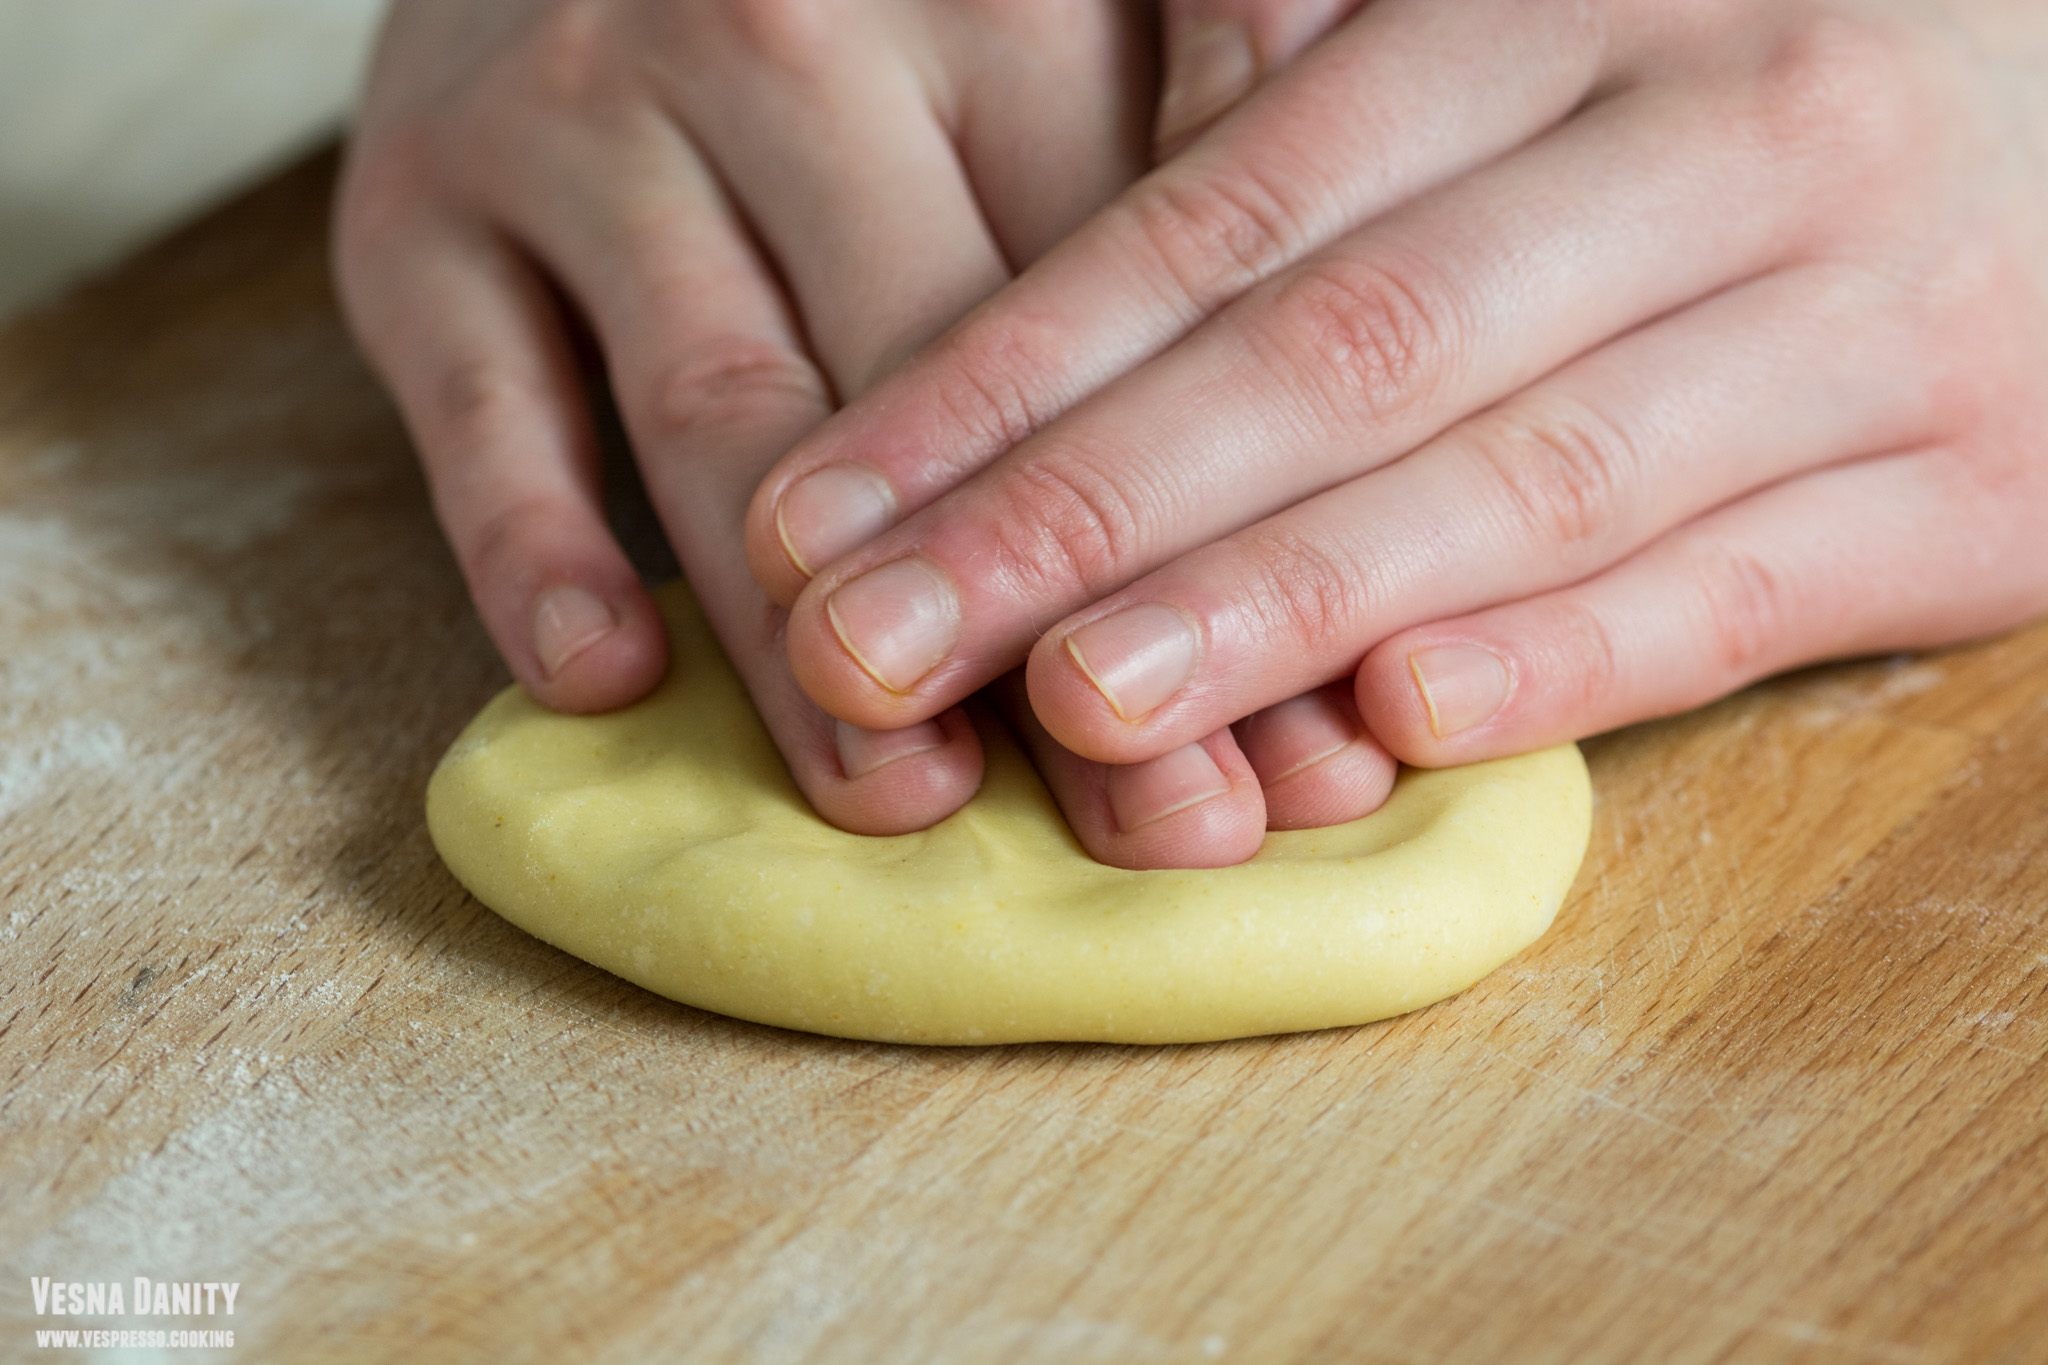
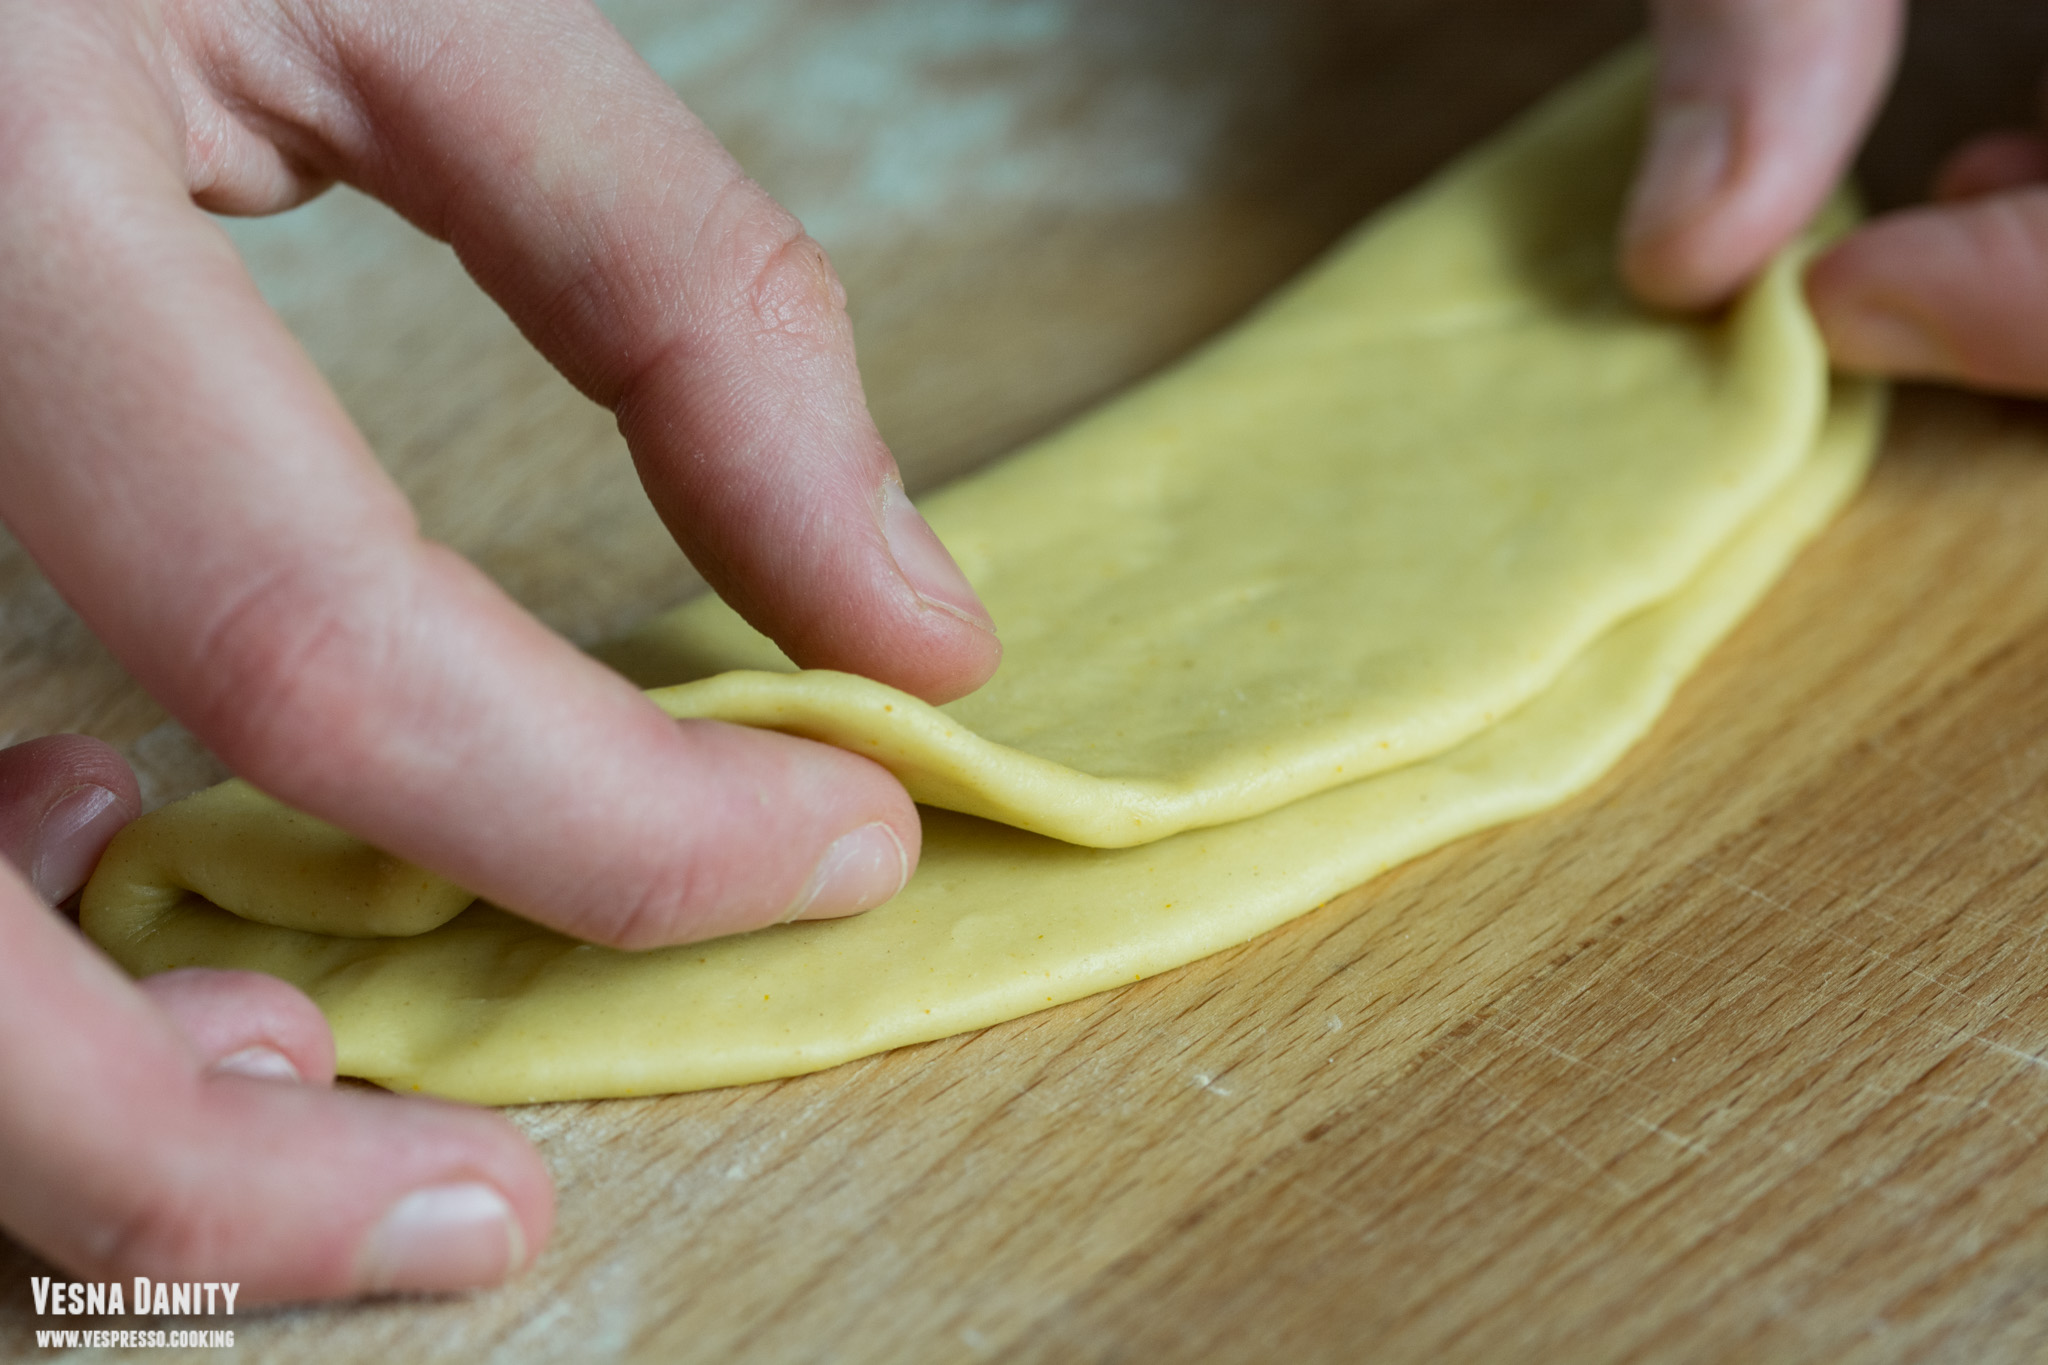
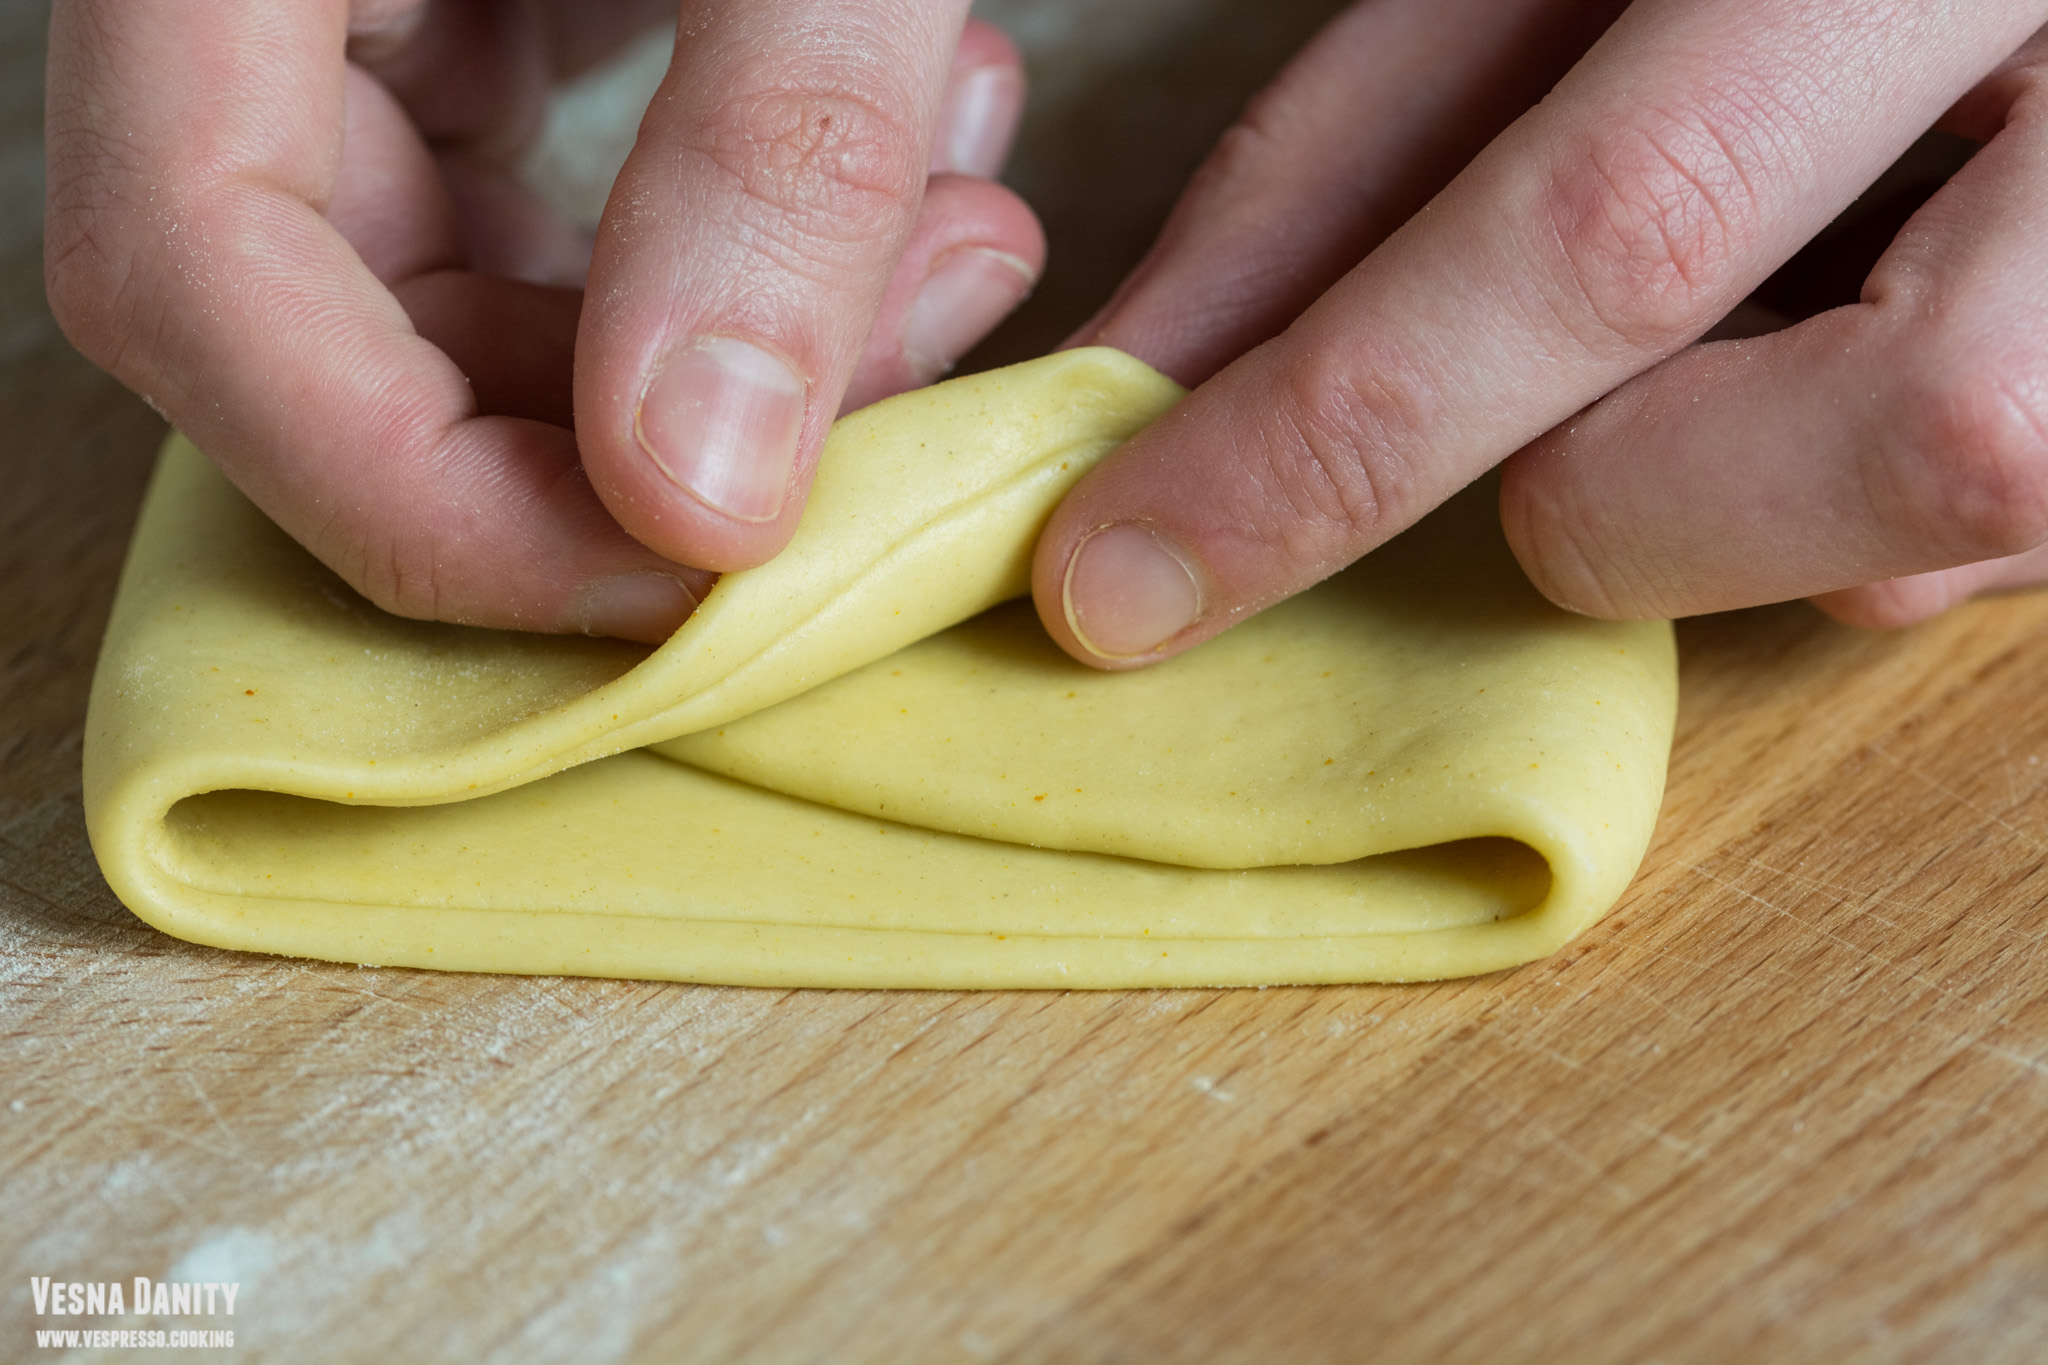
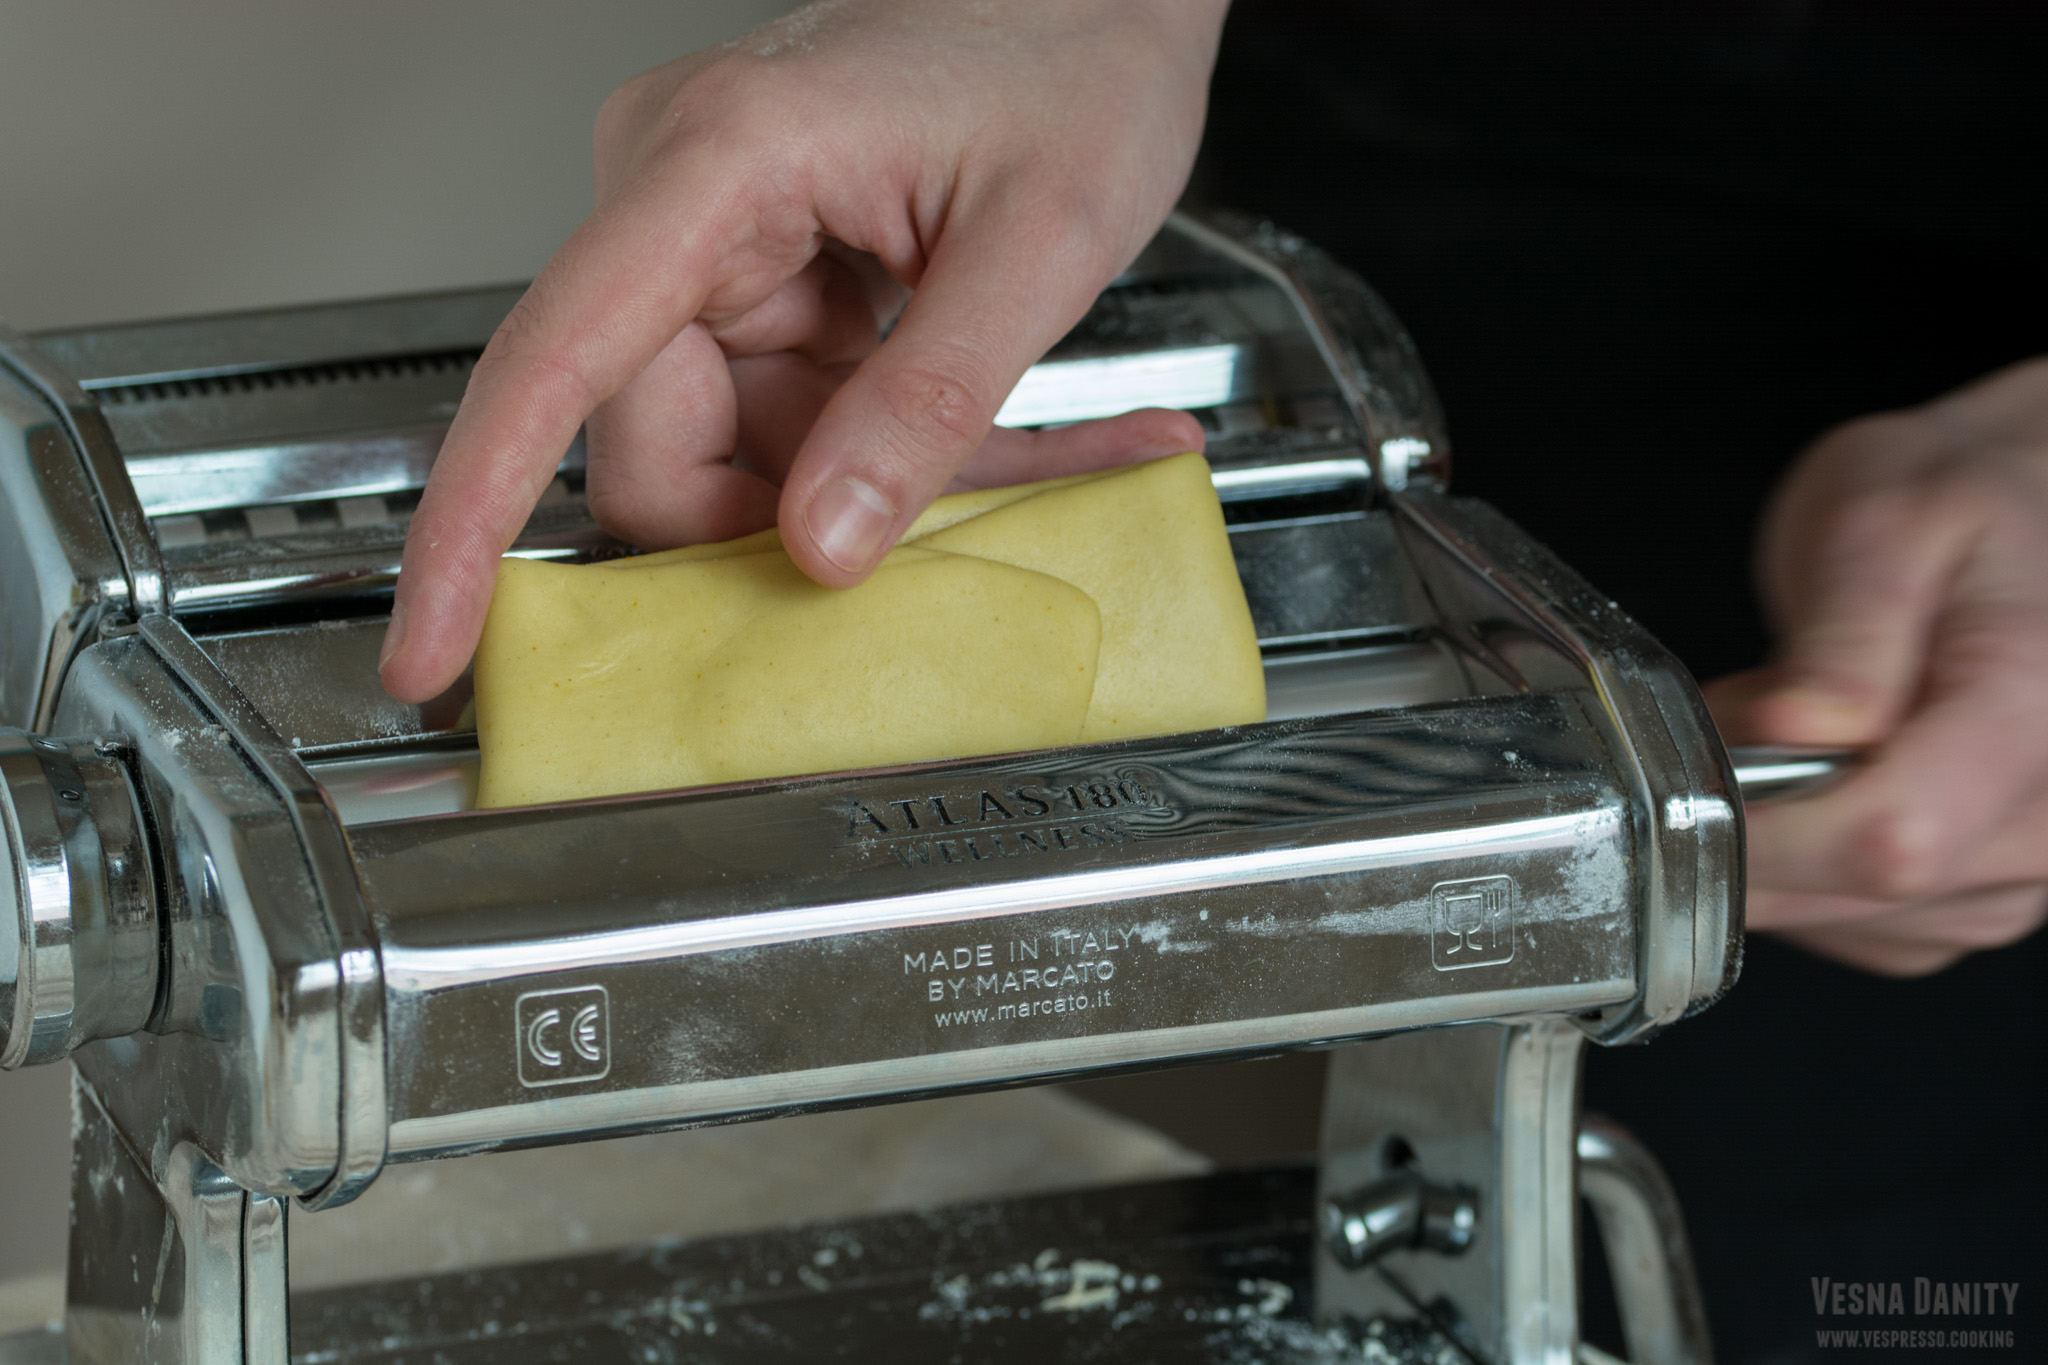
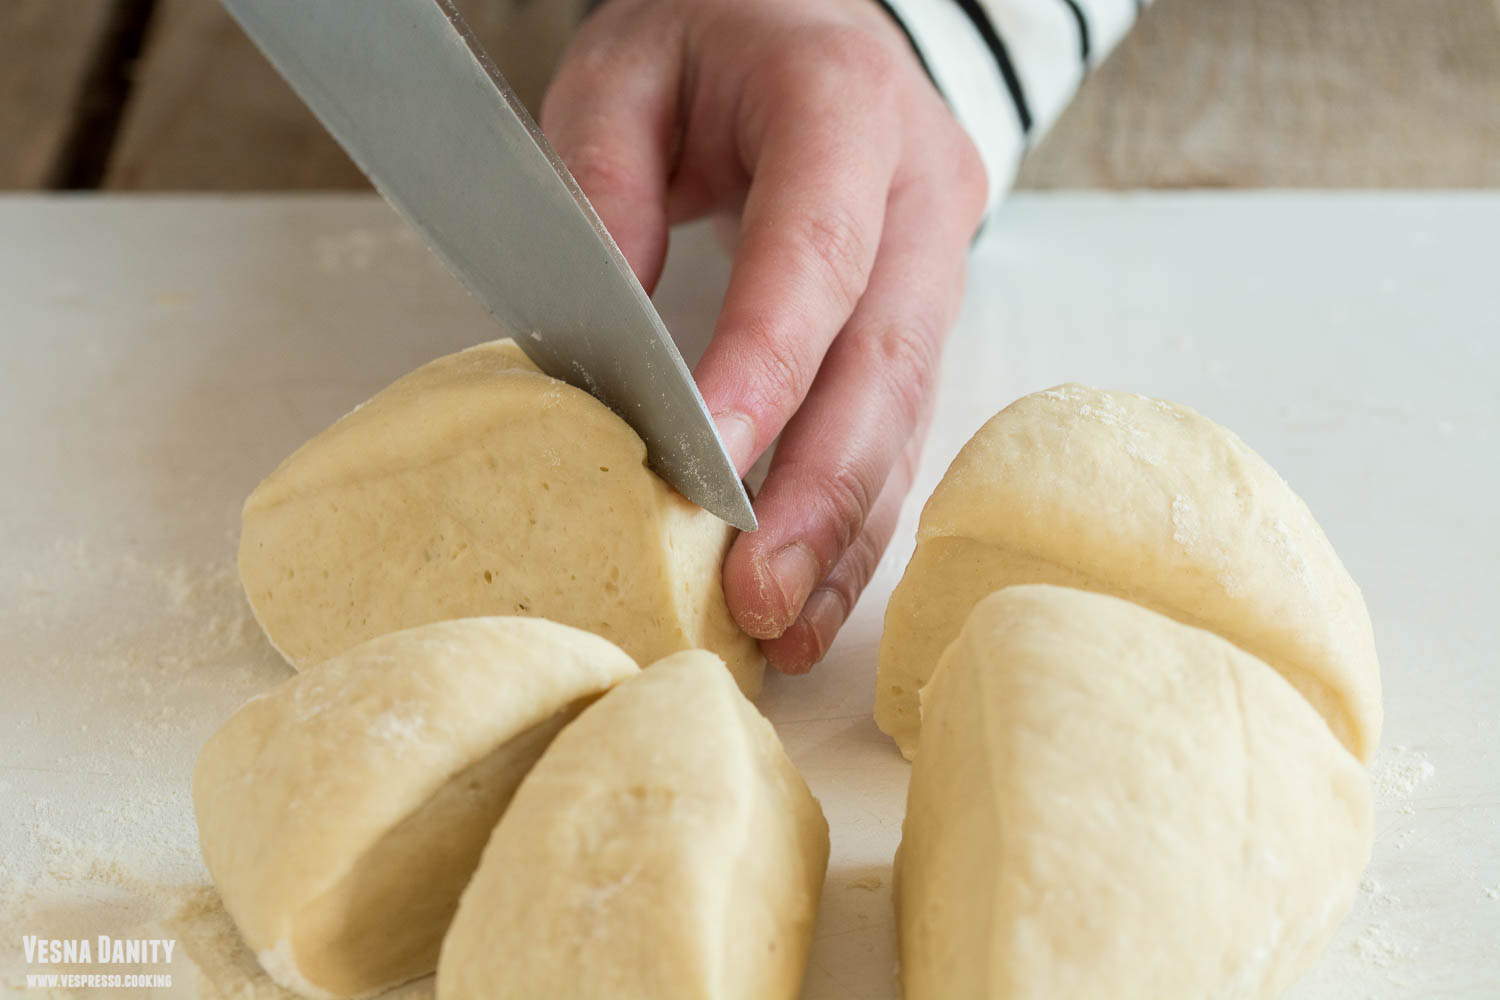
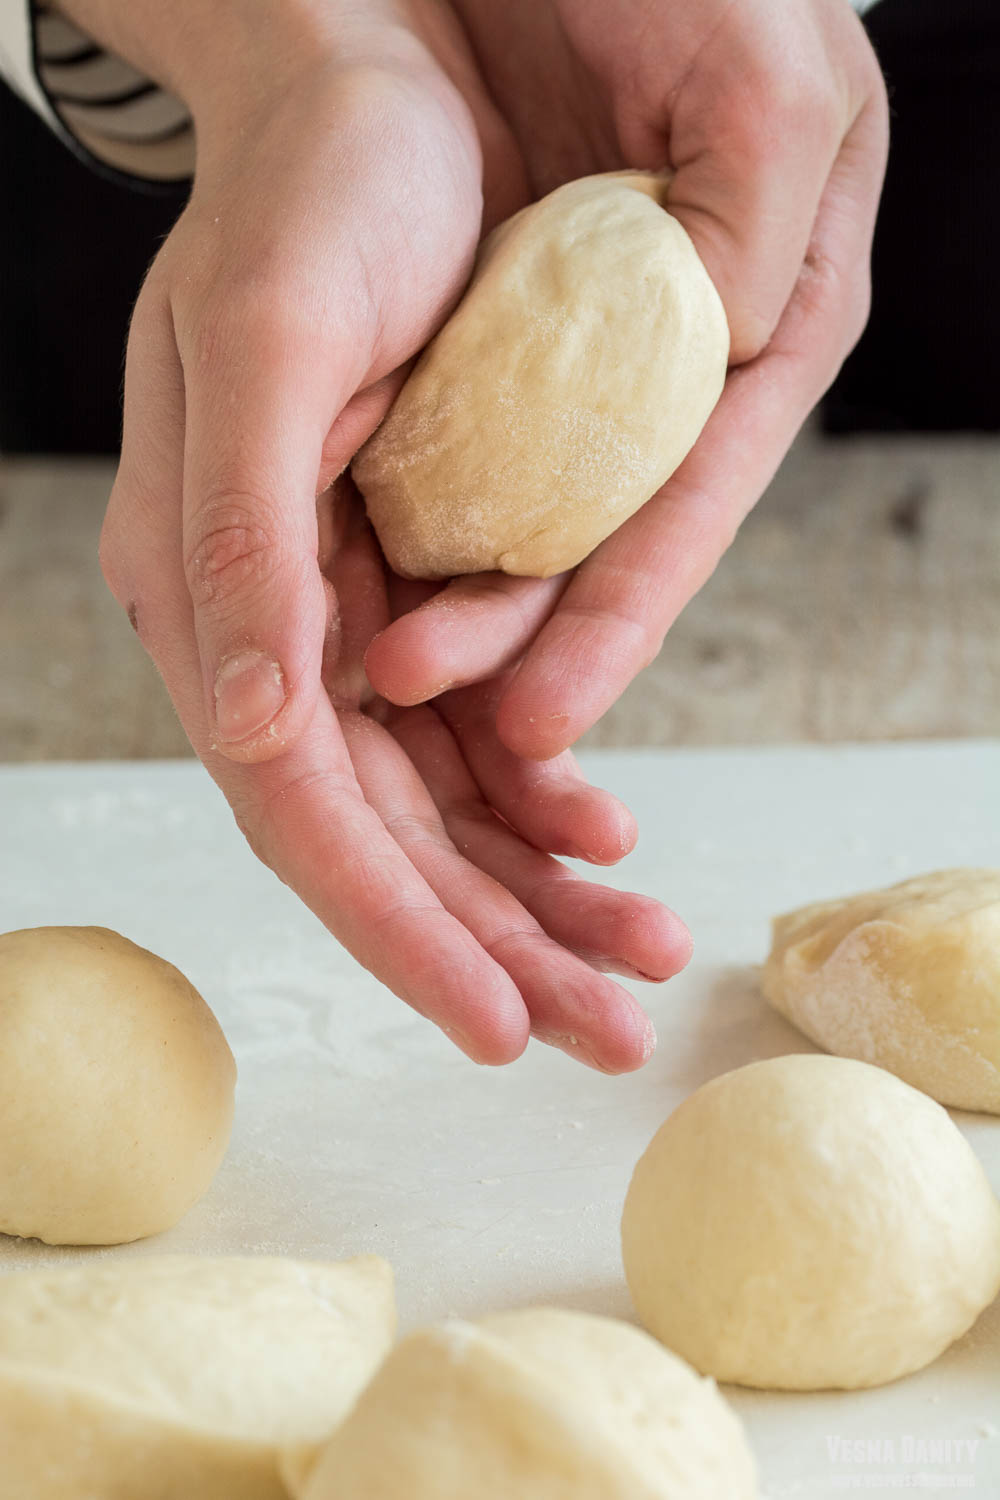
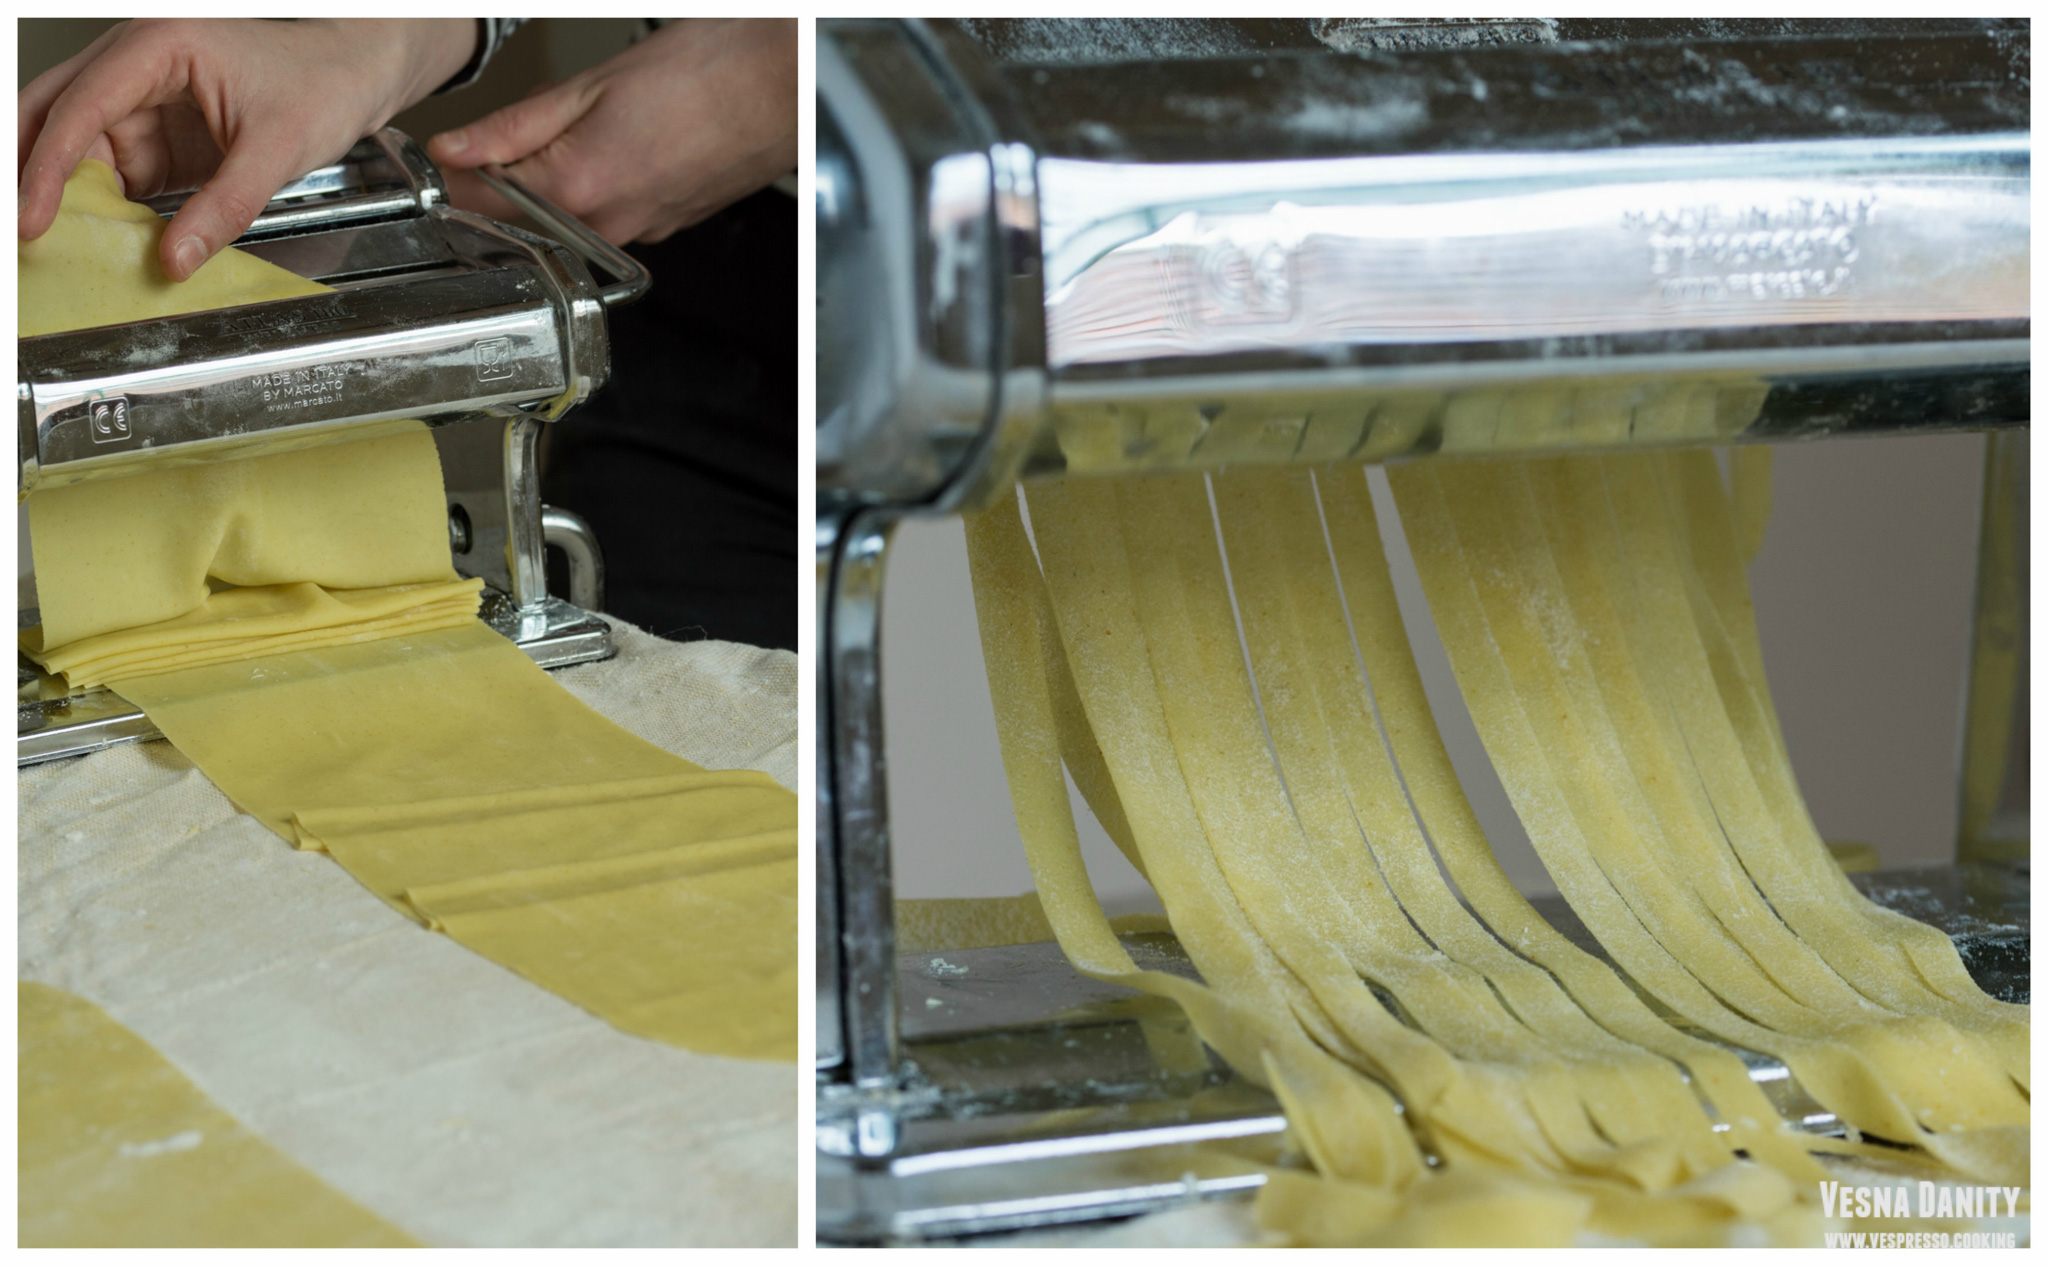
  9. Cutting the noodles – If you don’t own a pasta machine, you can use a rolling pin to roll the dough and a sharp knife to cut the noodles, like I did in this recipe. Take the dough out from the fridge, cut it in 4 and form 4 balls of dough. Take 1 ball, flatten it with your fingers and fold it in half. Set your pasta machine to the thickest setting and feed it through the pasta roller. Repeat the step. Change the setting to mark 2. Fold this piece of dough into thirds, and press it with your fingers. Pass it through the pasta machine. Repeat the step. Continue passing the dough through the machine until the desired thickness. For these noodles I like to stop after the 5th mark.
    Recap: fold, mark1x2, fold, mark2x2, mark3x2, mark4x2, mark5x1
  10. Run each sheet of pasta through the pasta cutter.
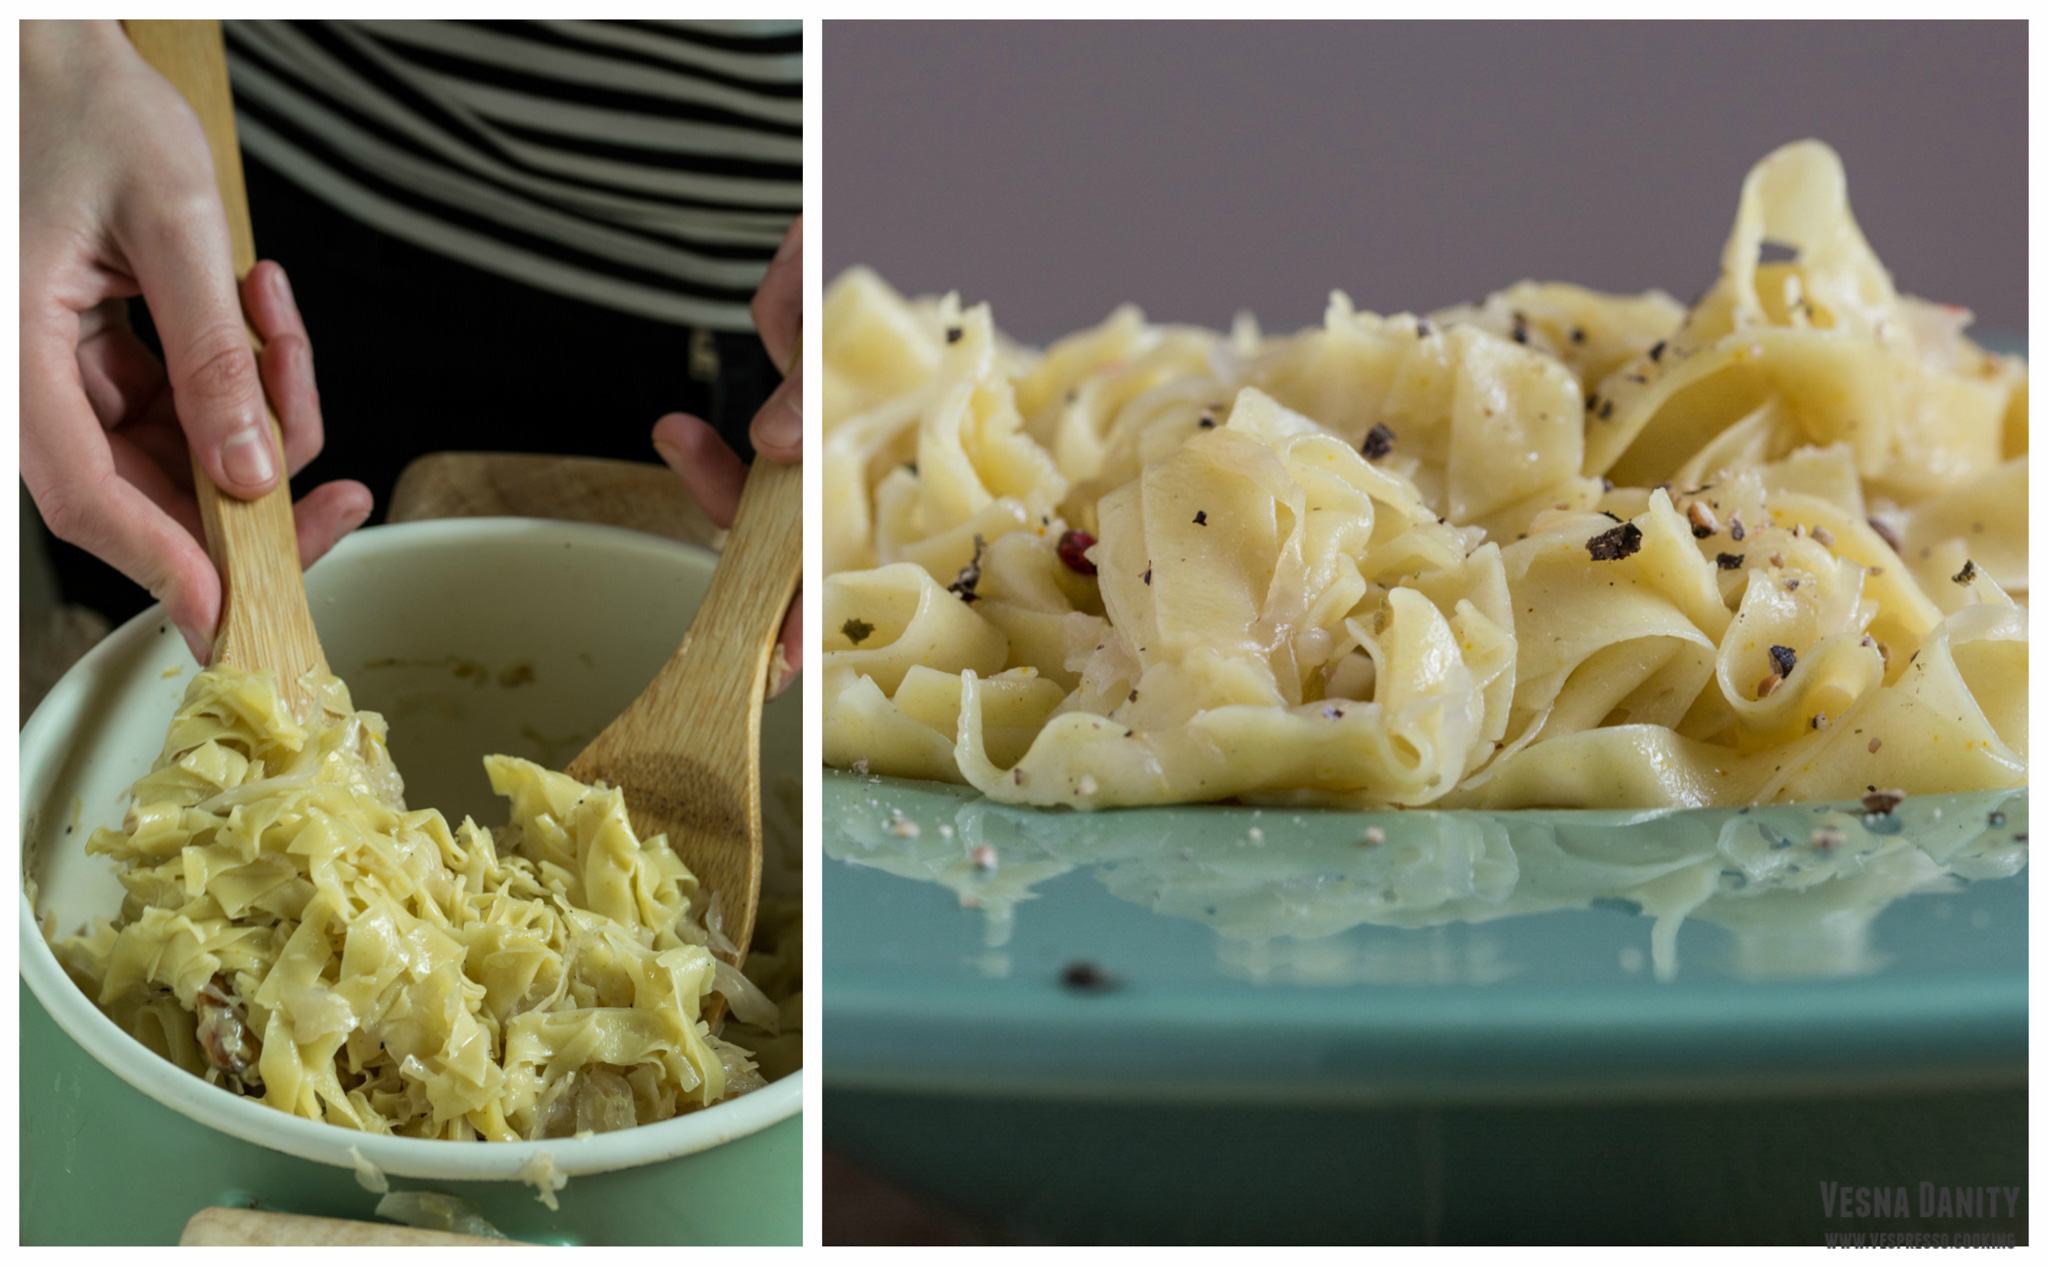
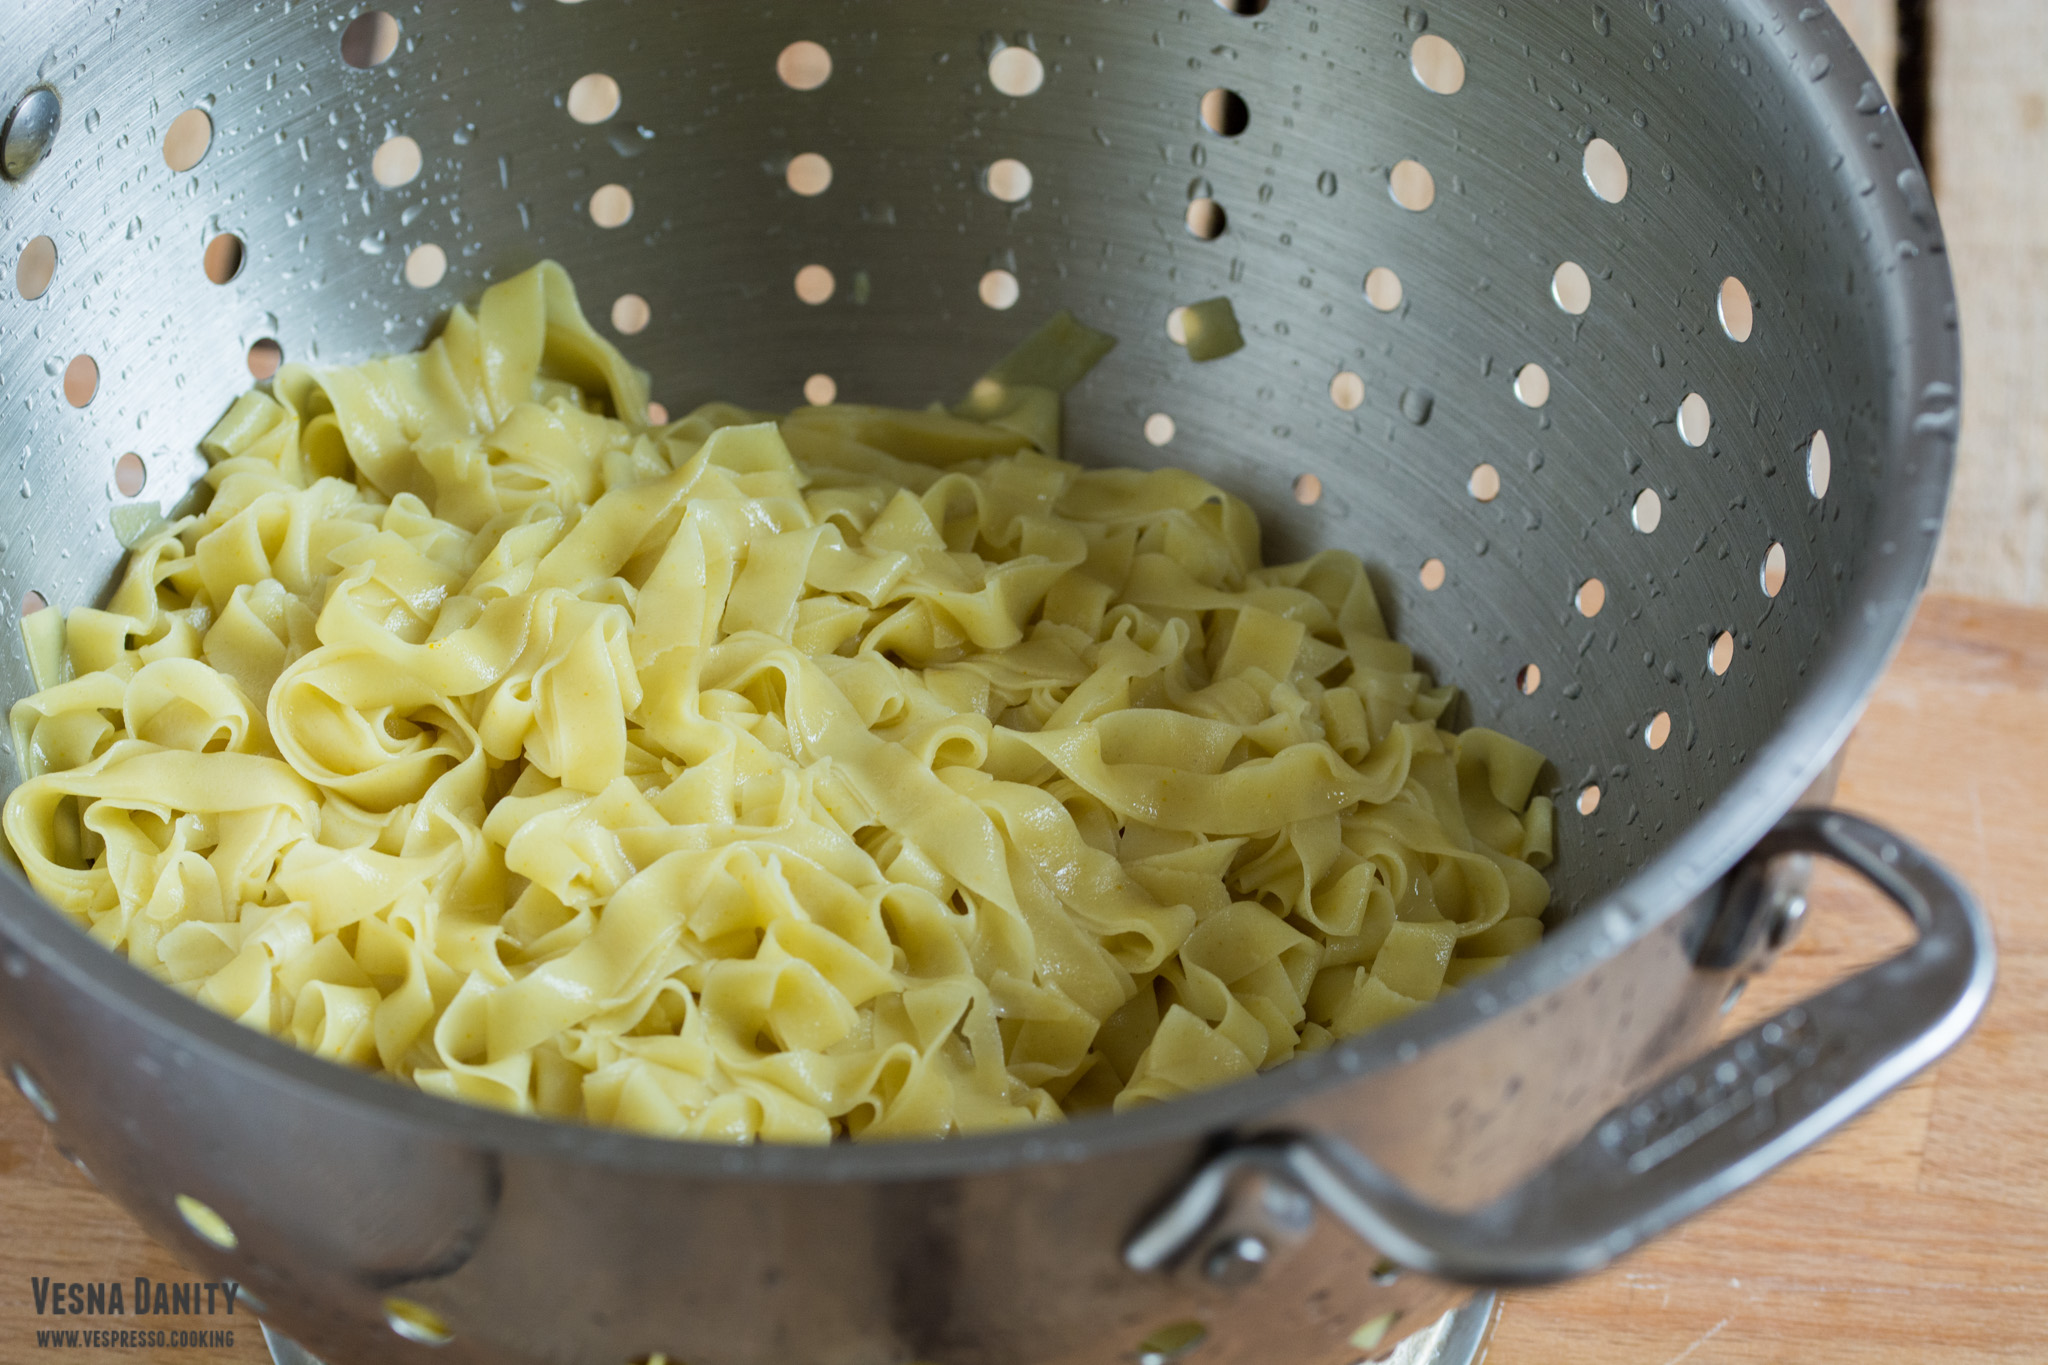
  11. Take a large pot, fill it with water and add a handful of salt. Cover with a lid and let it boil. When the water starts to boil, put the noodles into the pan and let them cook for about a minute and a half (90 seconds). Drain pasta and rinse them with cold water. Toss them over the sauted cabbage and give it a gentle stir.
  12. Serve immediately.


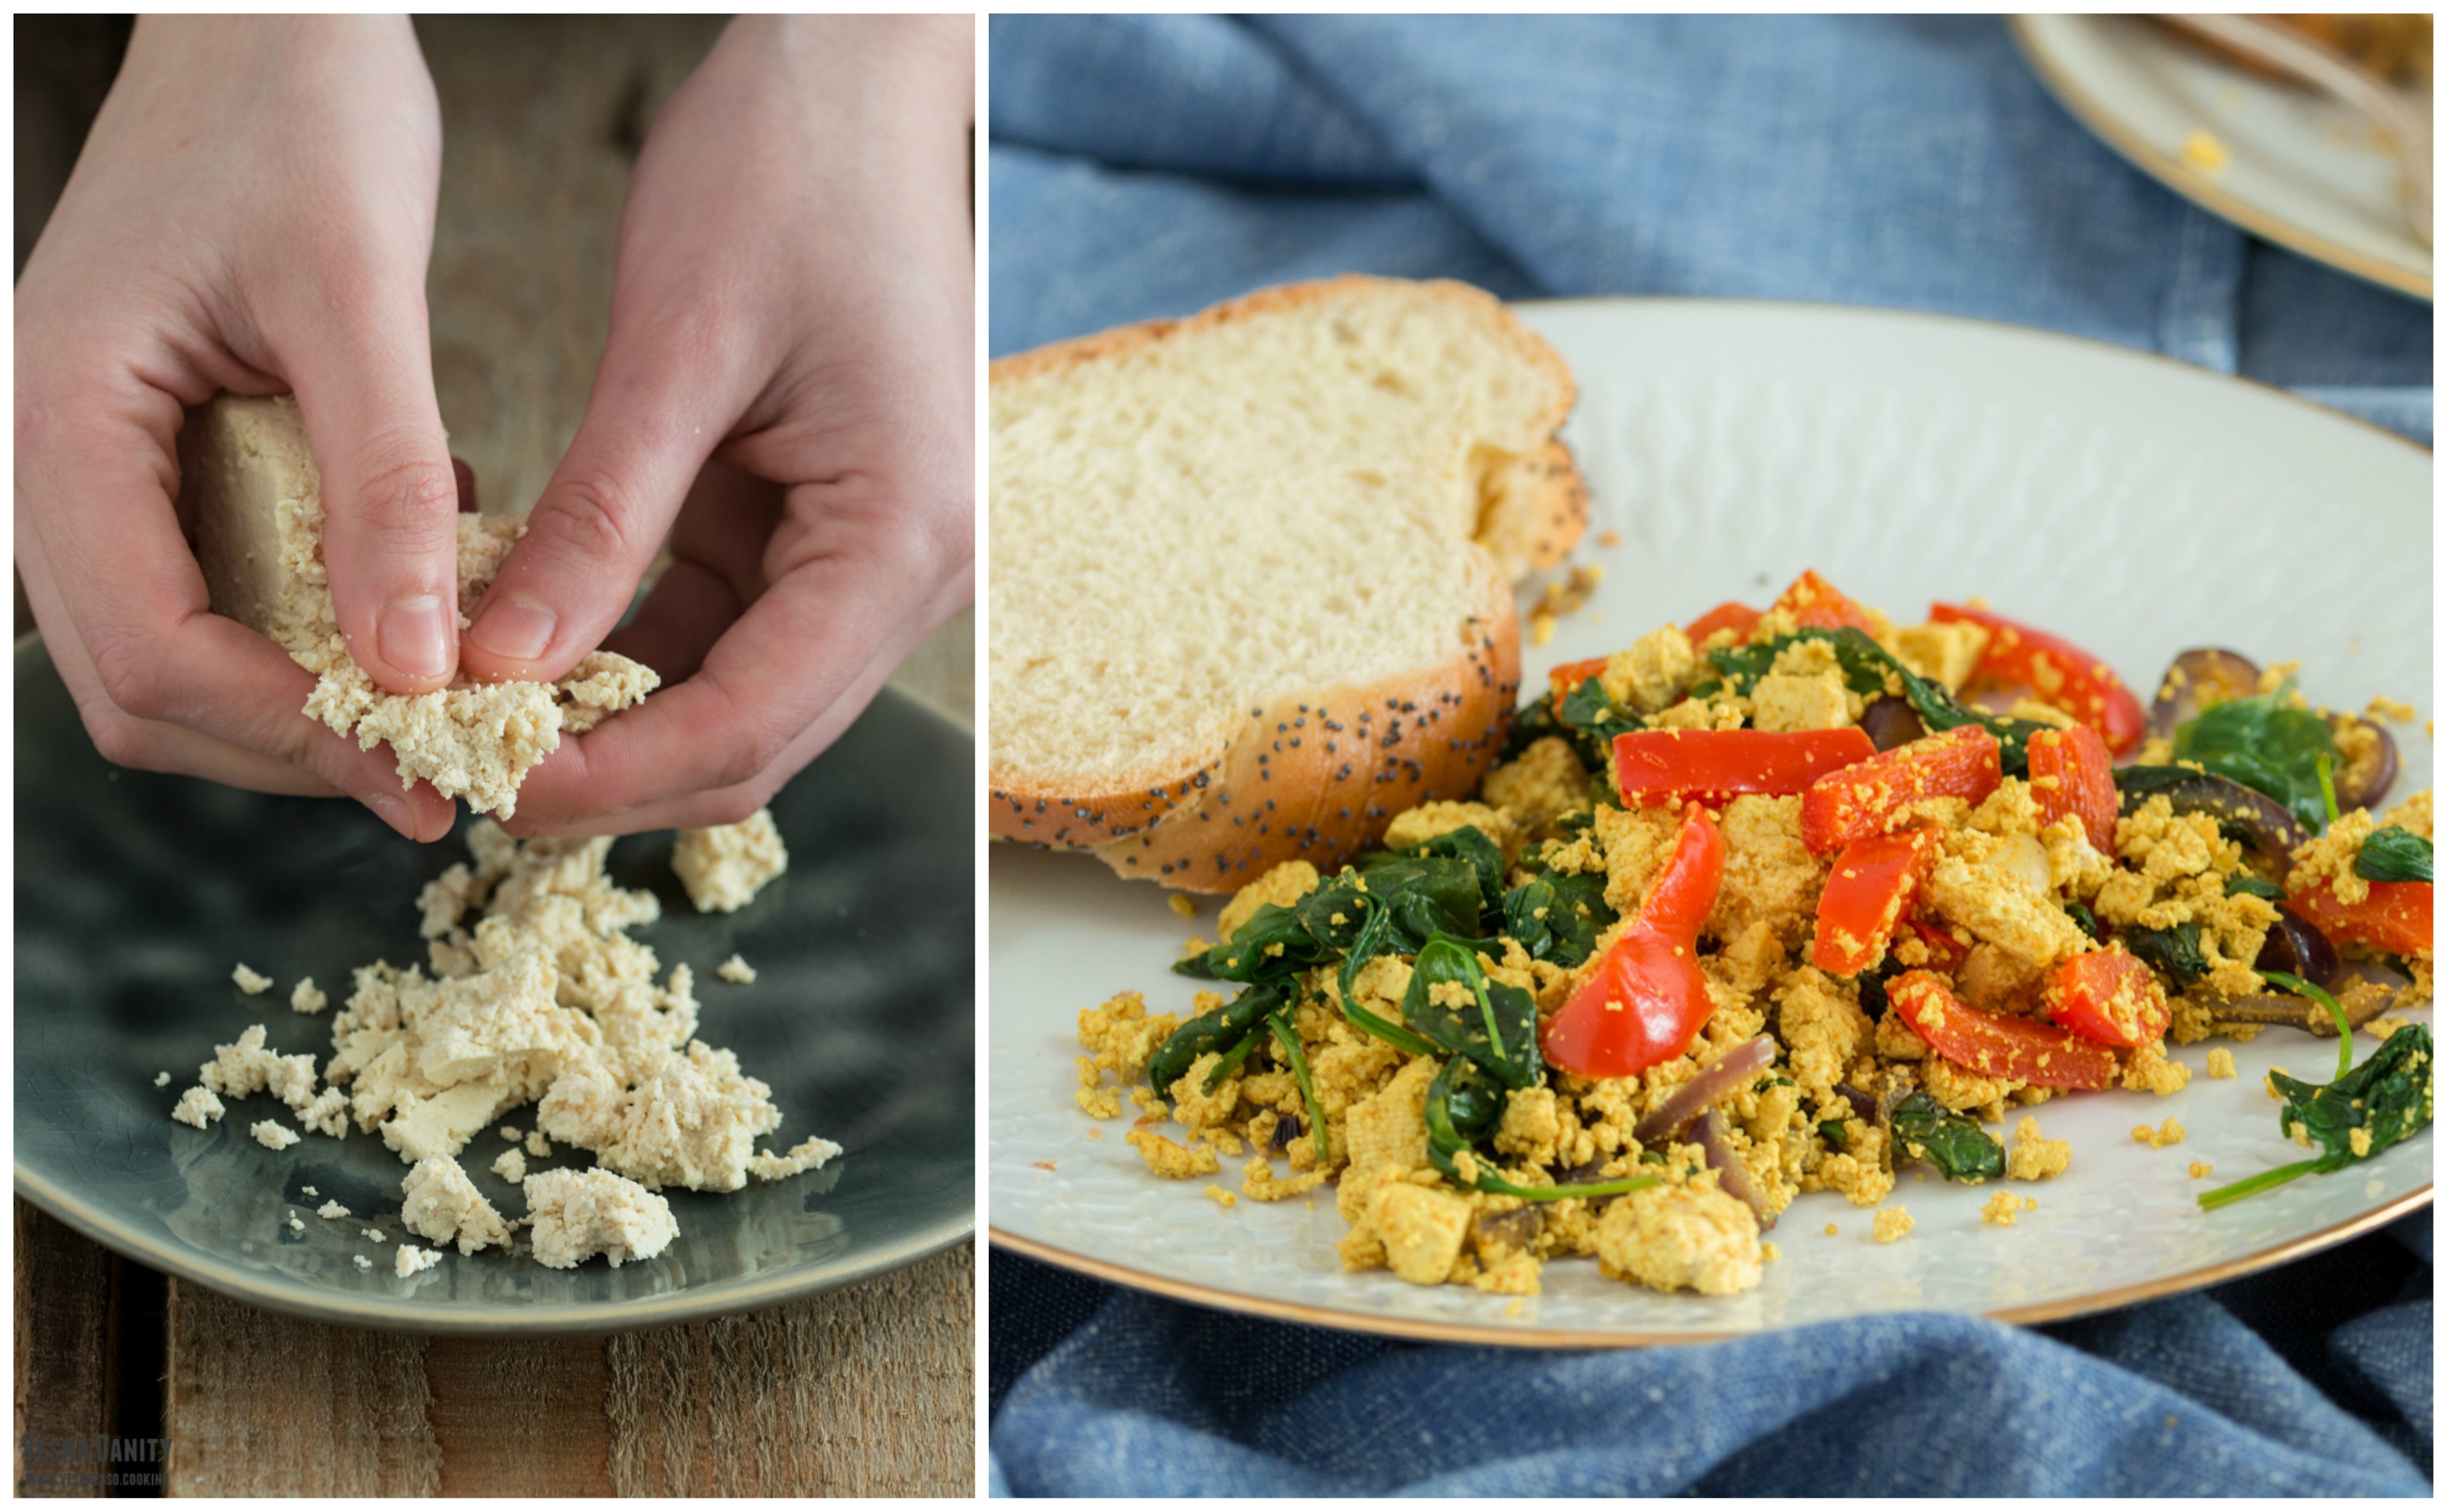
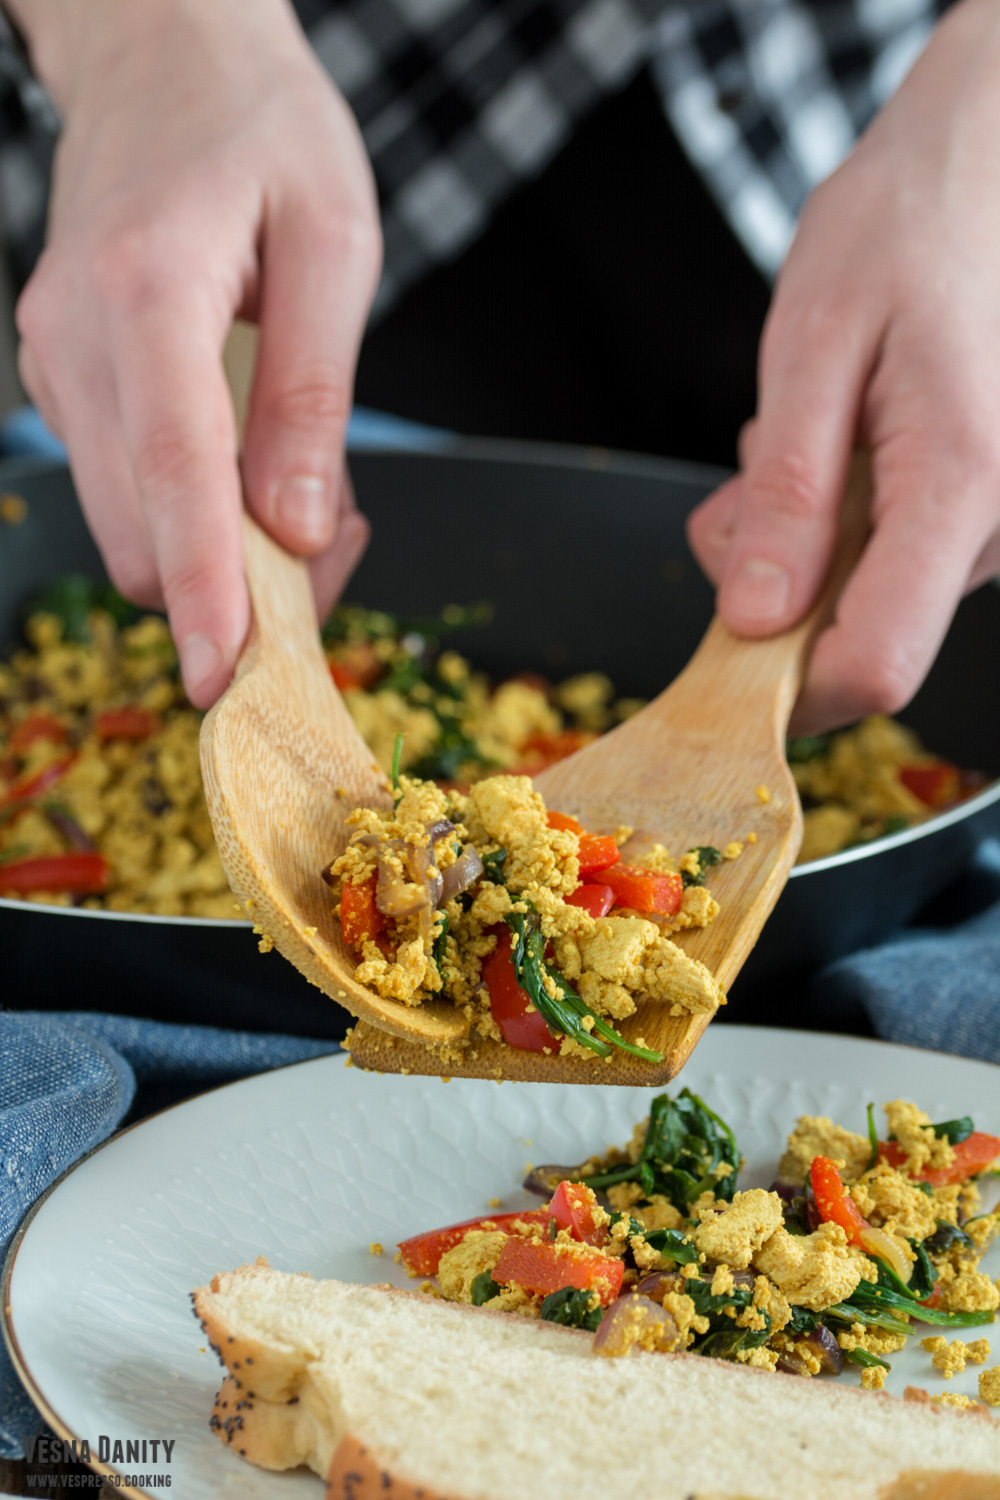
Scrambled Tofu with Pepper and Spinach

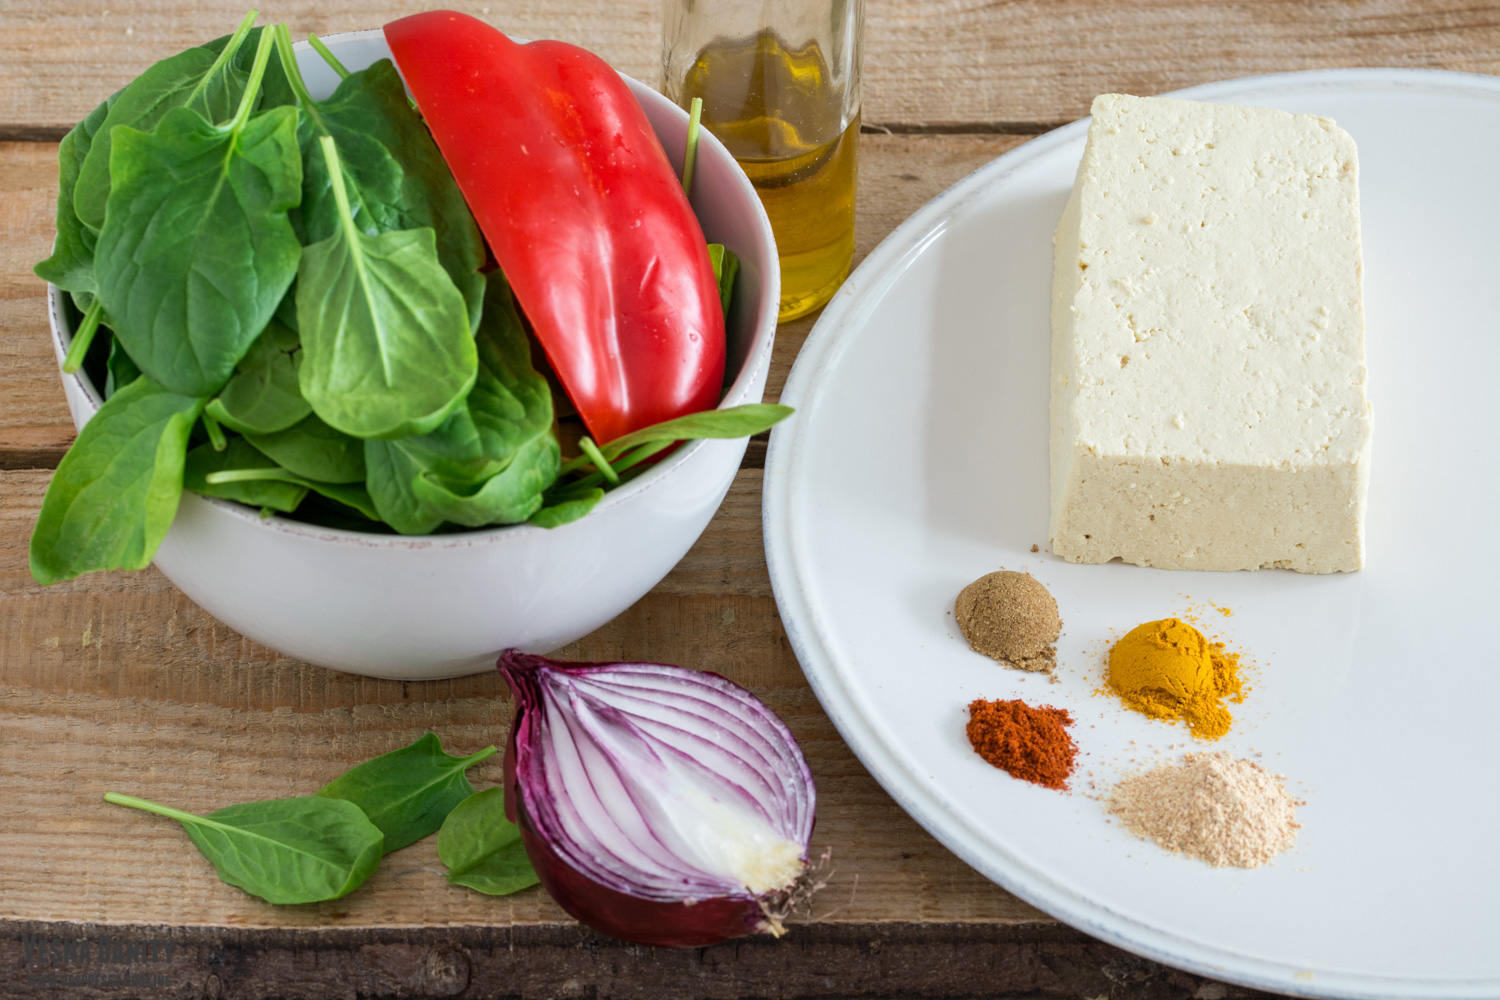
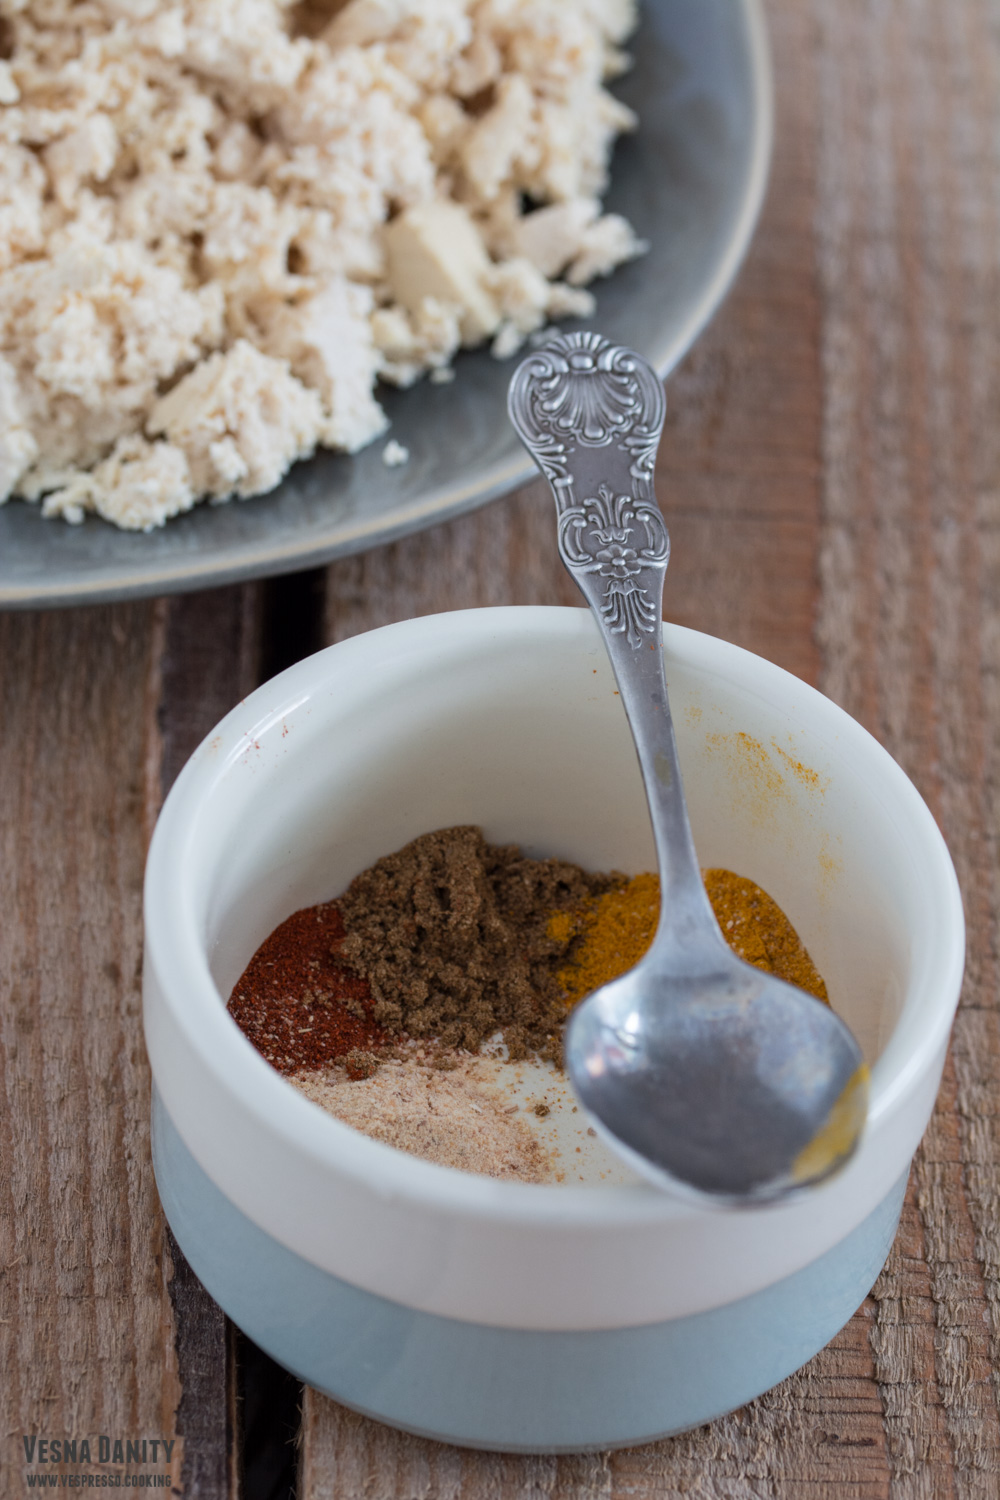
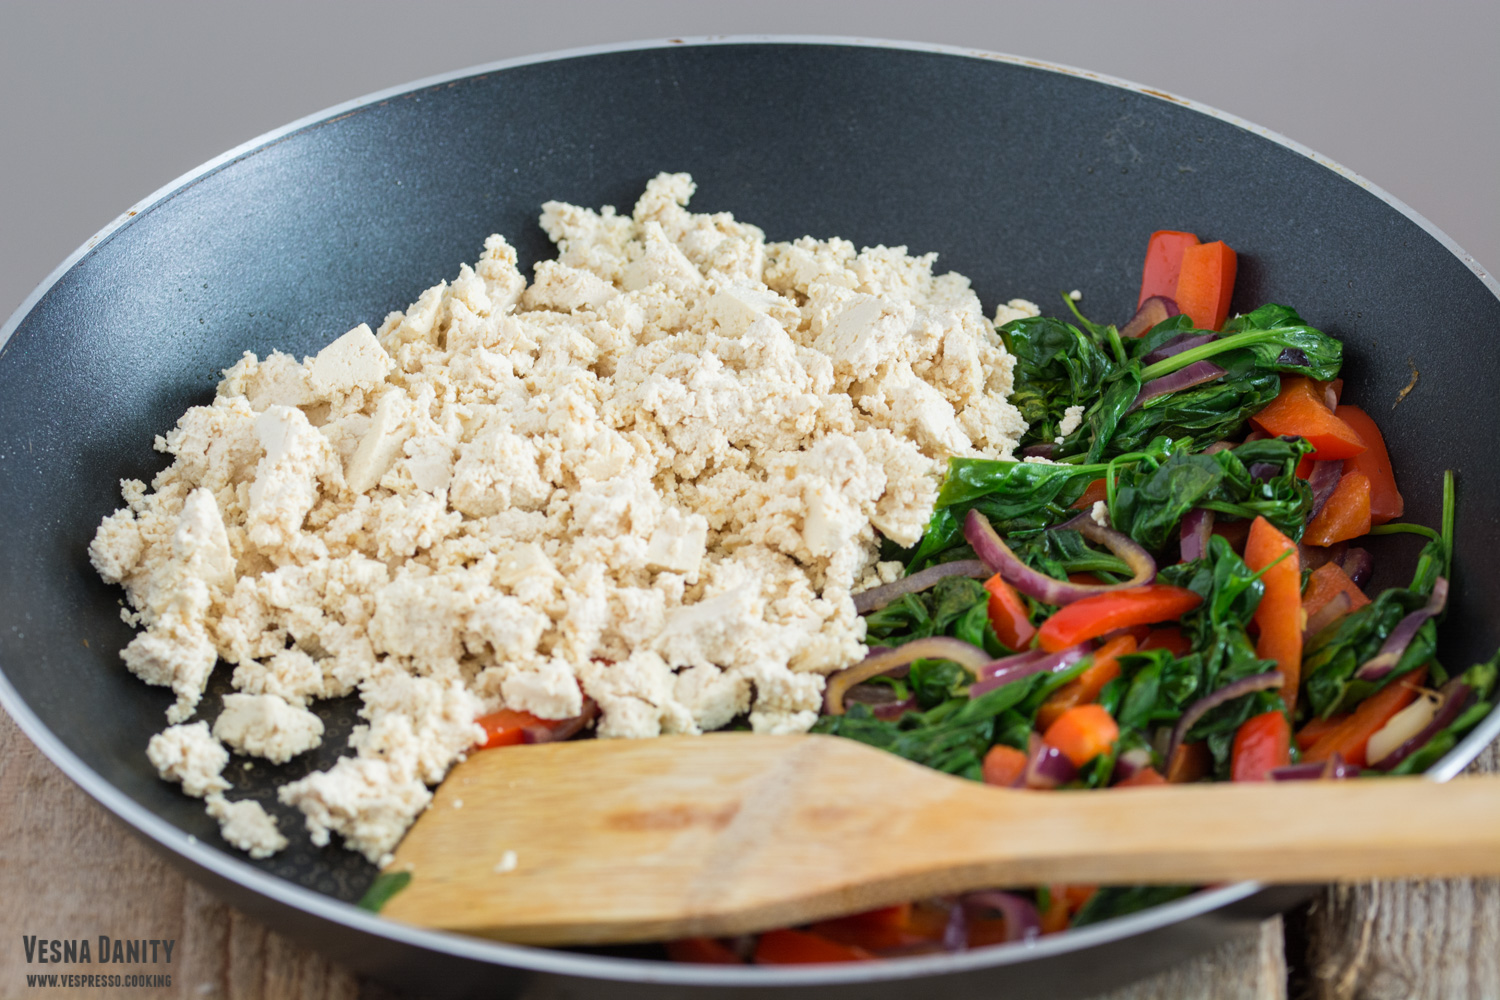
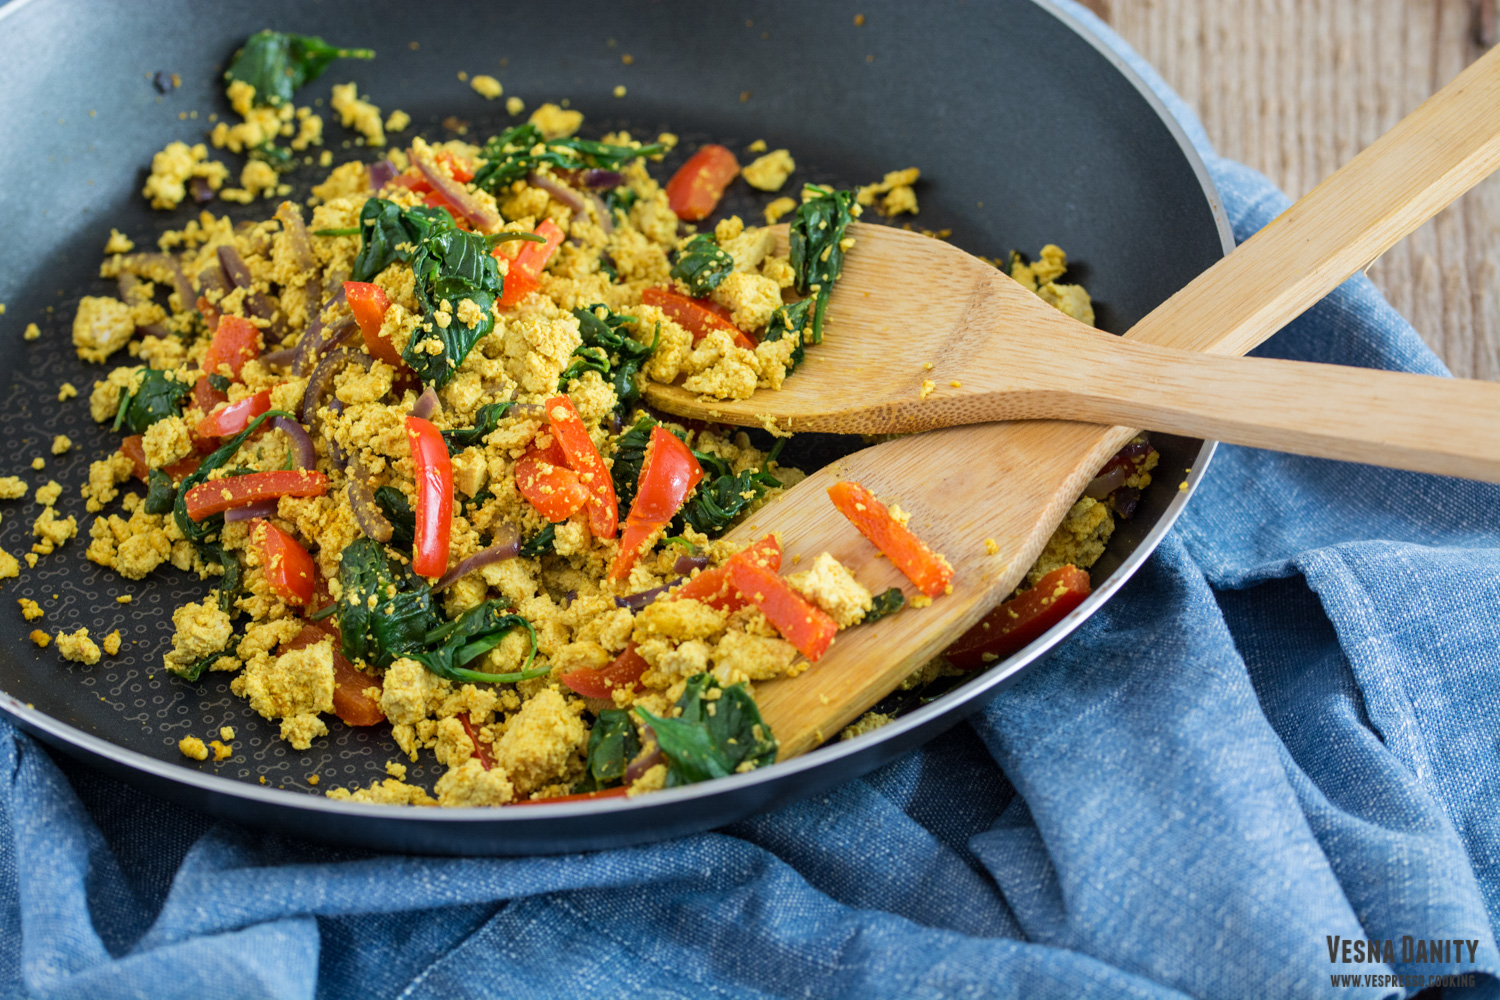
I had no idea that there’s a way to make some delicious scrambled eggs without using a single egg. Seasoned crumbled tofu accompanied by a couple of veggies creates the best “scrambled eggs” I’ve ever tasted. This scrambled tofu with spinach and bell pepper is absolutely delicious and it’s ready in less than 15 minutes. For seasoning this tasty dish, I use turmenic, cumin, chili and garlic powder. The golden turmenic is not only used for its flavor, but it also brings this vibrant, “eggie” color to the dish. The steps are so simple. You sautee the onion and the pepper in a skillet, you add the spinach and you braise it for a couple of moments. Finally you add the crumbled tofu and you season it to perfection. That’s all! Simple, nutritious and incredibly delicious!

Ingredients (for 2 servings):

  • 200g extra firm tofu
  • 1/2 red onion (50g)
  • 1/2 red bell pepper (70g)
  • 2 handfuls of spinach (50g)
  • 1 Tbsp olive oil
  • 2 Tbsp water / vegetable soup
  • 1/2 tsp turmenic
  • 1/2 tsp cumin
  • 1/2 tsp garlic powder
  • 1 pinch of chili
  • salt to taste

Method:

  1. Pat tofu dry using a clean paper towel. Cover it with paper towel and place something heavy on top (I used some cans).
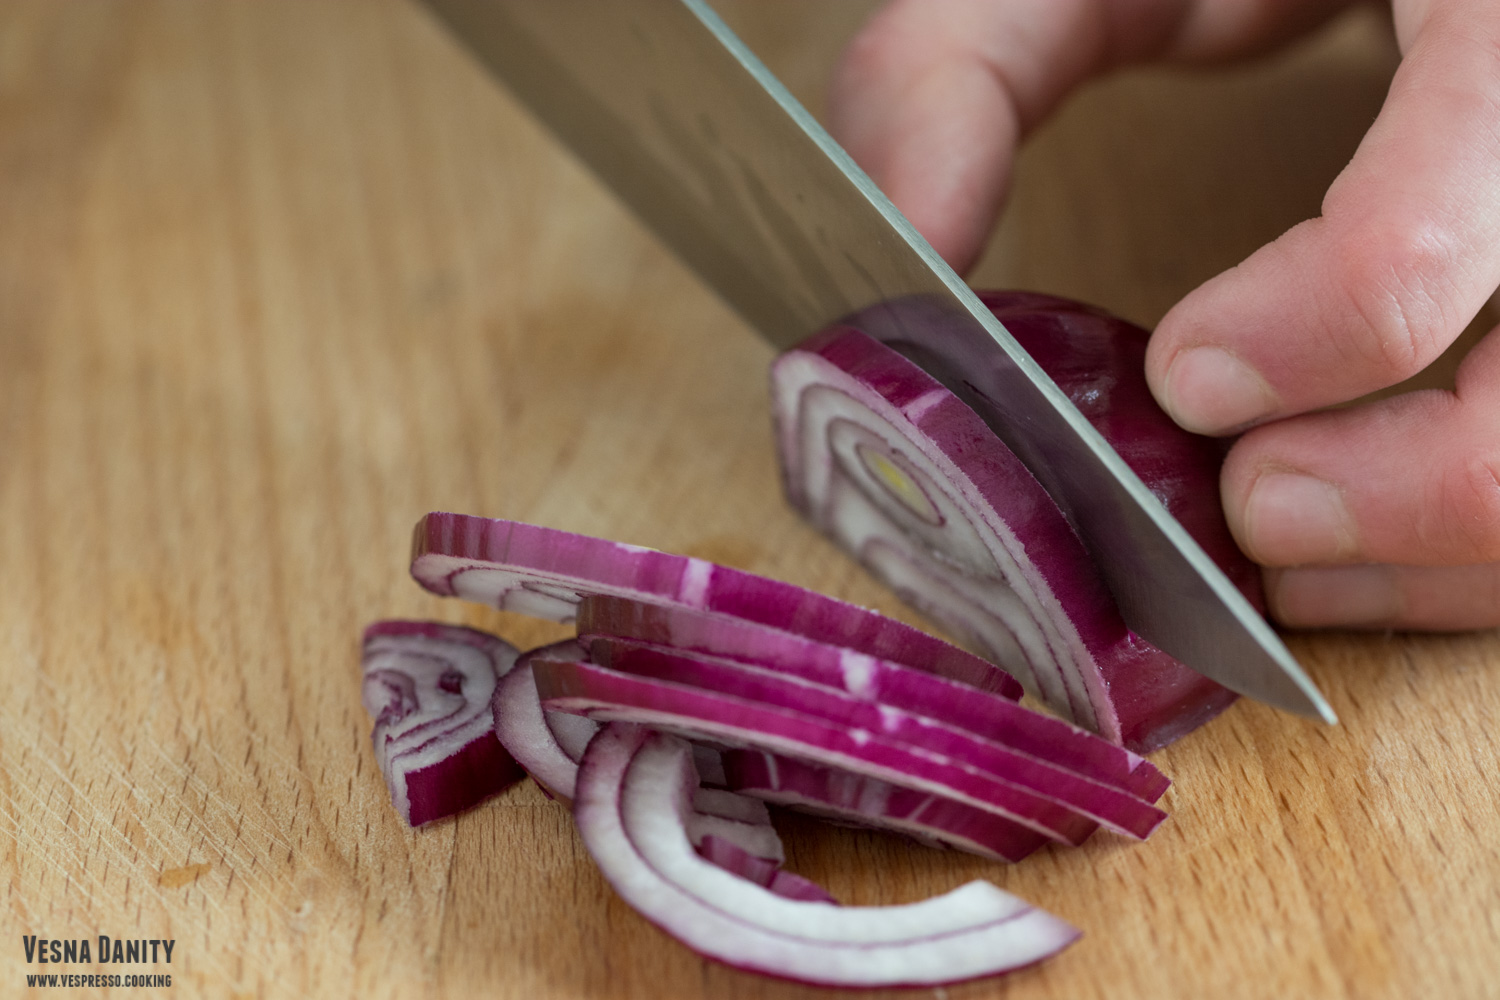
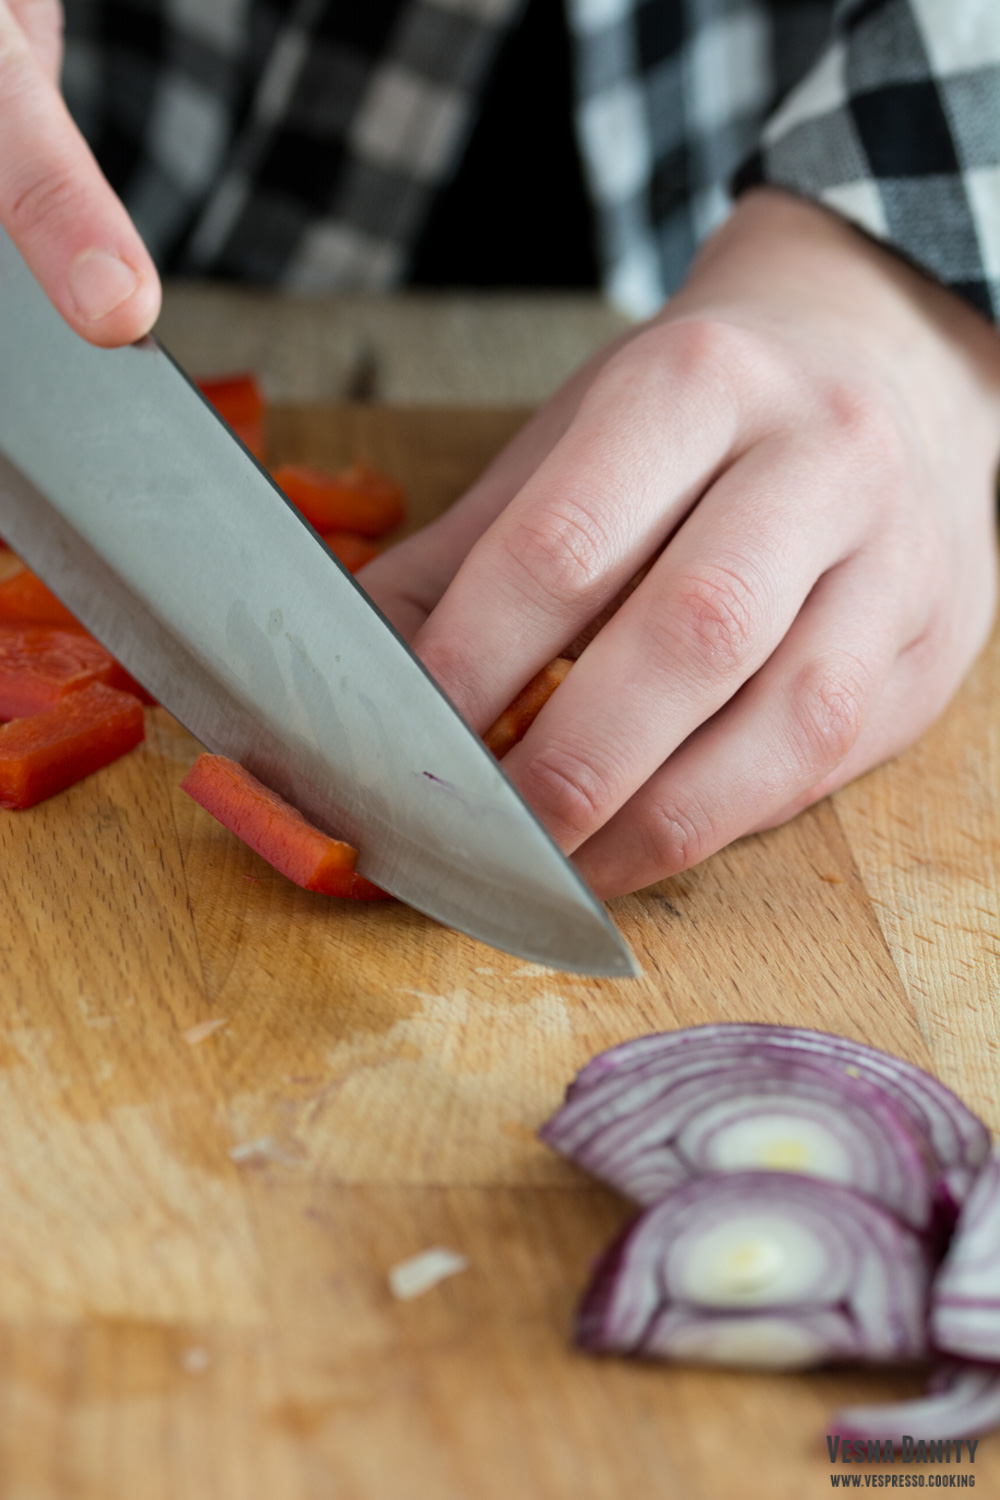
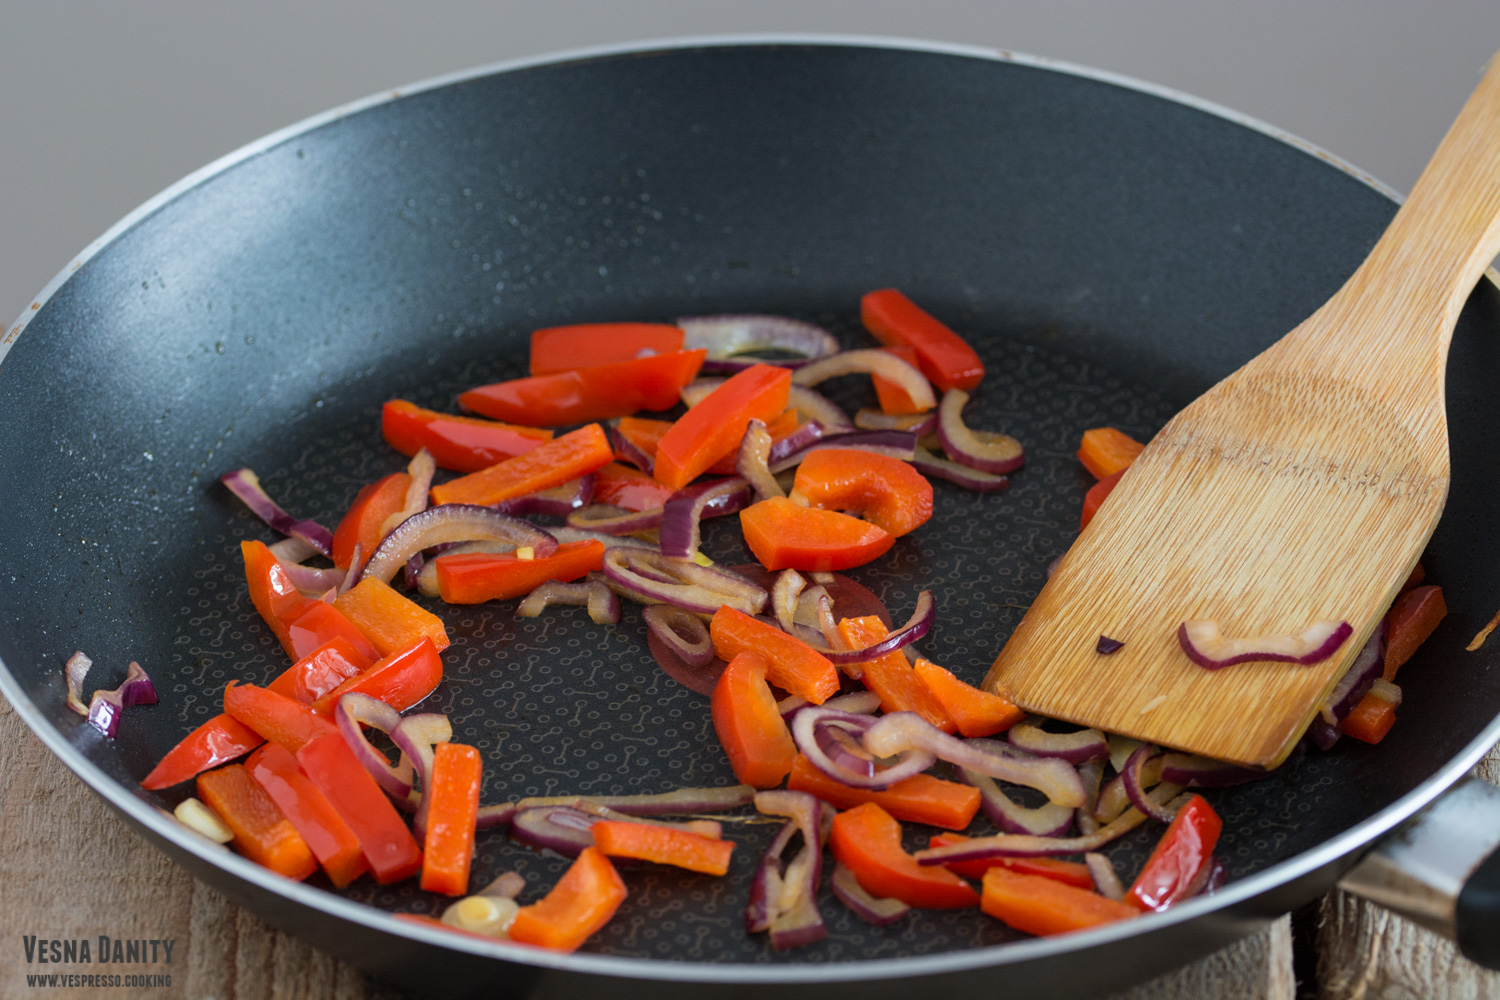
  2. Chop the onion and the bell pepper. Heat 1 Tbsp of olive oil in a skillet over low heat. Add the onion and the pepper and sautee for about 3 minutes.
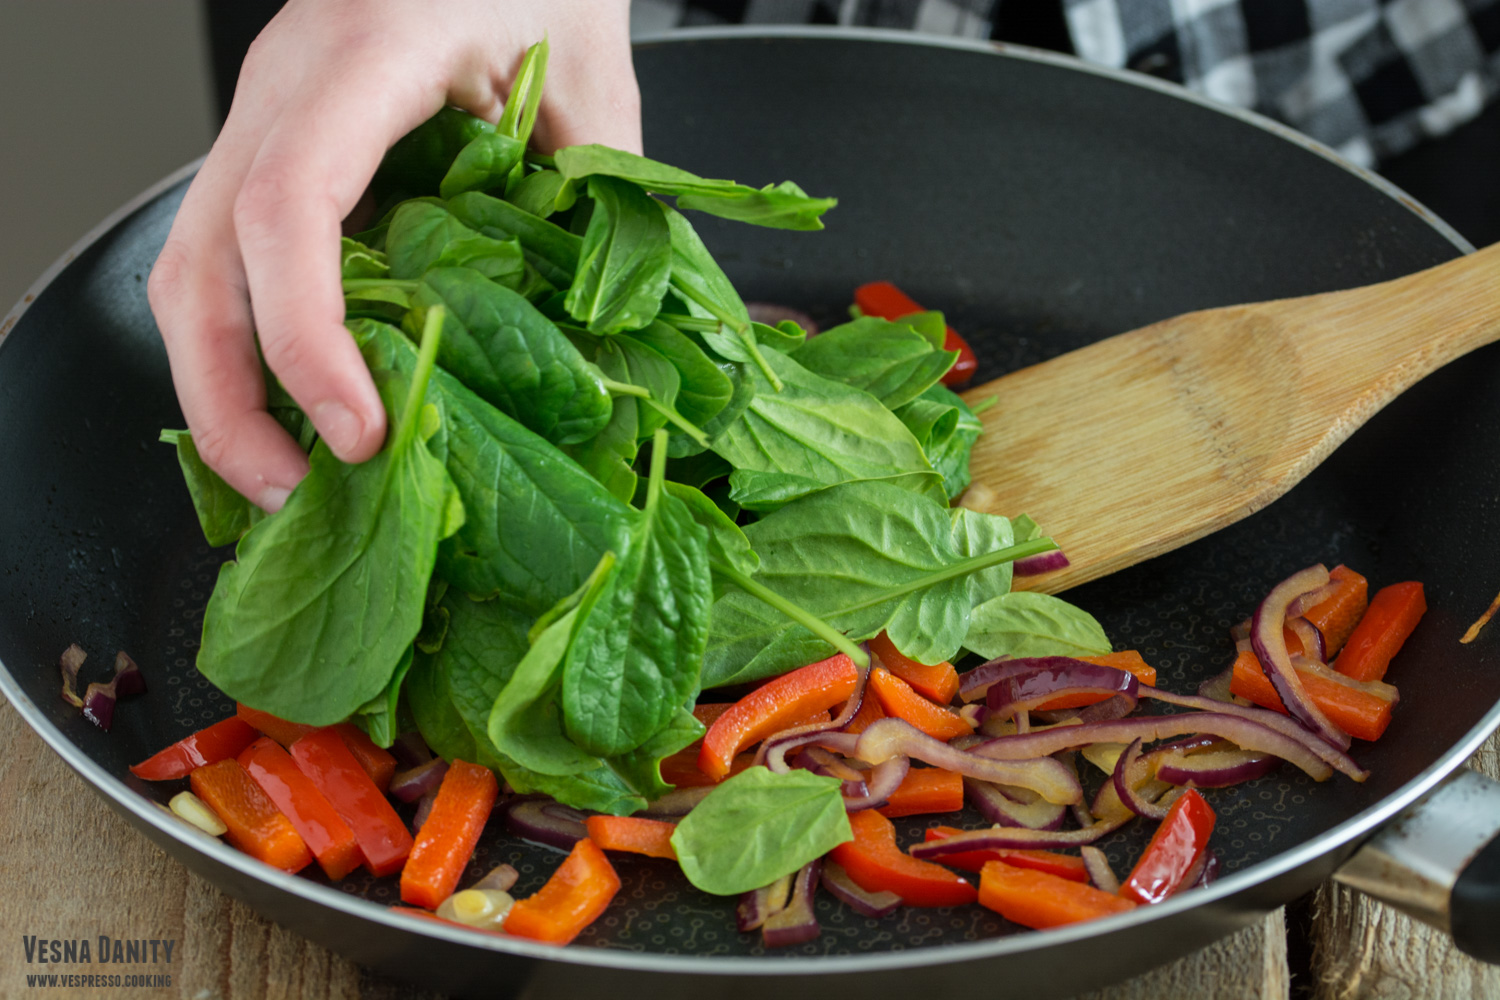
  3. Wash the spinach, pat it dry and add it to the skillet. Cover with a lid and cook for 2 – 3 minutes or until soft.
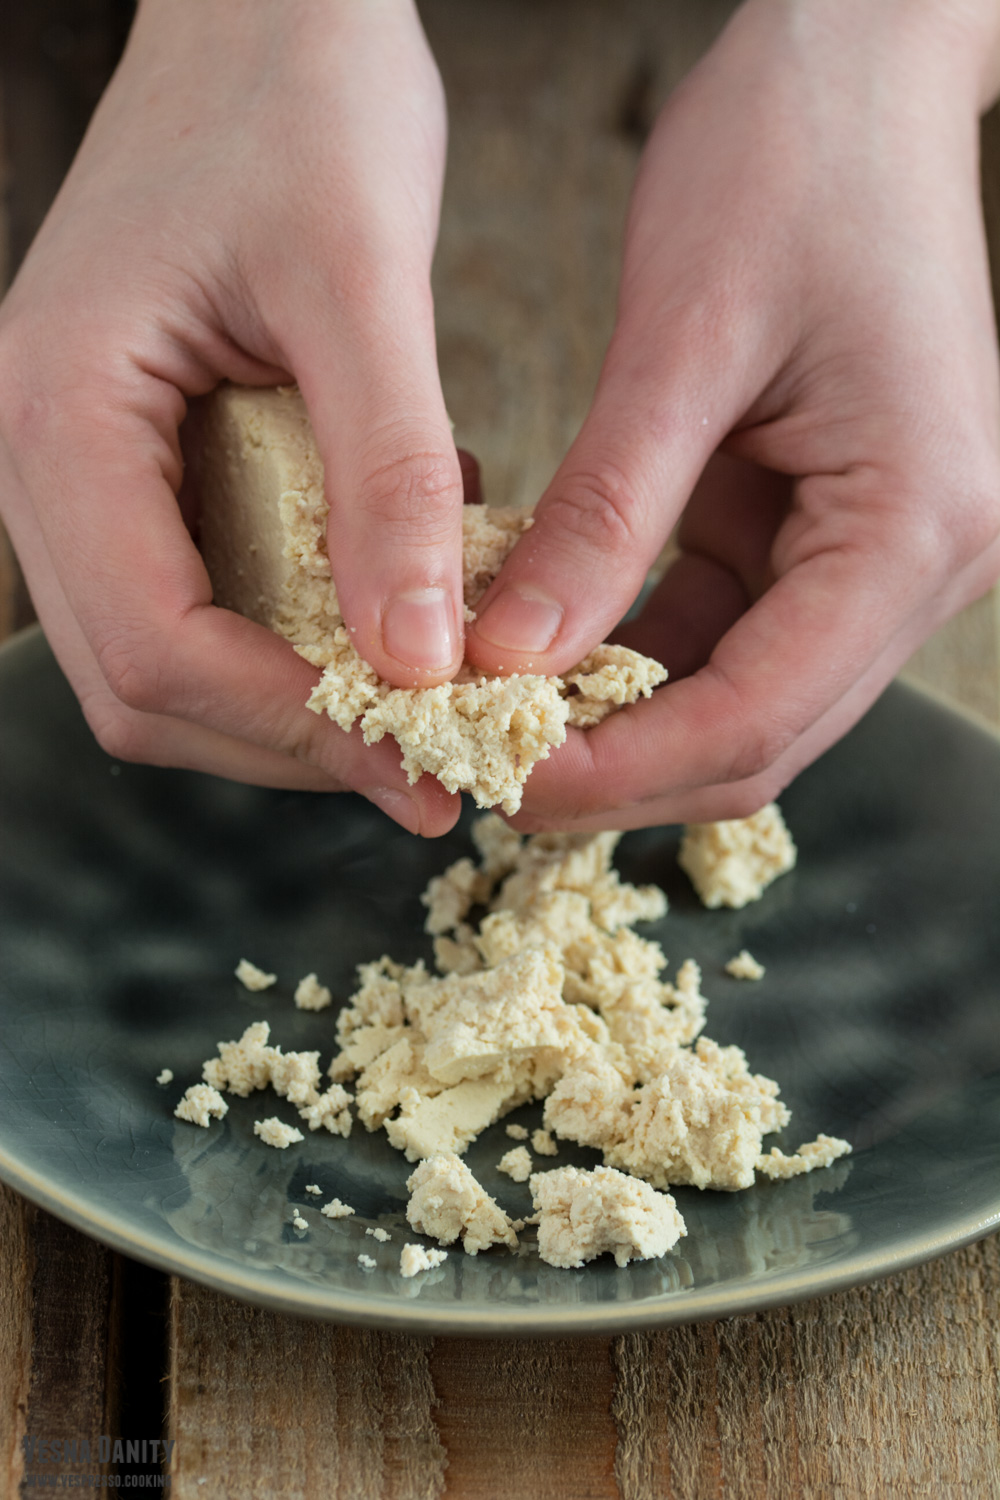
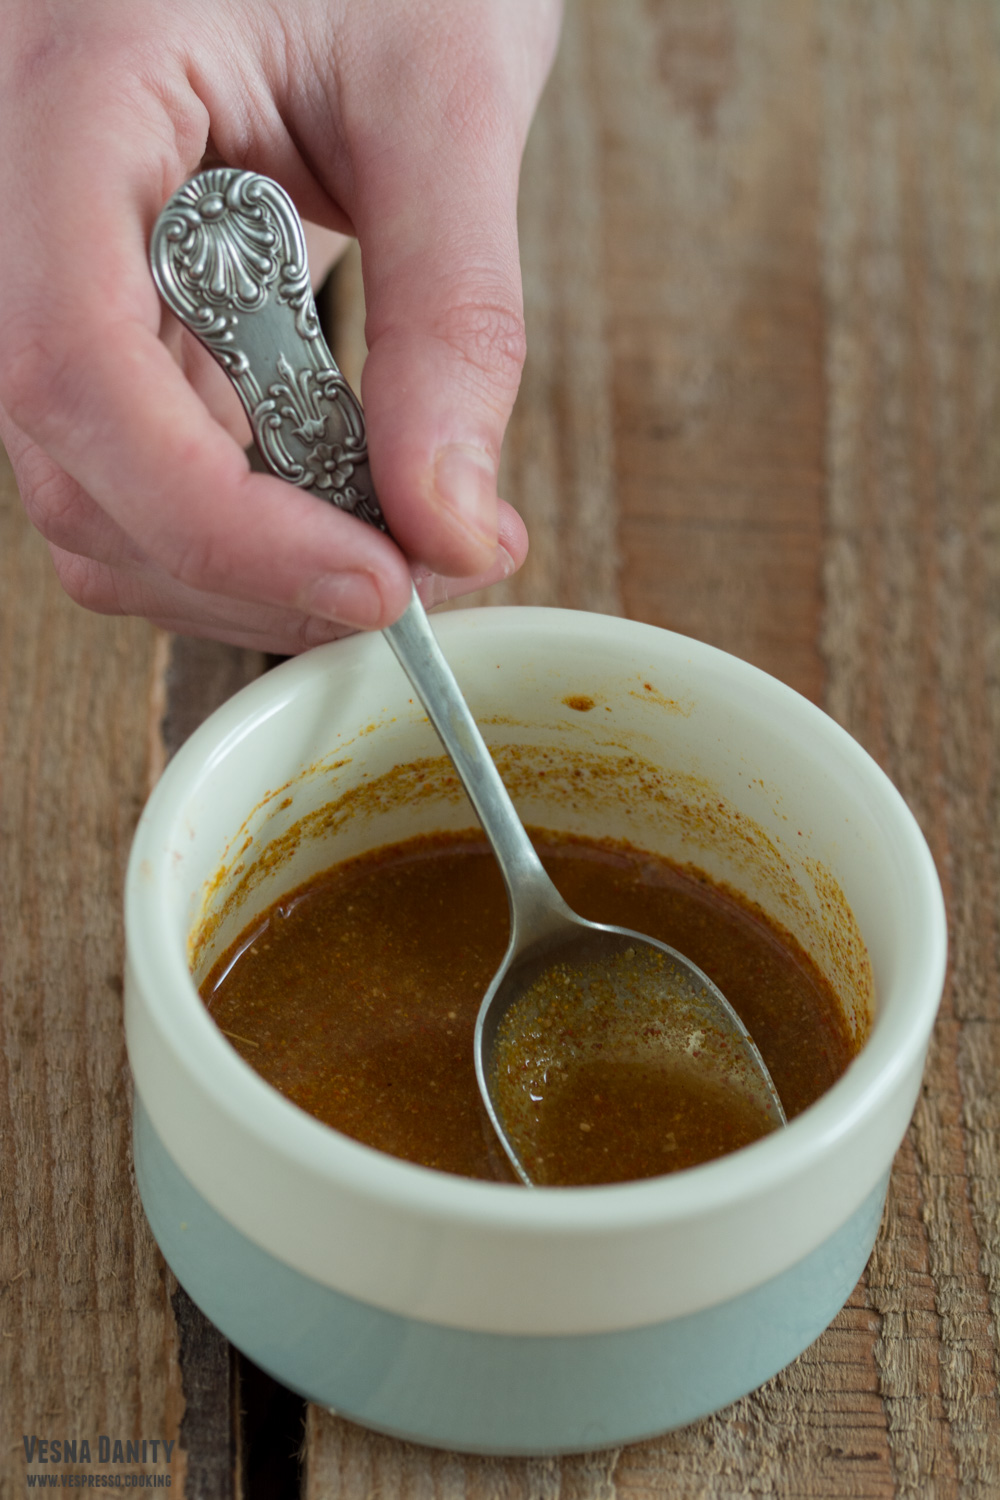
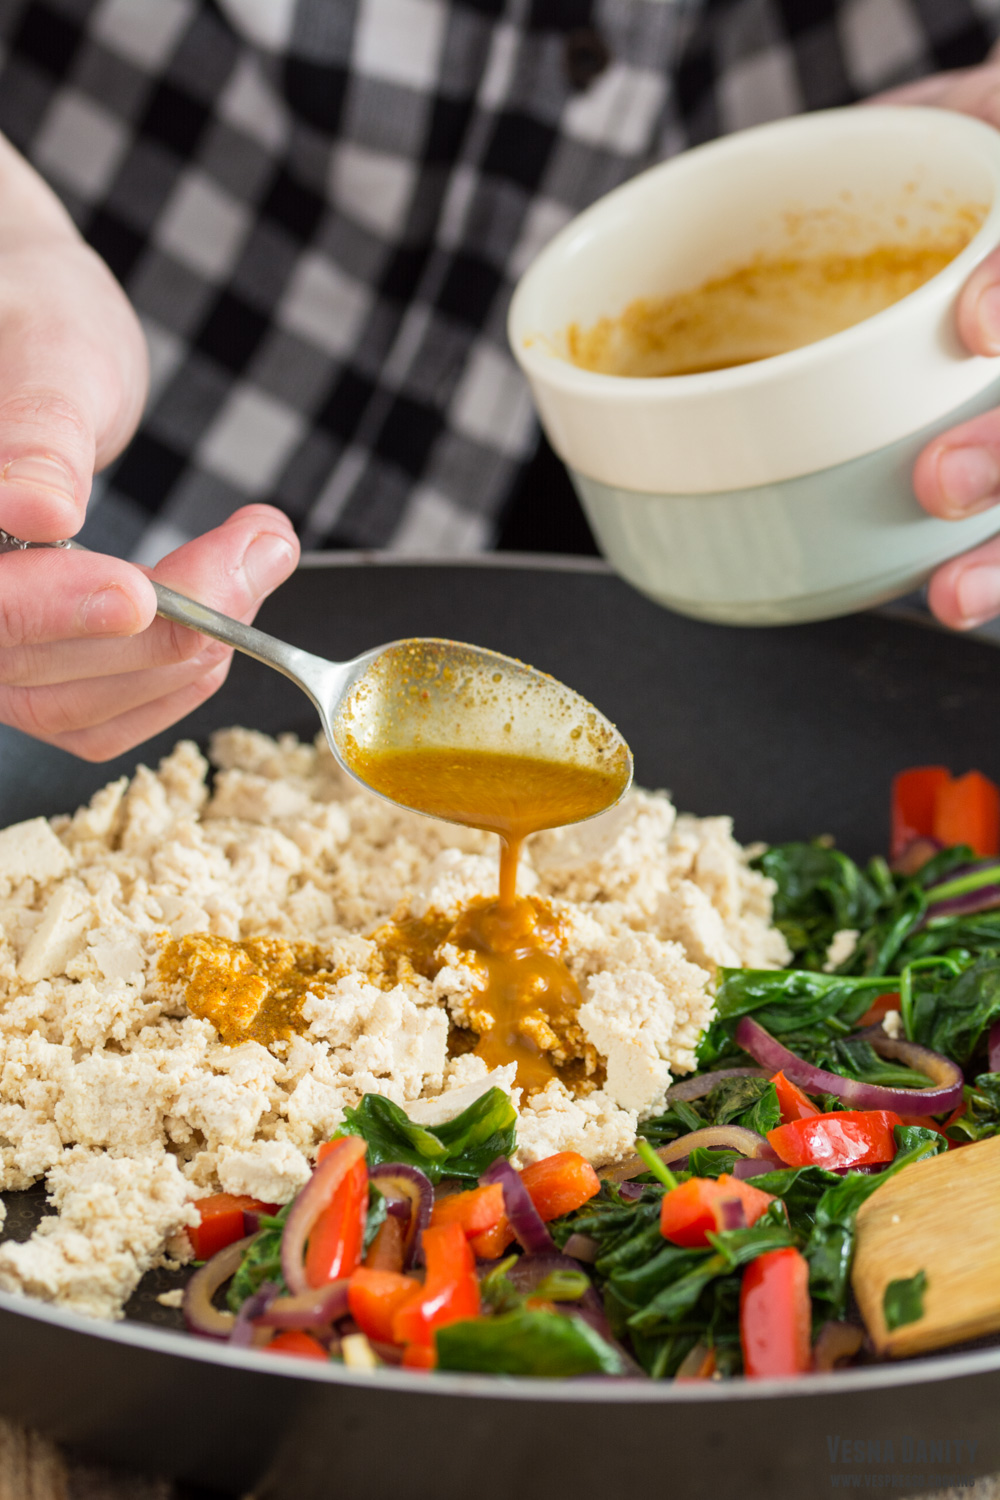
  4. Unwrap tofu and crumble it using your hands. I a small bowl prepare a sauce by mixing the spices with water / veggie soup.
  5. Move the vegetables to one side of the skillet using a spatula and add the crumbled tofu to the empty side. Pour the sauce over the tofu and stir.
  6. Continue to cook over high heat until tofu begins to brown (for about 3 – 5 minutes).
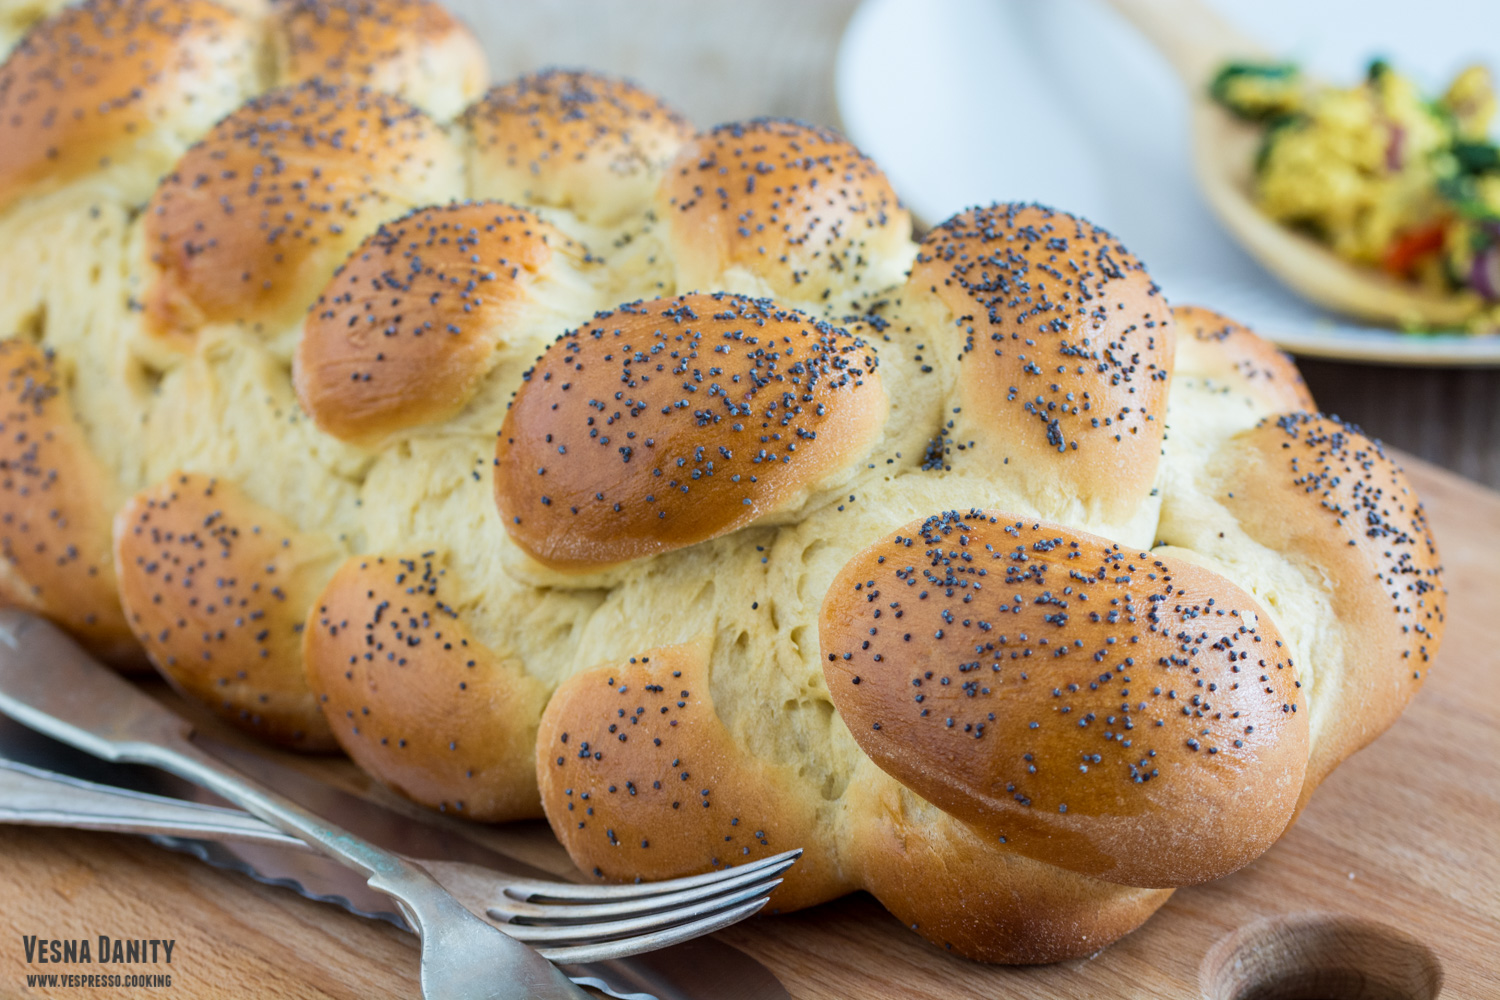
  7. Serve immediately. I served my scrambled tofu with a large slice of homemade challah bread. Best breakfast ever!


  1. Source: www.minimalistbaker.com

Potato cups with cheddar cheese and chives

One of the main problems I face on a daily basis is the waste of food. I usually buy more than I need, I cook more than I consume and I often throw away perfectly good food just because I’m simply not in the mood for having the same dish two days in a row. And in this case I’m not throwing away only some leftovers, I’m also throwing away money, time and energy. This is when recycling kicks in, the art of transforming something undesirable into something attractive.

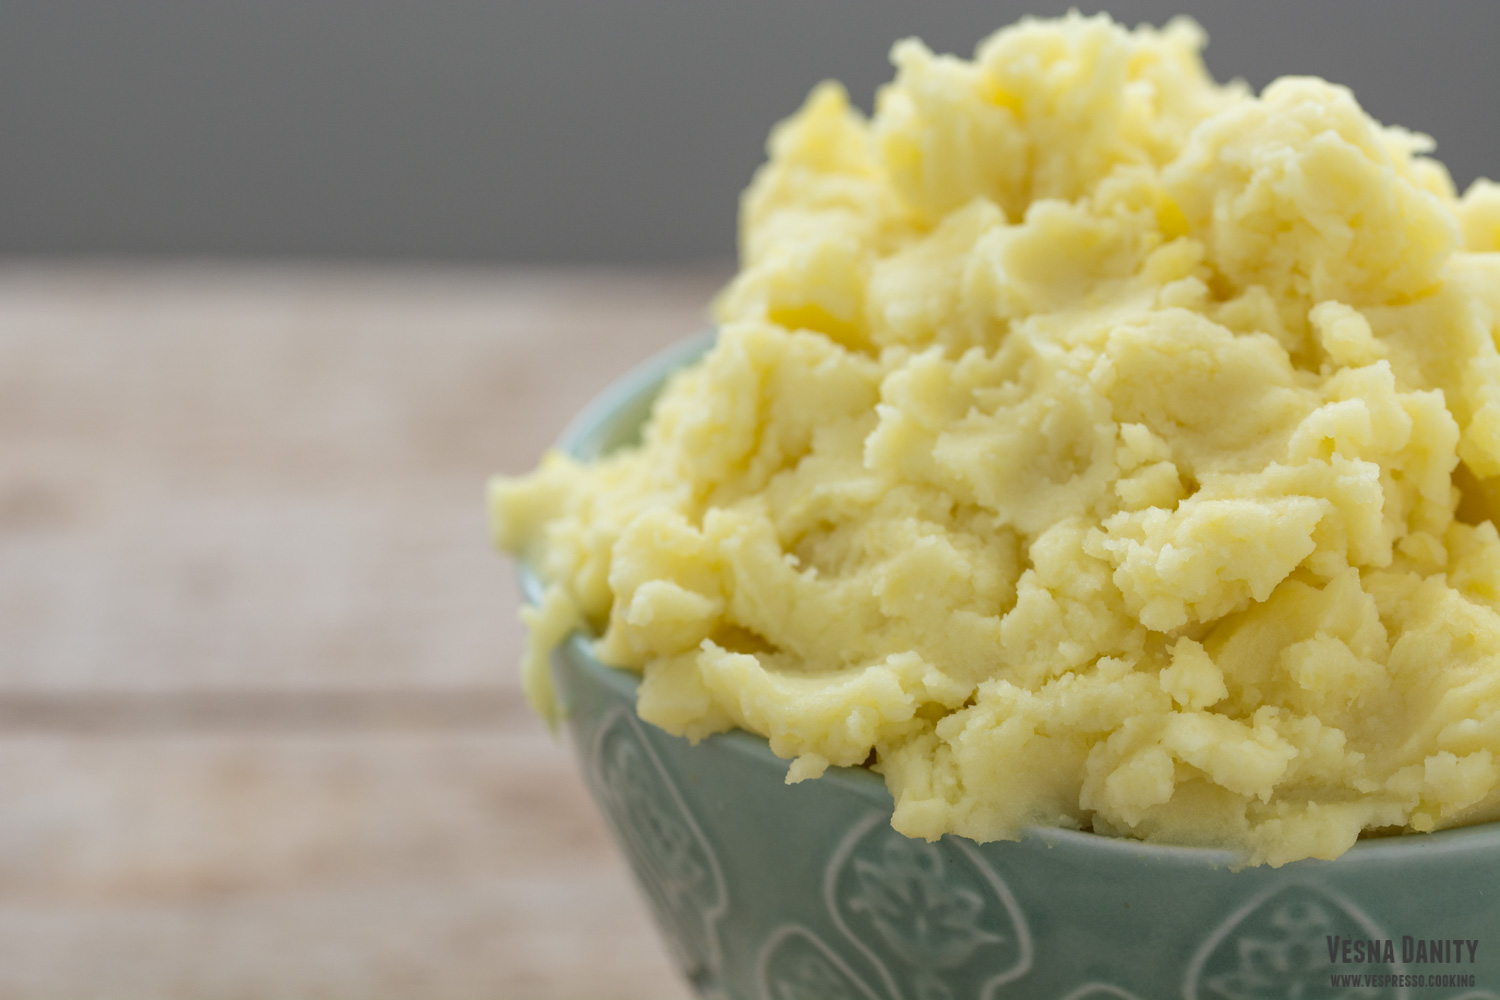
Maybe the best example of undesirable leftover are mashed potatoes. When still fresh, mashed potatoes are a delicious and creamy side dish. But when they are cold, they become dry and tasteless and not once did I have to throw them away. To prevent food waste, I discovered a wonderful way to recycle them: potato cups with cheddar cheese and chives. These cups are so easy to make, they are budget-friendly and they taste divine. They have a crunchy crust and a creamy and flavorful filling. These adorable cups are as fluffy as a cloud and they are ready in about 30 minutes. You won’t believe how some flavorless leftovers can turn into something so delicious!

Ingredients (for 12 cups):

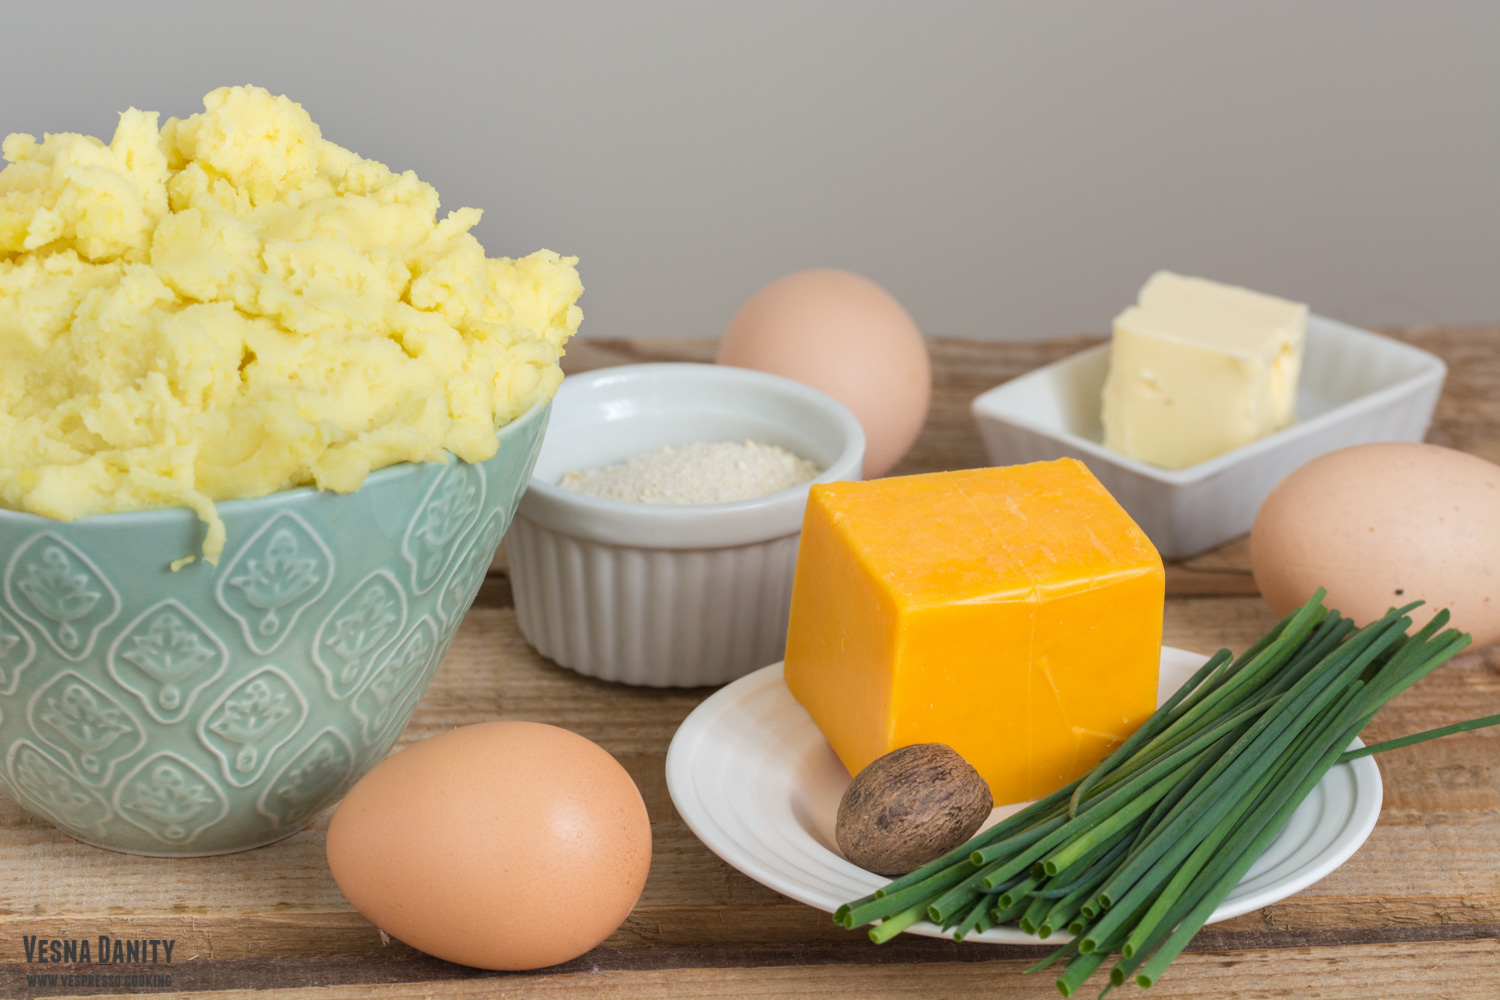
  • 500g leftover mashed potatoes*
  • 100g grated cheddar cheese
  • 3 large eggs
  • 5g chives **
  • a pinch of nutmeg
  • 1 Tbsp butter
  • 2 – 3 Tbsp breadcrumbs

Notes:

* This recipe can be made for dinner with mashed potatoes from lunch. You can also use day old mashed potatoes.

** Instead of chives you can use finely chopped scallions, parsley or dill.


Method:

  1. Preheat the oven at 220°C / 425°F (gas mark 7).
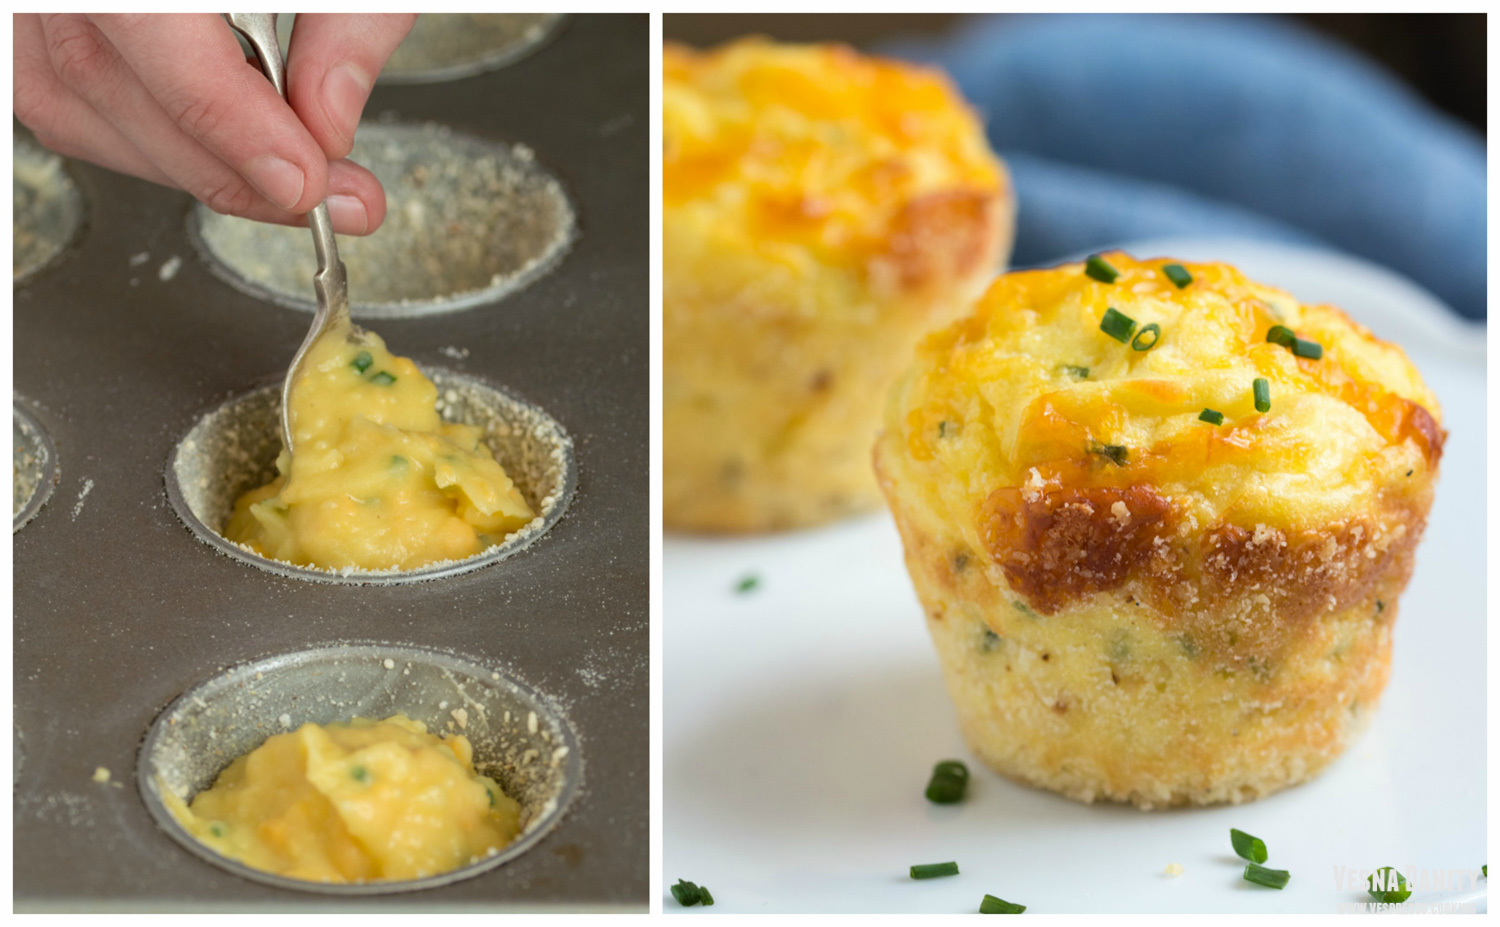
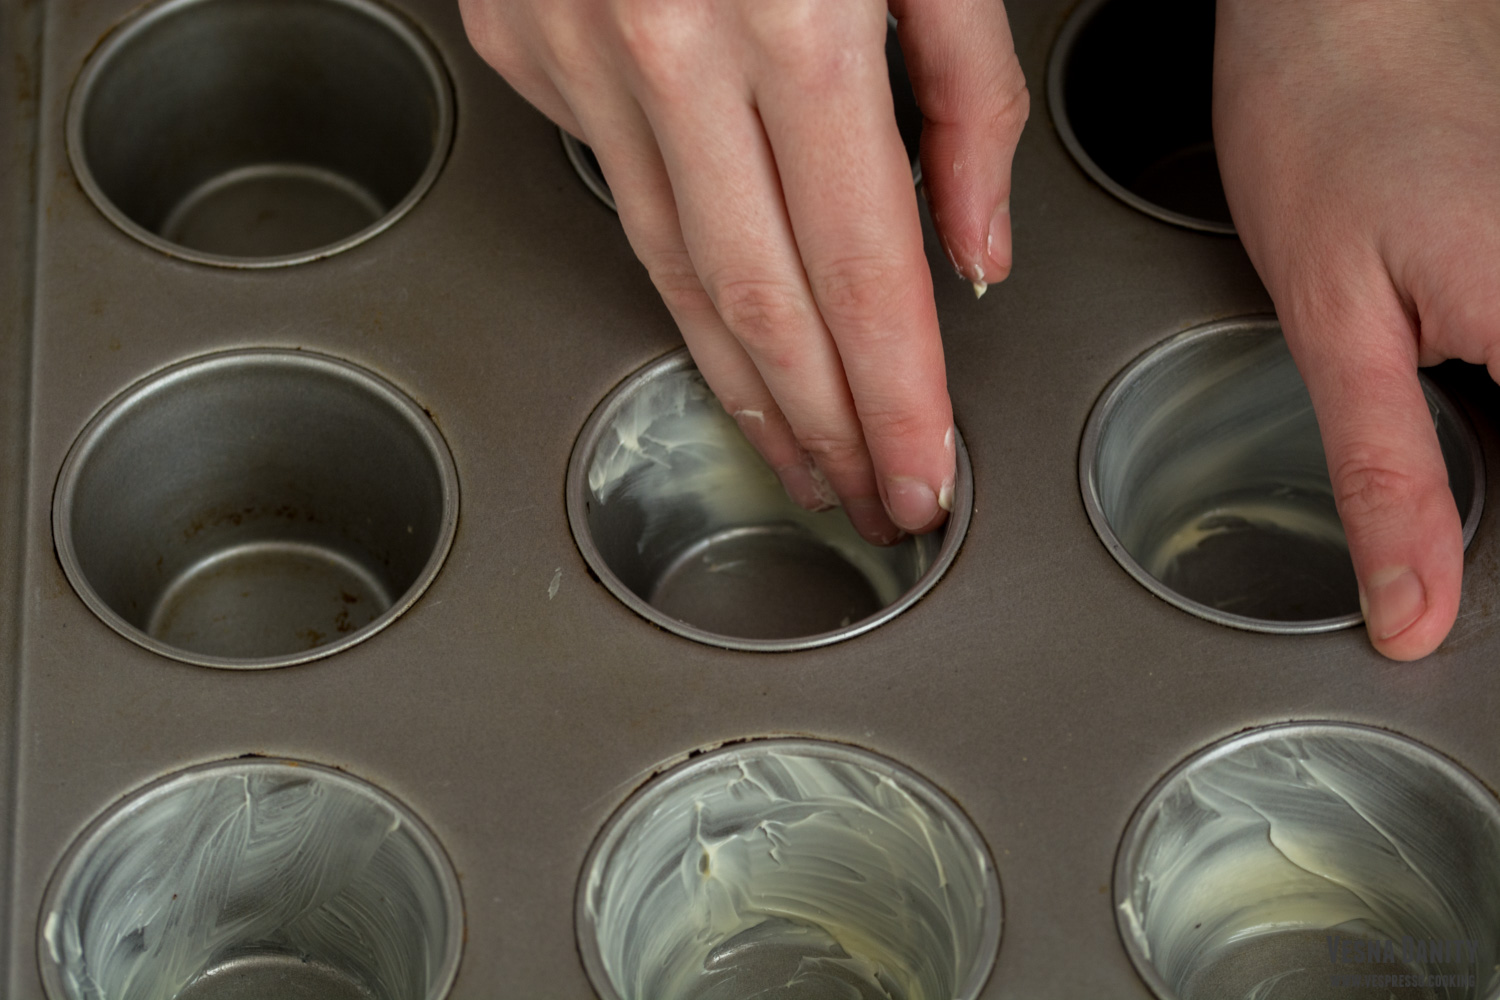
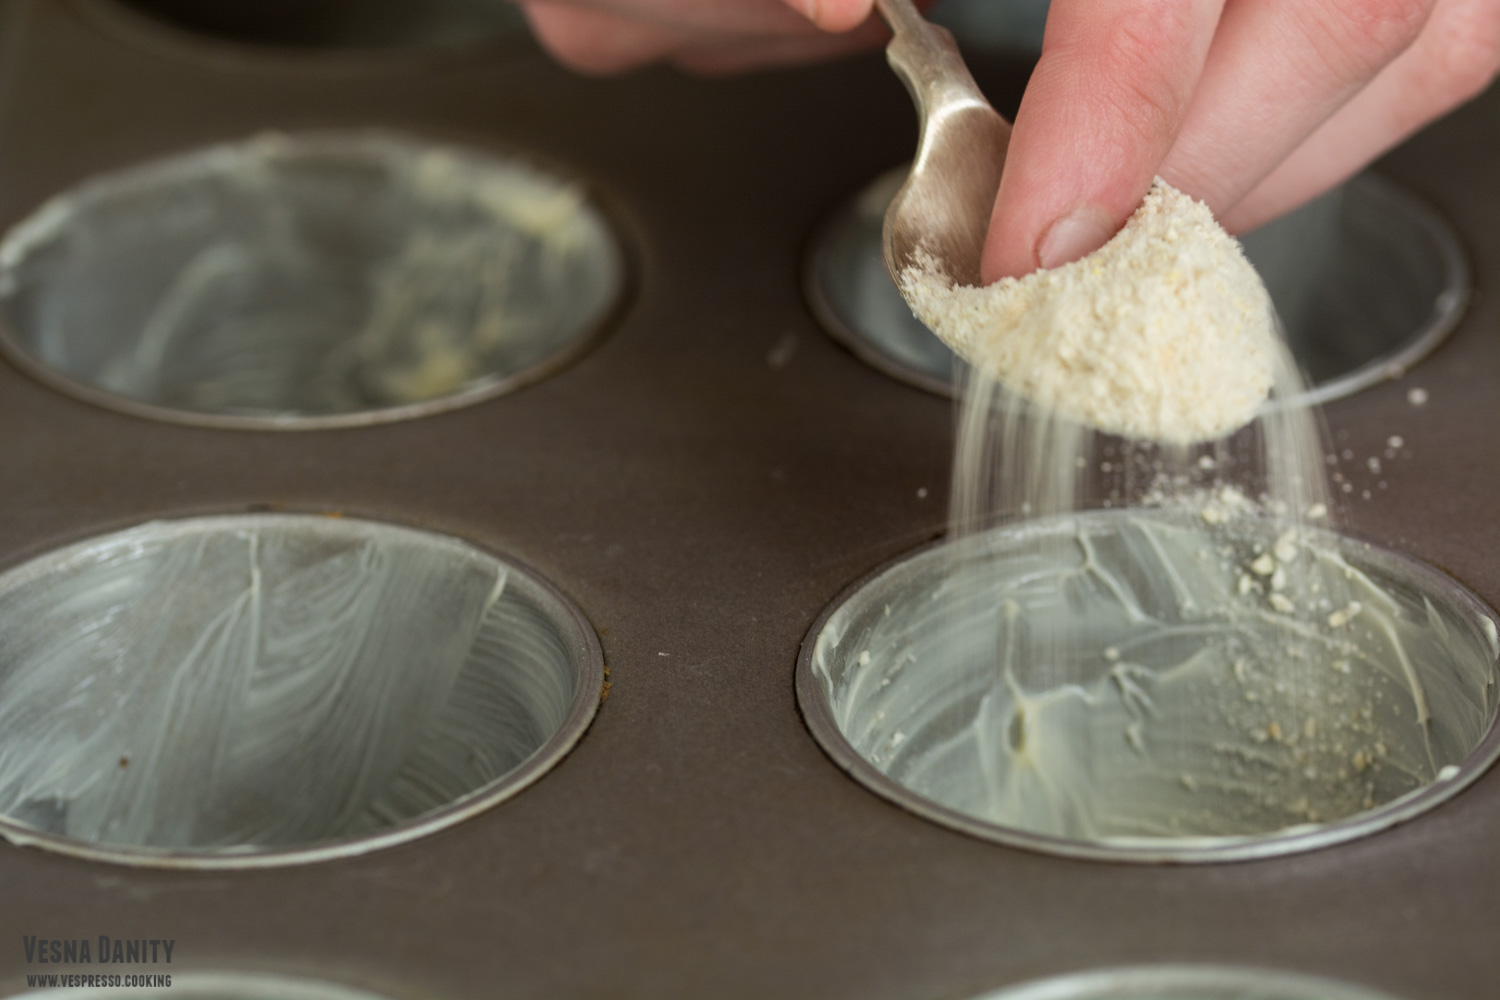
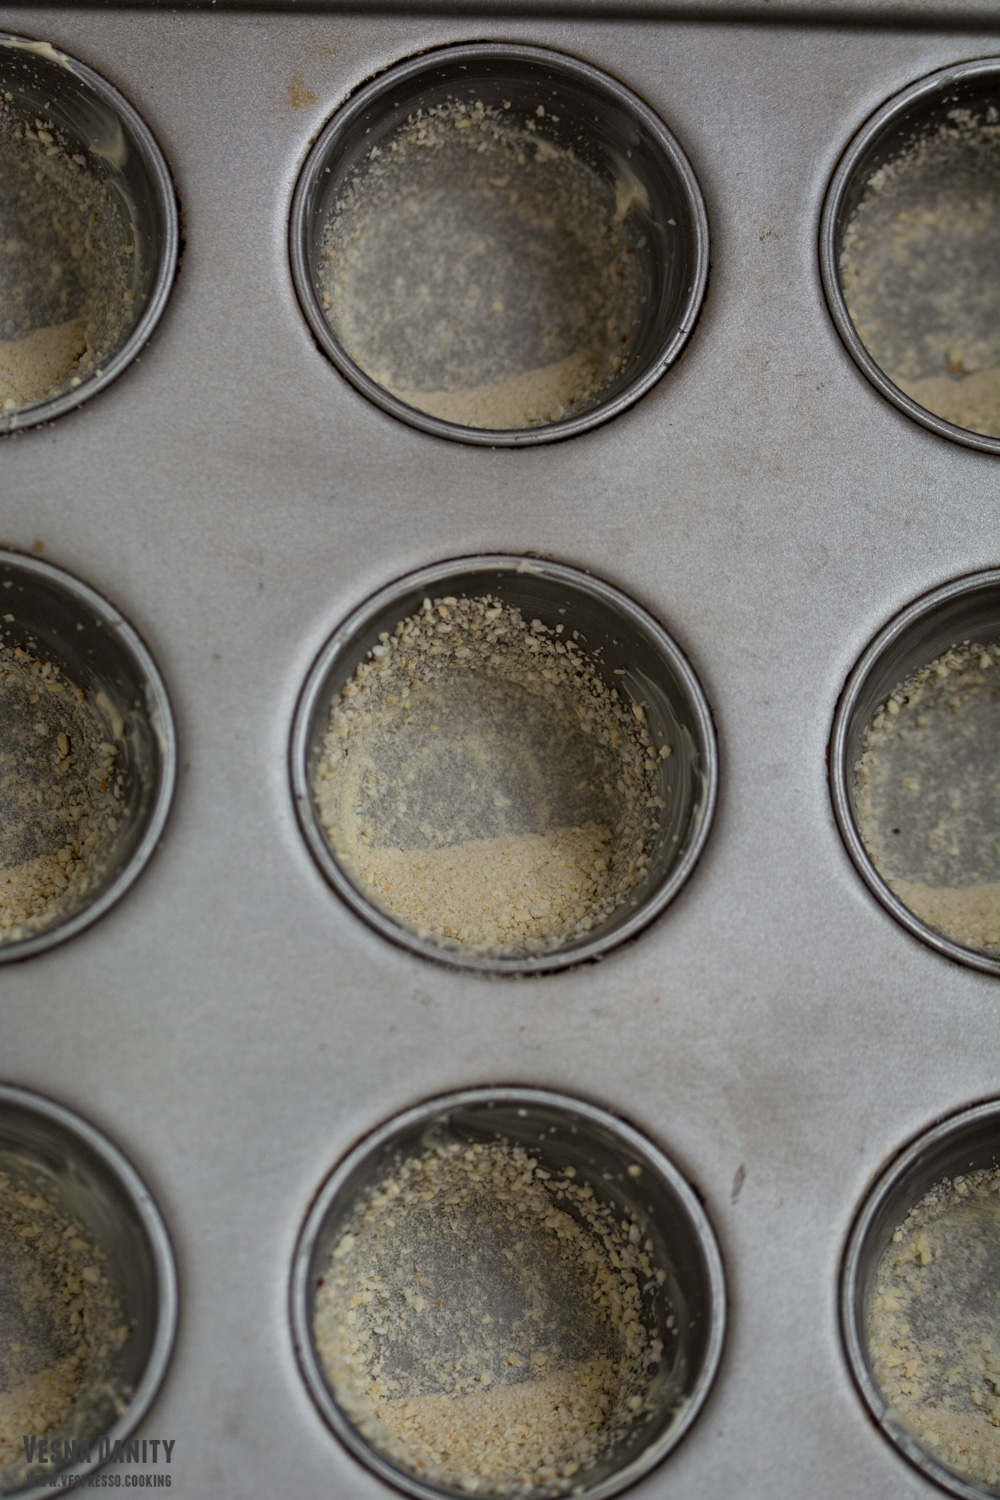
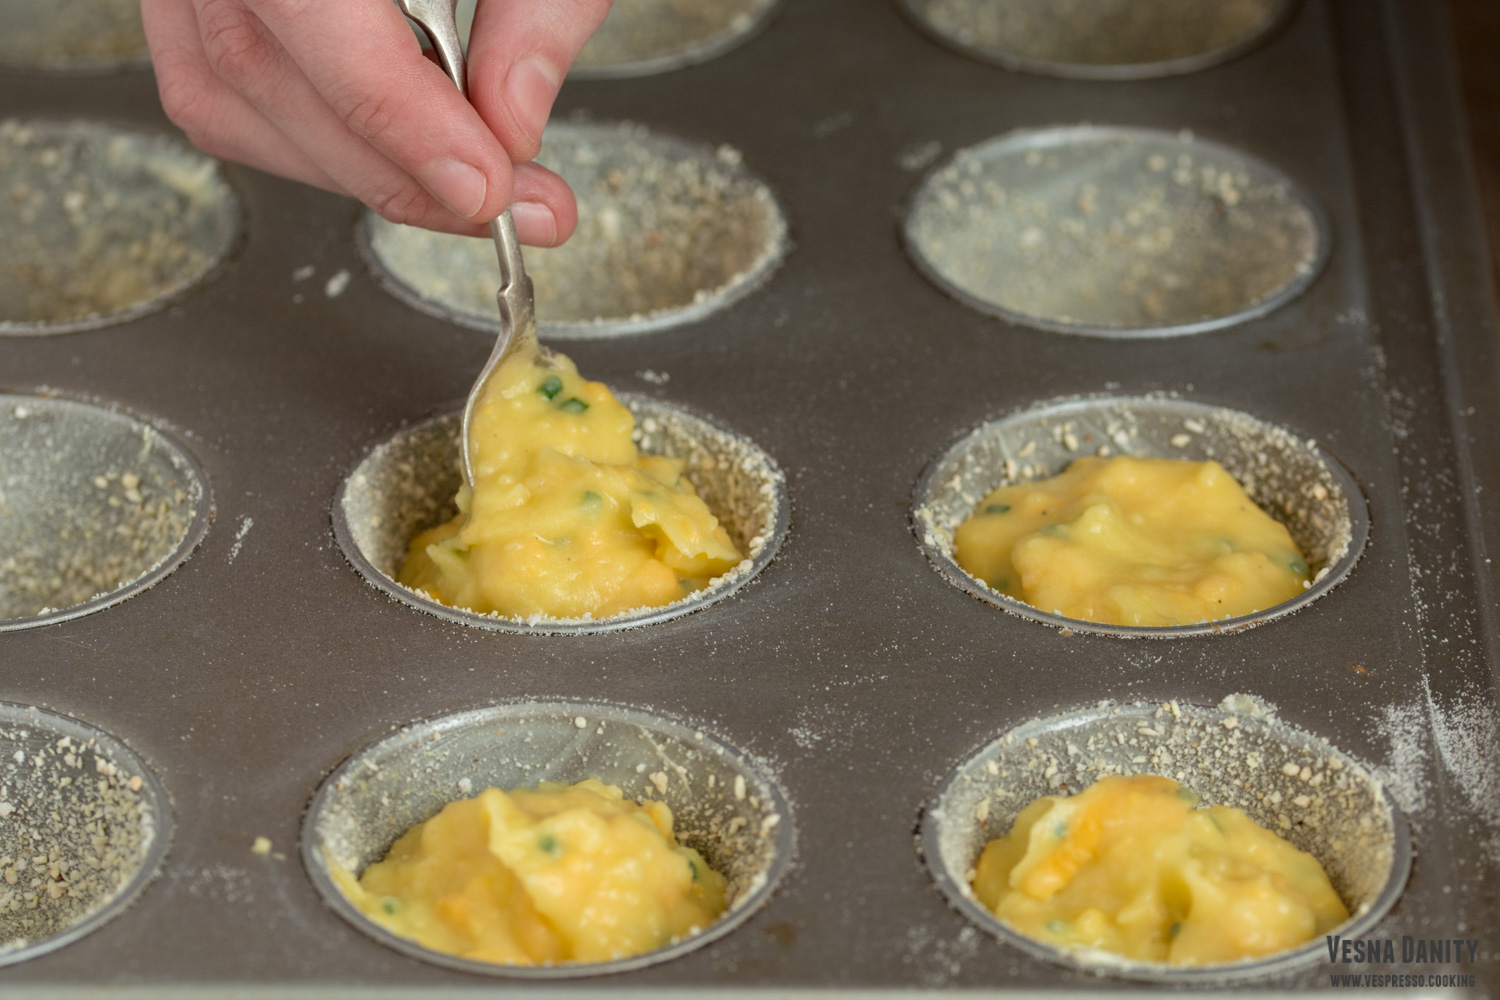
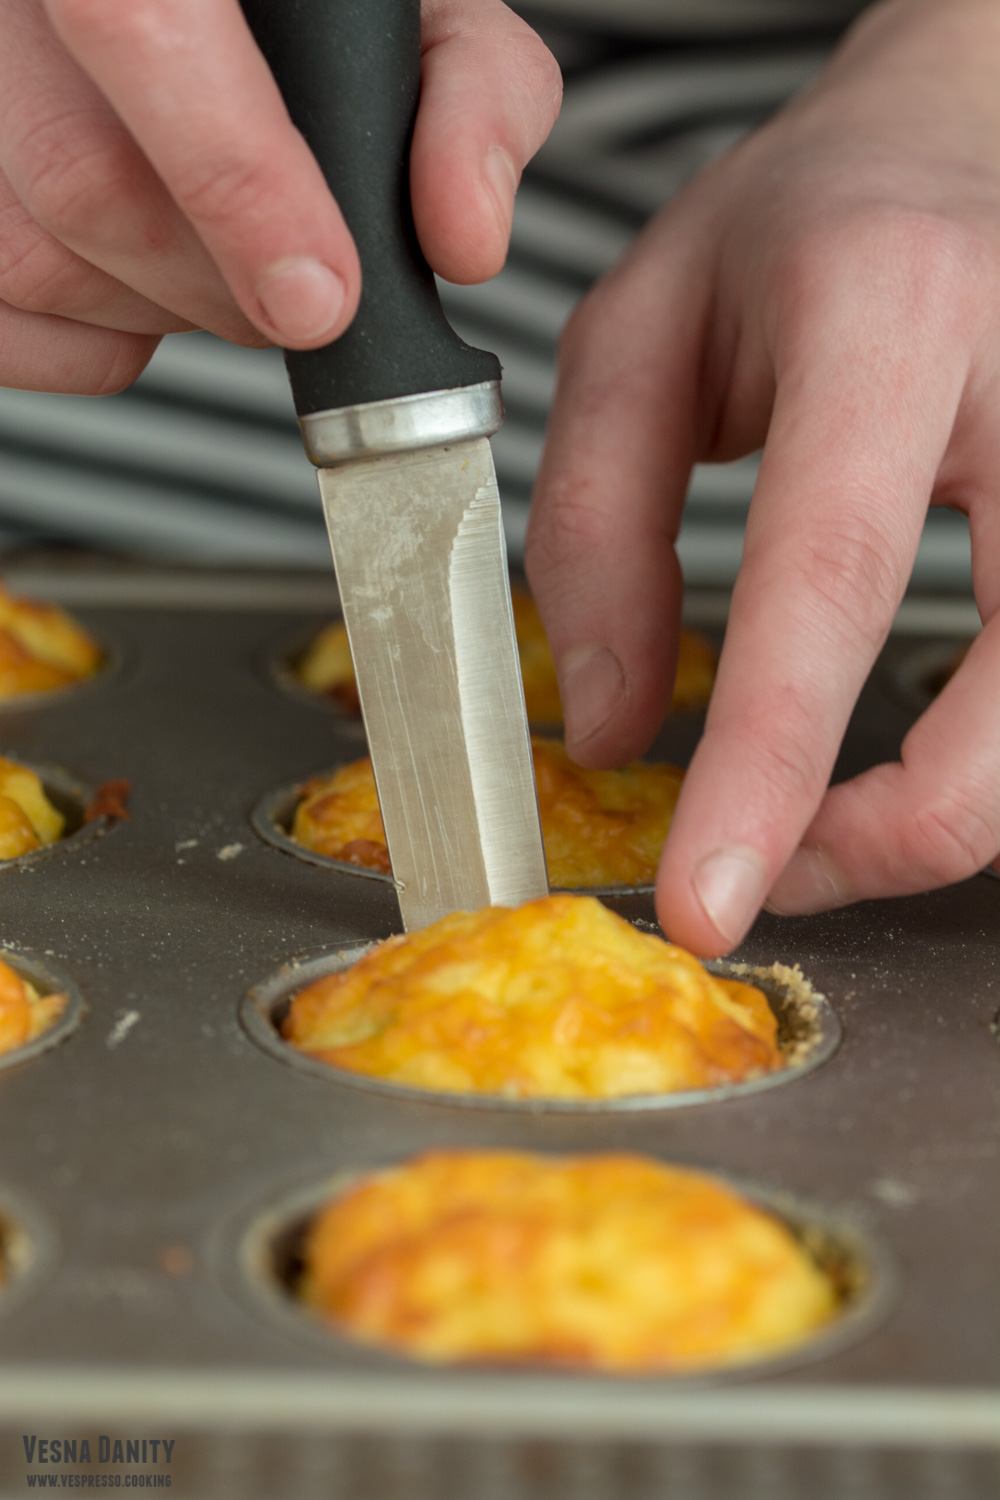
  2. Take a muffin tray and coat each cup with a thin layer of butter and then sprinkle some bread crumbs. Shake off the excess (picture).
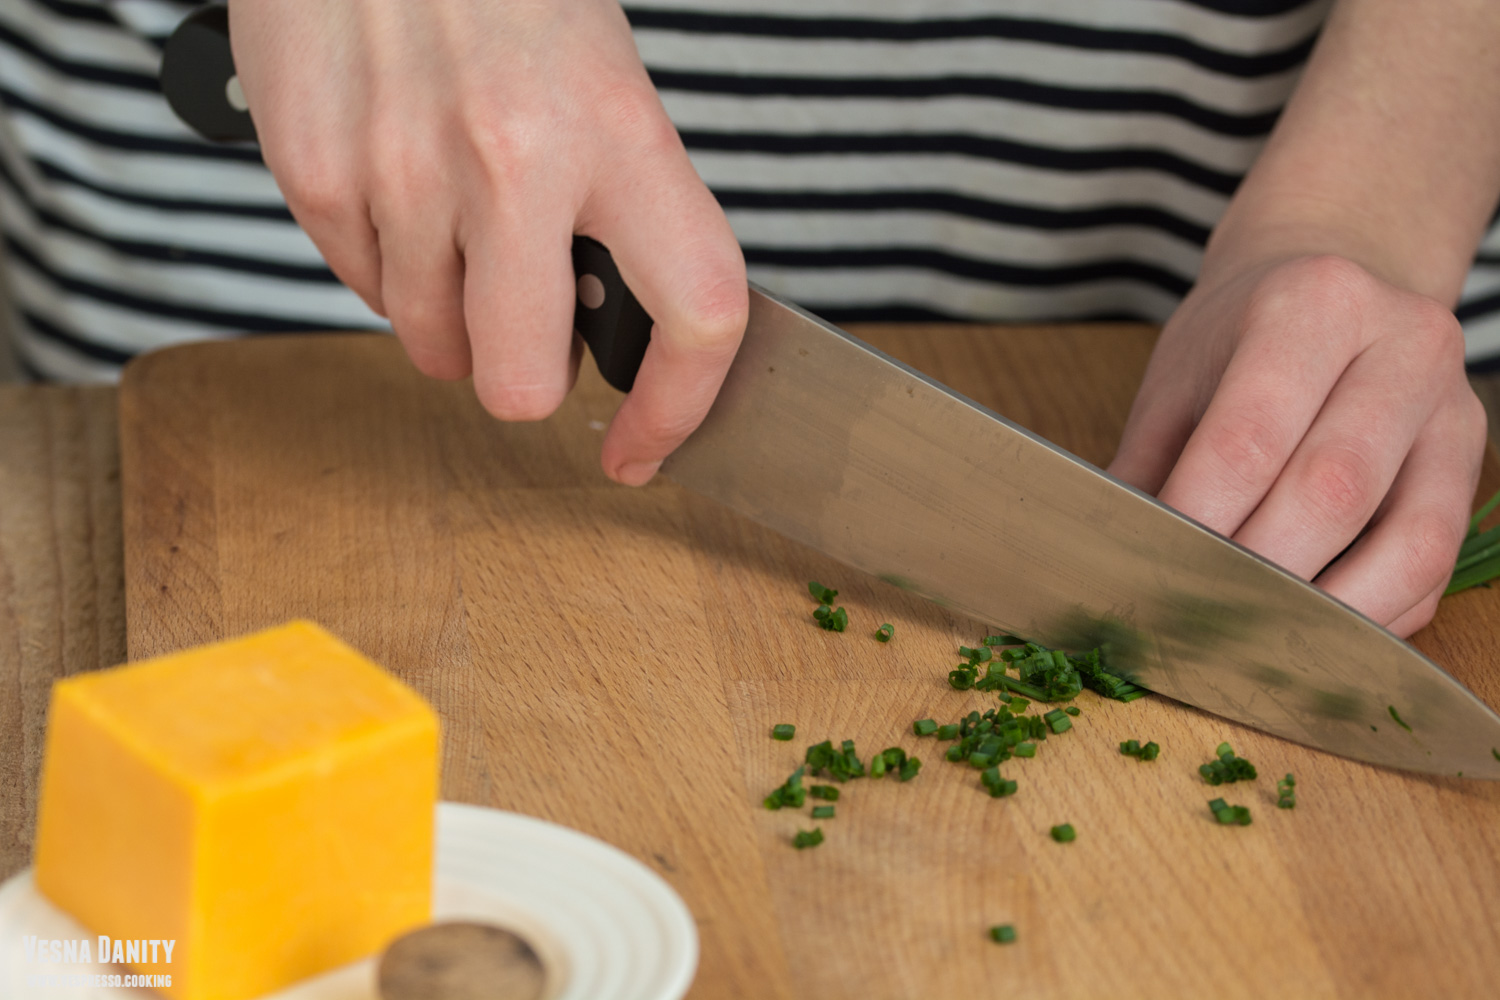
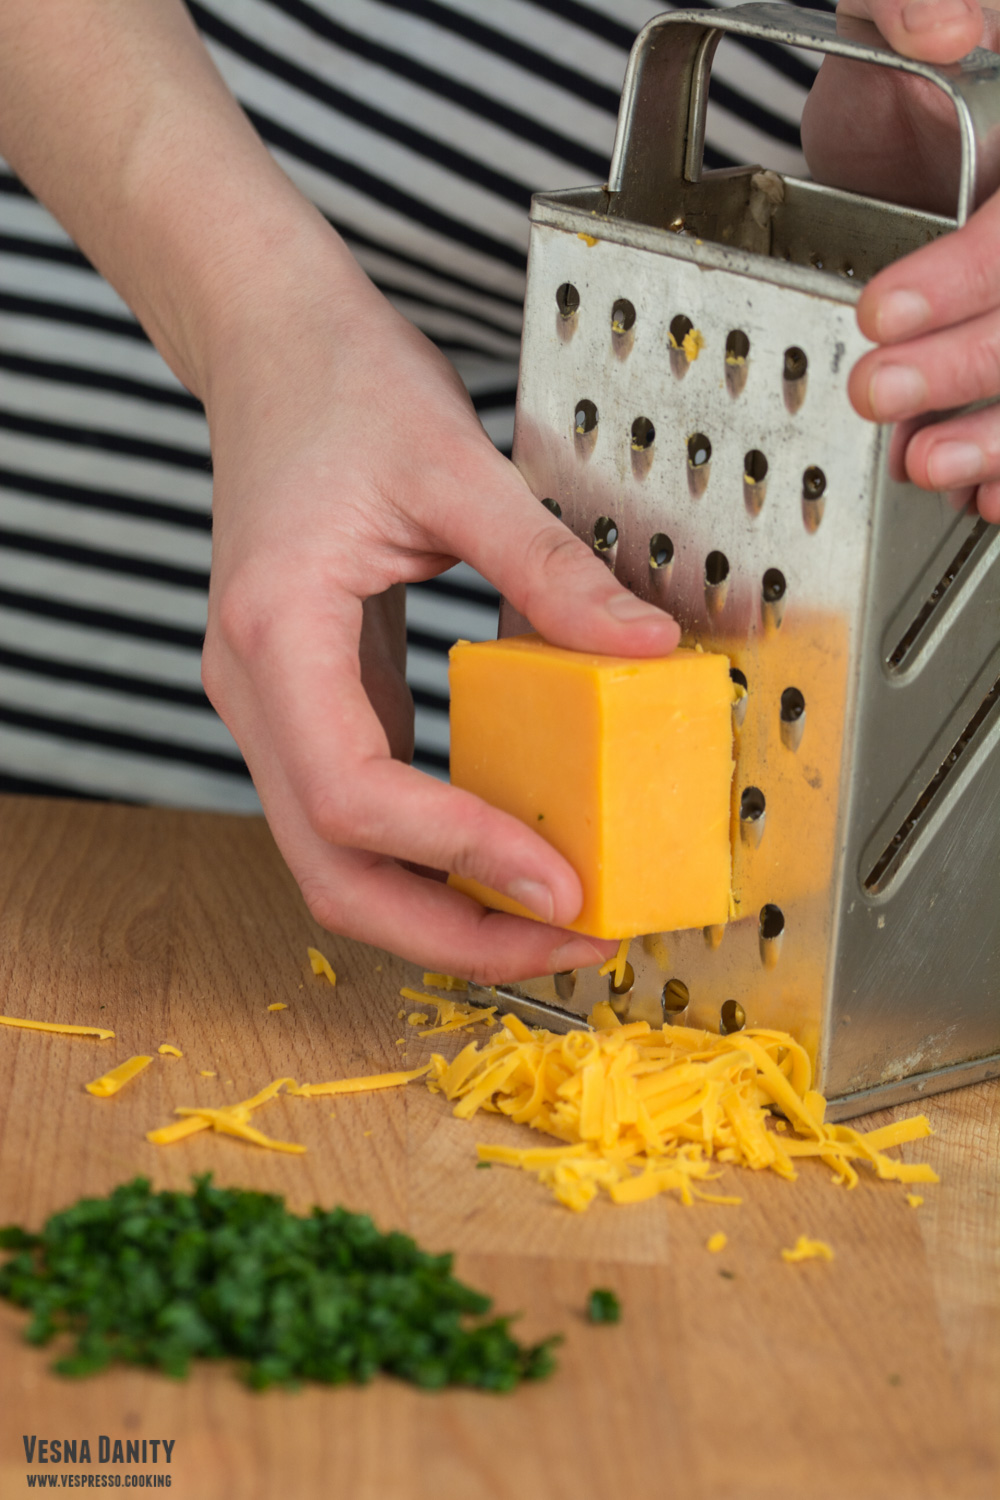
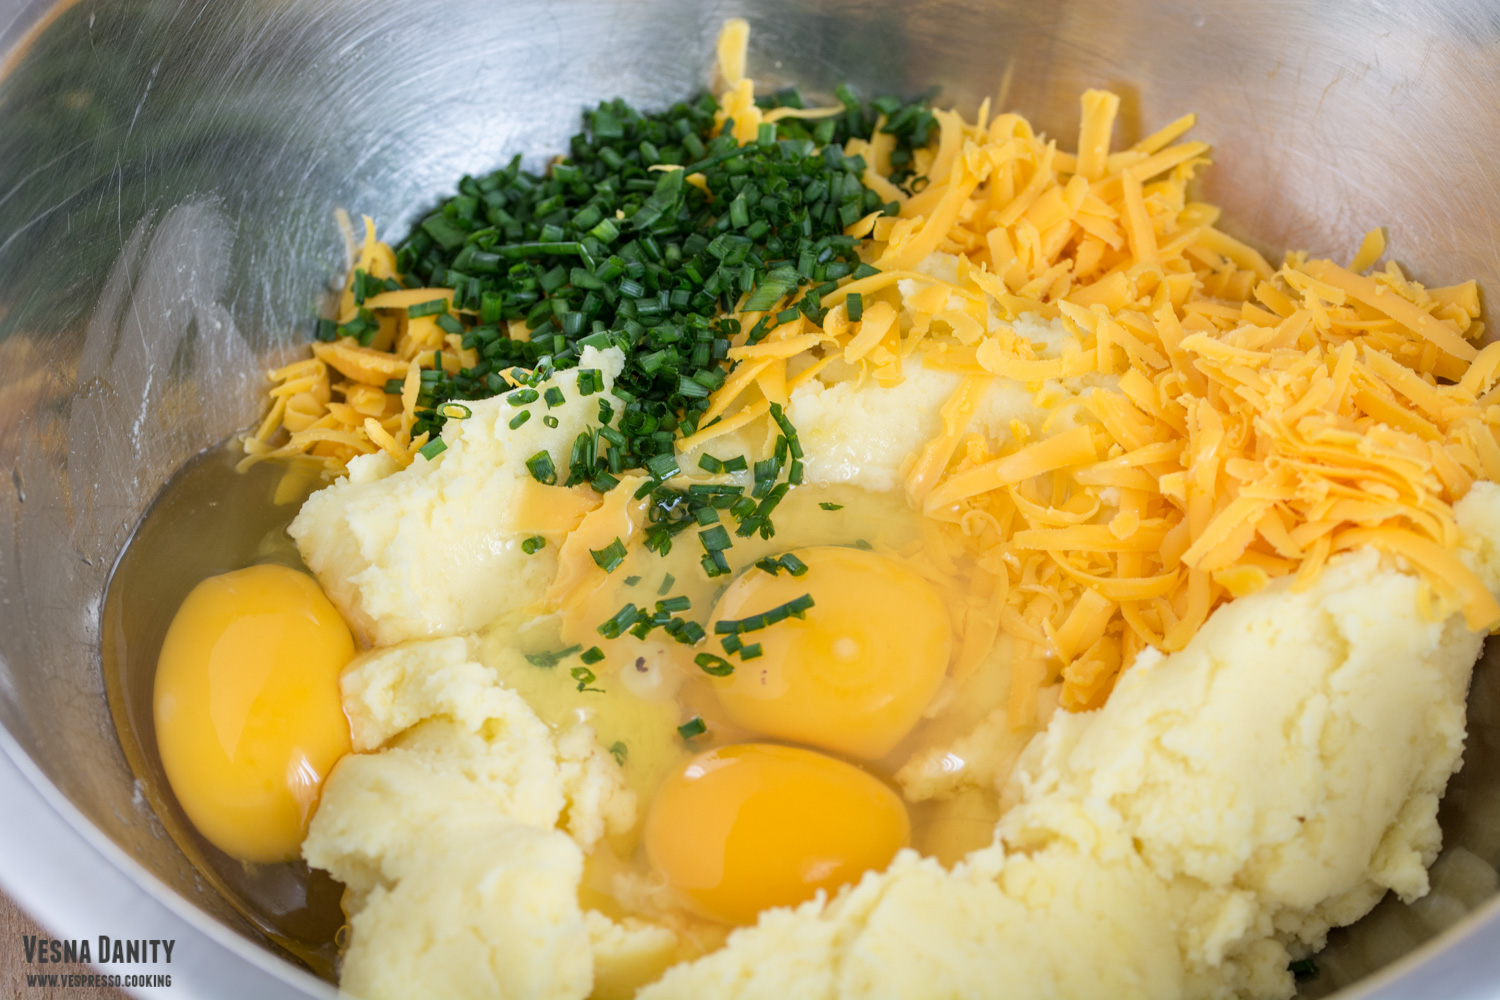
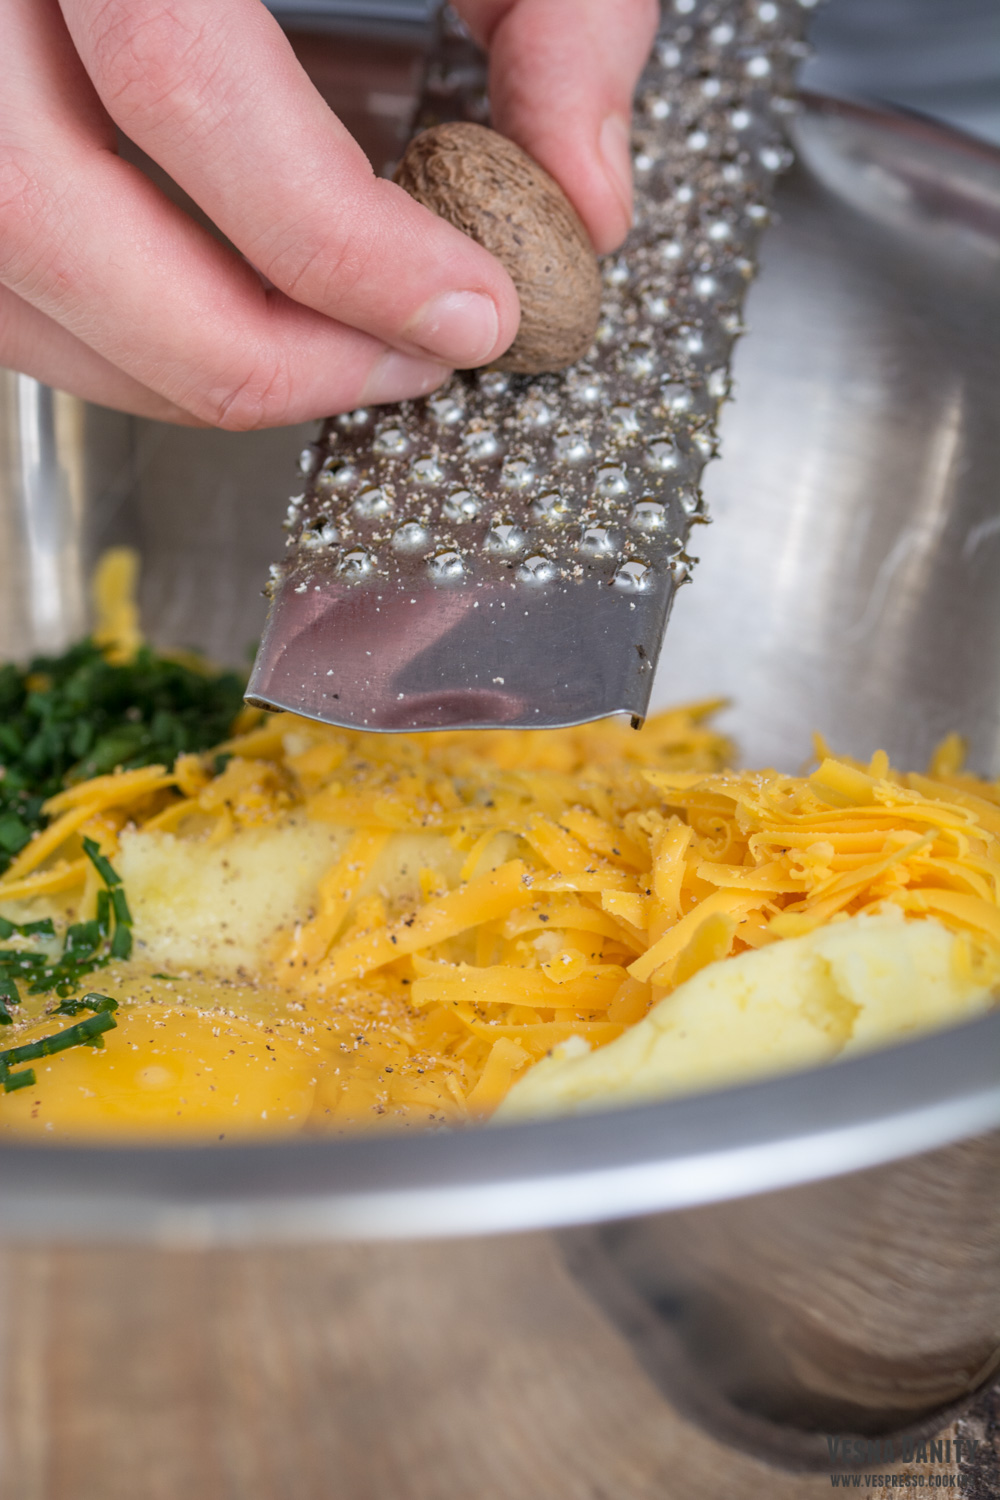
  3. Place the mashed potatoes in a large bowl. Add the eggs, chopped chives, a pinch of nutmeg and about 75g of grated cheese.
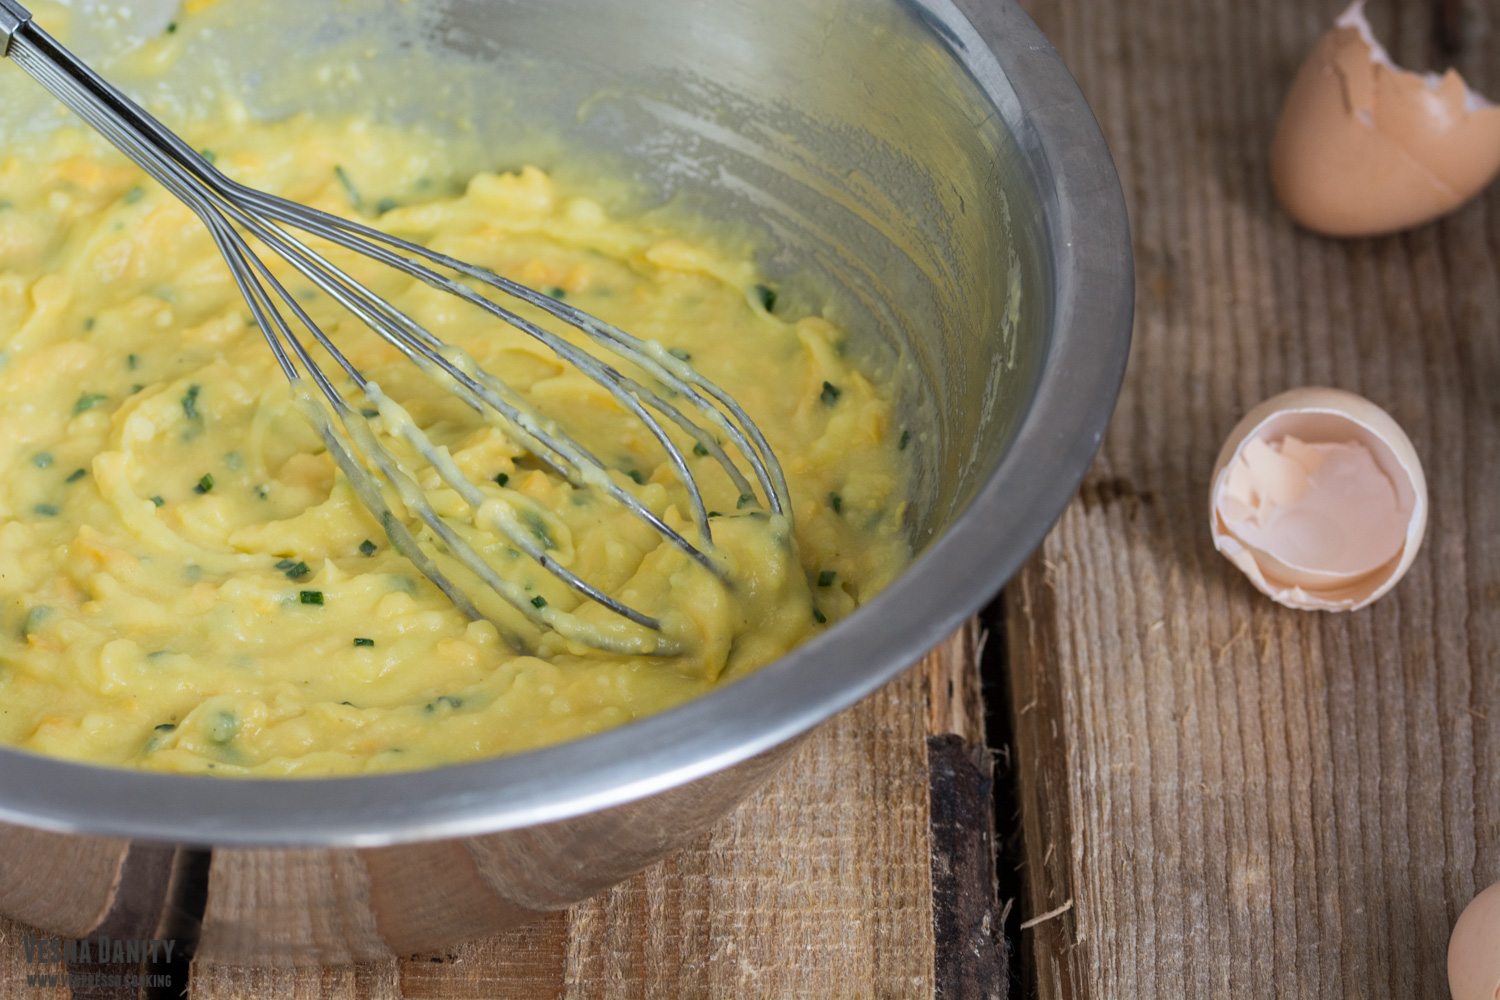
  4. Stir with a spatula until well combined.
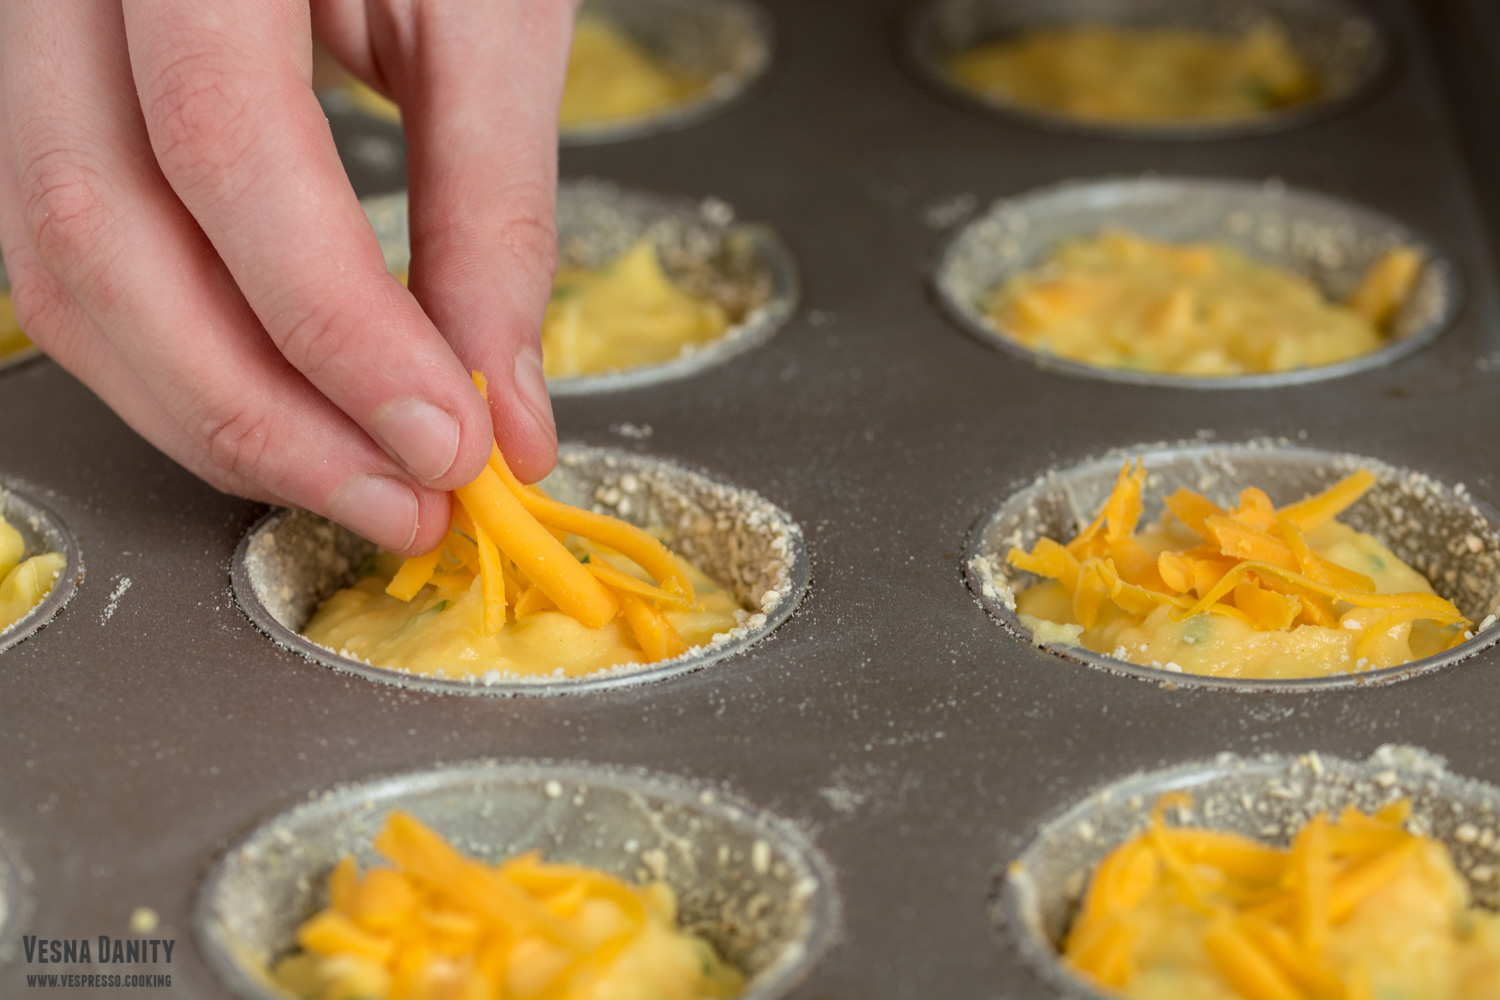
  5. Sprinkle each cup with the remaining 25g of grated cheese (picture).
  6. Bake in the preheated oven for about 20 – 25 minutes, or until puffed and golden brown.
  7. After they are baked, let them cool in the pan for 5 minutes. Use a vegetable knife to gently release them from the pan.
  8. They are delicious hot, while the melted cheese is stringy. They are also tasty cold, for breakfast.The source: www.thekitchn.com

3-Ingredient Cloud Bread


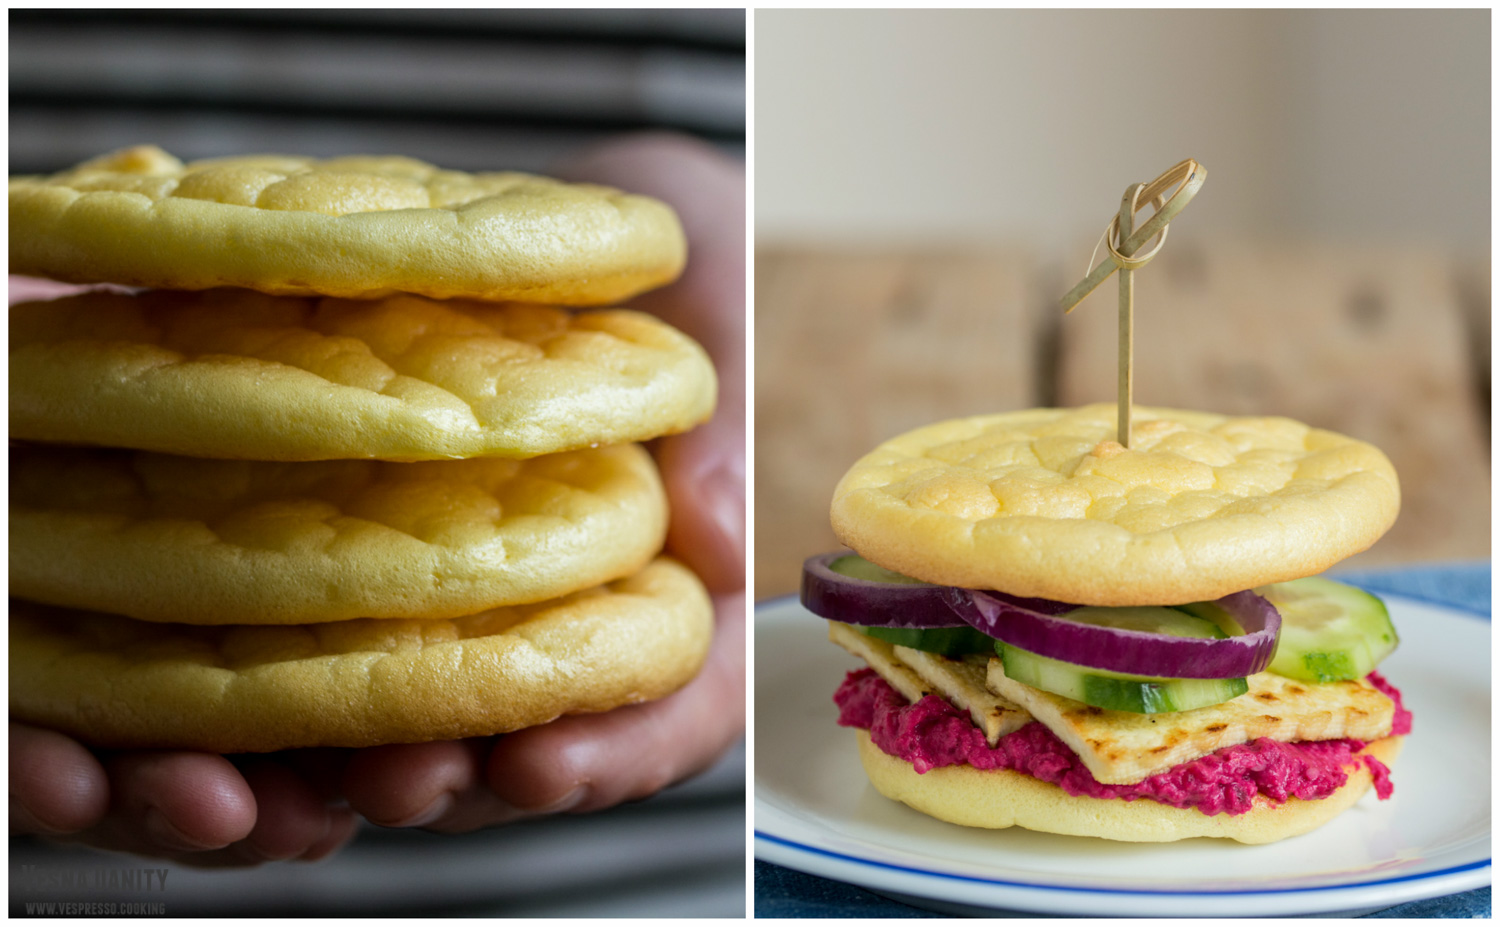
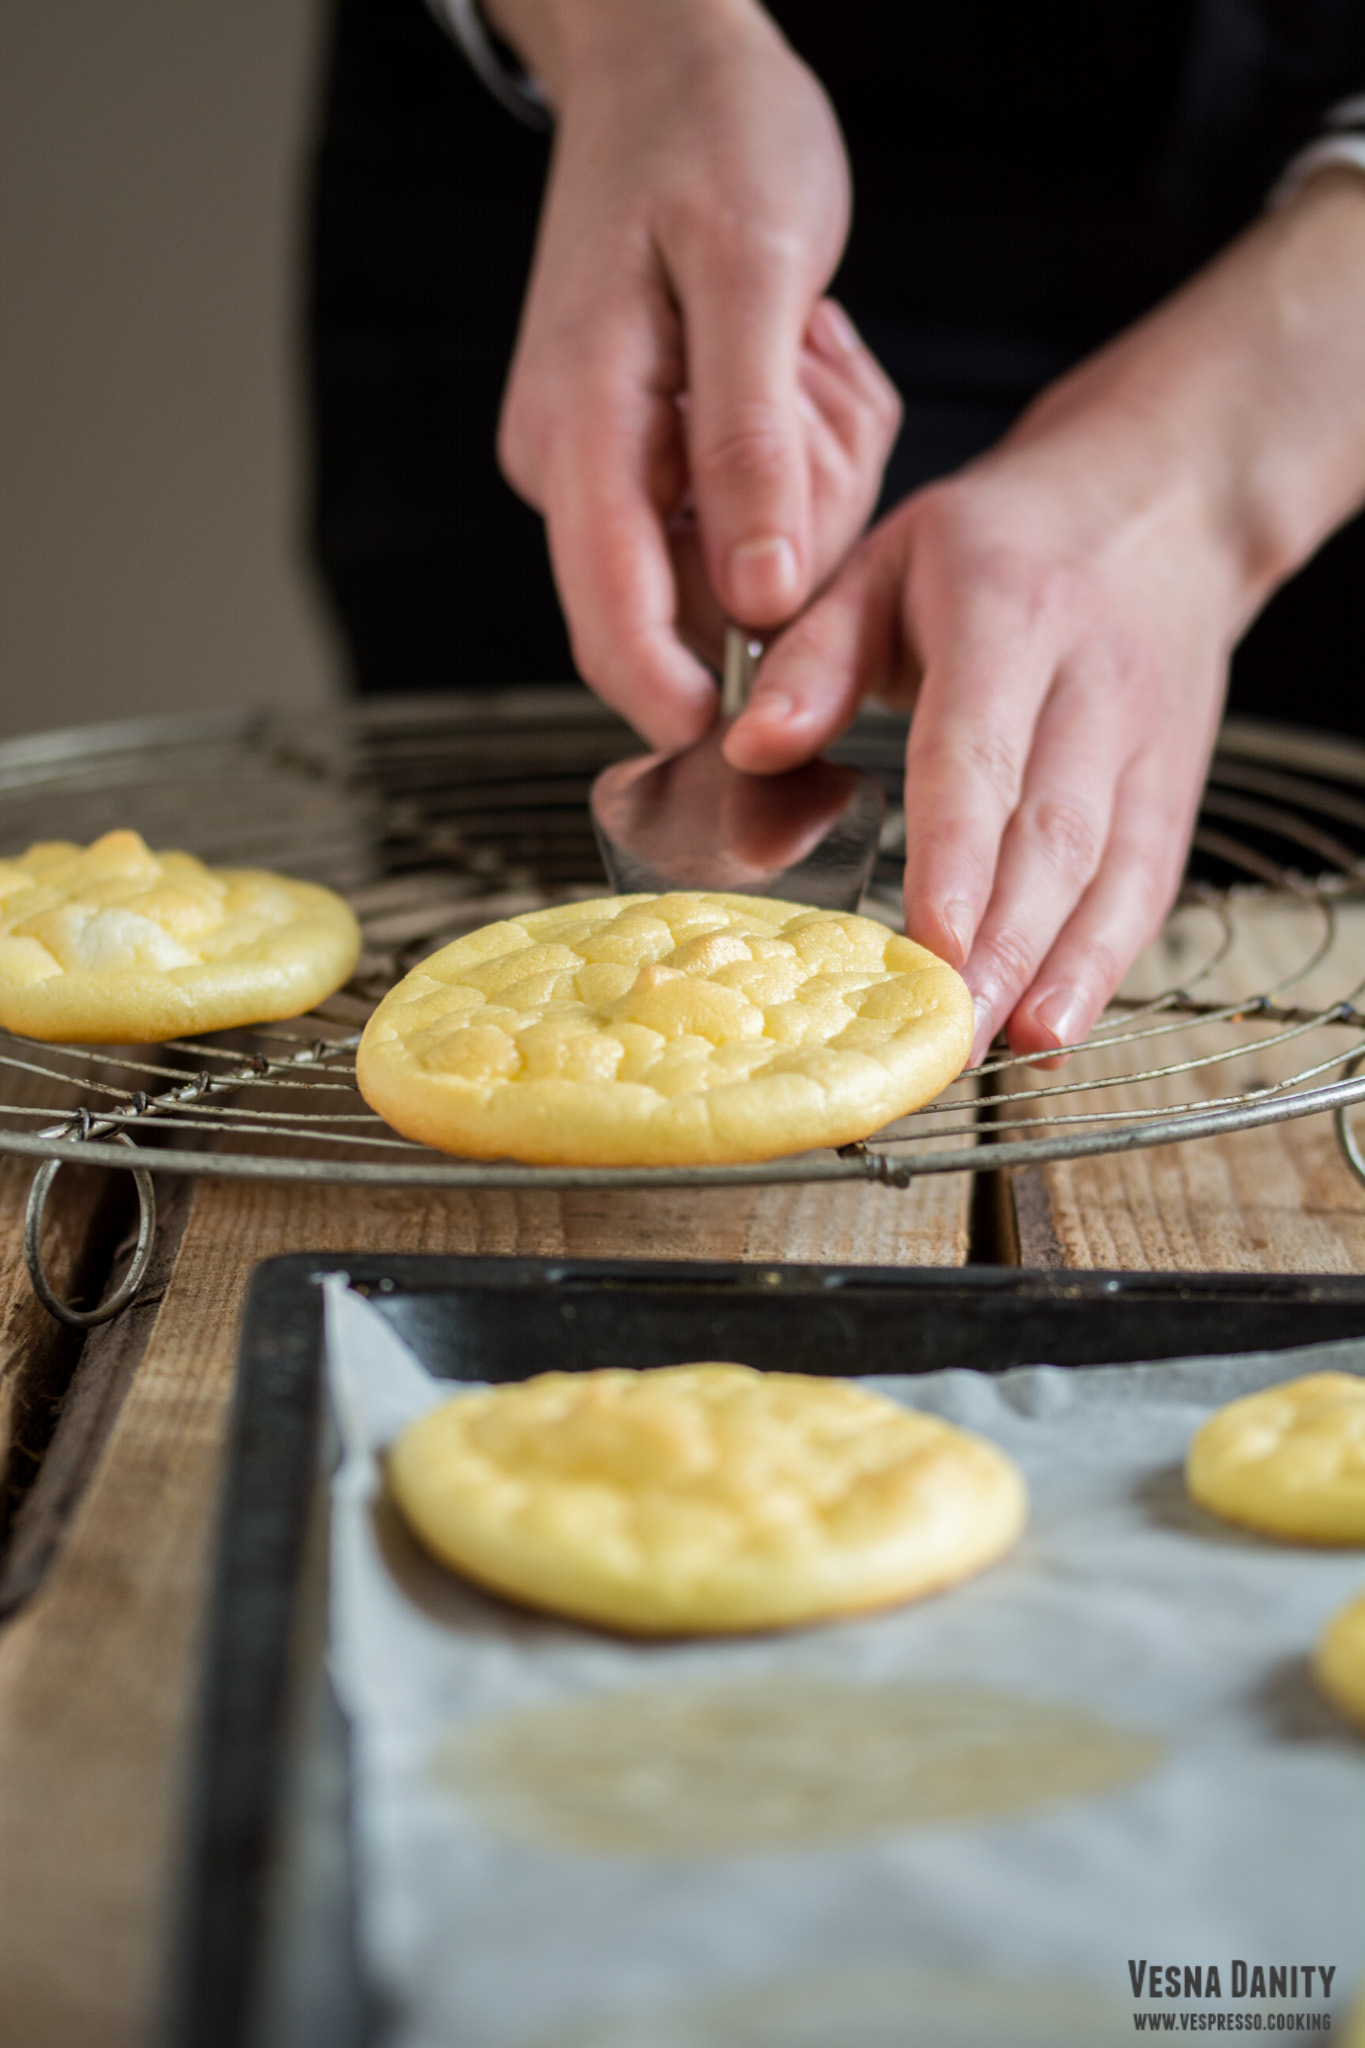
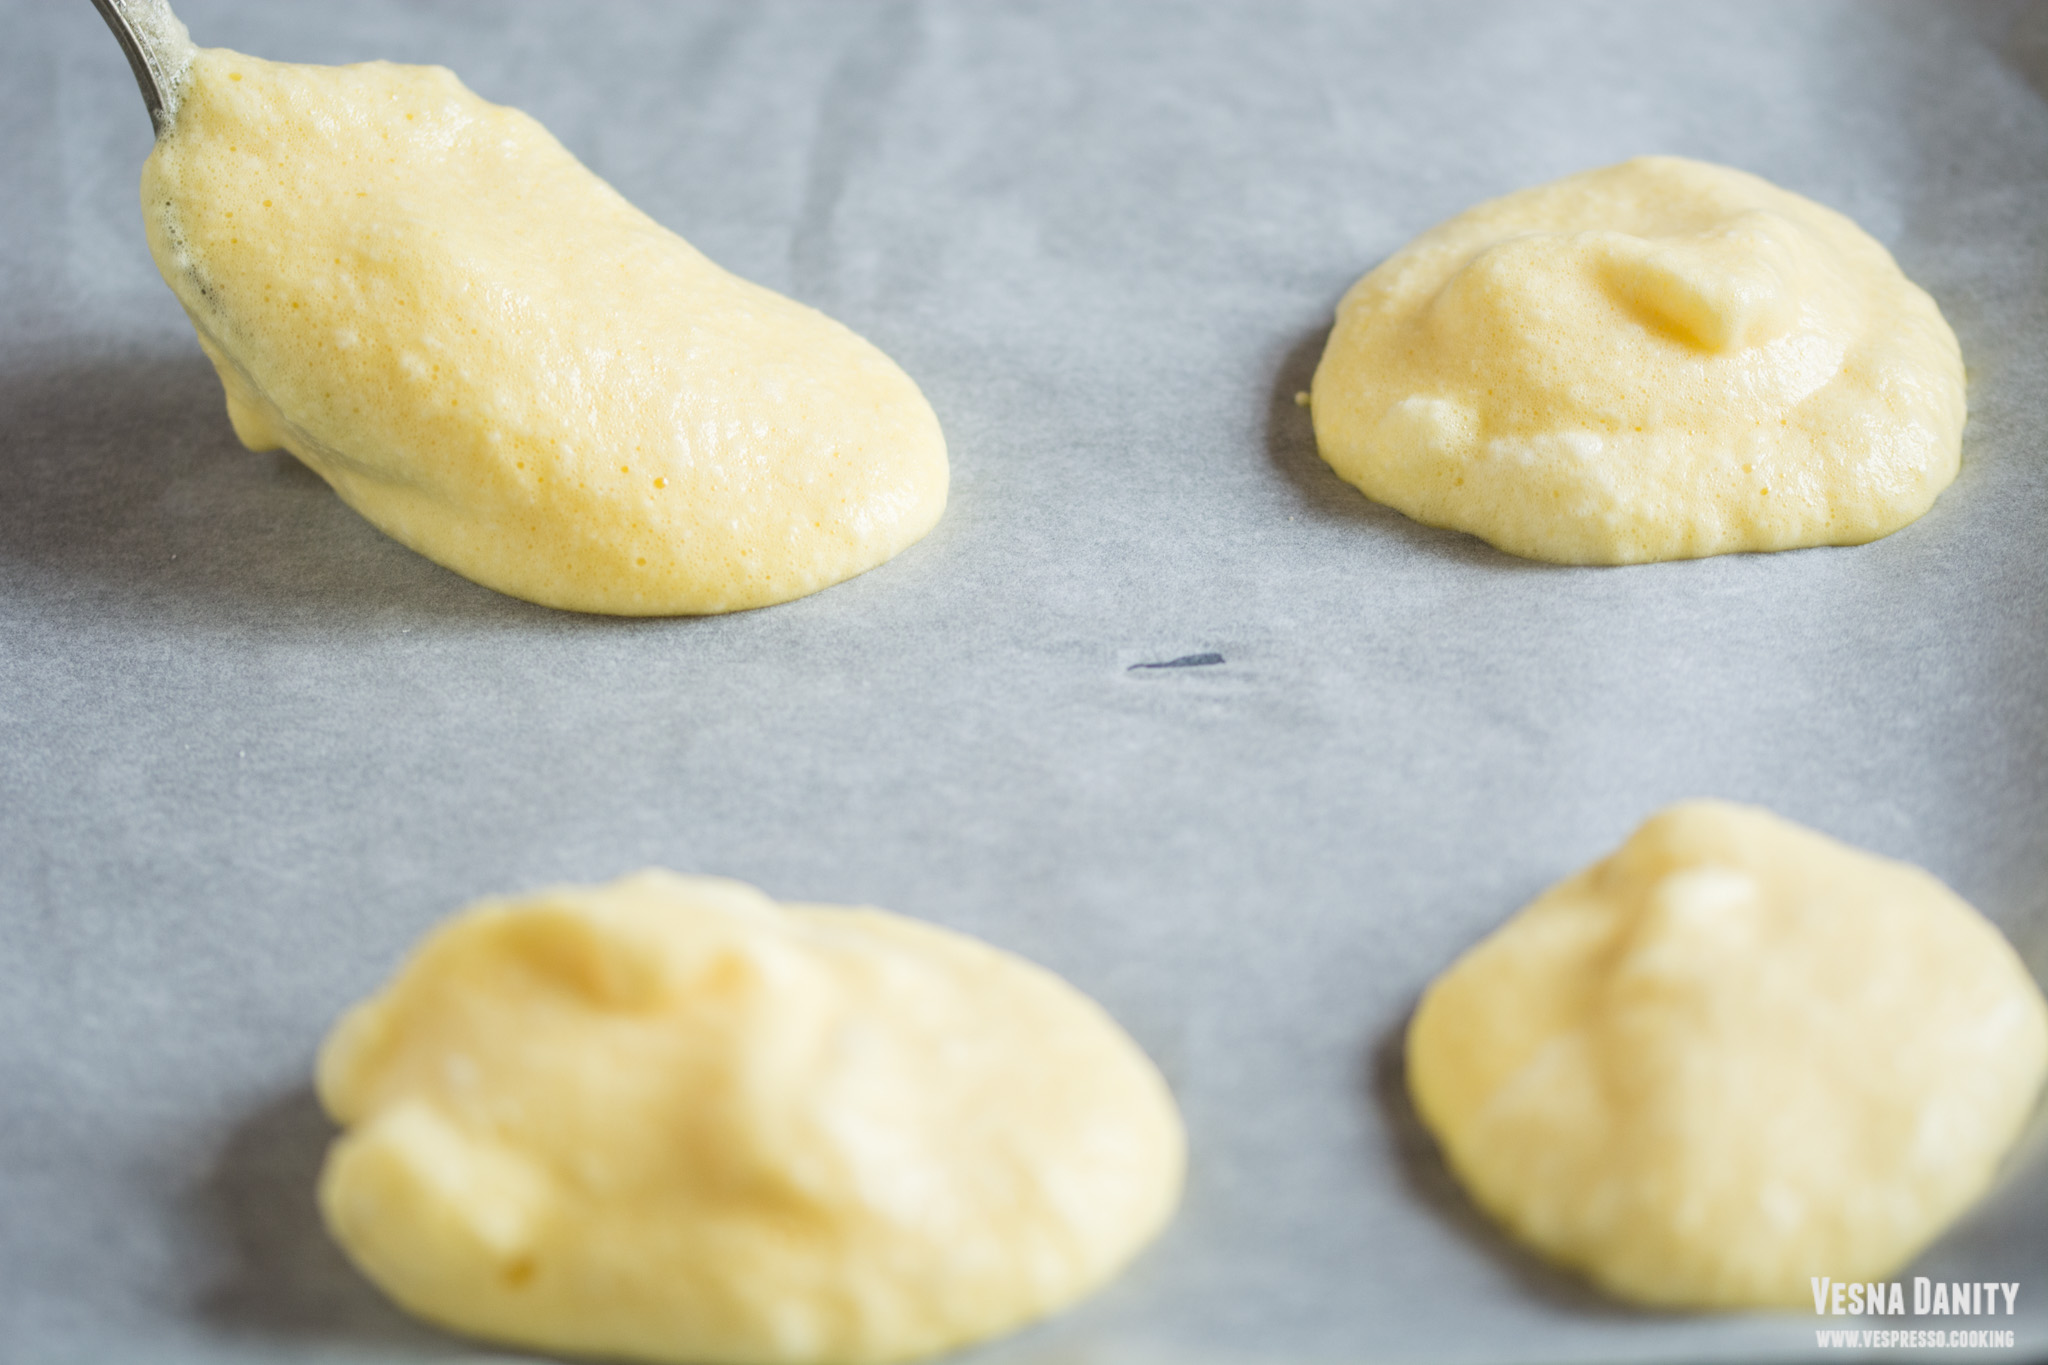
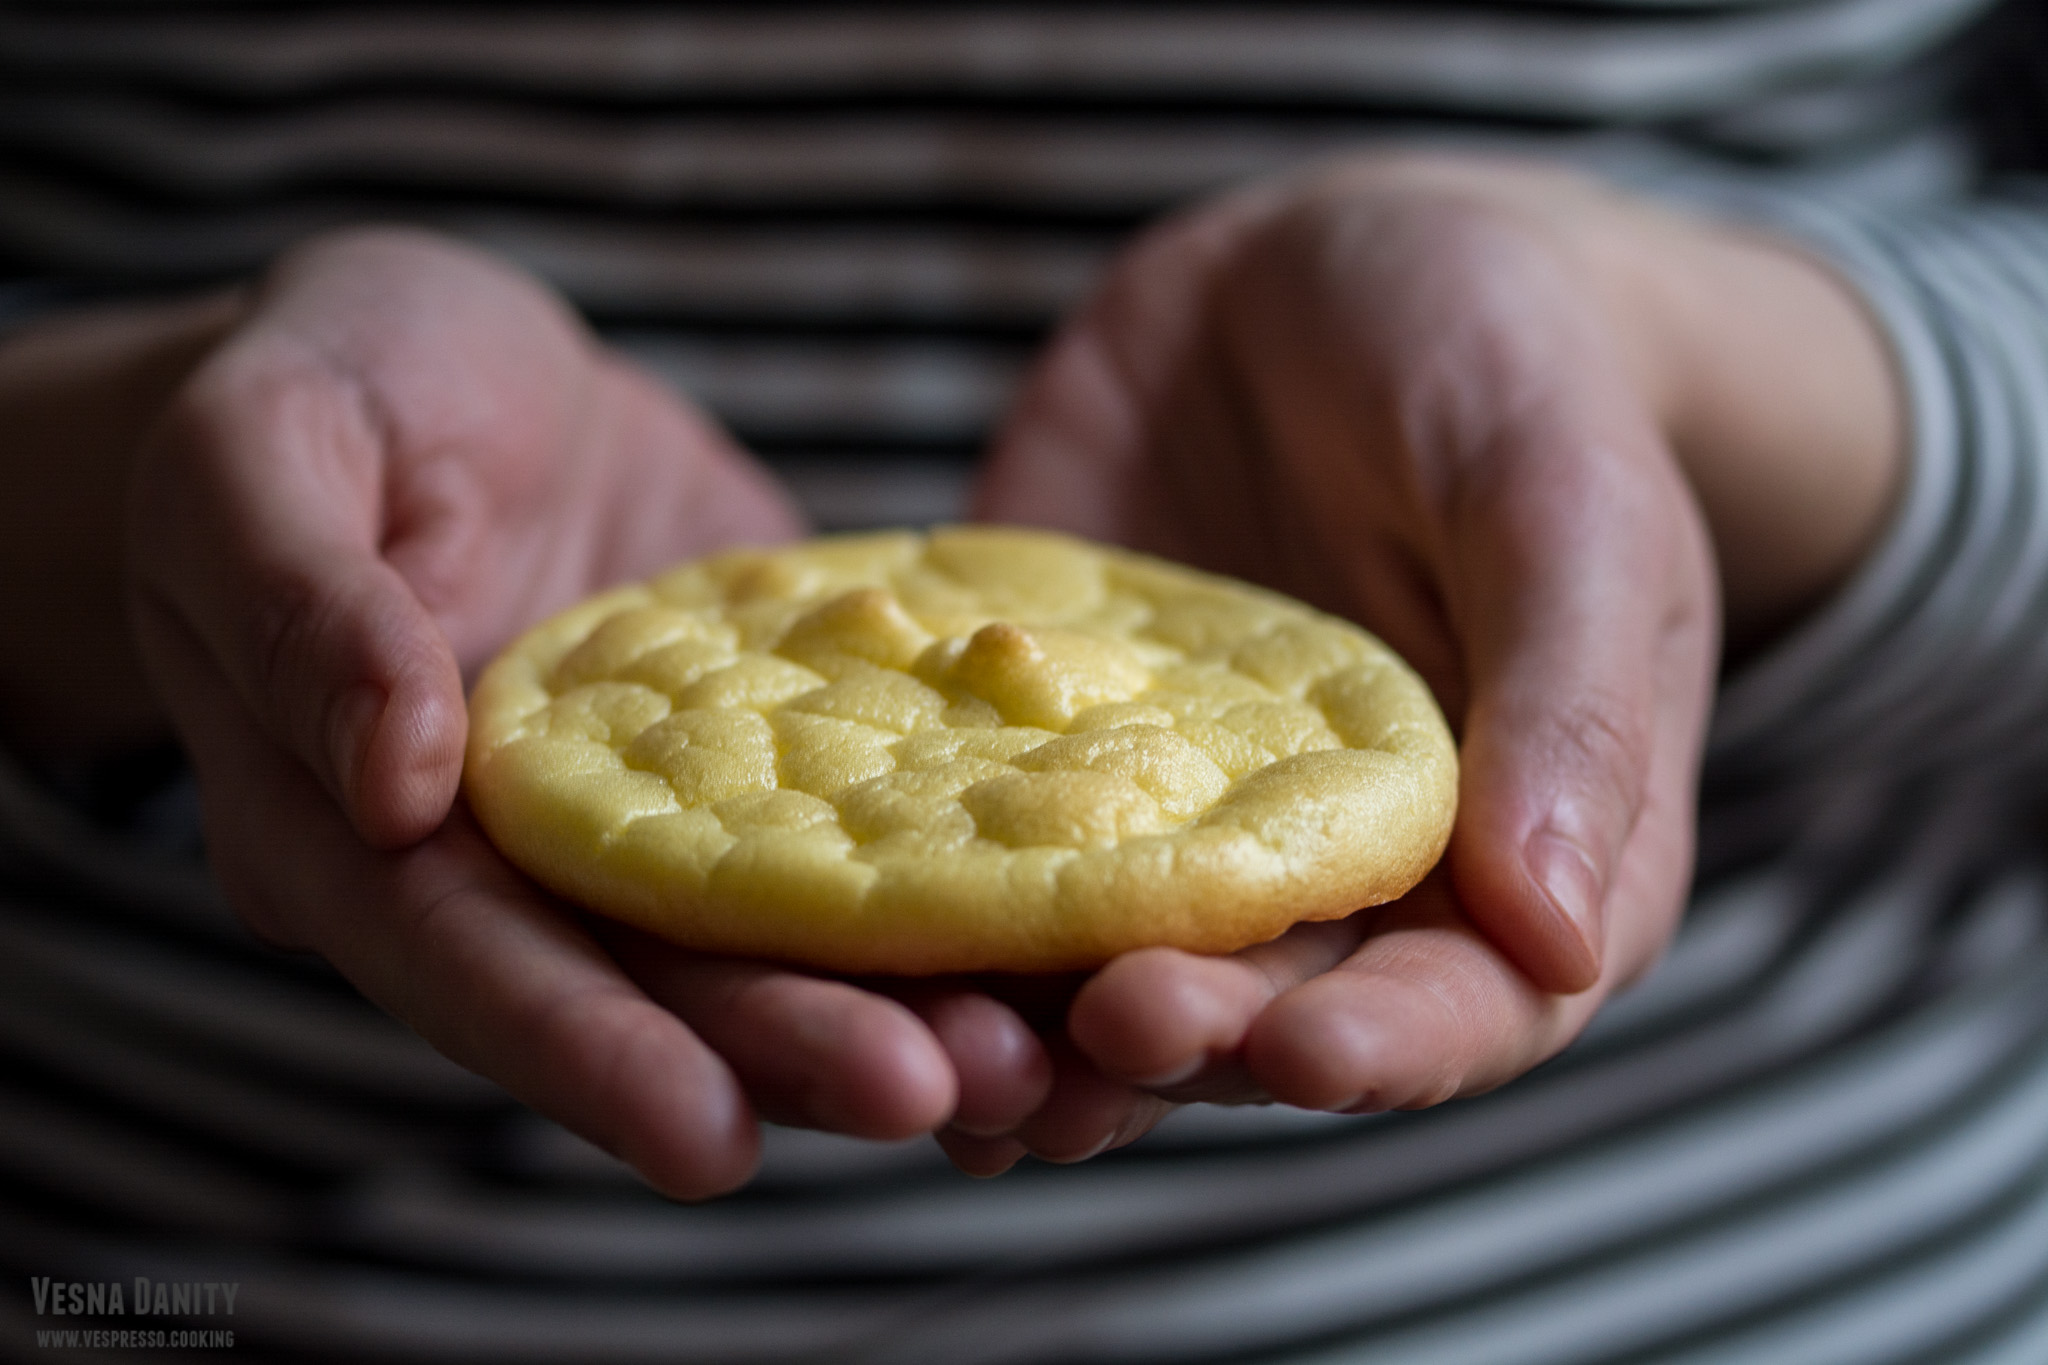
Cloud bread is basically an airy, soft and pillowy bread replacement, characteristics suggested by its own name. This dietetic bread is gluten-free and it’s also high in protein and low in carbohydrates. This bread is so delicious and extremely easy to make. As I mentioned in the title, cloud bread is made from only three ingredients: eggs, cream cheese and cream of tartar. The eggs are separated and the egg whites and the cream of tartar are beaten until stiff peaks form, while the egg yolks and the cream cheese are combined in another bowl. The meringue is carefully incorporated in the yolk mixture with gentle movements. The batter is divided into 9 small portions which are going to be baked in the oven until golden. Simple as that!

Ingredients (for 9 servings):

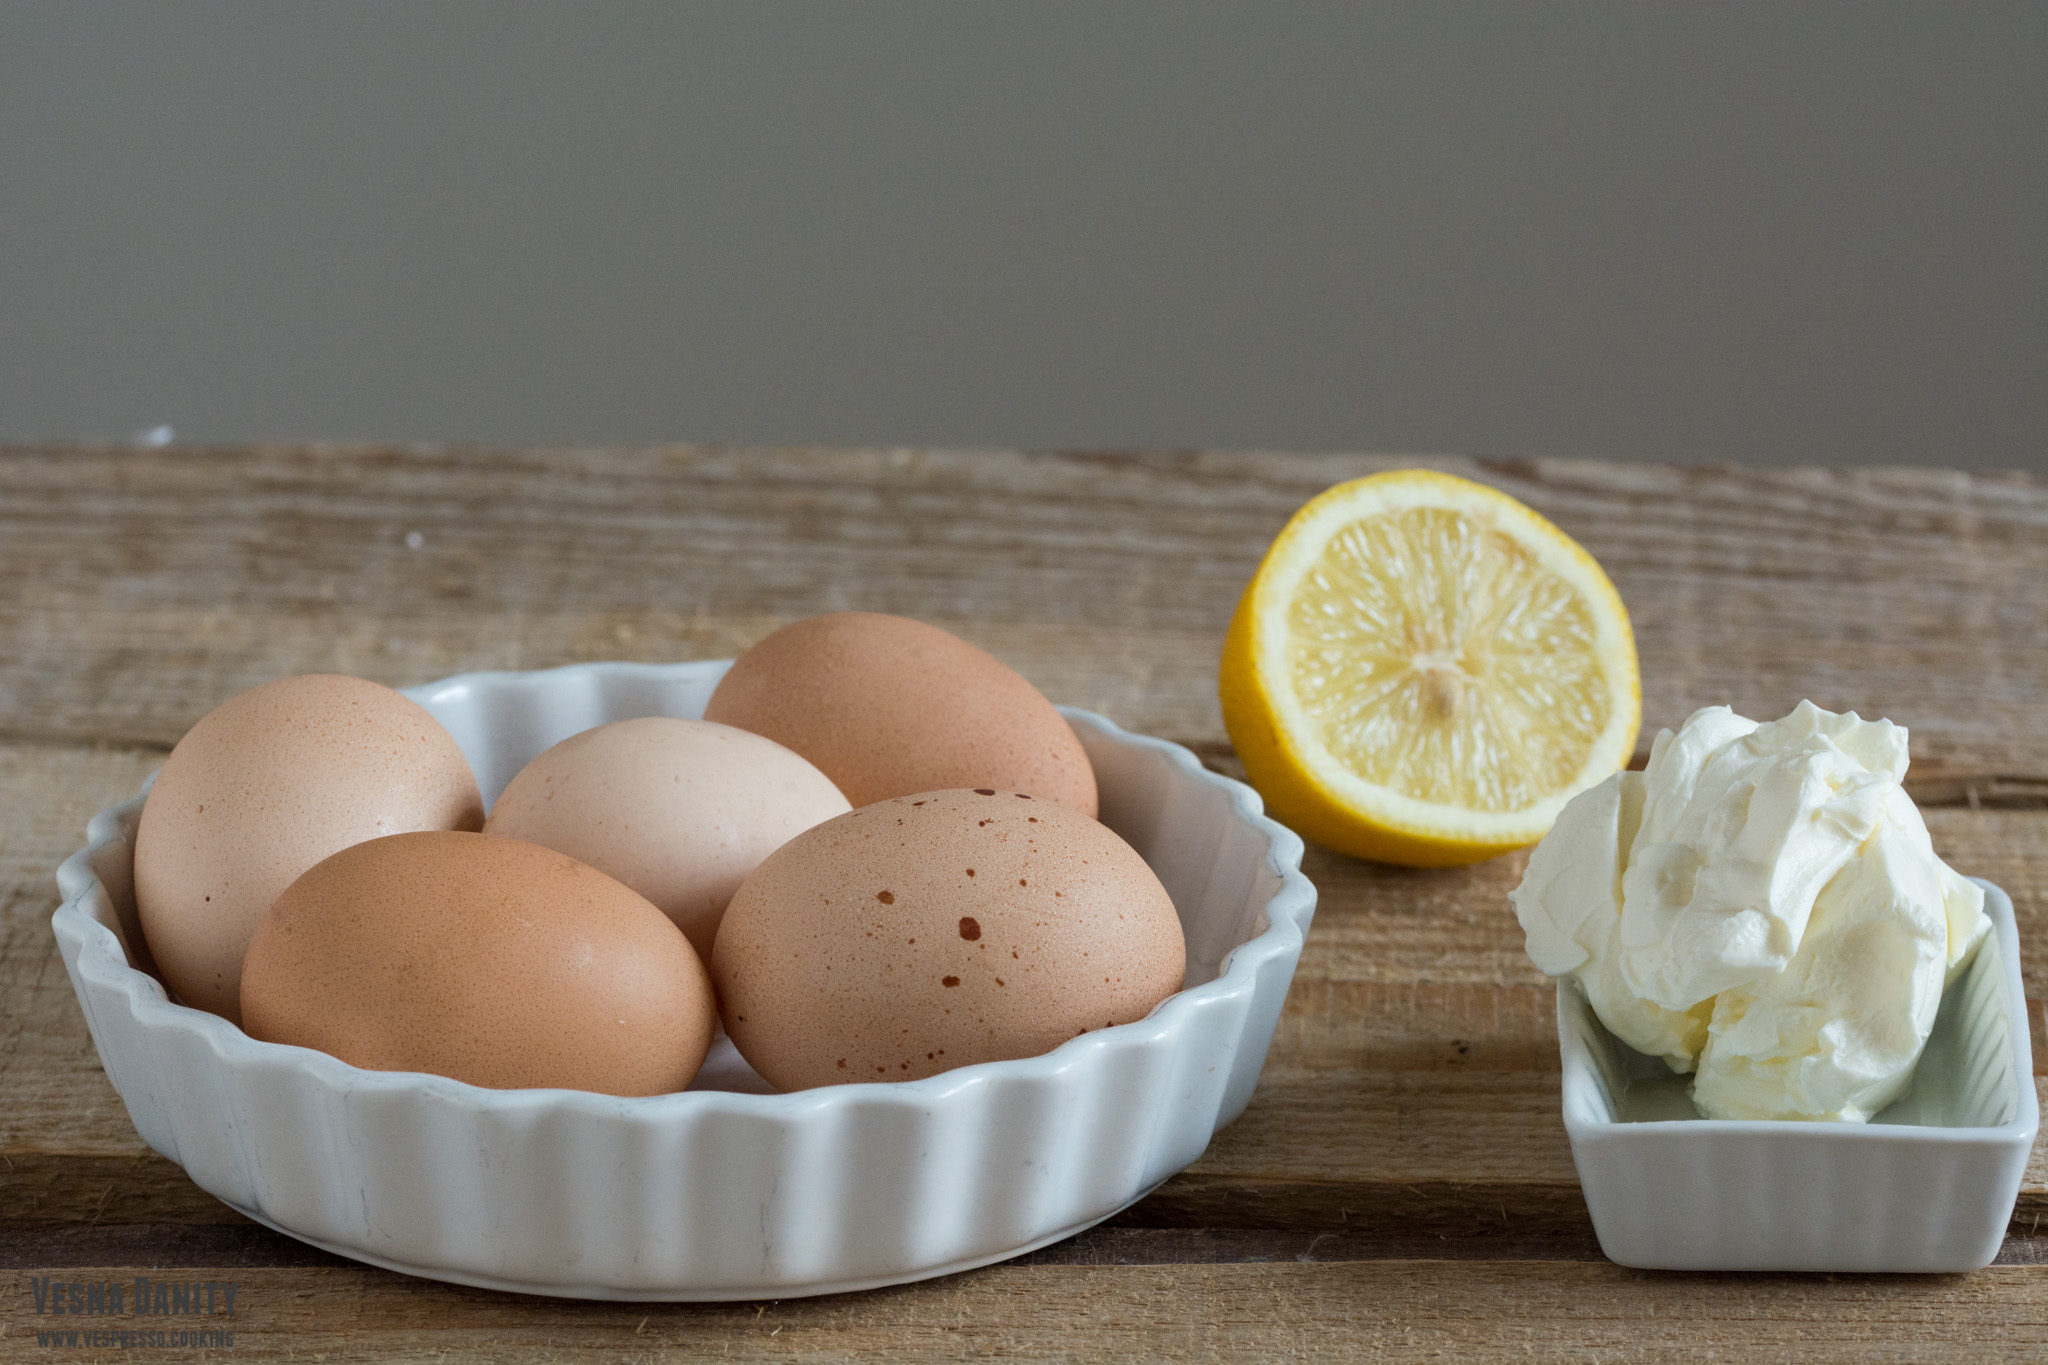
  • 4 large eggs *
  • 4 Tbsp cream cheese (60g) **
  • 1/2 tsp cream of tartar (or lemon juice) ***Note:

    * I use 1 Tbsp cream cheese for each large egg.
    ** This recipe is also delicious with mascarpone cheese, Greek yogurt and cottage cheese.
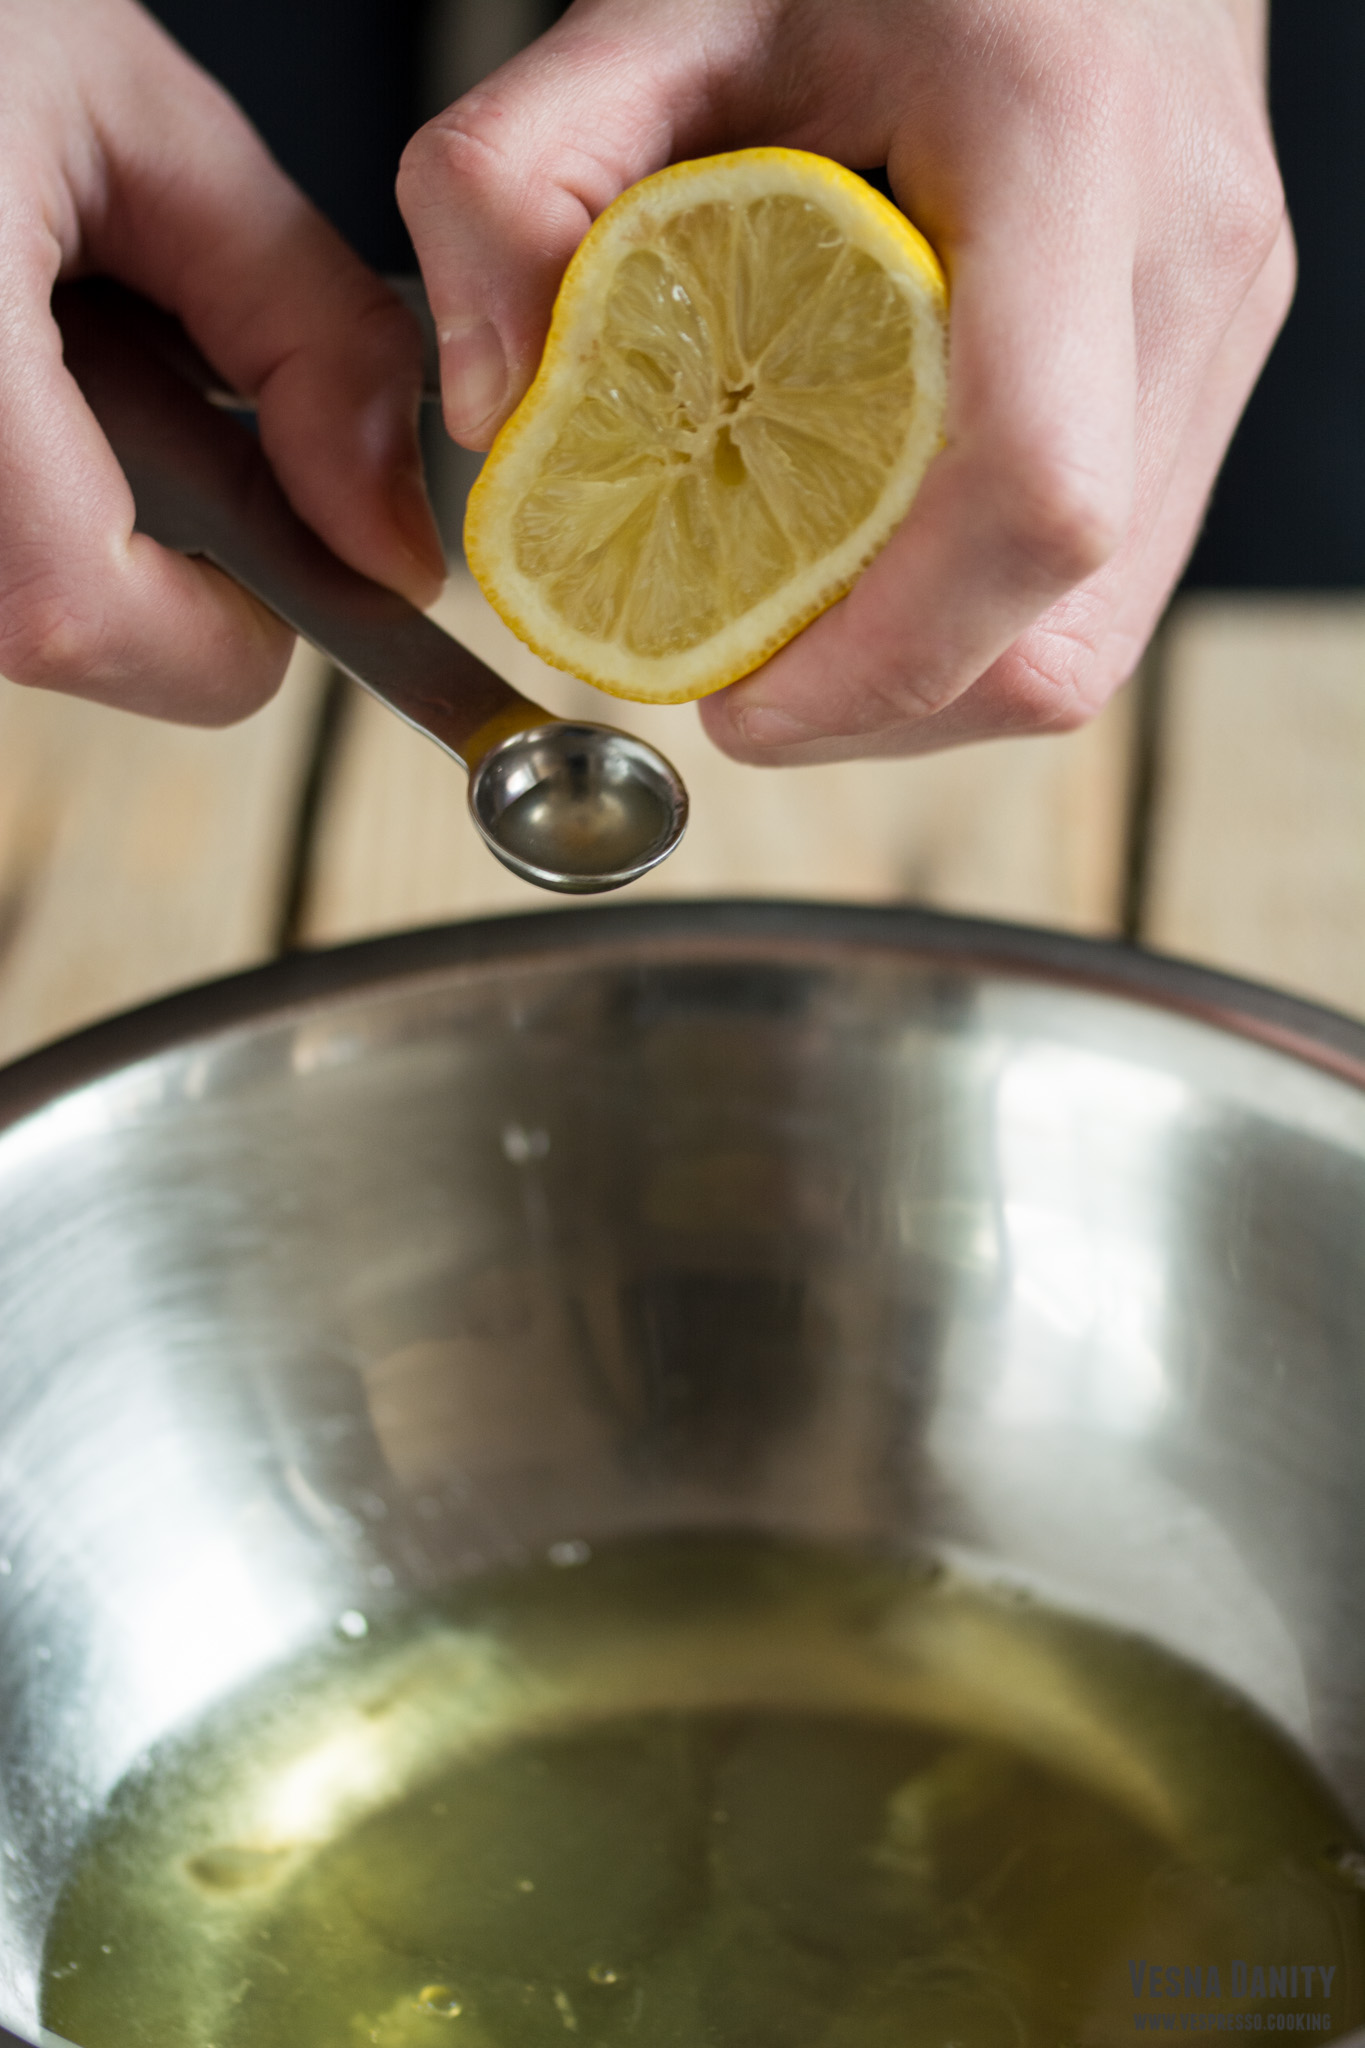
    *** If you don’t have cream of tartar, you can use the same amount of lemon juice. Don’t skip the acid, it stabilizes the egg whites and allows them to keep their form.


Method:

  1. Preheat the oven at 150°C / 300°F (gas mark 2). Line a tray with parchment paper.
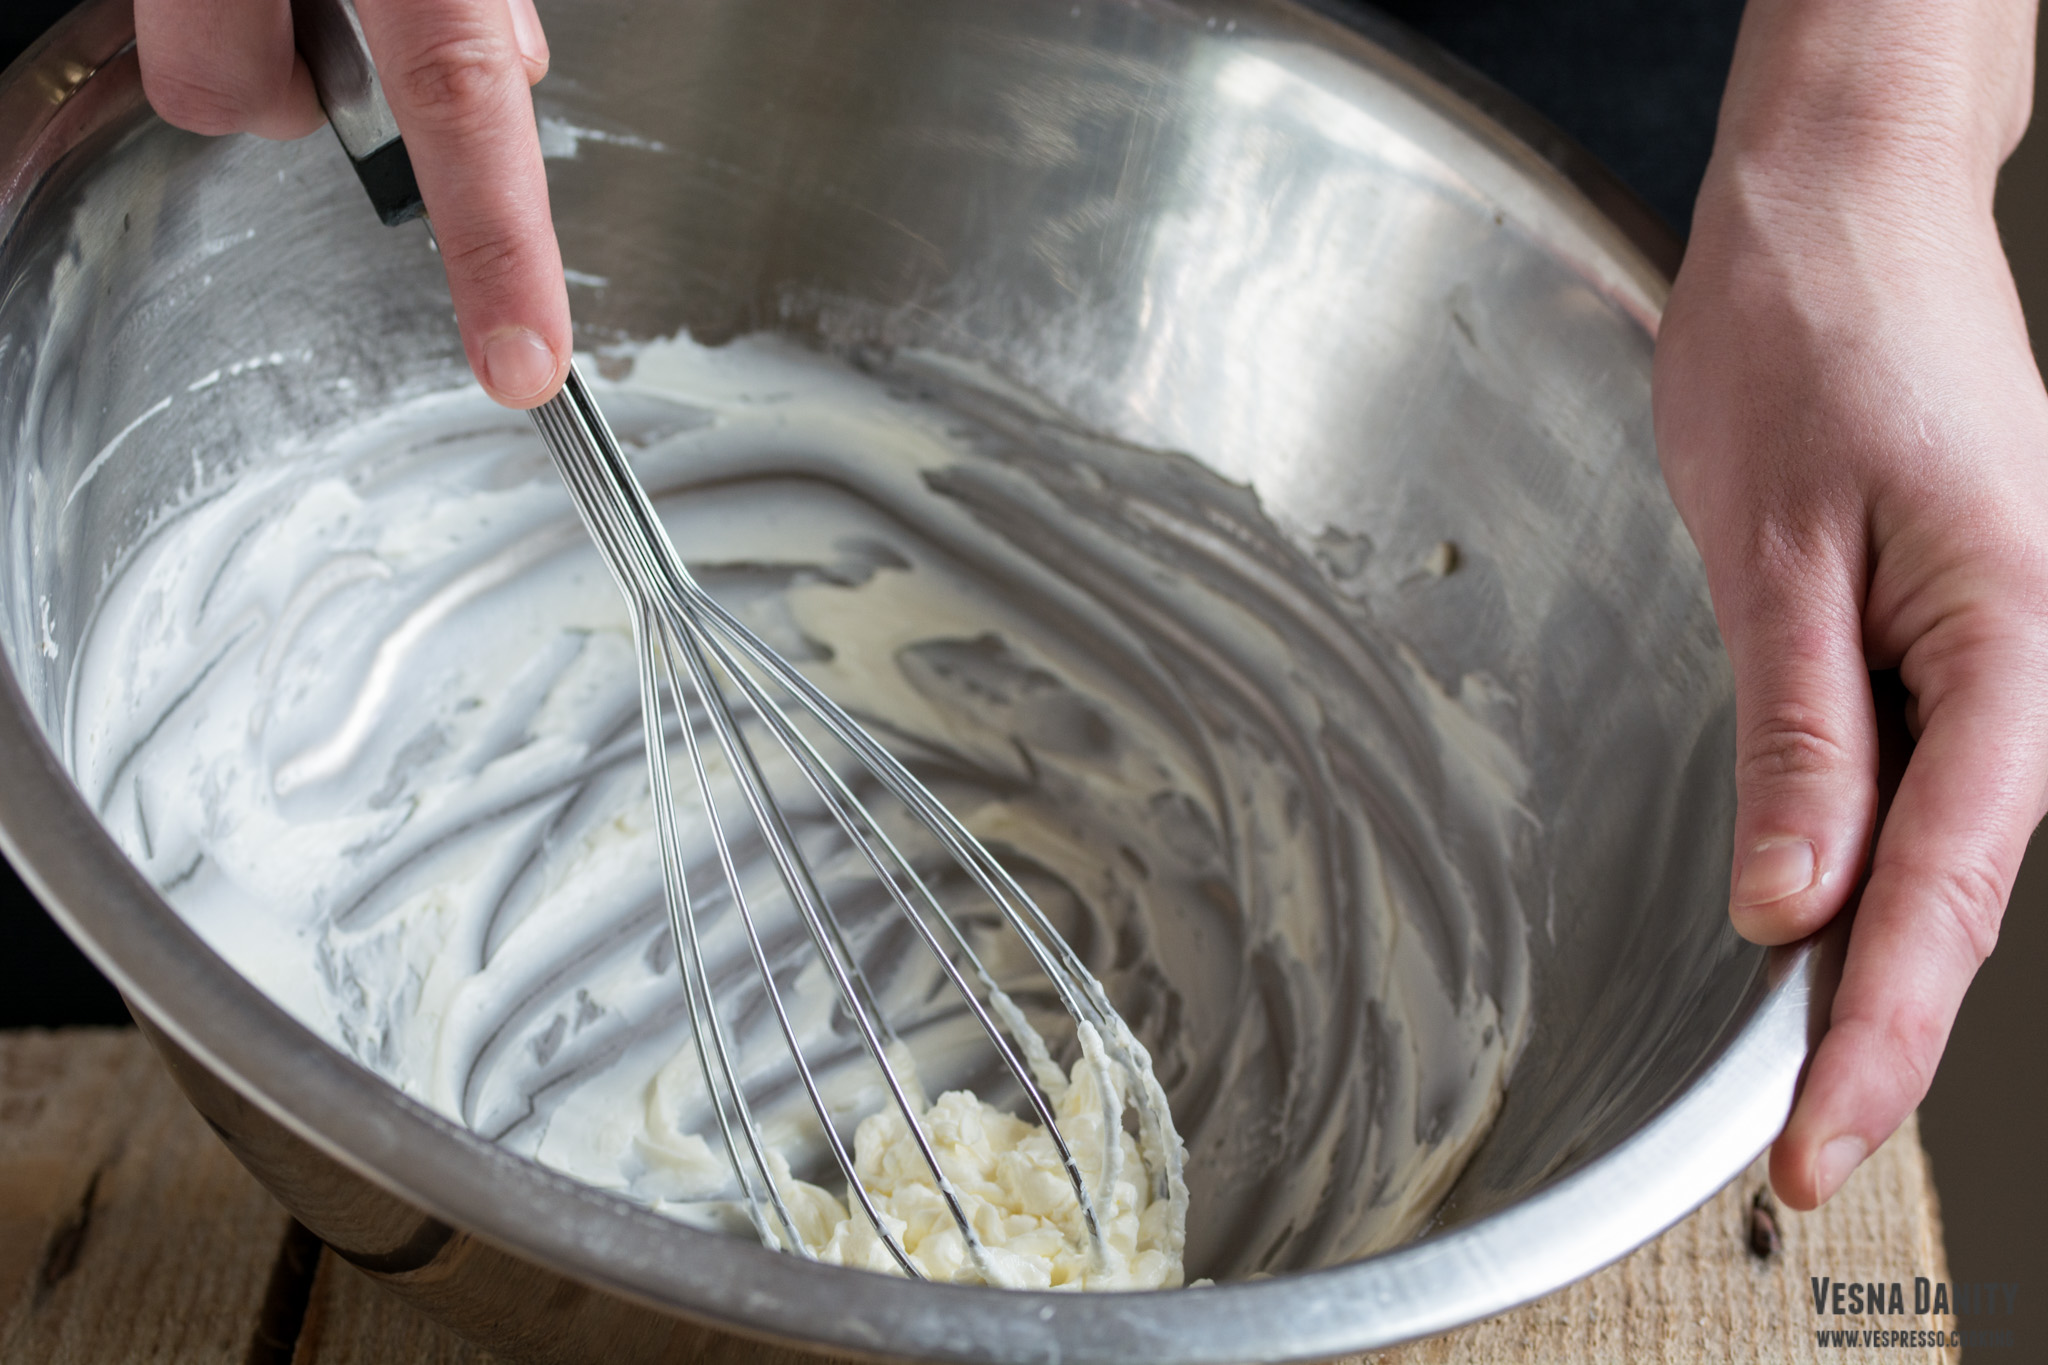
  2. Take 2 bowls, a large one and a medium one. Place the cream cheese in the large bowl. Beat the cream cheese with a spatula or a whisk to soften.
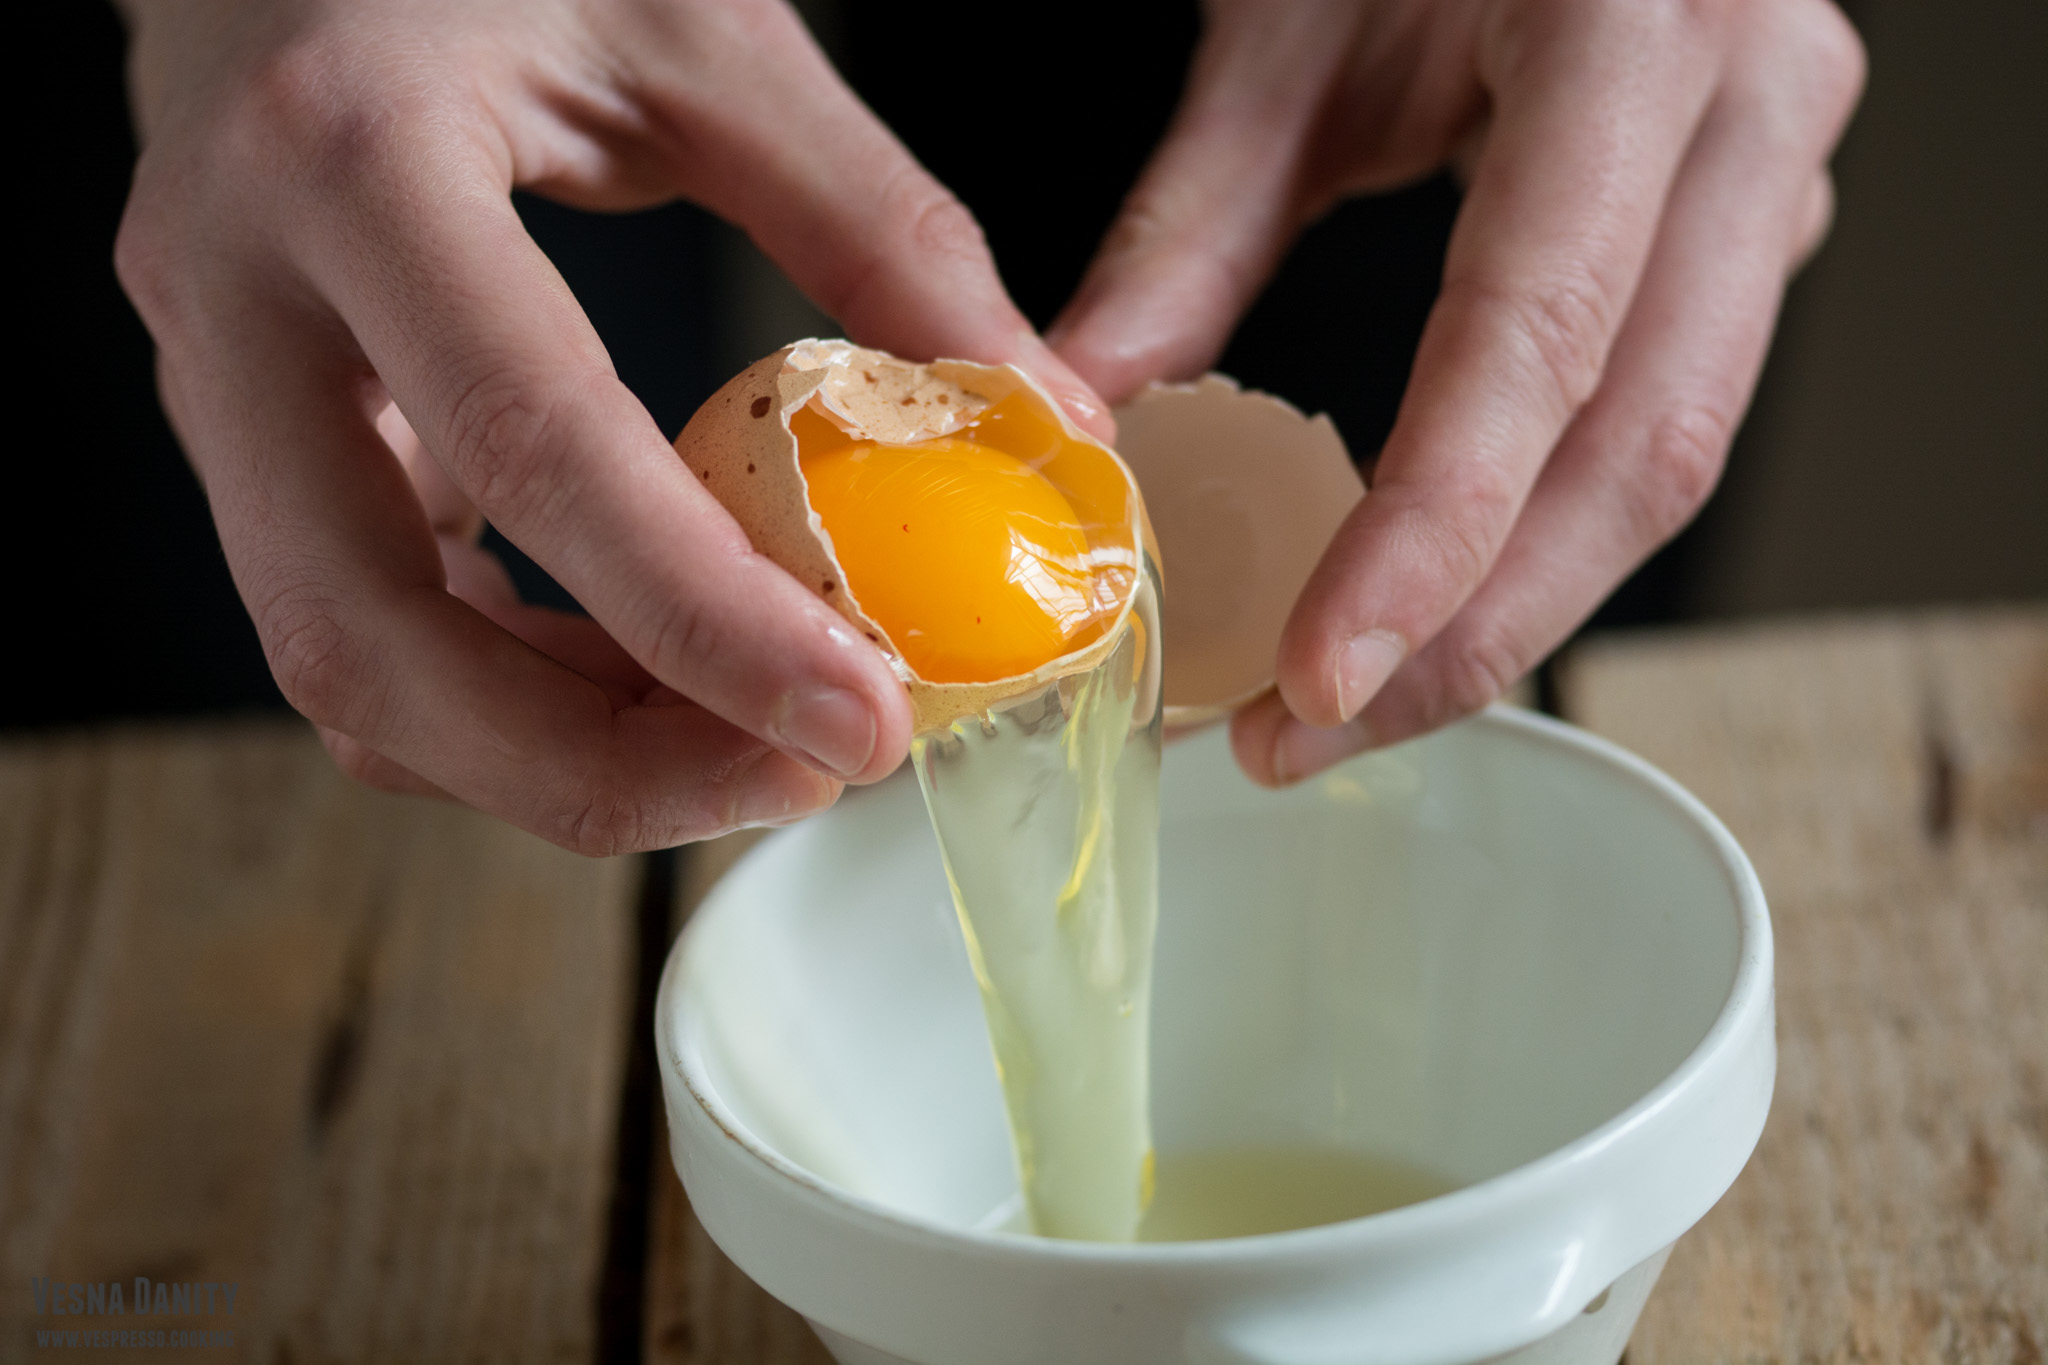
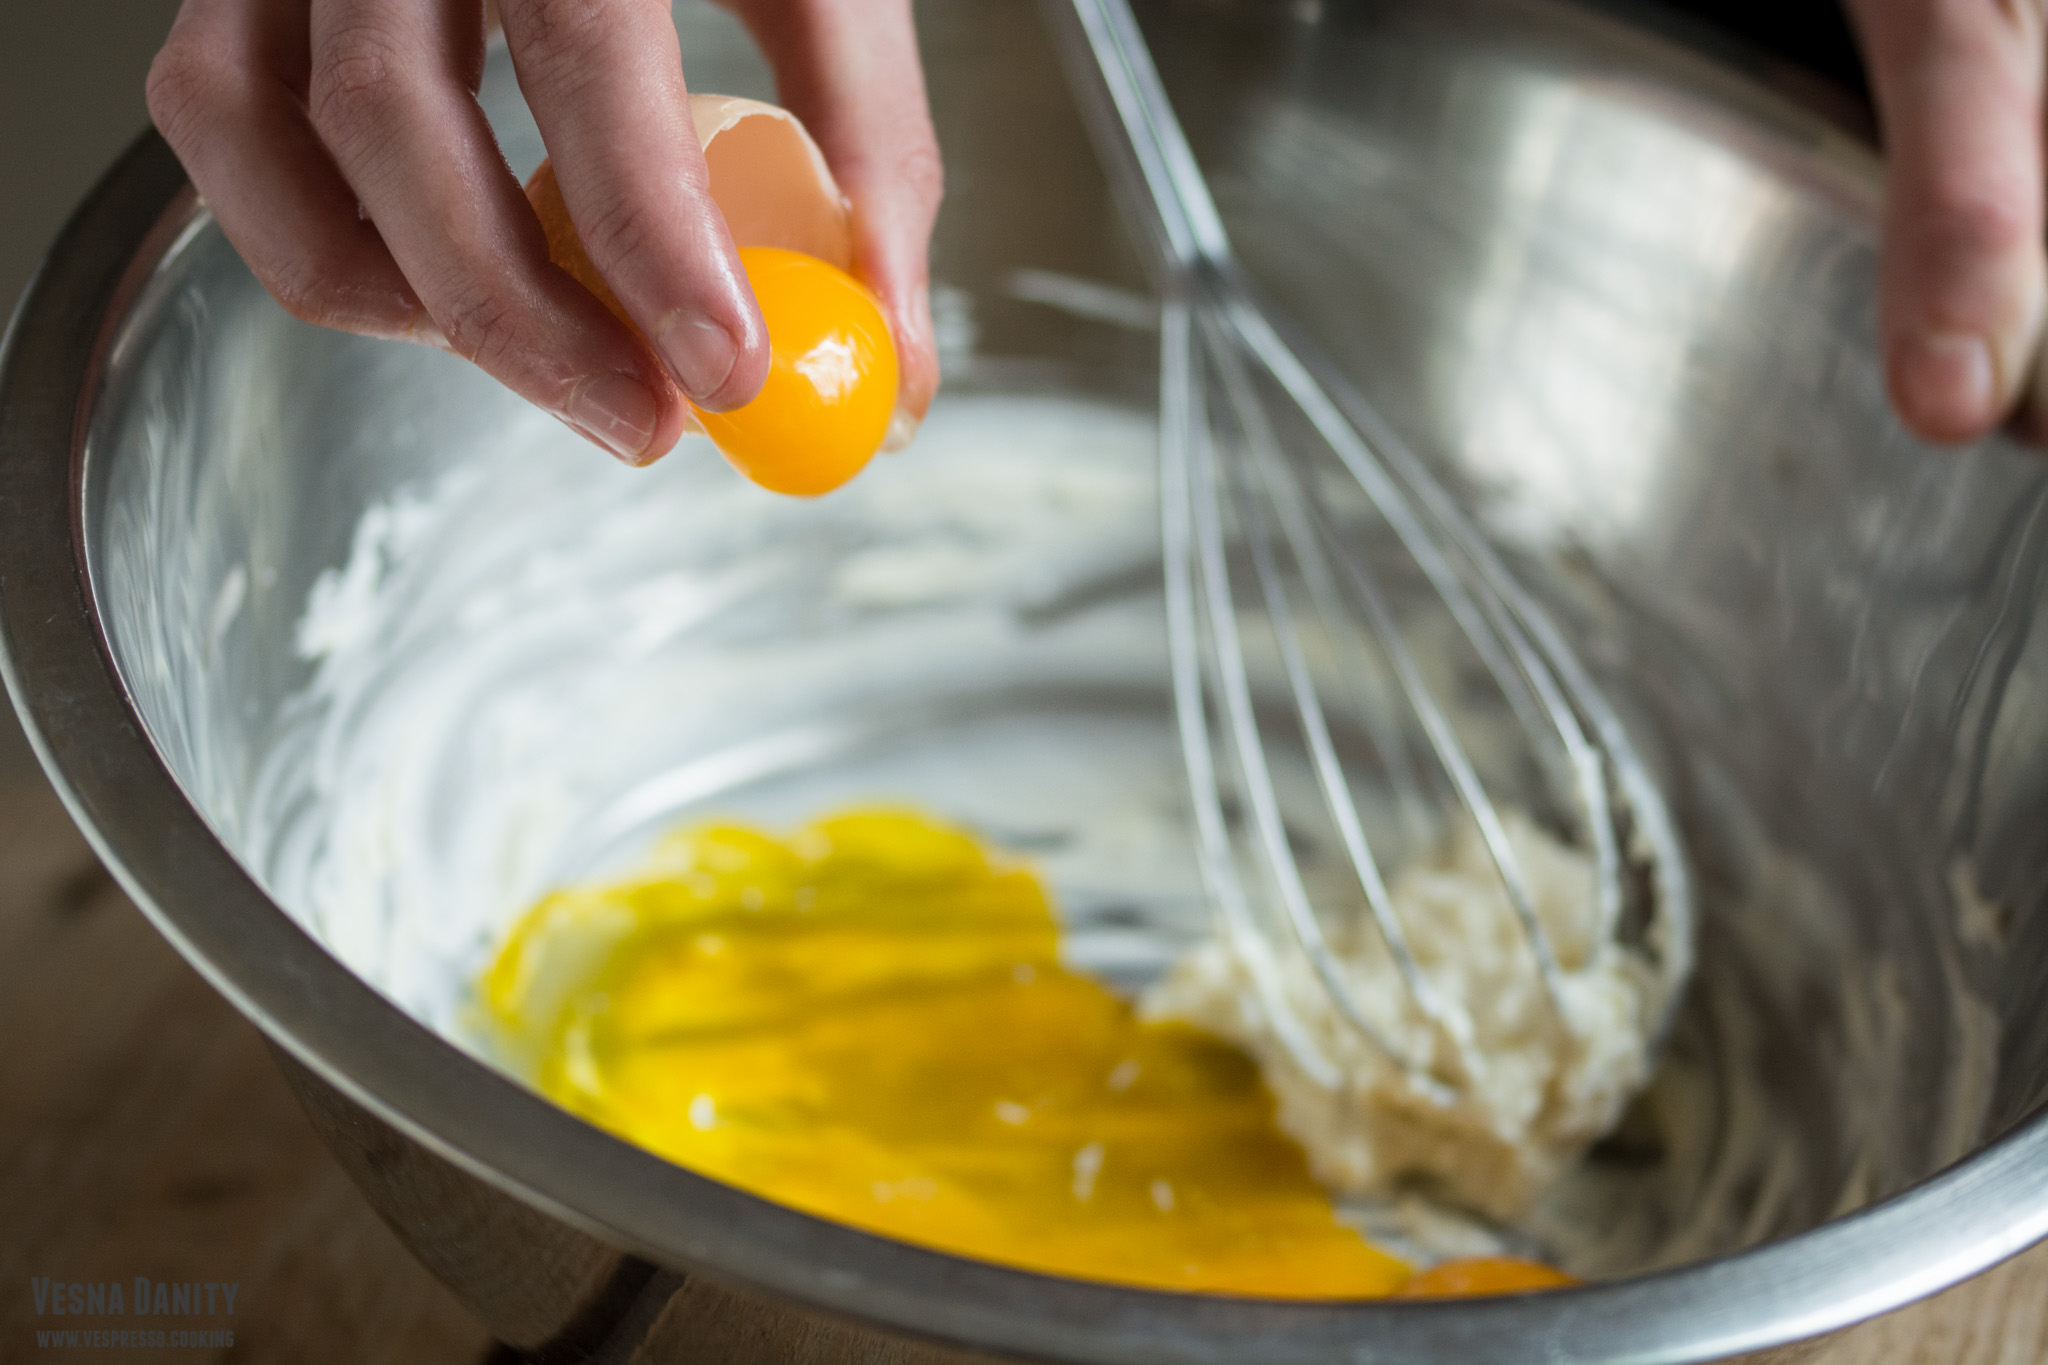
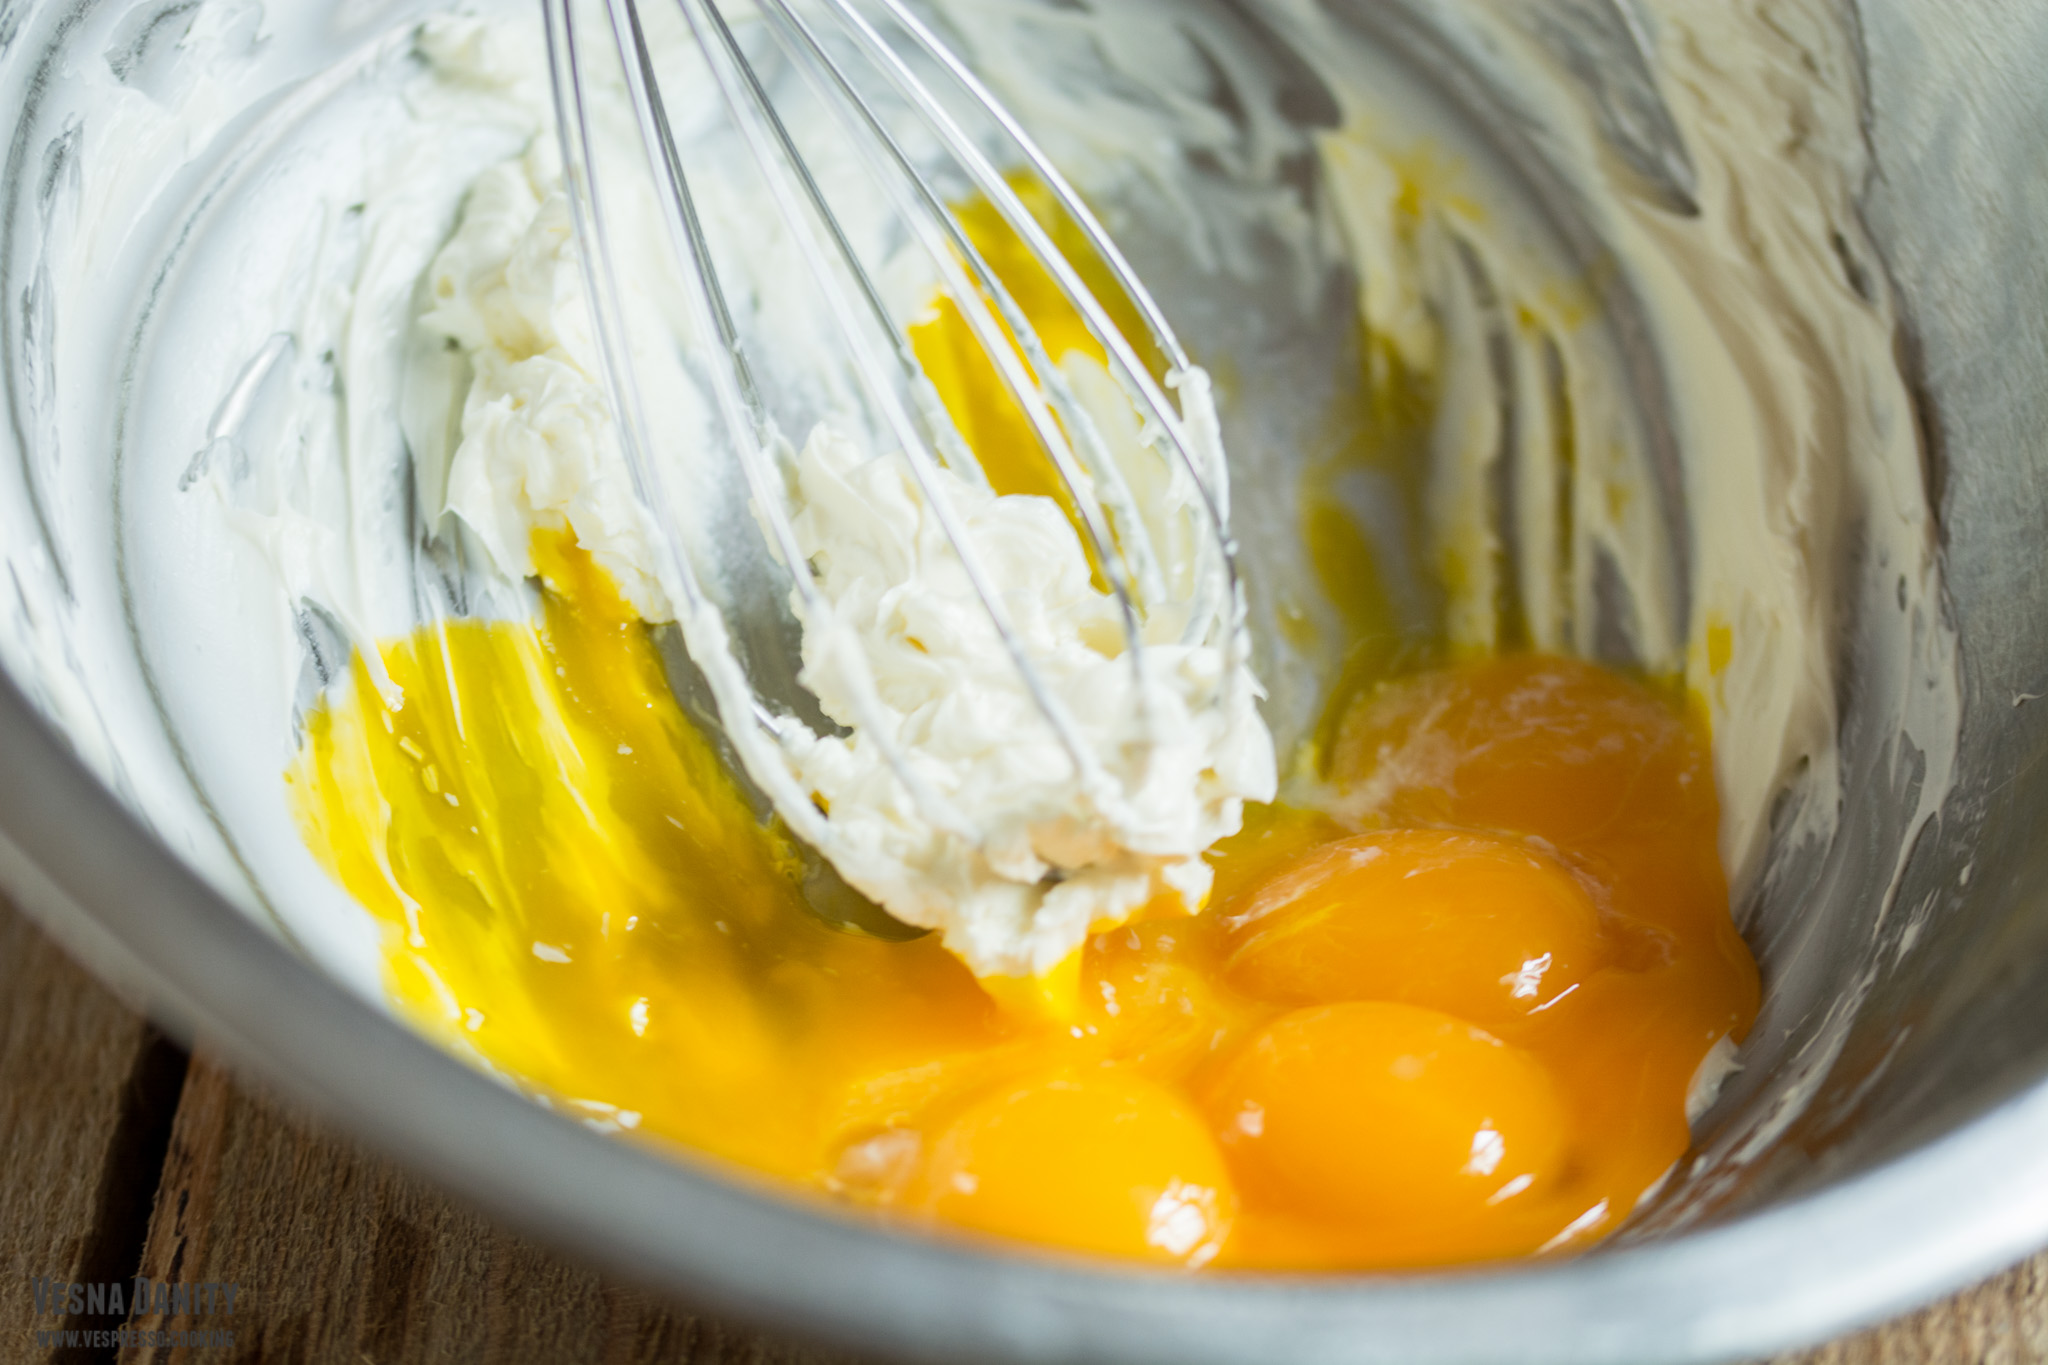
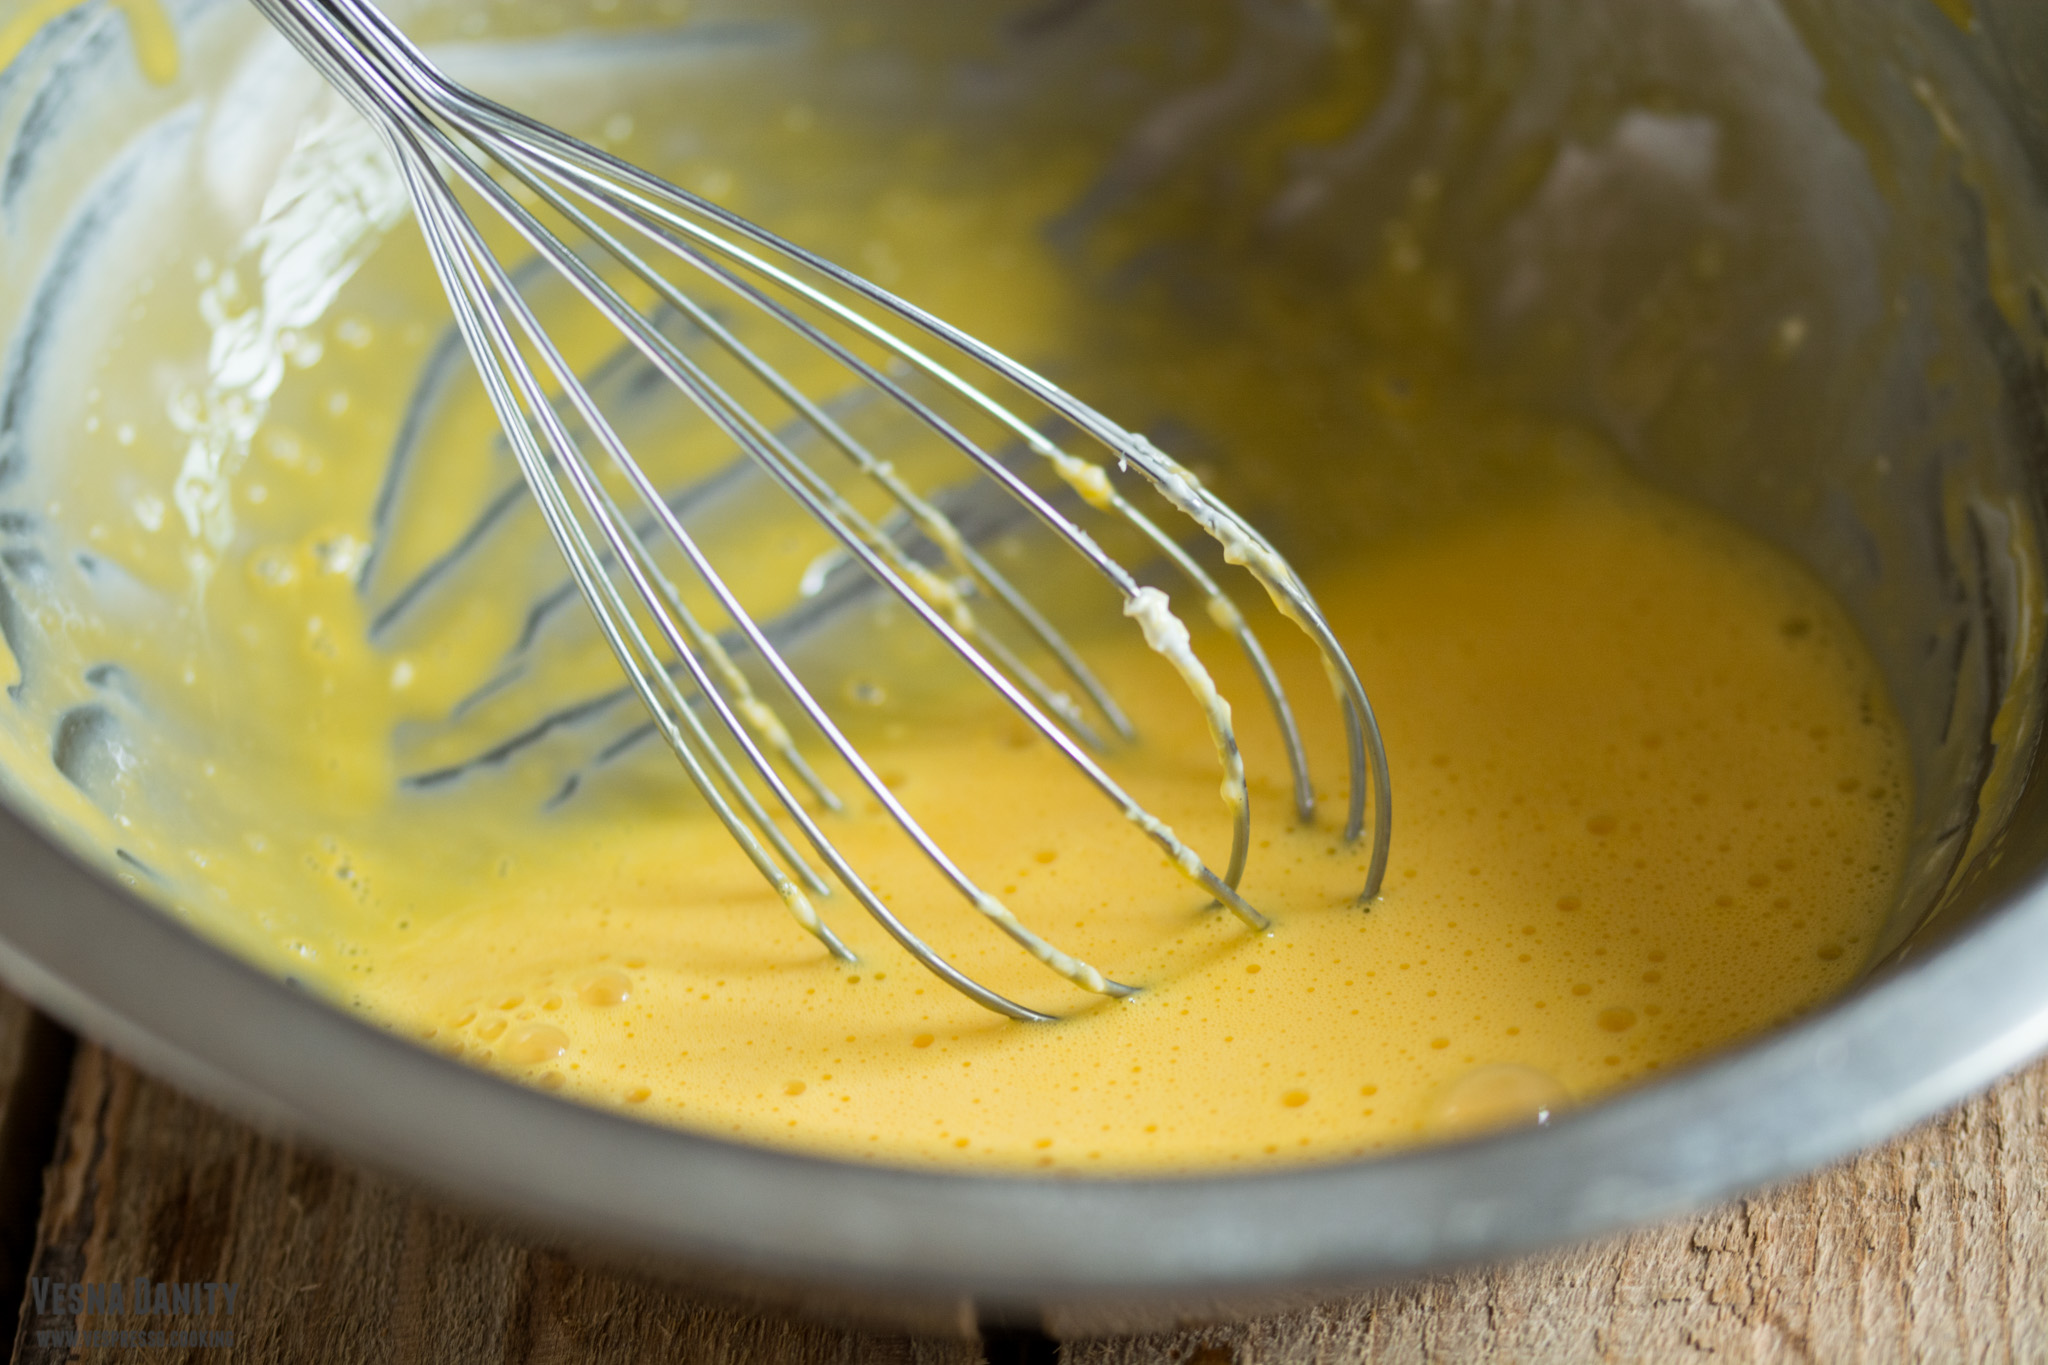
  3. Separate the eggs. Add the yolk to the large bowl. Add the egg whites to the medium ball. Mix the yolk with the cream cheese using the whisk.
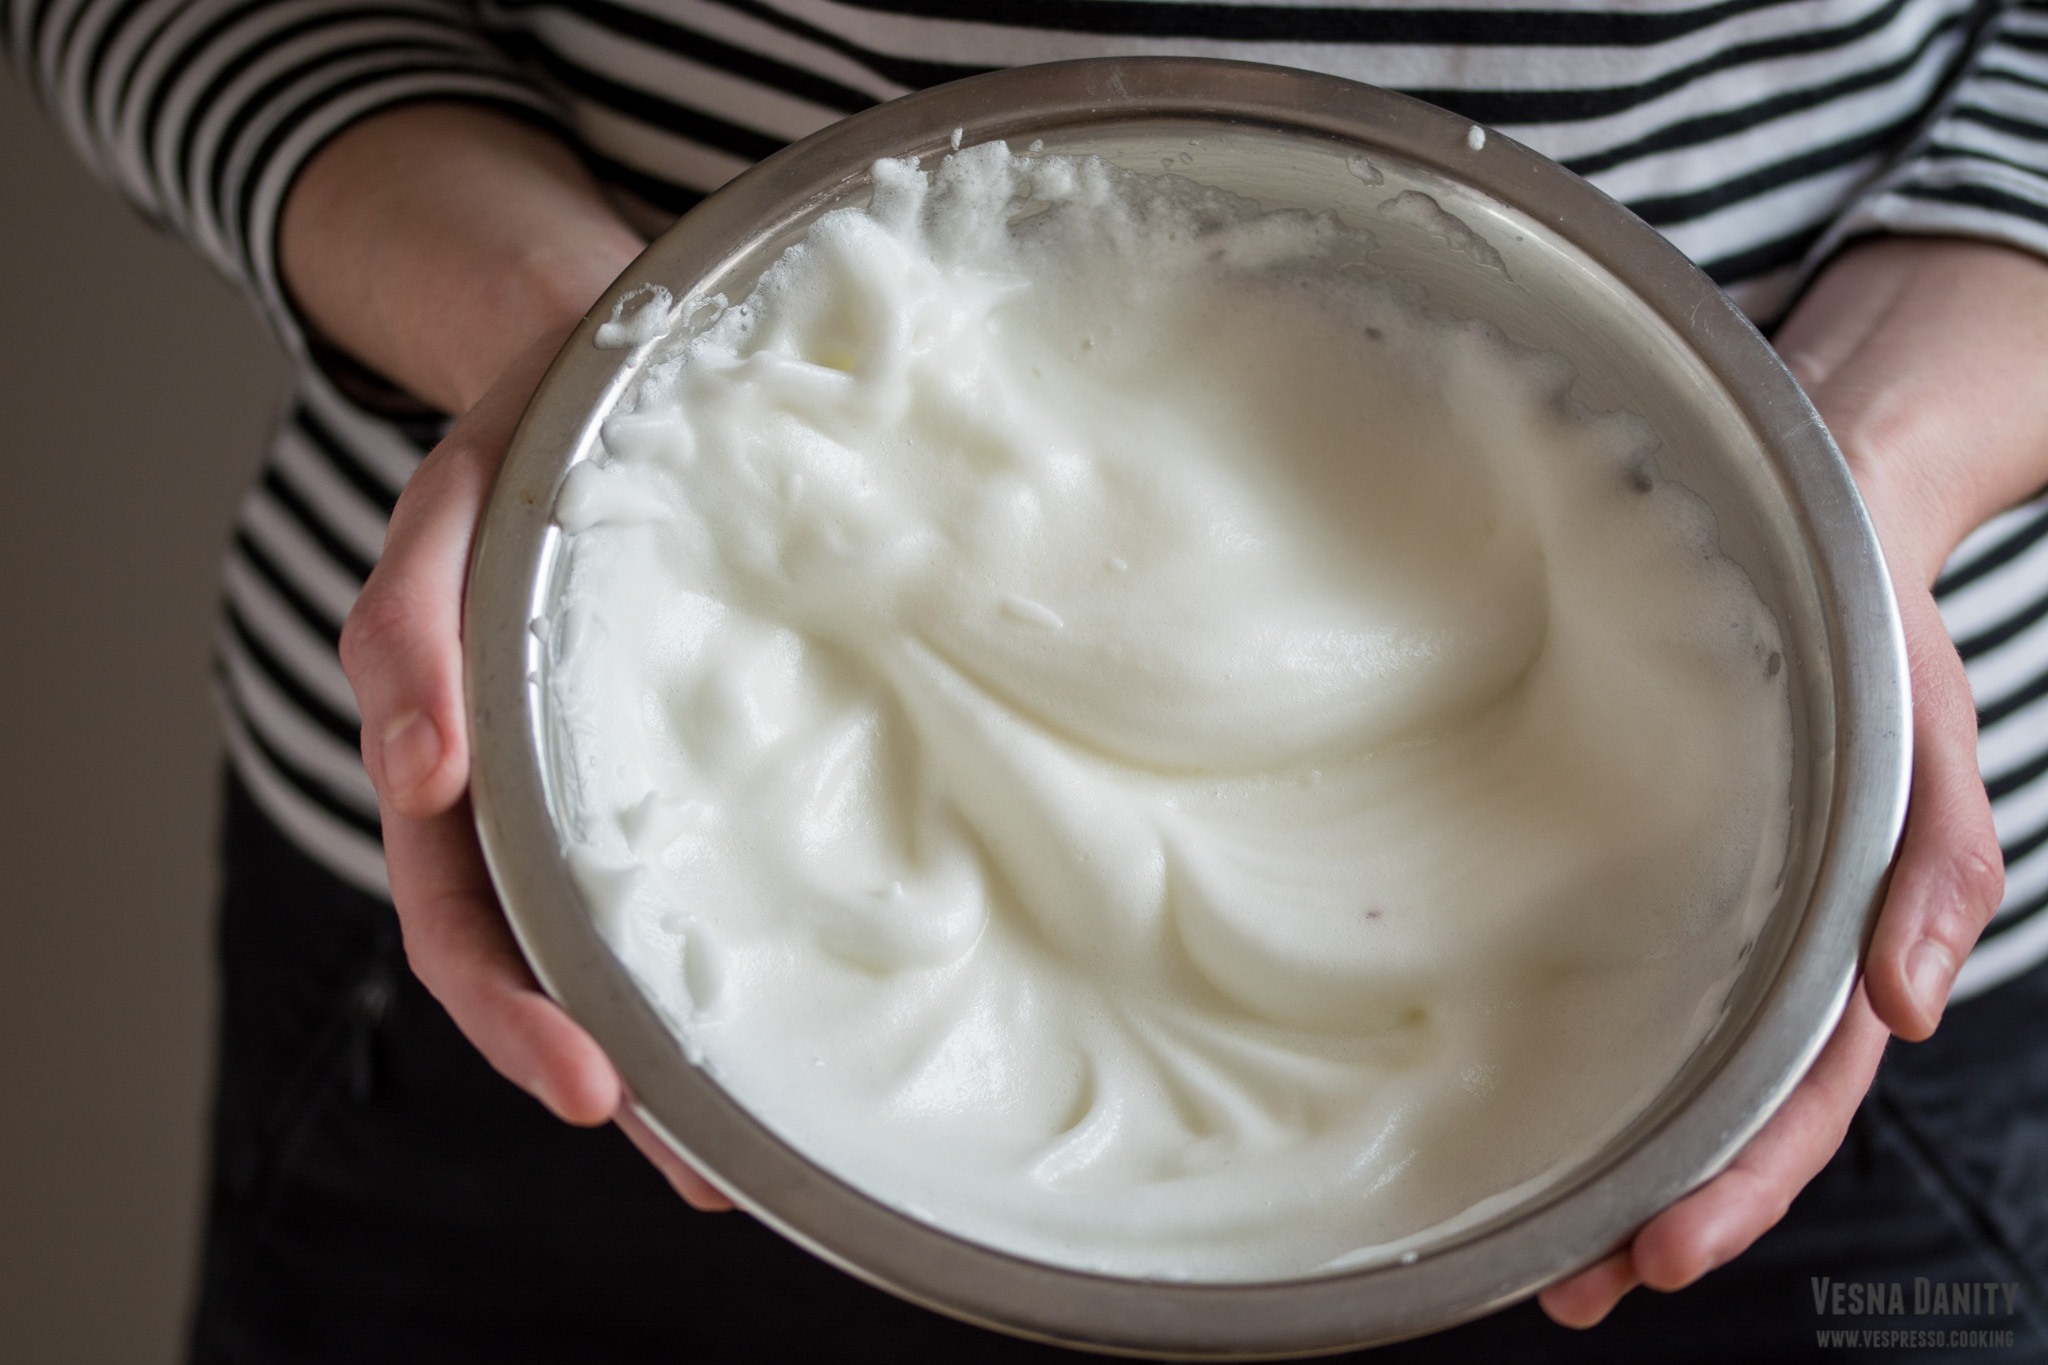
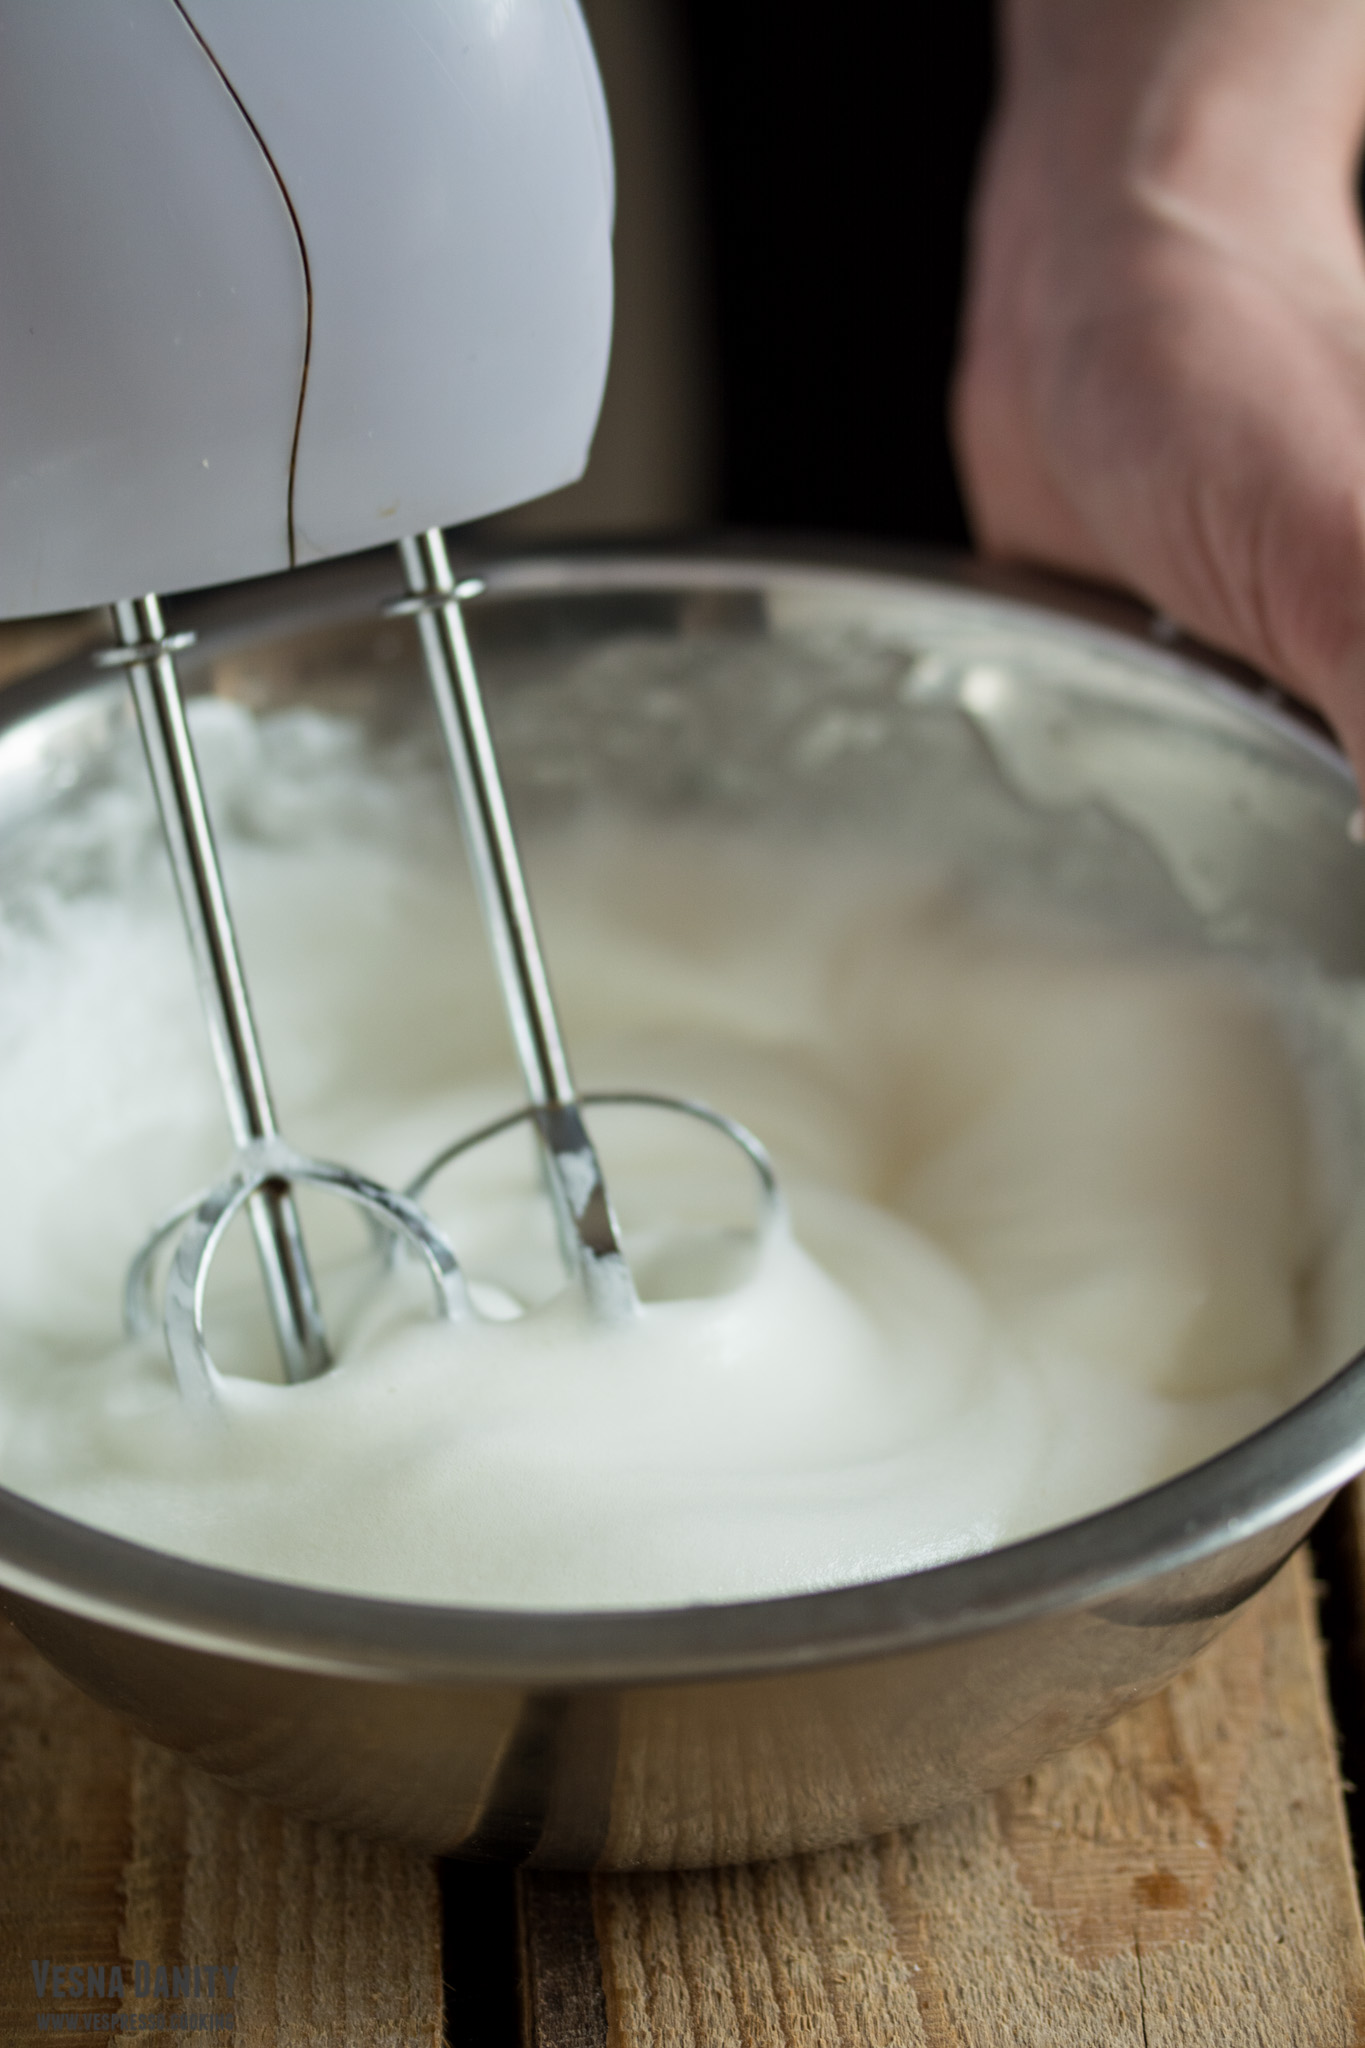
  4. Add the cream of tartar to the egg whites and beat on high speed until stiff peaks form (about 3 minutes).
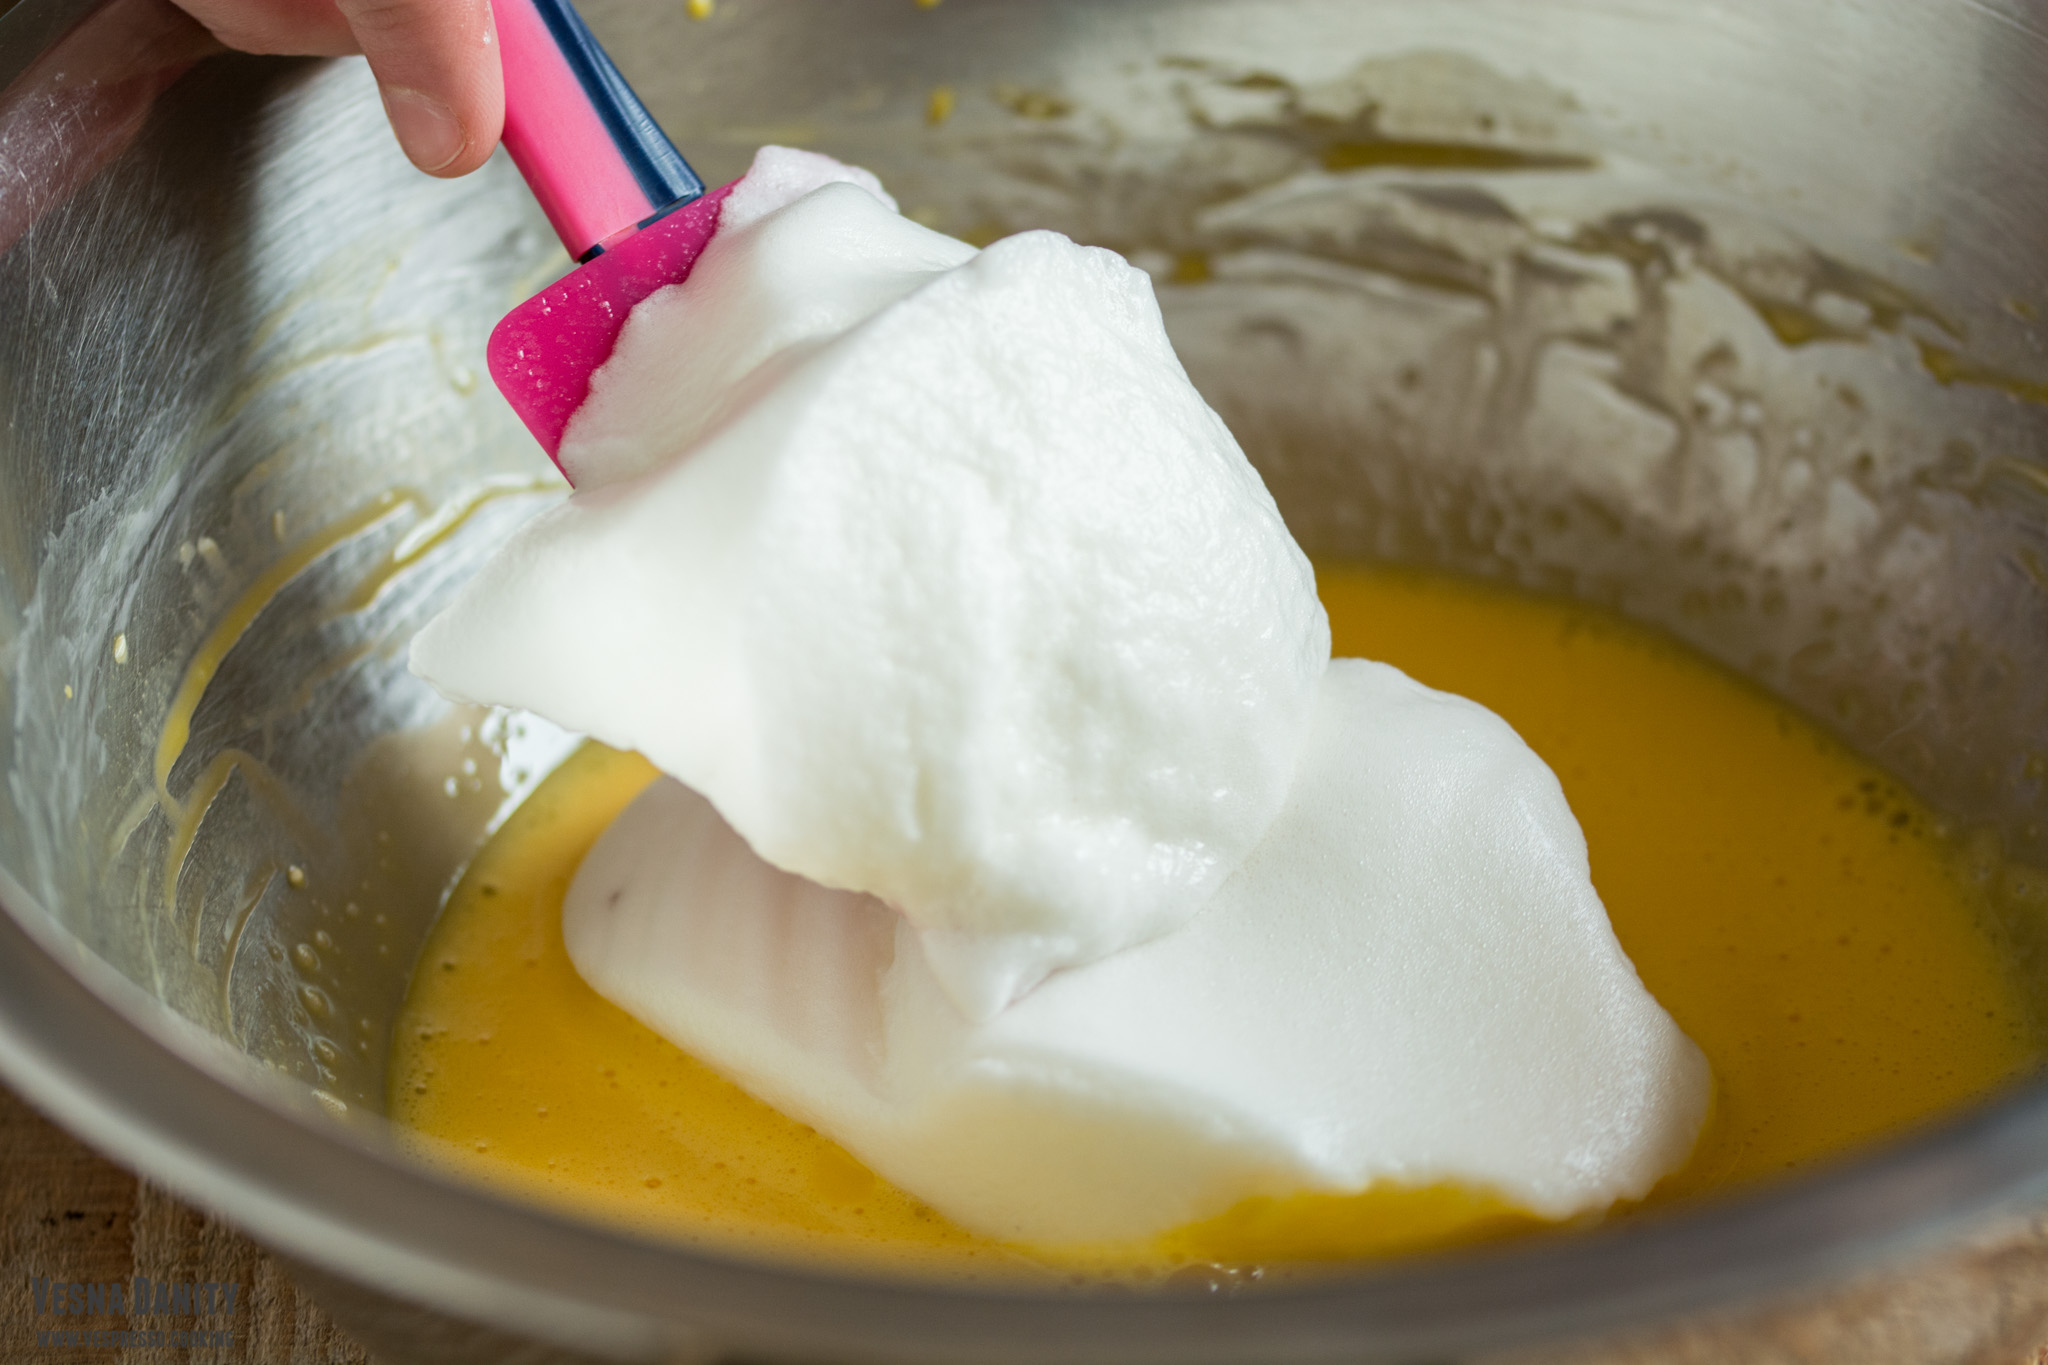
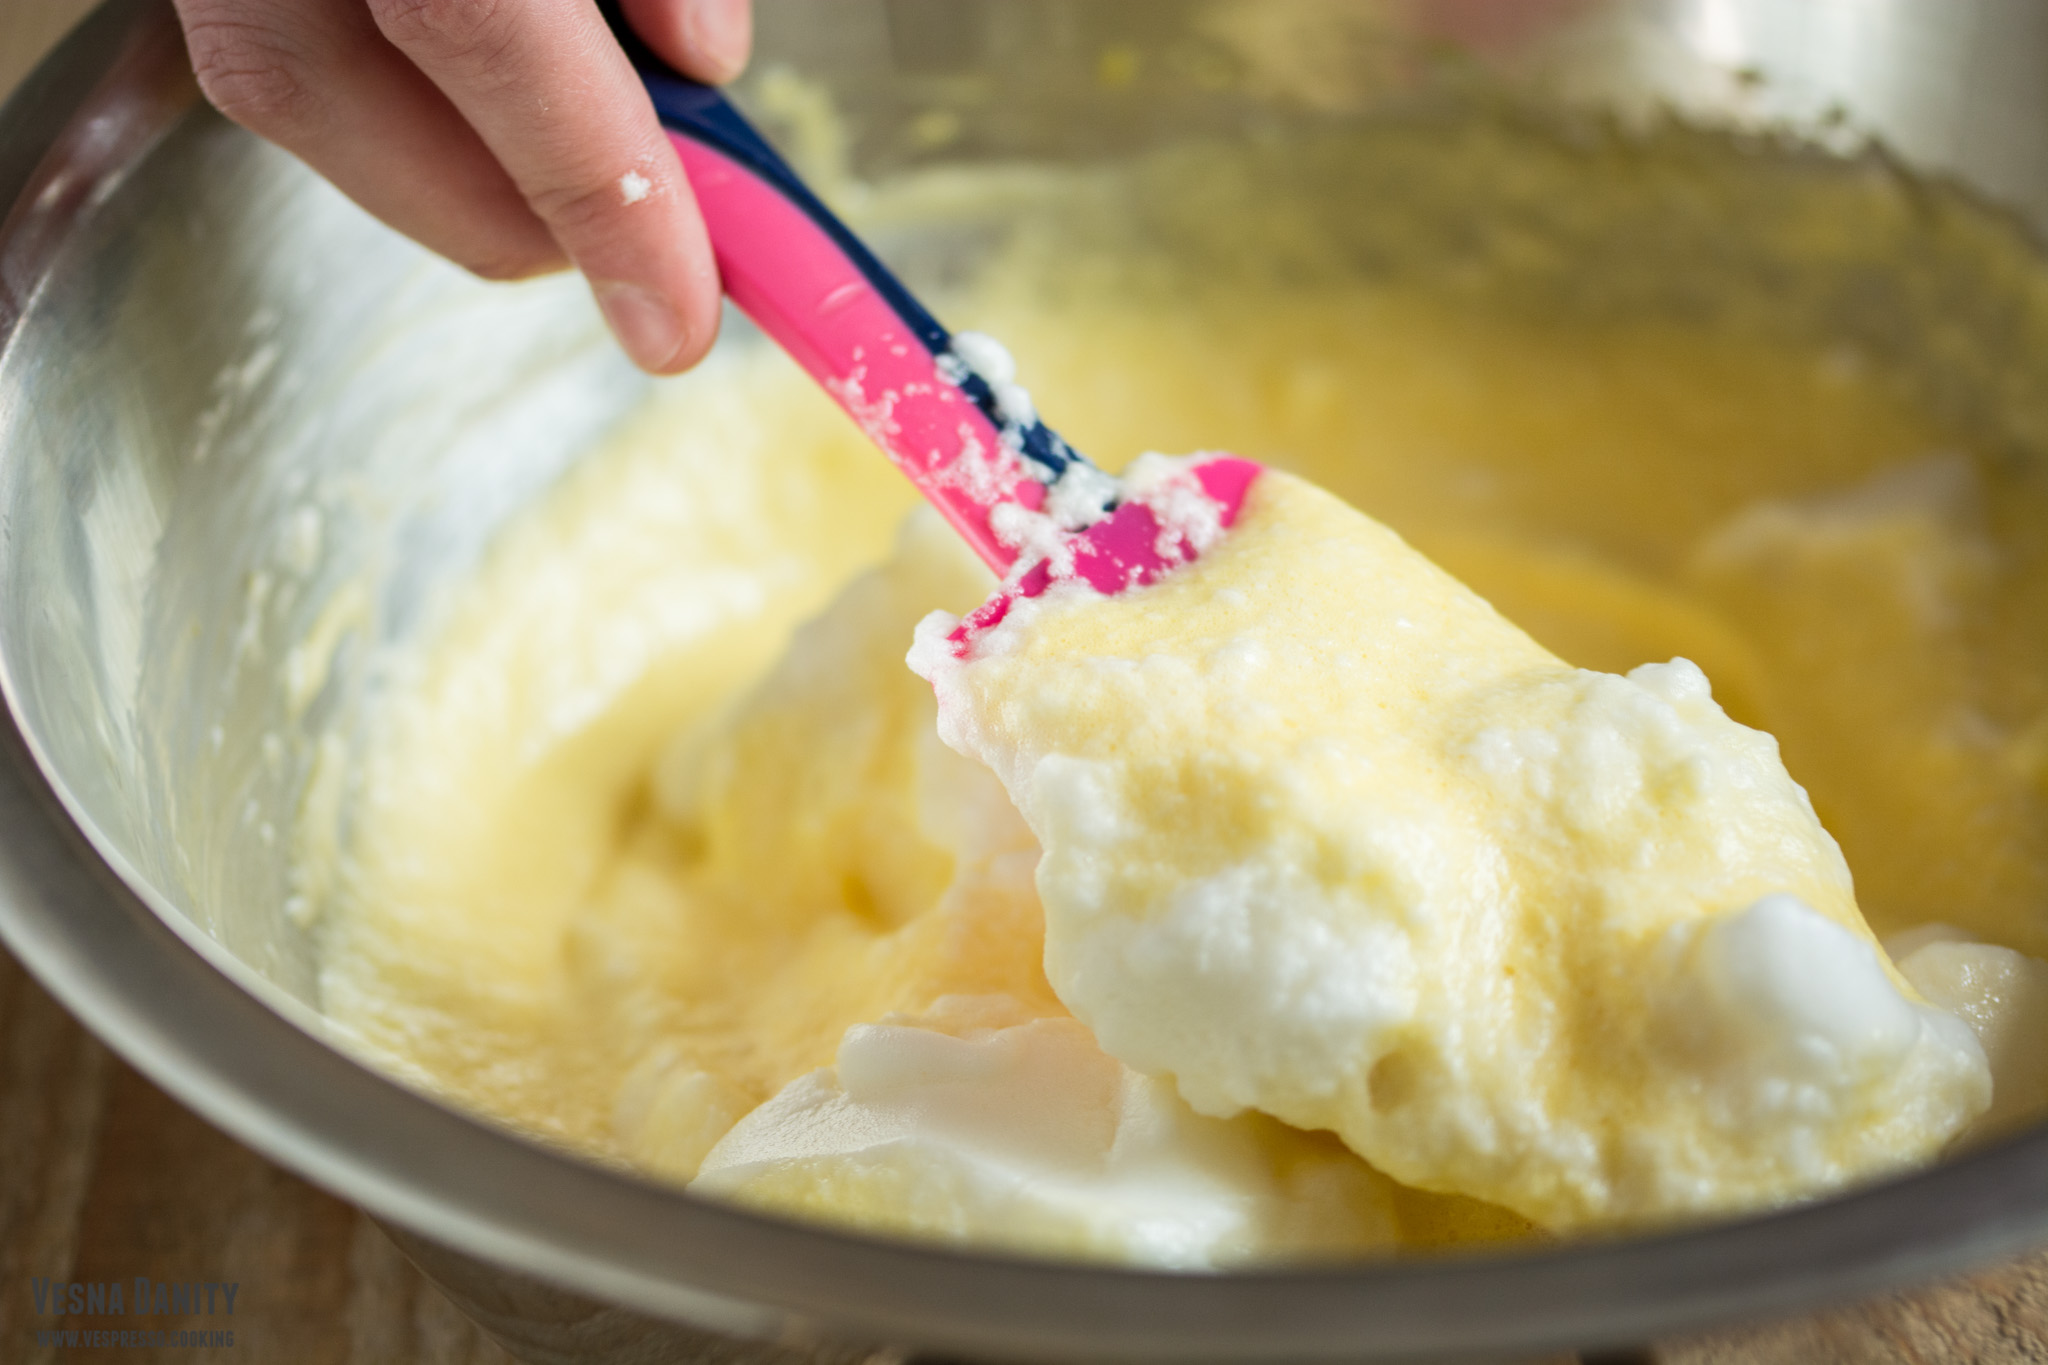
  5. With gentle circular movements, fold one third of the stiff egg whites into the yolk and cream cheese mixture, incorporating them thoroughly. Add another half of the remaining stiff egg whites and fold them in as well. Try to deflate the fluffy egg whites as little as possible. Fold in the remaining stiff egg whites.
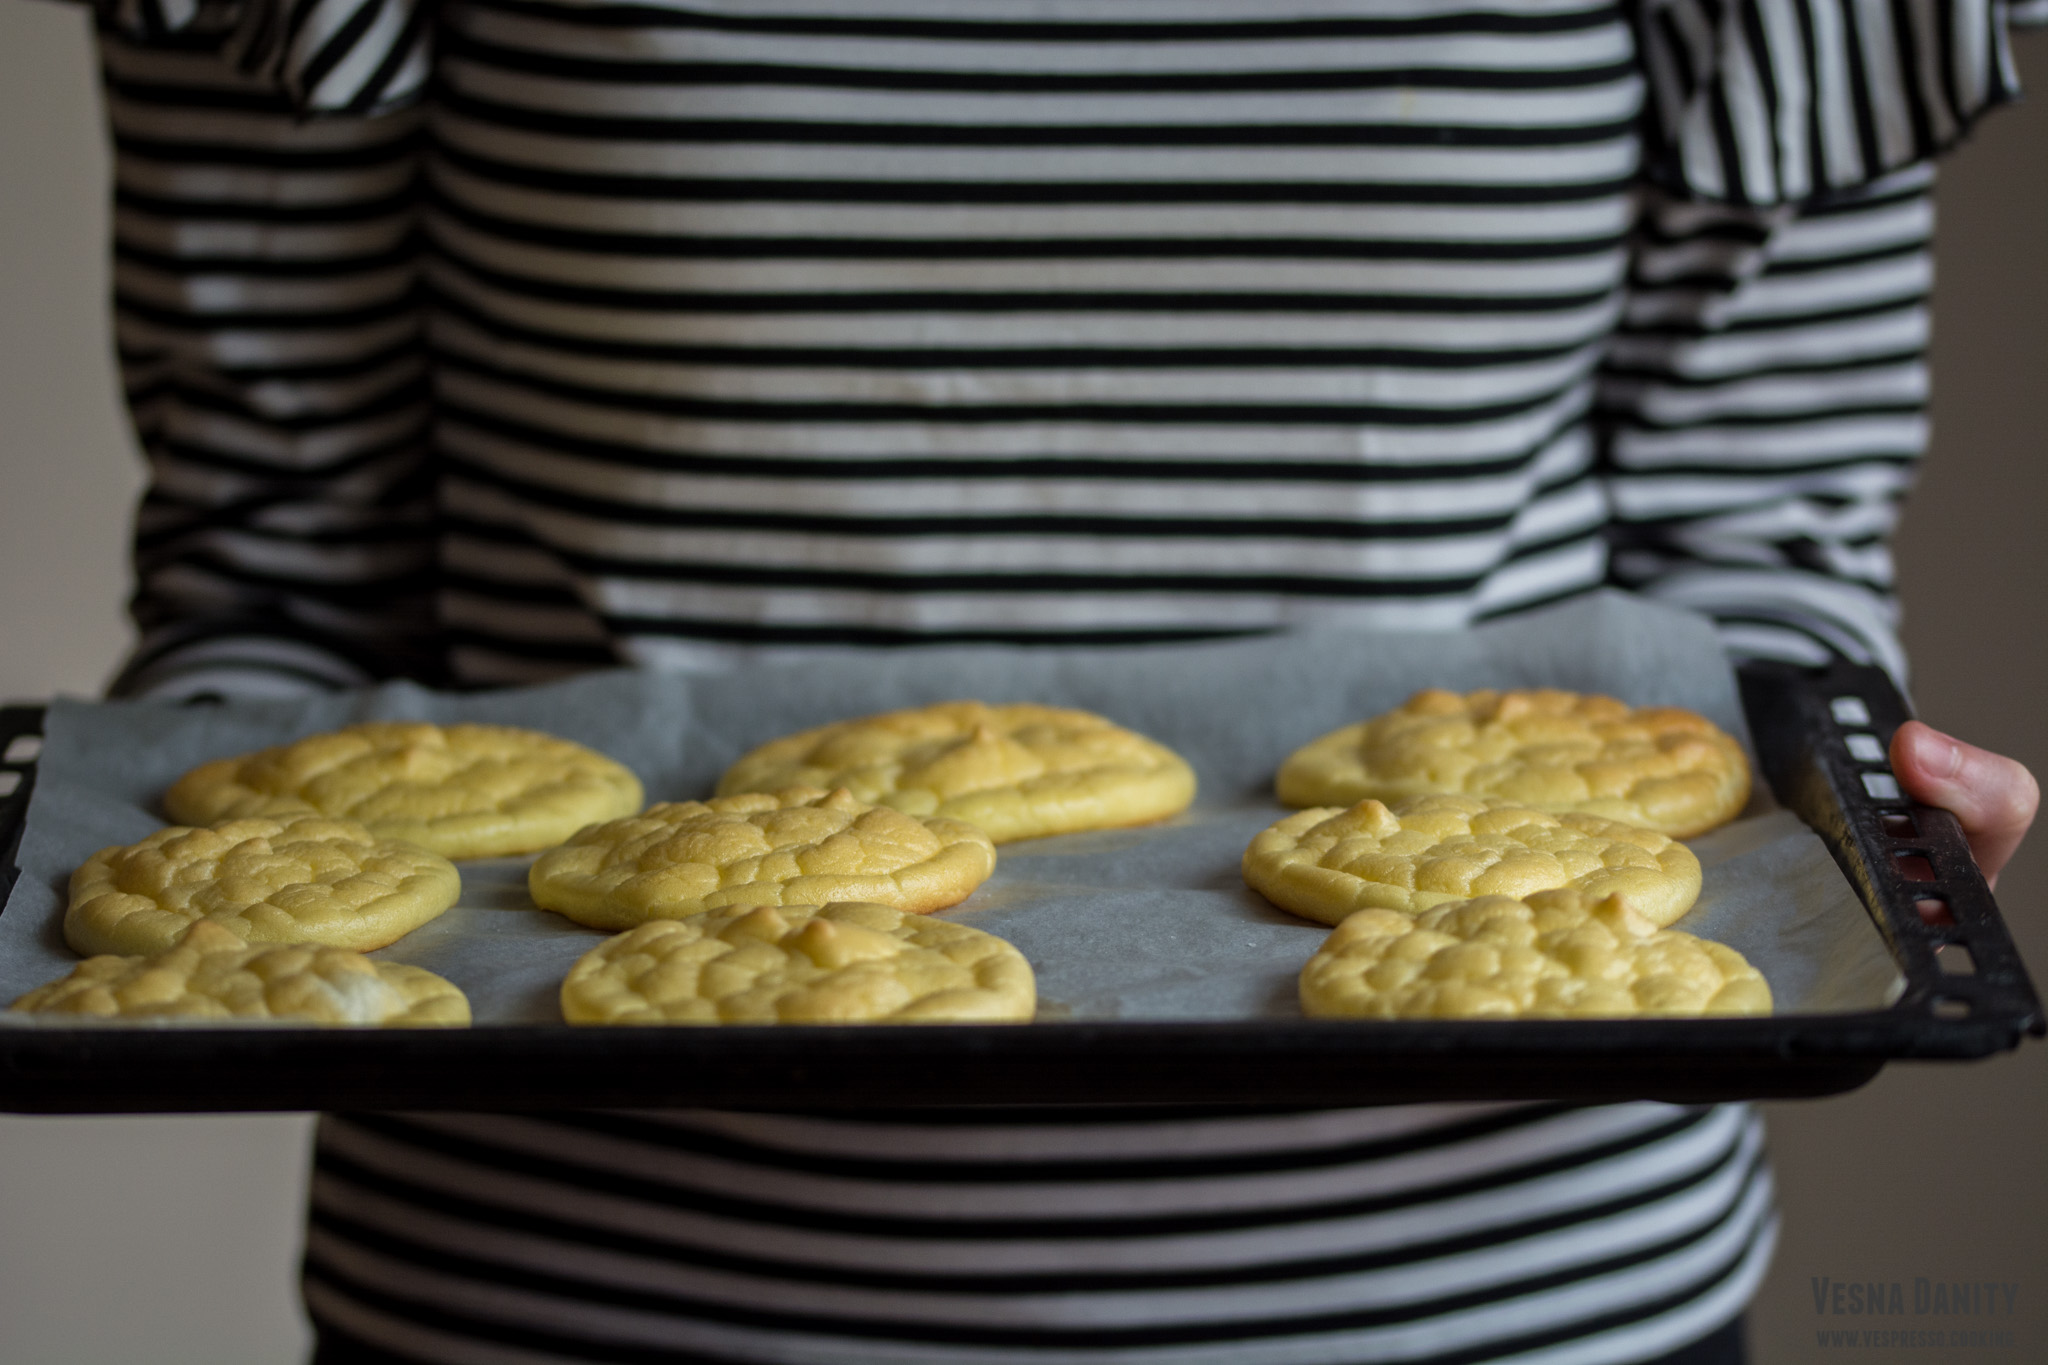
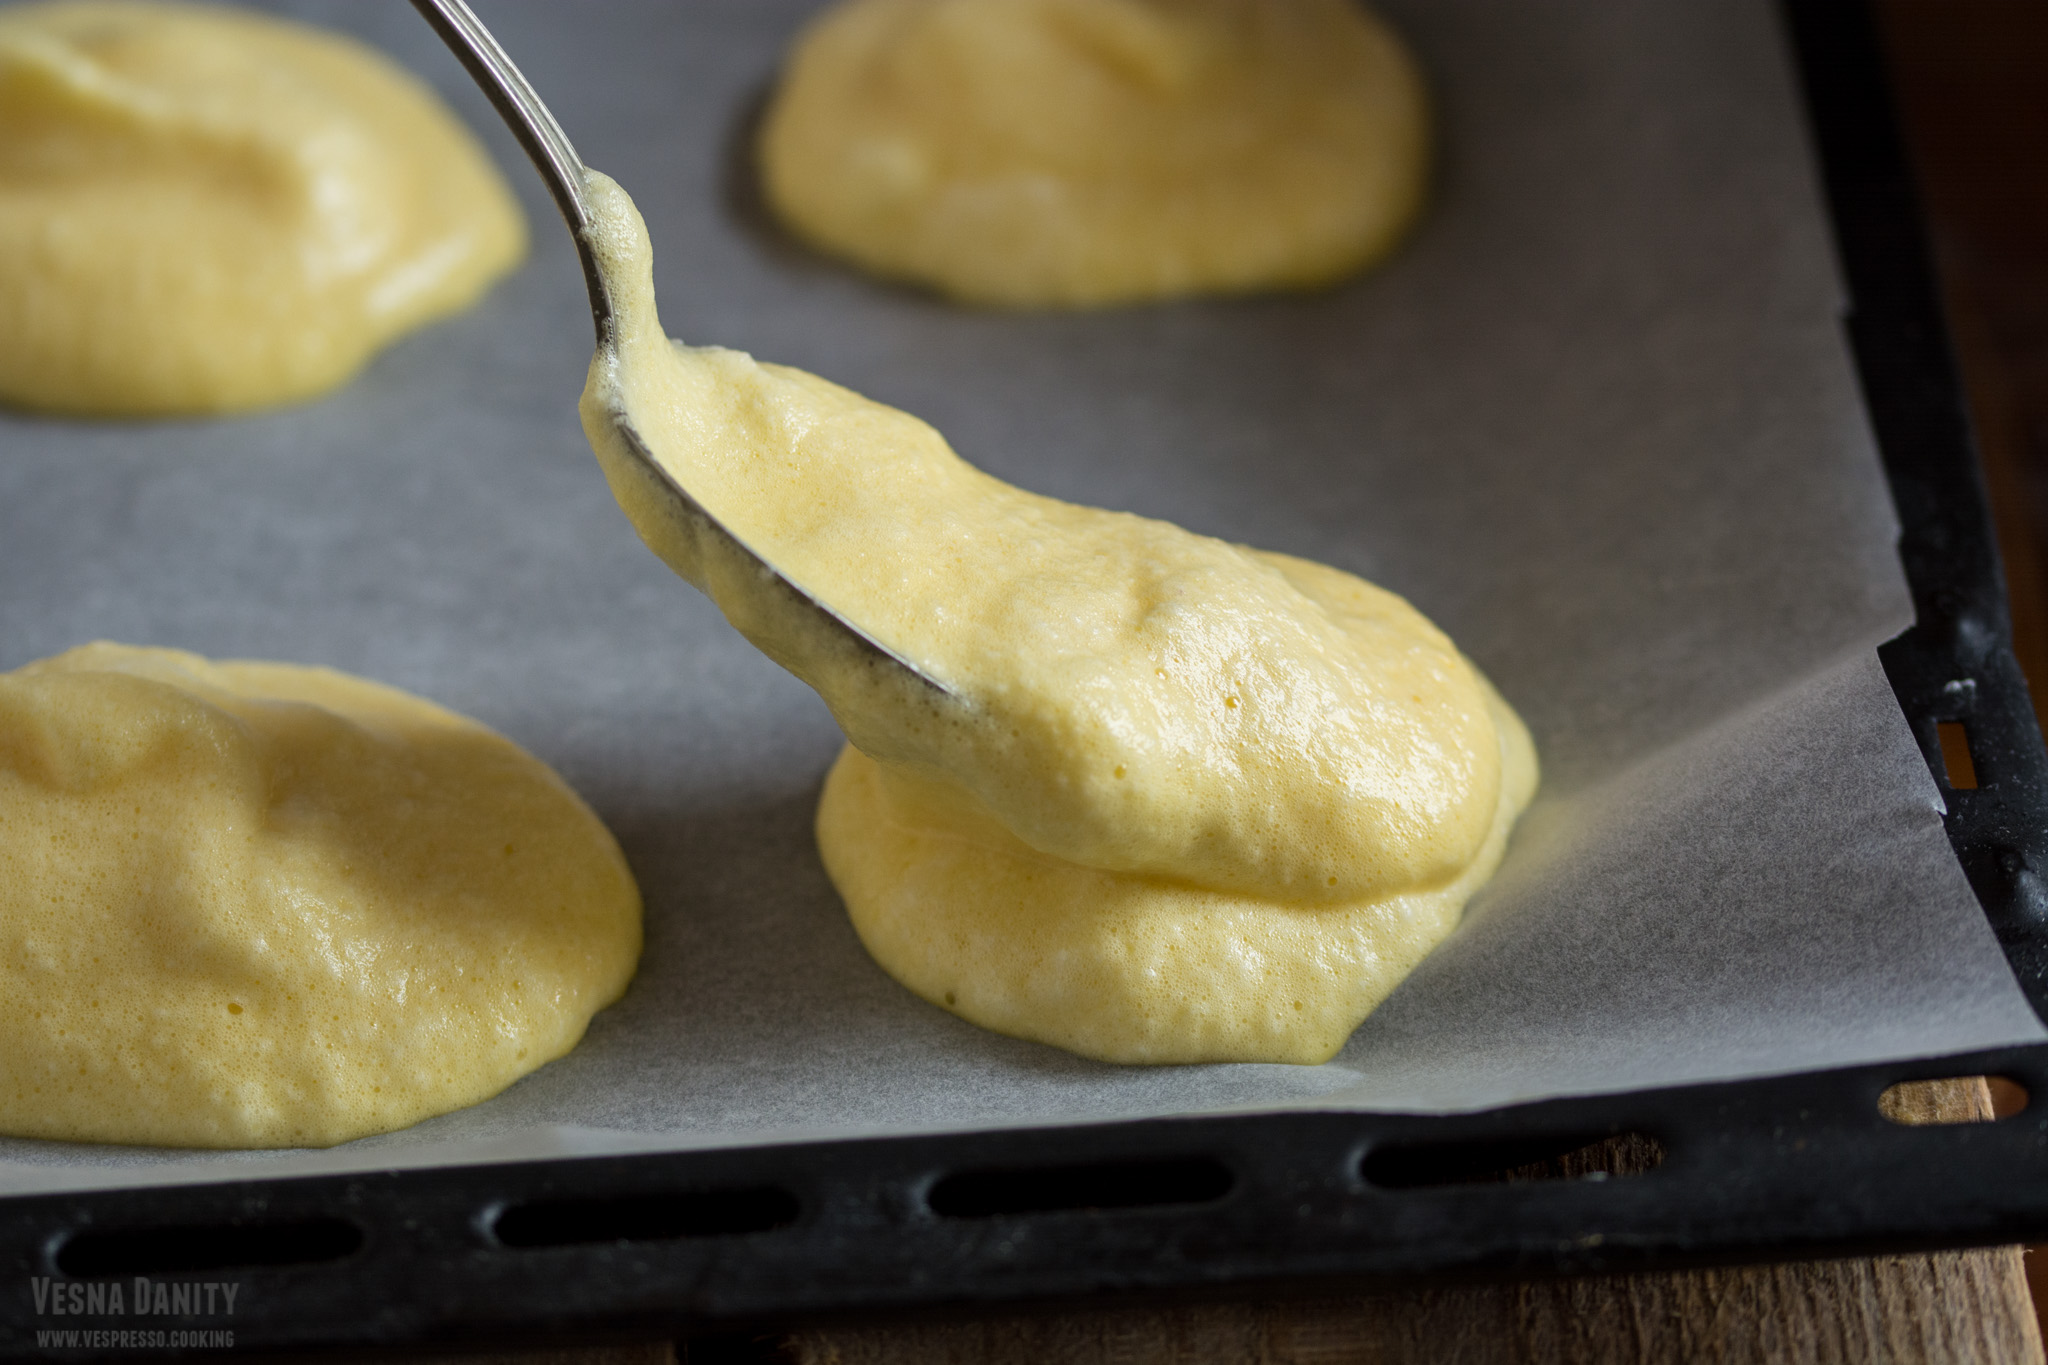
  6. Divide the composition into 9 portions, using about 2 tablespoons of mixture / portion. With the same spoon, gently level the top of the breads, giving them a circular shape.
  7. Bake in the preheated oven for about 25 – 30 minutes, or until lightly brown.
  8. Move to a wire rack and cool completely. Once completely cool, store them in an airtight container or a zip-lock bag. Overnight they will change their consistency, becoming more breadlike. They will last in the refrigerator for several days.

Source: www.geniouskitchen.com


Lachha Paratha


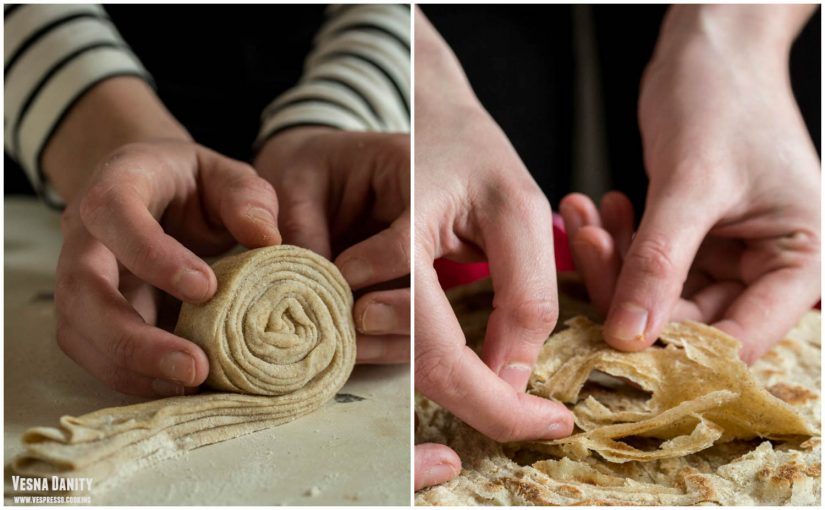
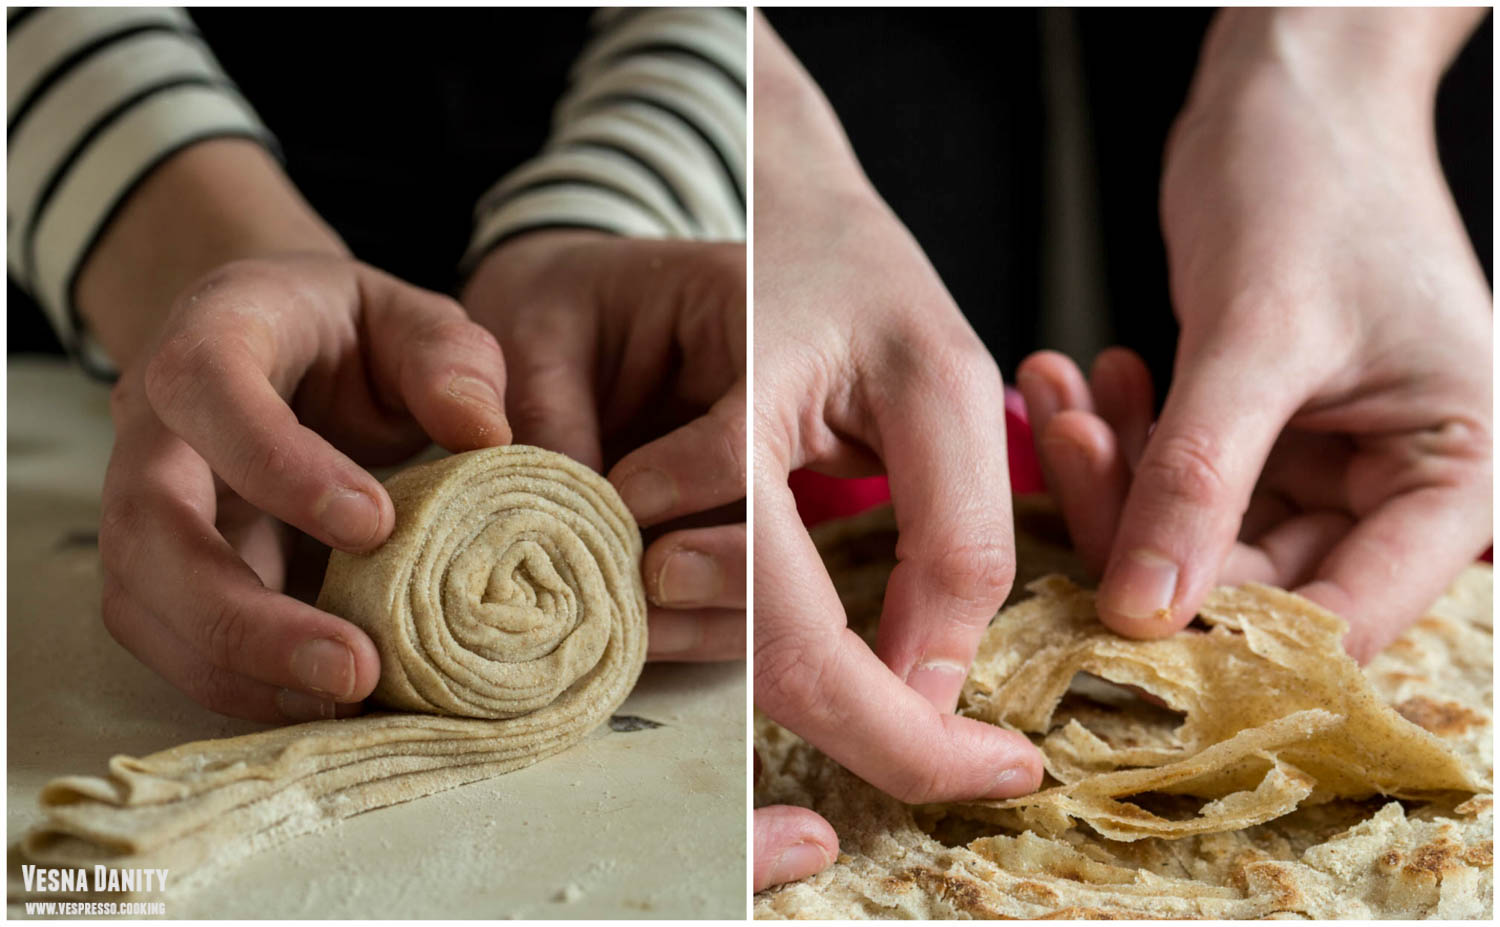
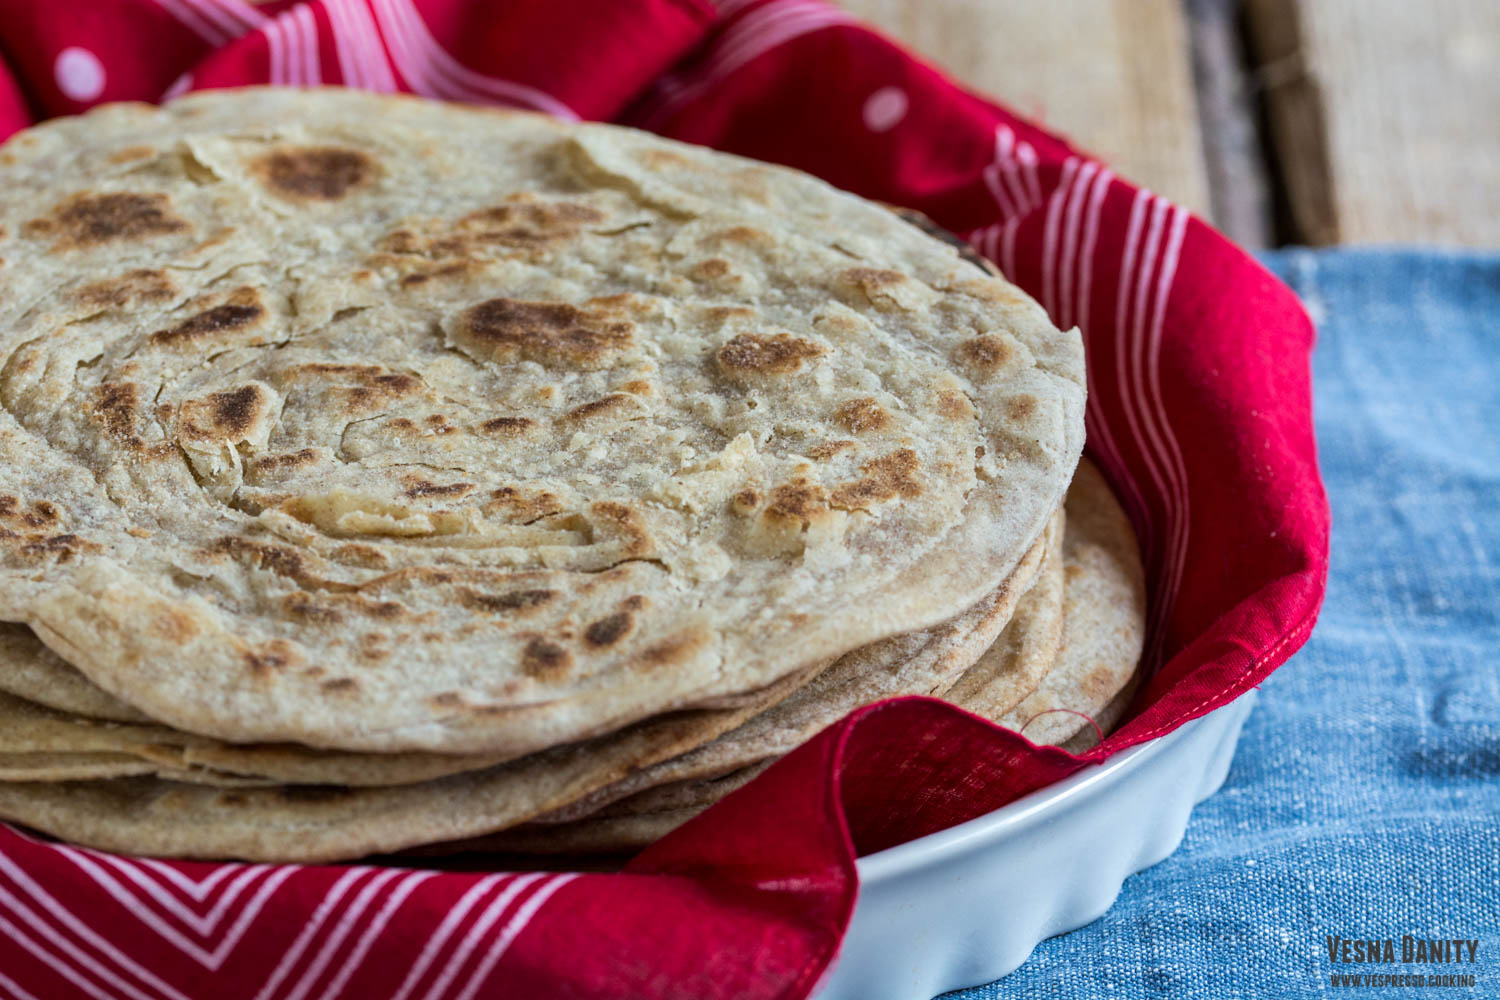
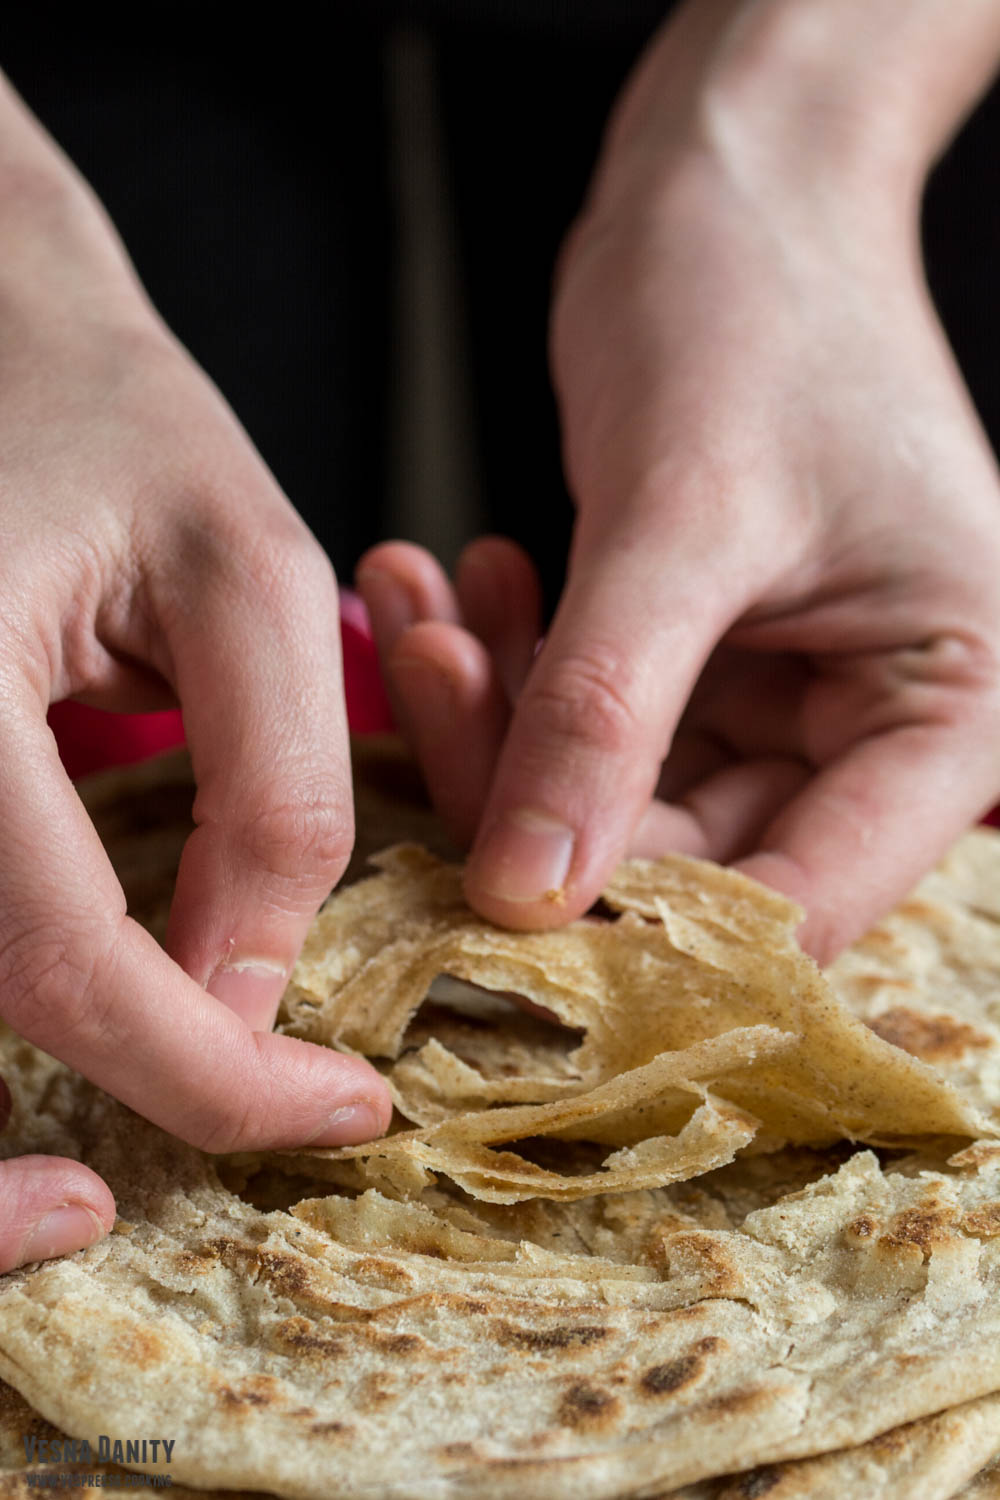
Lachha paratha is an Indian multi layered flatbread. For this simple recipe you’ll only need a handful of budget-friendly ingredients. The dough for lachha paratha is a mix of flour, water and oil, with a pinch of salt and sugar. After the dough has rested for a while, it is divided into 6 balls, and each ball is flatten into a disc with a rolling pin. And this is where the magic begins. Each disc, after being brushed with oil and powdered with flour, is folded into a fan and the fan is shaped as a pinwheel. Each pinwheel is flatten with a rolling pin into a flatbread. All the steps mentioned above are responsible for those lovely, flaky layers of goodness. Lachha paratha is more labor-intensive than a regular flatbread, but the result is absolutely spectacular; these multi layered flatbreads are not only a feast for the taste buds, but also for the eyes (and even for the ears).

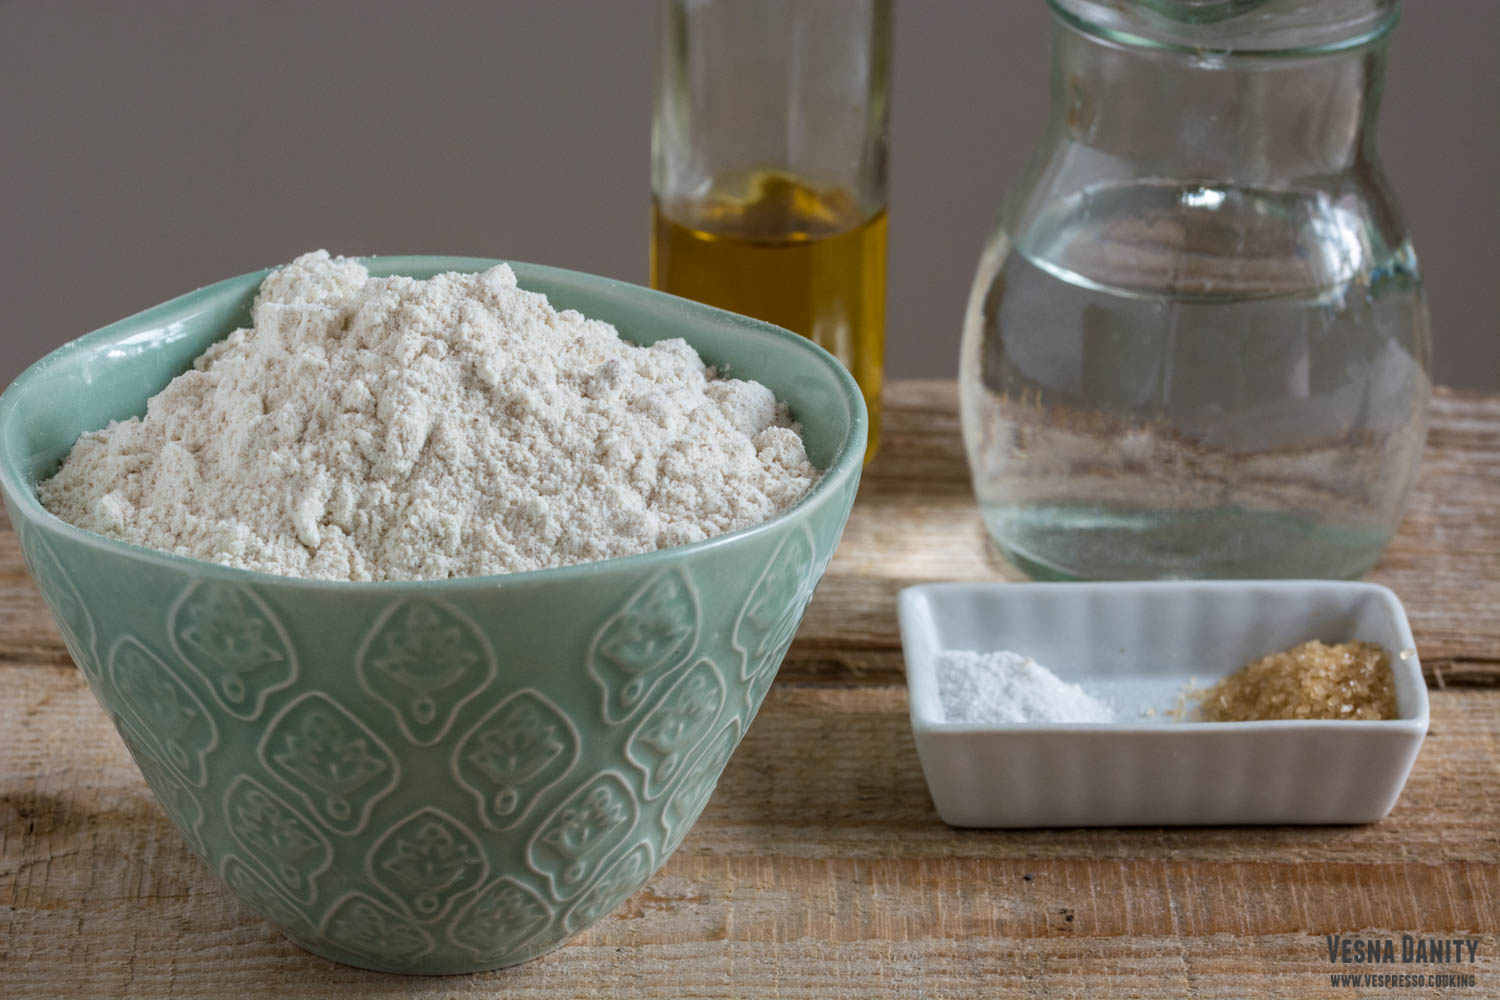
Ingredients (for 6 – 8 flatbreads):

  • 280g whole wheat flour (2 cups) * + extra 70g for rolling (1/2 cups)
  • 75ml olive oil (5 Tbsp)**
  • aprox 140ml lukewarm water (38 – 40°C)***
  • 5g salt (1 tsp)
  • 5g  granulated sugar (1 tsp)

* I used whole wheat flour. This recipe can be made with all-purpose white flour or with a mixture of all-purpose and whole wheat flour.

** One Tbsp of olive oil is added to the dough and 4 Tbsp are used for brushing the rolled flatbread.

*** The quantity of water depends on the type of flour. The water is added 2 Tbsp at a time until you form a soft ball of dough, a ball that doesn’t stick to the bowl. For 280g whole wheat flour I use about 140ml water.

Method:

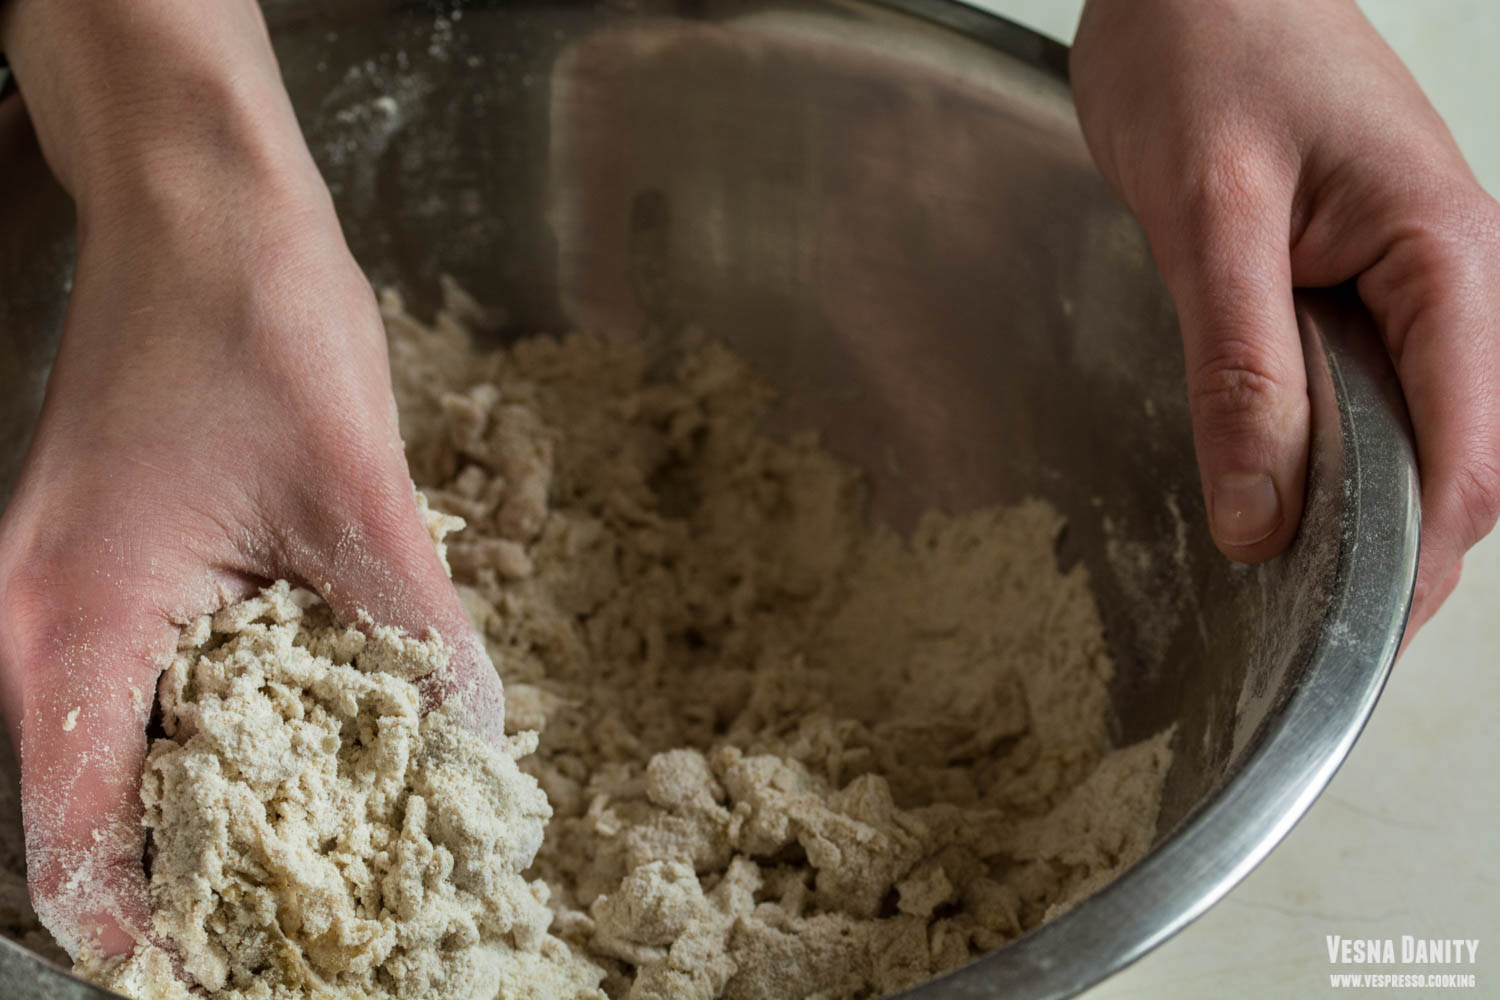
  1. Prepare the dough. In a large bowl combine white flour (sifted), sugar, salt and oil and make a well in the center. Add about 2 Tbsp of water at a time and mix with your fingers until you form a ball. The ball should be soft but it shouldn’t stick to the bowl.
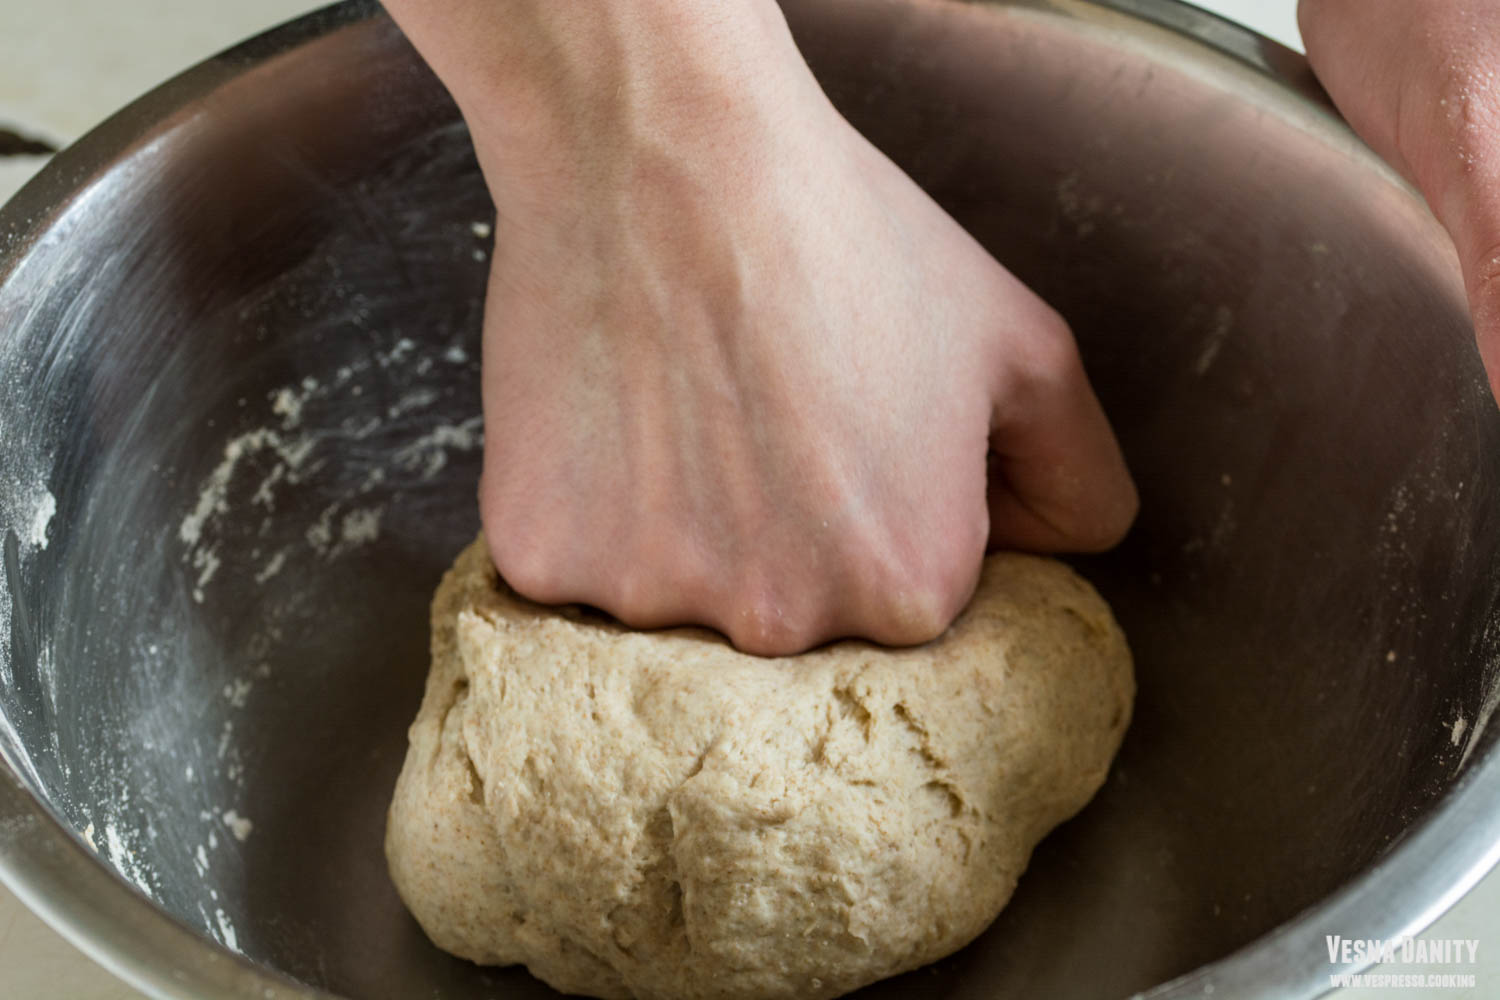
  2. Knead the dough. Bring the dough to a floured working surface and knead it for 2 minutes. Place the dough in the bowl, cover it with a damp towel and let it rest for 30 minutes.
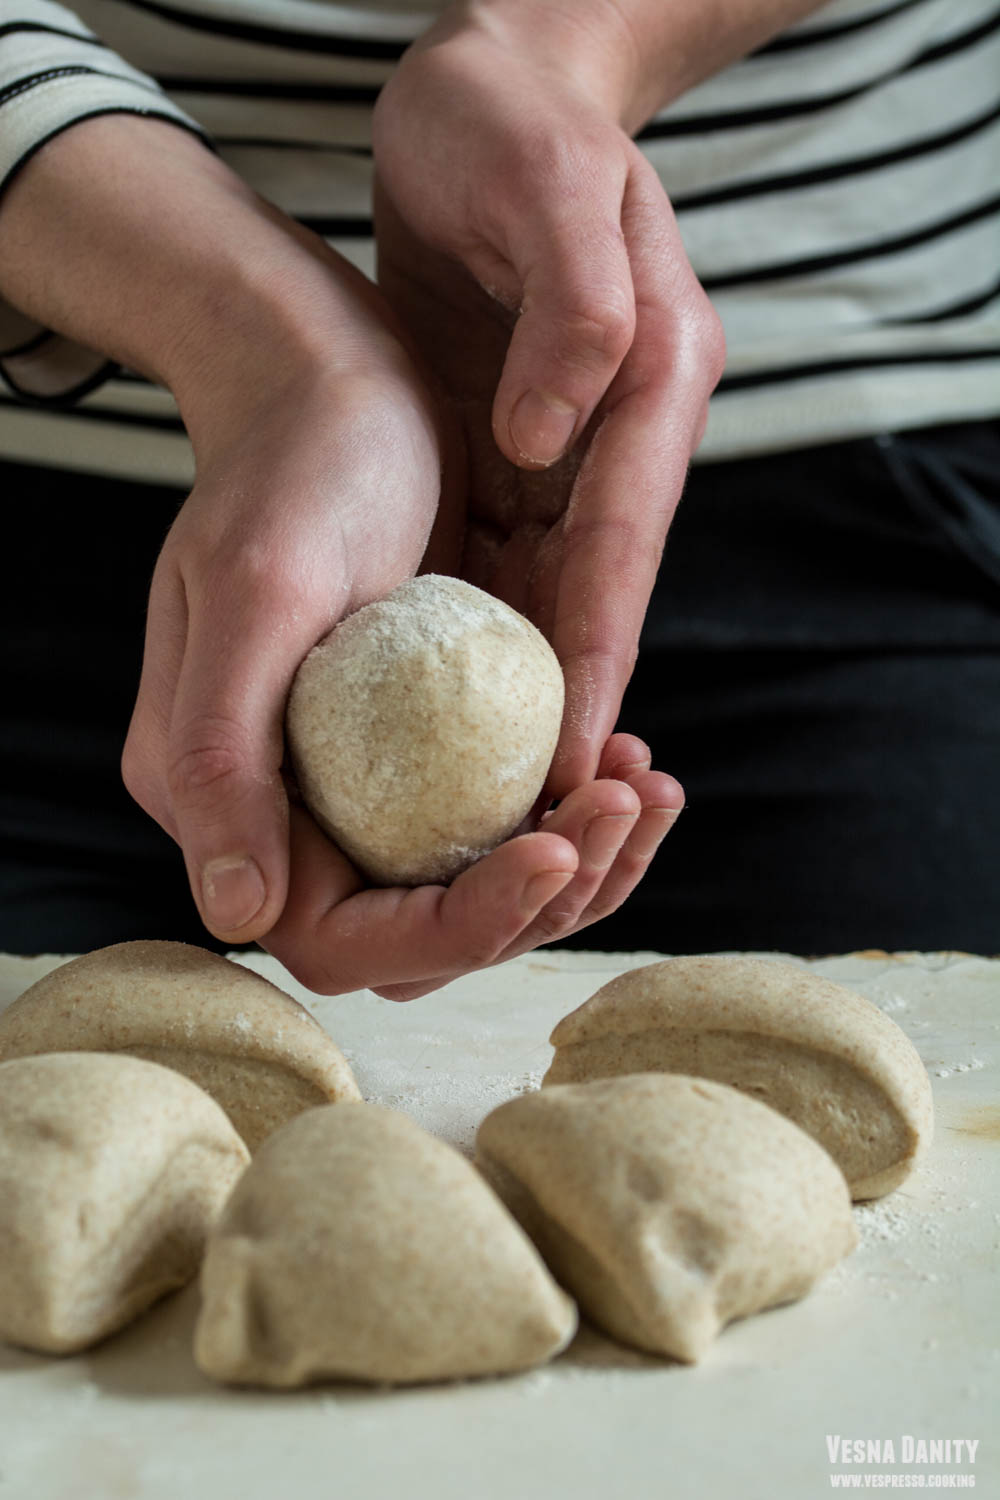
  3. Cut the dough into triangles. After 30 minutes, place the dough back on the working surface, knead it and cut it into 6 triangles. Shape each triangle into a small ball.
  4. Roll the first piece of dough. Place one ball on the floured working surface and cover the other 5 with the same damp towel. Roll the first ball with a rolling pin until it gets 2mm thick.
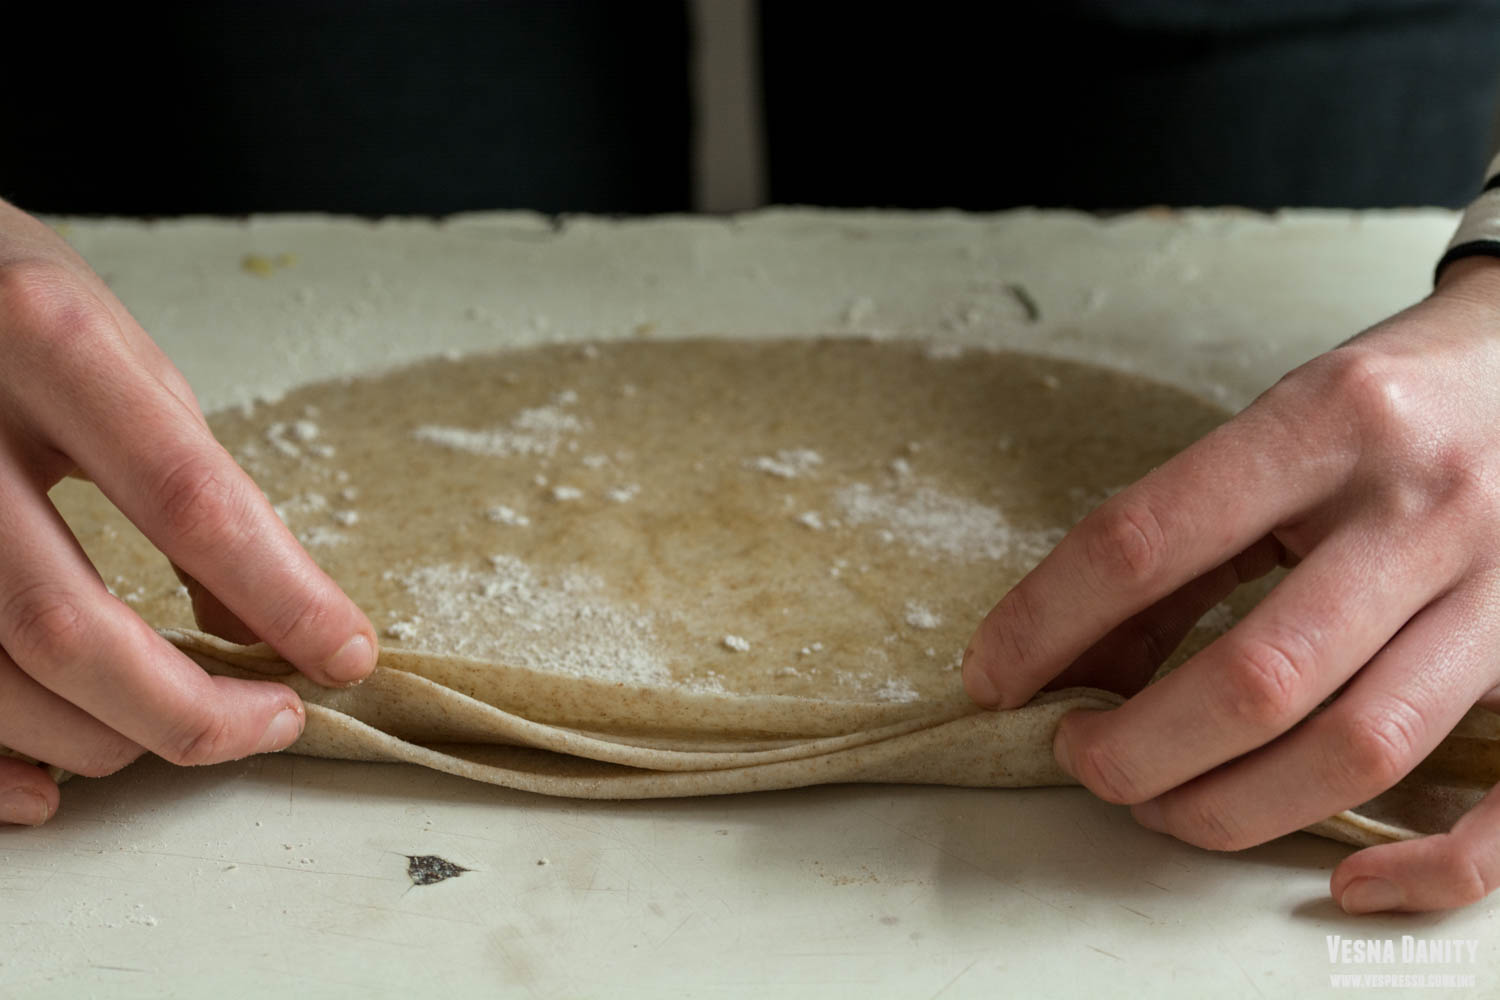
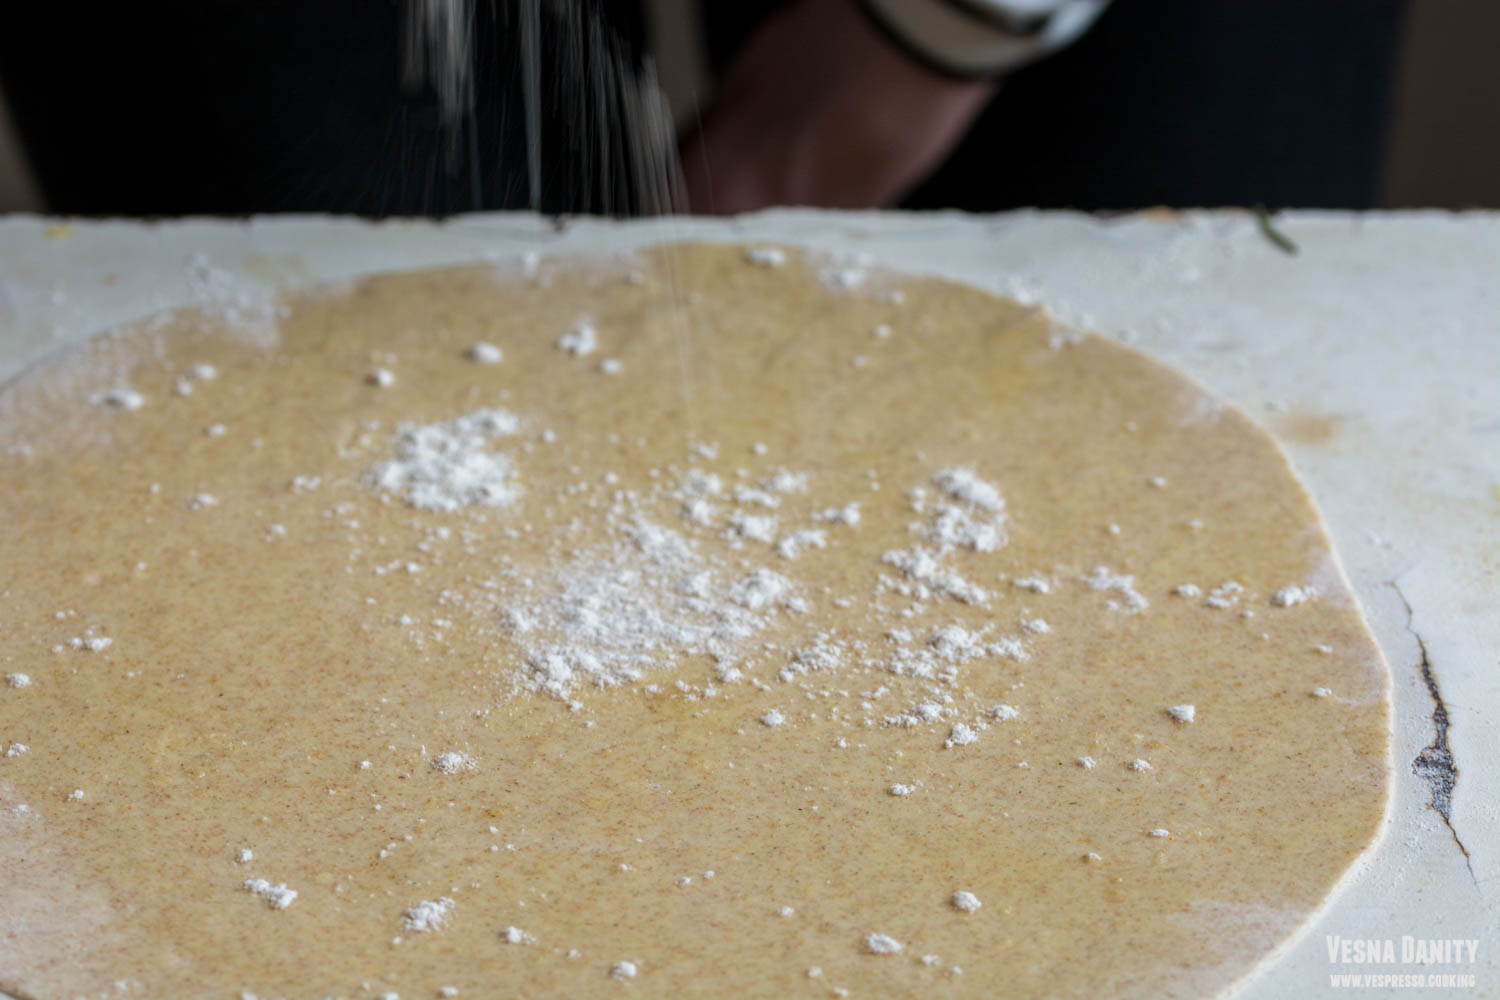
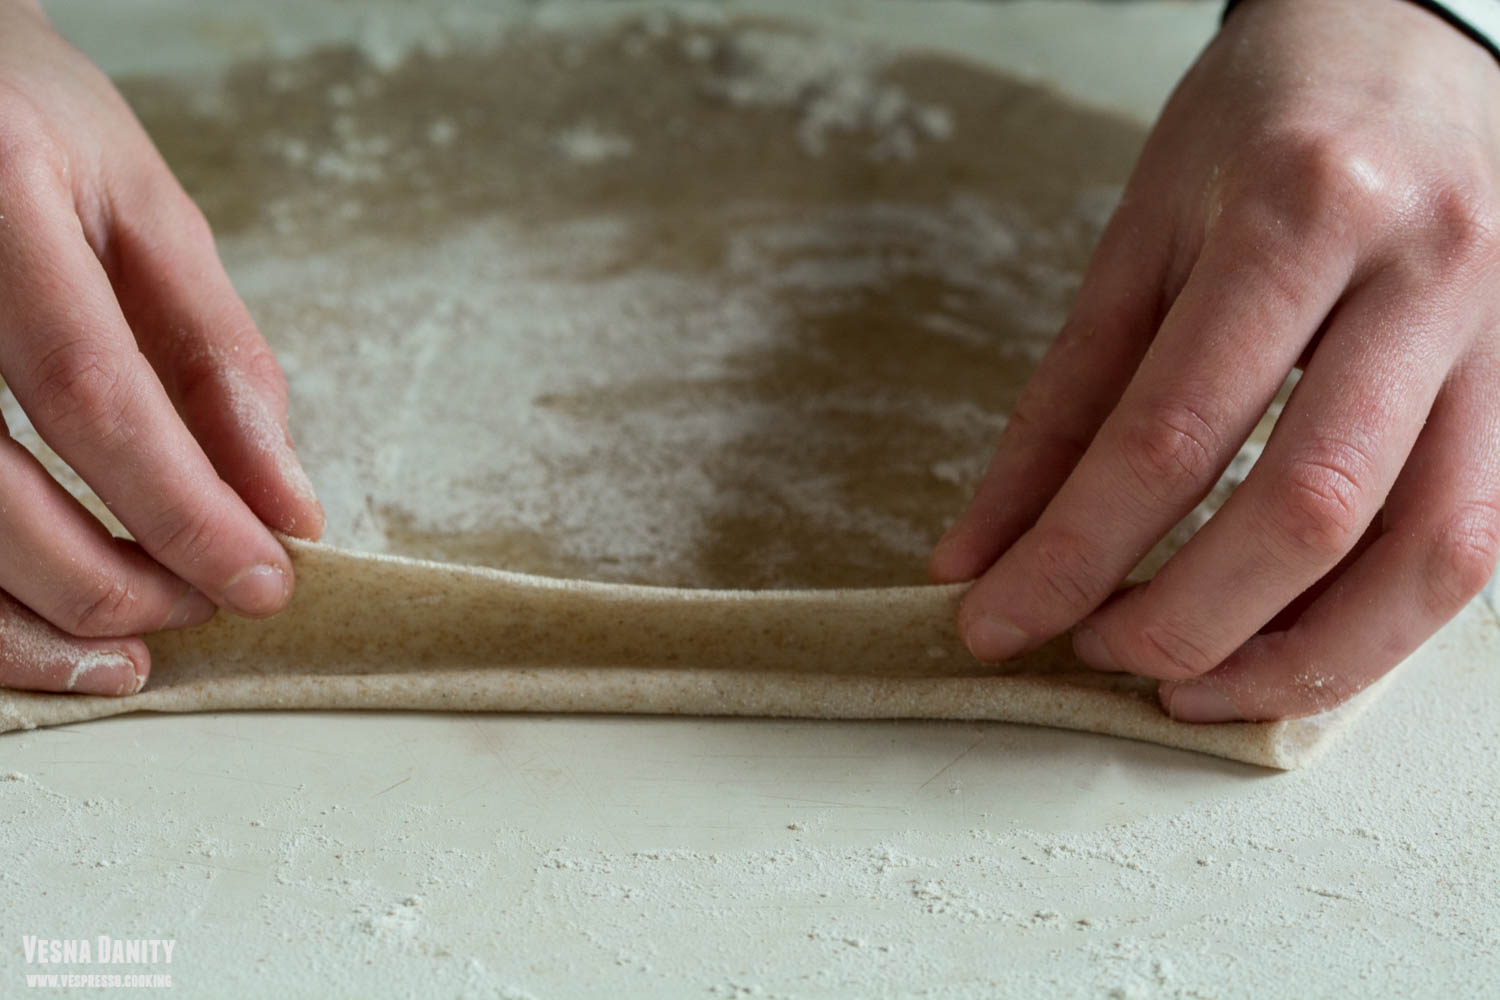
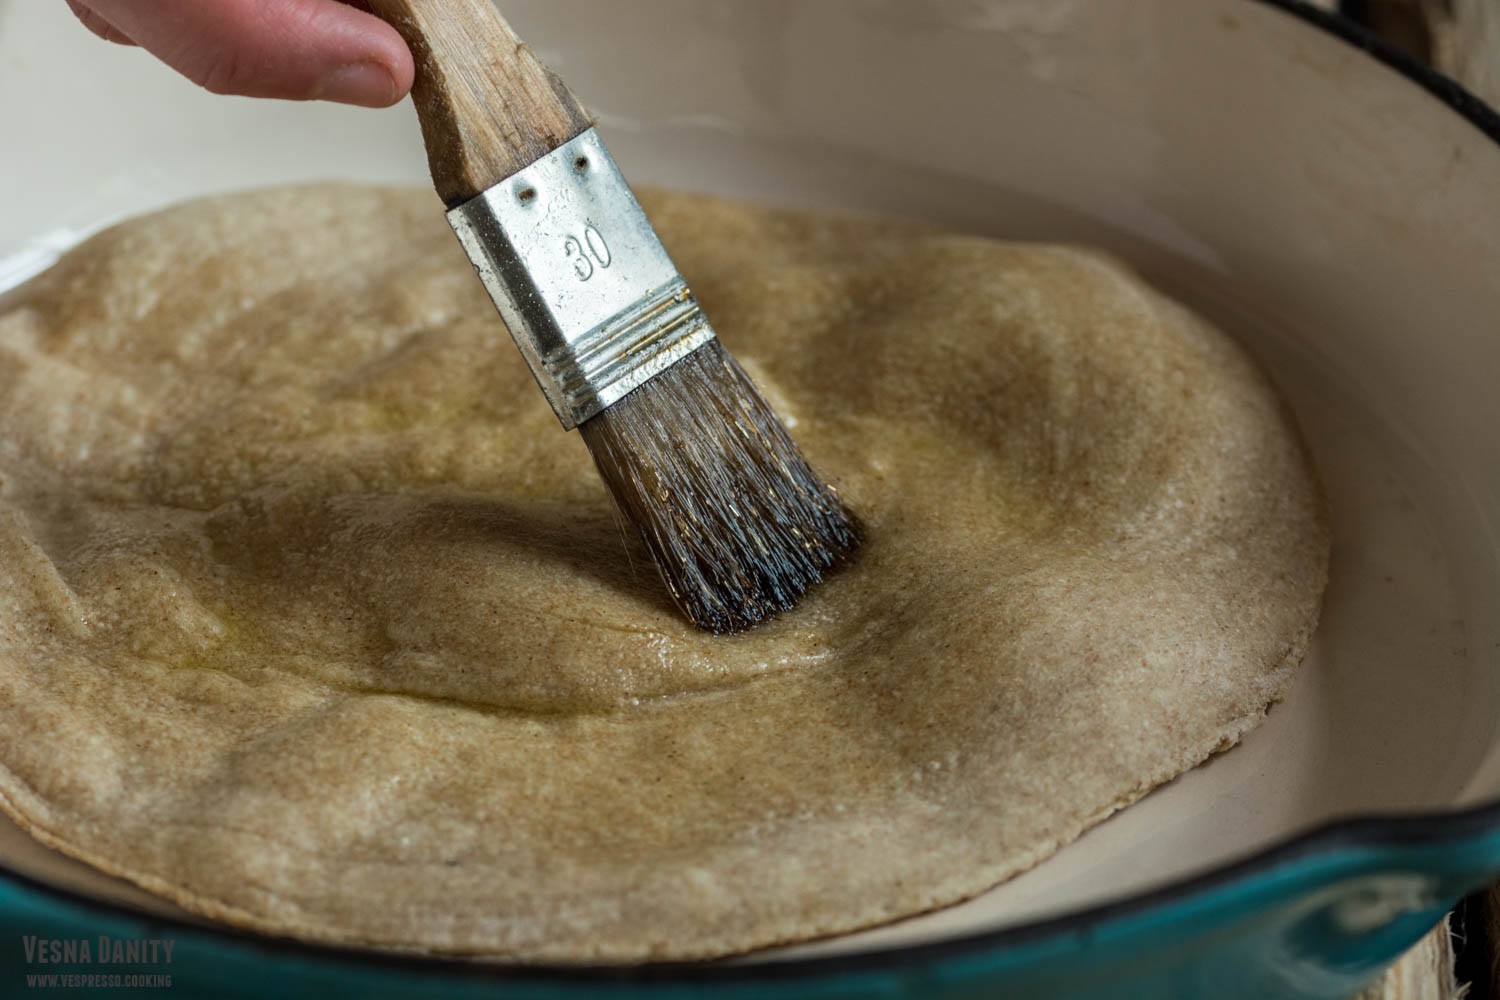
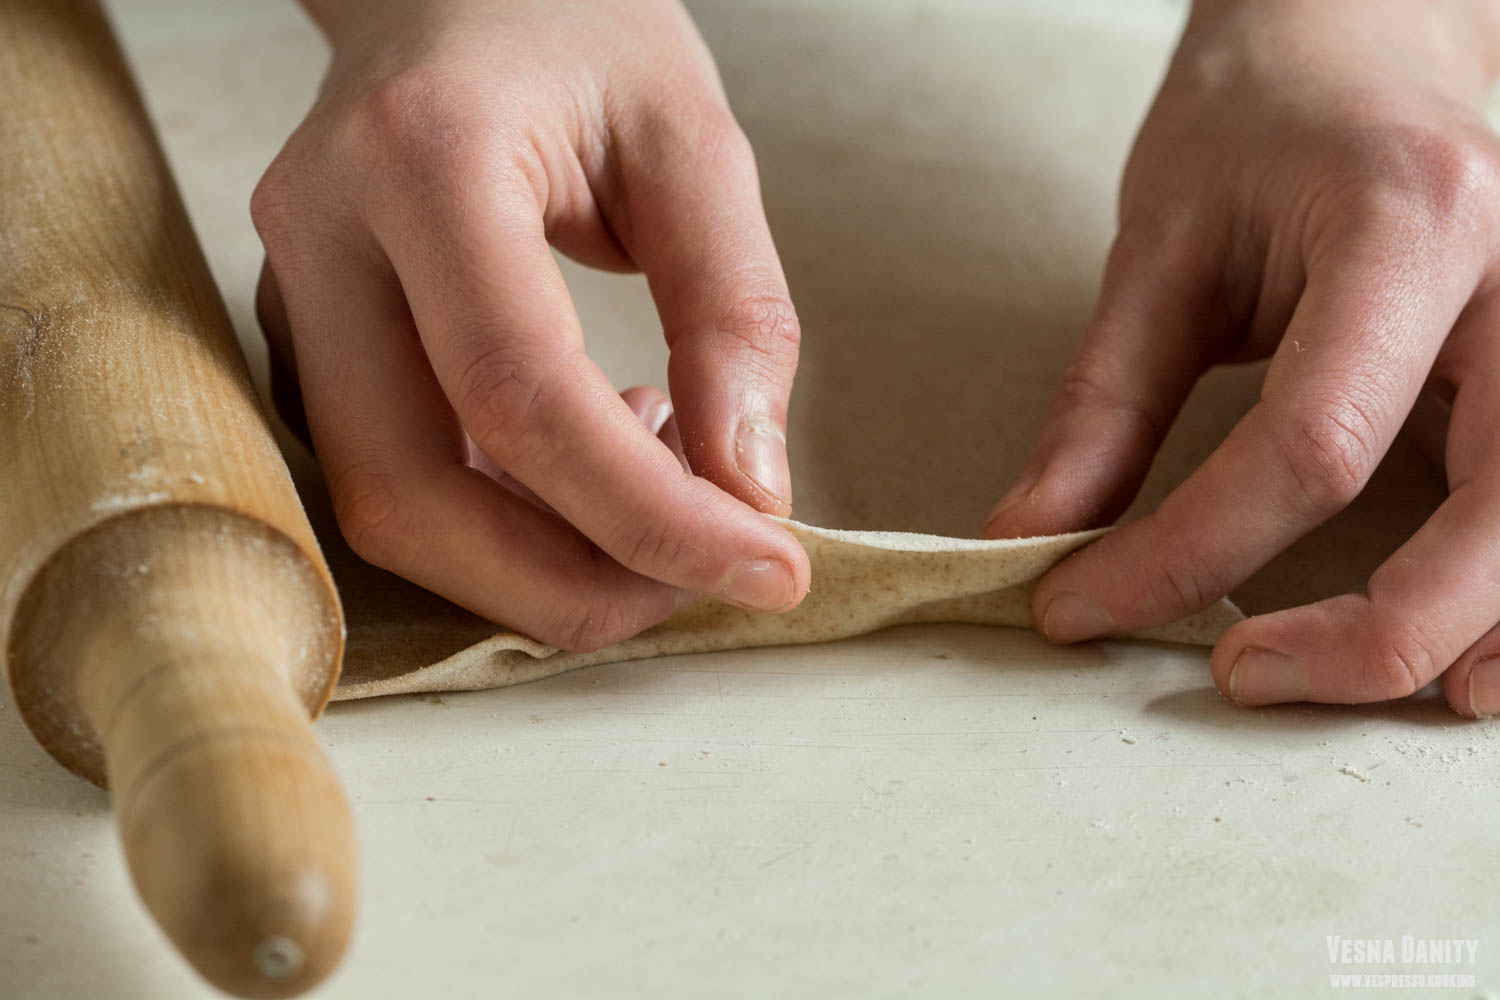
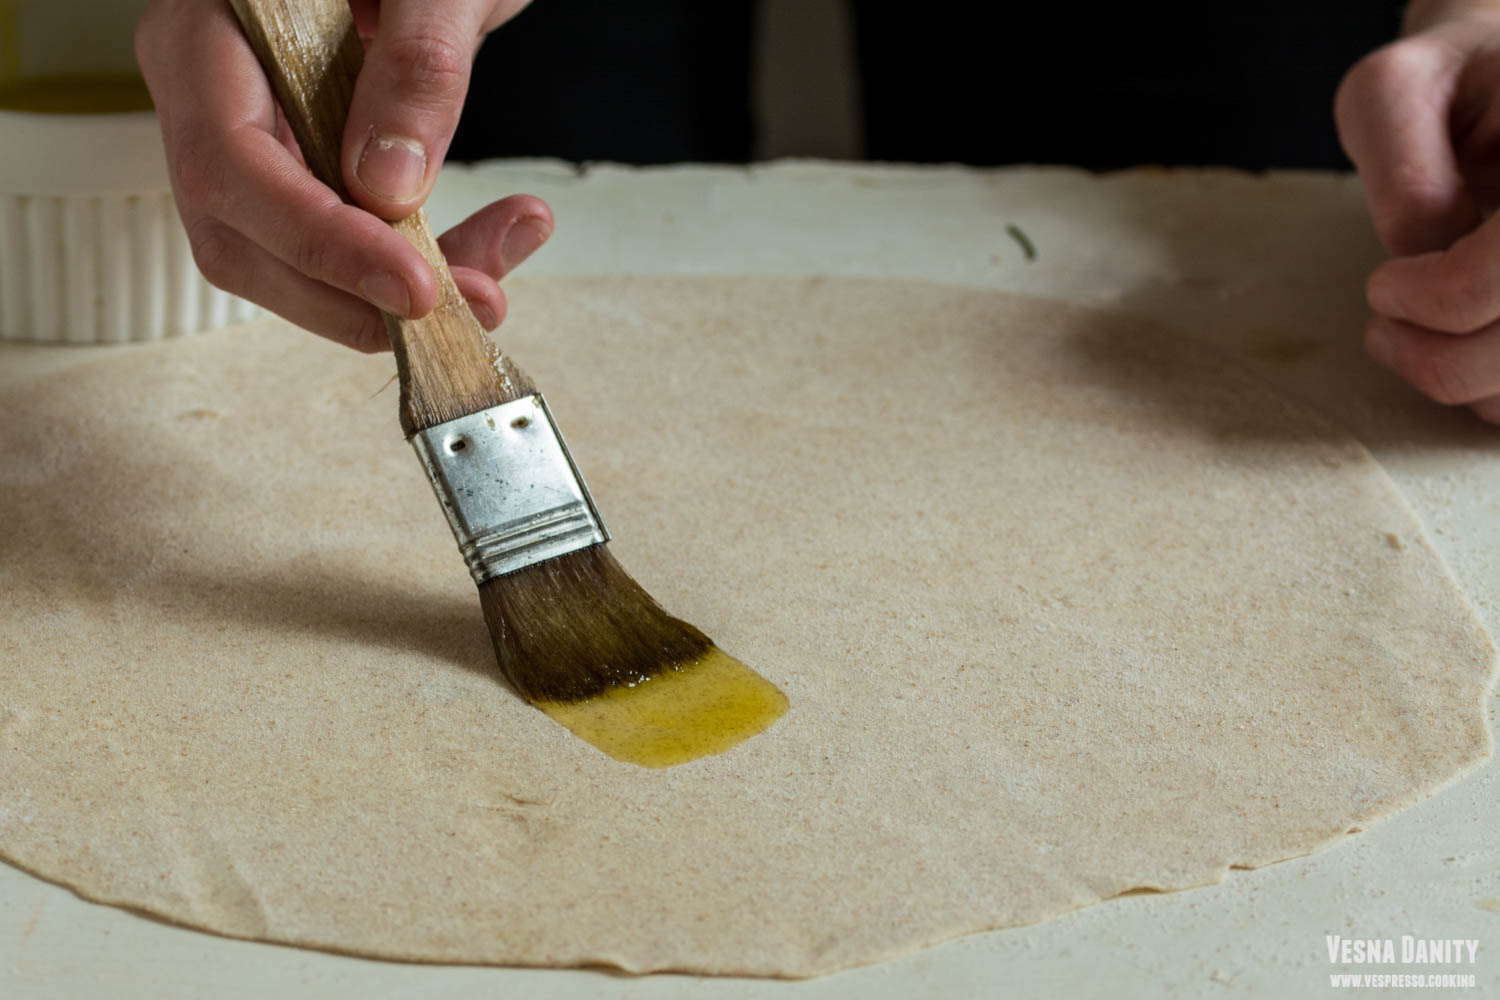
  5. Olive oil & flour.  Brush the first flatbread with olive oil and sprinkle with flour. Beginning with one end, fold it to form pleats.
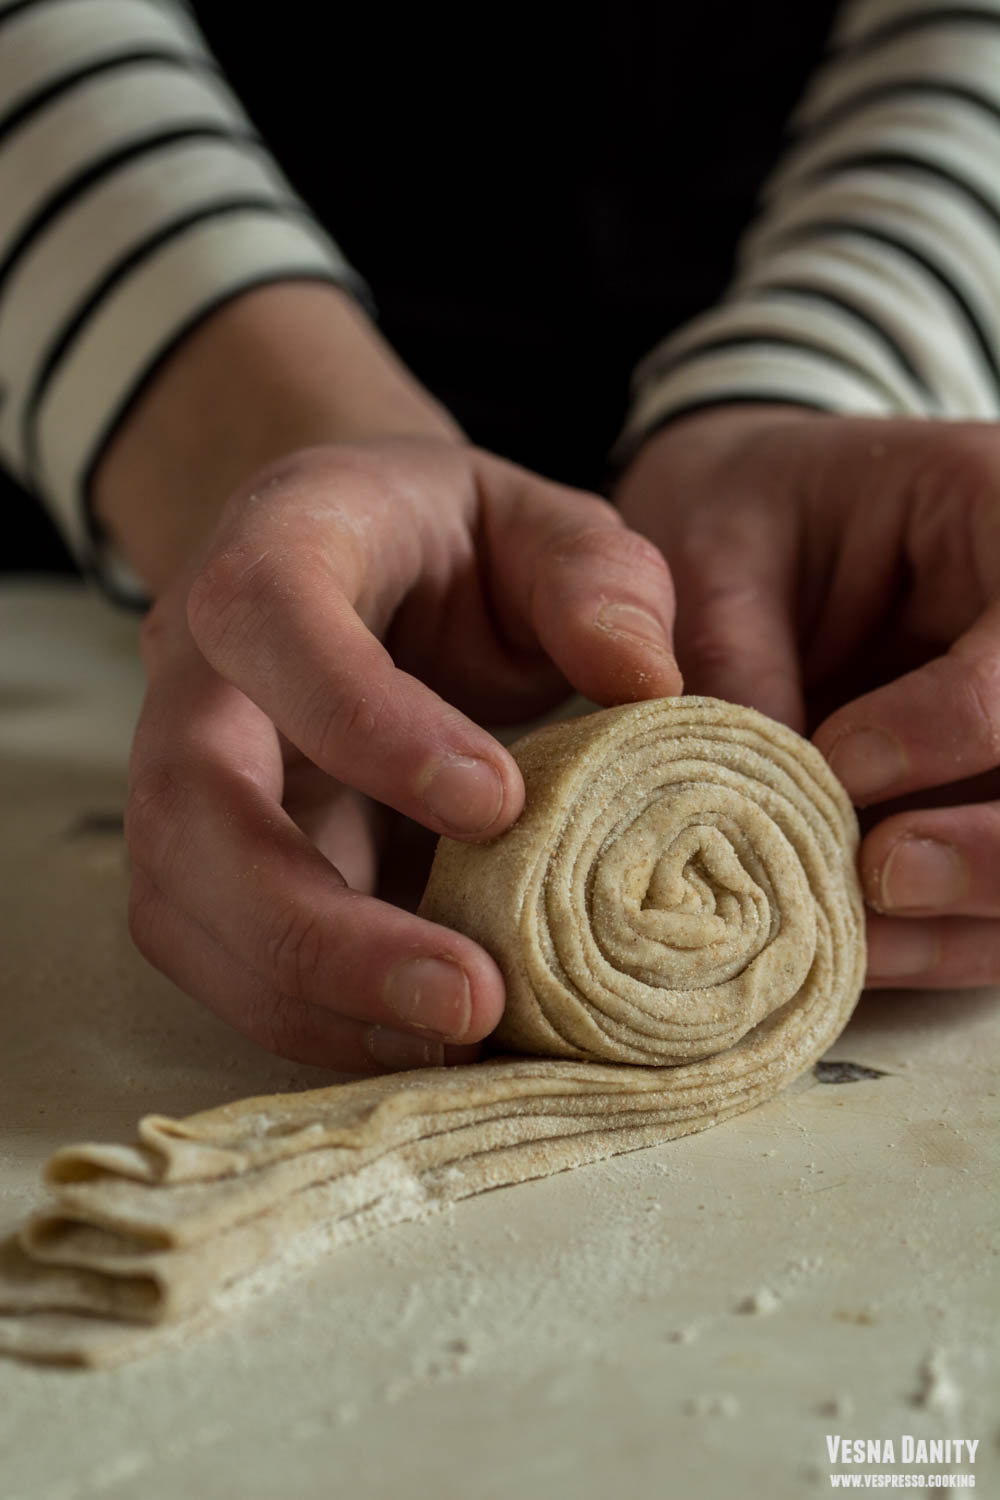
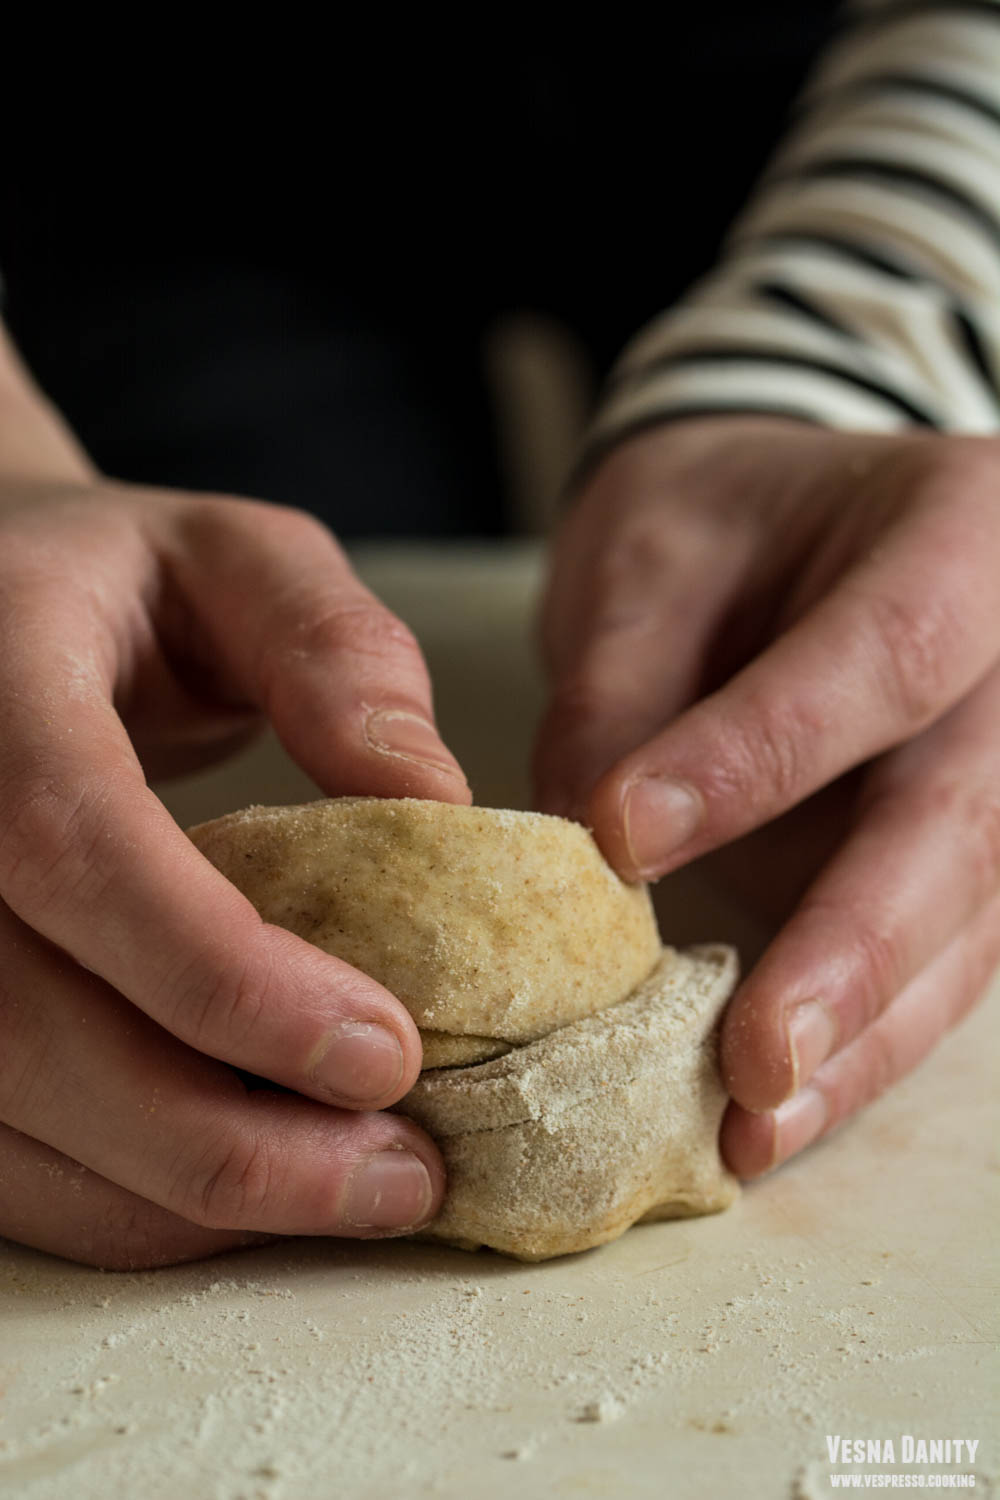
  6. Make a pinwheel. Take one end of the fan and roll it like a pinwheel.
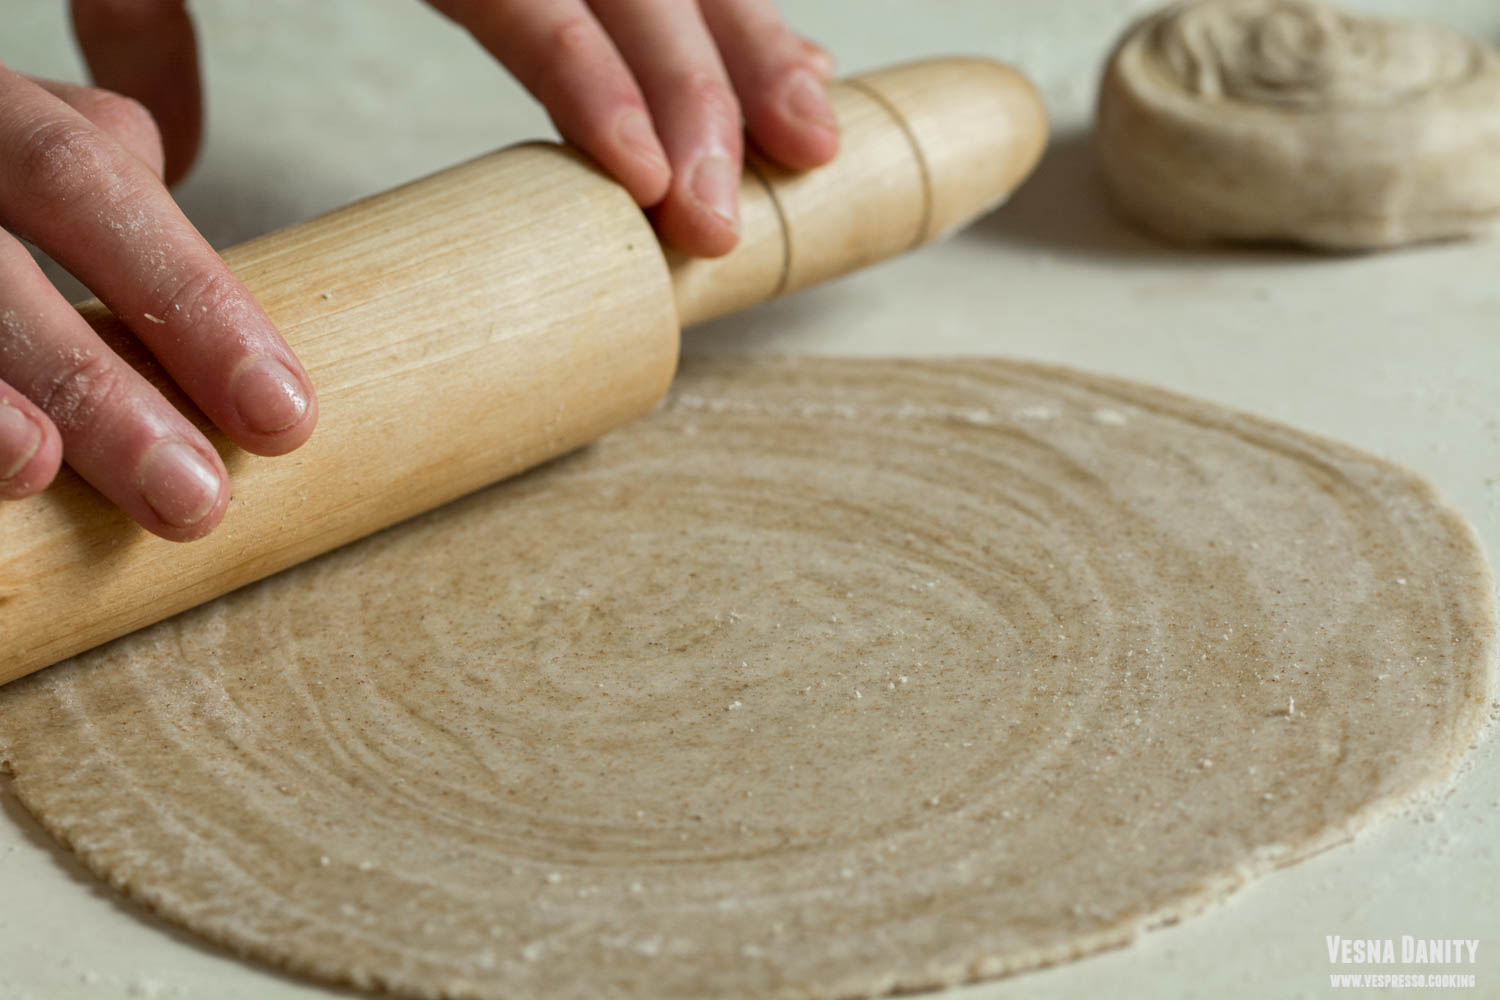
  7. Roll the flatbread. Flatten the pinwheel with a rolling pin until 3 – 4mm thick.
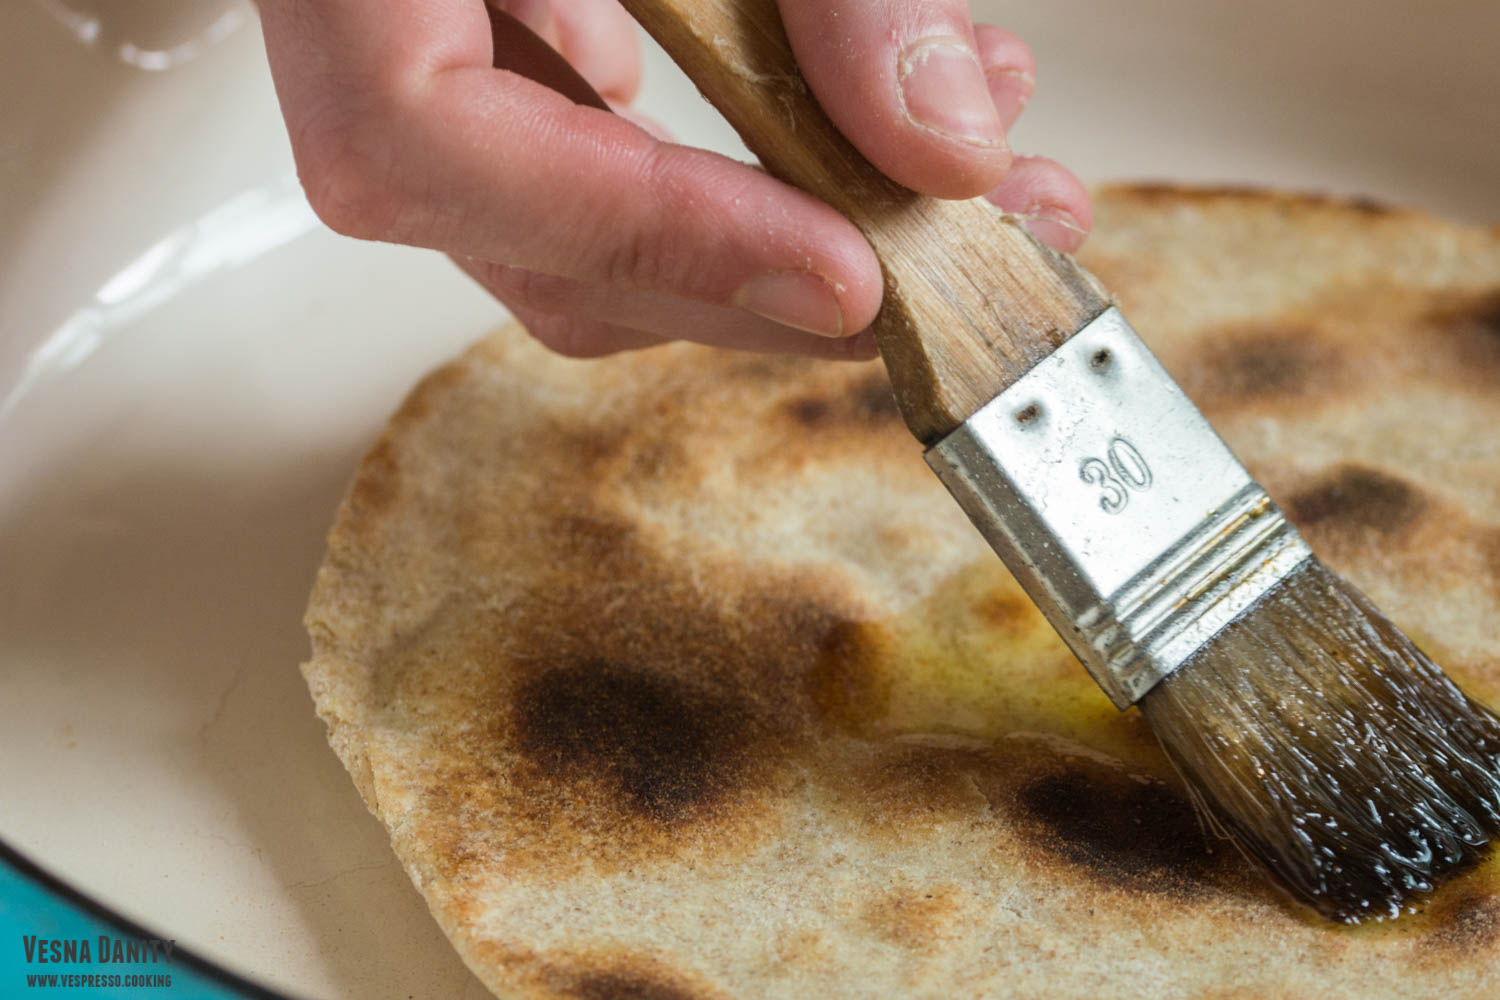
  8. Cook. Heat a cast iron skillet over medium heat. When you see pockets of air forming at the surface brush the raw surface with oil and flip it. Brush the cooked surface with olive oil too. Flip it again and cook until golden brown.
  9. Repeat with the other pieces of dough. Proceed the same with the remaining flatbreads. I prefer to roll the second one while the first one is cooking. It saves times.
  10. Serve. Serve warm with curry, chutney or different vegetable spreads.


Česnica with Homemade Phyllo Dough – Traditional Serbian Christmas Pie

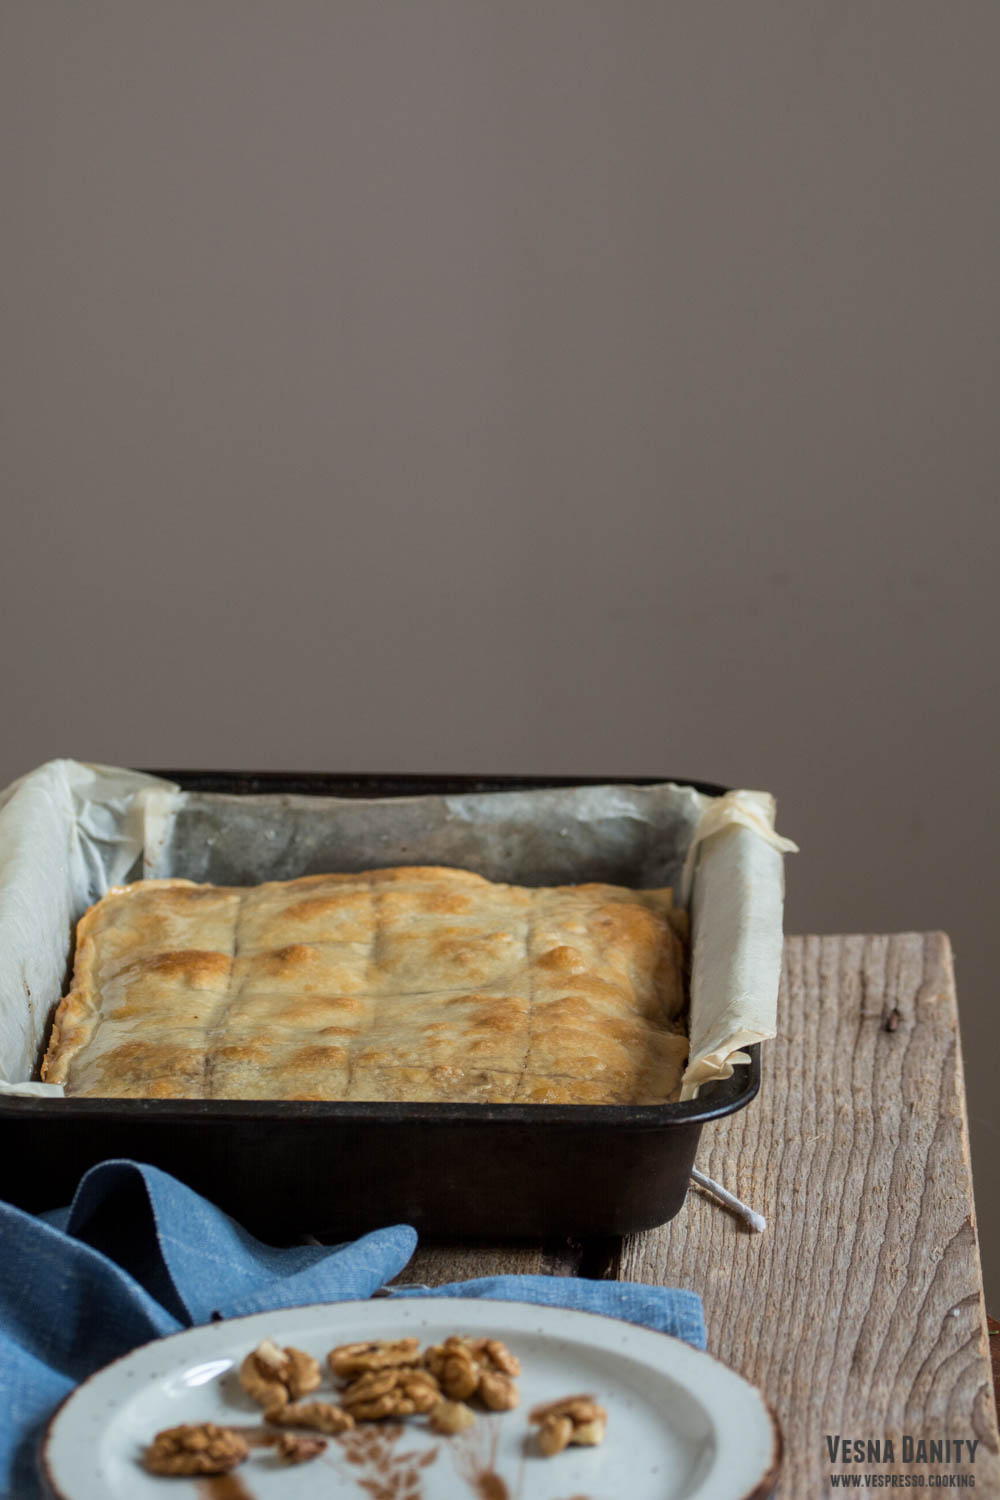
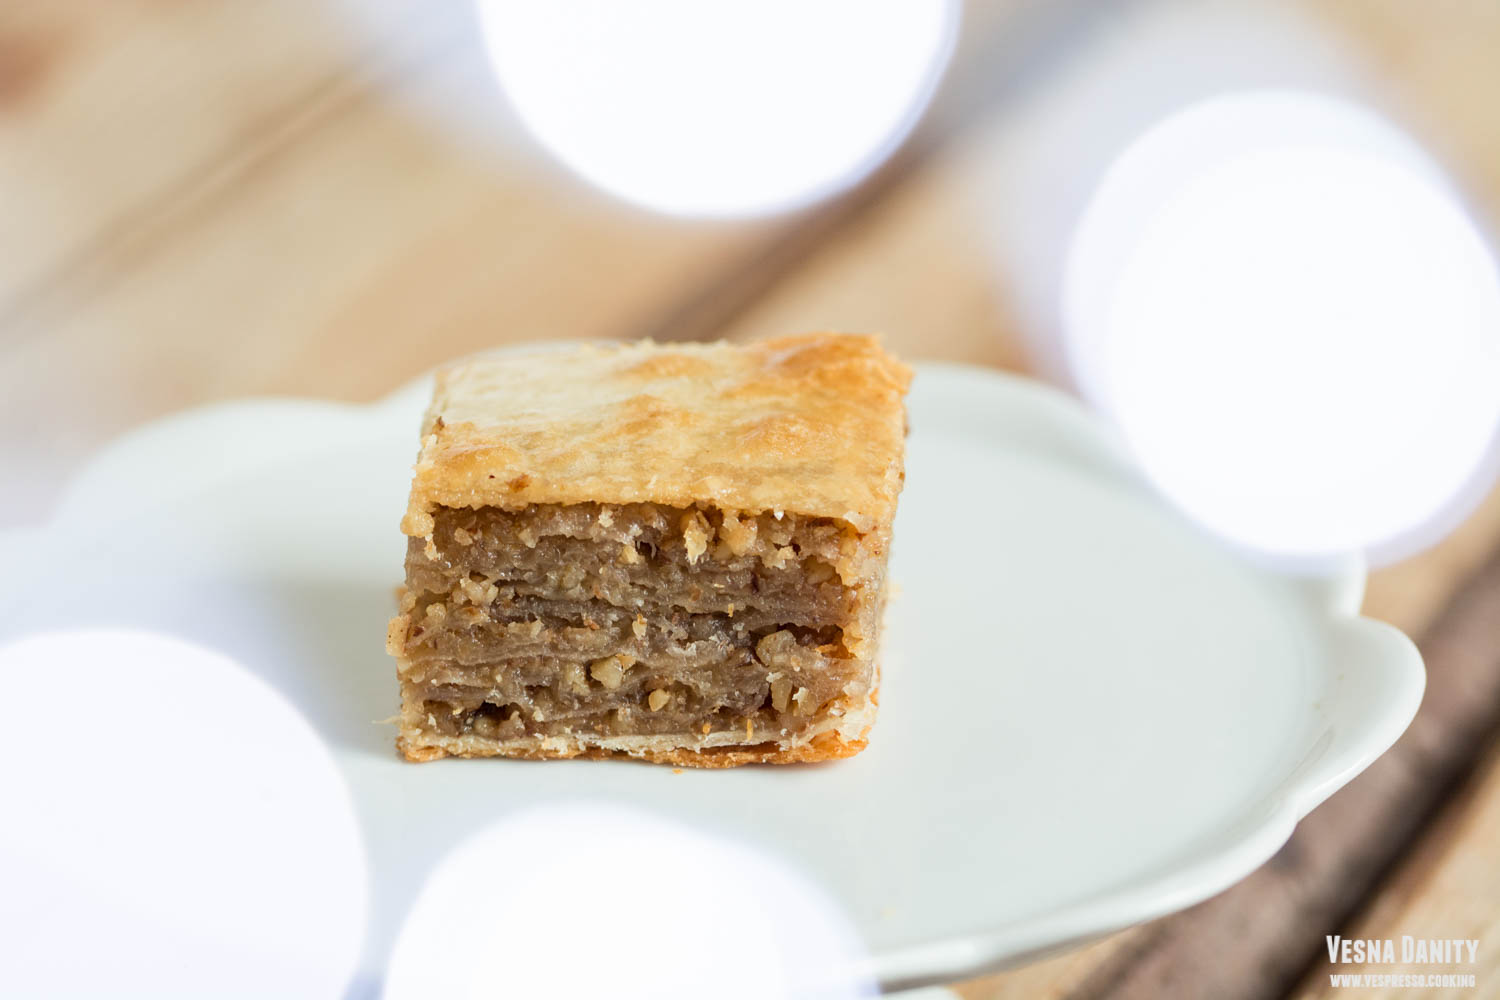
Cesnica is a wonderful dessert made in the Serbian households on Christmas Eve. Two years ago I prepared it using store bough phyllo pastry, showing you an easy, no fuss way to make it. This year I decided to step up my game and make it old school, from scratch, just like my beloved grandmother used to. The person who prepares this delicious dessert always hides a coin inside it. The coin brings luck to whomever finds it.

I couldn’t have been more than seven when I saw my grandmother make the dough from scratch for the last time (it is quite labor intensive). But those images are still alive in my memory like an old black and while movie that goes on and on in my mind. This charming old movie marked my childhood more than anything else. I still remember vividly all the steps, sifting the flour, melting the lard, kneading the dough, leaving it to rest, grinding the walnuts, placing the tablecloth, pulling the dough, making the walnut filling, placing that shiny coin, cutting the pie, baking it to perfection…

Since it’s been quite a while since I last saw my grandmother making it from scratch, there was a solid chance that my memory could play some tricks on me, so I interviewed several women from the Serbian community, so this recipe is a fusion between my personal knowledge and their wonderful tricks learnt from a lifetime experience.


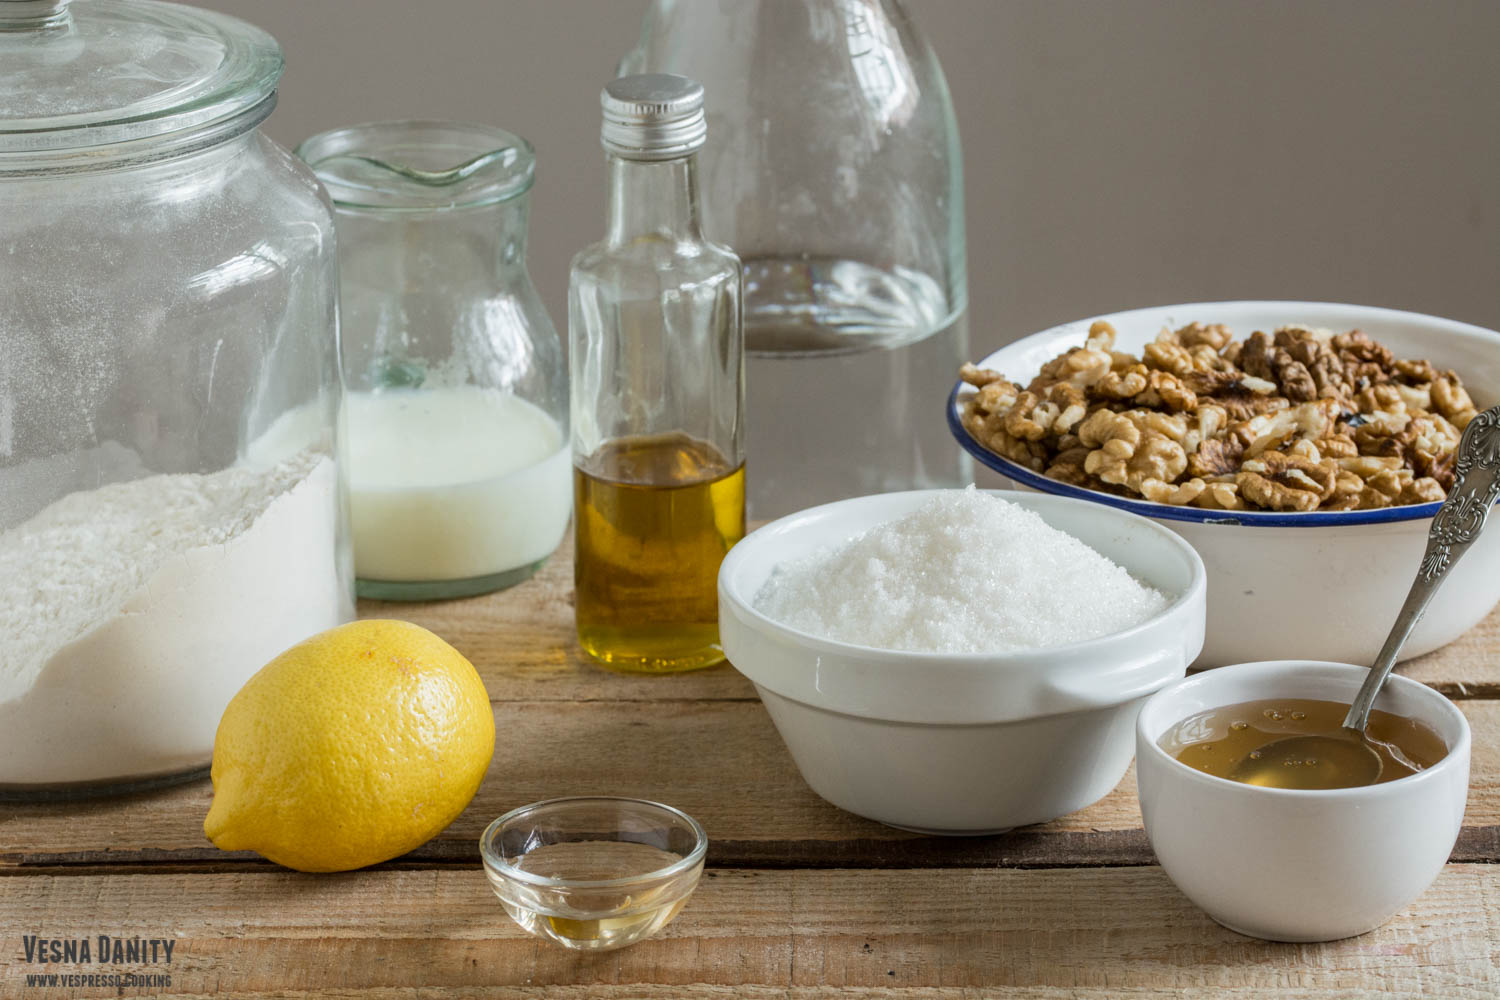
Ingredients (for a 30x22cm tray, which means 20 servings):

for the pastry:

  • 500g strong bread flour
  • 255ml lukewarm water (beetween 36 – 38°C)
  • 75ml any neutral vegetable oil / melted pork lard
  • 10ml vinegar
  • 1/8 tsp salt


for greasing the pastry sheets:

  • 45ml any neutral vegetable oil / melted pork lard – 3 Tbsp
  • 45ml milk 3 – Tbsp
  • 3 Tbsp honey (optional)


for the filling

  • 300g walnuts
  • 225 white granulated sugar
  • 1 lemon, zested
  • 3 coins (washed with water and soap and sterilized by boiling)
Method:

  1. In a large bowl sift the flour and salt and make a well in the center.
  2. Add the oil, water vinegar and mix with a fork until you form a ball. Knead the bowl of dough in the bowl for 3 minutes, or until the surface is smooth.
  3. Place the dough on a working surface and knead it vigorously with your hands. Slap the dough down to the working surface for 50 times.Wrap the dough in a plastic bag, cover it with a clean towel and and let it rest for 1 – 2 hours (resting the dough is vital for relaxing the gluten).
  4. Sterilize the coins by boiling them in hot water for 30 minutes.
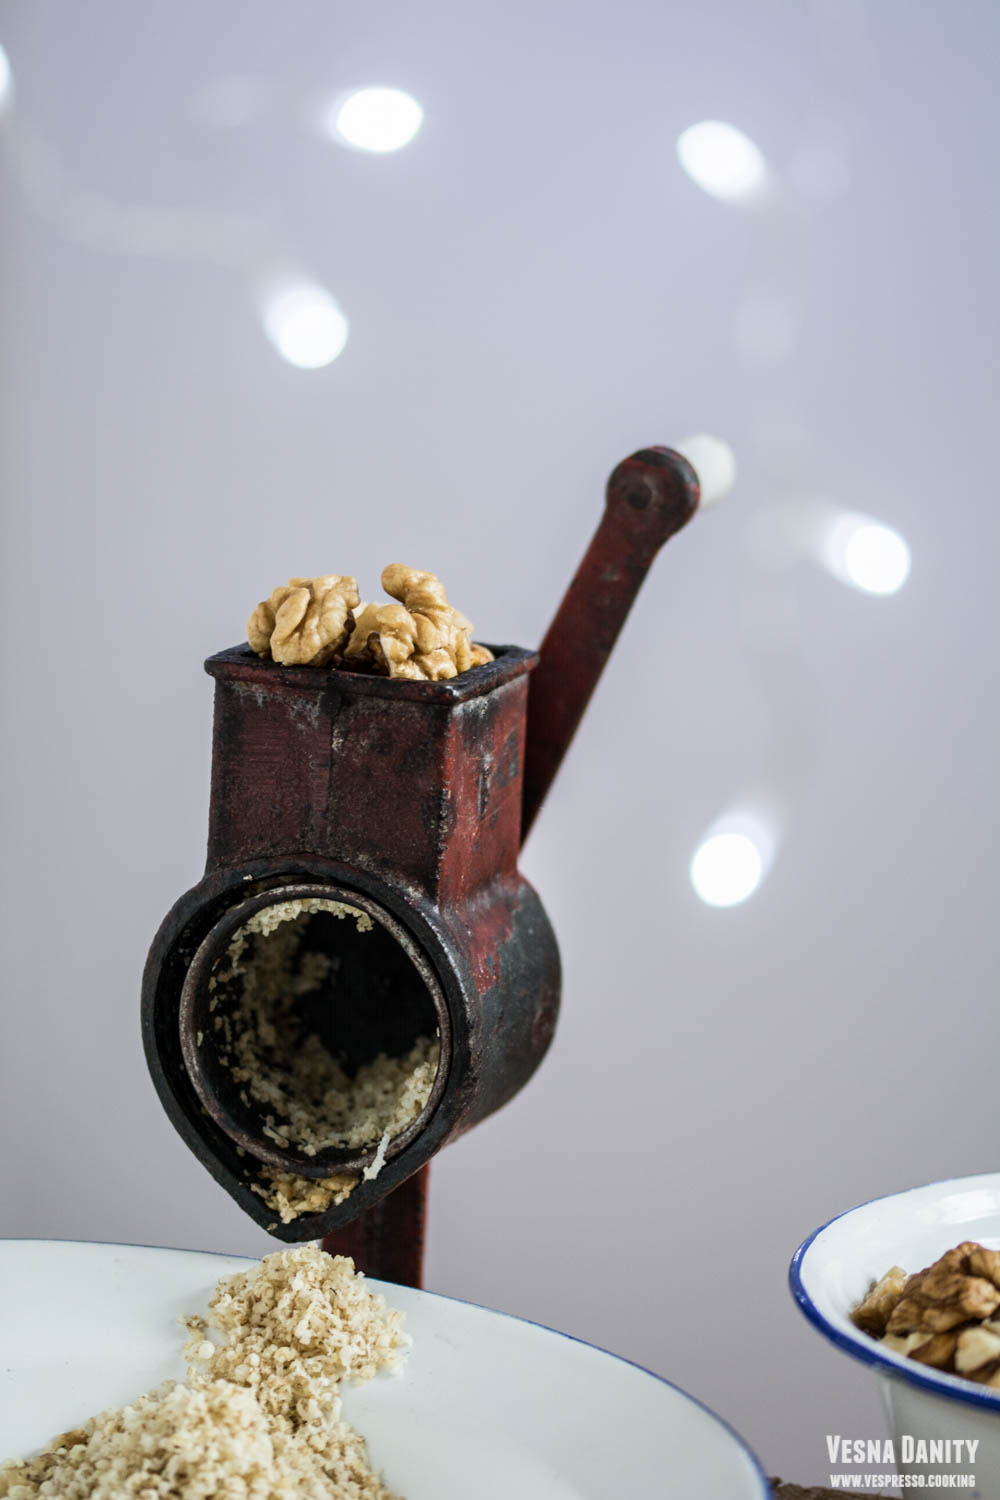
  5. Grind the walnuts and zest the lemon. Take two bowls. Mix walnuts, sugar and lemon zest in a large bowl. In another bowl mix the oil with the milk.
  6. Take a large tray and line it with parchment paper.
  7. After the dough has rested I divide it into 3 relatively equal pieces. Leave one piece of dough on the working surface and place the other two in the same plastic bag.
  8. Place the first piece of dough on the floured working surface and roll it with the rolling pin until it gets about 1/2 cm thick.
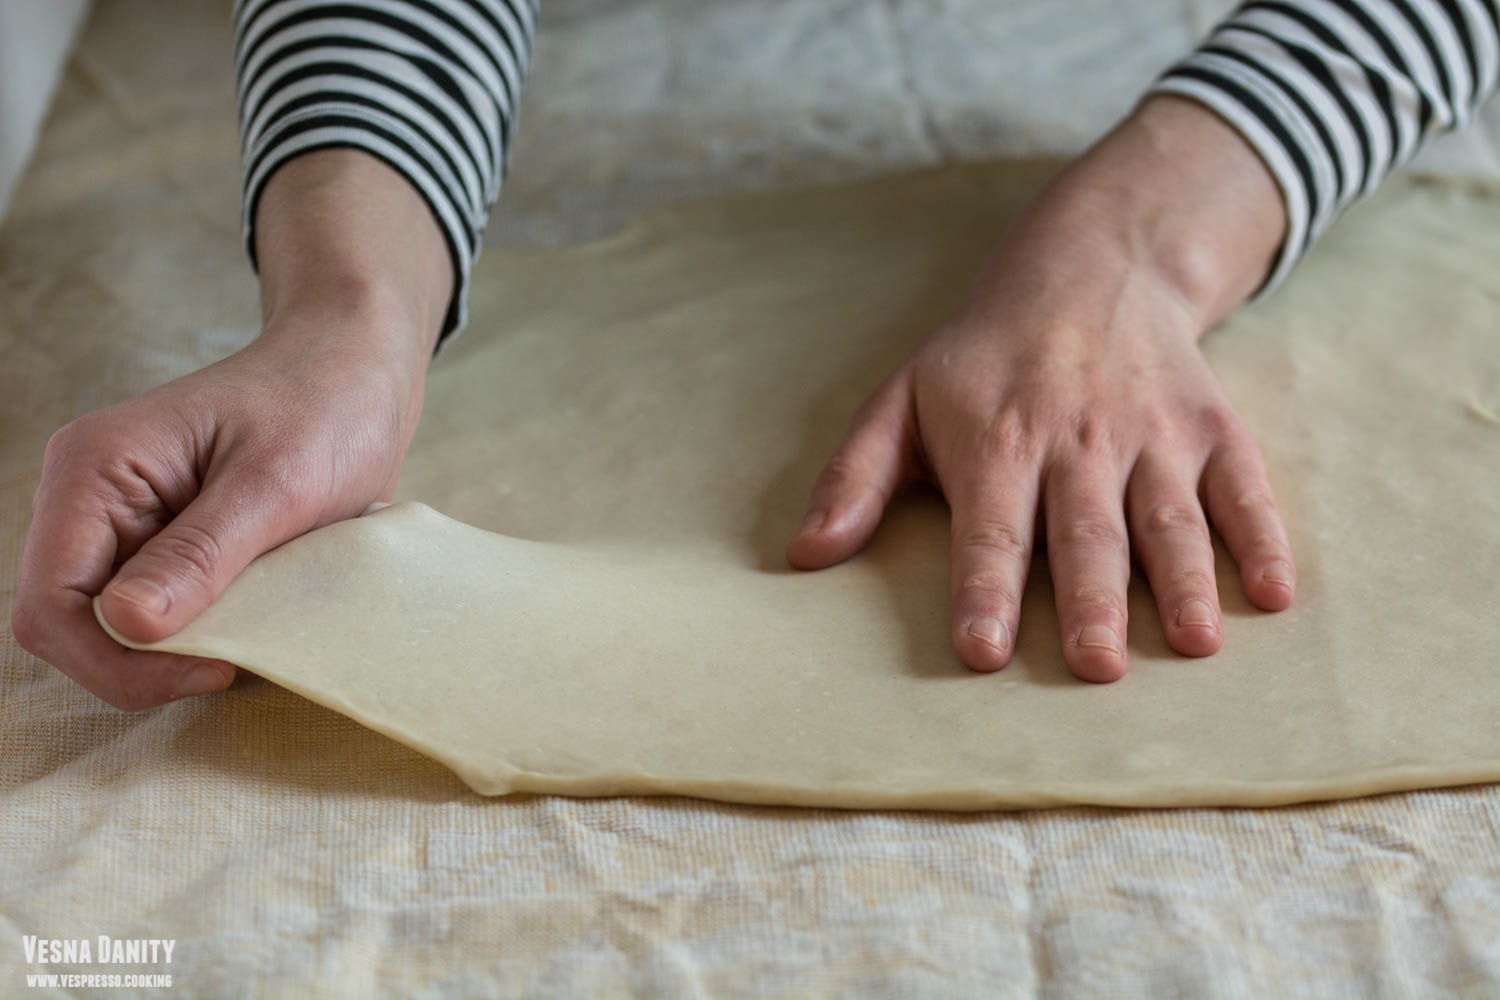
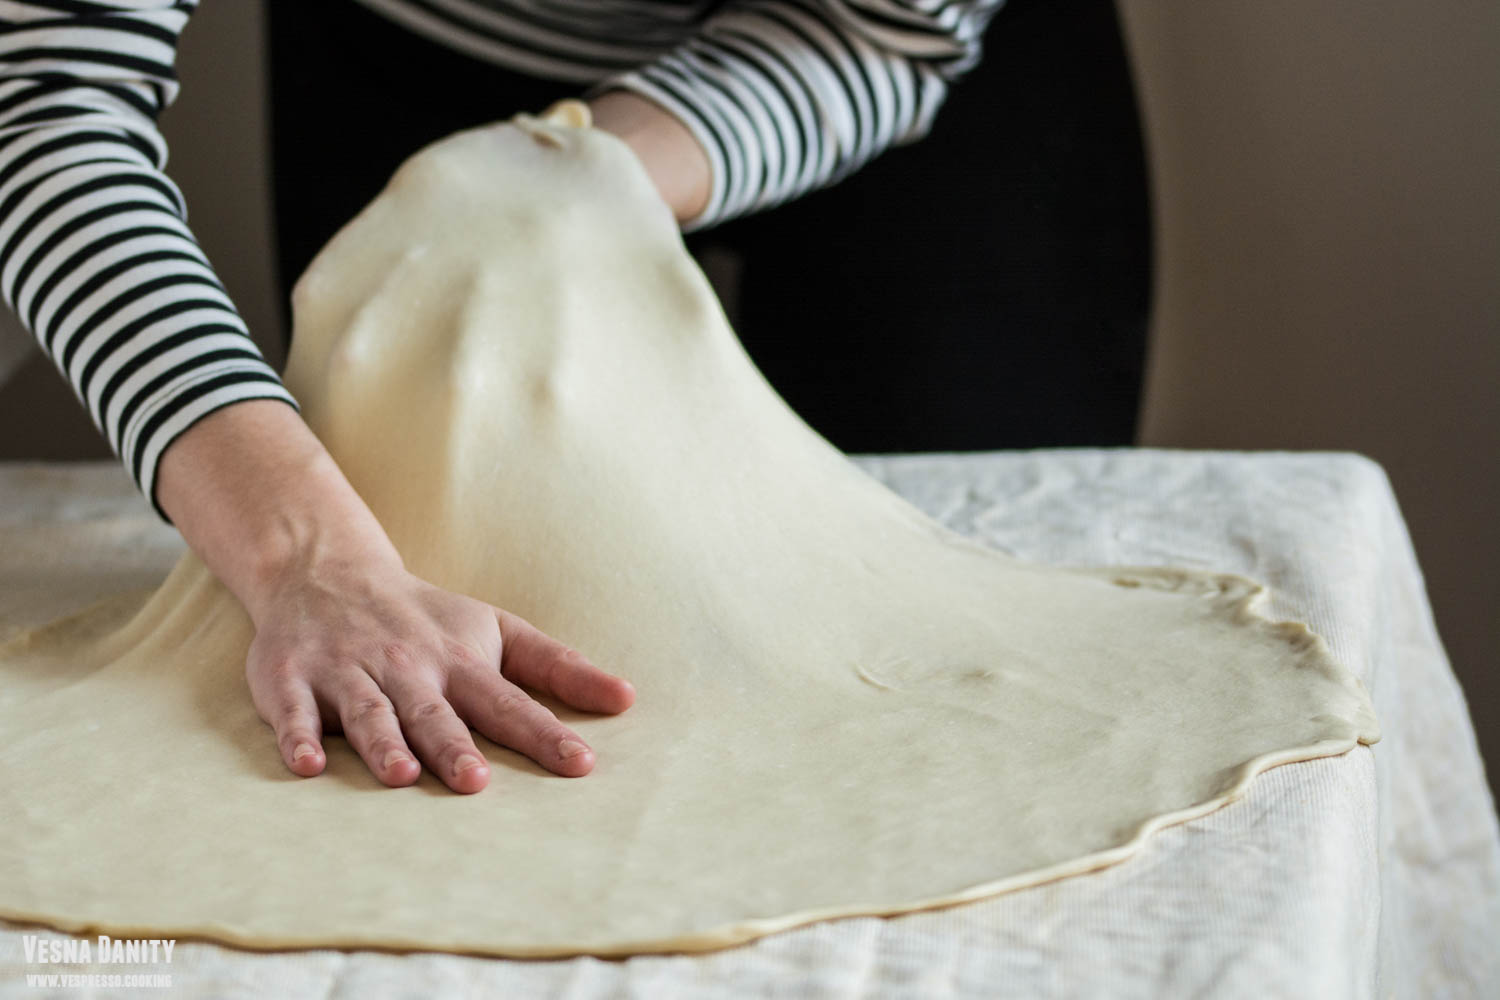
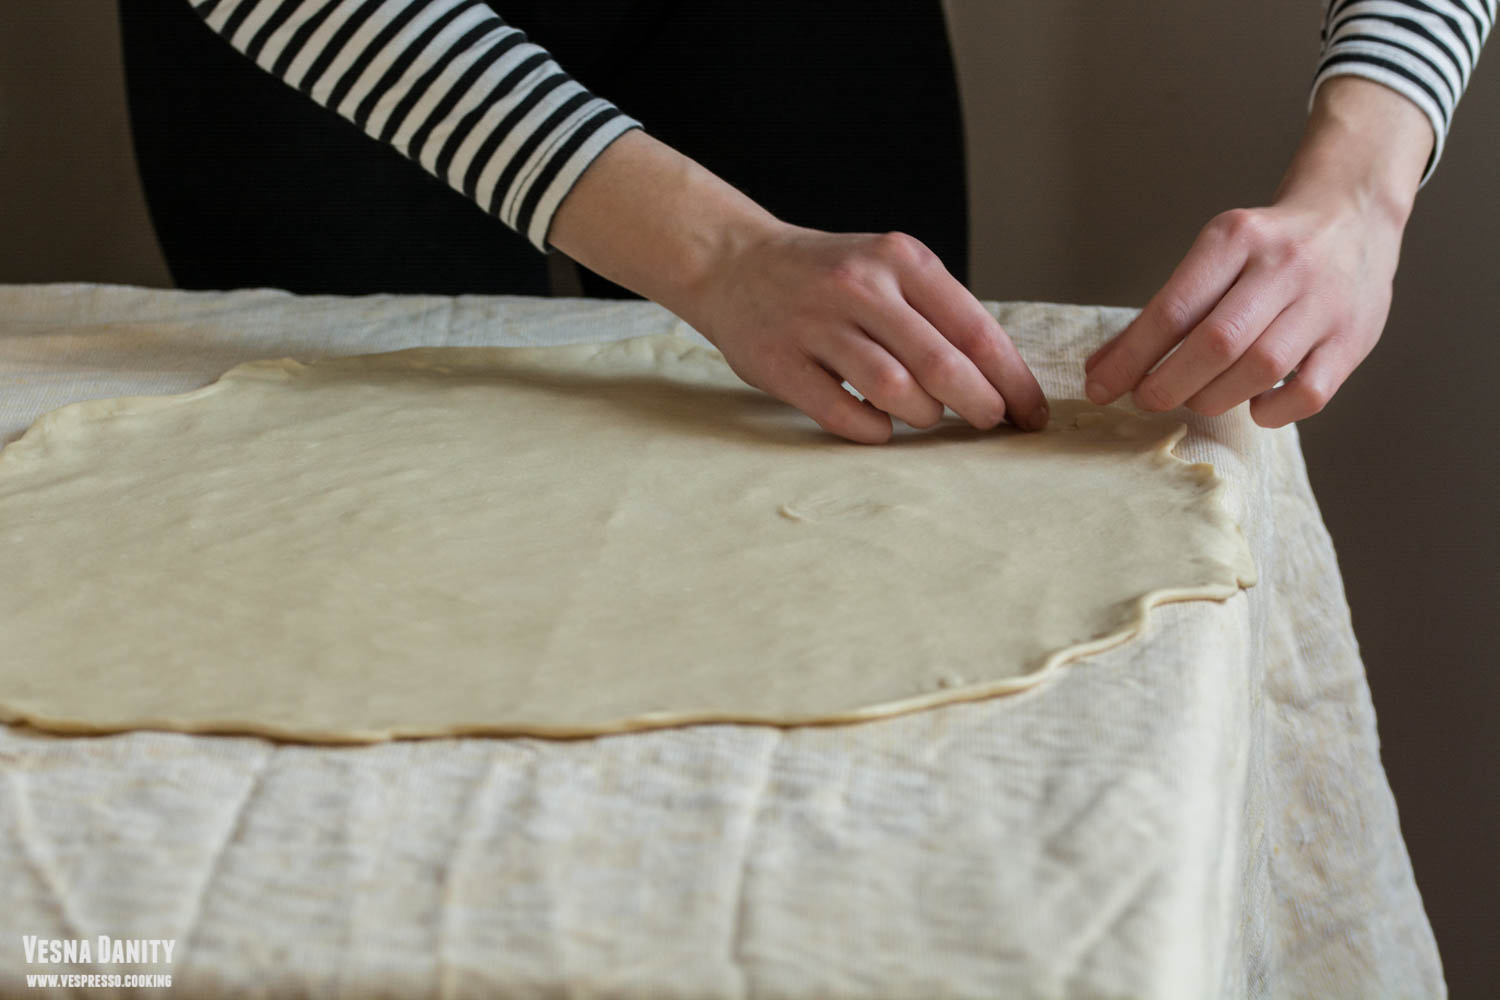
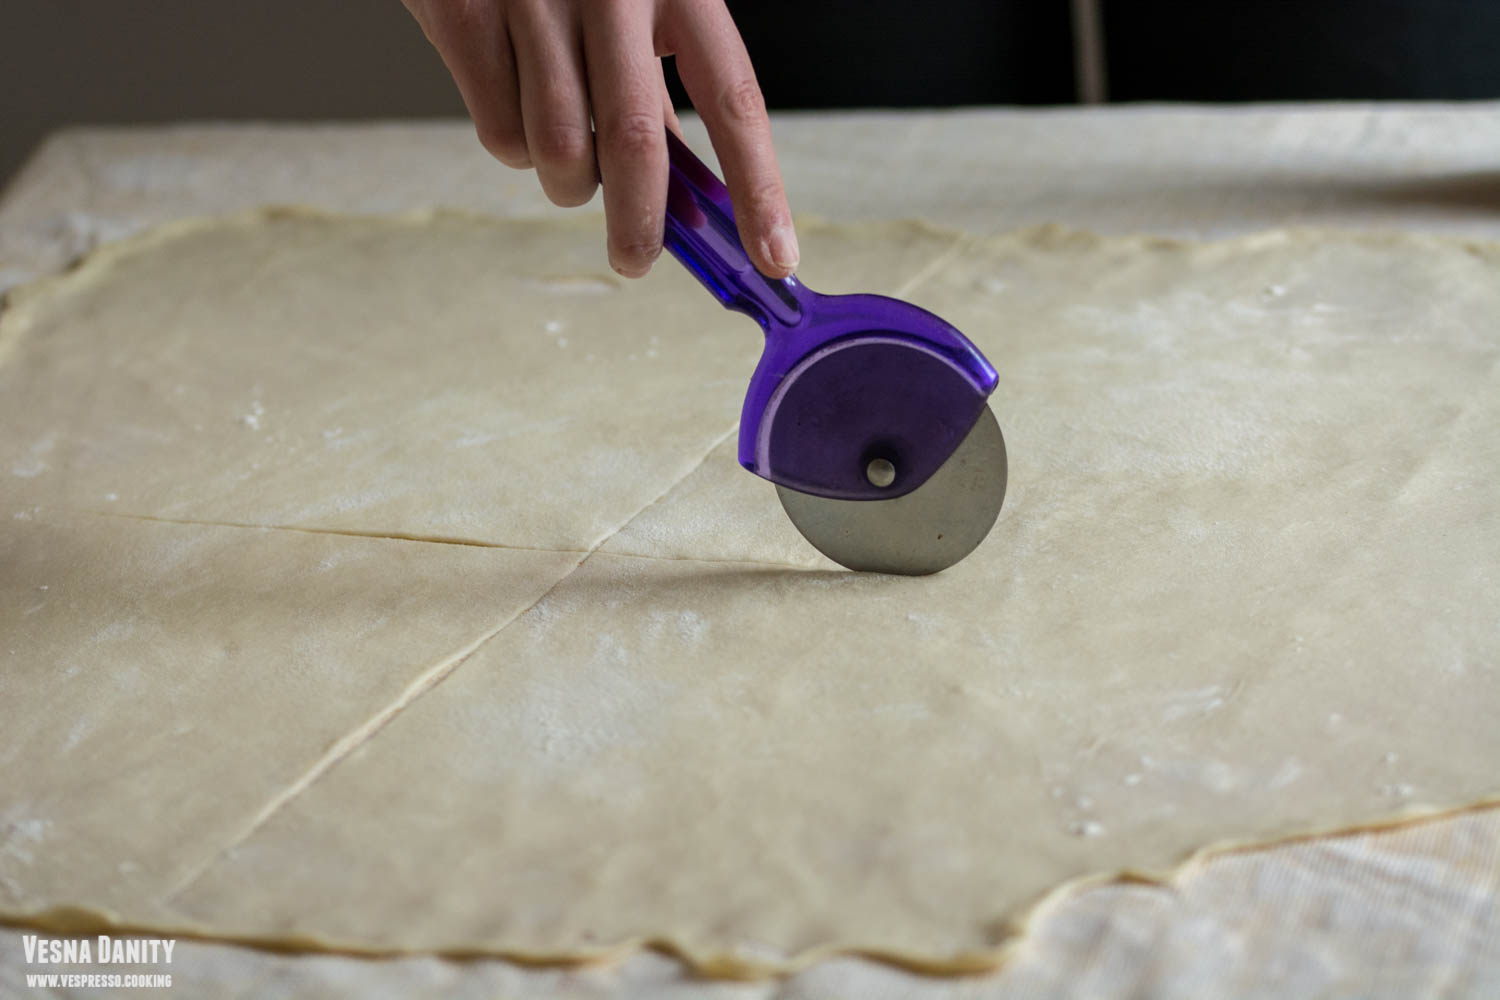
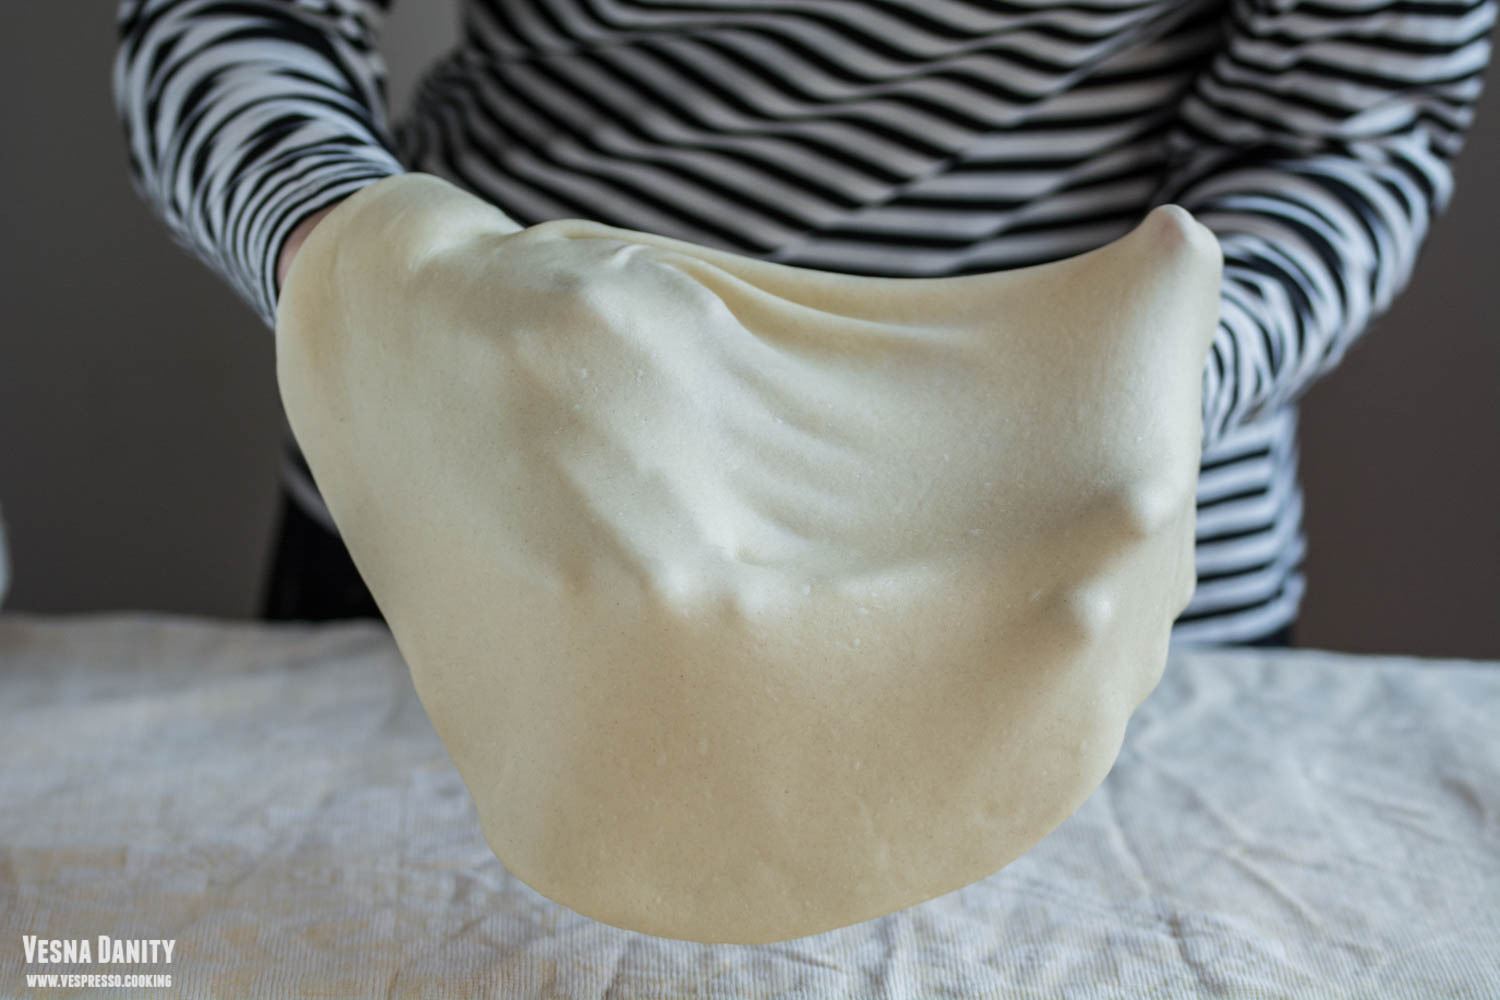
  9. Cover the table with a clean table cloth (a clean sheet does the trick as well). Place the back of your hand under the sheet of dough and I begin stretching it from the center to the outer edges, working your way around the sheet of dough. If you don’t feel the sheet moving, let it relax for a few moments. It is ready when it’s so thin that you can read the newspaper under it. Take a knife or a pizza cutter and cut it into 4 equal pieces.
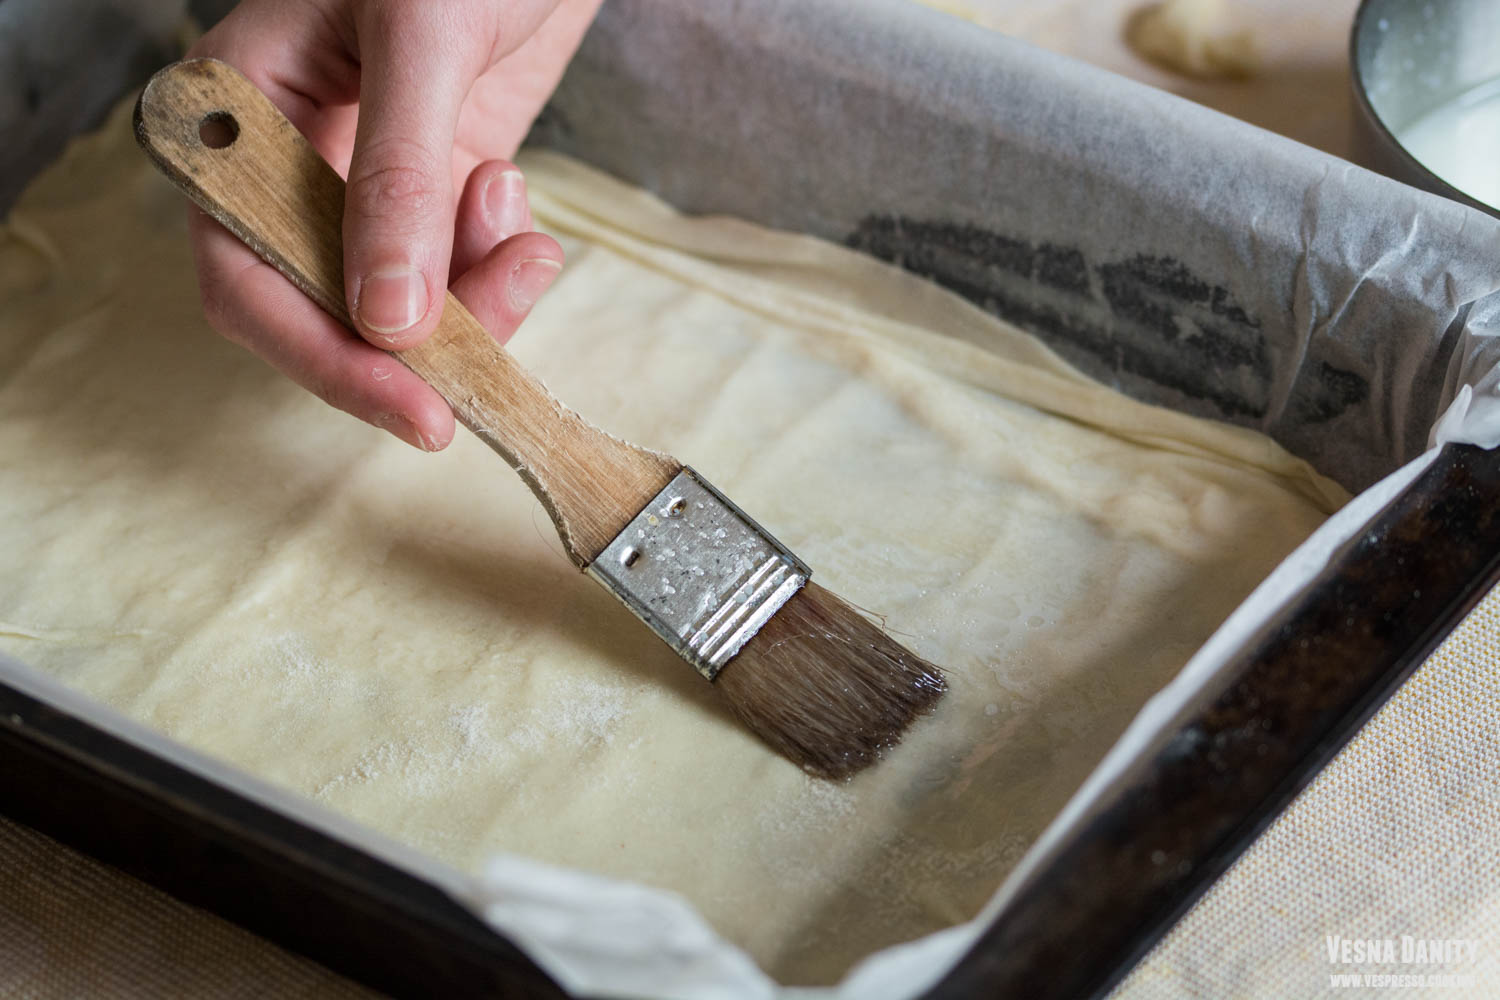
  10. Take one sheet, place it in a tray, remove the thicker outer edges with a knife and grease it with the milk mixture. Place the second sheet on top and grease it as well.
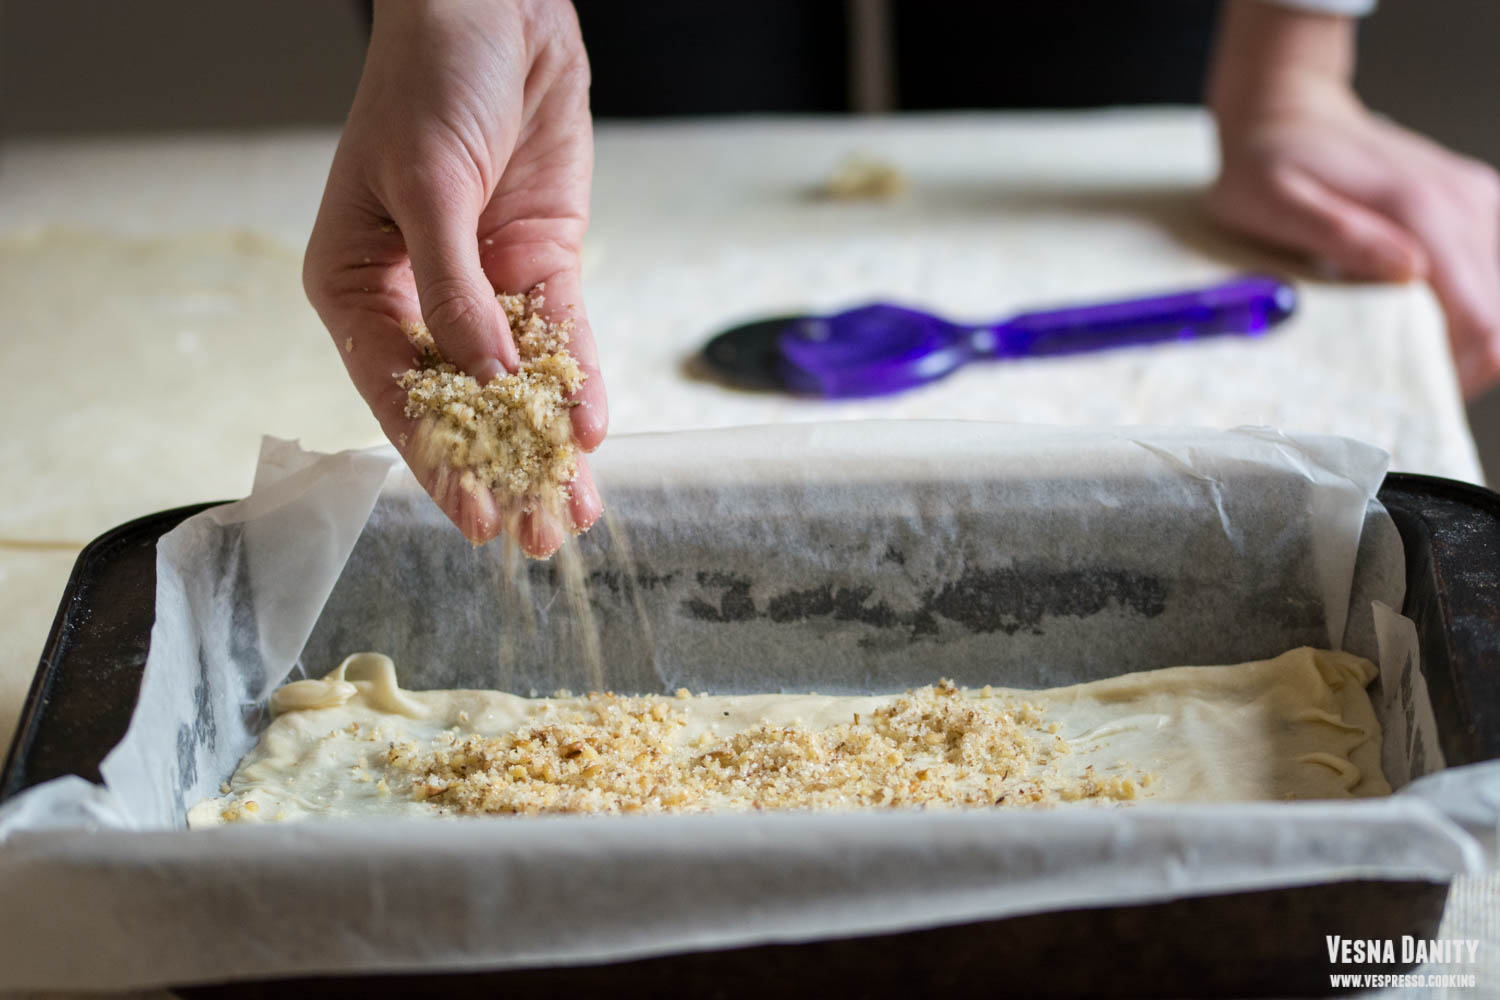
  11. Over the second sheet sprinkle about two handfulls of walnut mixture.
  12. Cover the walnut mixture with the third sheet, grease it as well and sprinkle a handful of walnuts.
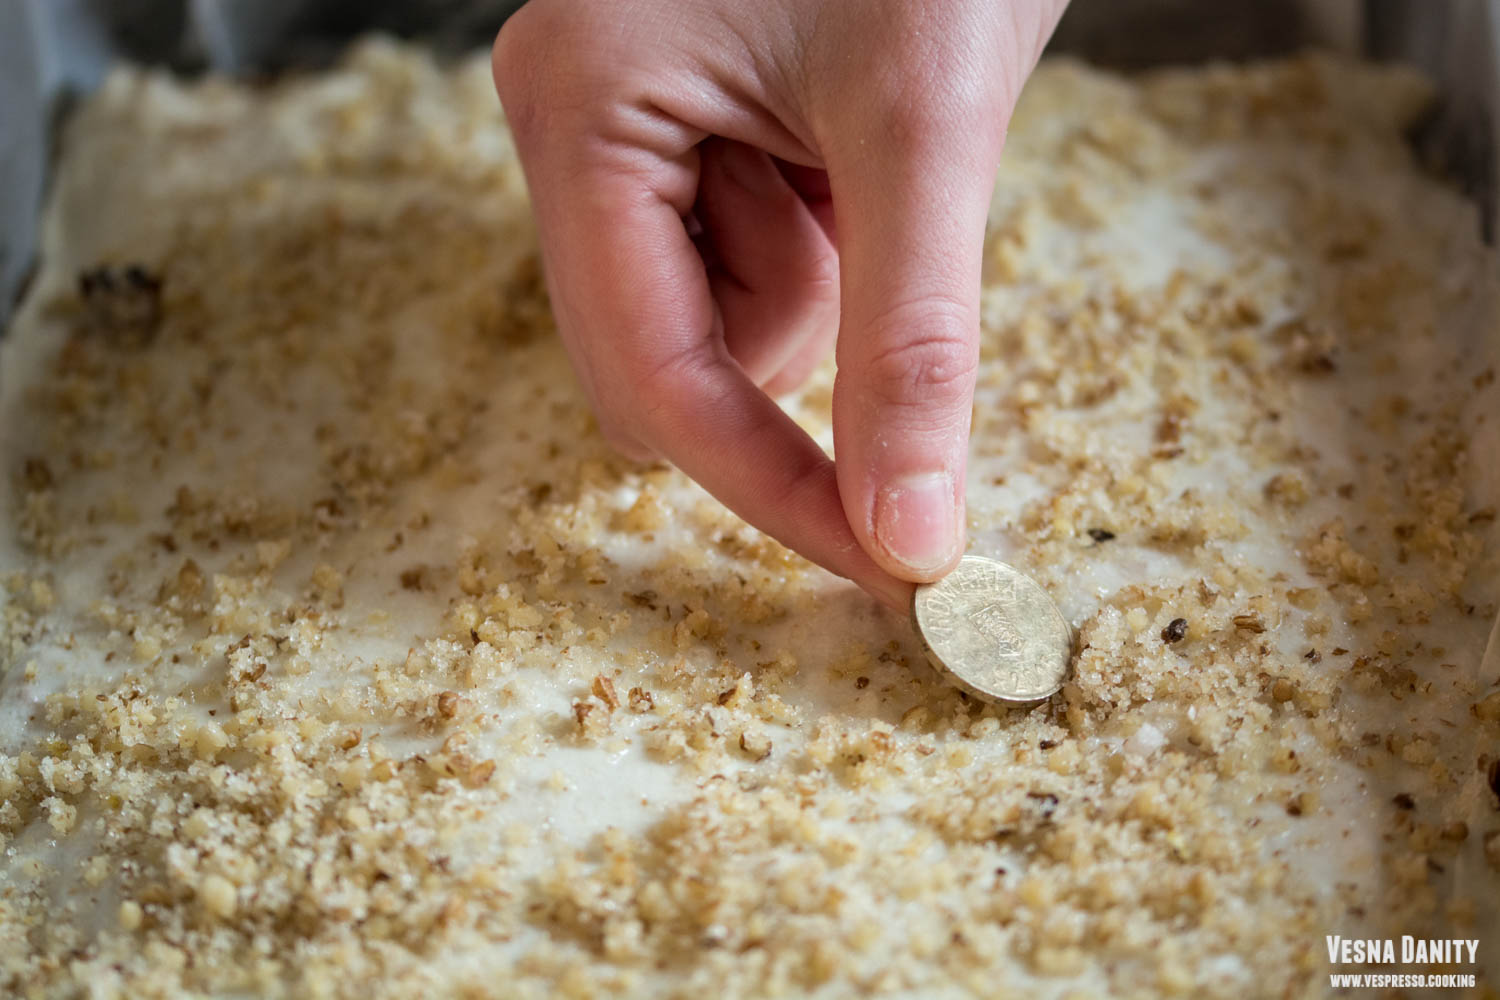
  13. Continue with the layers until you place the sixth sheet. Grease it, sprinkle a handfull of walnuts and place the coins.
  14. Proceed the same until you reached the 10th sheet, grease it and sprinkle it with the remaining walnut mixture.
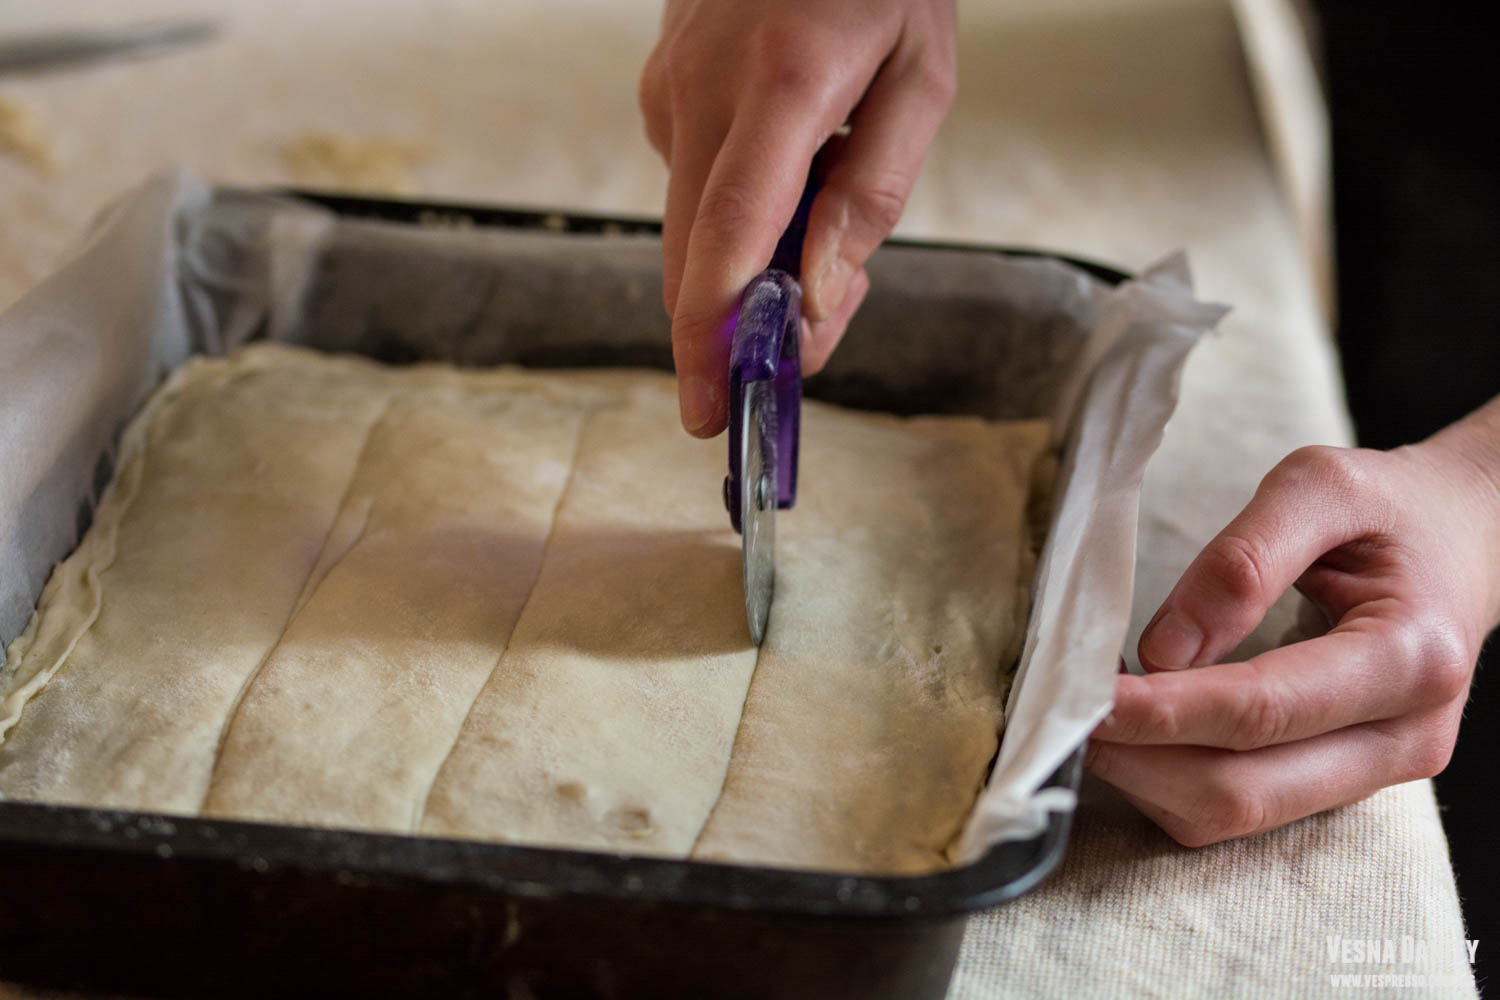
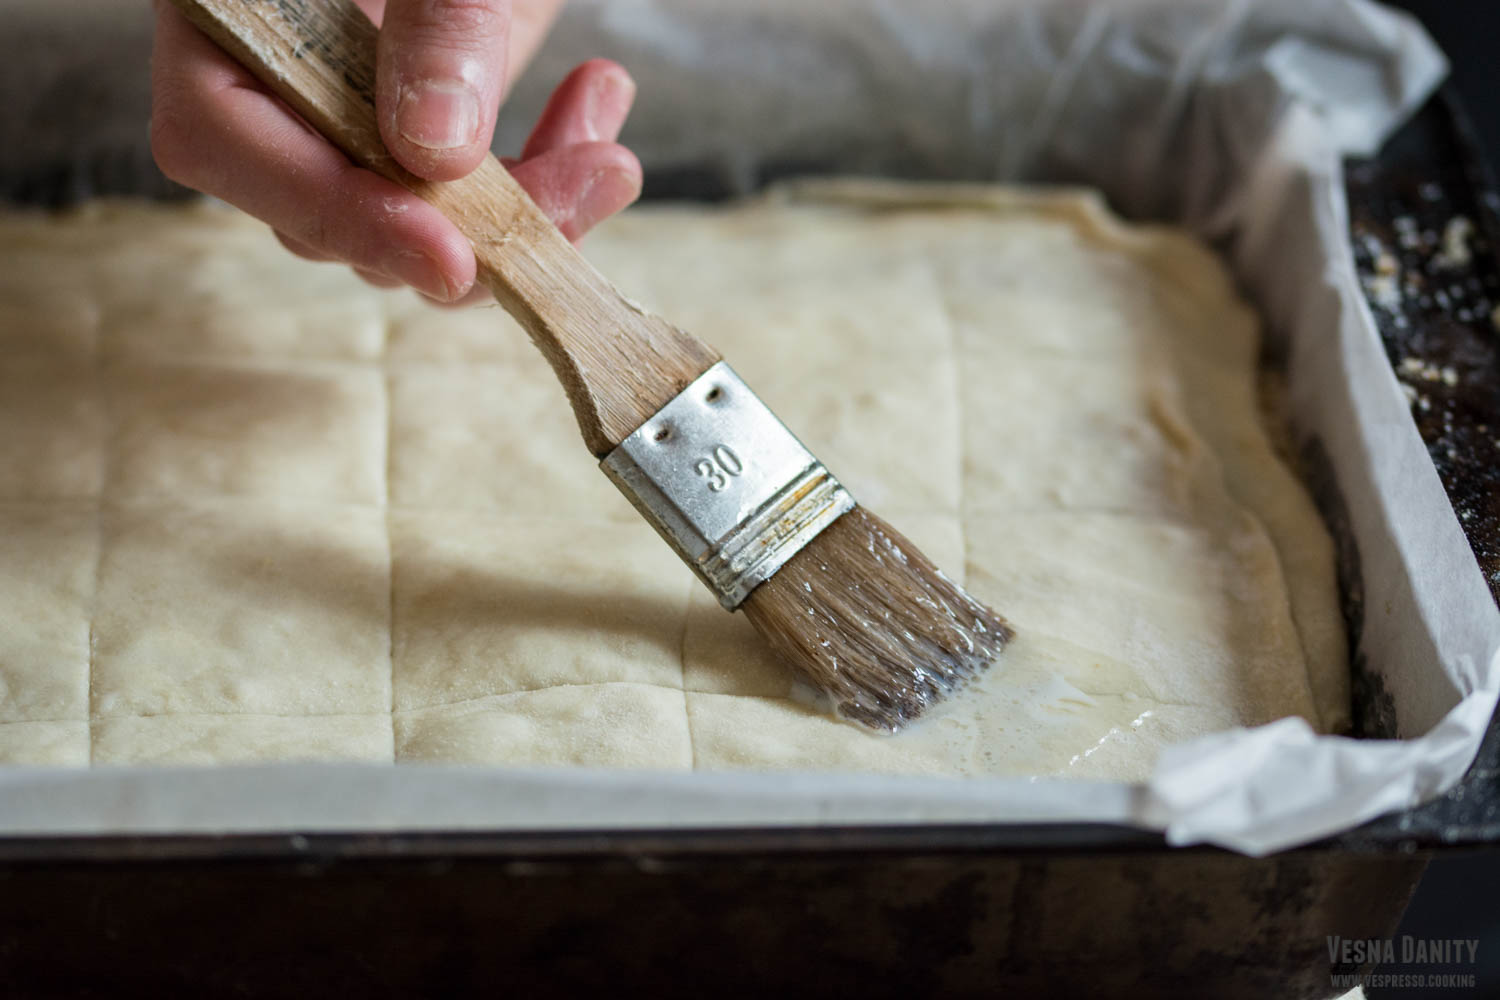
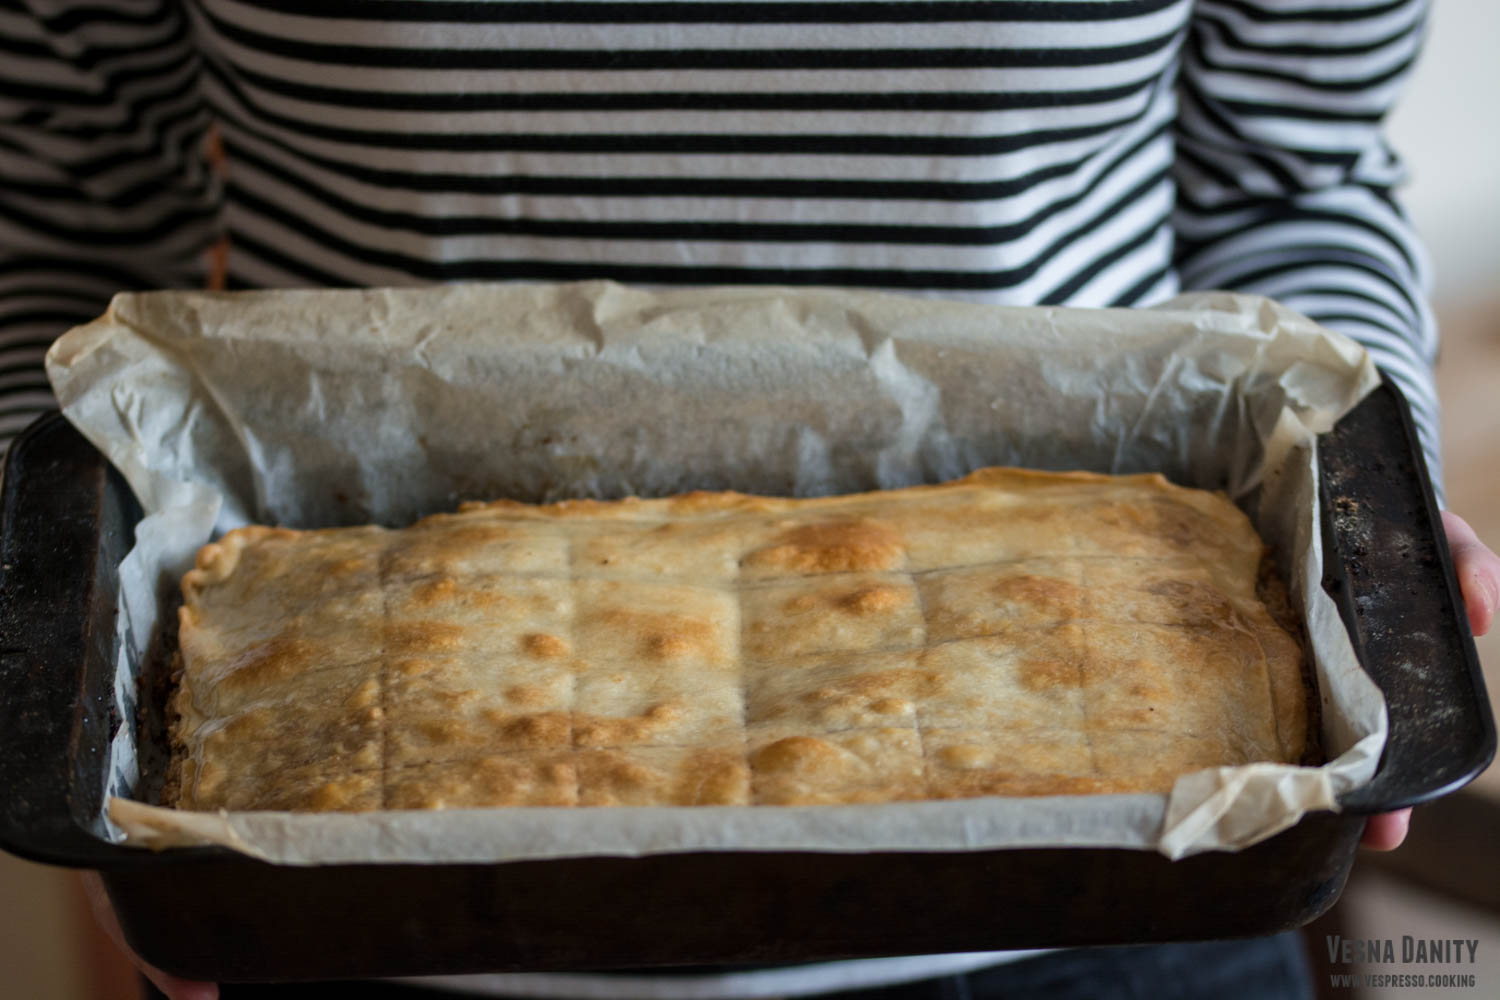
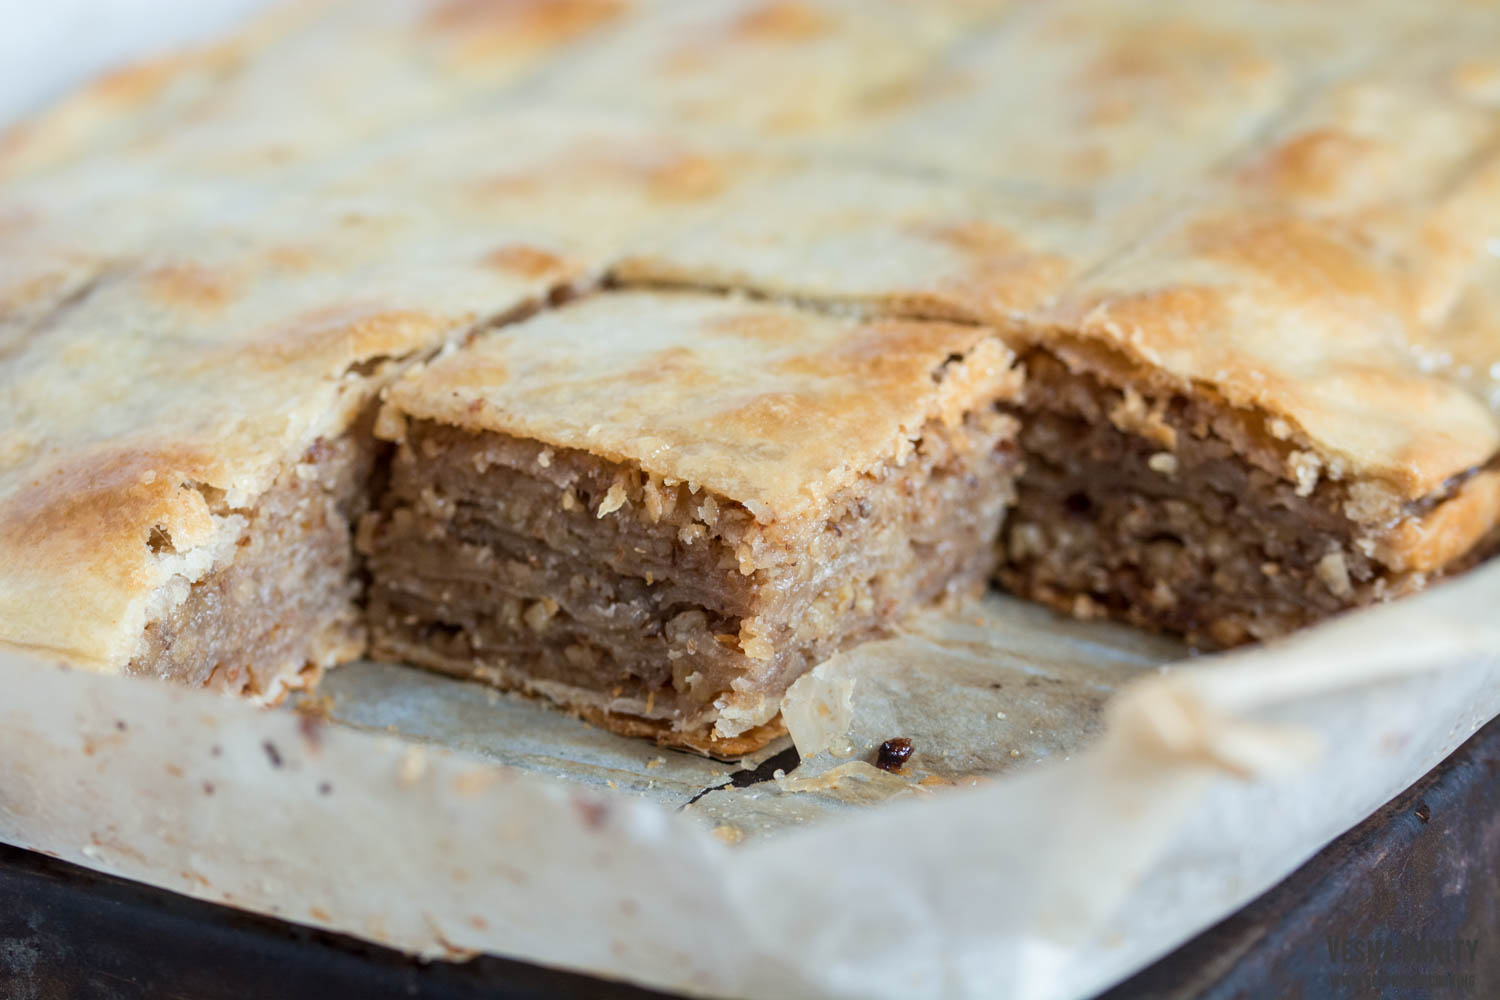
  15. Cover it with the eleventh sheet, grease it  cover with the last one. Using a sharp knife or a pizza cutter, cut the surface of the pie into 20 squares. Grease it with the milk mixture and bake in the preheated oven at 375°F/190°C (gas mark 5) for 30 minutes or until golden.
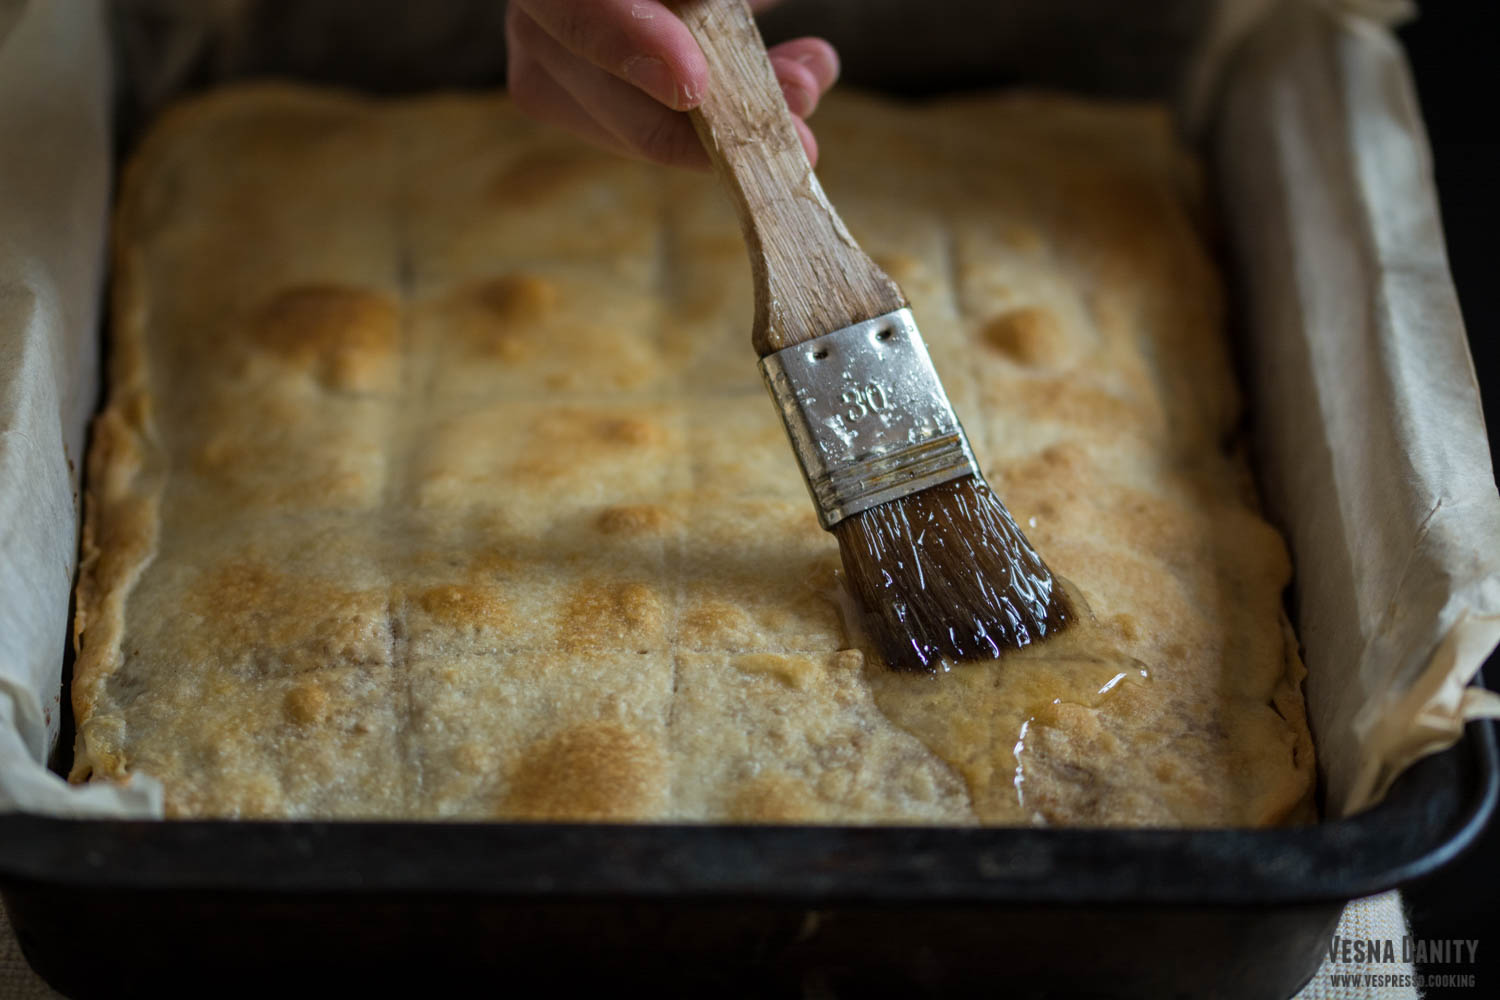
  16. Remove it from the oven and pour on top of it a mixture made form 3 Tbsp honey and 1 Tbsp water. Cover it with a towel and let it cool. This step is totally optional, some households prefer it moist, while other households love it dry.


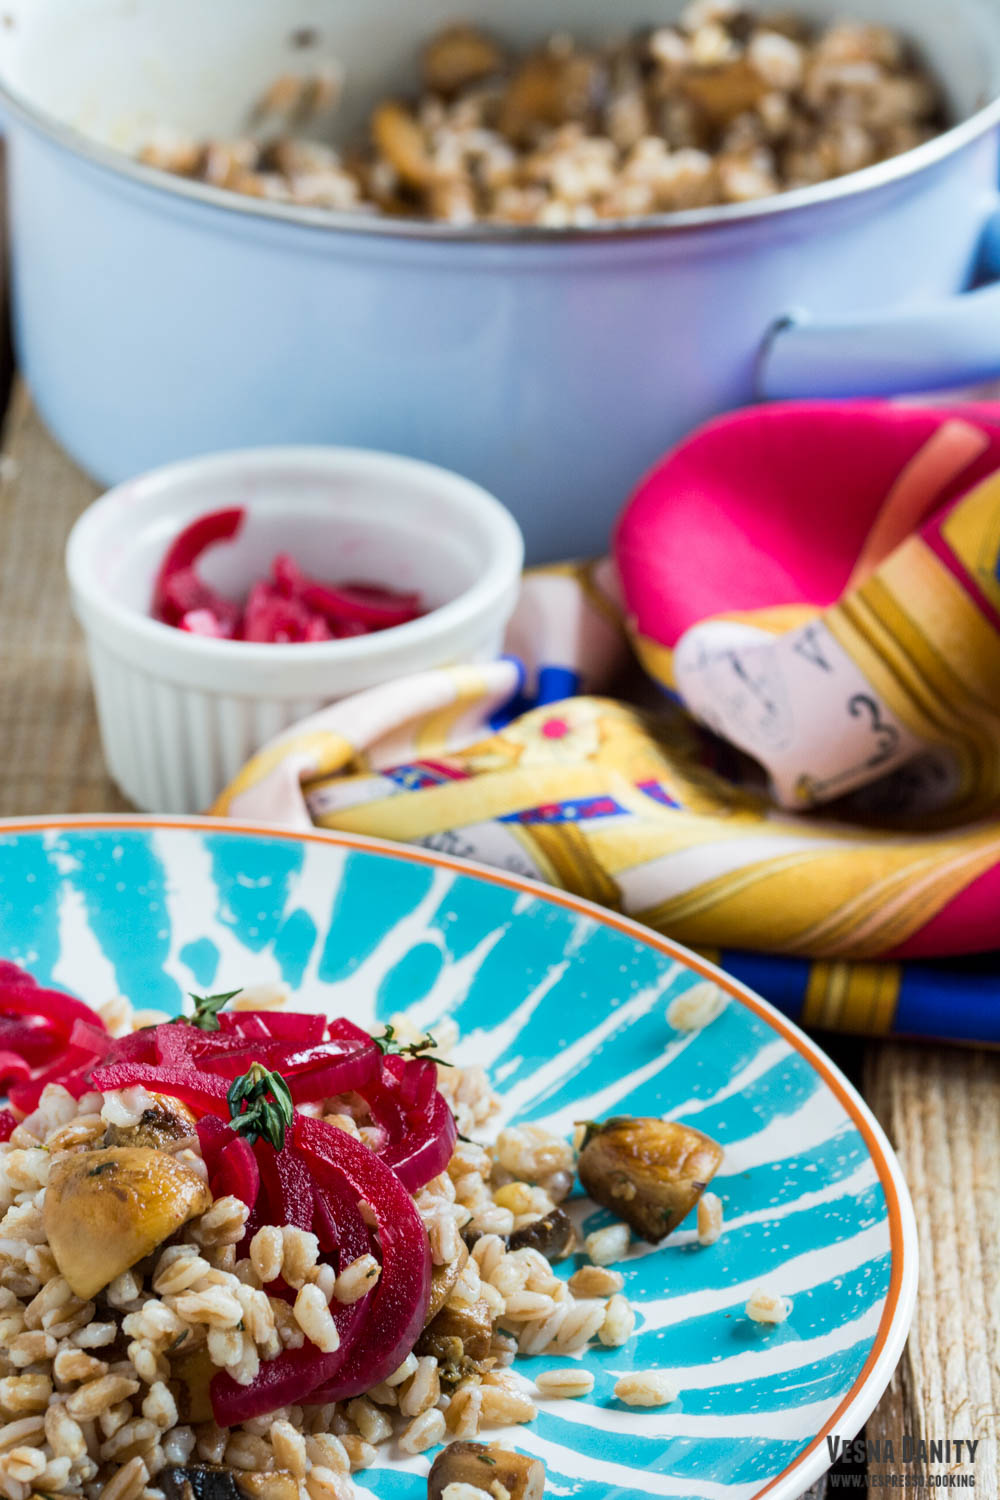
Farro Salad with Mushrooms and Pickled Onion

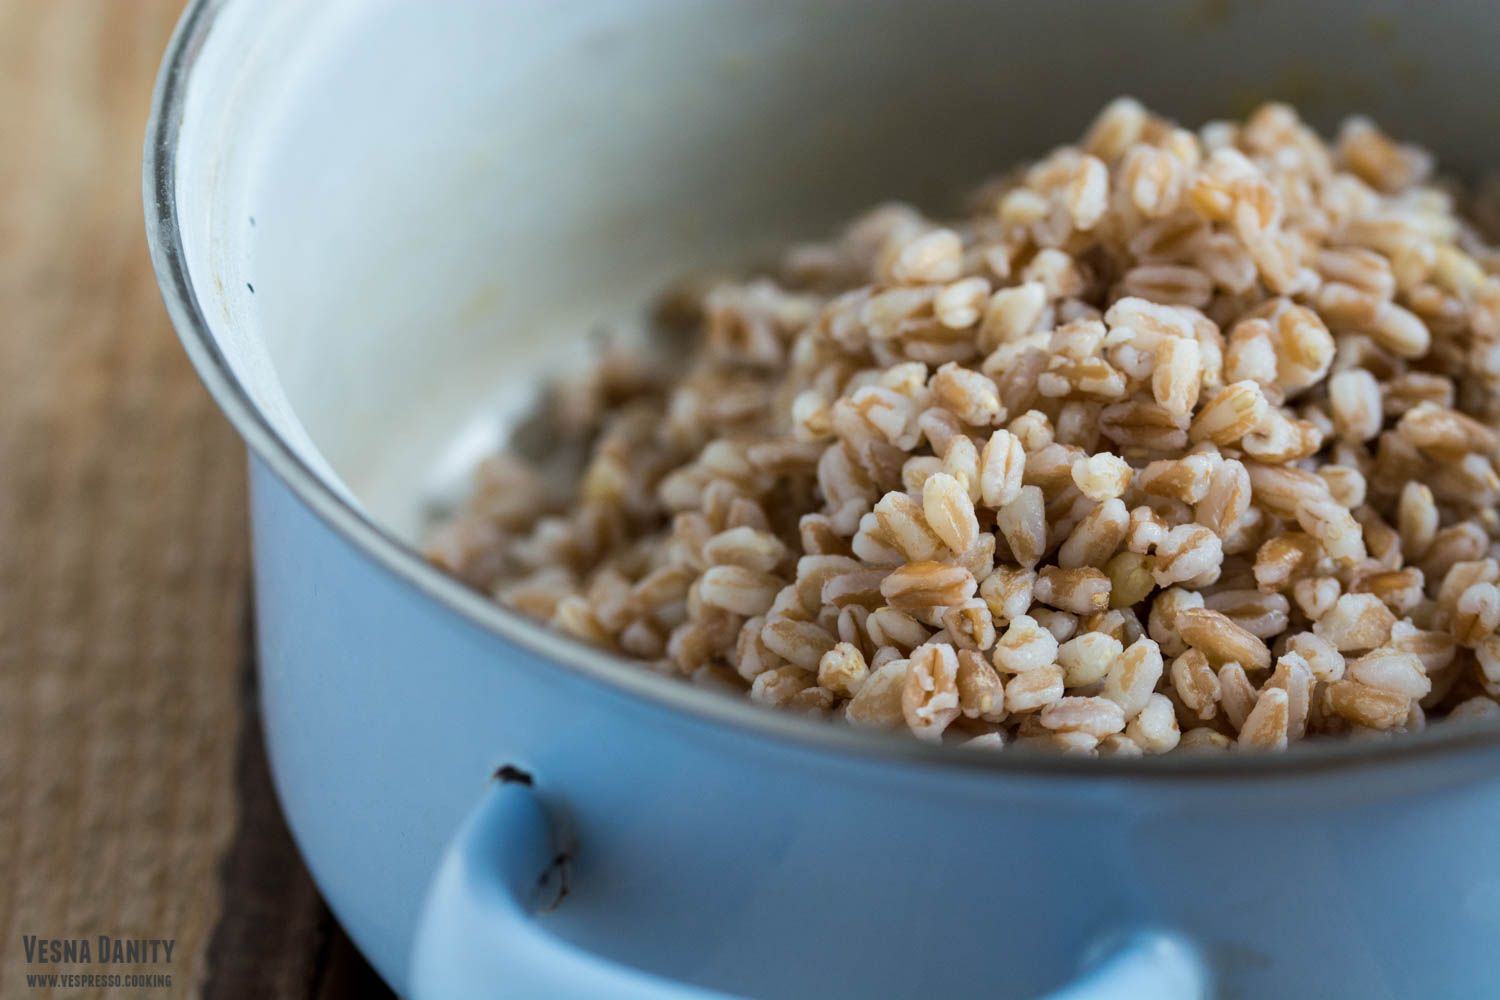
Farro (also known as emmer) is an ancient grain with a chewy texture and a subtle nutty flavor. Farro is an excellent source of fiber, protein, vitamin B complex and microelements (such as magnesium, iron and zinc).

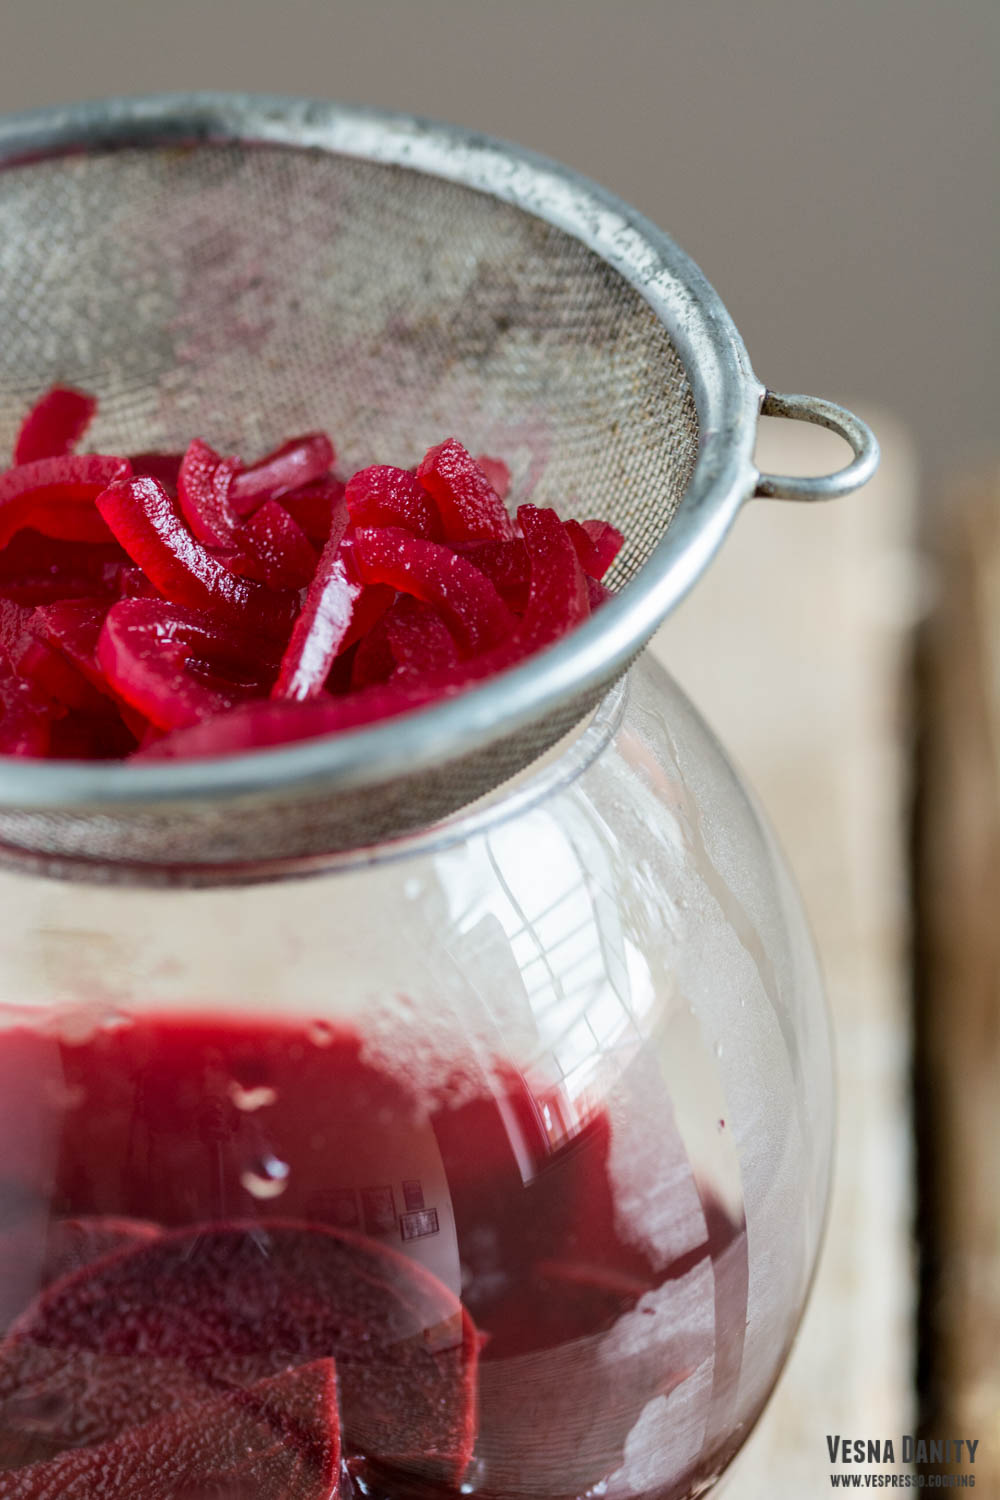
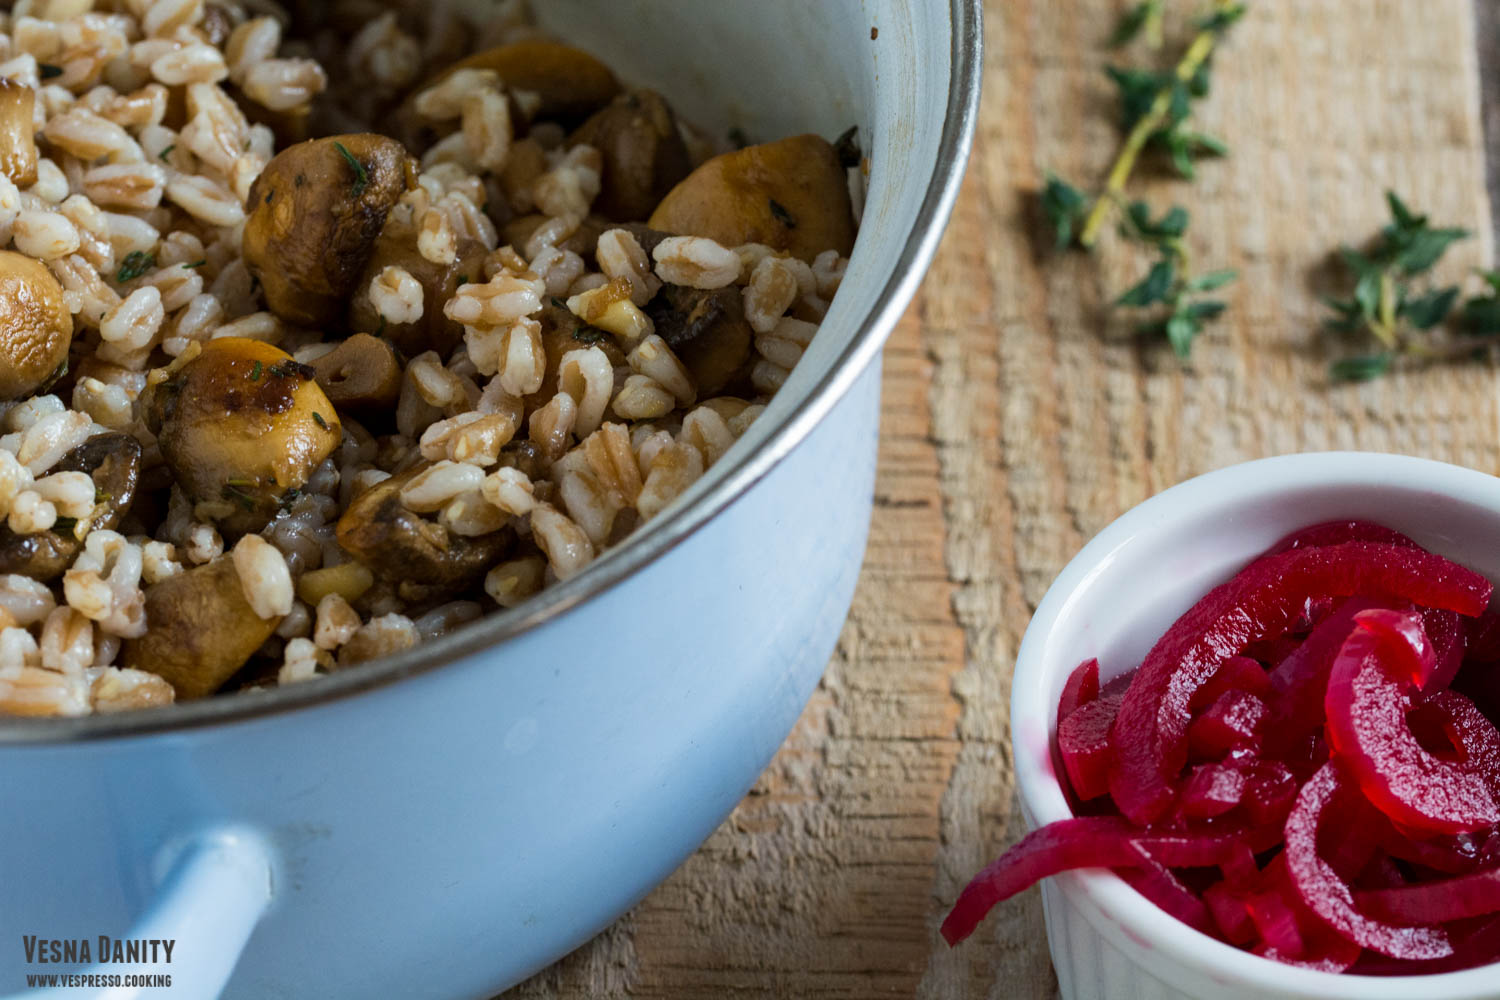
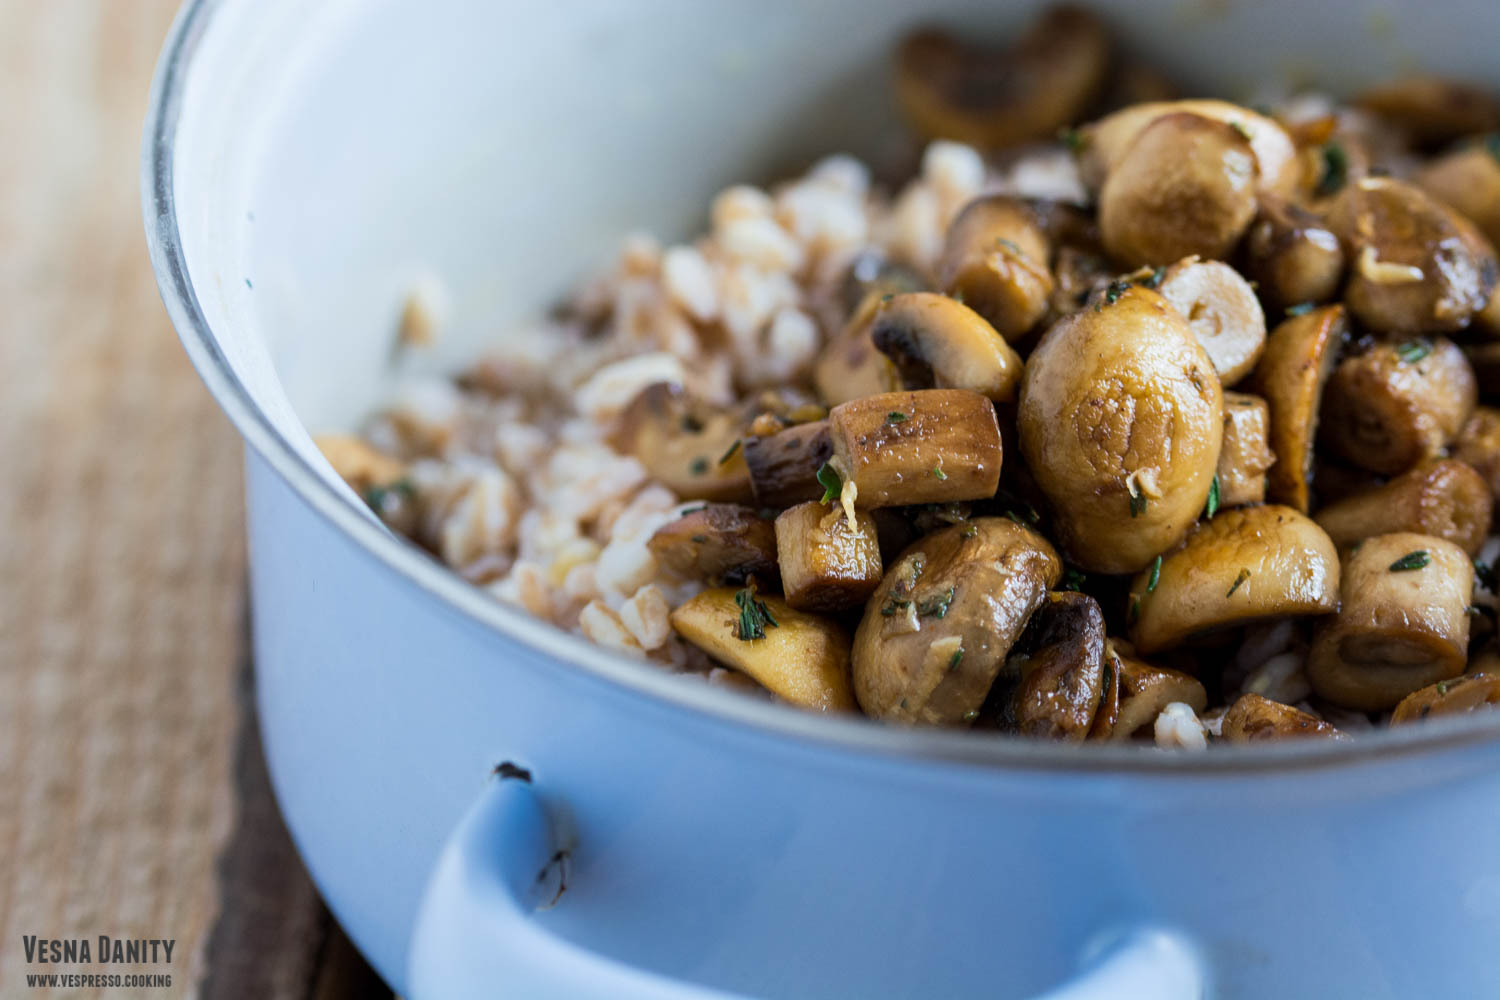
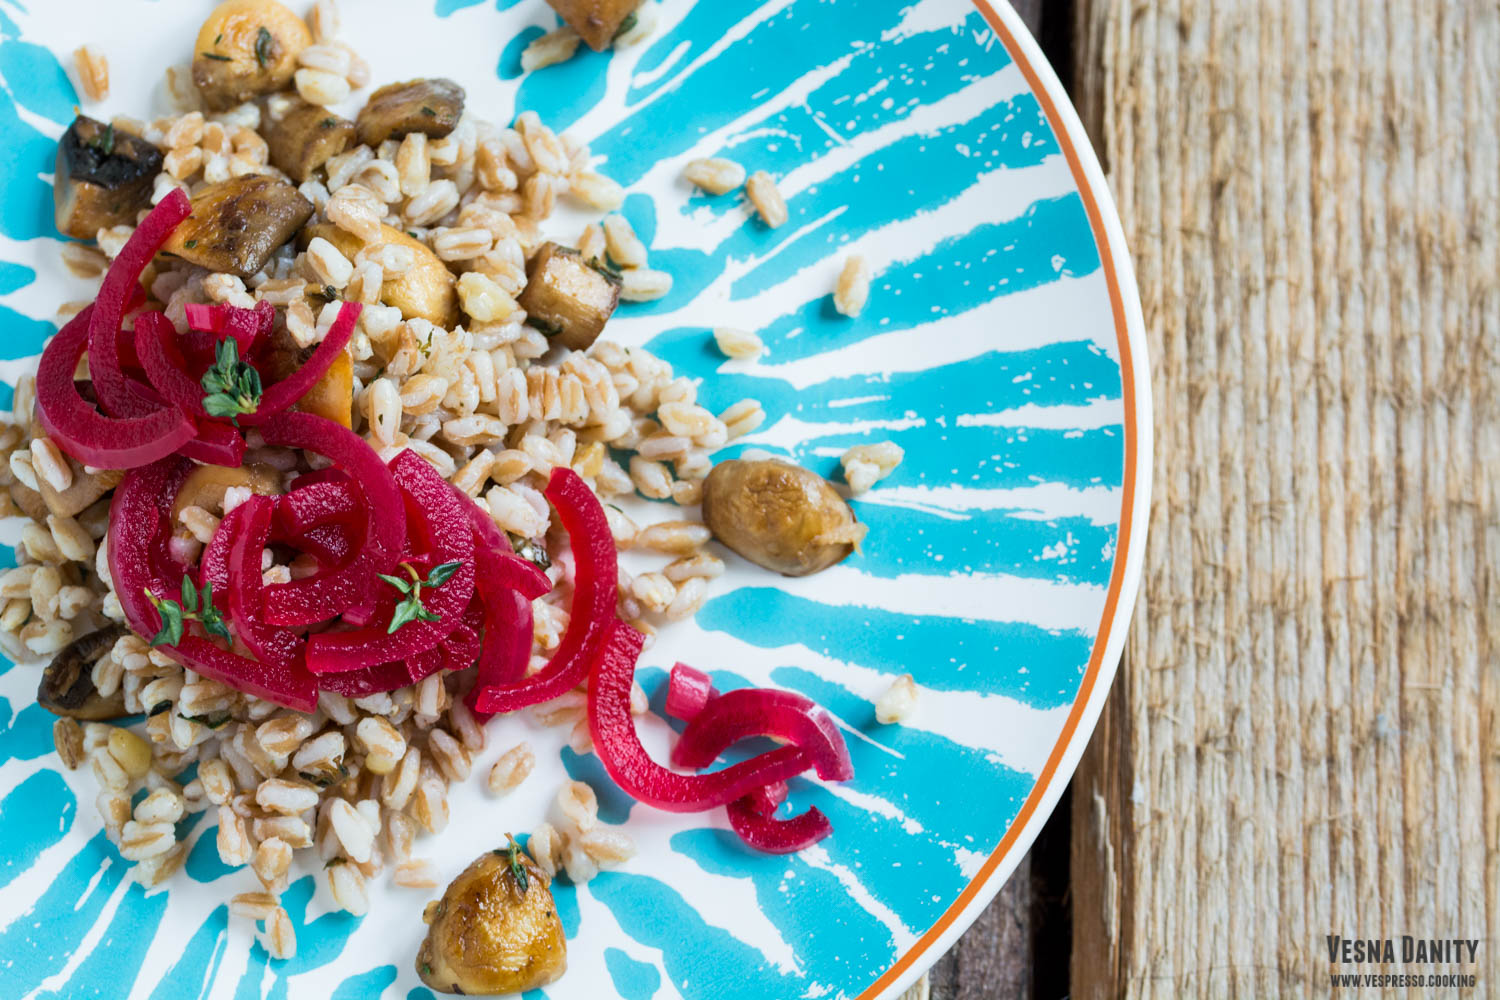
Farro is usually cooked like pasta, so it is practically boiled in salted water. The cooking time usually varies between 25 and 45 minutes, it is ready when it’s tender but still a little bit chewy. Today I served it in a divine salad, topped with sauteed mushrooms and pickled onion. This salad is simple yet elegant, light yet hearty, packed with nutrients and bold flavors. I started the salad by boiling the farro and while the farro was on the stove, I pickled the onion slices in a brine made with water, brown sugar and apple cider vinegar. To this brine I added a sliced beet which gave the onion ribbons a wonderful, almost hypnotic strawberry-red color. While my farro was simmering and my onion was pickling I sauteed some champignon mushrooms in some chili-flavored olive oil. And this is how my all-time favorite salad was born!
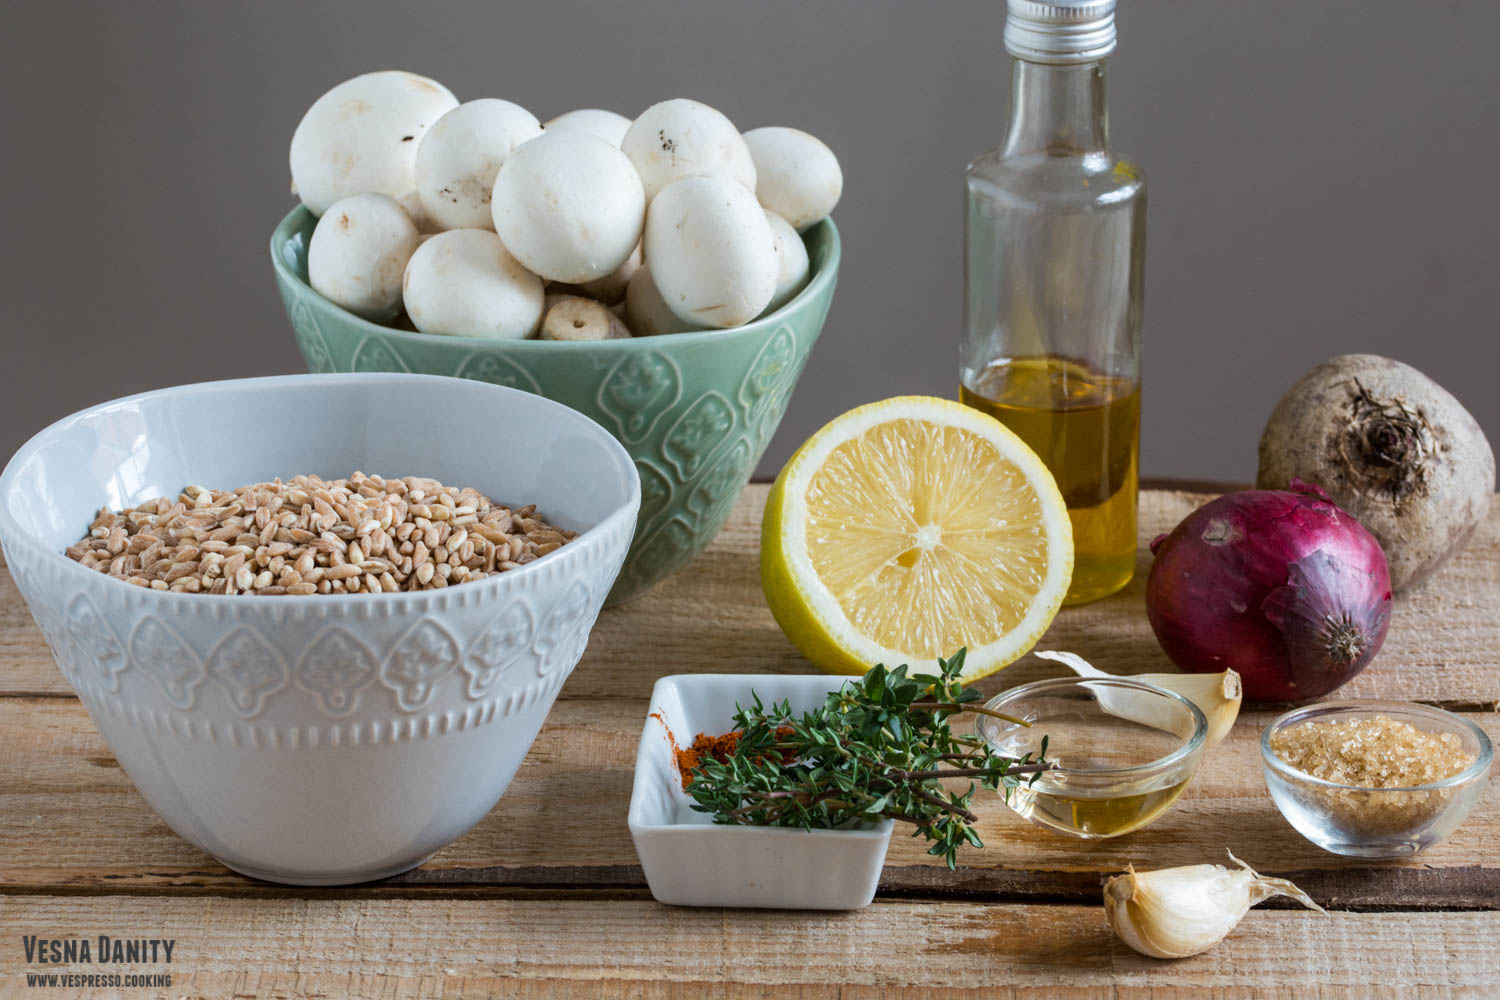
Ingredients (for 2 servings):

  • 150g uncooked farro
  • 250g champignon mushrooms
  • 2 Tbsp olive oil
  • 1 Tbsp lemon juice
  • 1/8 tsp chili powder
  • 2 garlic cloves
  • 1 small red onion
  • 1/2 cup water
  • 2 Tbsp brown sugar
  • 2 Tbsp apple cider vinegar
  • 1 small red beet

Method:

  1. Fill a large saucepan with water, add 1 Tbsp of salt, cover with a lid and bring to a boil. Add the farro, reduce the heat to minimum and simmer for 25 – 45 minutes (cook according to the instructions on the package; farro is cooked when it’s tender but still a little bit chewy).
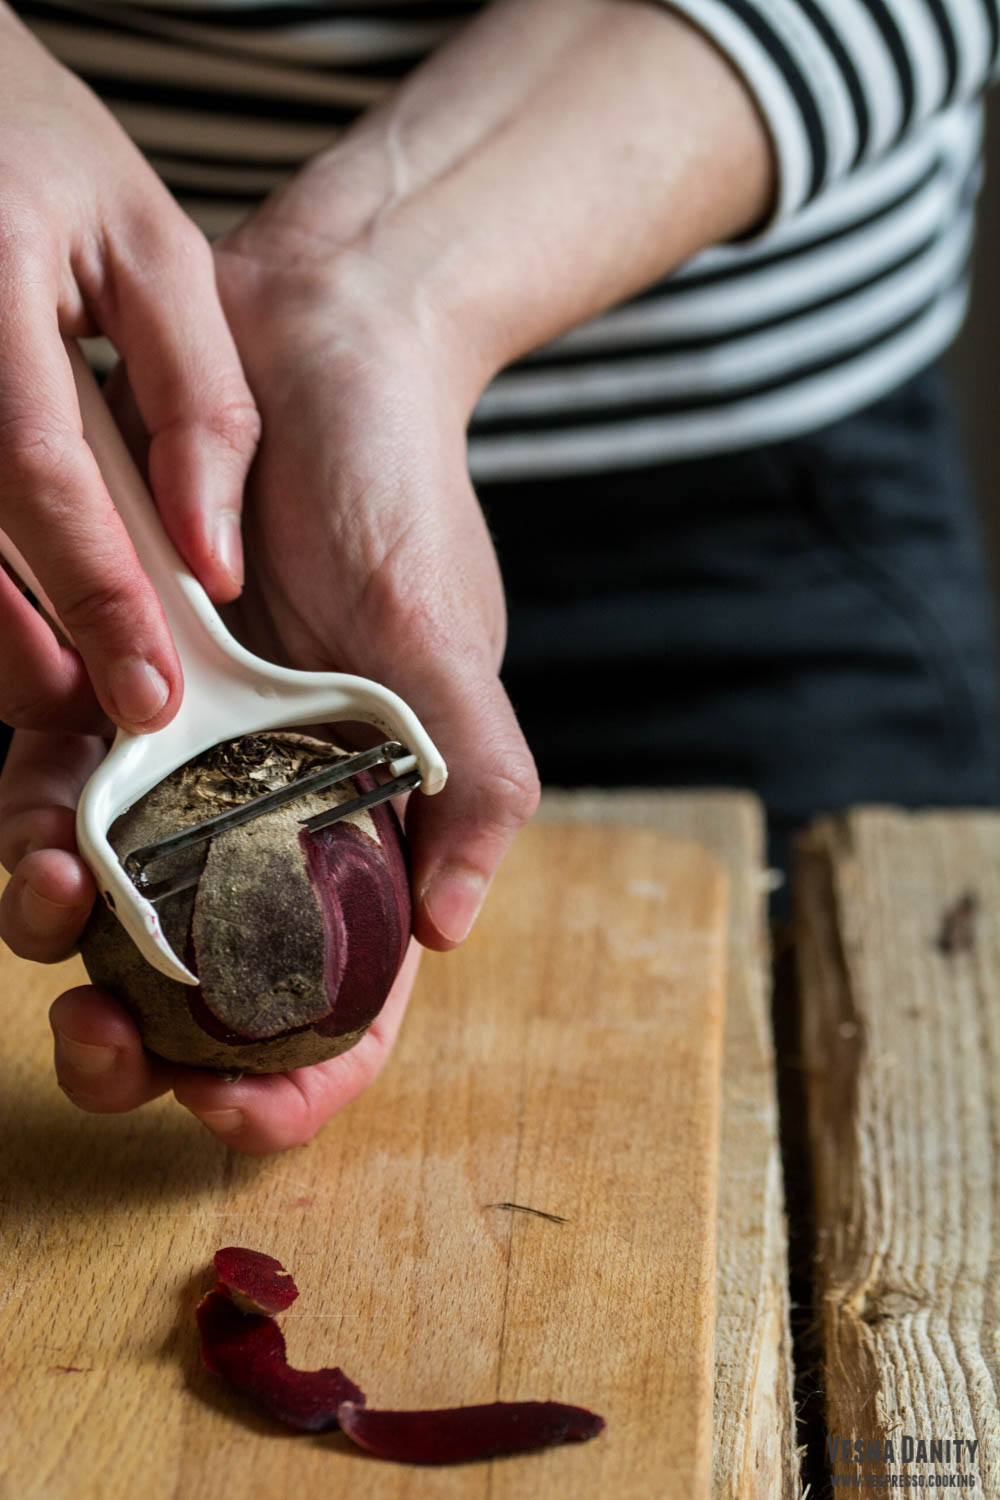
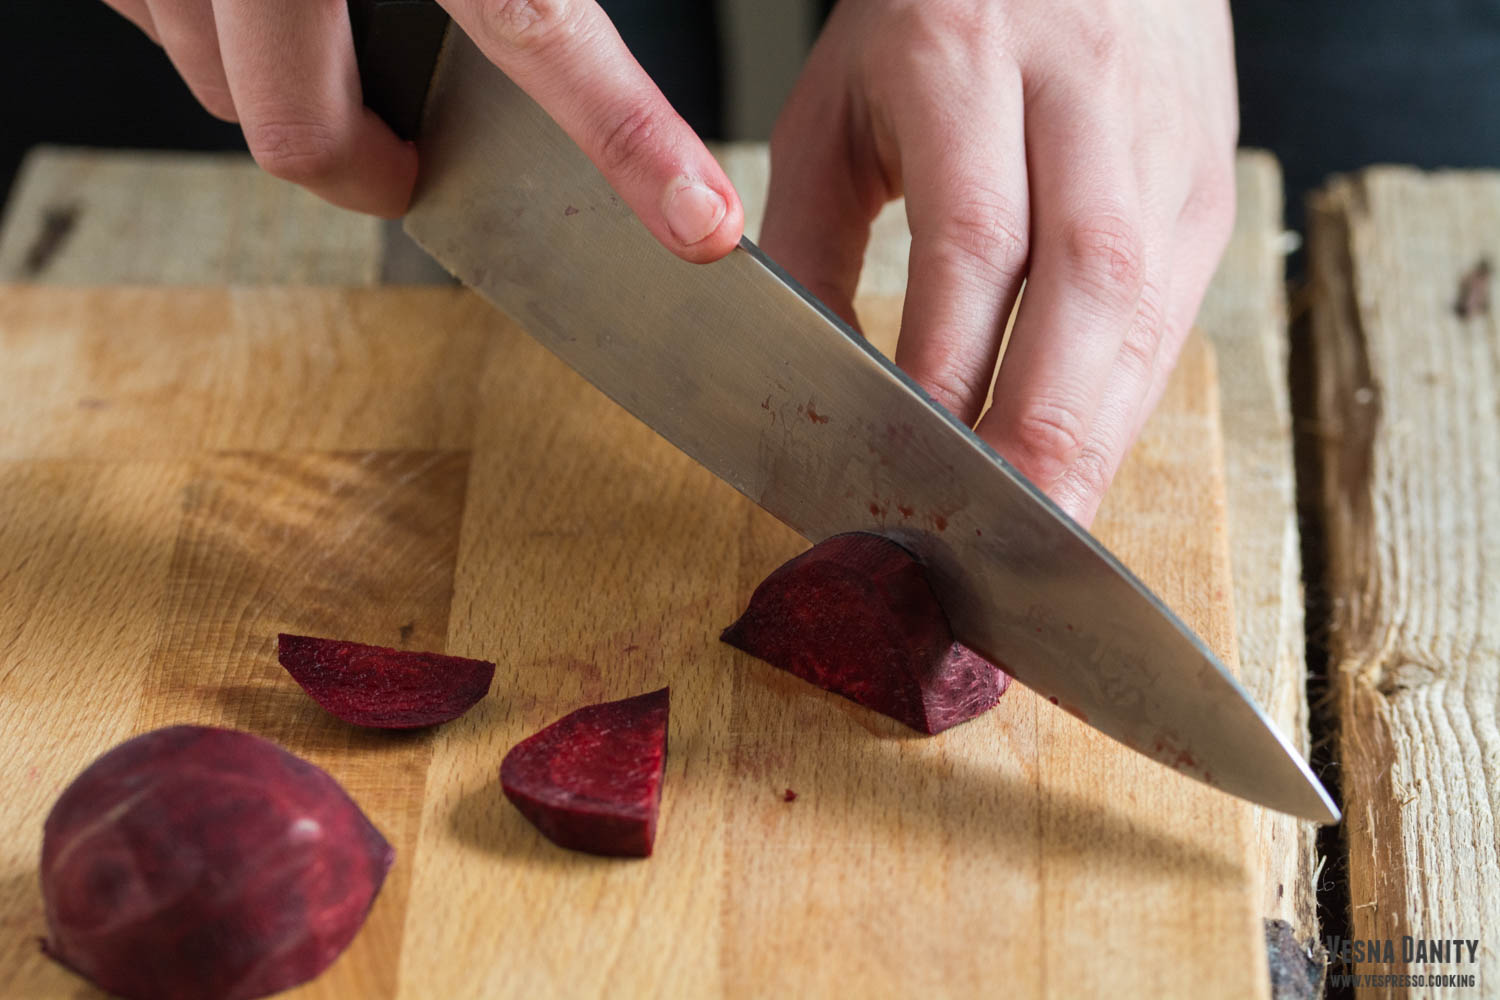
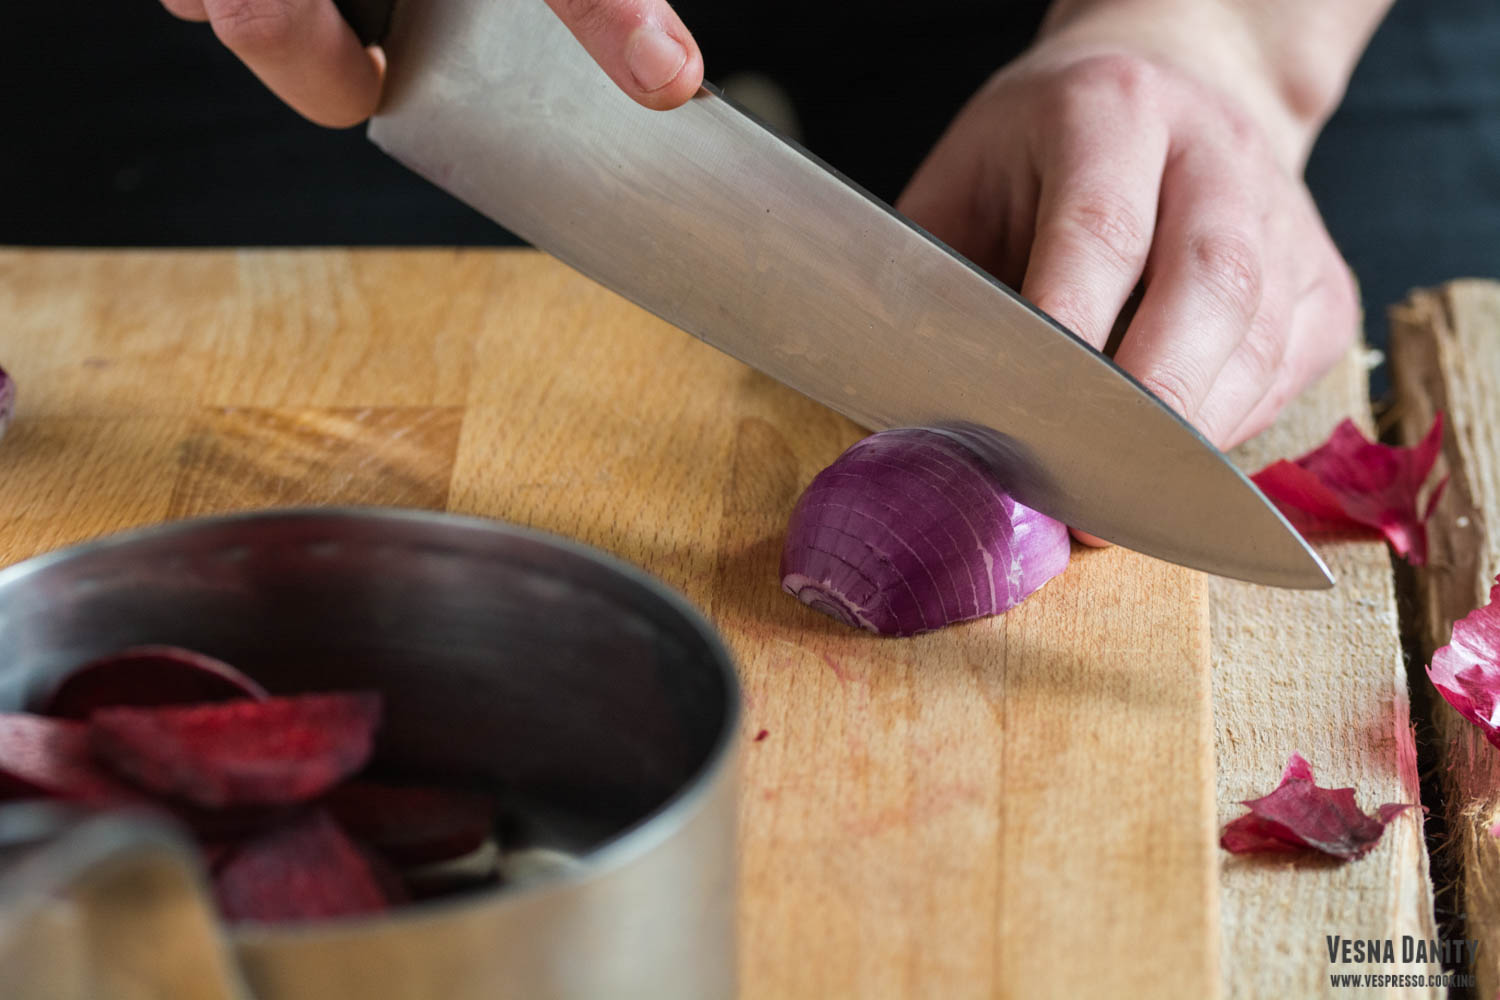
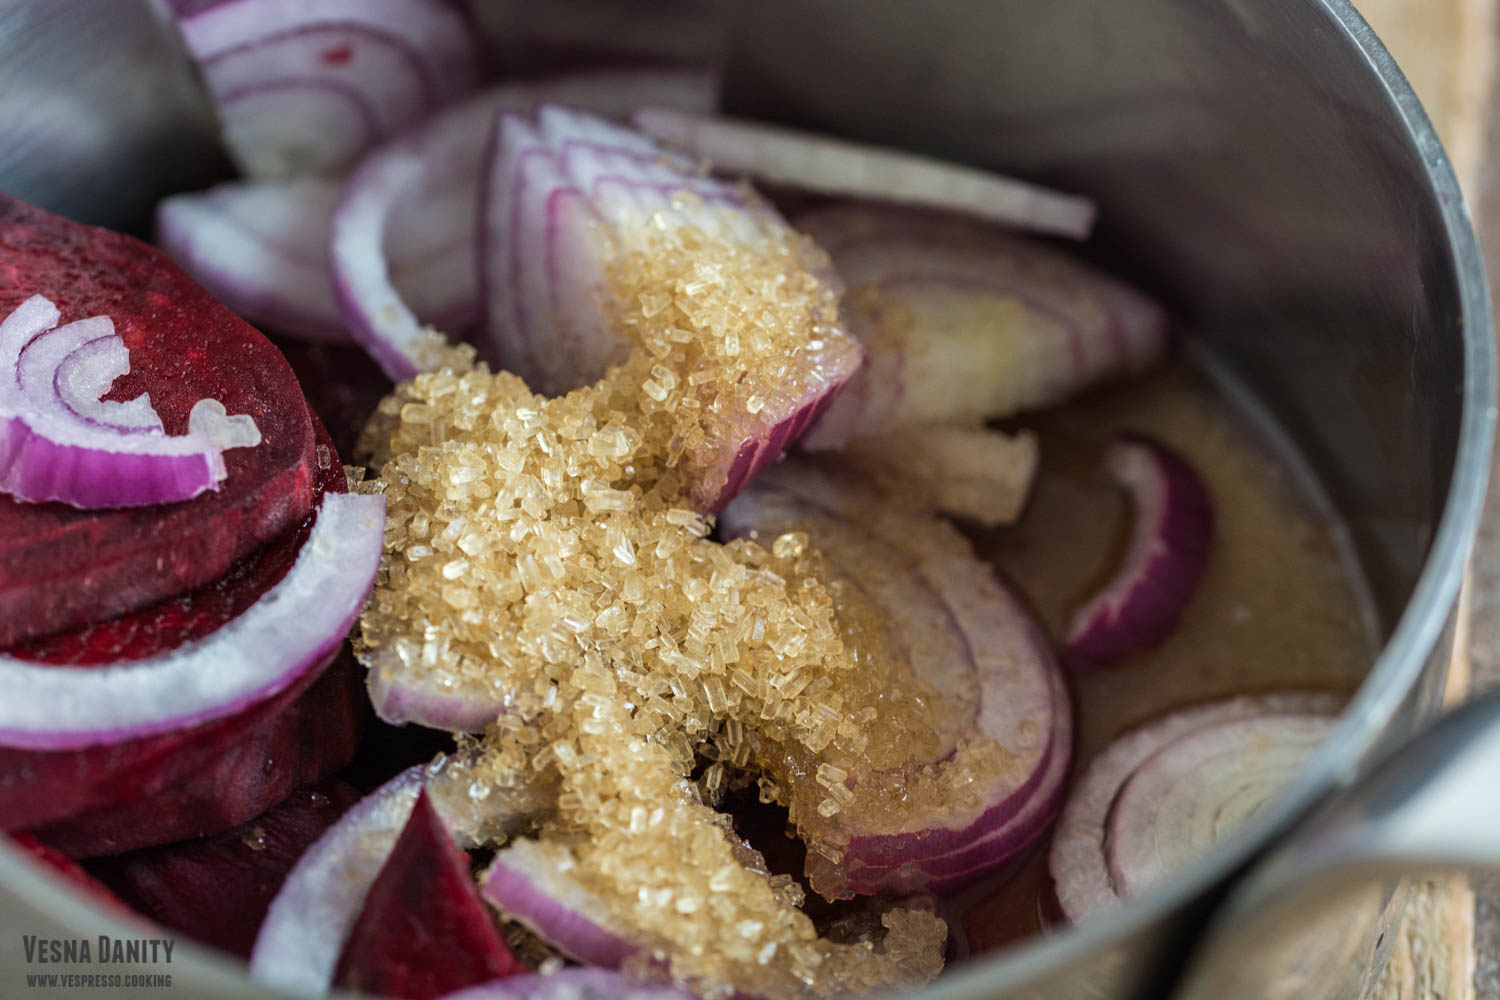
  2. Meanwhile peel the beet with a vegetable peeler, slice it and place it in a small saucepan. Peel the onion, halve it, slice it finely and add it to the saucepan. Add 1/2 cup of water, 2 Tbsp of sugar and 2 Tbsp of vinegar. Place it on the stove over medium heat and bring it to a simmer. Lower the heat to medium and simmer it for 1 minute. Leave it aside to marinade.
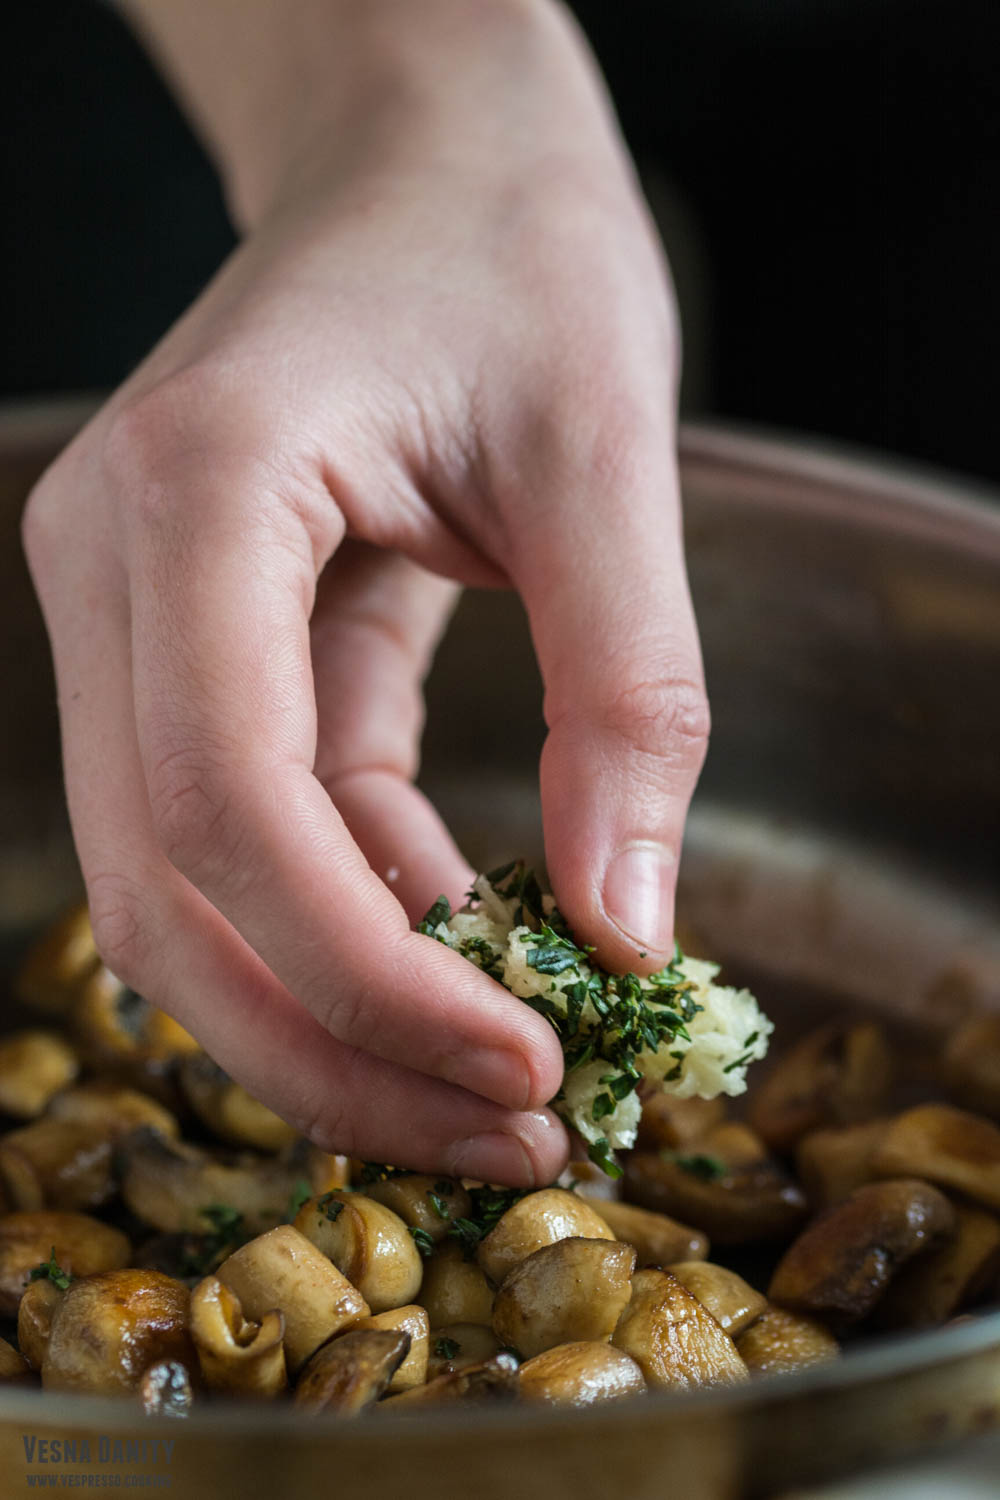
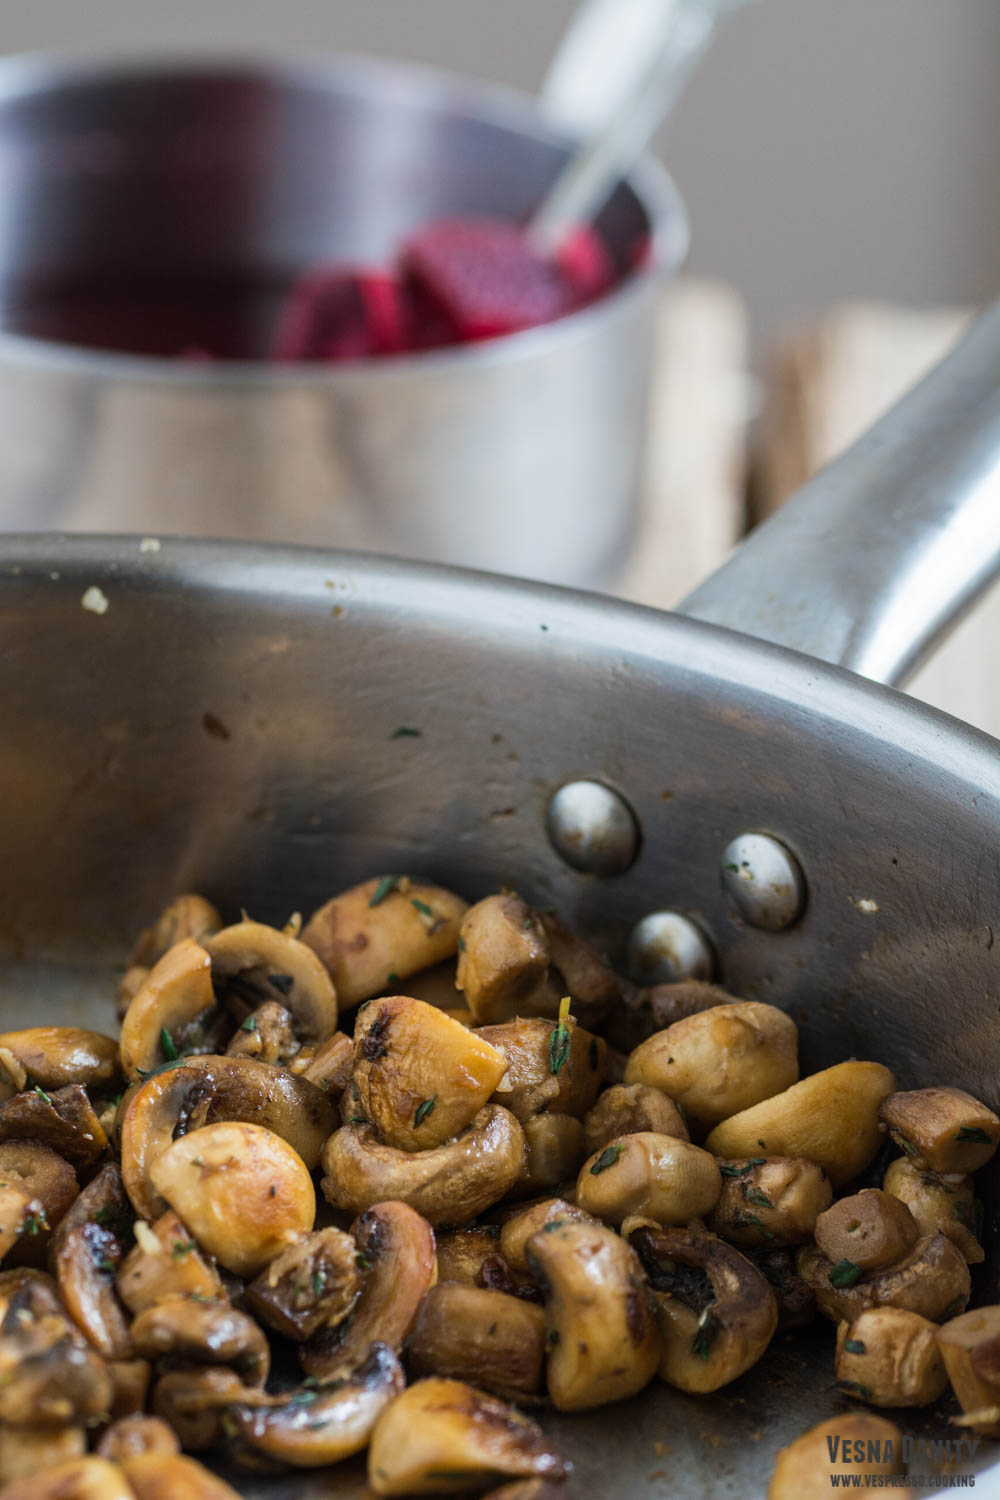
  3. Clean the mushrooms with a clean sponge. Remove the stems and halve the caps. In a large skillet heat 1 Tbsp of olive oil over medium-high heat. Season it with chili and add the mushrooms (caps + stems). Sautee until the mushrooms become golden brown and the liquid has evaporated. Add the minced garlic and chopped thyme and cook for further 60 seconds, stirring continuously. Deglaze the pan with 1 Tbsp lemon juice and leave aside to cool down.
  4. When the farro is cooked, drain the excess water, rinse under cold water and drain well using a colander.
  5. Remove the excess liquid from the pickled onions and discard the beet slices.
  6. To assemble the salad mix together the farro with the sauteed mushrooms. Add 1 Tbsp of olive oil and season with salt. Divide the salad between two plates and garnish with pickled onion ribbons.
  7. Place the leftovers (if any) in a bowl, cover with cling film and refrigerate for up to 2 days.


Source: www.cookieandkate.com

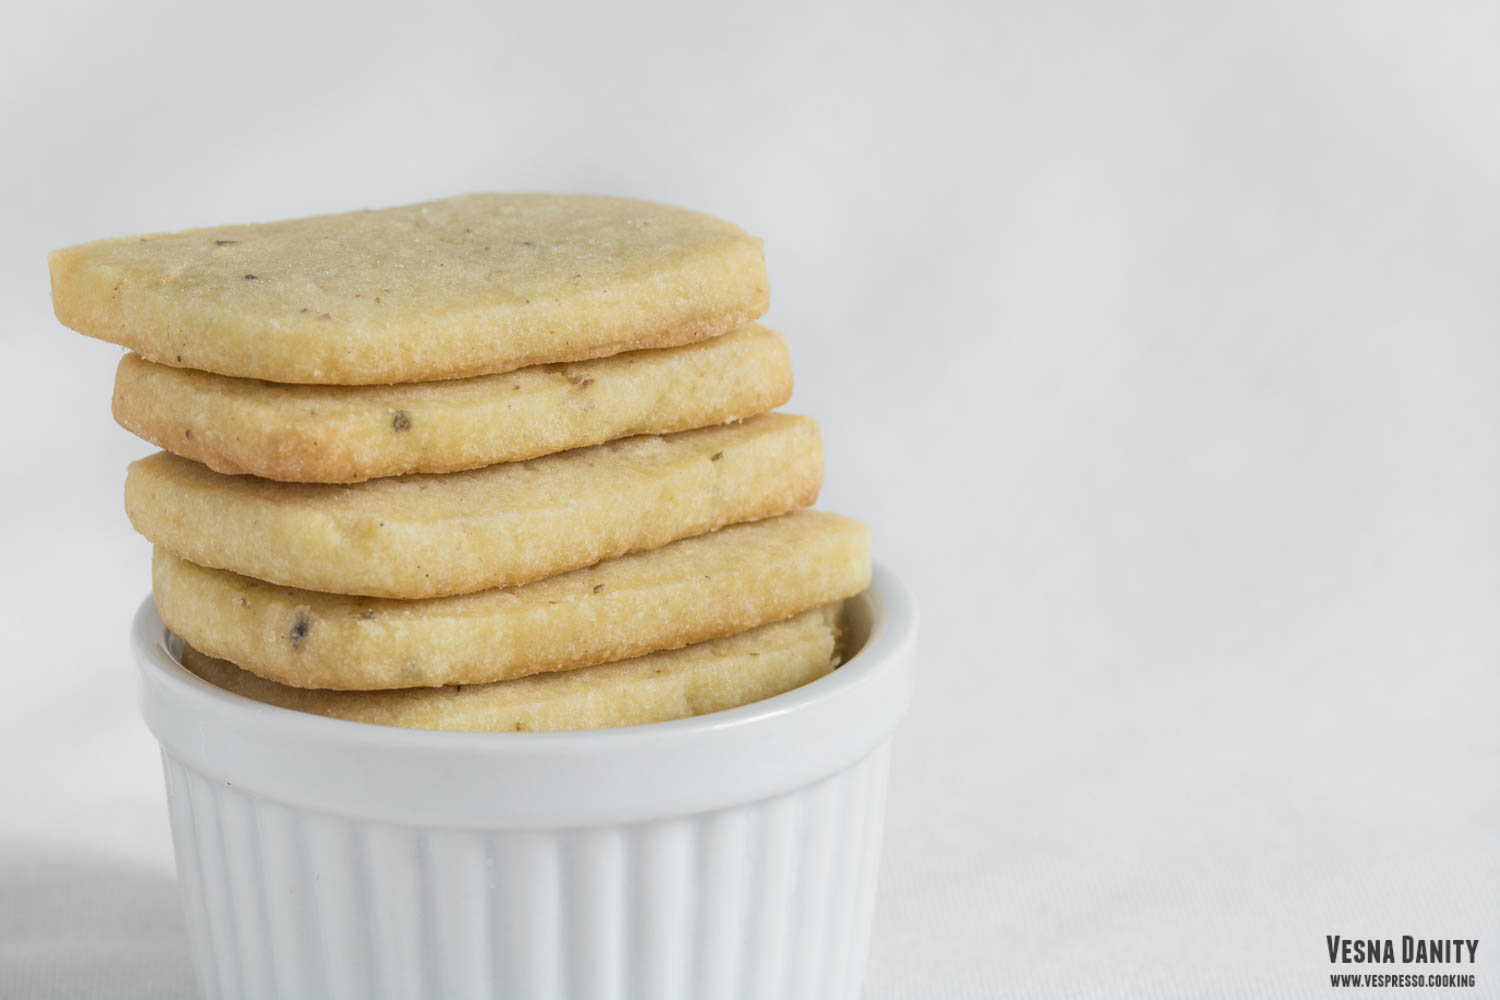
Vegan Lavender Shortbread Cookies

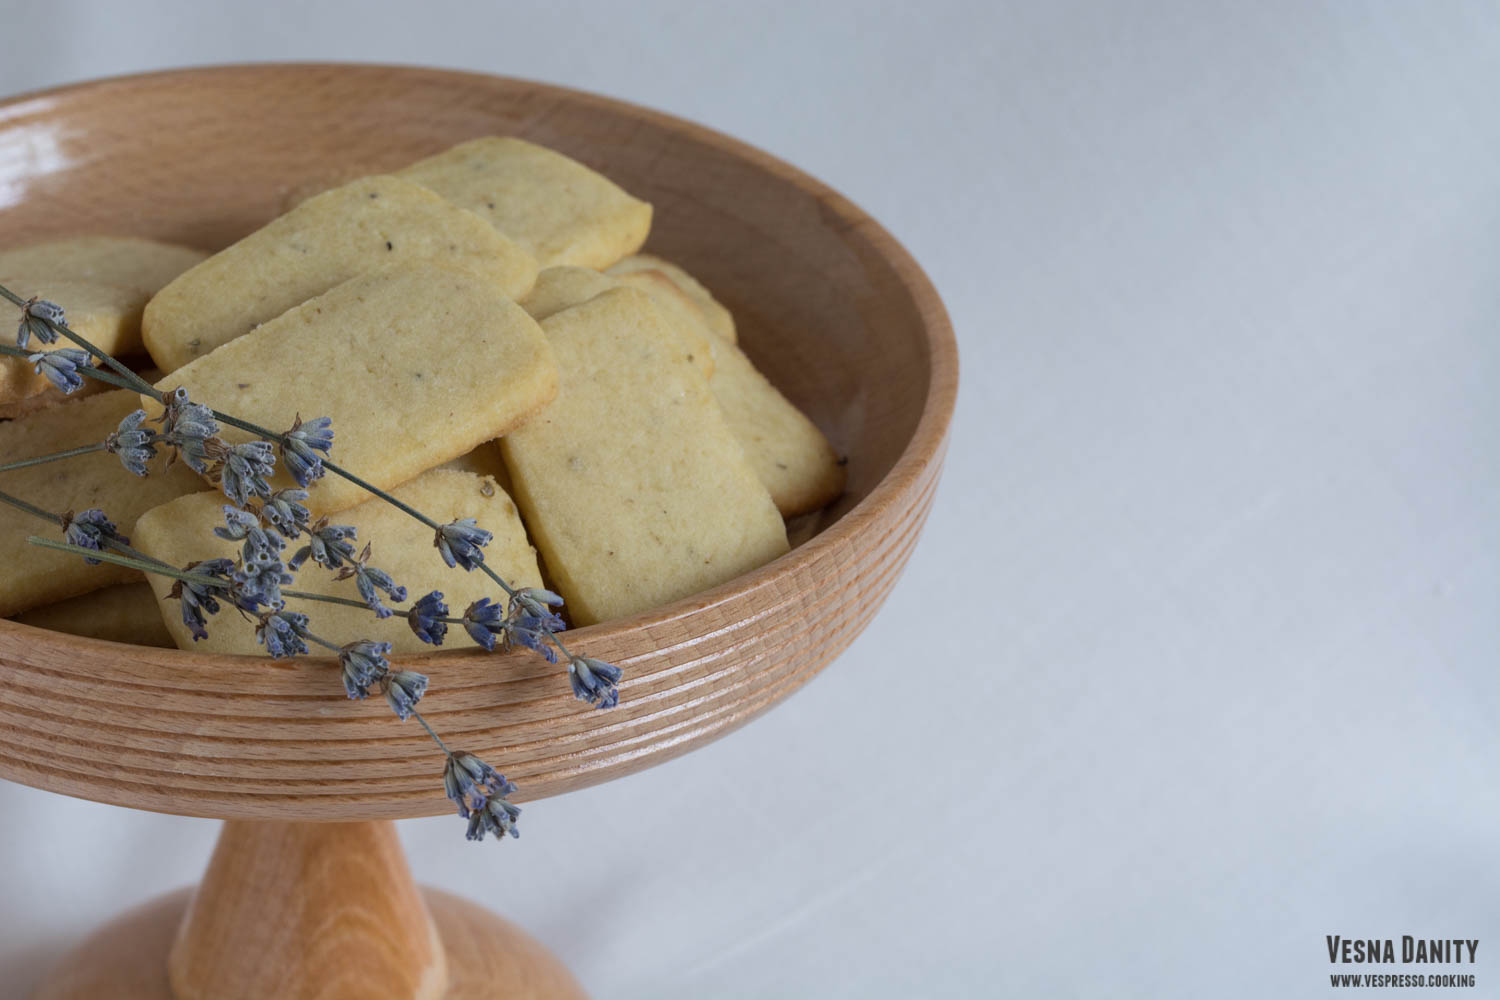
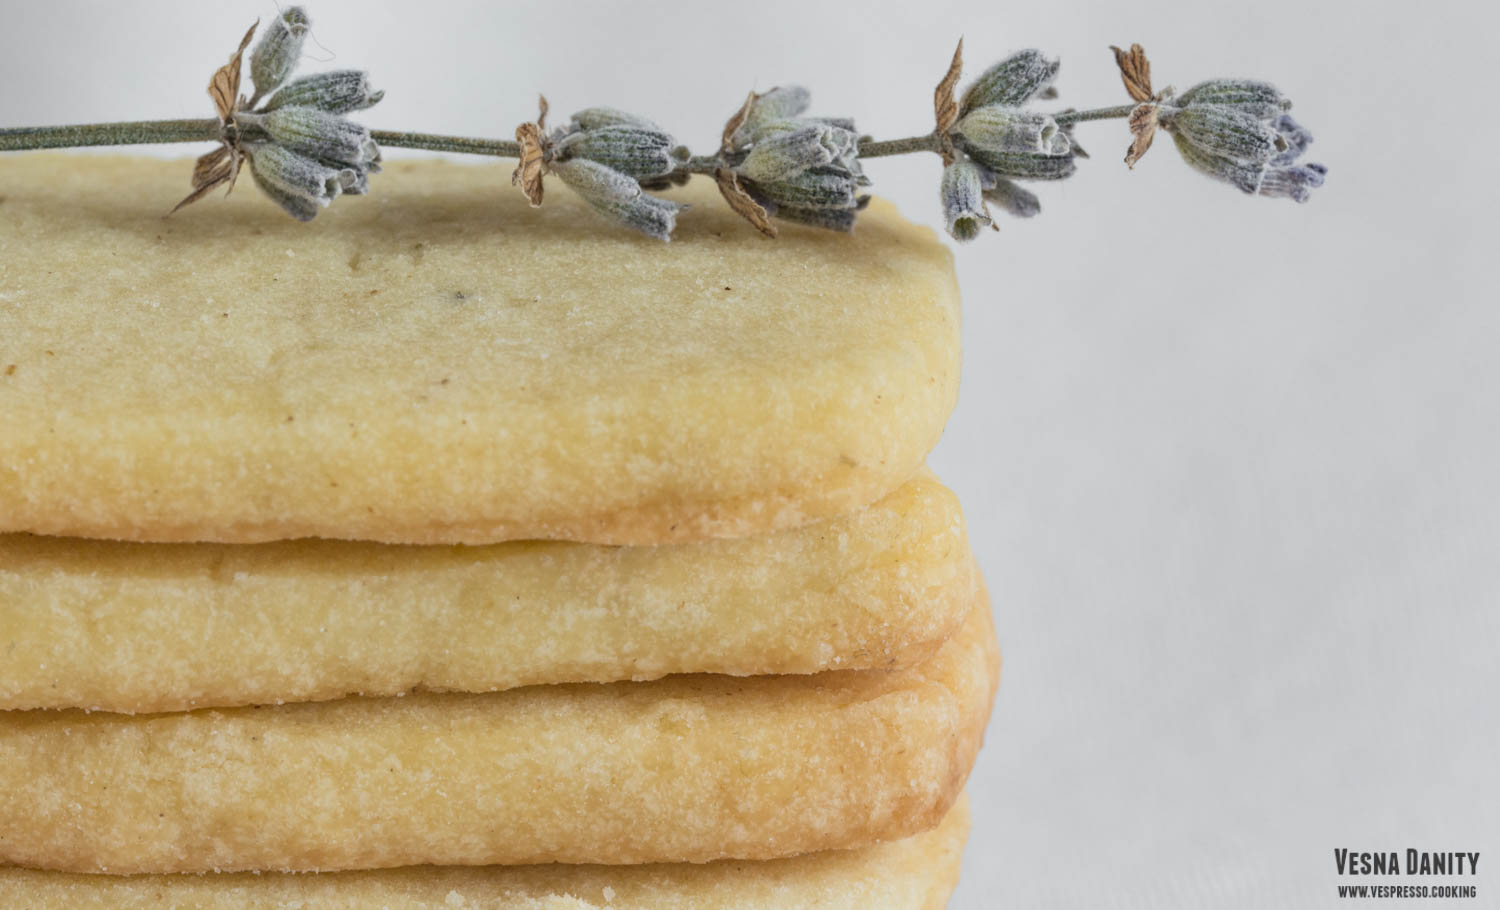
If I have to imagine an ideal snack, I’d definitely pick a large cup of tea and some homemade biscuits. Simple as that! I love cookies so much, I love them in every shape, size or flavor, so it was impossible for me not to fall in love with these amazing lavender shortbread rectangles. Shortbread is a Scottish biscuit traditionally made from one part sugar, two parts butter and three parts flour. I followed these proportions but instead of butter, I used old-fashion margarine, to make them suitable for a plan-based diet. They turned out amazing, so crumbly that they simply melted in my mouth.

These lavender biscuits are so delicious and extremely easy to make. You shape the dough into a log, you refrigerate it and you cut it in thin rectangles, so you don’t need a cookie cutter to make this recipe. It’s simply fascinating how just a few basic ingredients can create something majestic.


Ingredients (for 20 biscuits):

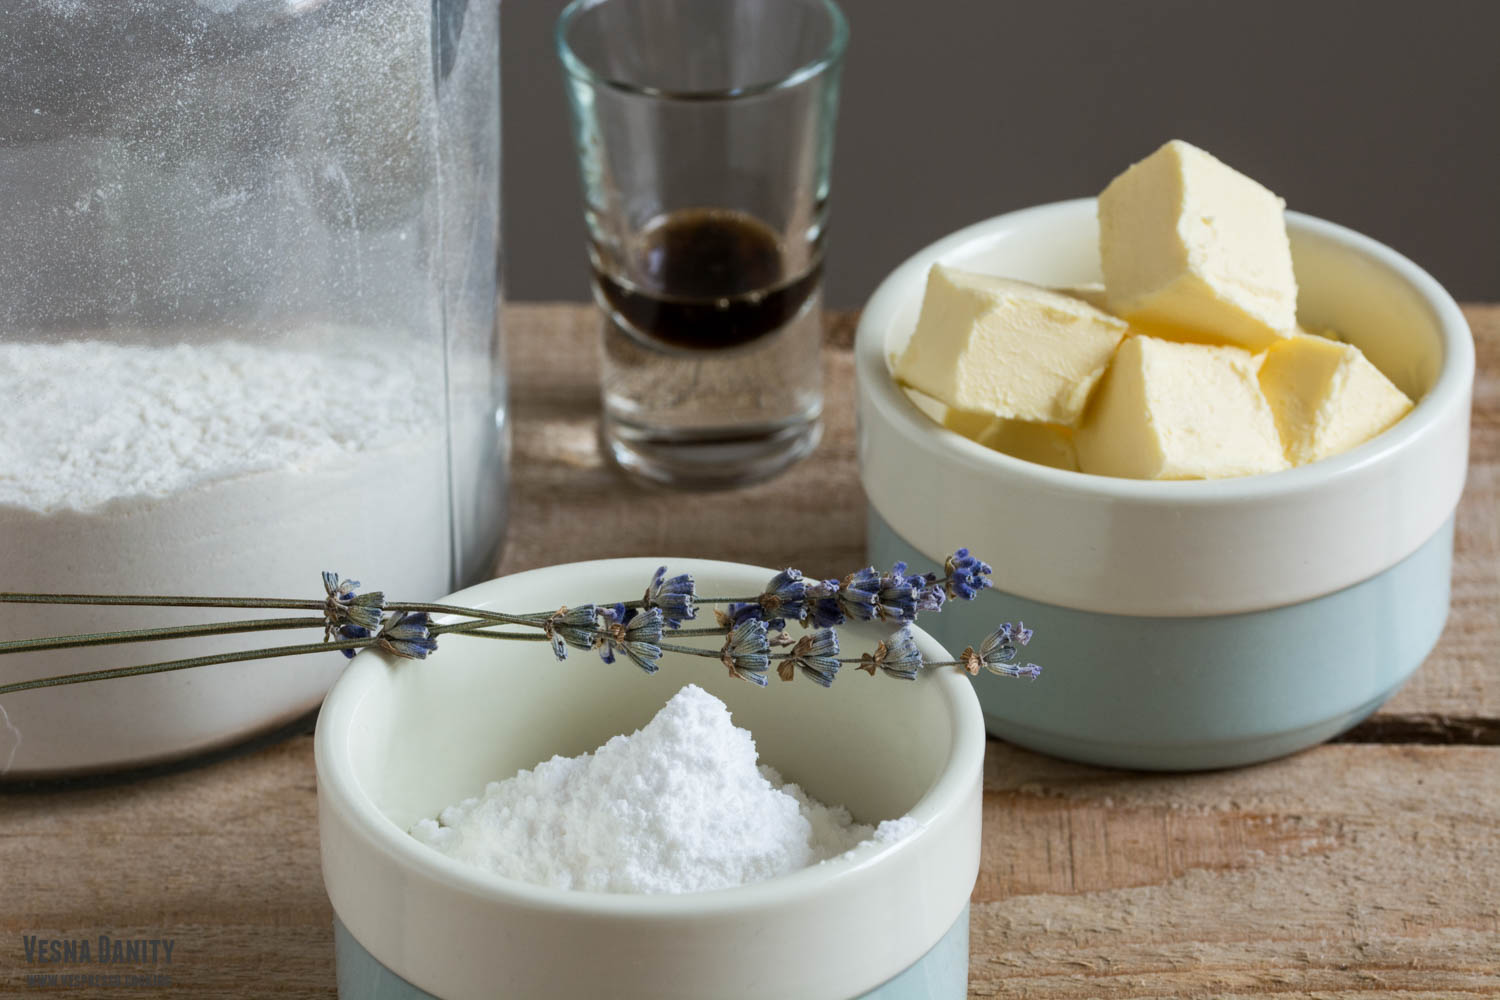
  • 115g margarine / vegan butter / coconut oil refined or unrefined (unrefined coconut oil will give the cookies a subtle coconut flavor) at room temperature
  • 130g white flour
  • 30g powdered sugar
  • 1/2 tsp vanilla extract
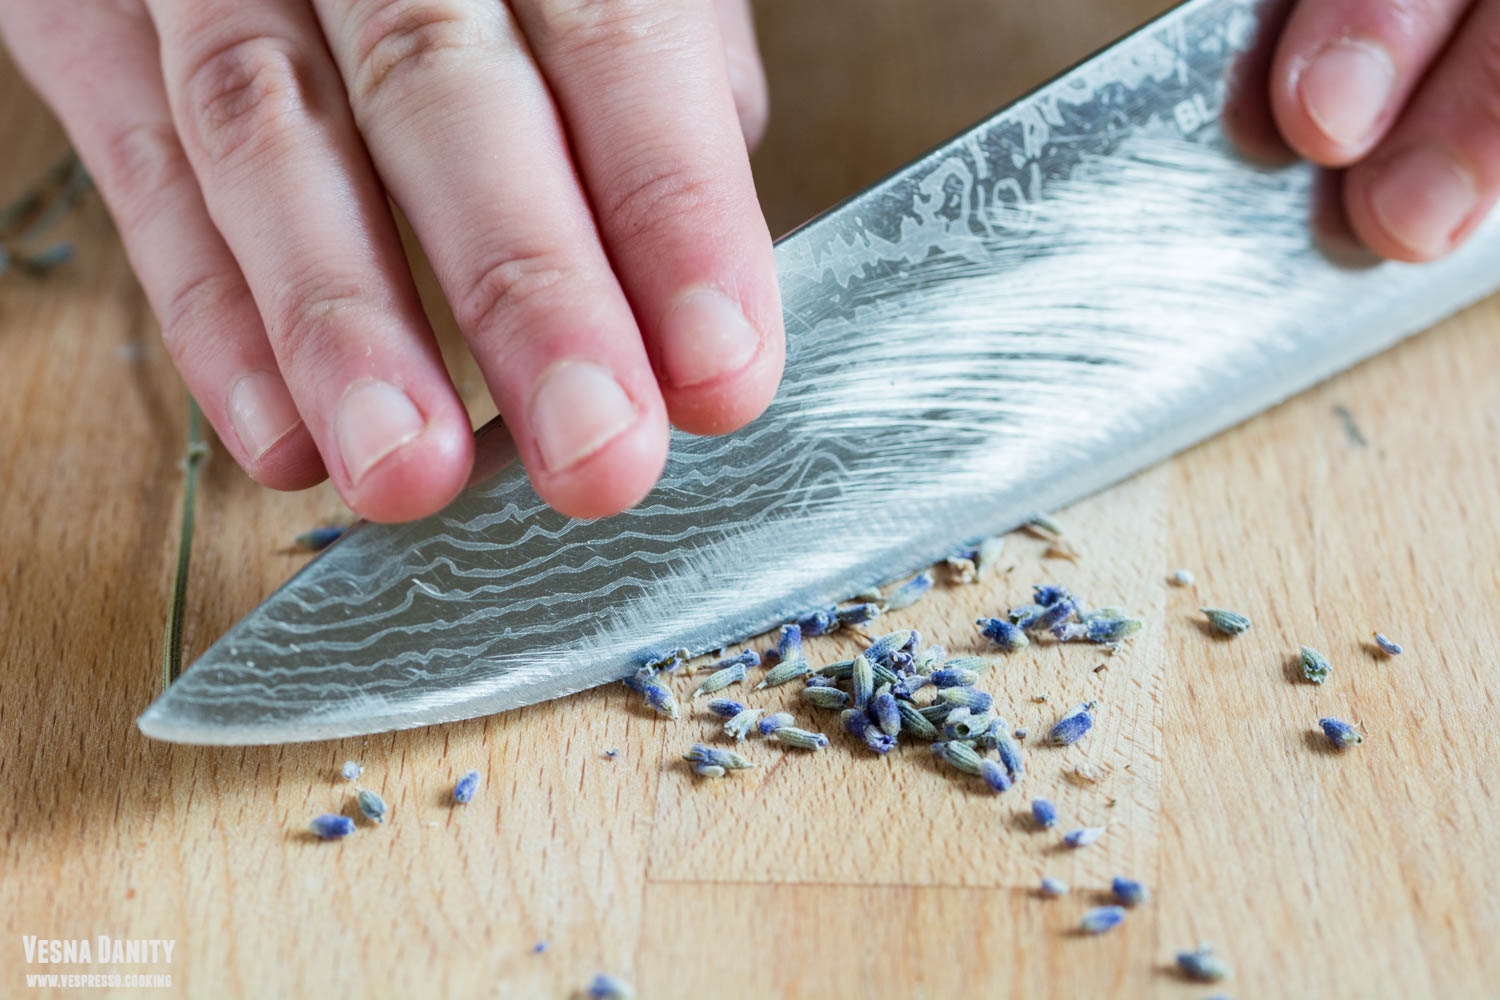
  • 1/2 tsp chopped dried culinary lavender flowers
  • 1/8 tsp sea salt


Method:

  1. Preheat the oven at 180C / 350F (gas mark 4).
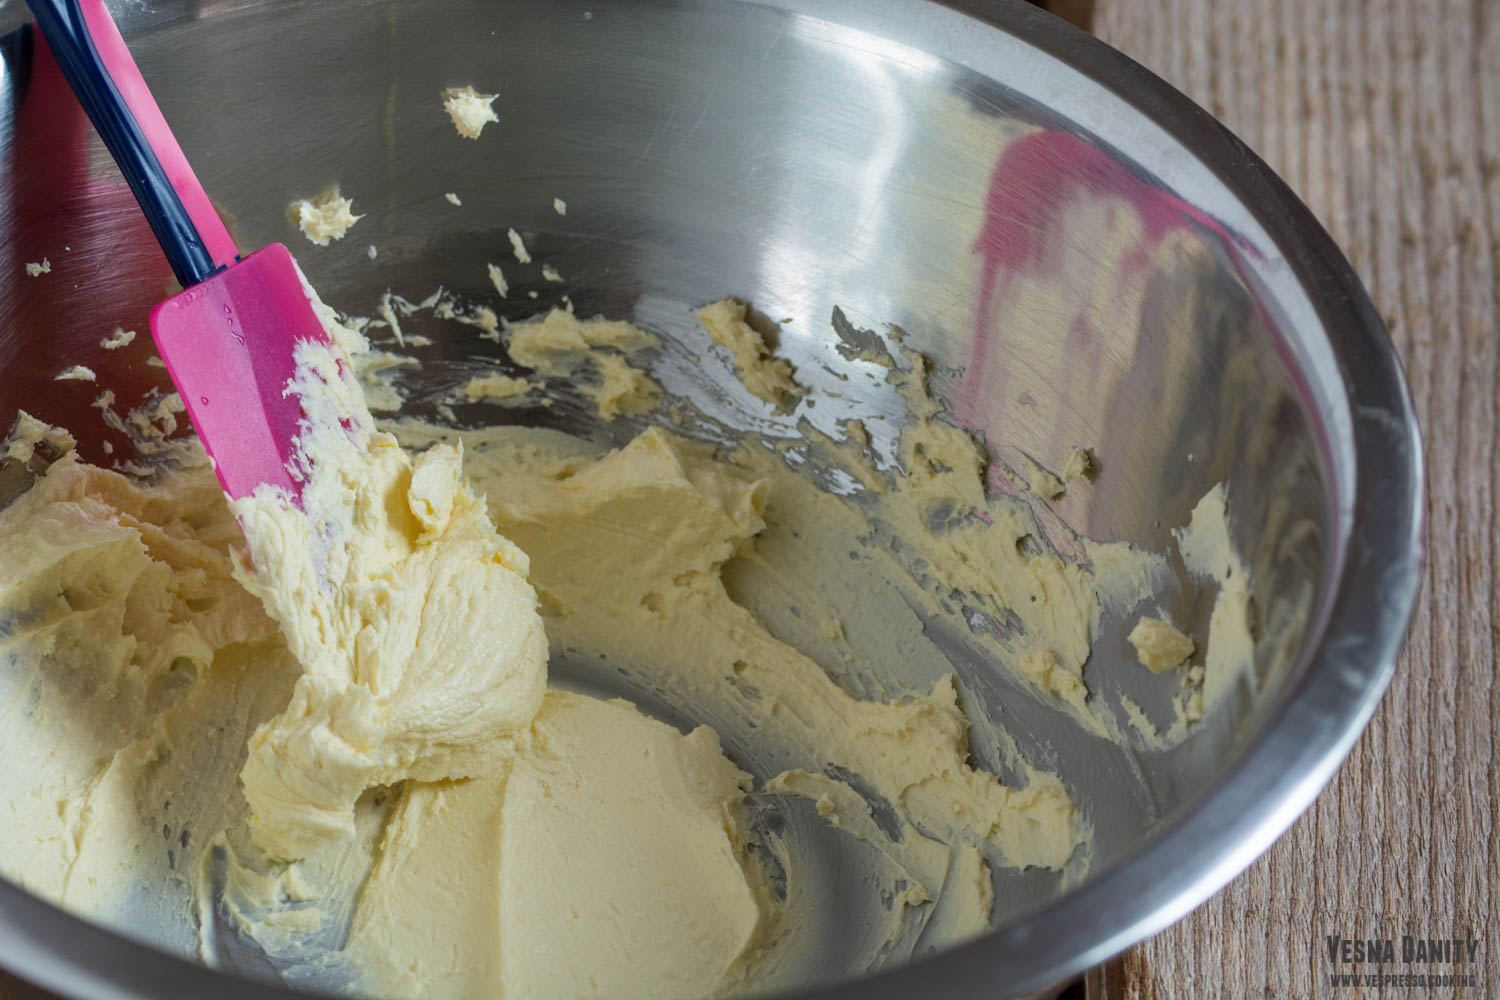
  2. Place the butter in a large bowl and use a mixer or a spatula to beat it until fluffy. Sift the powdered sugar, add it to the bowl and beat until smooth and creamy.
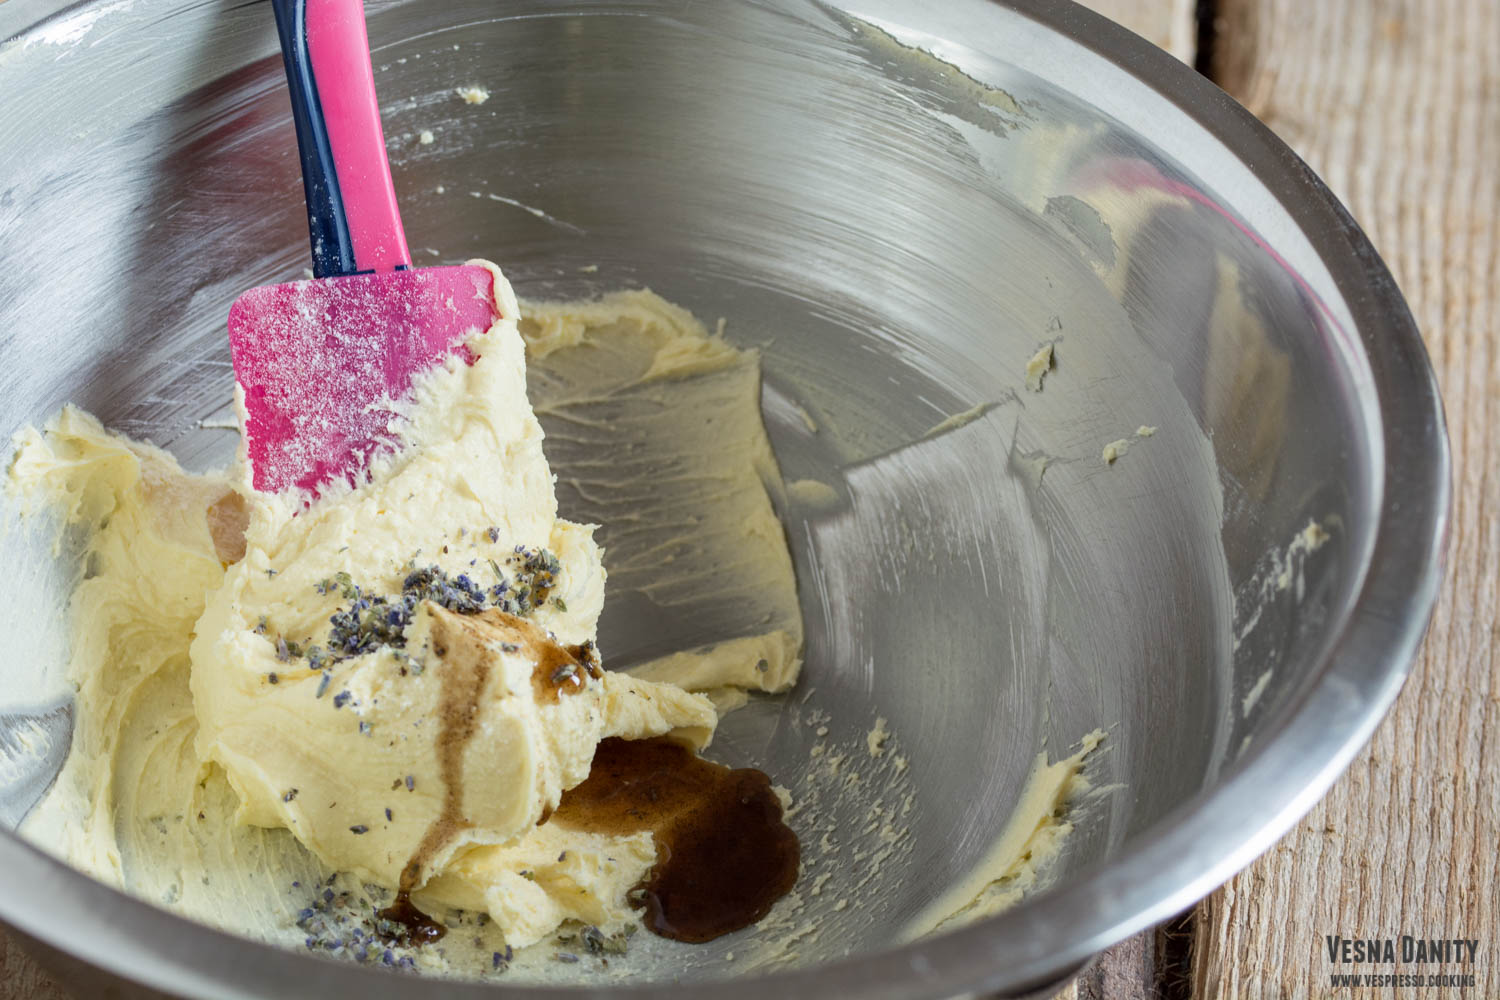
  3. Add the salt, chopped lavender flowers and vanilla extract and mix until combined.
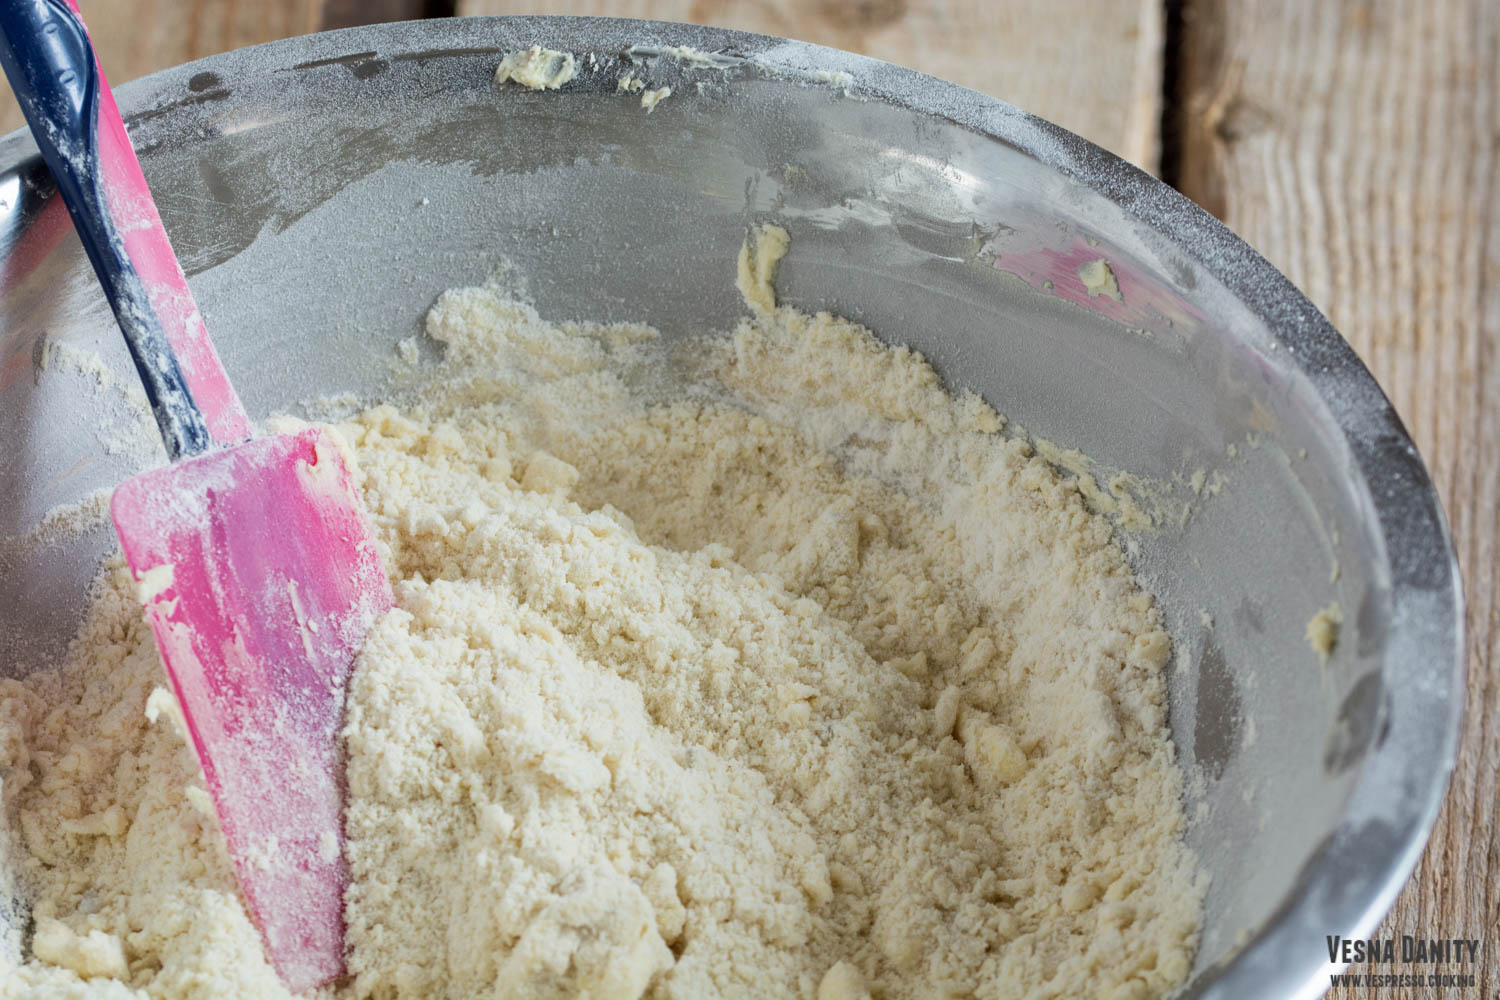
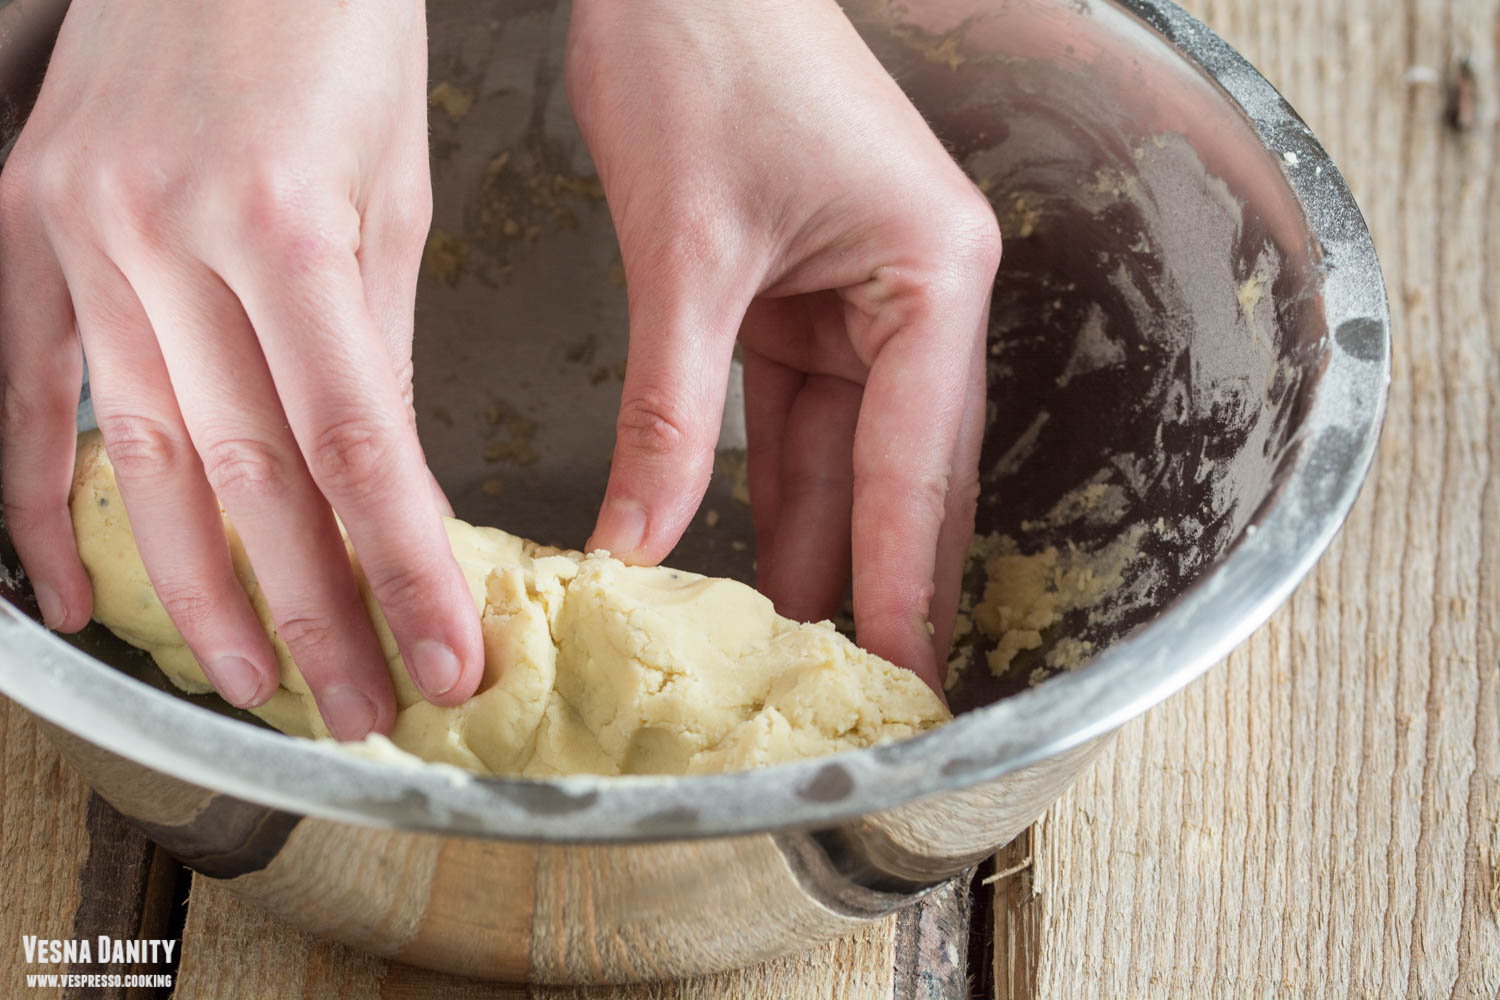
  4. Sift in the flour and stir until the mixture resembles to wet sand. Mix with your finger until you form a ball of dough.
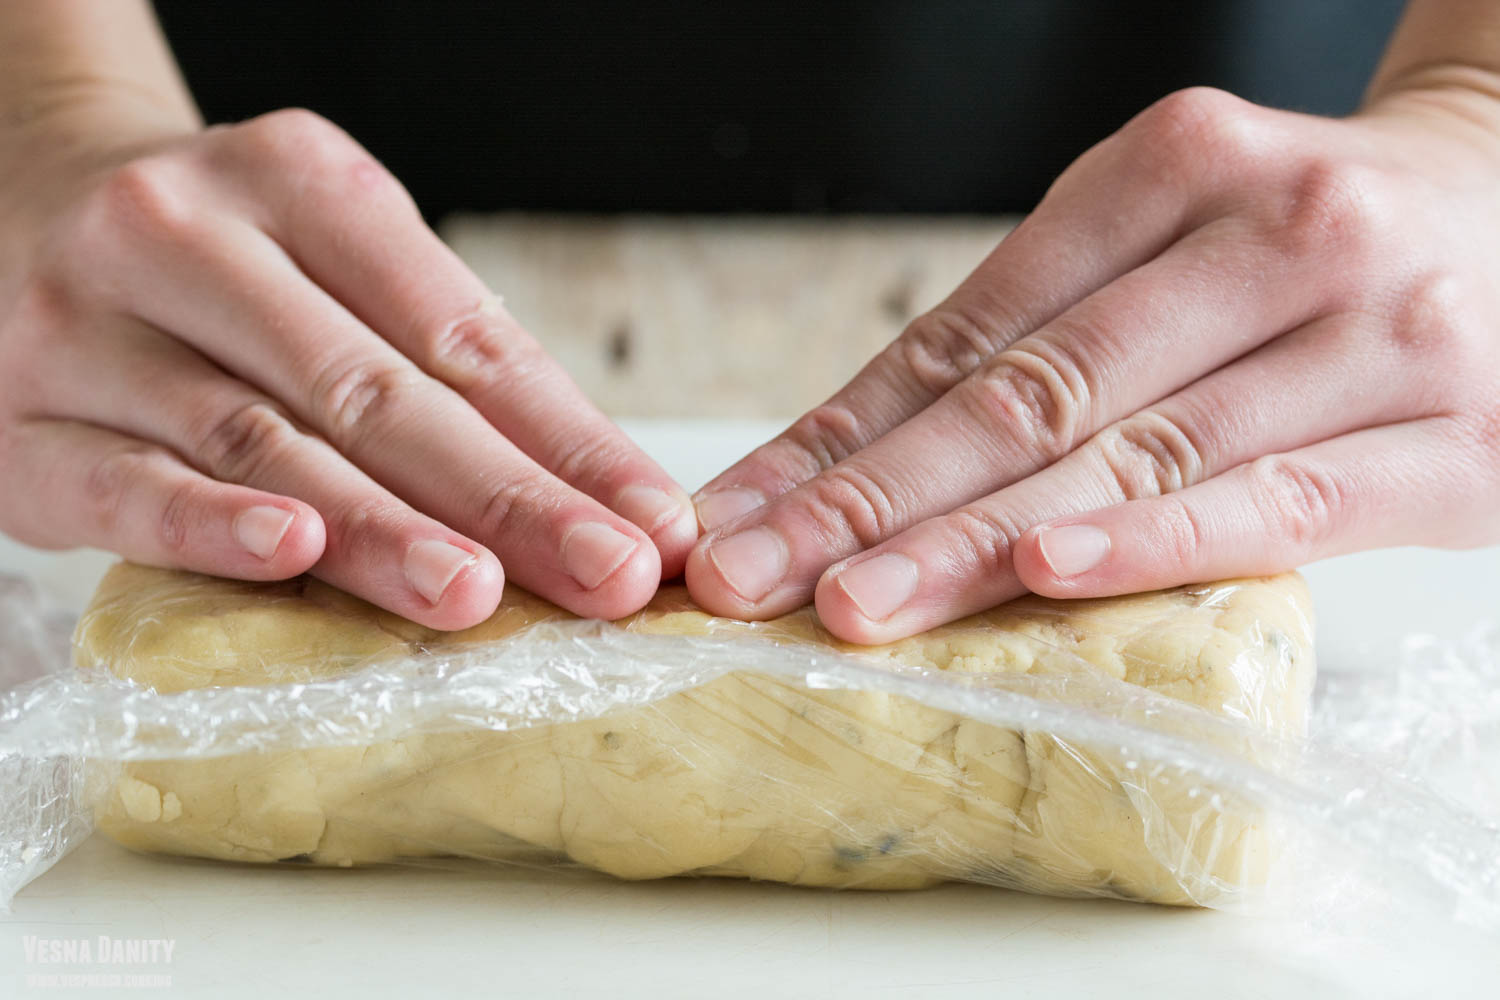
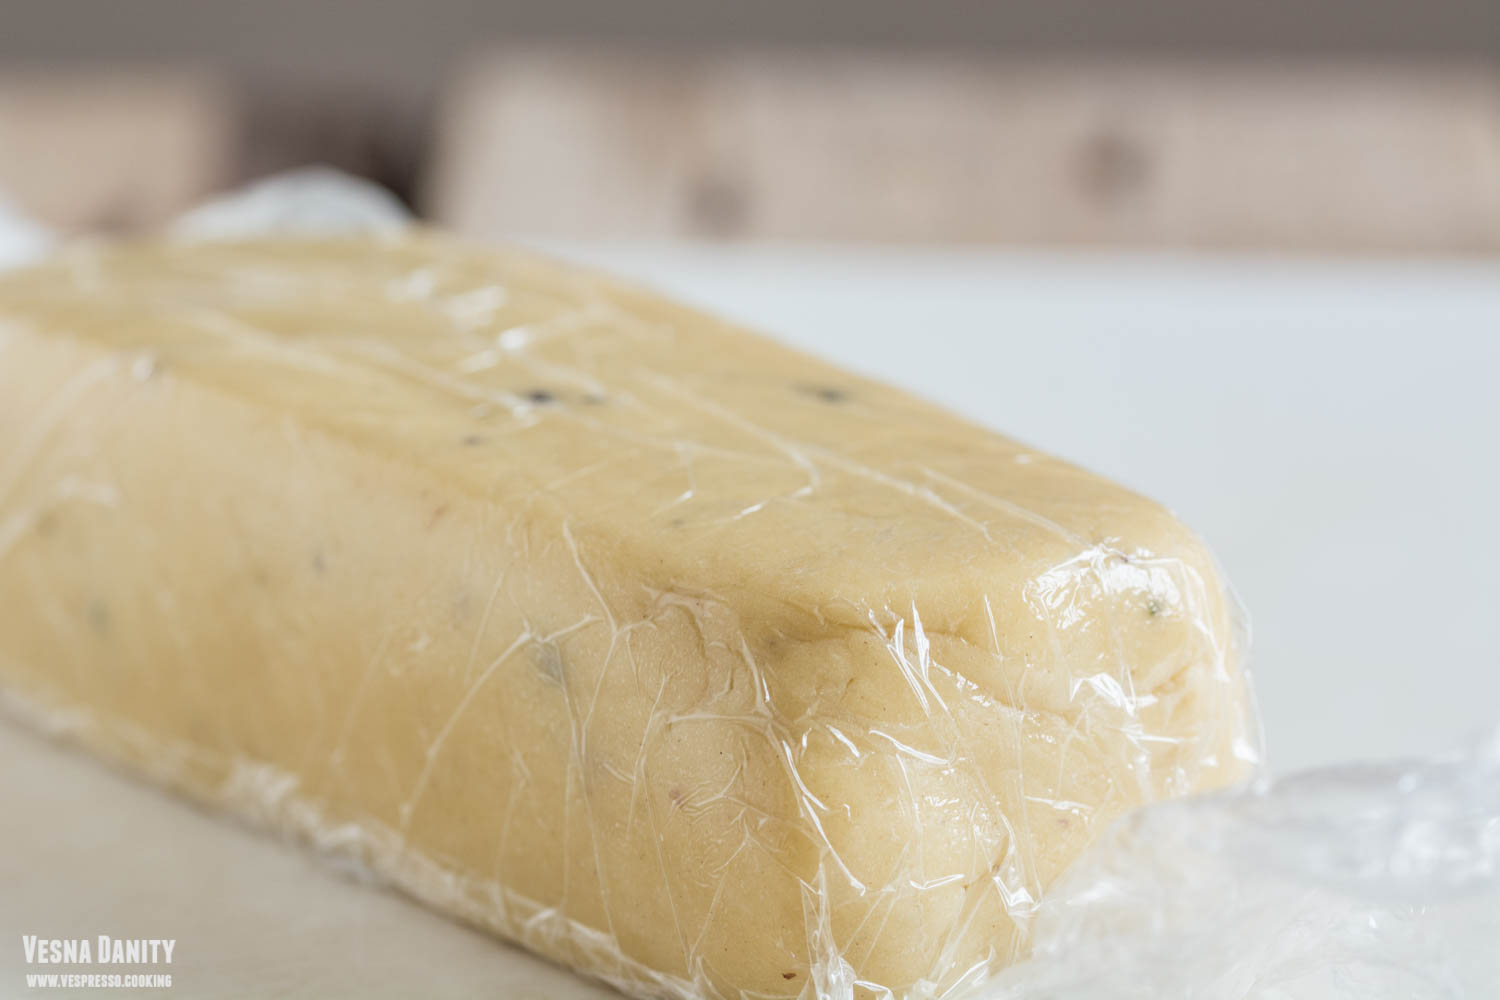
  5. Place the dough between two cling film rectangles and shape in into a log. Press gently on the top with a cookie sheet to flatten the log slightly, then turn the log on its side and press again. Begin smoothing the sides of the log with your fingers until all the sides are as flat an possible. Refrigerate the log for 15 minutes.
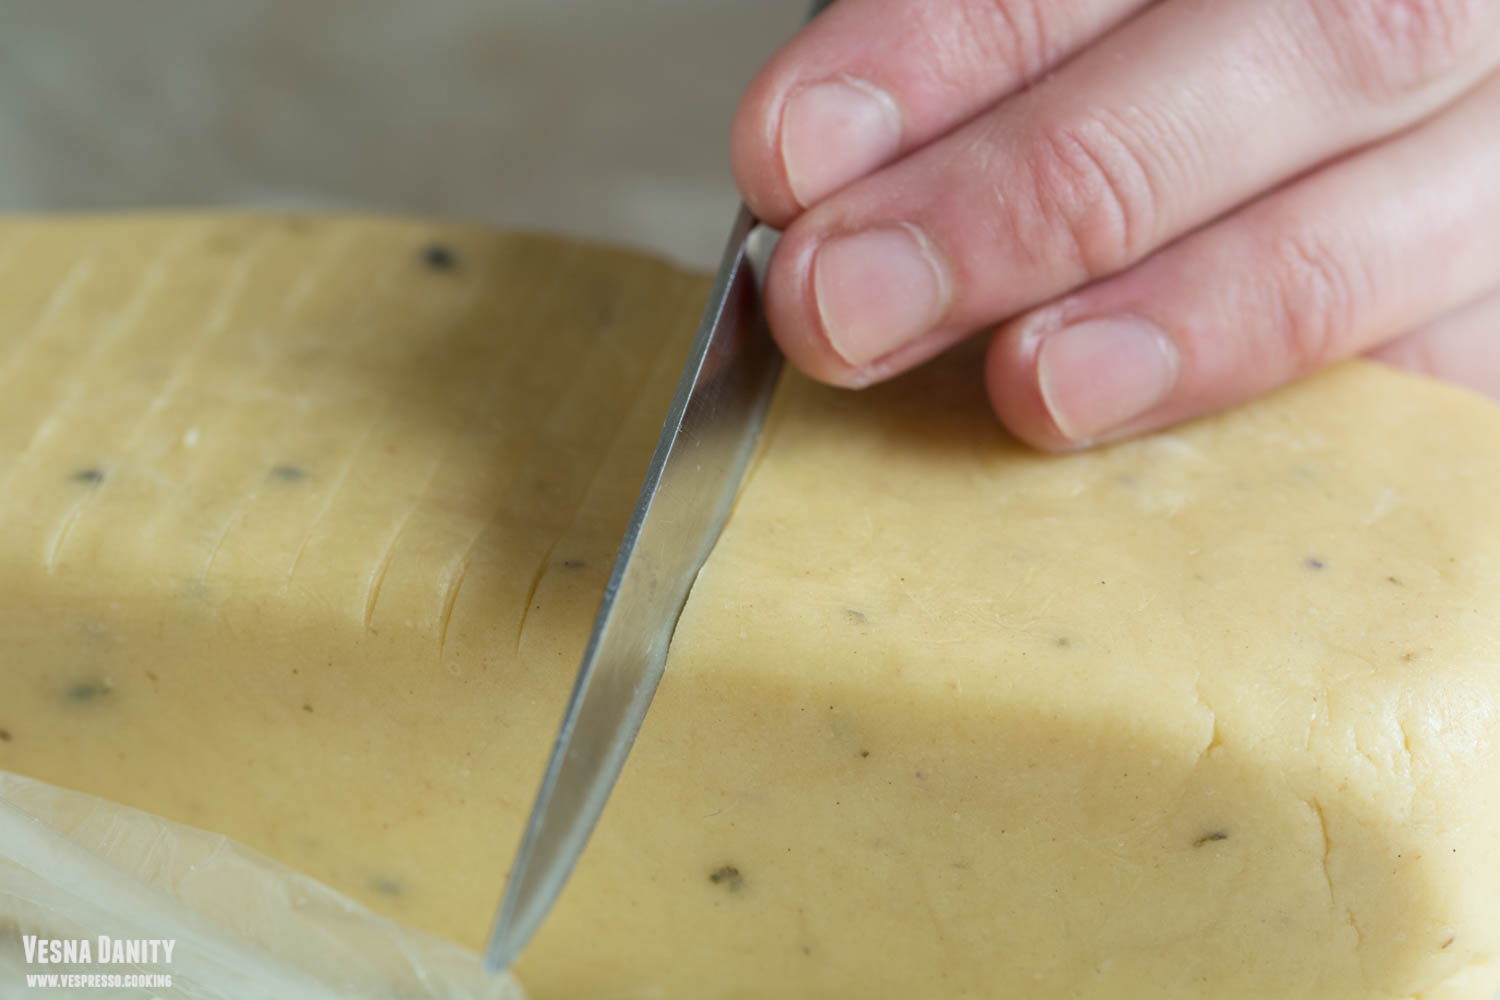
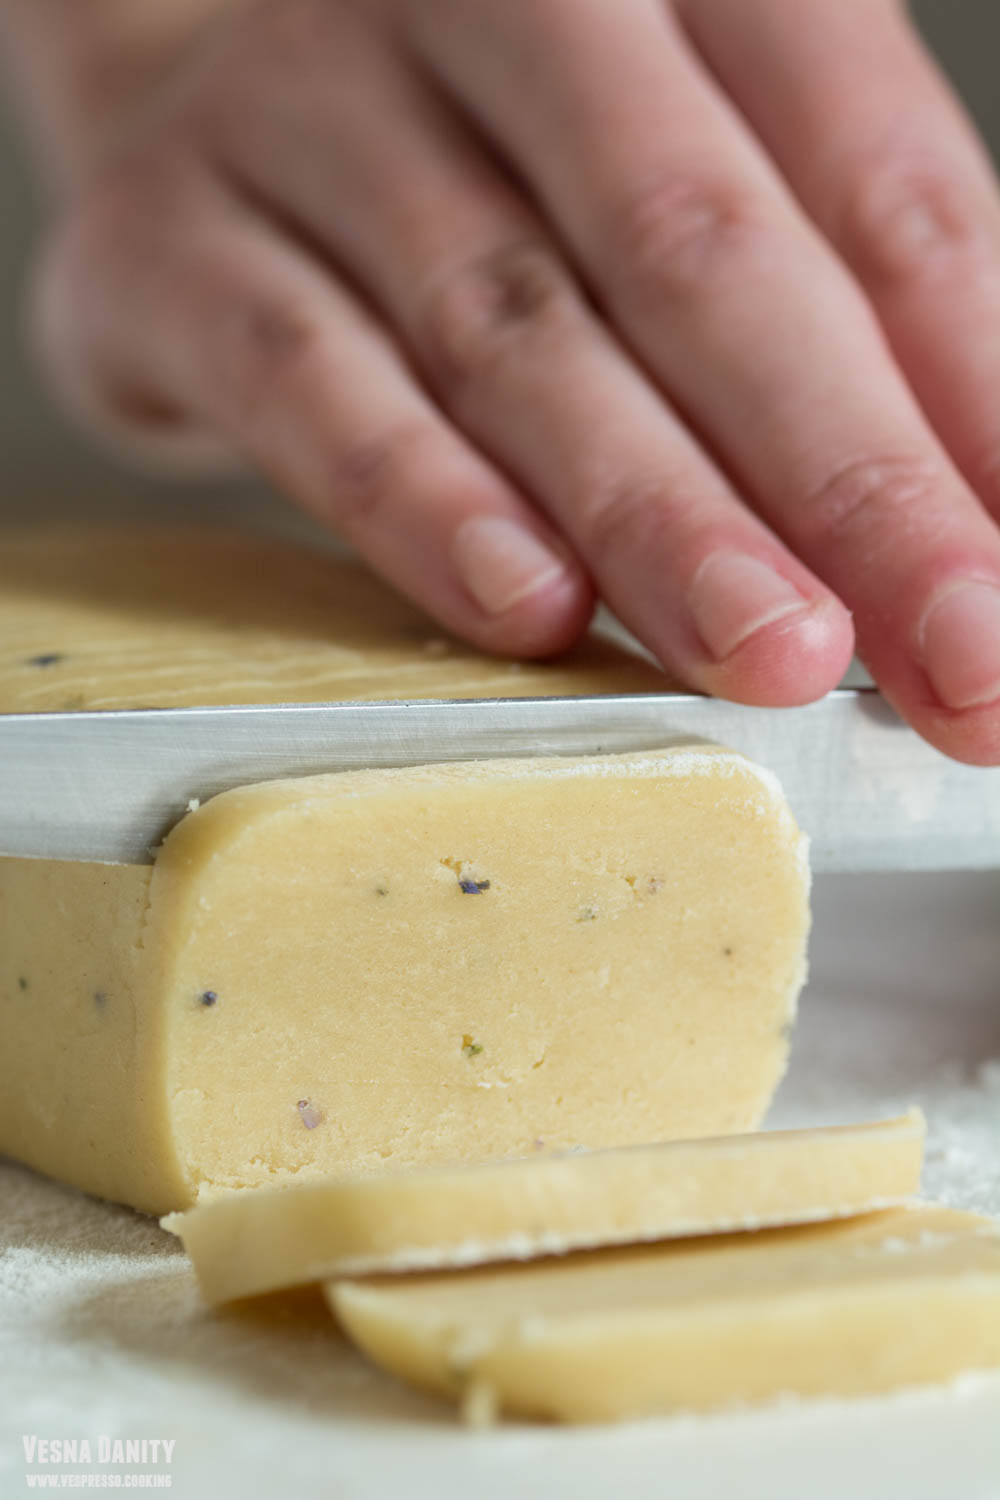
  6. After 15 minutes use a sharp knife to cut the log into 20 pieces. Place the biscuits on a parchment paper-lined tray and refrigerate for further 10 minutes.
  7. Bake the biscuits in the preheated oven for 13 – 14 minutes, or until they become light golden brown at the bottom.
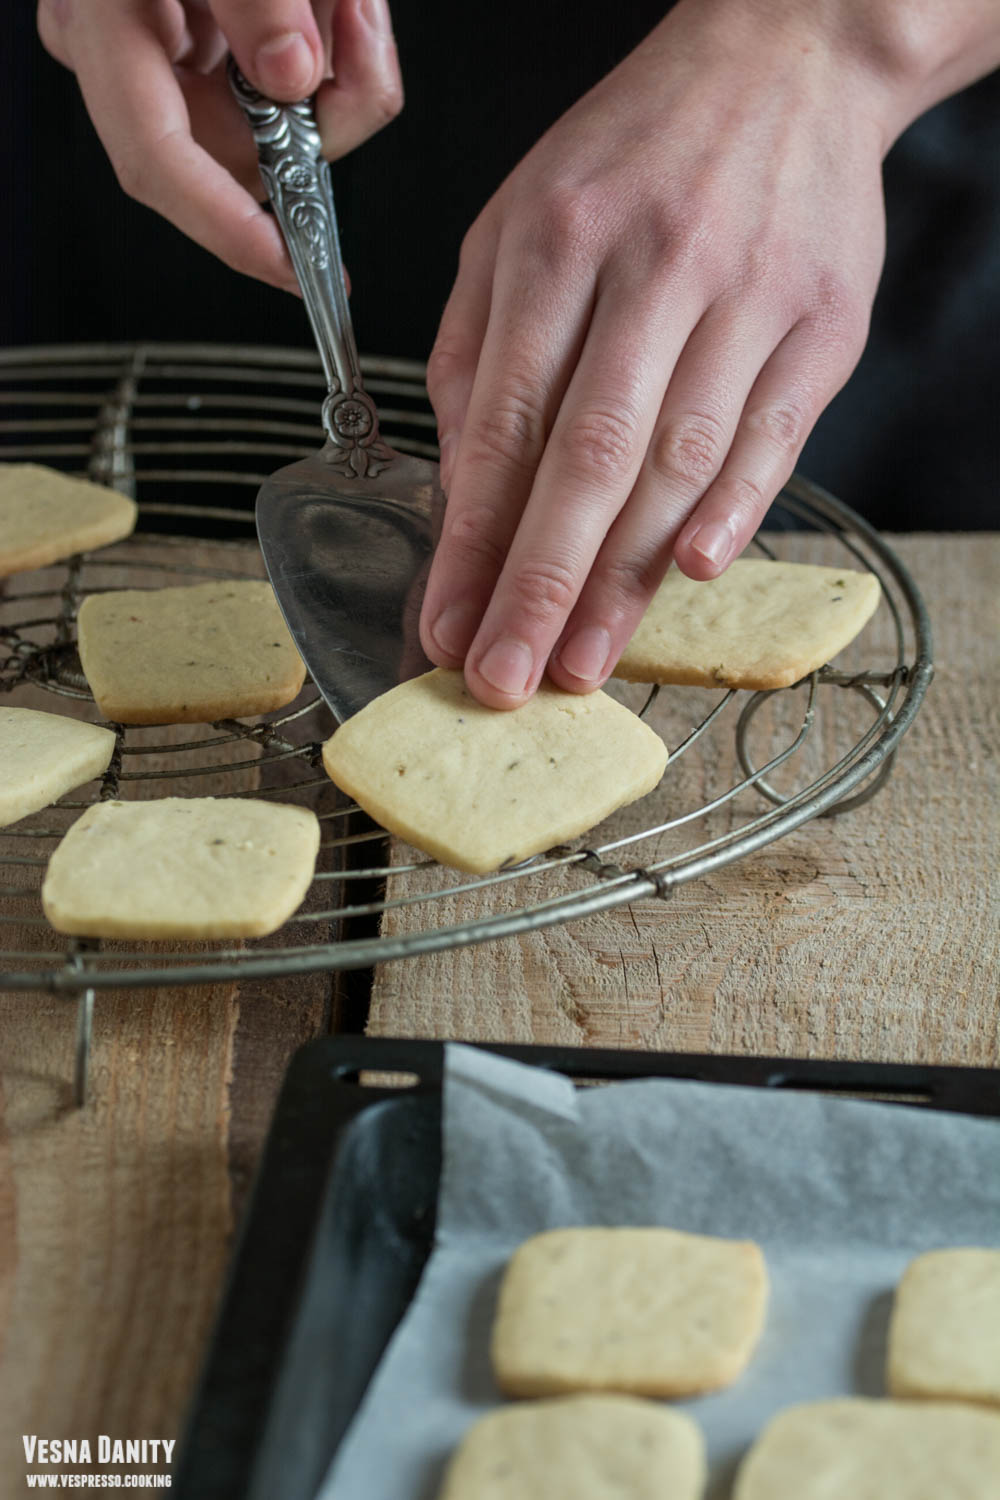
  8. Place the lavender shortbread cookies on a wire rack to cool down and store them in an air-tight container for up to 7 days.


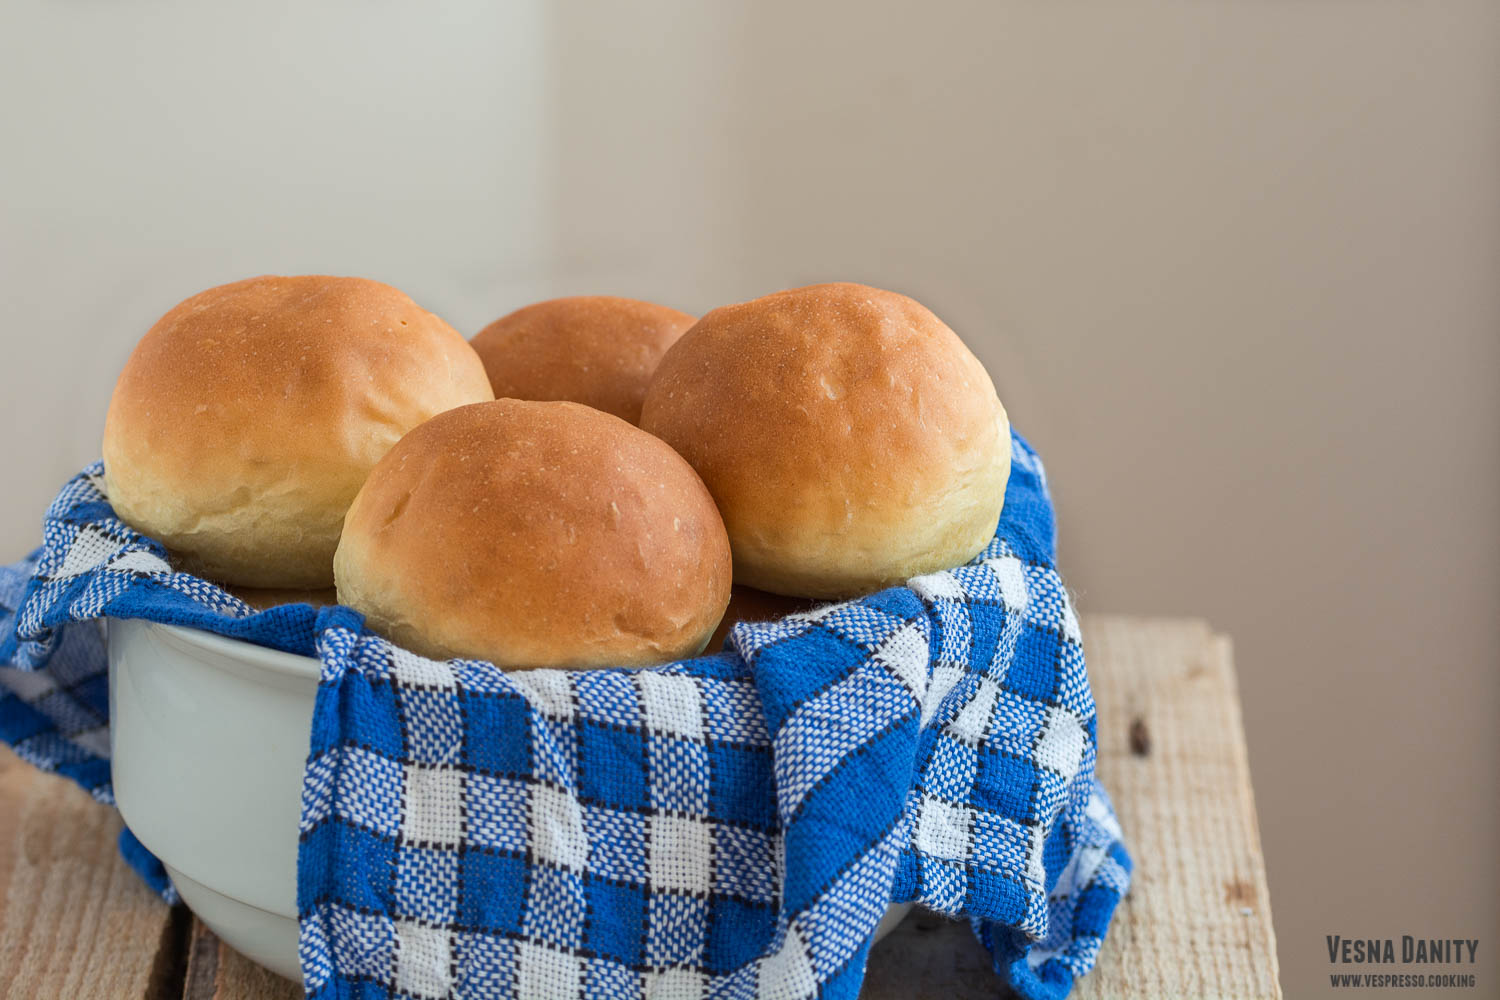
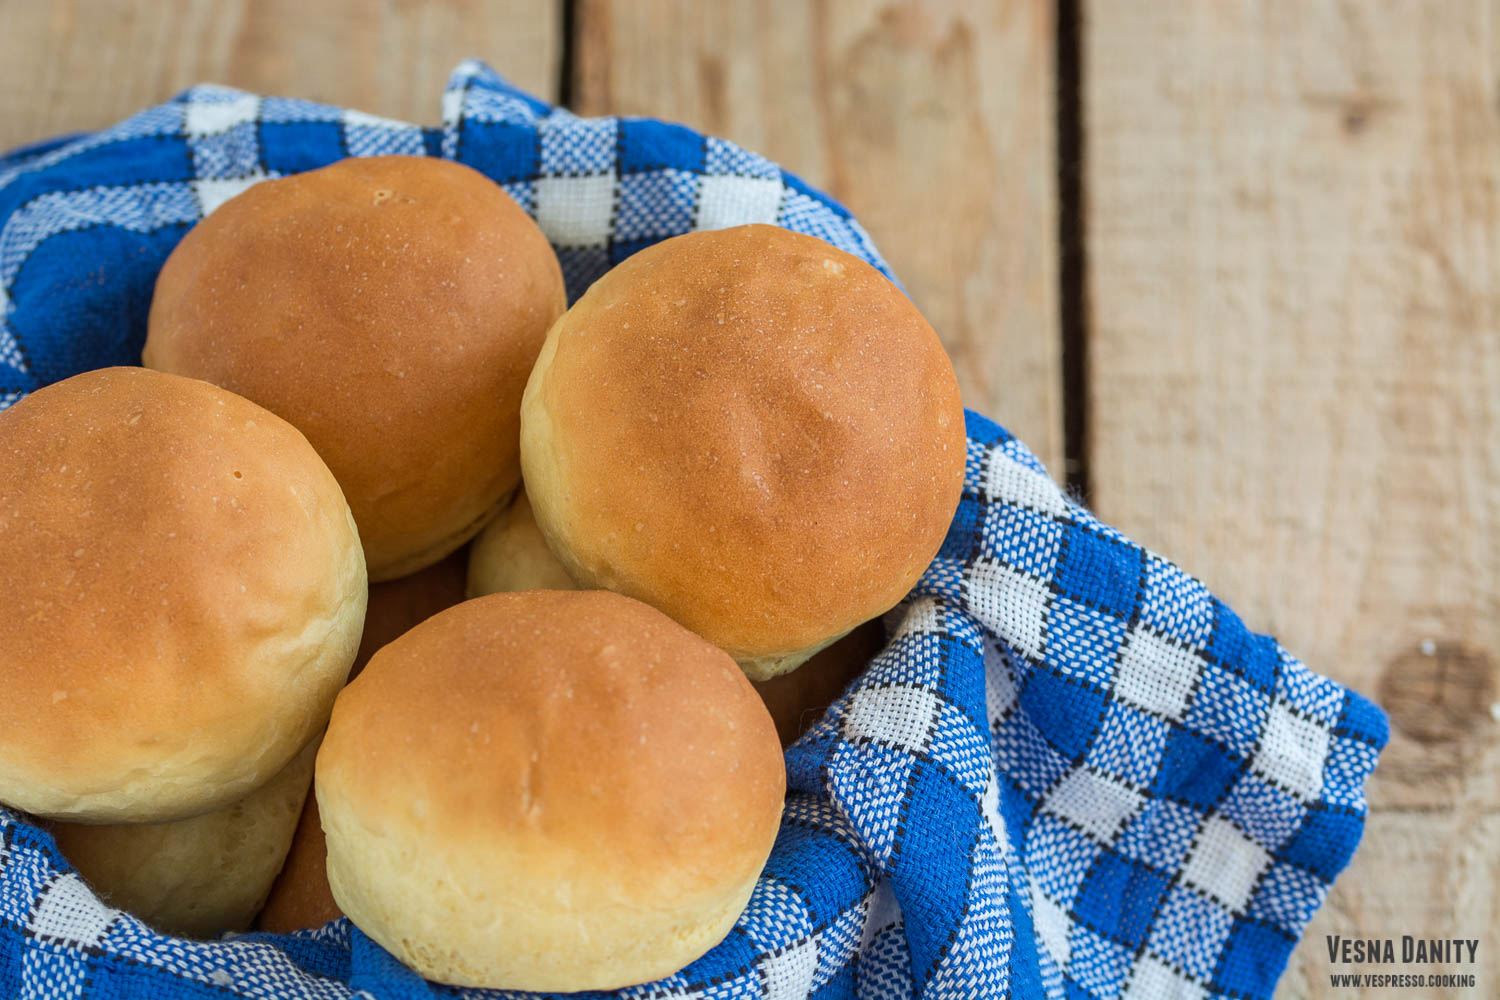
Fast One-Hour Buns


I love everything that remotely resembles to bread, but if I’d have to choose between a slice of bread and a bun I’d choose the latter. And I have 2 main reasons:

  1. I’m the “crust” type of person, the crunchier, the better.
  2. I’m incapable of evenly slicing a bread. And I’ve tried. A lot. And don’t get me started on the cake-slicing topic.

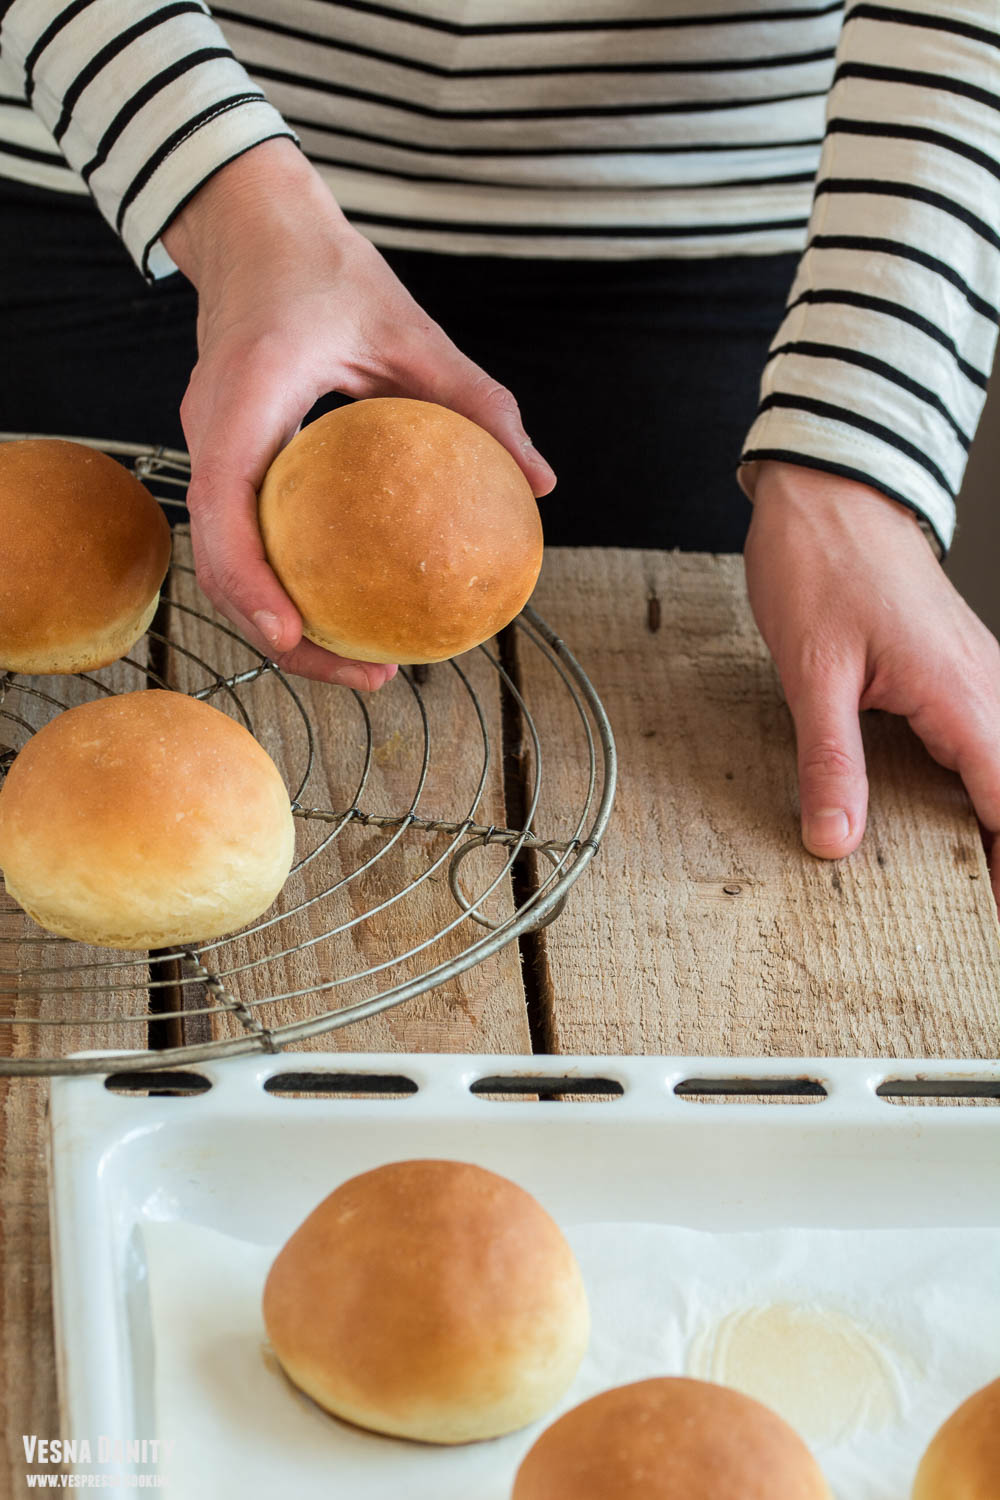
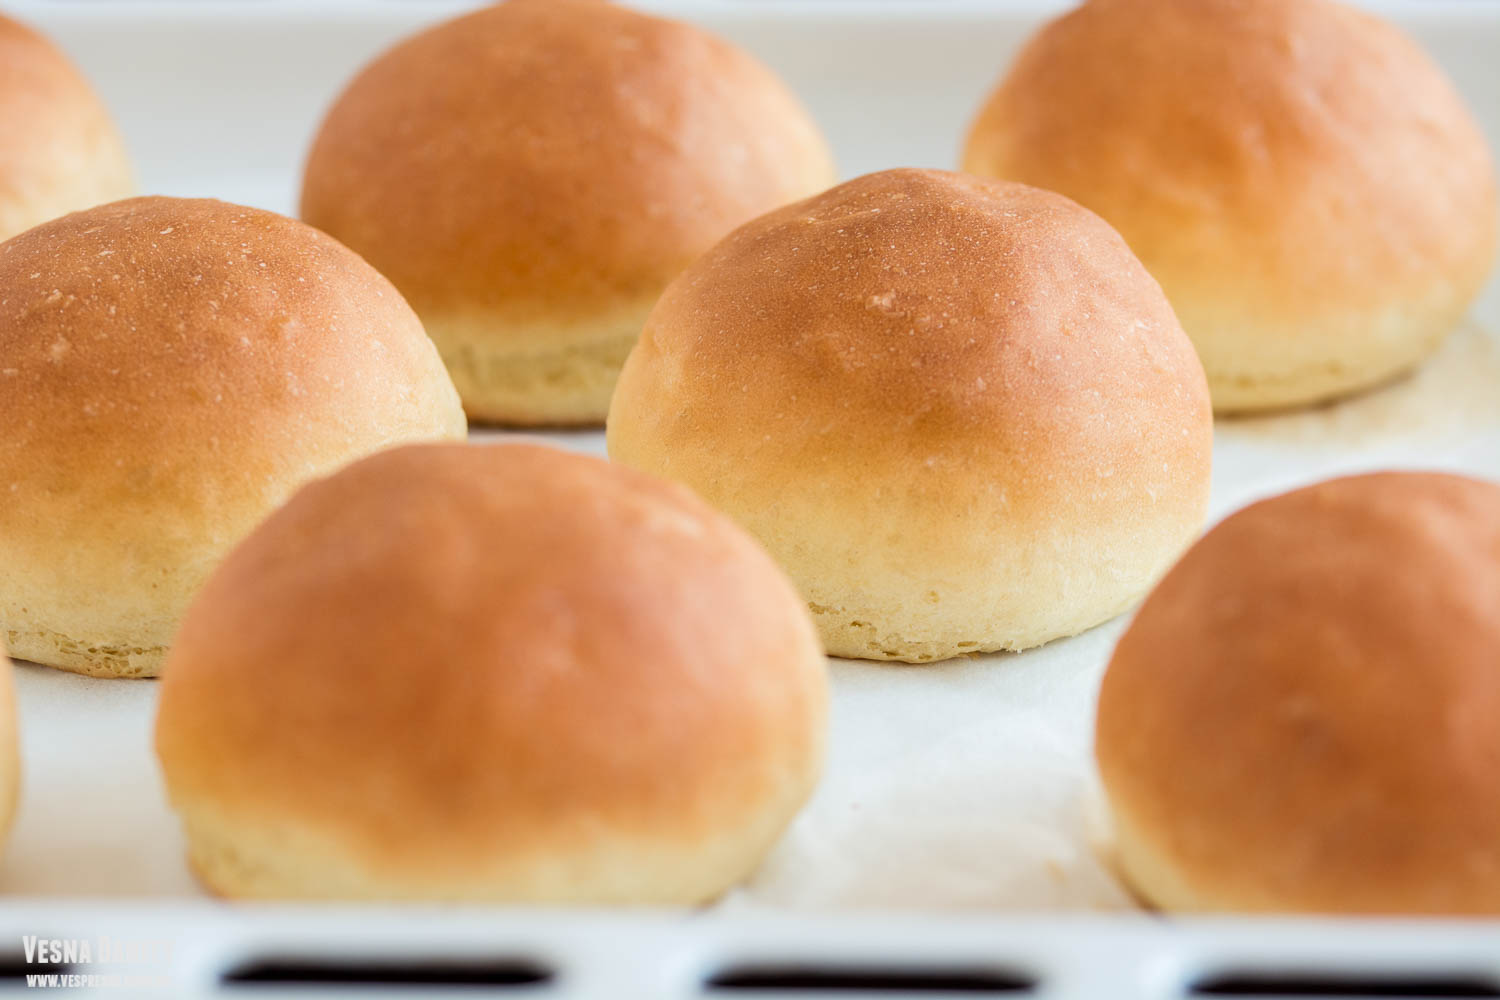
These being said, I think I found the perfect buns. They are dense without being tough and they have a wonderful crunchy crust. Oh, I almost forgot the best part. These buns are made in 40 minutes.

Ingredients (for 10 Buns):

  • 250g strong white flour (+ extra 10g for kneading)
  • 25g beaten egg (1/2 egg)
  • ¼ tsp salt
  • 120ml lukewarm water (36-38°C)
  • 35ml Tbsp olive oil
  • 15g granulated sugar (I used packed brown sugar)
  • 1 envelope active dry yeast (7g)
  • Method:

    1. Preheat the oven at 400°F/204°C (gas mark 6).
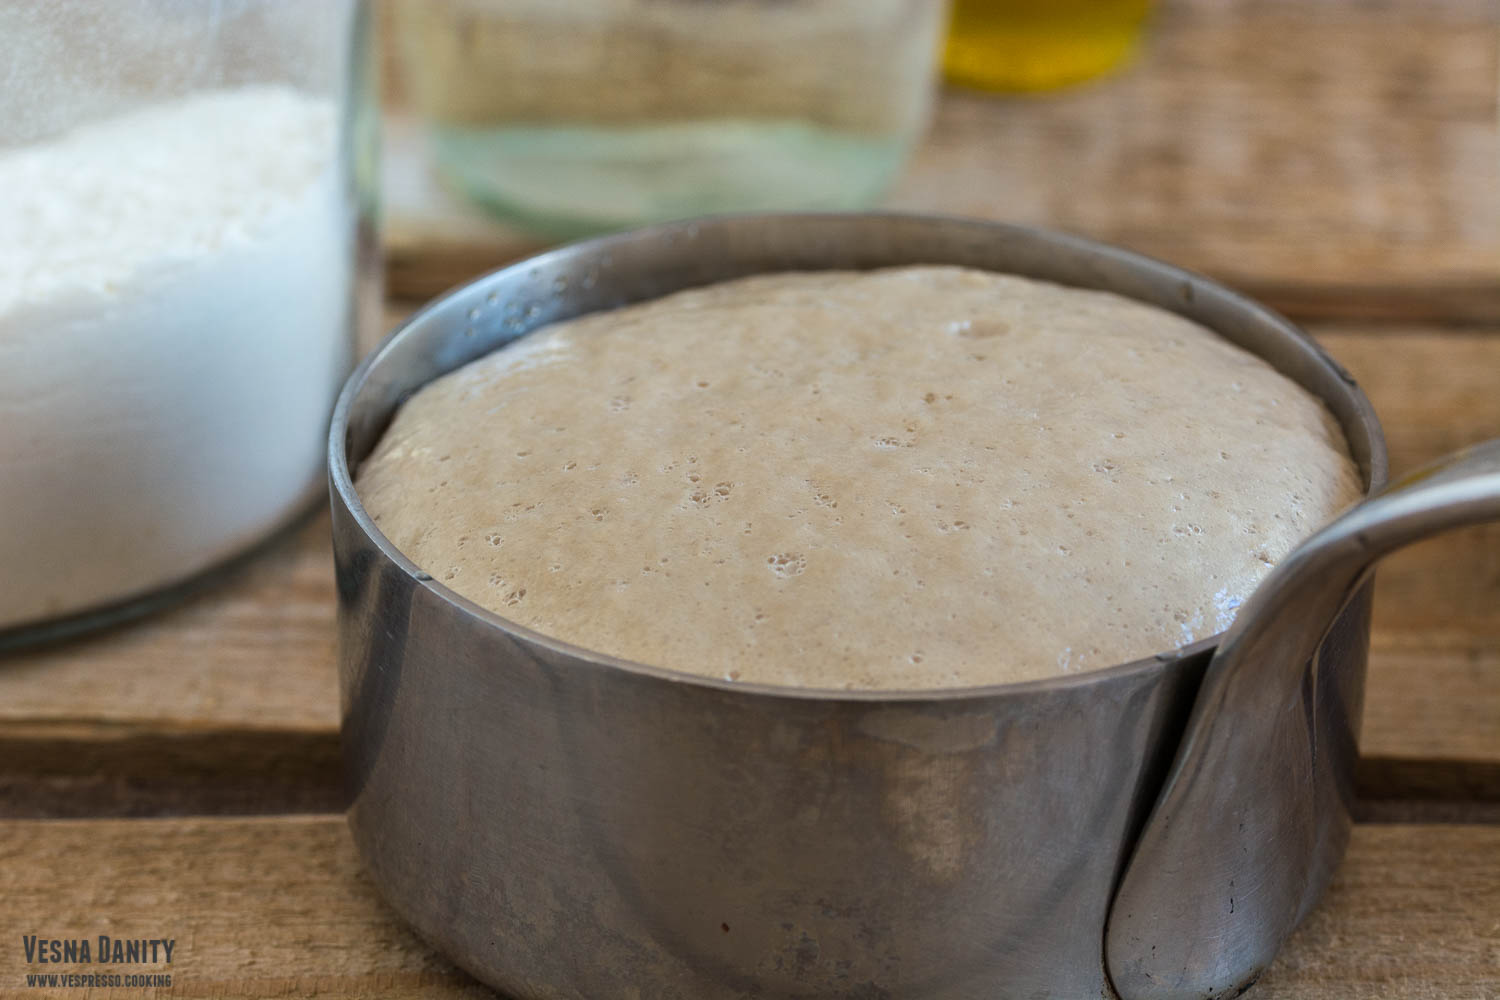
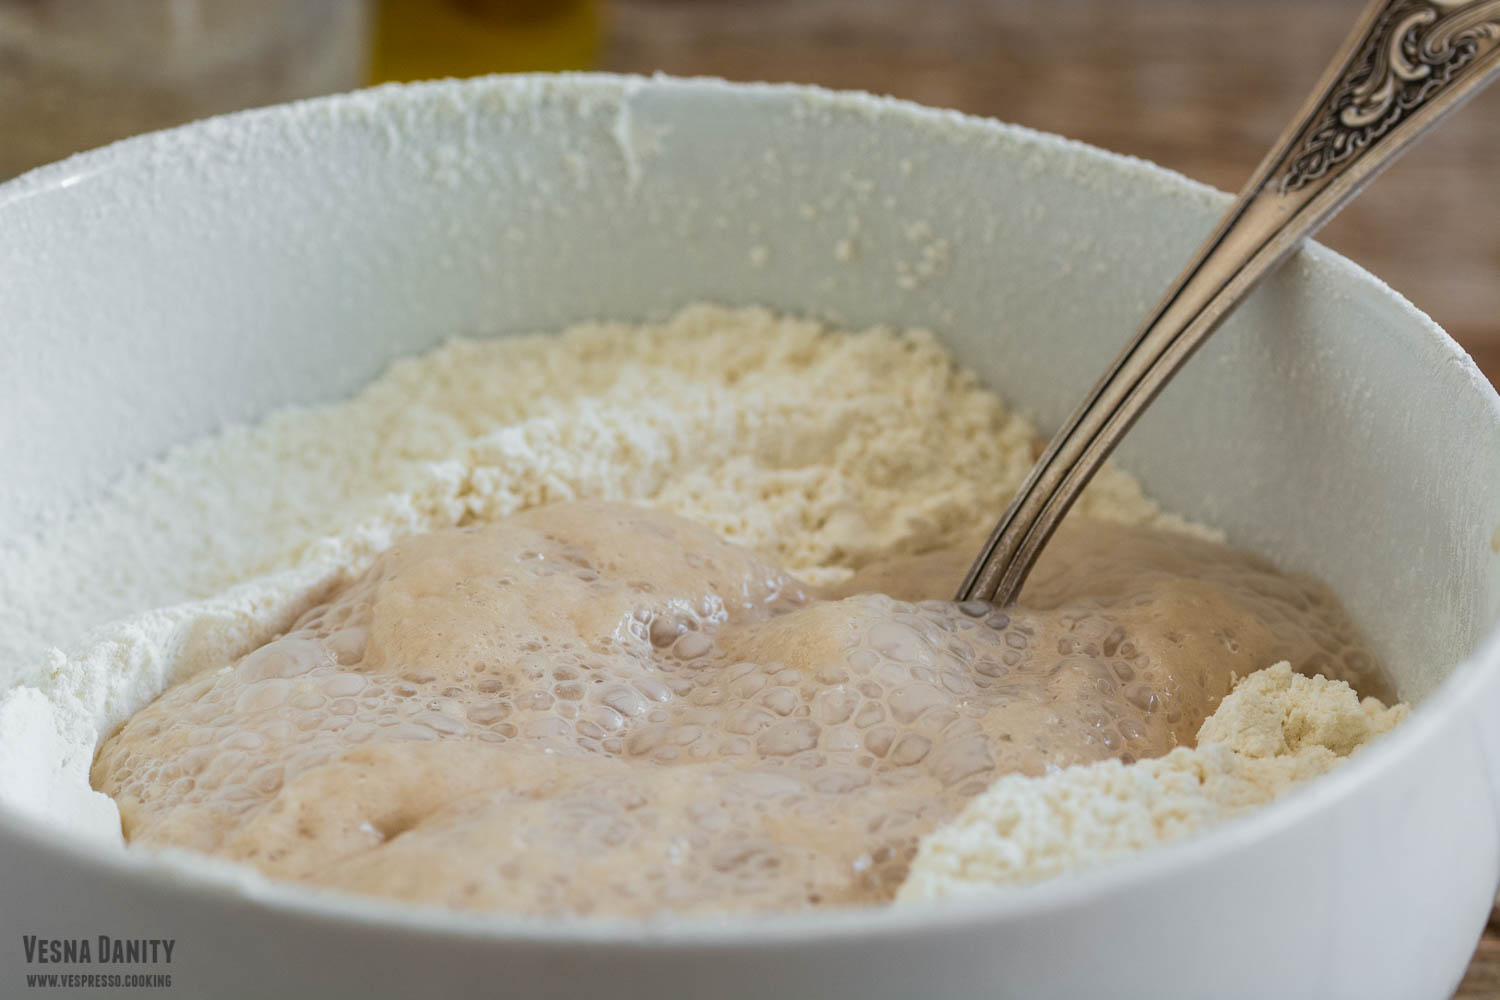
    2. In a small bowl combine water, oil, sugar and yeast and let aside for 10 minutes. After 10 minutes, the mixture should be really foamy (picture).
    3. In a large bowl combine white flour, oat flour and salt and make a well in the center.
    4. Add the yeast mixture and ½ an egg and mix with a wooden spatula until you form a ball.
    5. Bring the sticky dough on a floured working surface and knead it for 2 minutes.
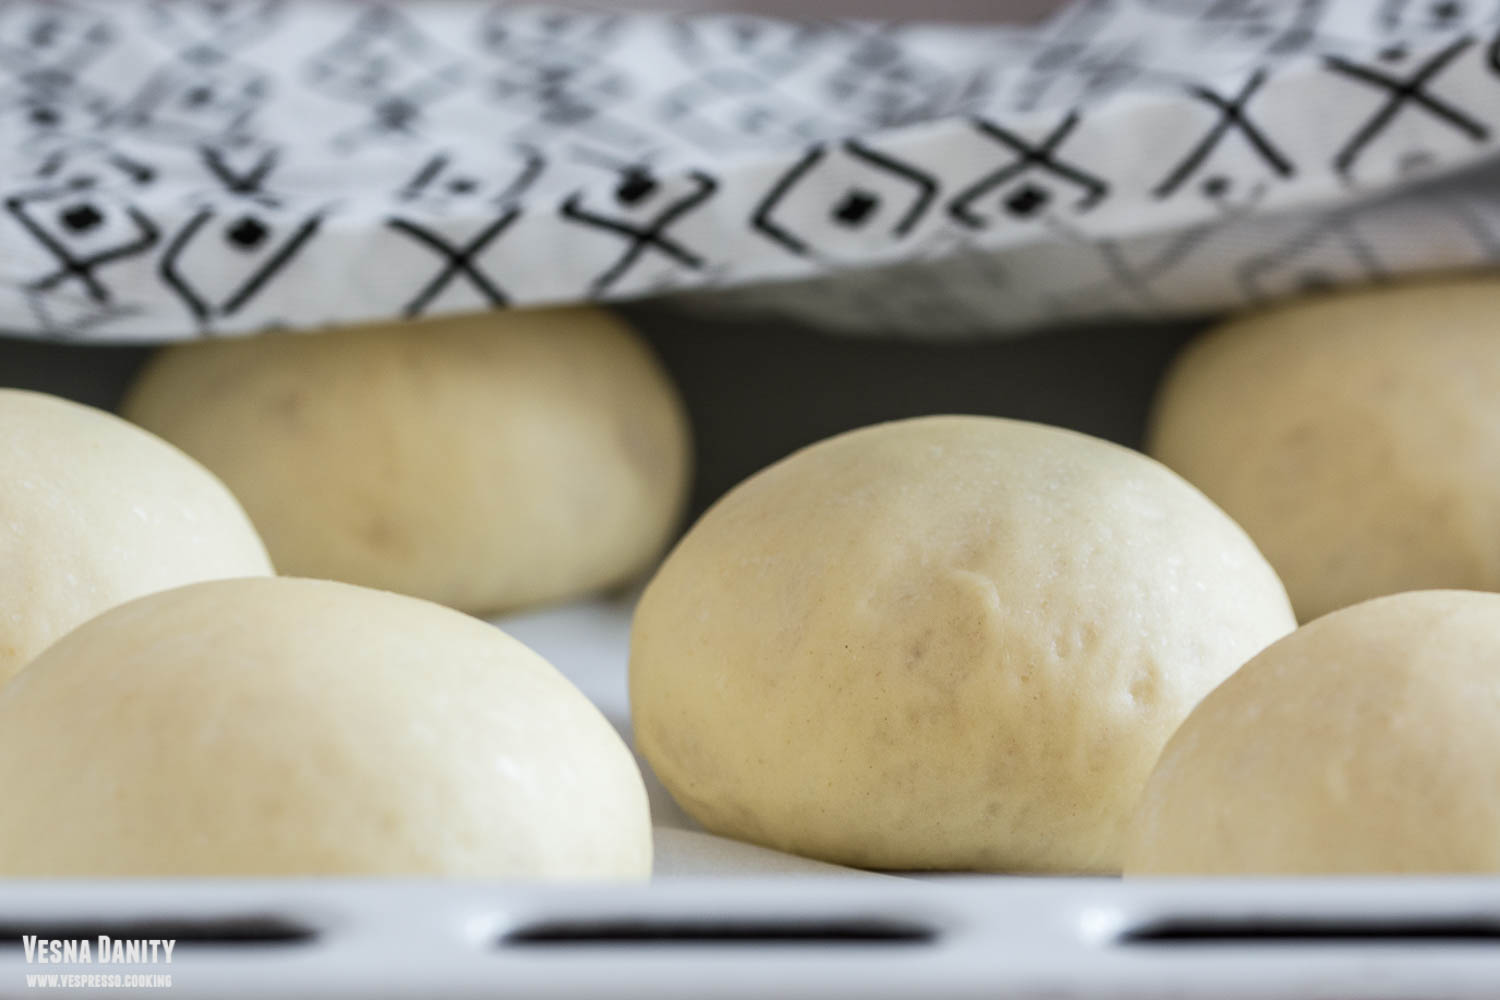
    6. Place dough in the bowl, cover and let it rise in a warm place for 10 minutes.
    7. After 10 minutes, place the dough back on the working surface and knead vigorously to knock out the air bubbles.
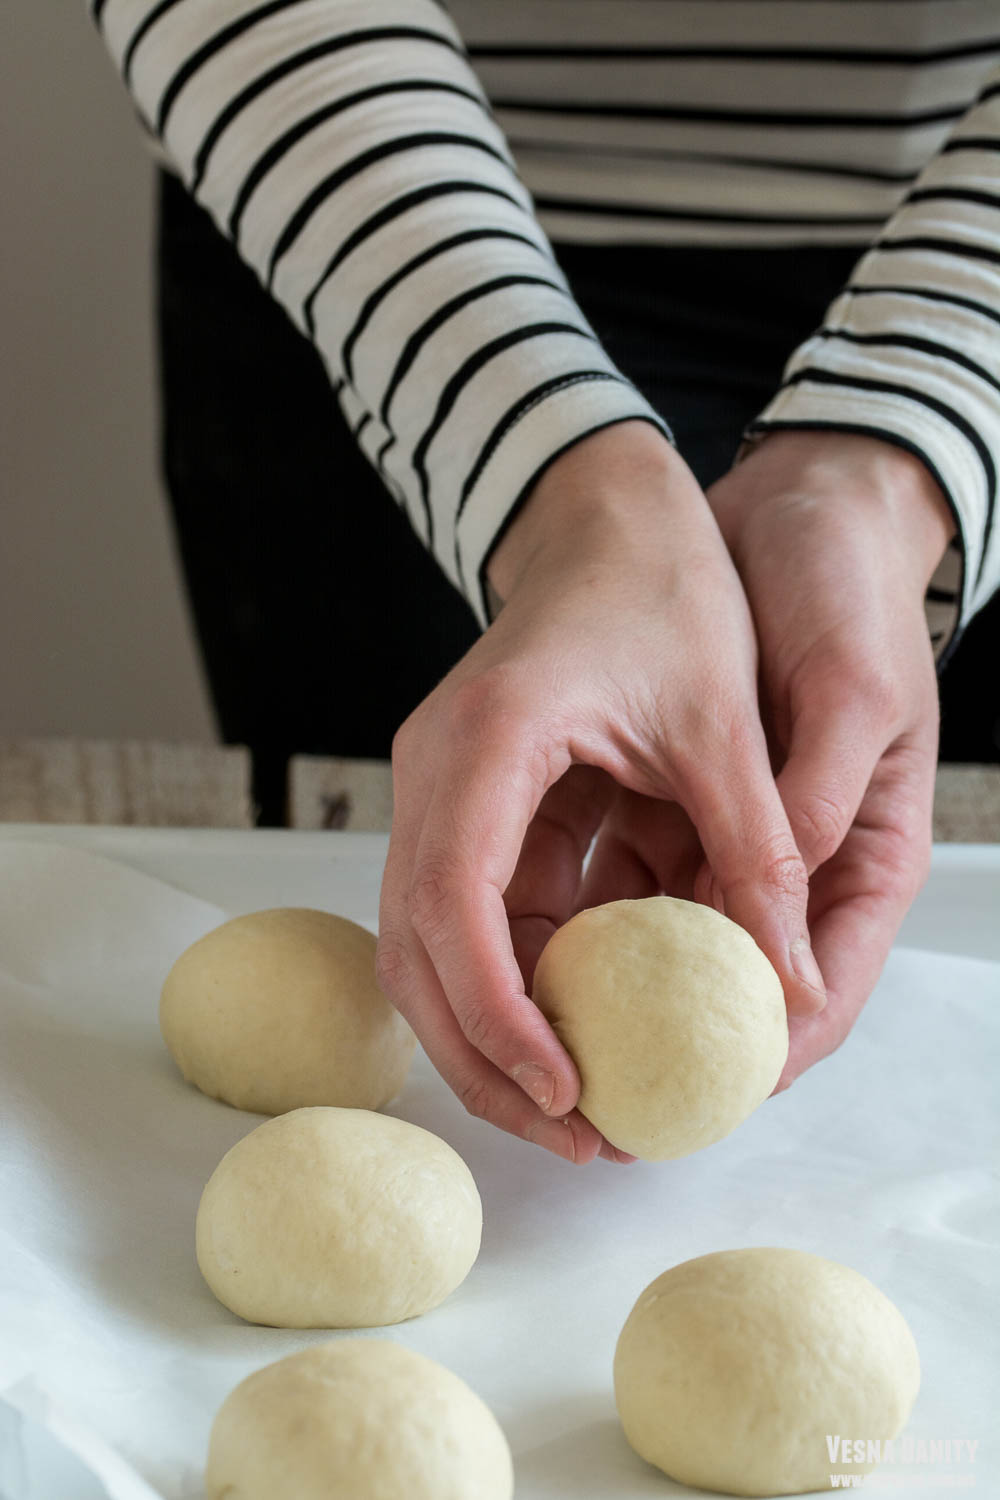
    8. Divide dough into 10 pieces and shape them into 10 balls (I had 10 balls x 53g).
    9. Place them on a tray lined with parchment paper, give them a quick egg wash, sprinkle some cumin seeds and bake them for 12 minutes or until golden.


    Source: www.kitchemeetsgirl.com